The Conversation (0)
Sign Up
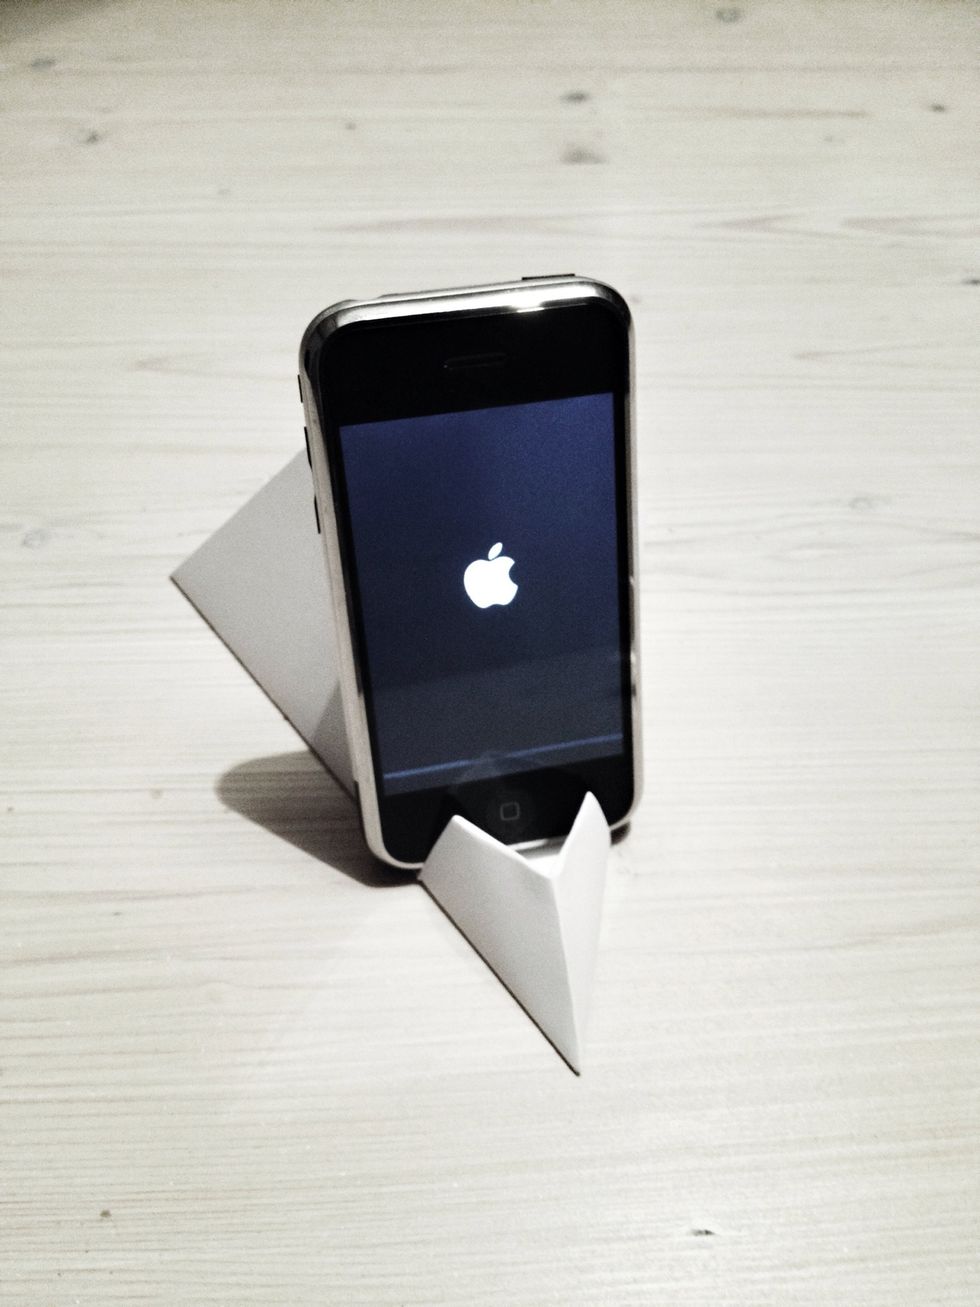
Ladies and gentlemen, this is what we're making. Let's start 😊
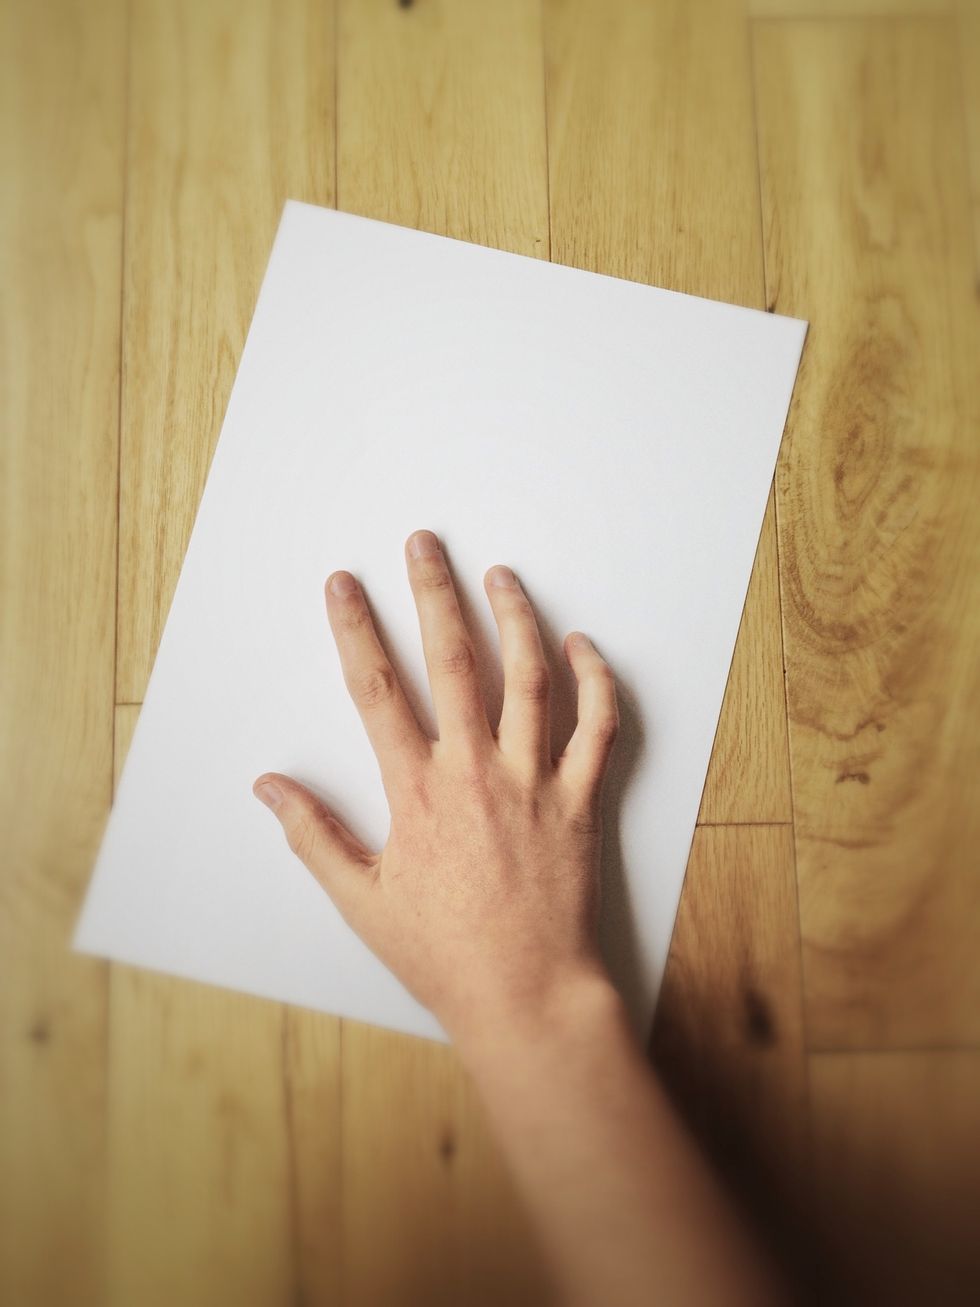
Get a rectangular sheet of thick paper (over 150gsm) or cardboard. Exact dimensions & crooked edges don't matter. Anything goes from nice colored card to simply cutting out the side of a cereal box.
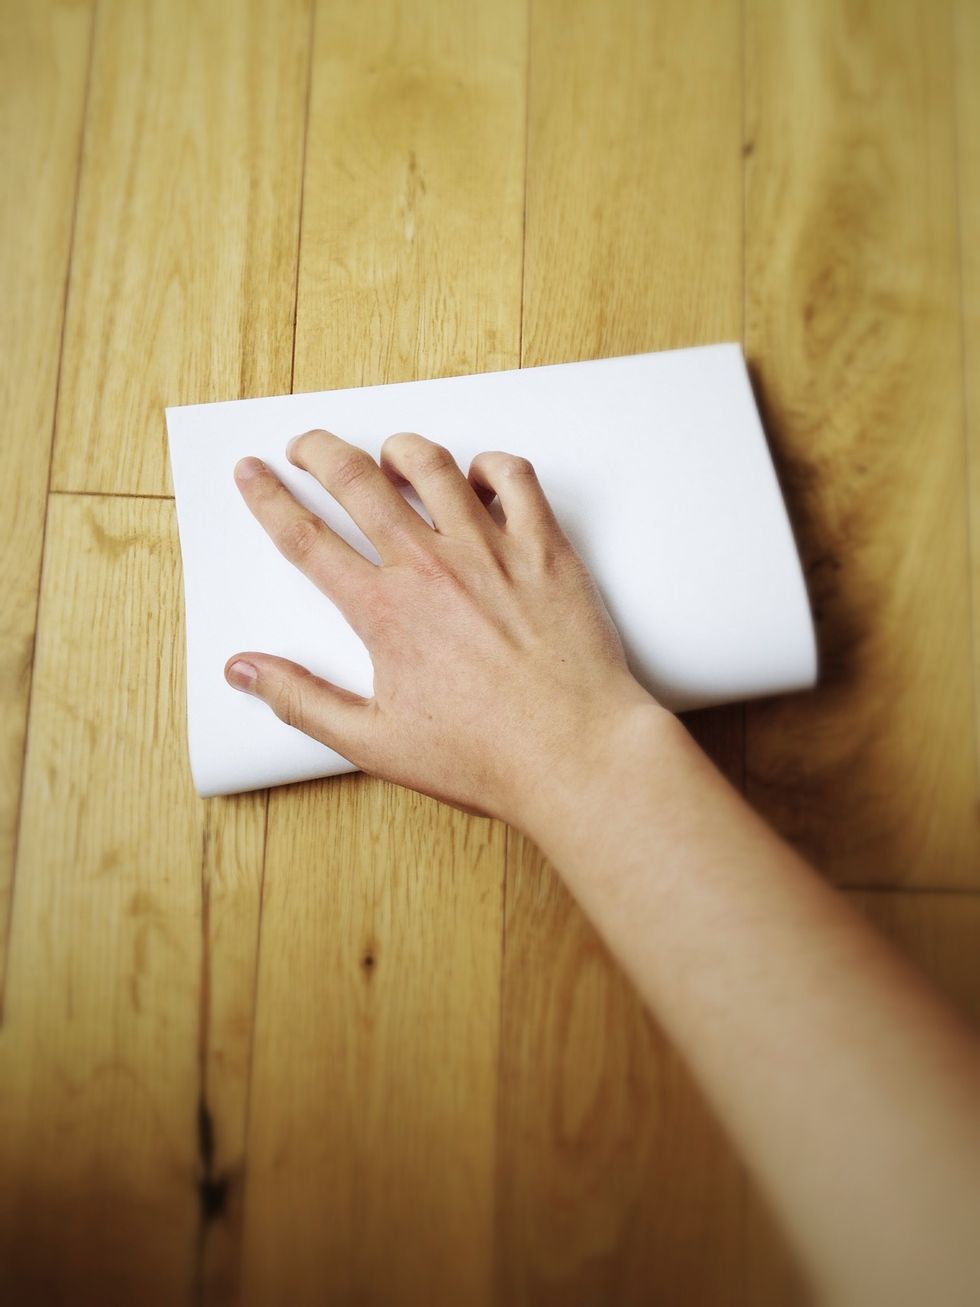
Fold in half.

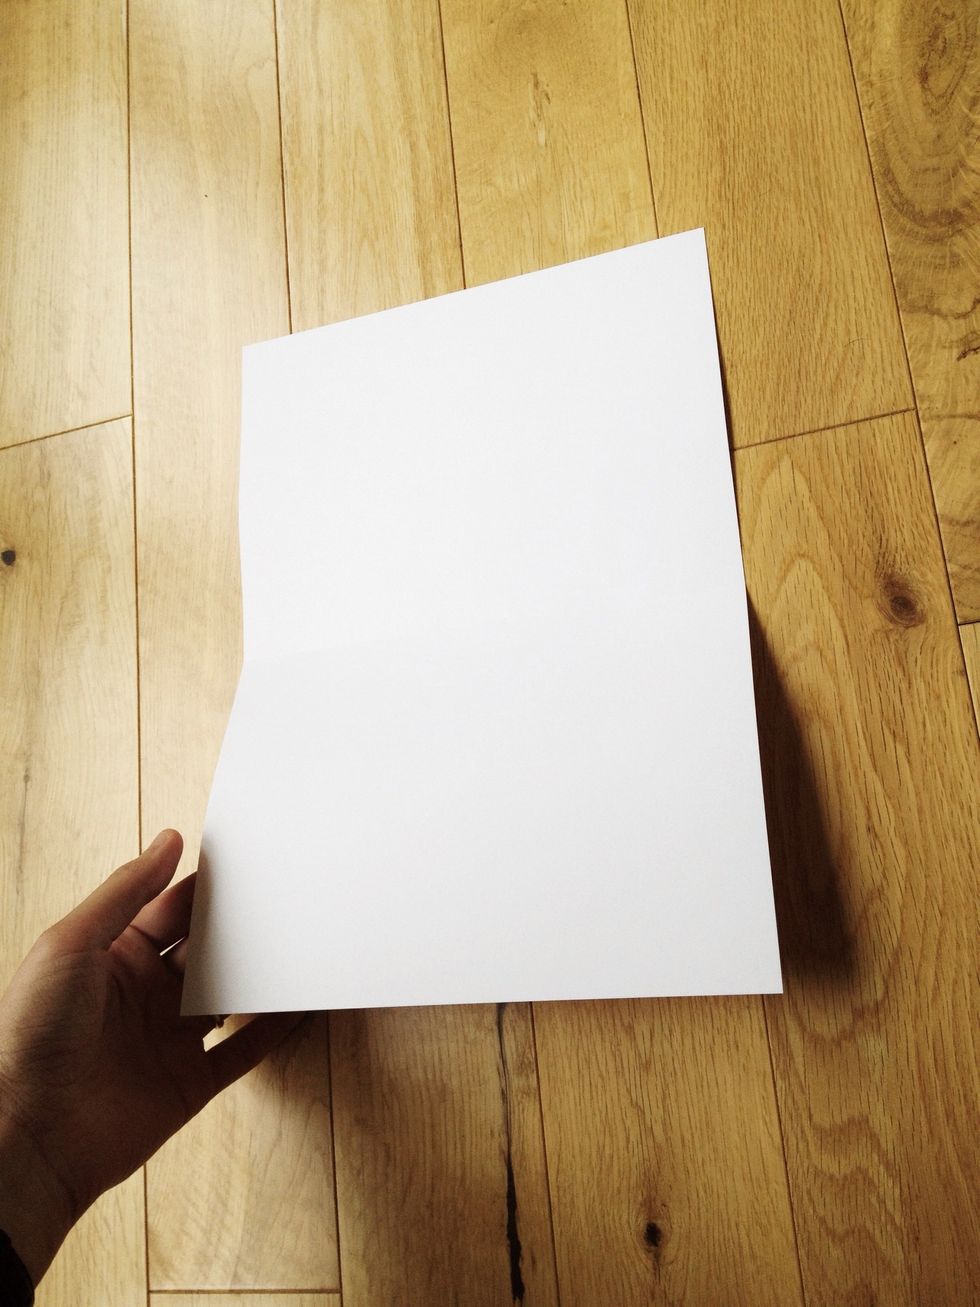
Undo last fold. Btw, this is the side that will be more visible in the final piece.
Turn it over.
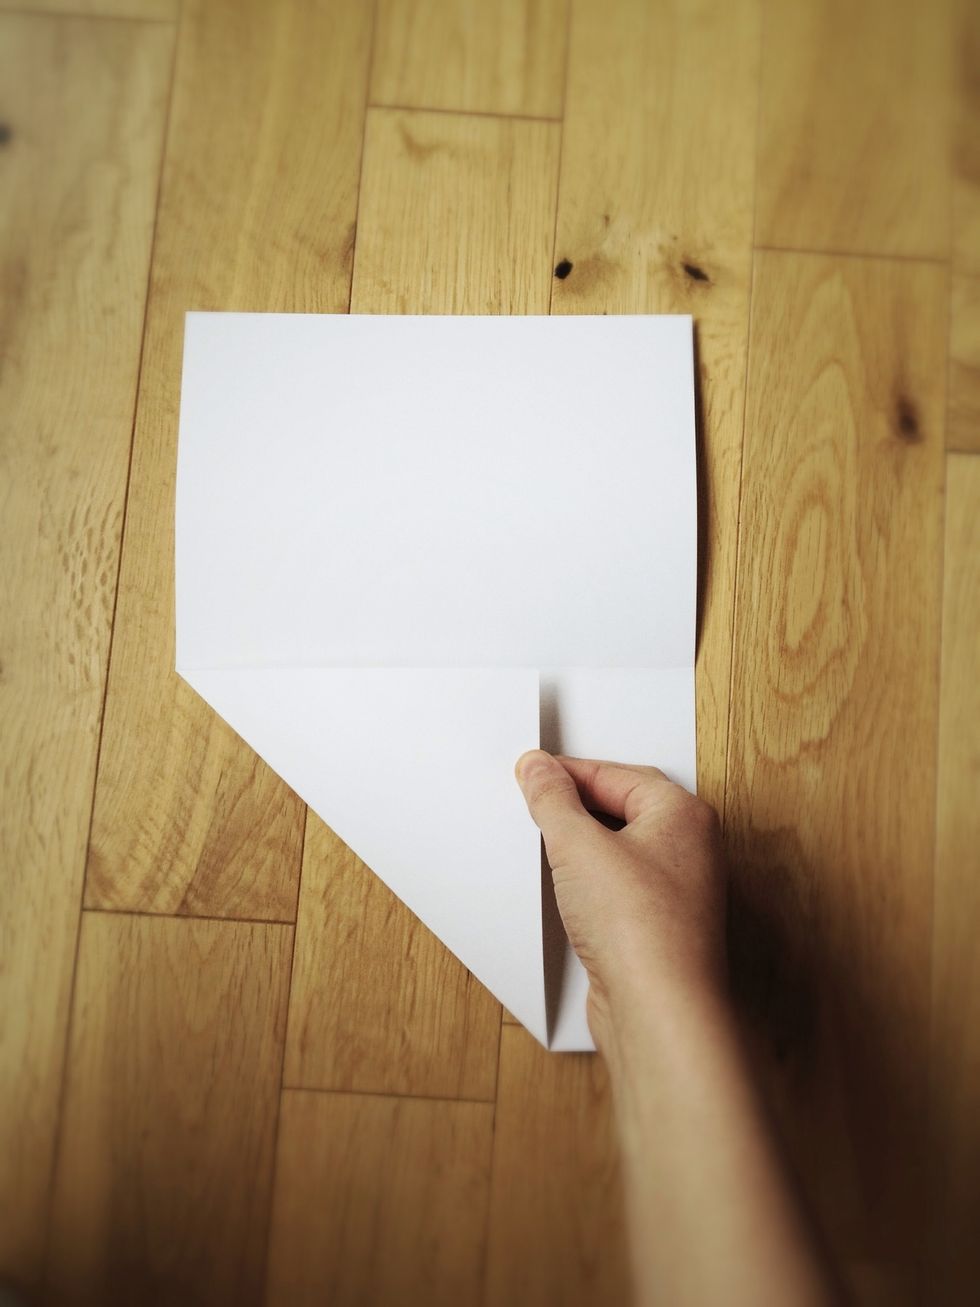
Fold a corner in to the centre crease.
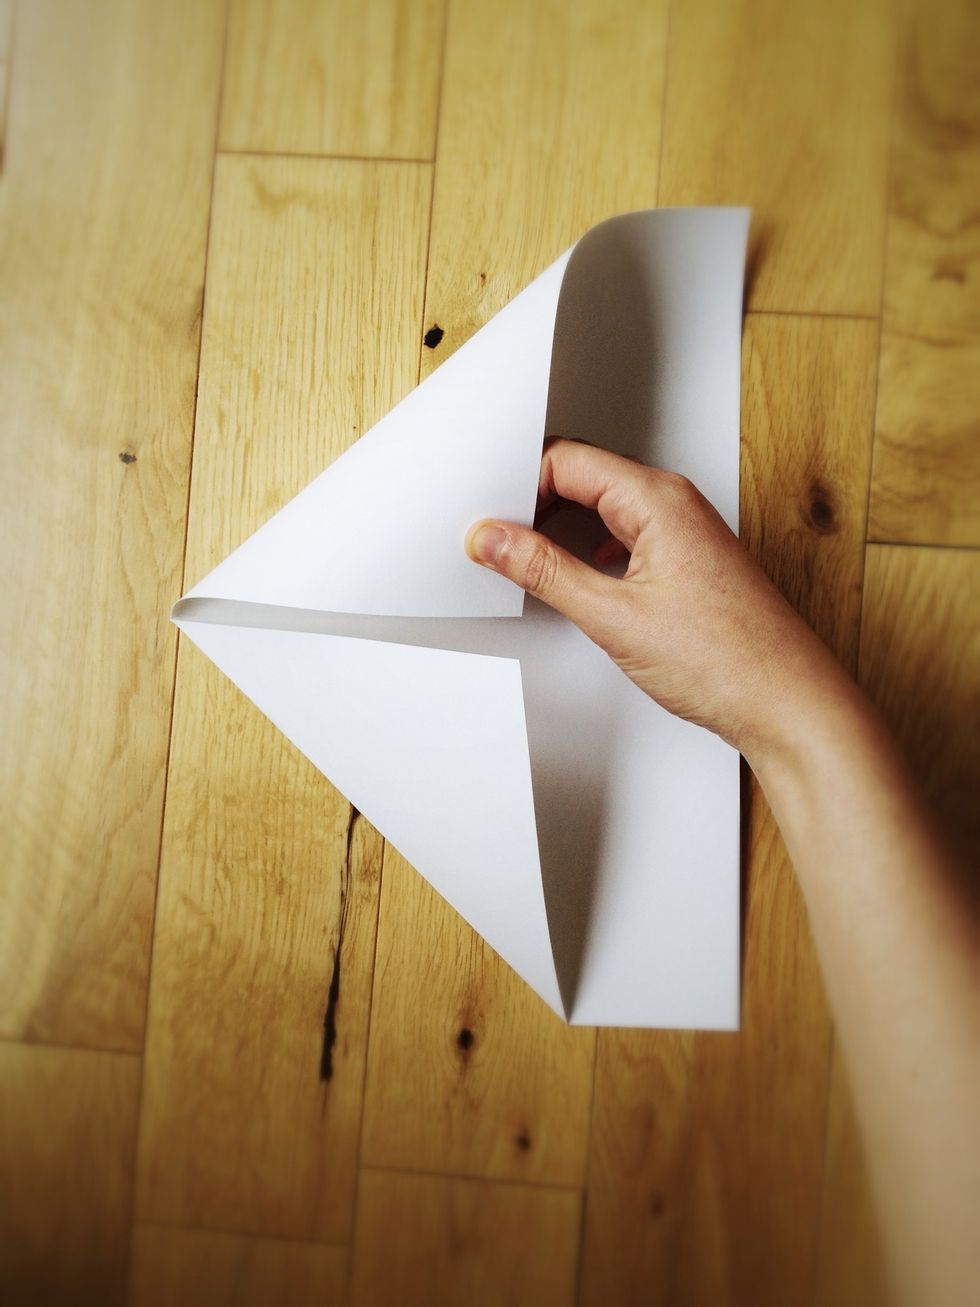
Same for the other corner.
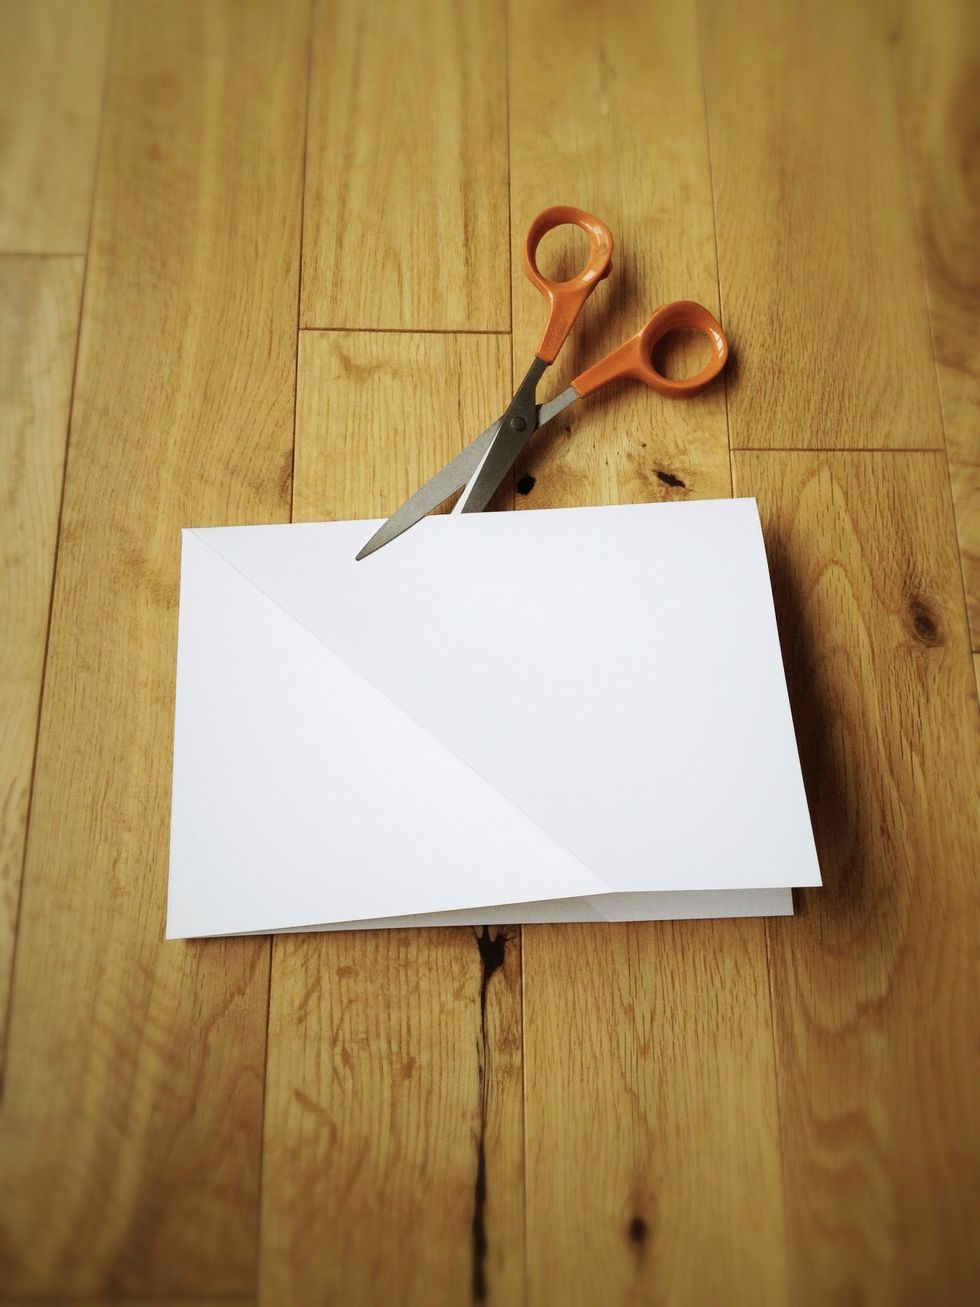
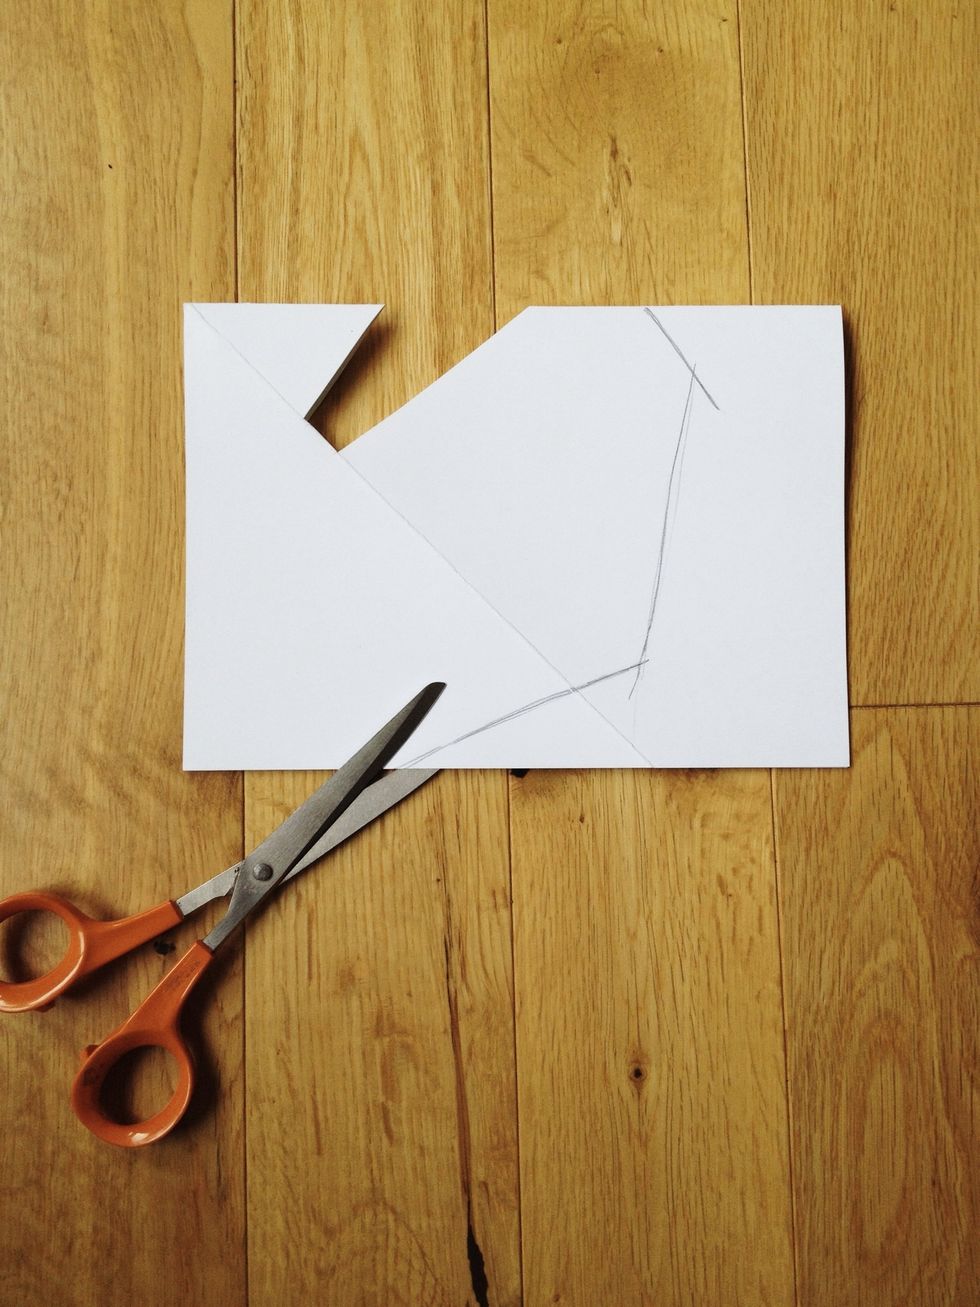
Scissor time!
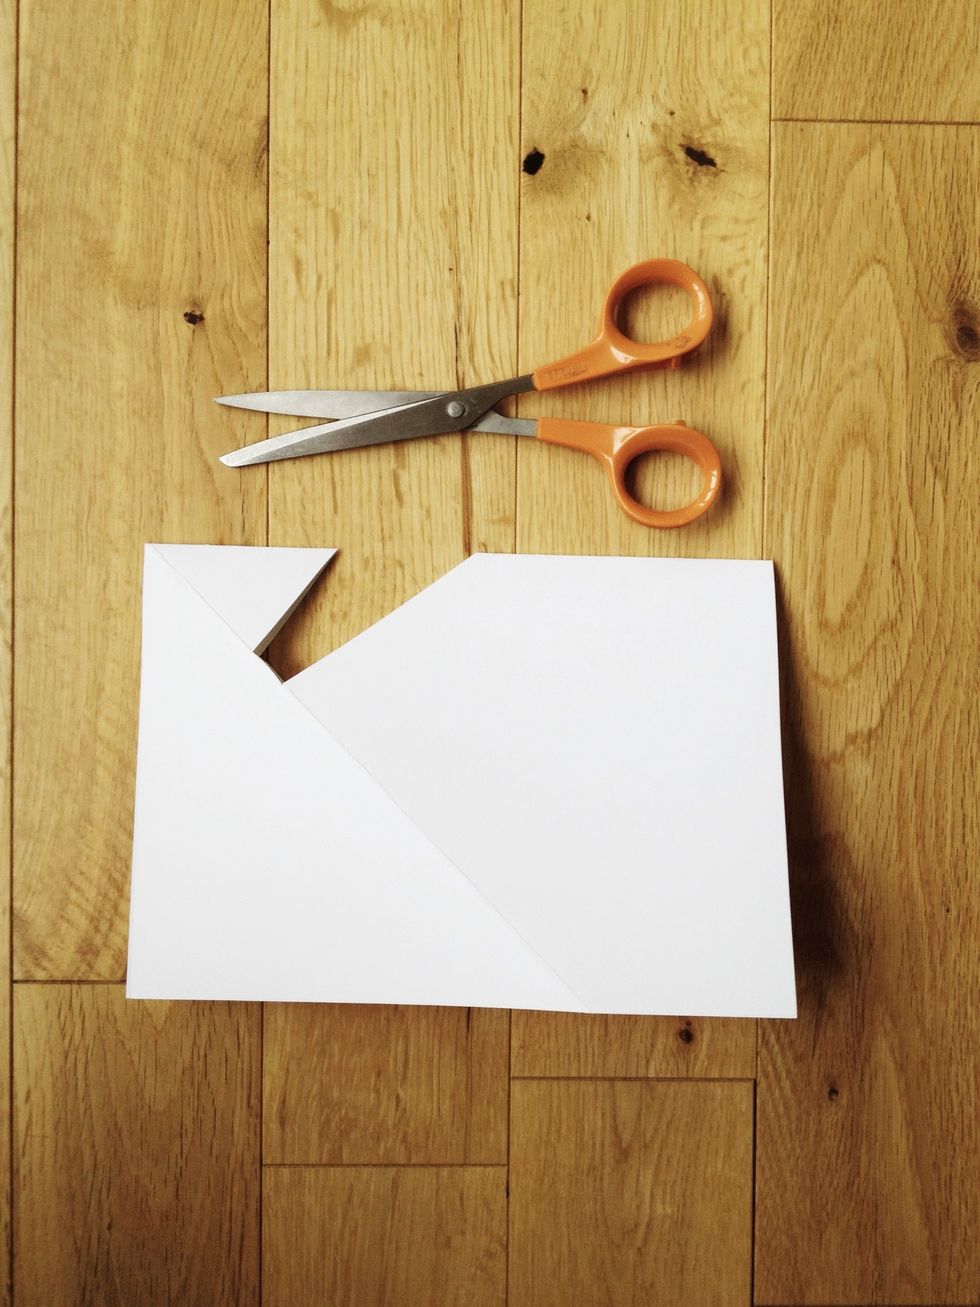
Cut out a piece like this. At its narrowest point, it has to be about as thick as your iPhone in its case if you use one. 😊
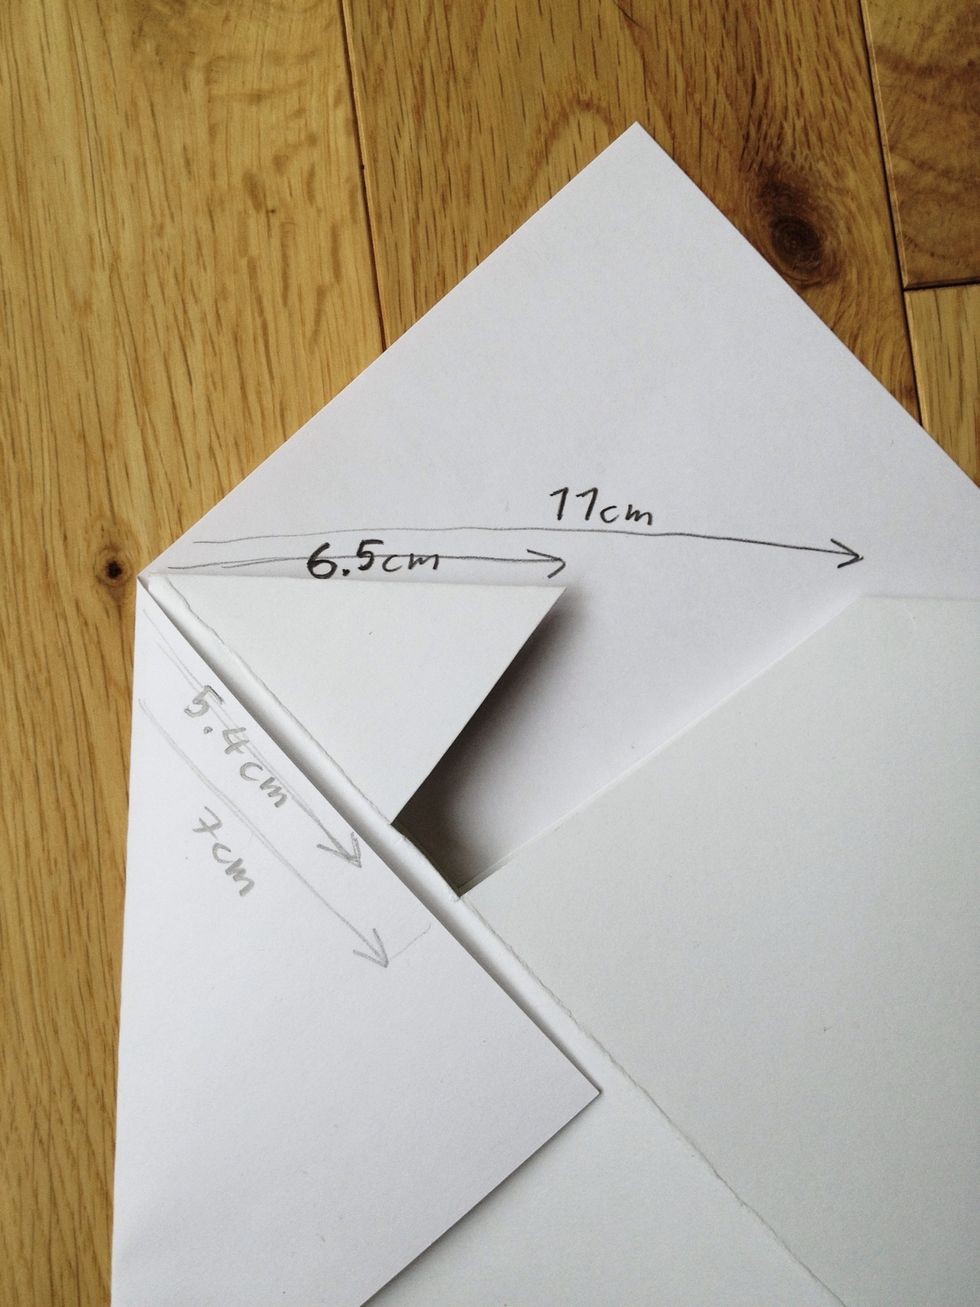
NOTE: These measurements are only for the curious! You do not need to follow them- in fact you may prefer to get a different angle. This is just how I did it.
Less is more: trim off the end as shown. Doesn't need to be exact. My sheet of paper was a little too long. Just leave at least 3cm after the phone slot.
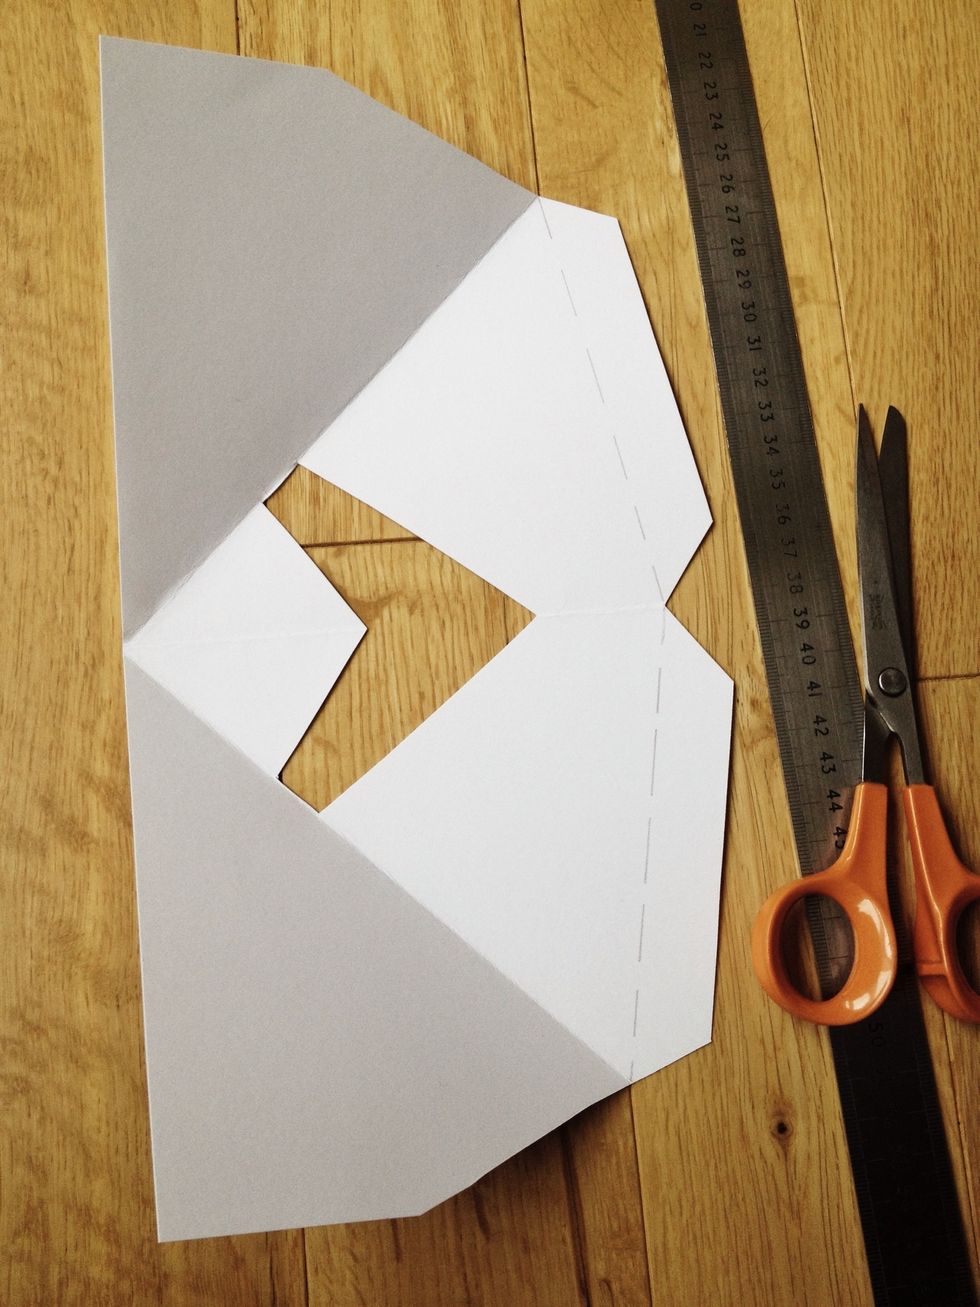
Optional: use a ruler and the blunt side of your scissors (or the back of a kitchen knife or craft knife) to score along the dotted lines.
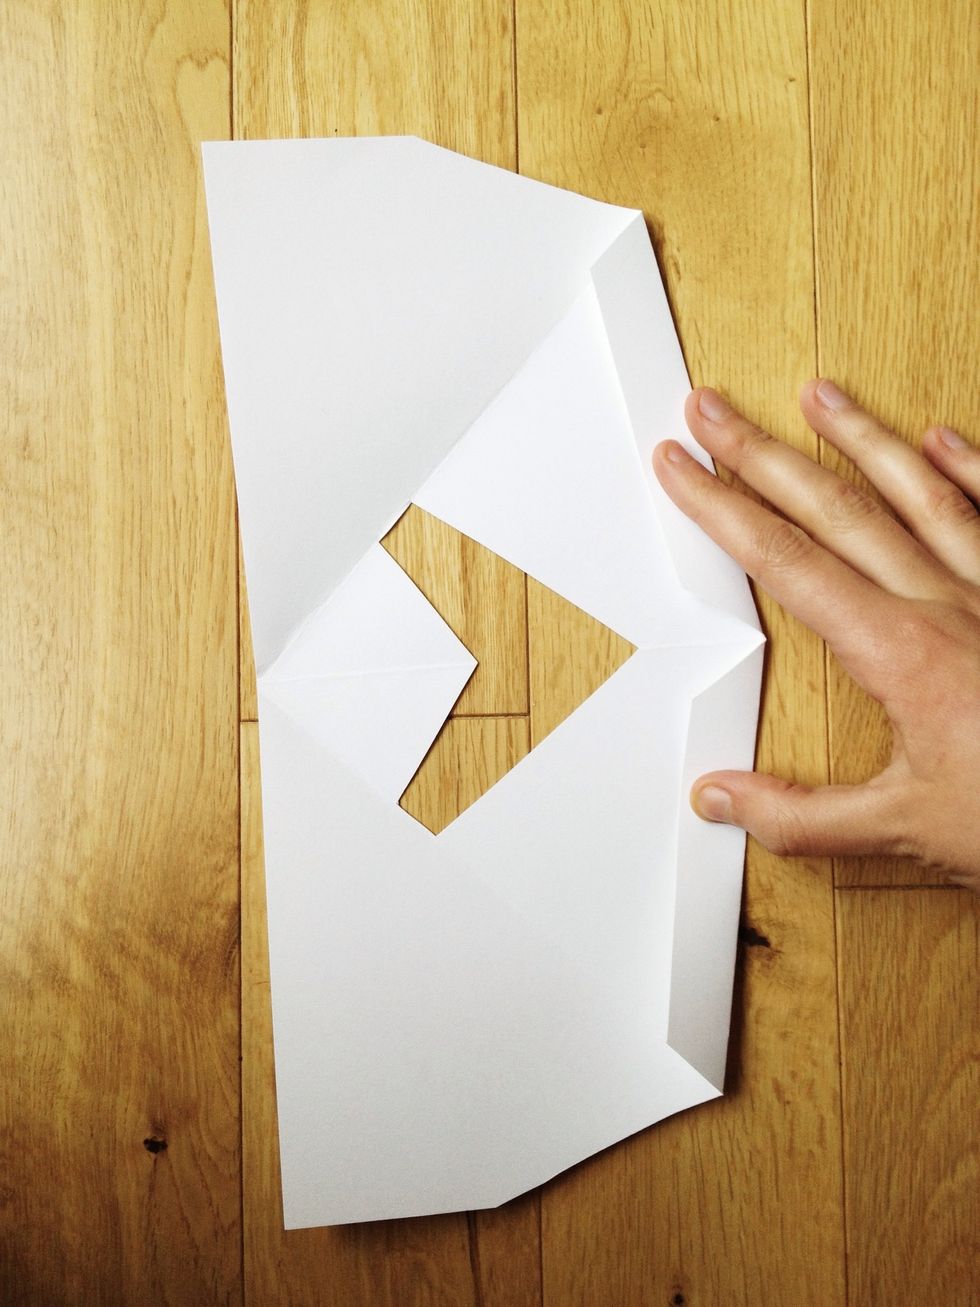
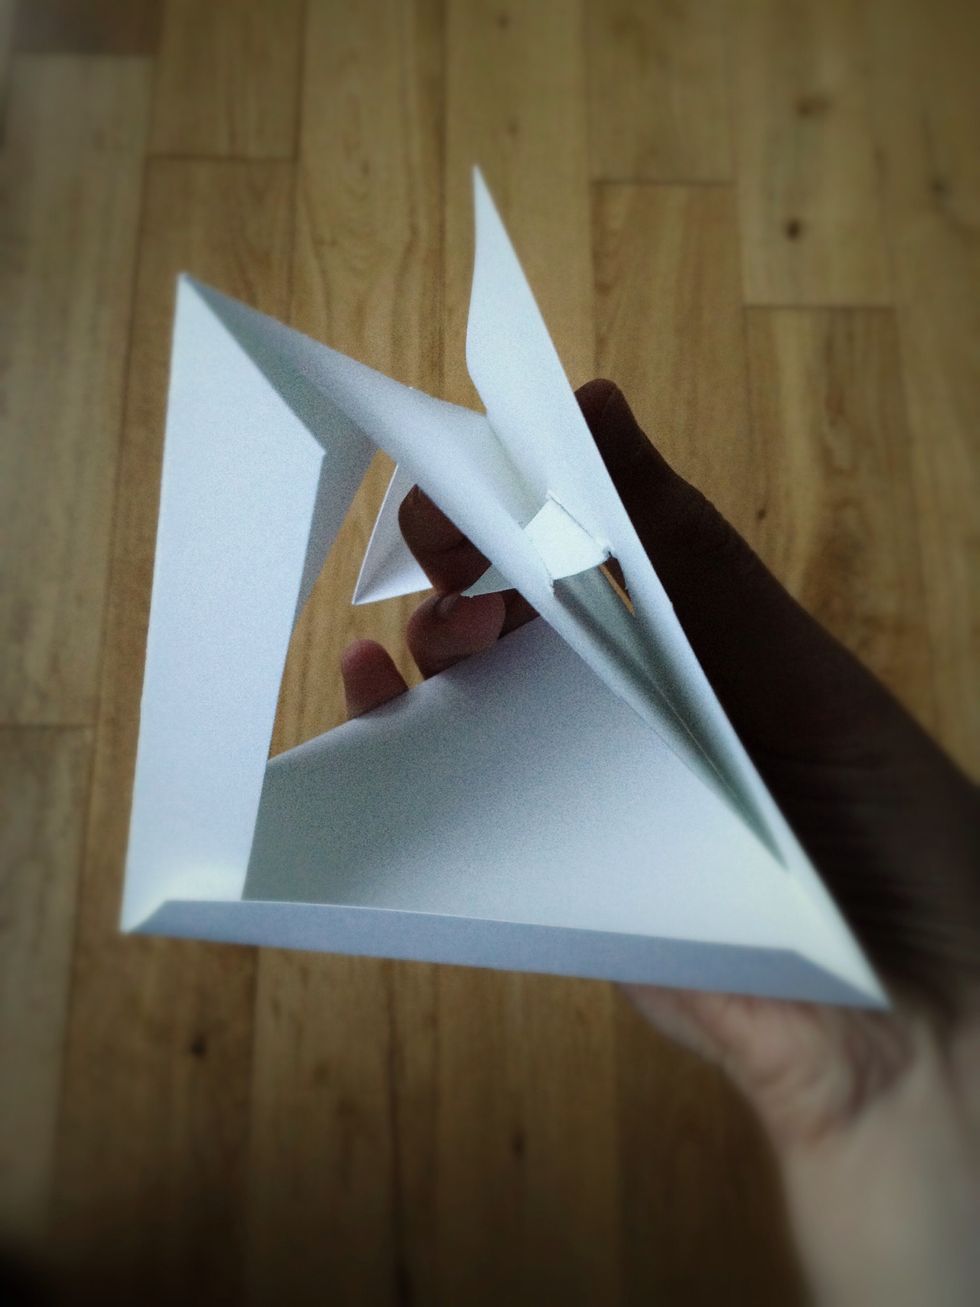
Fold in.
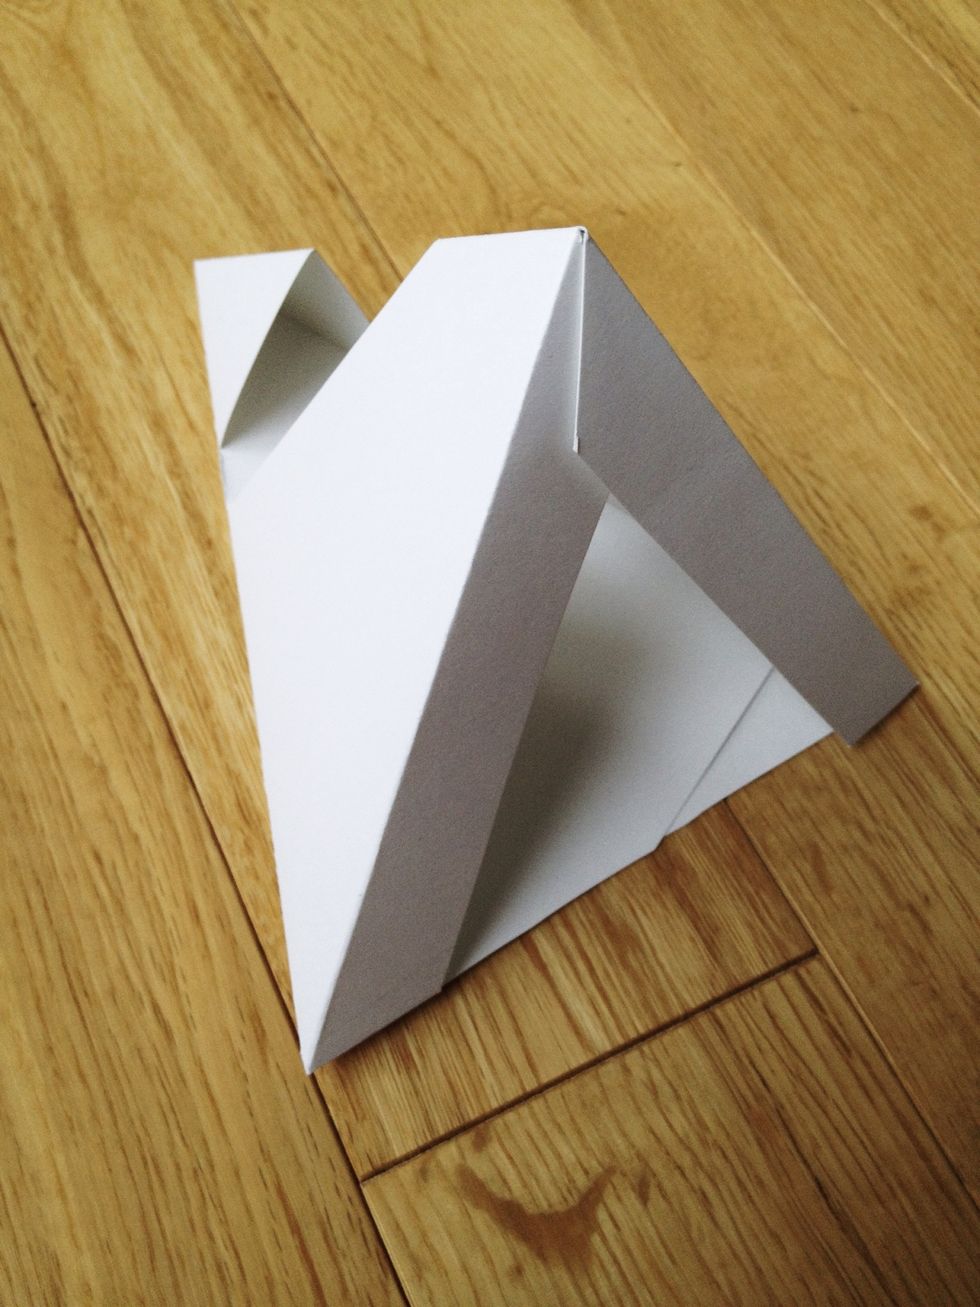
Stand it up (like in step 12) and admire the support angles which you just made. They make it a lot stronger. 💪
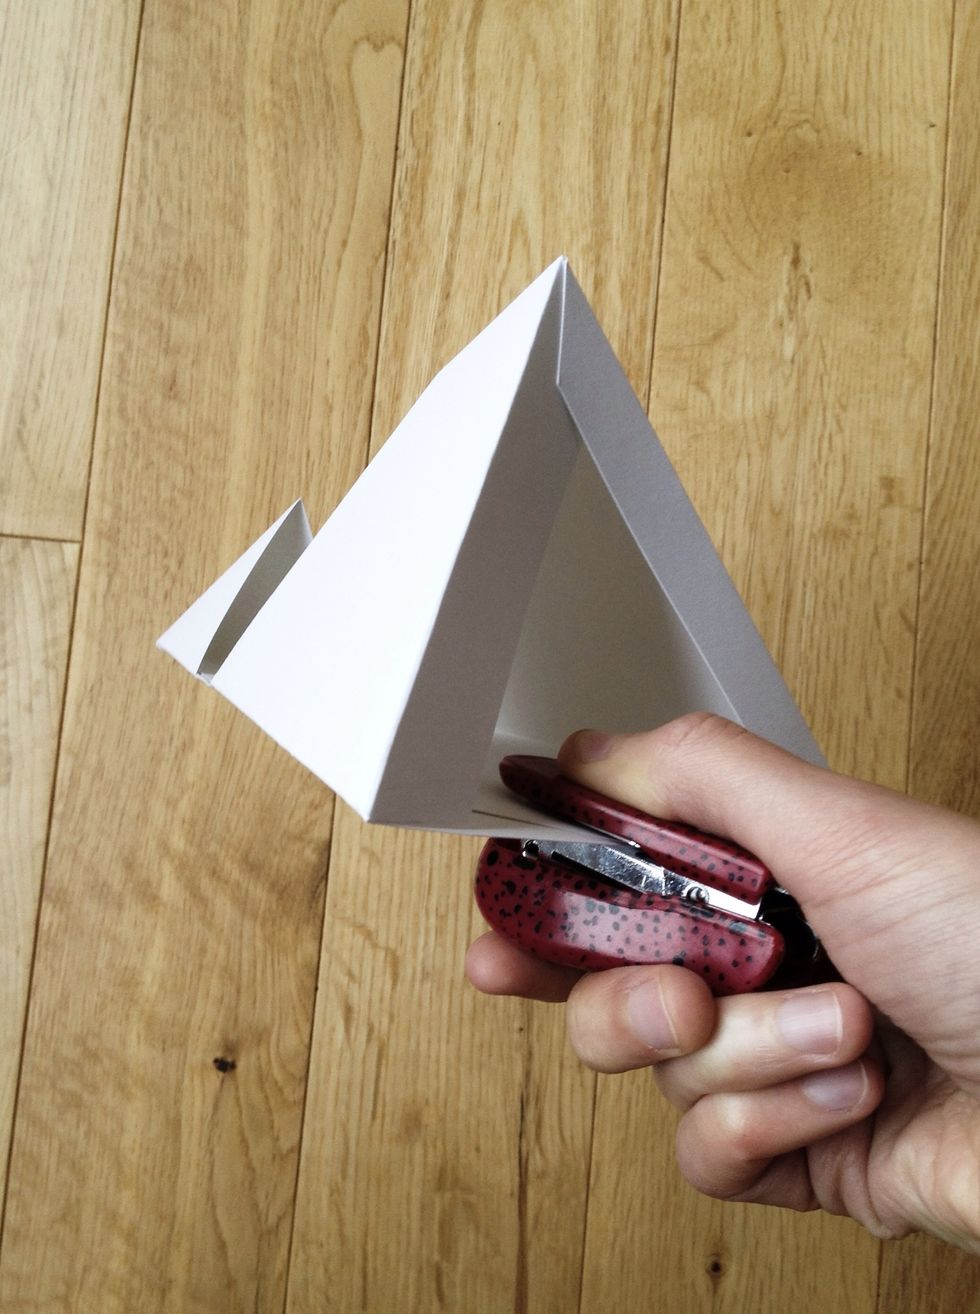
Now we can secure it using a stapler, double sided tape, glue or anything else you might think of.
The next three steps are optional.😜 If you own a stapler, glue or tape, you are allowed to skip to step 23.
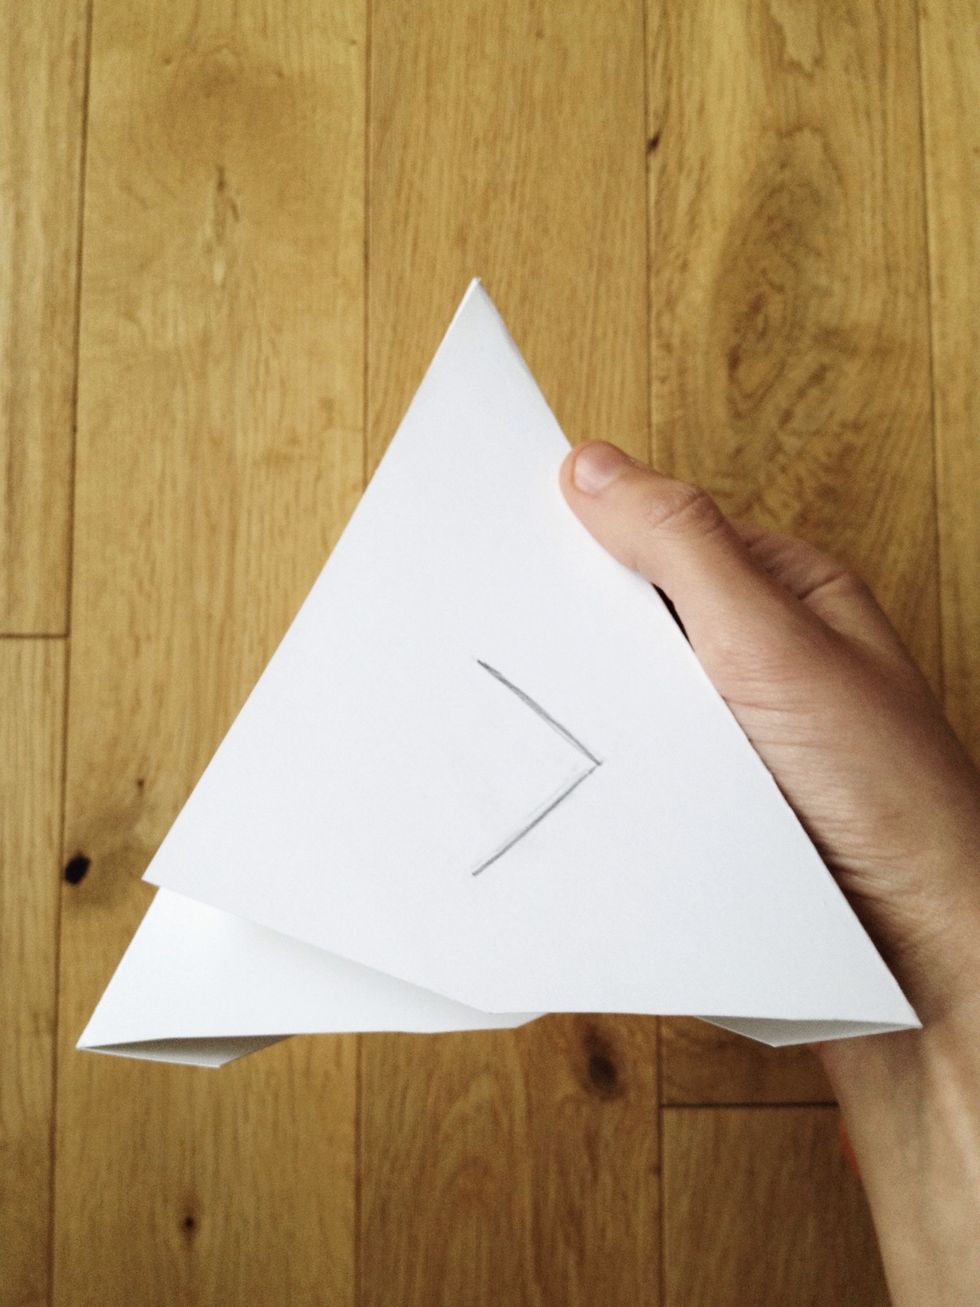
You don't have a stapler or glue or tape? In that case, turn it belly up and cut this tab. (Careful, don't cut yourself while trying to stab through the paper!) ✂
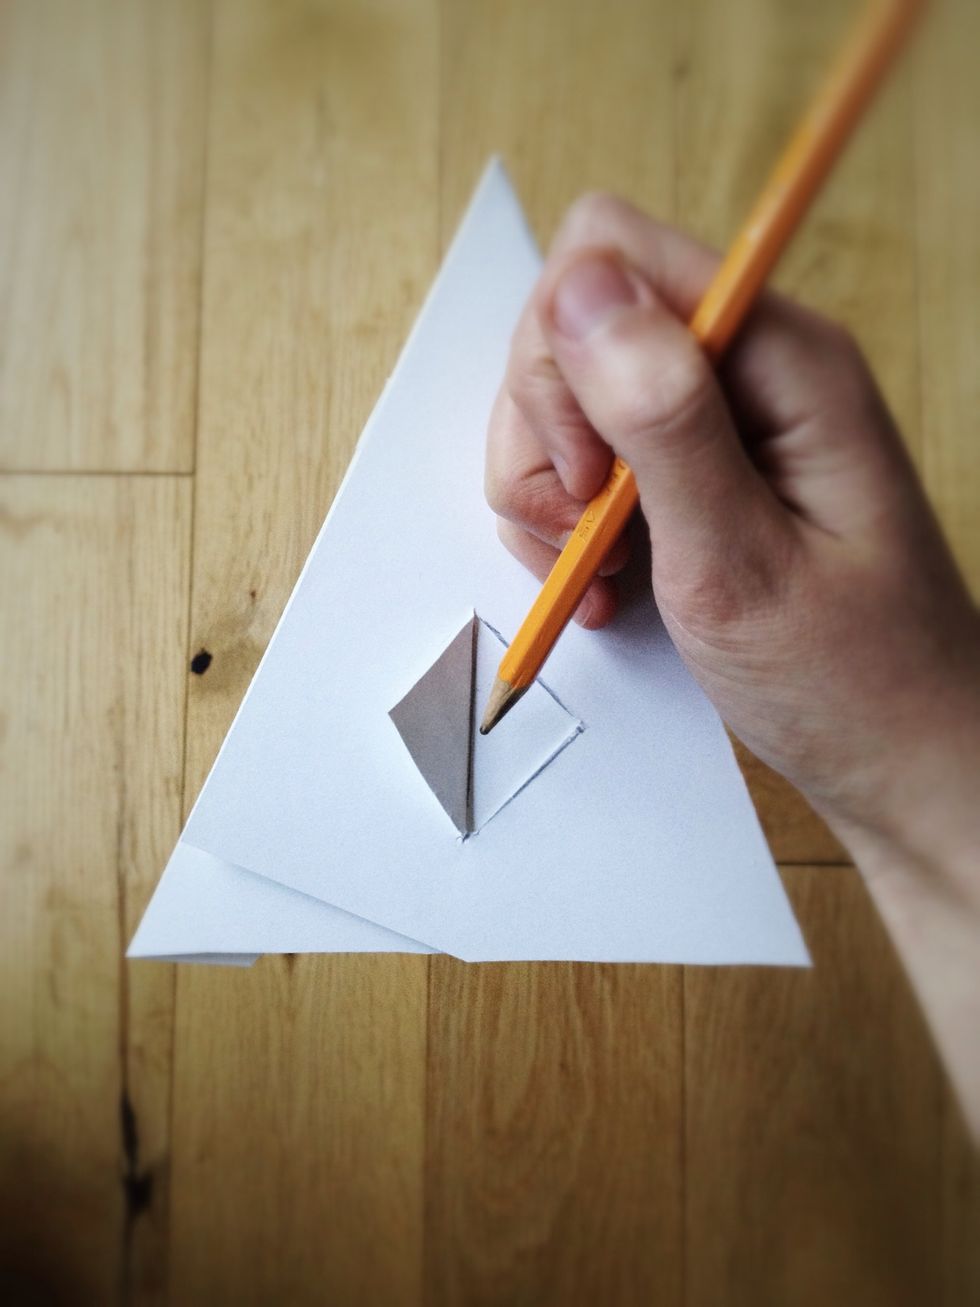
Fold back the tab and draw a line on the paper layer beneath and cut that too.
You guessed it! You put the tab through the slit you just cut. Preferably so that it points inwards as shown.
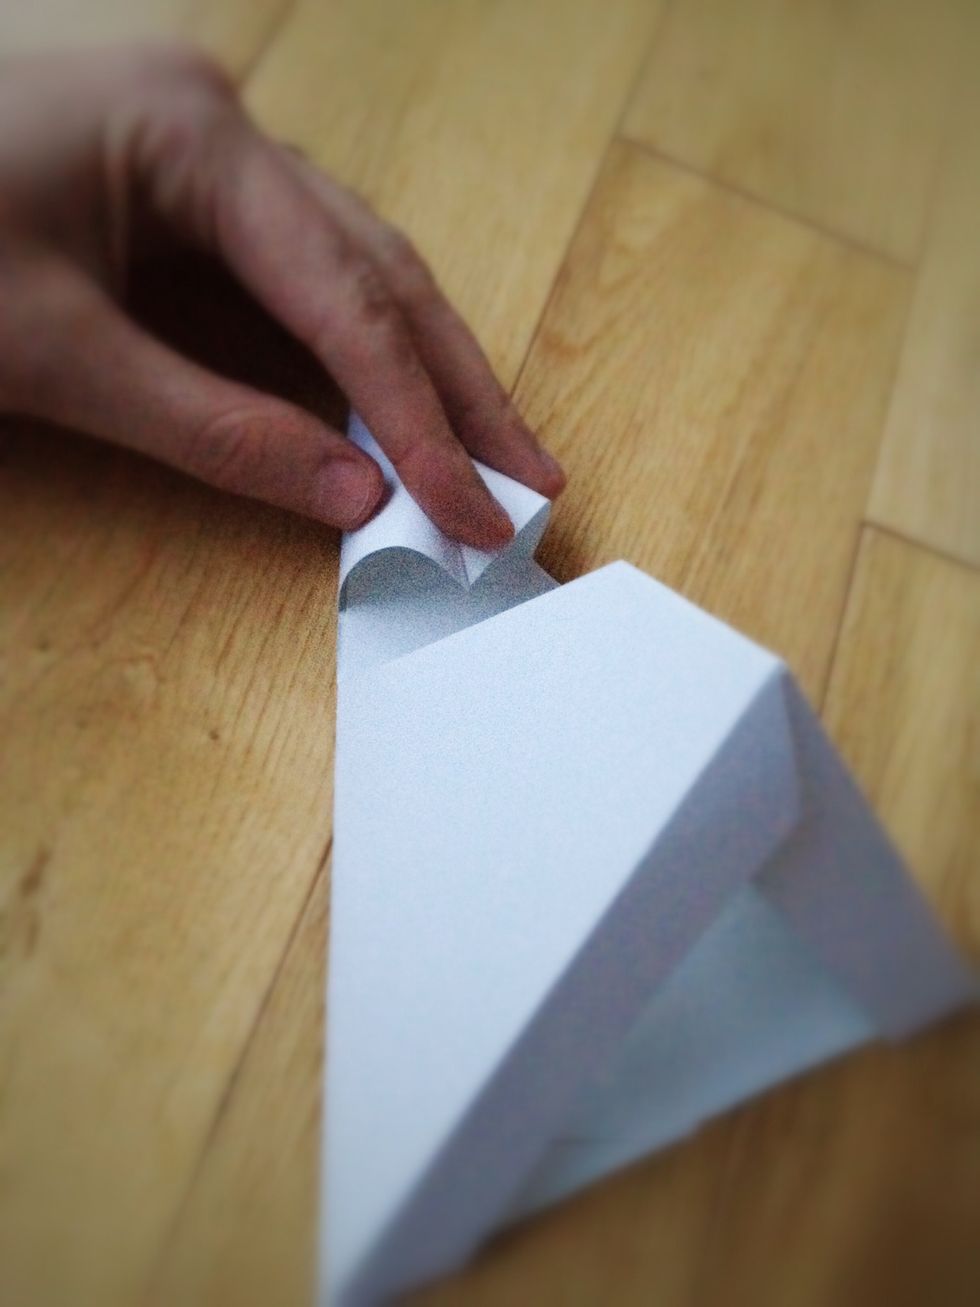
Almost done! Just fold in this front bit so you can actually see the screen.
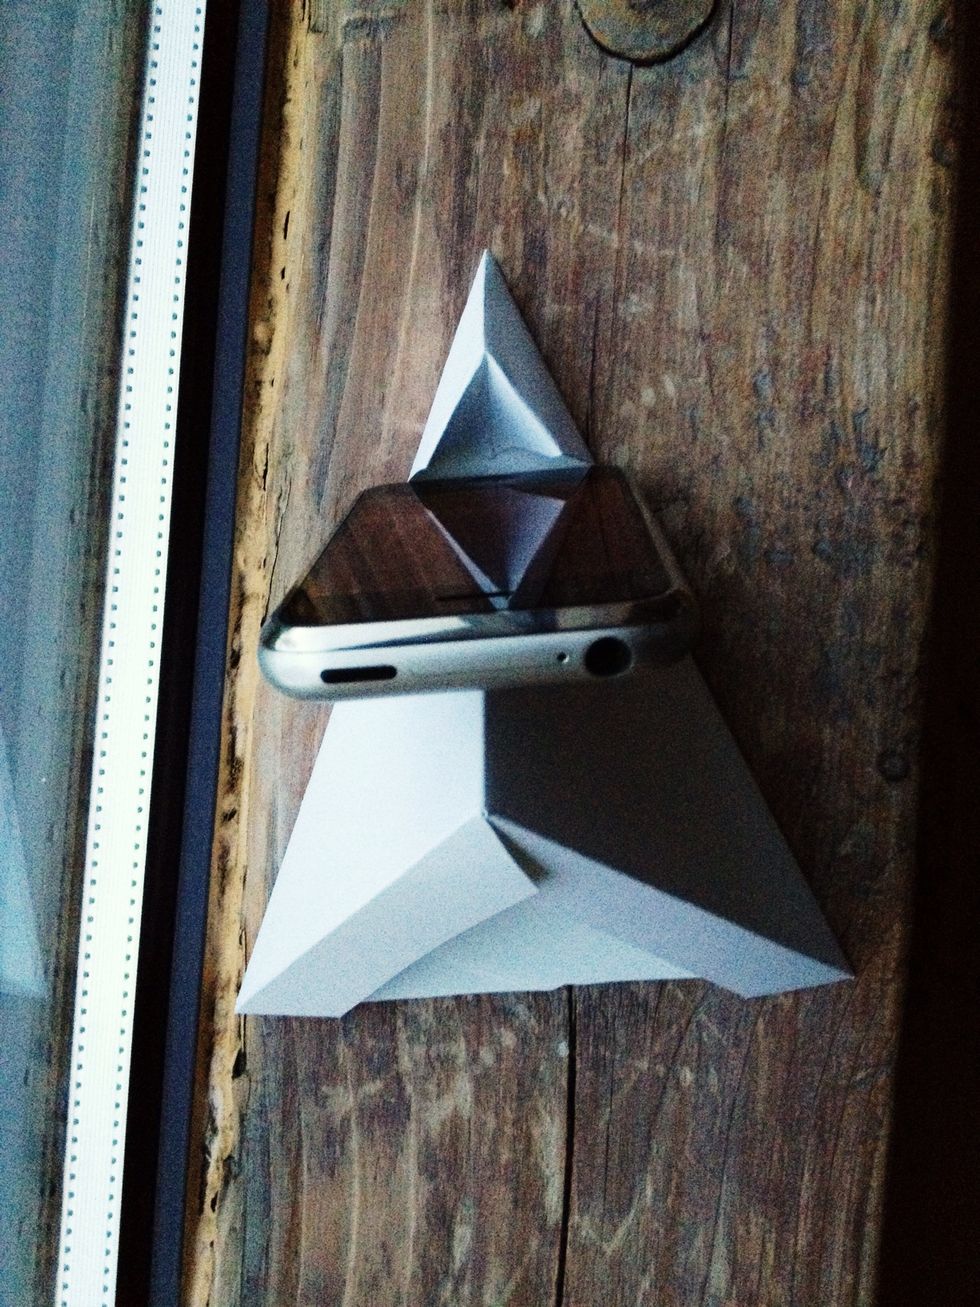
Done! Now for extra credit, take a photo of your creation and post in the comments or on Twitter #PhonePaperScissors