The Conversation (0)
Sign Up
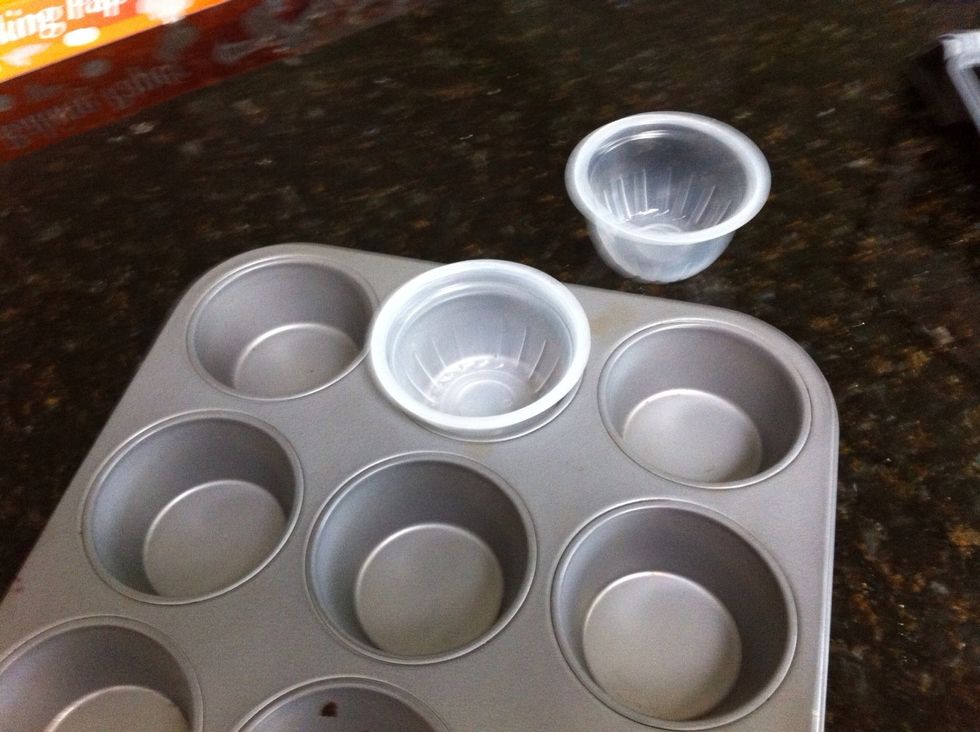
You can use 2 identical 'cups', but 1 cup (outside mould) and 1 taller item (inside mould) is easier to work with. I use a plastic salt container (see step 8) but anything that fits will do.
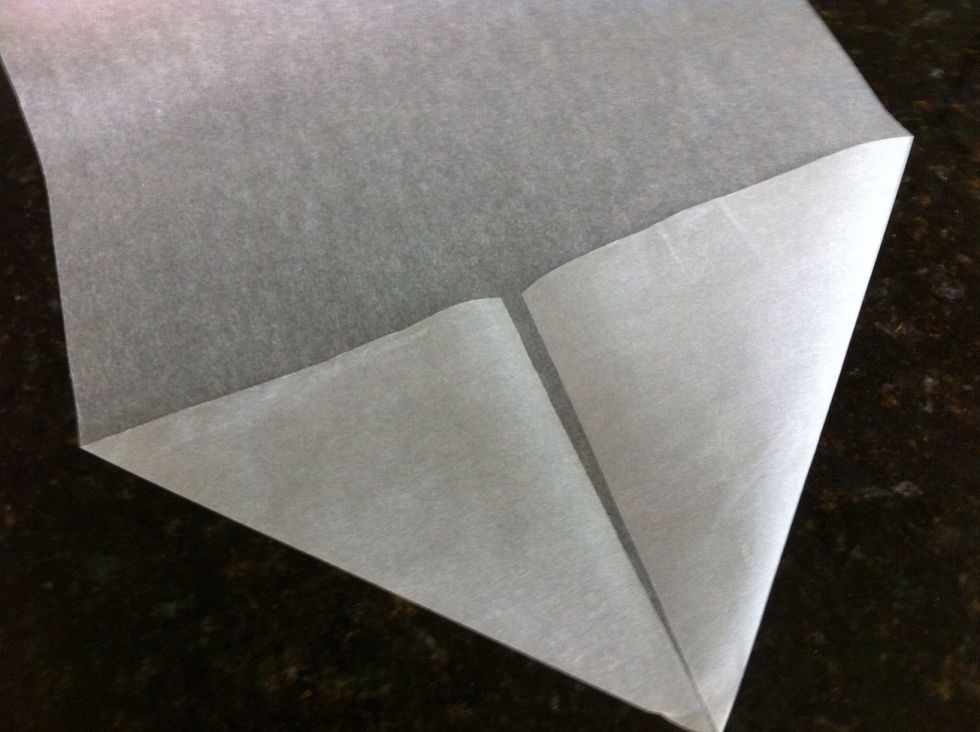
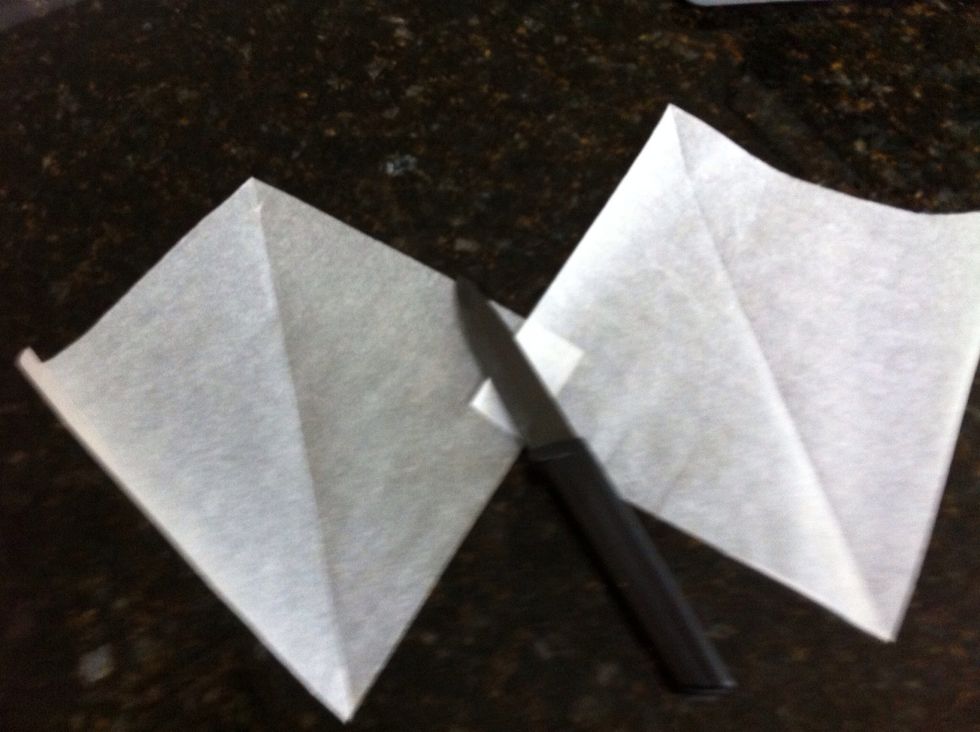
Pull out a length of baking paper and fold the corners to the centre.
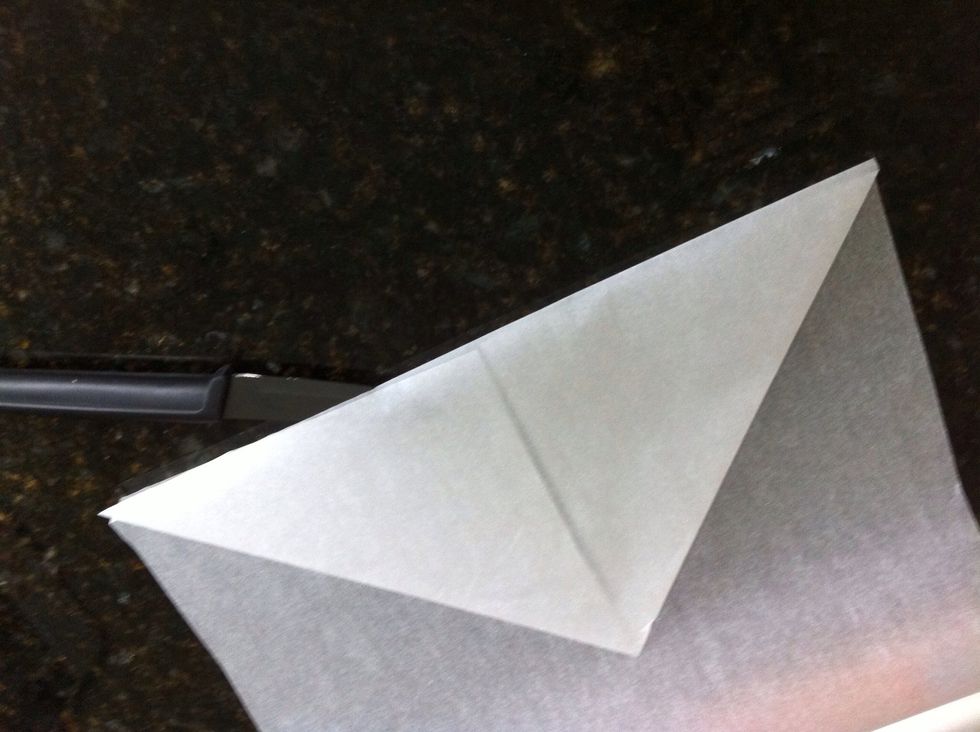
Fold the centre point up, crease firmly and cut along the crease with a knife CAREFULLY! or use scissors.
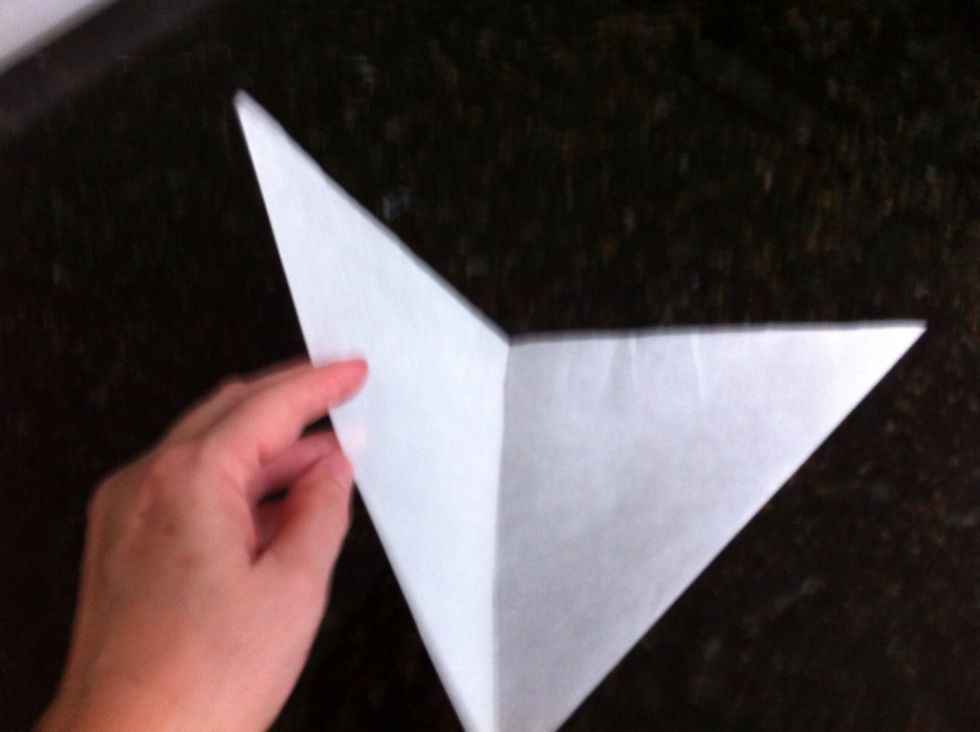
Fold one side over to the other side. Crease that fold and cut as before.
You now have 2 square pieces of baking paper, each with a fold from corner to corner.
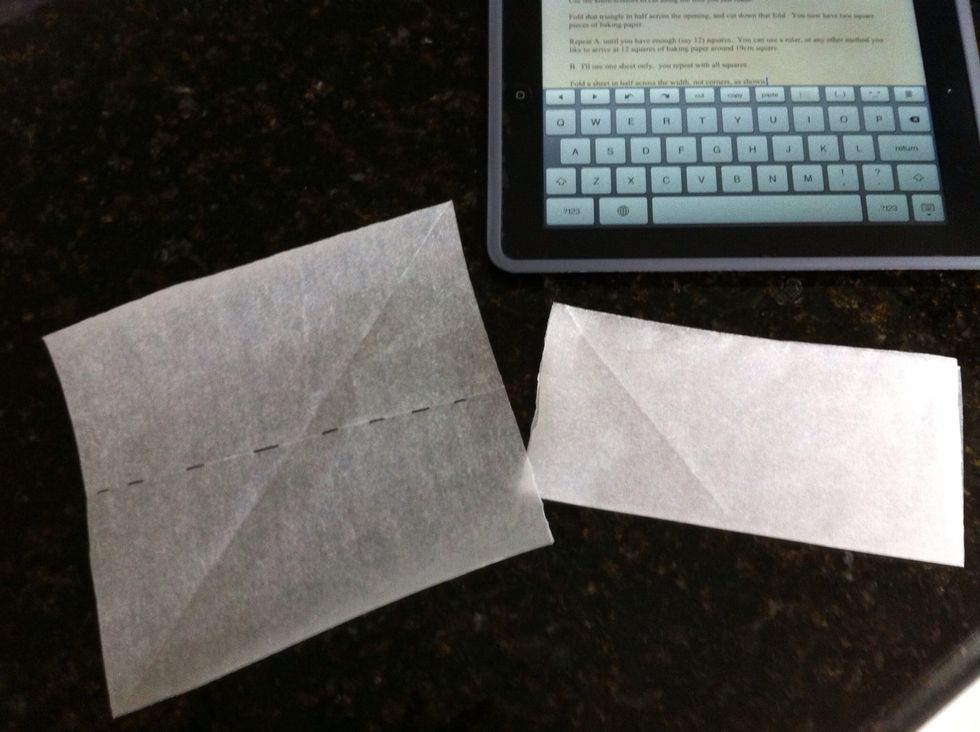
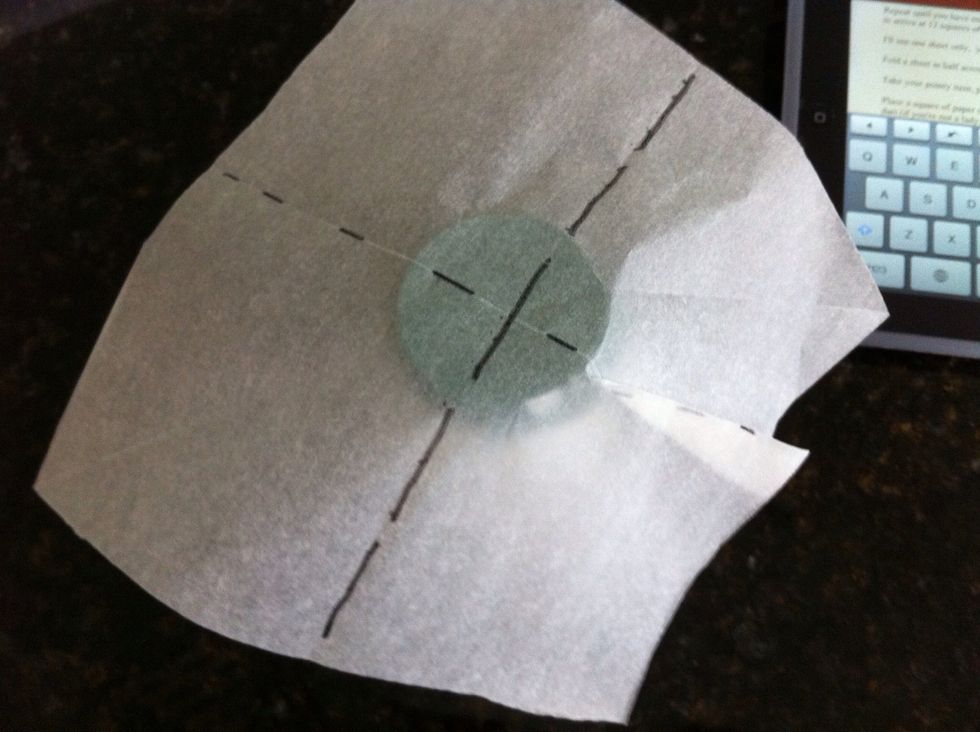
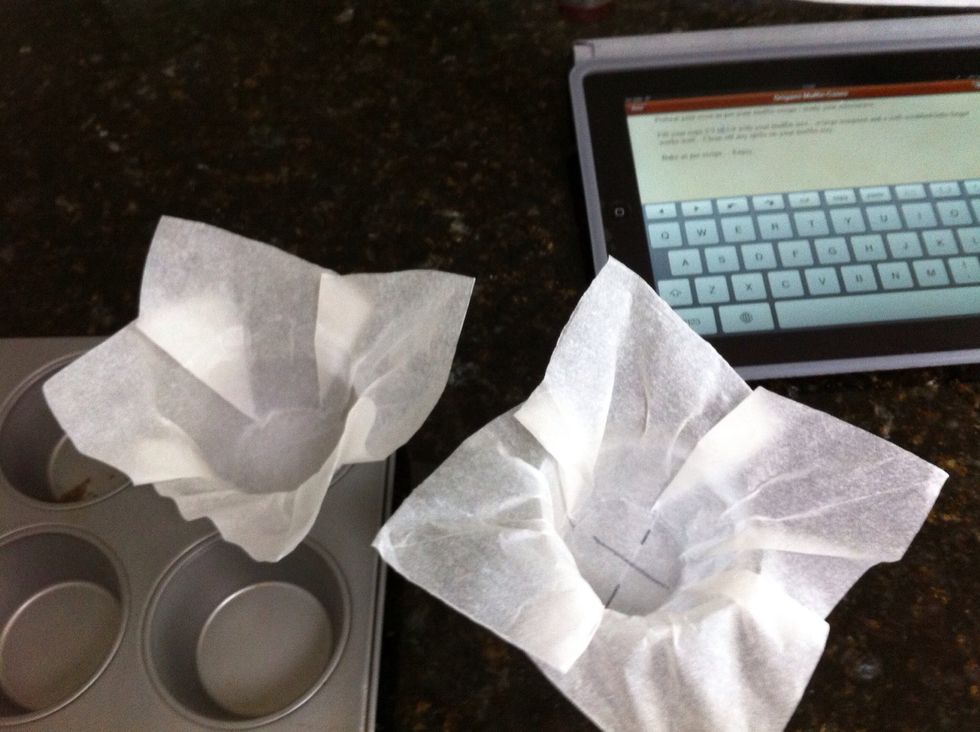
<<>> Fold the square in half EDGE to EDGE as shown by the dotted line.
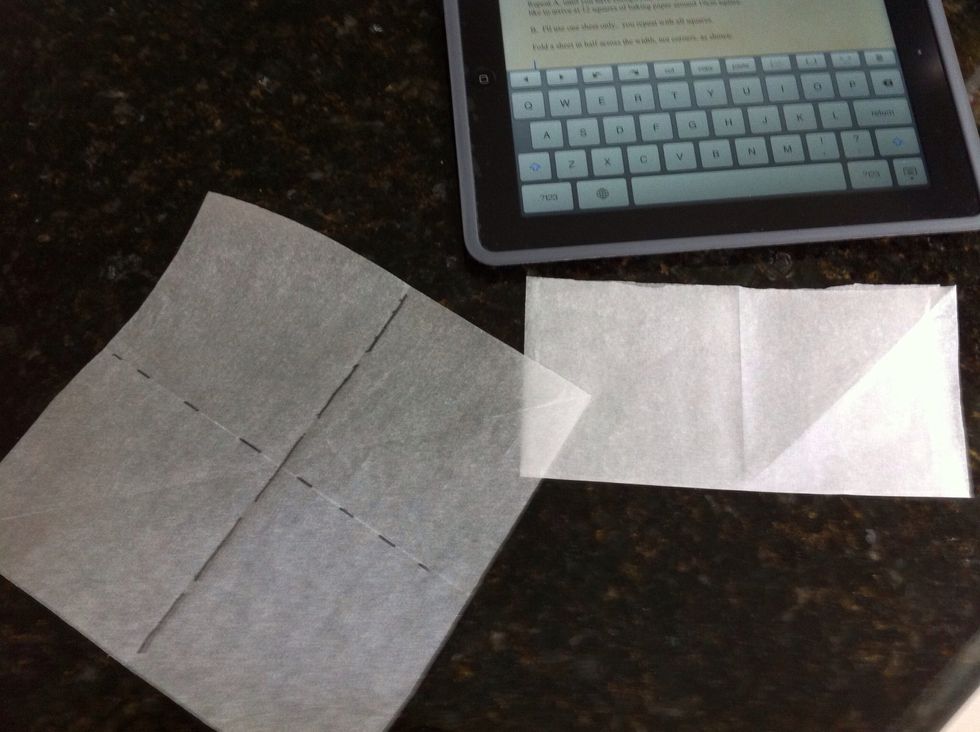
Fold the square in half again, opposite EDGE to EDGE as shown by dashed line.
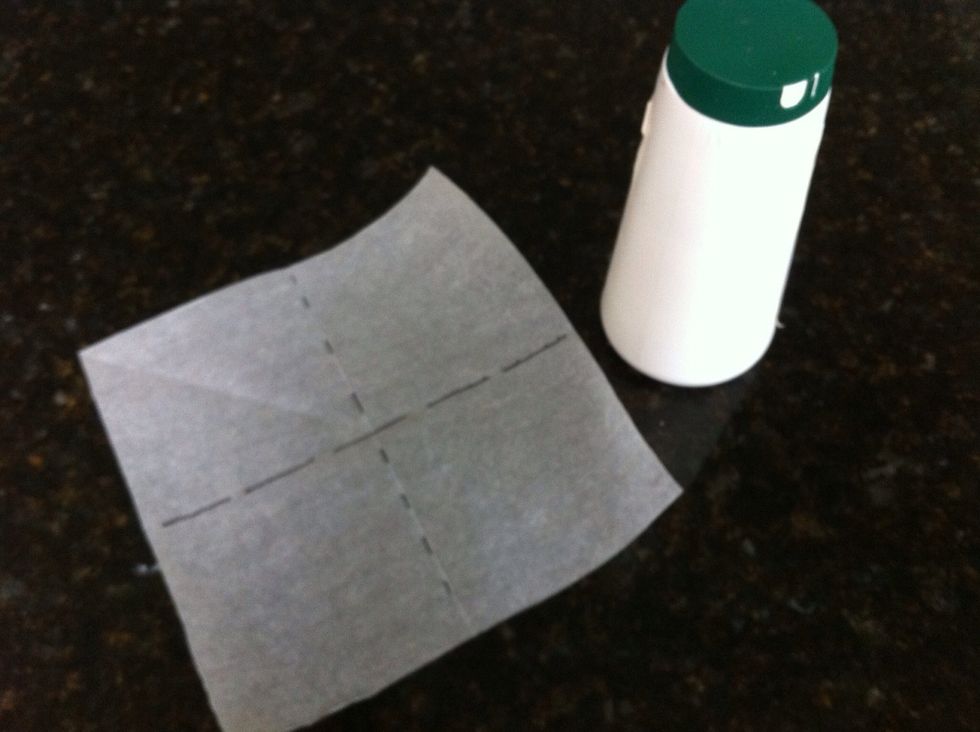
This is the commercial salt container I use as the inside mould, you could use 2 cups as long as they will stack together fairly snugly, but the folding is easier with a taller inside mould.
Centre your square over the inside mould (cup, salt container, whatever). Pinch and fold along one crease (see dotted line) until the paper is more or less flat to that side of the mould.

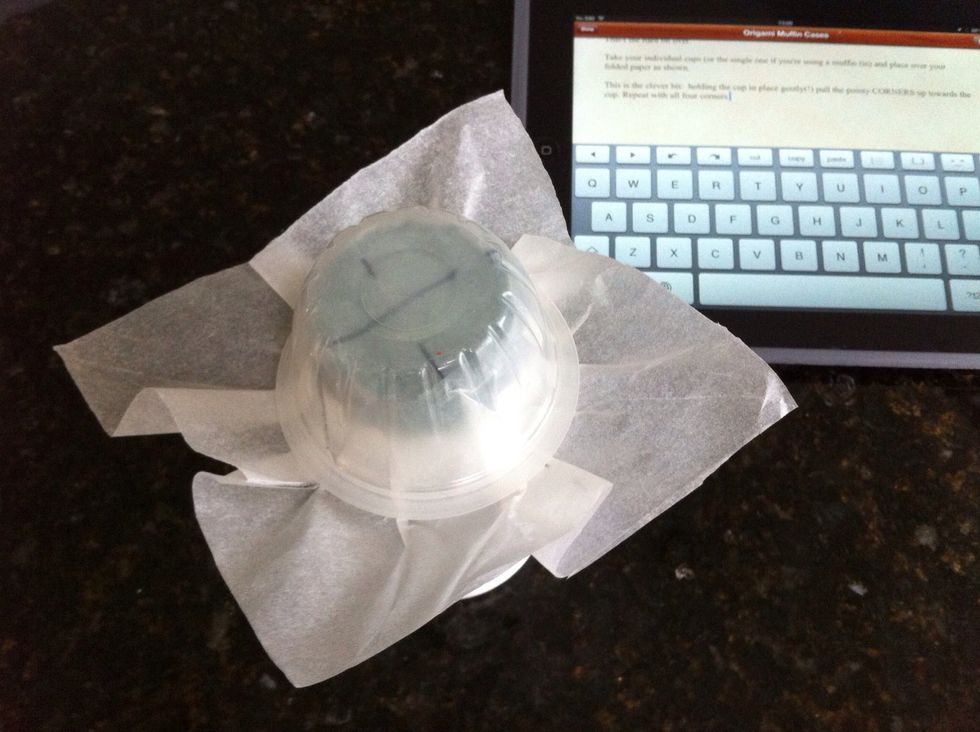
Repeat with all 4 creases. Note how this produces the iconic 'points'. Holding all four folds in place, FIRMLY cover with the OUTSIDE mould.
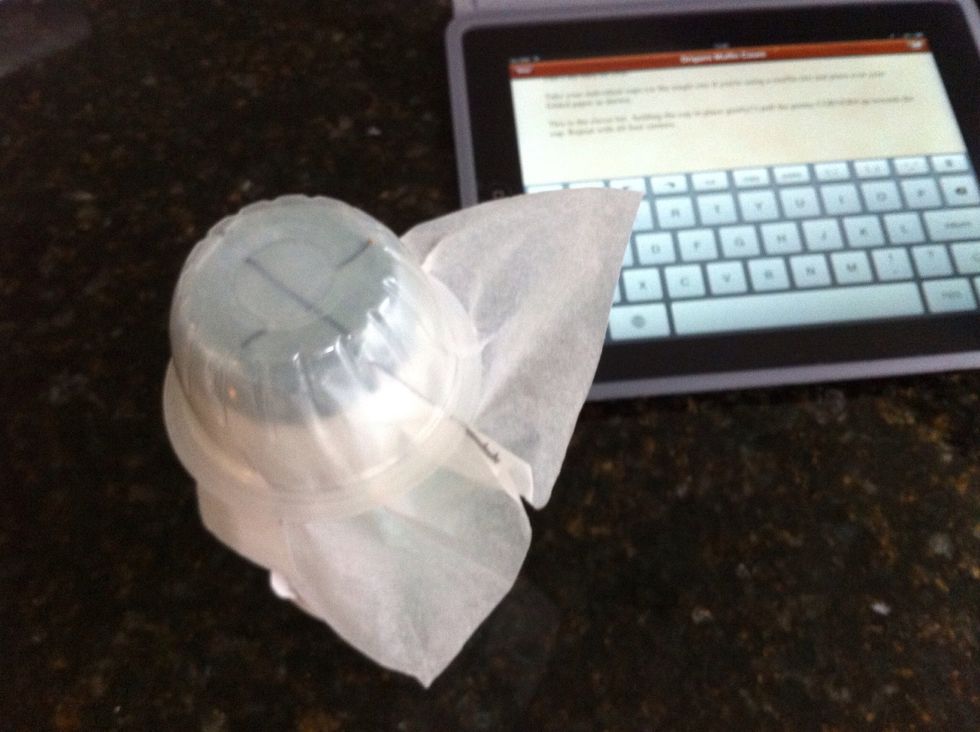
Holding the outside mould firmly in place, pull each of the four Points upwards.
You paper should look something like this...
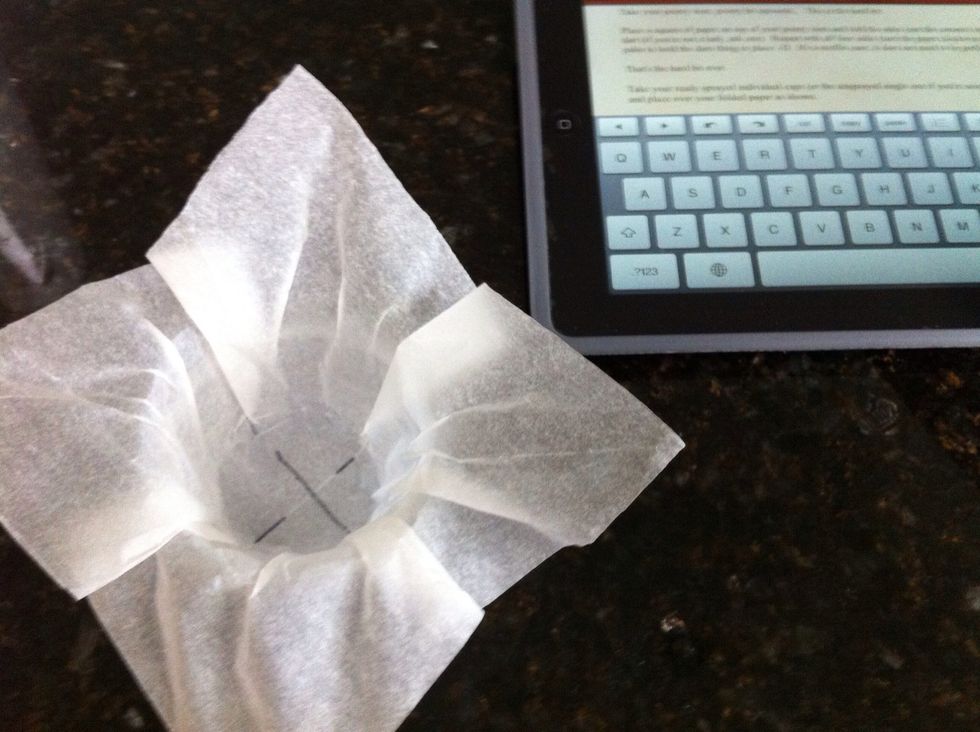
Remove the inside and outside moulds.
Drop your cups into the (lightly sprayed) muffin tin. Lightly spray the inside of each cup and 2/3rds fill with your muffin batter (stirred until JUST combined!.. DON'T over mix). Bake, and Enjoy.