How to make origami hello kitty (for kate)...
This is for my 100th follower, Kate Stapleton. I hope Hello Kitty is ok.
117
STEPS
TOOLS
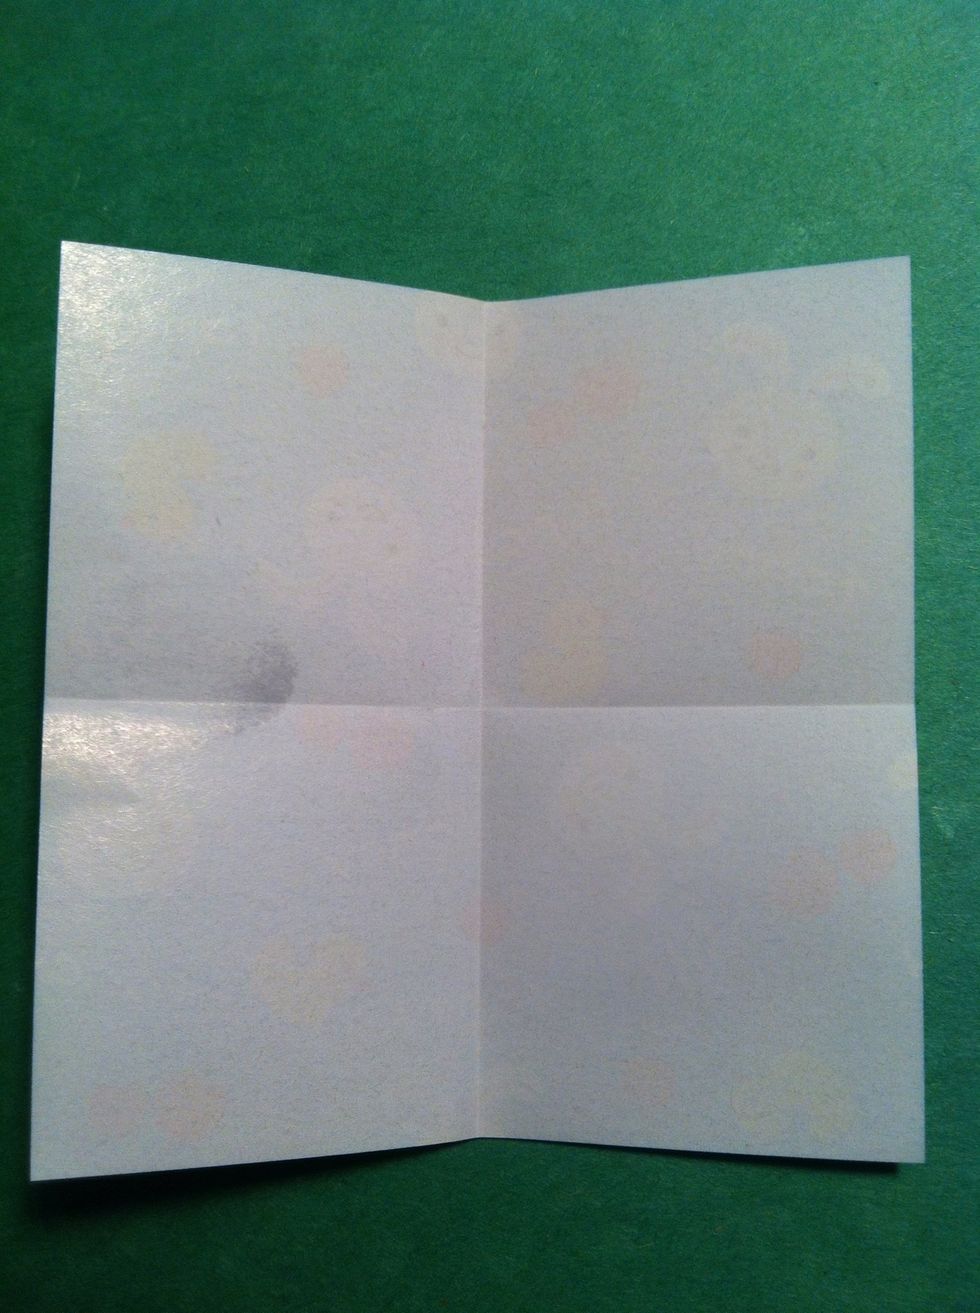
First the body. I used 3 inch square. Fold in half both ways as shown by the creases here.
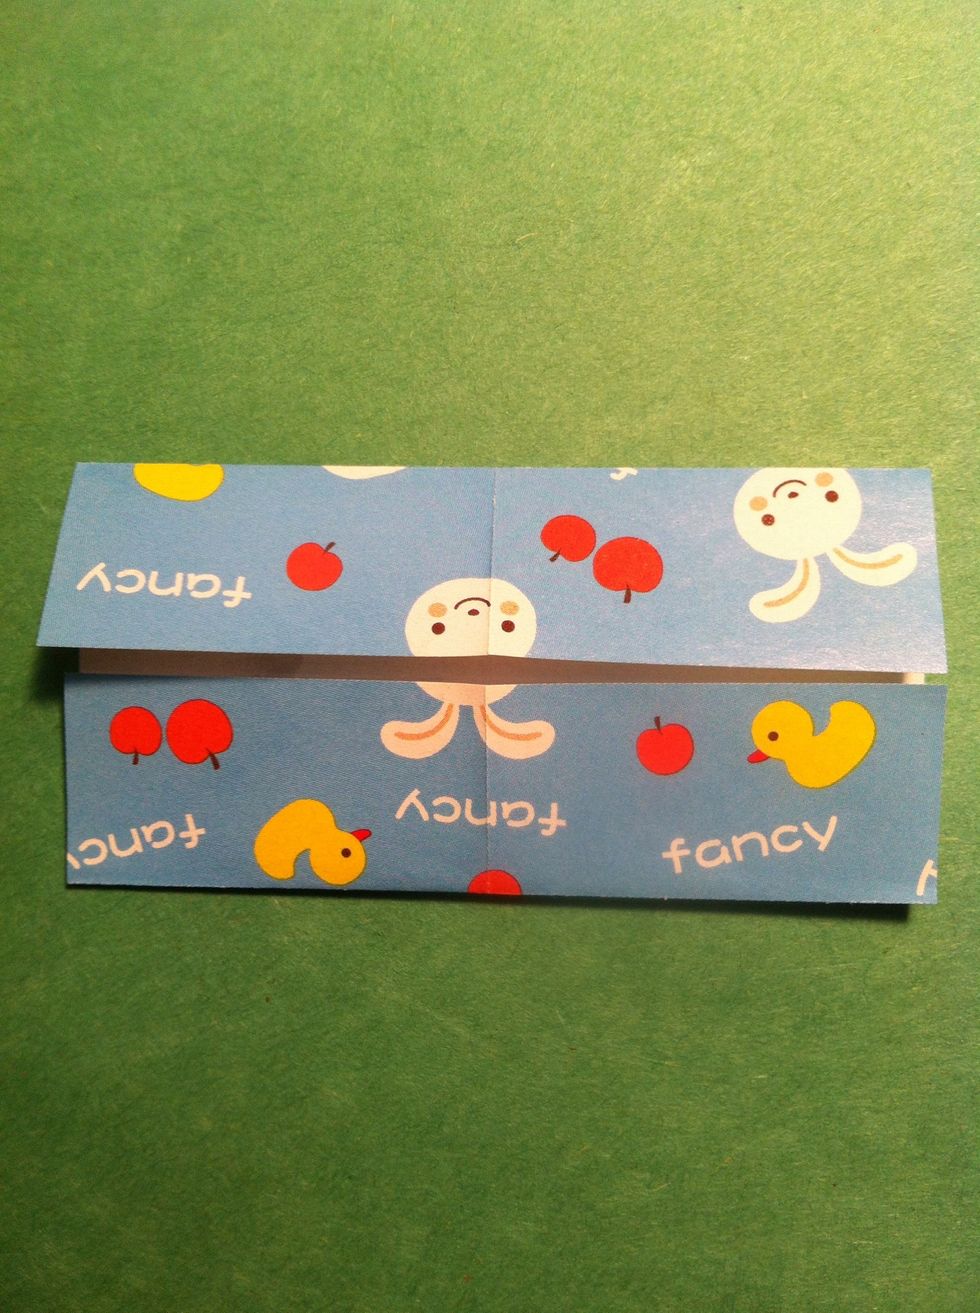
Fold the top edge & the bottom edge to the center crease. Unfold, turn 90 degrees & repeat.
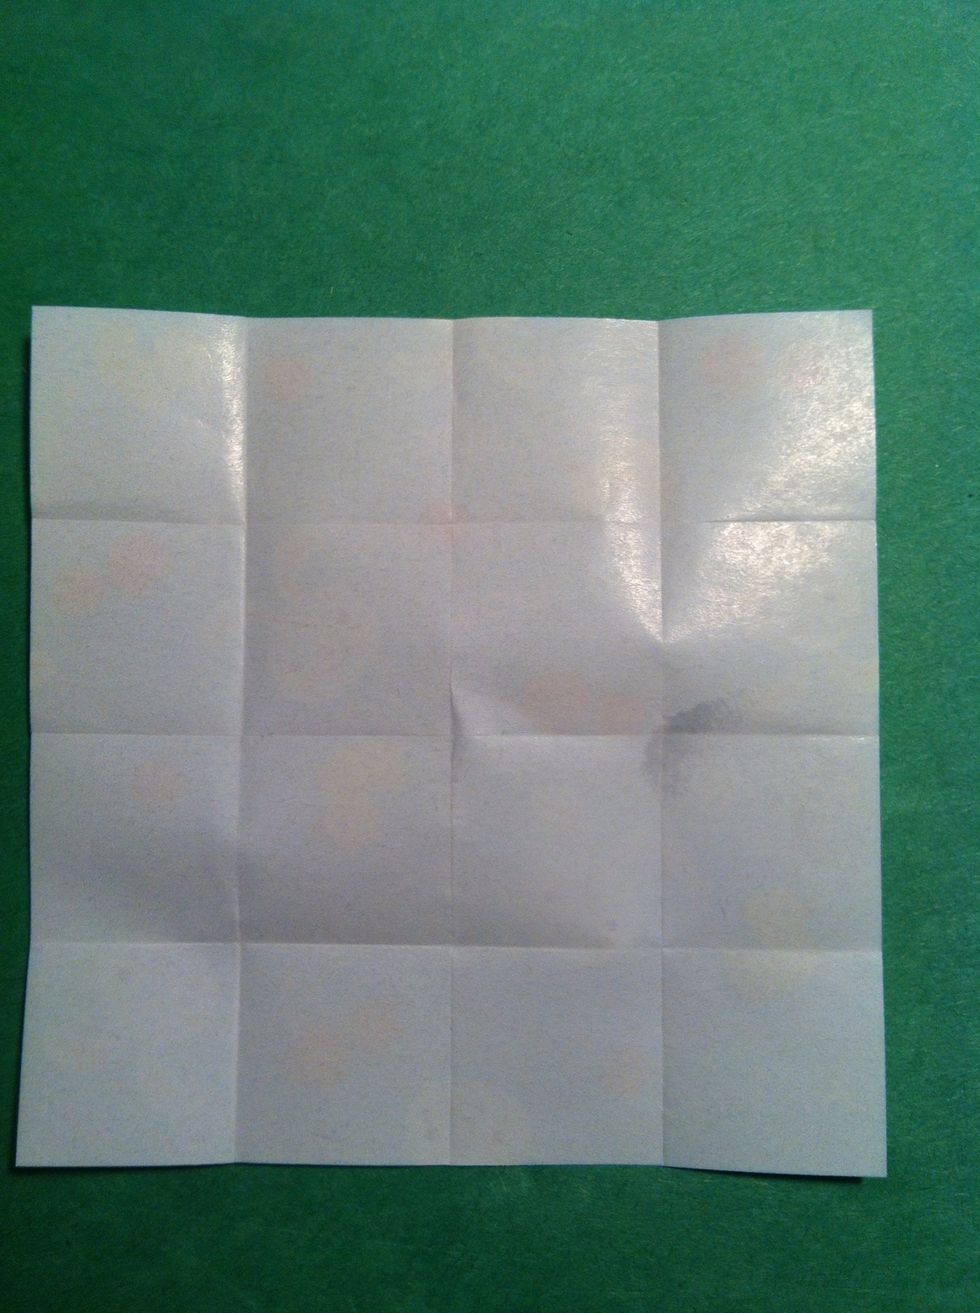
Turn it over & admire all the pretty squares.
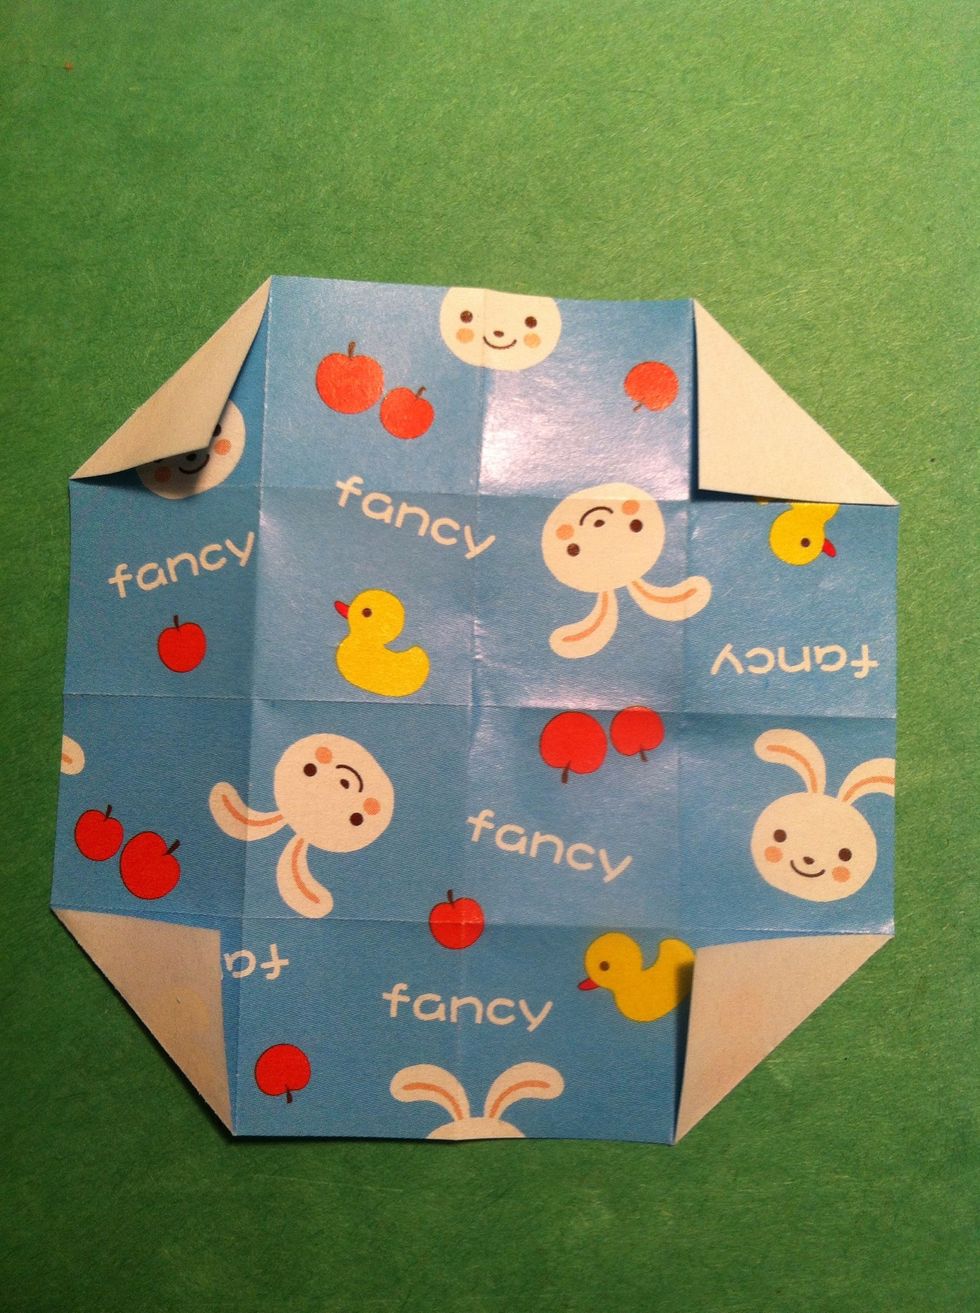
Back to work. Flip it over & fold each corner to center.
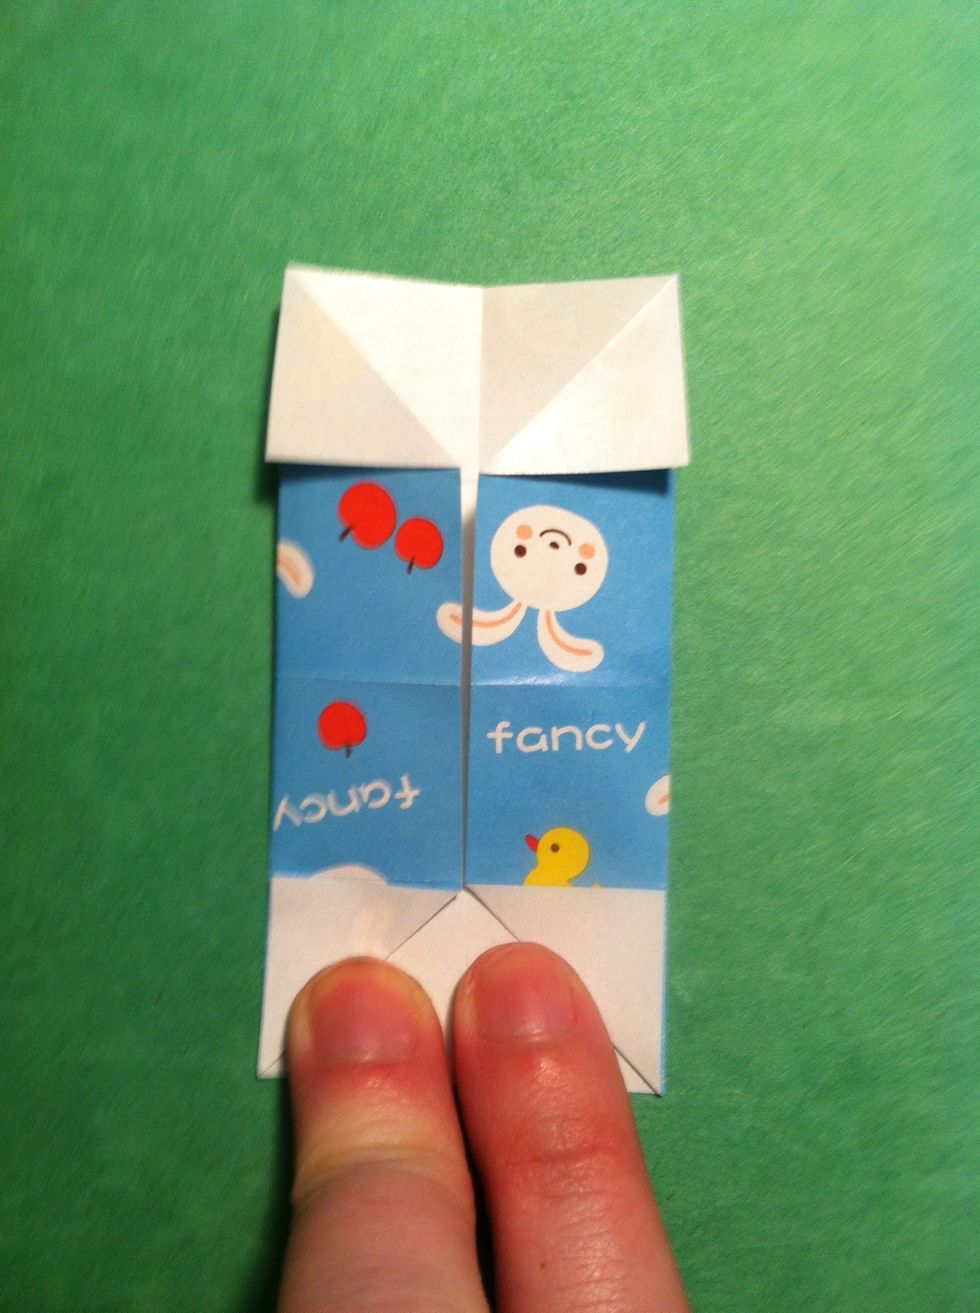
Fold the left edge & right edge back to the center crease.

Open up the right flap & fold that square w/ the bunny in half diagonally...
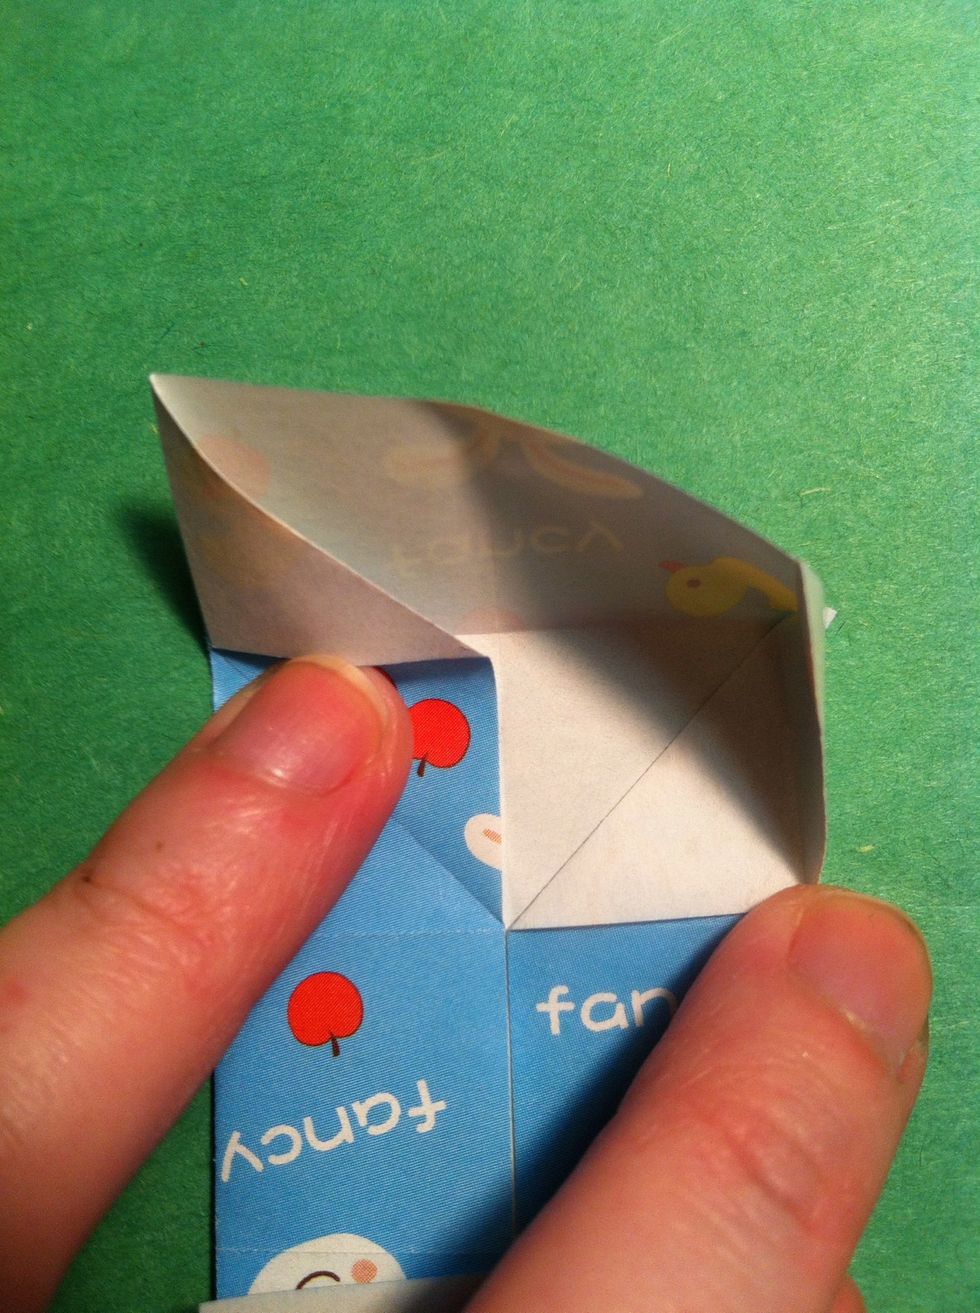
Like this. Now repeat on the left side.
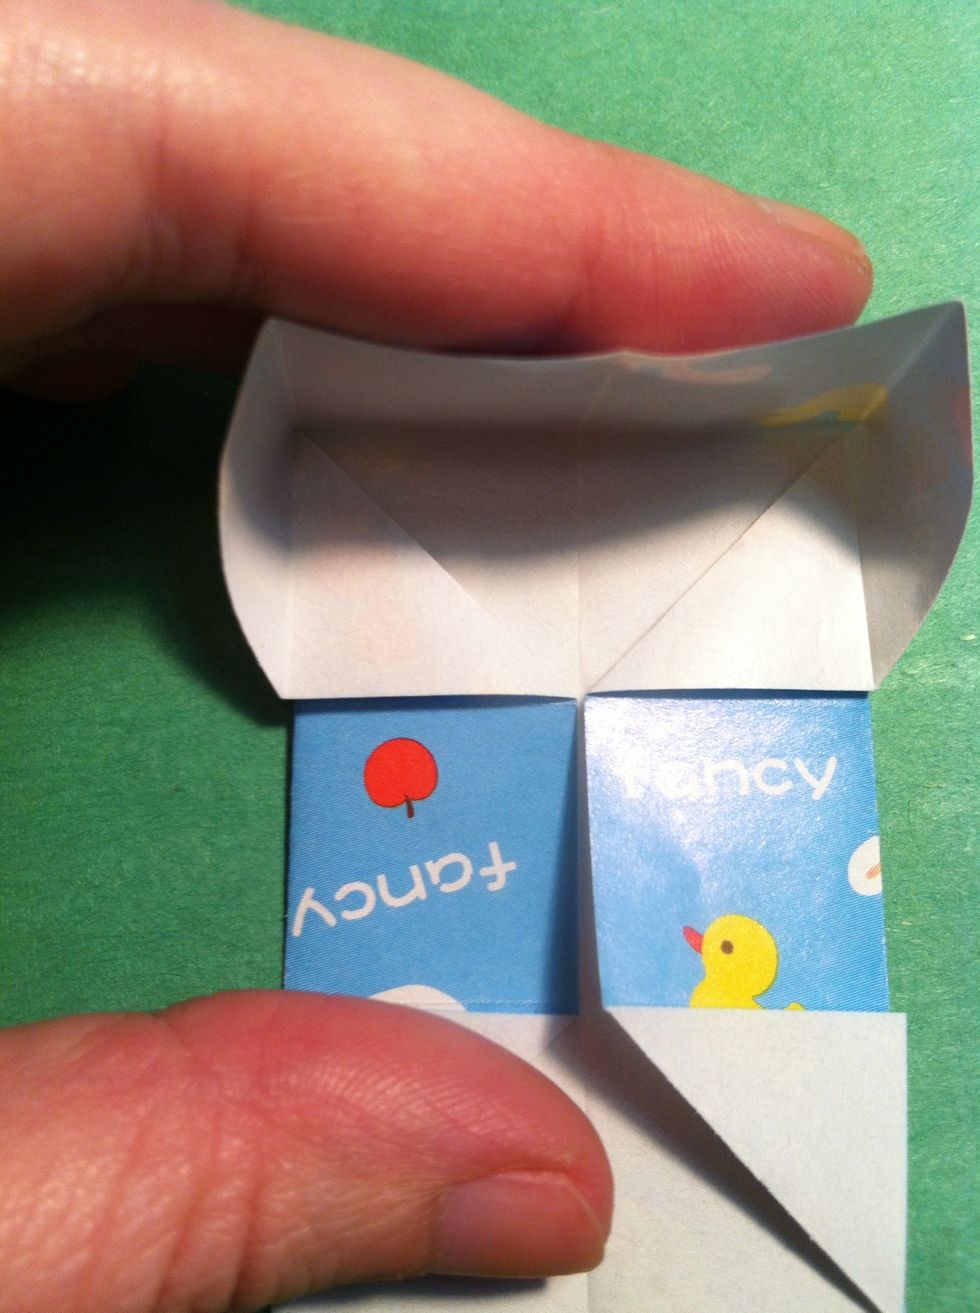
Squish the top edge down...
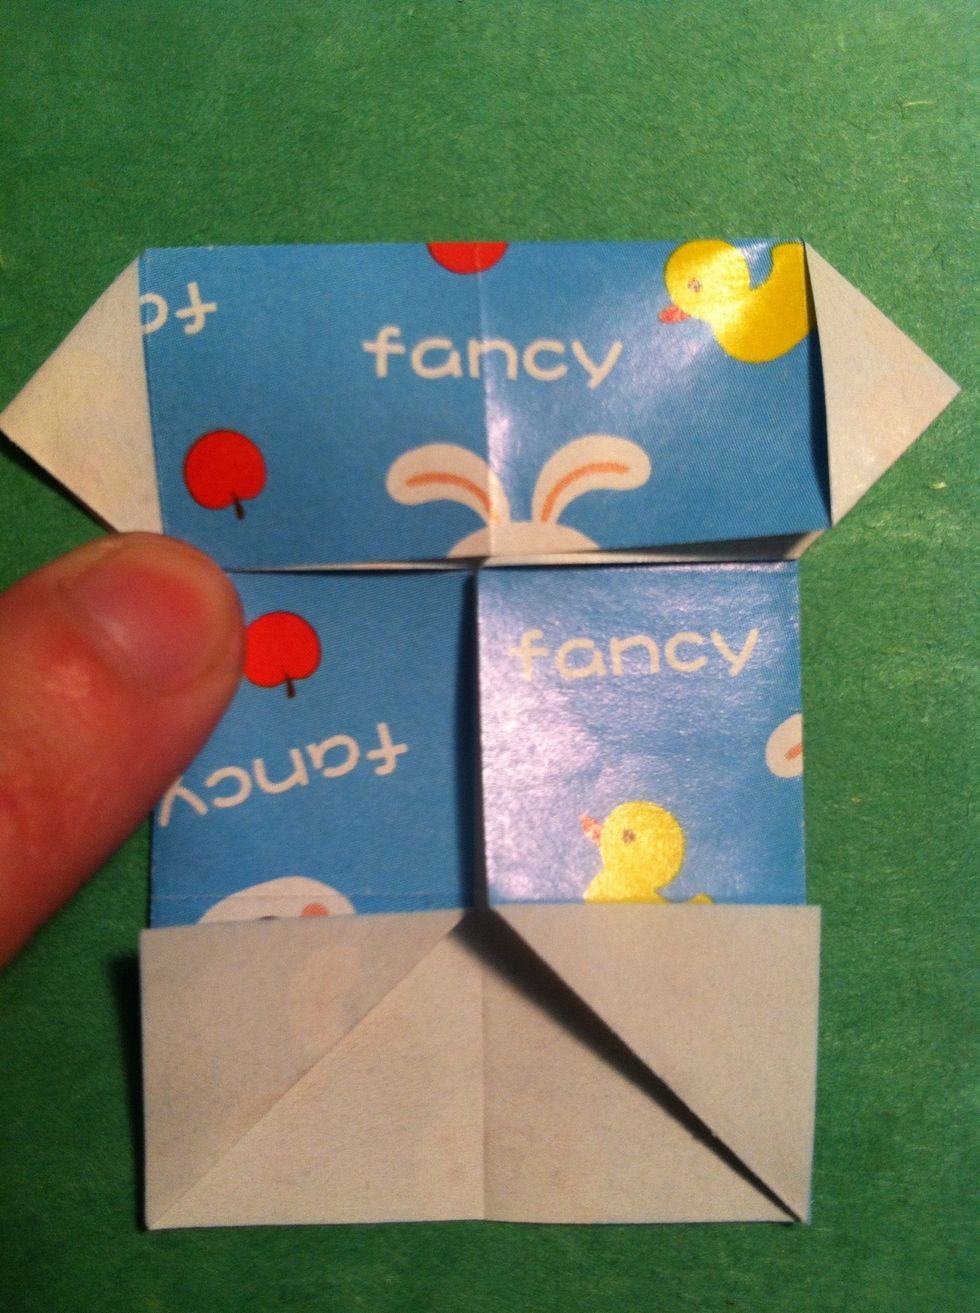
Like this. Notice how the the sides squashed out to make the little white triangles.
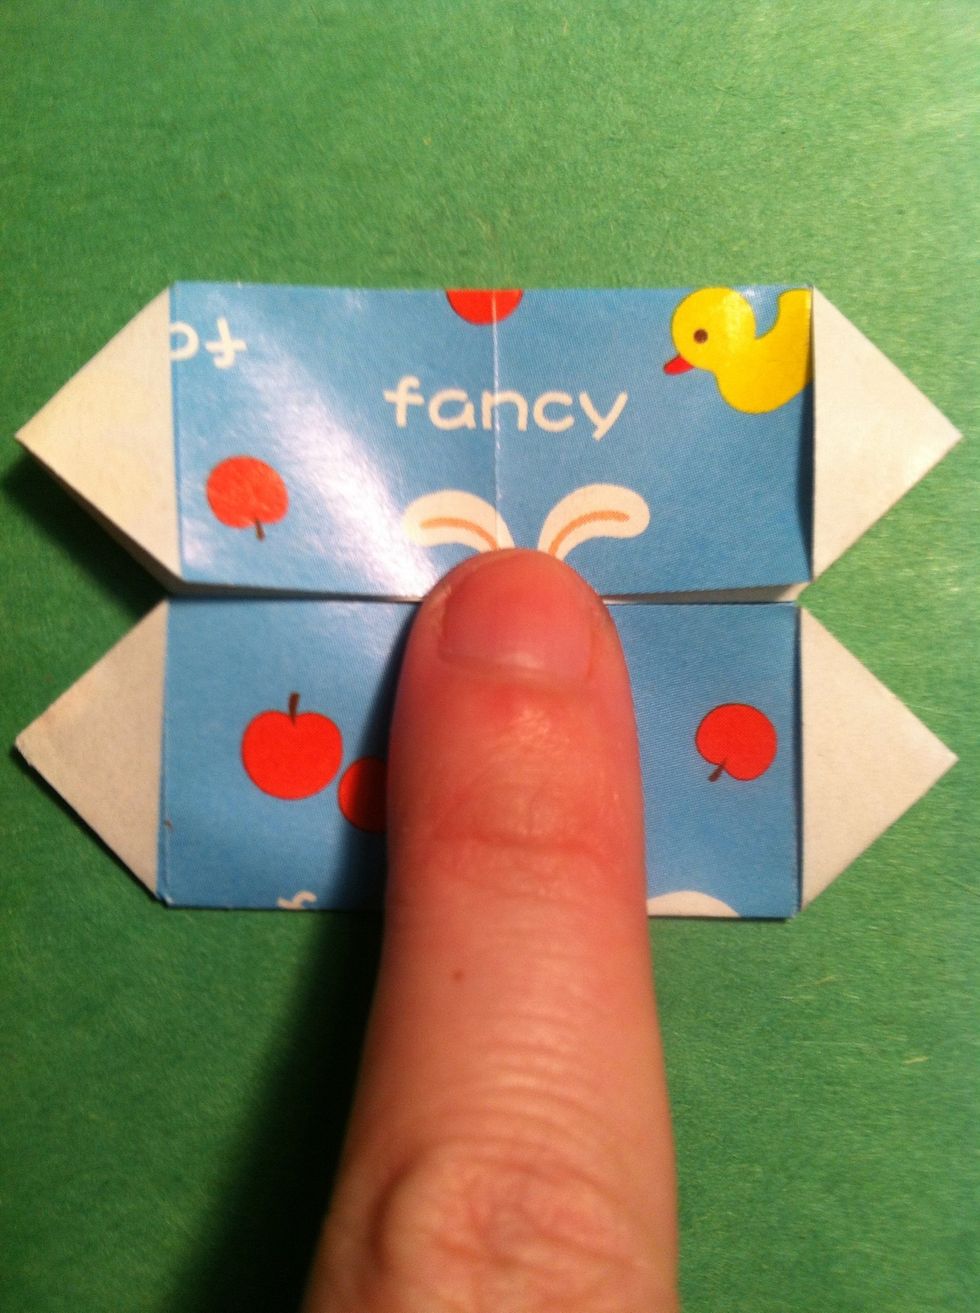
Repeat on the bottom.

On the bottom one you just did, take the top right corner & fold it down.
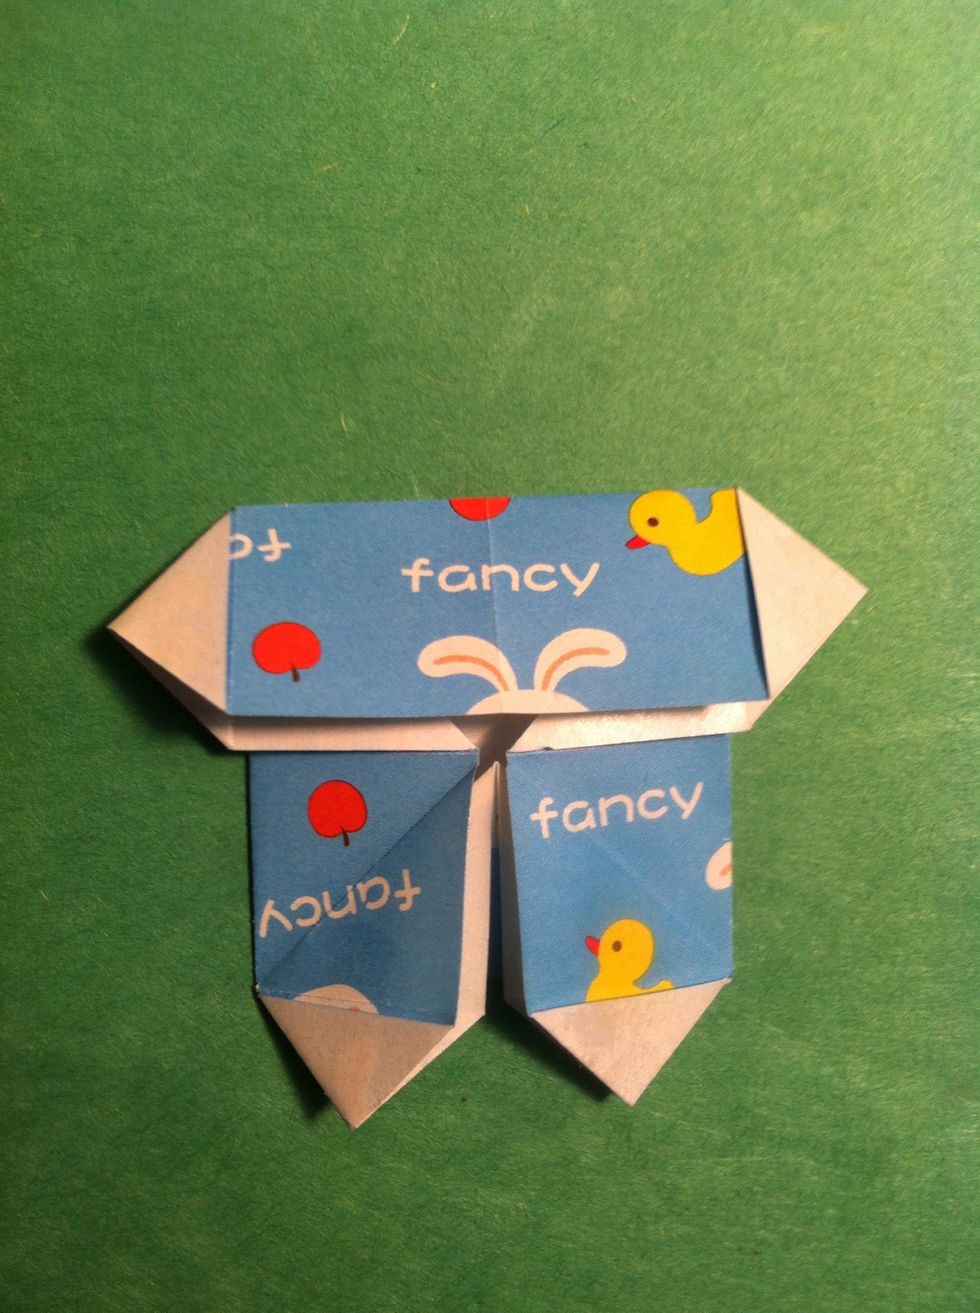
Repeat on left side.
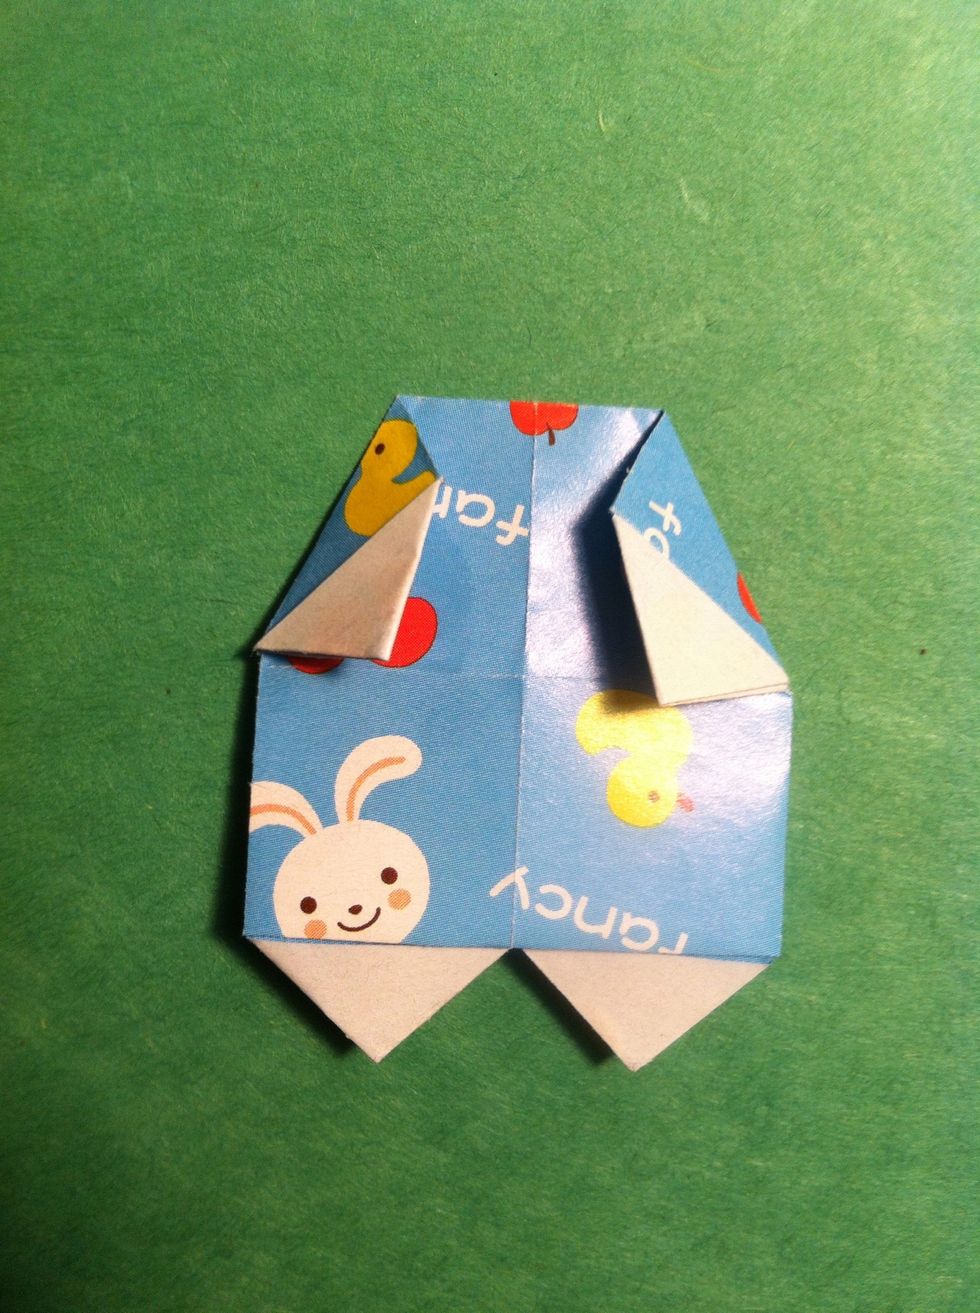
Fold the top right & left corners down as shown. I lost last picture of the body I guess. Refer to the very last pic in guide & fold the tips under on the hands 'n feet. I glued mine. Body is done.
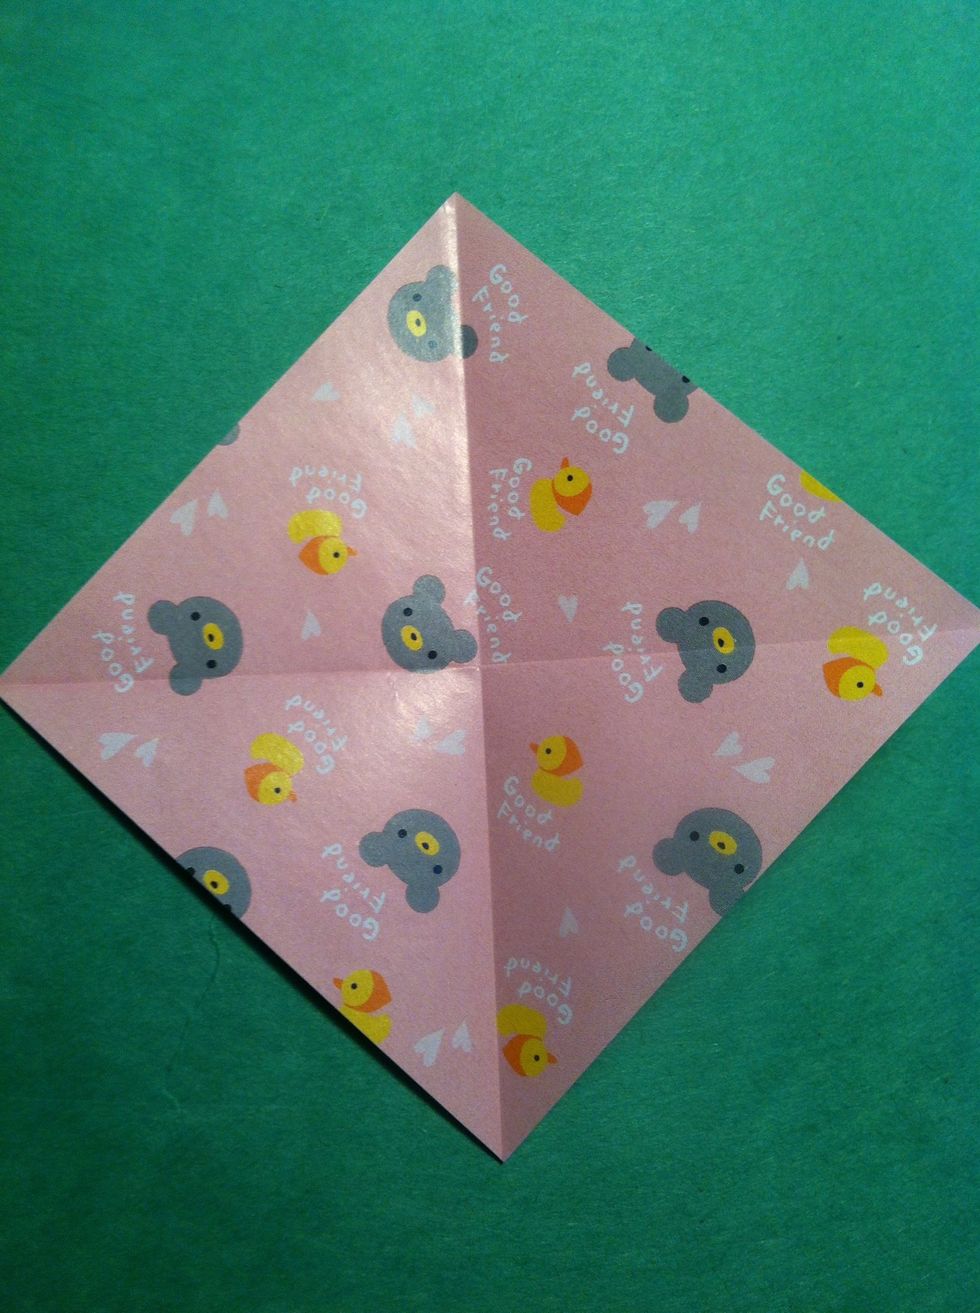
Now the head, which should be white. I used 3 inch square again. Fold diagonally both directions as the creases show.
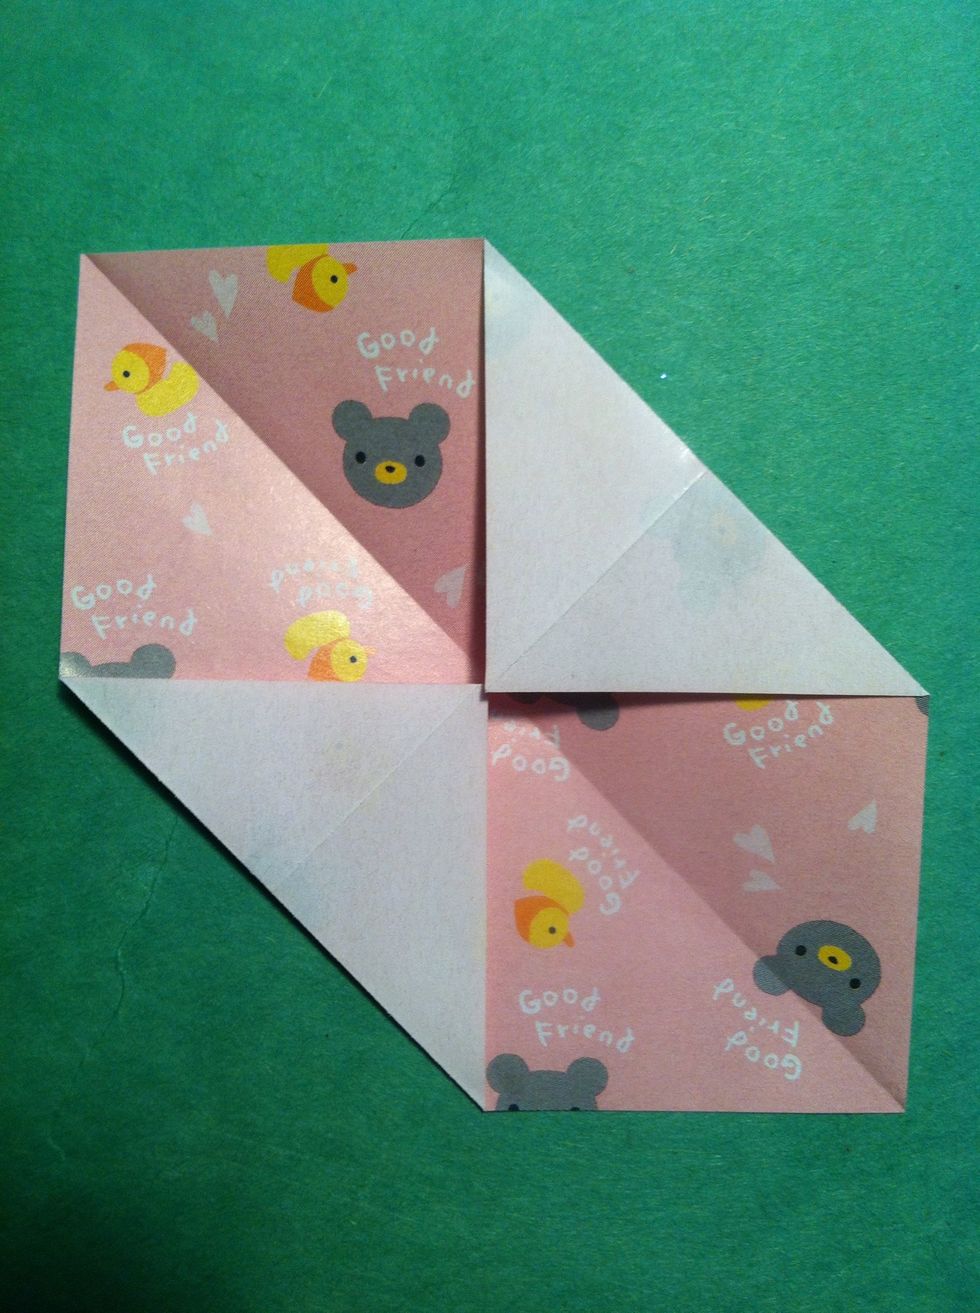
Fold top right corner& bottom left corner to center. Unfold.
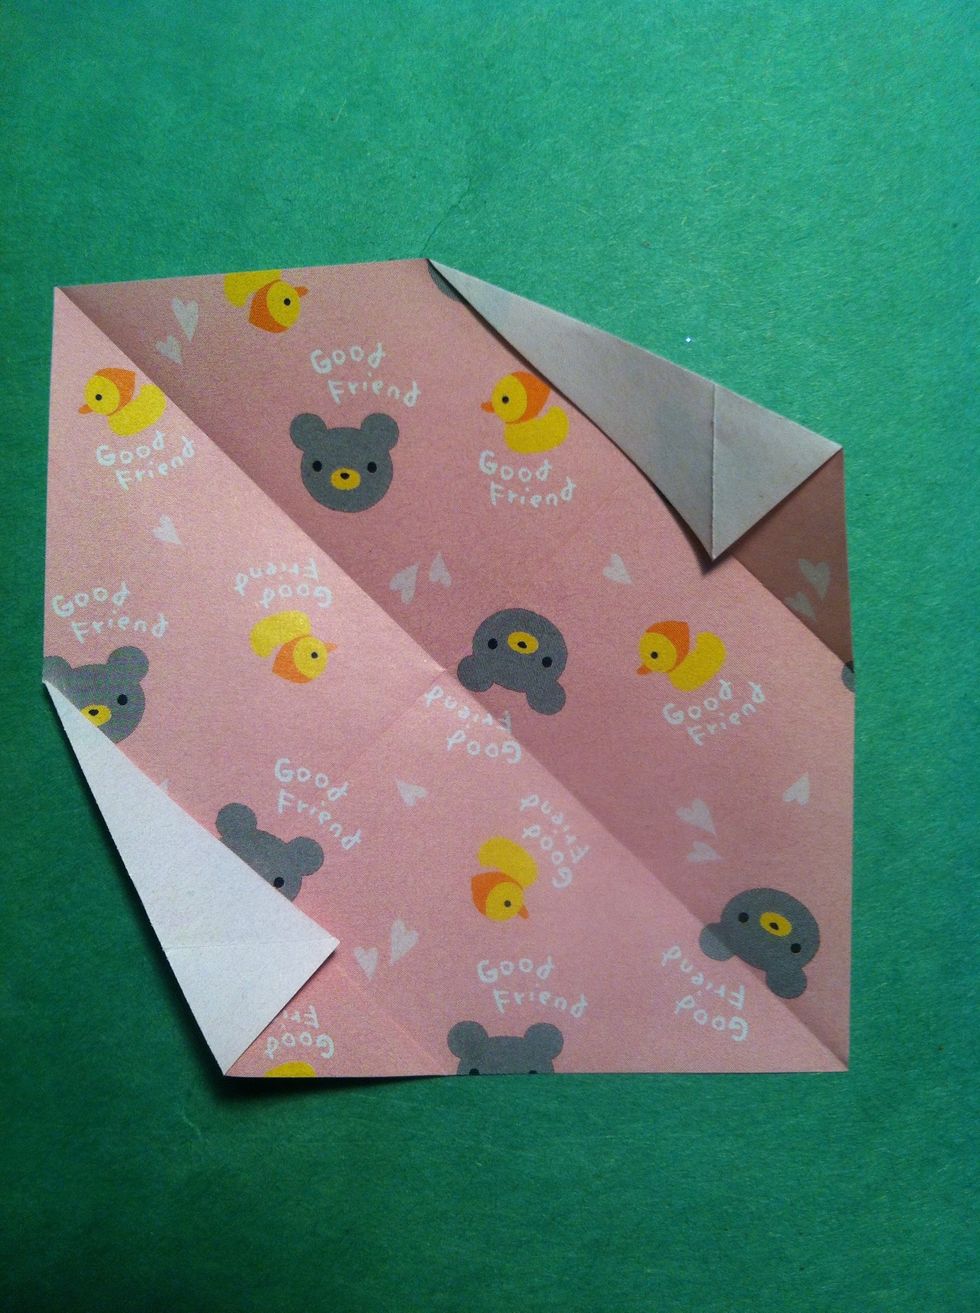
Fold top right corner along the crease you made in previous step. Do the same in bottom.
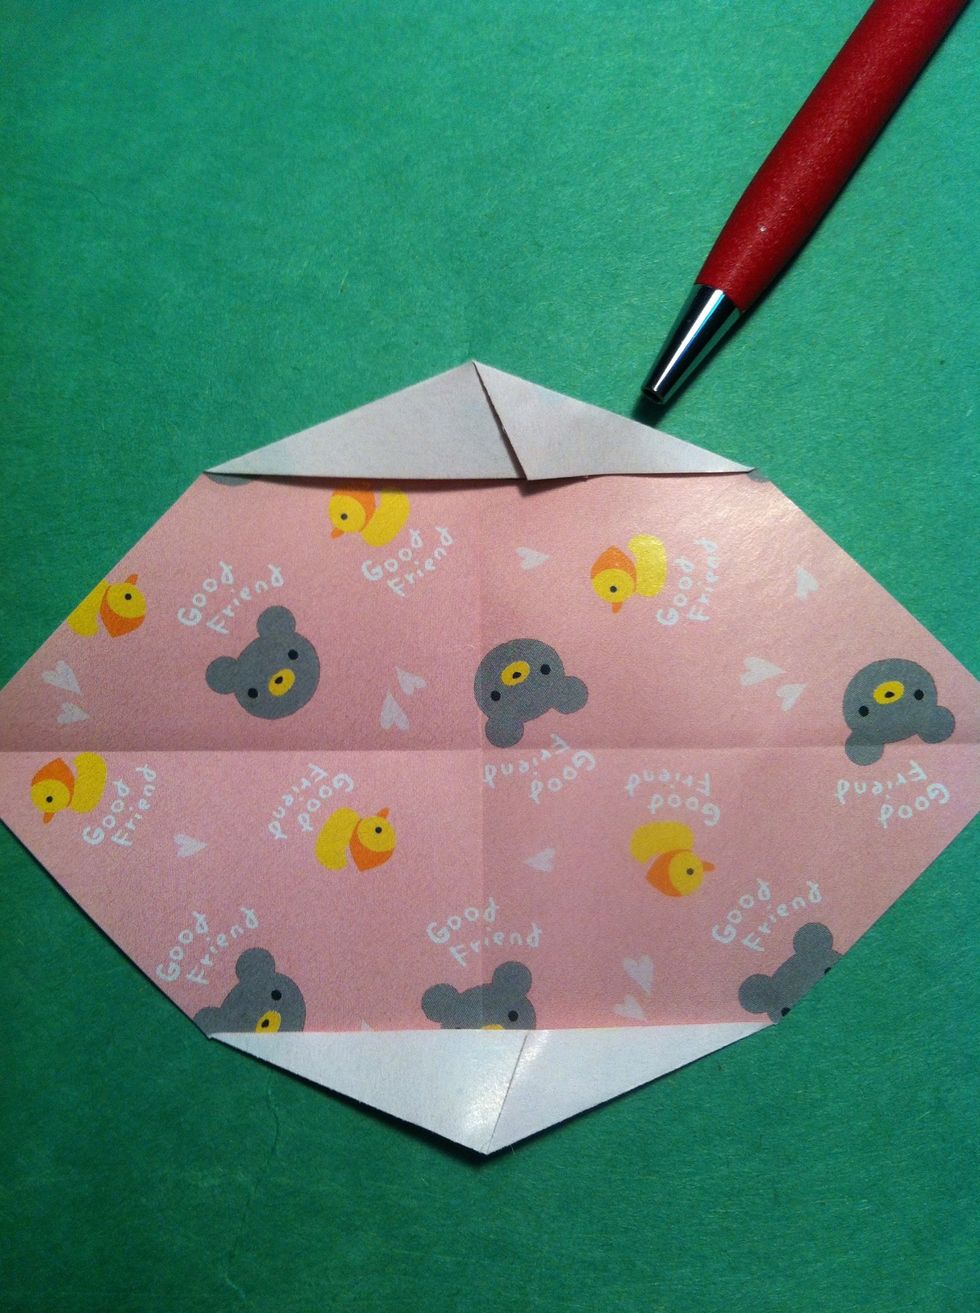
Now fold the other side along that crease, too...for the top & bottom. Ok. Fold in half...left side to the right side.
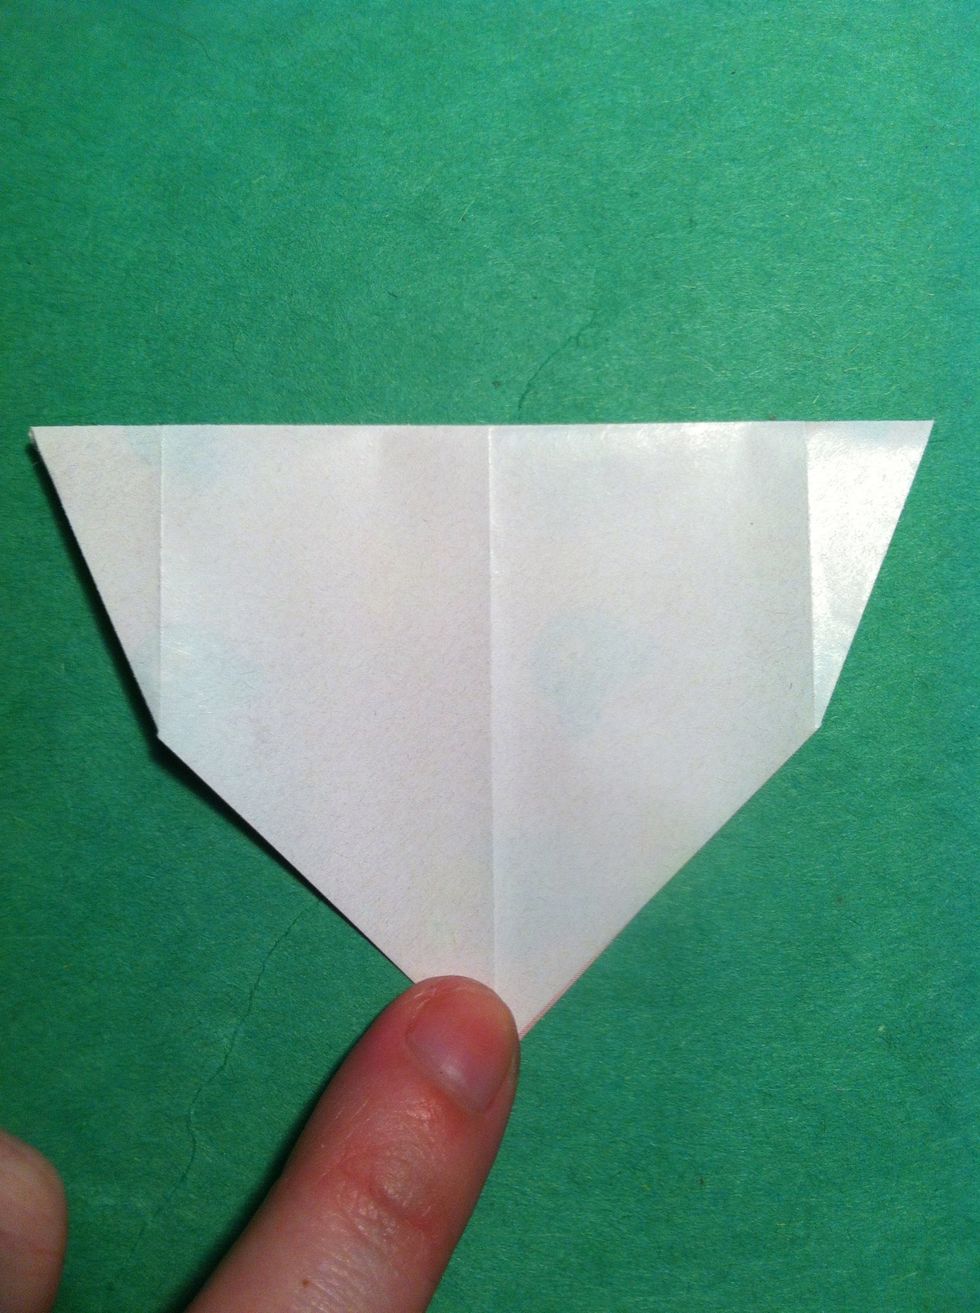
And turn it 90 degrees.
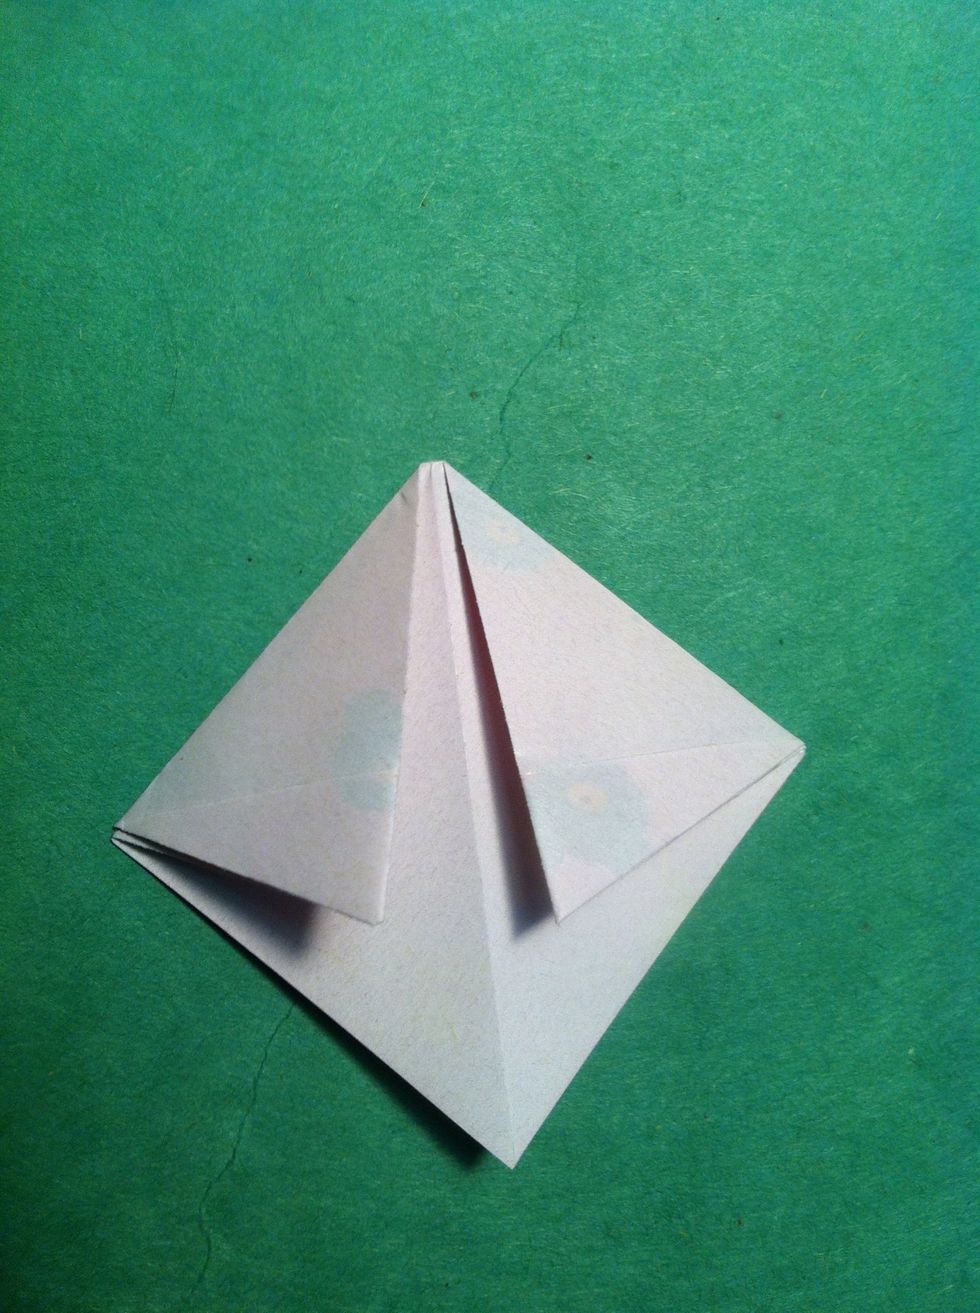
Fold the top corners toward center. Not quite all the way to center crease.
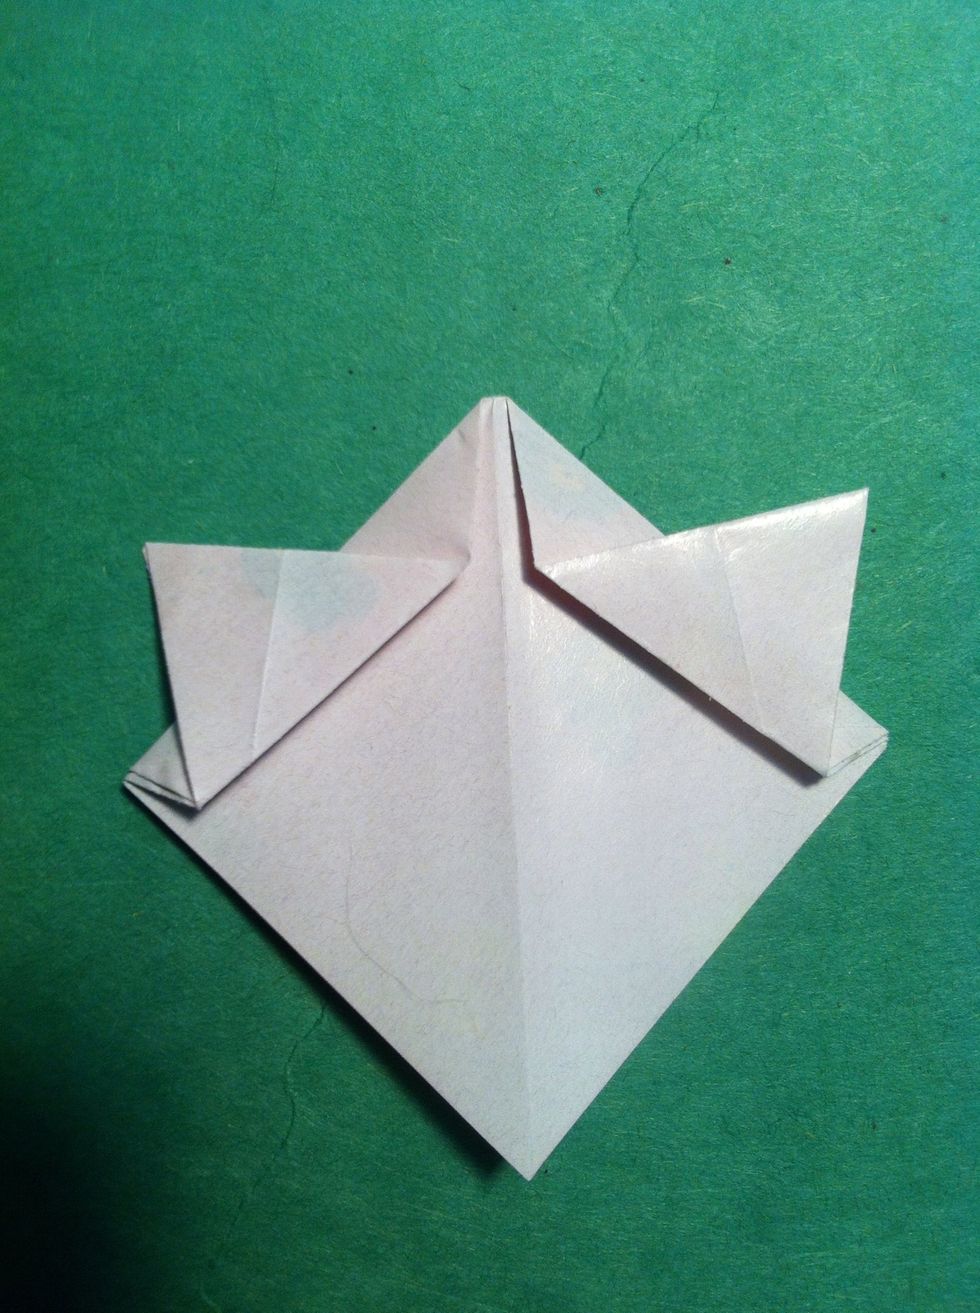
Now flip them up as shown.
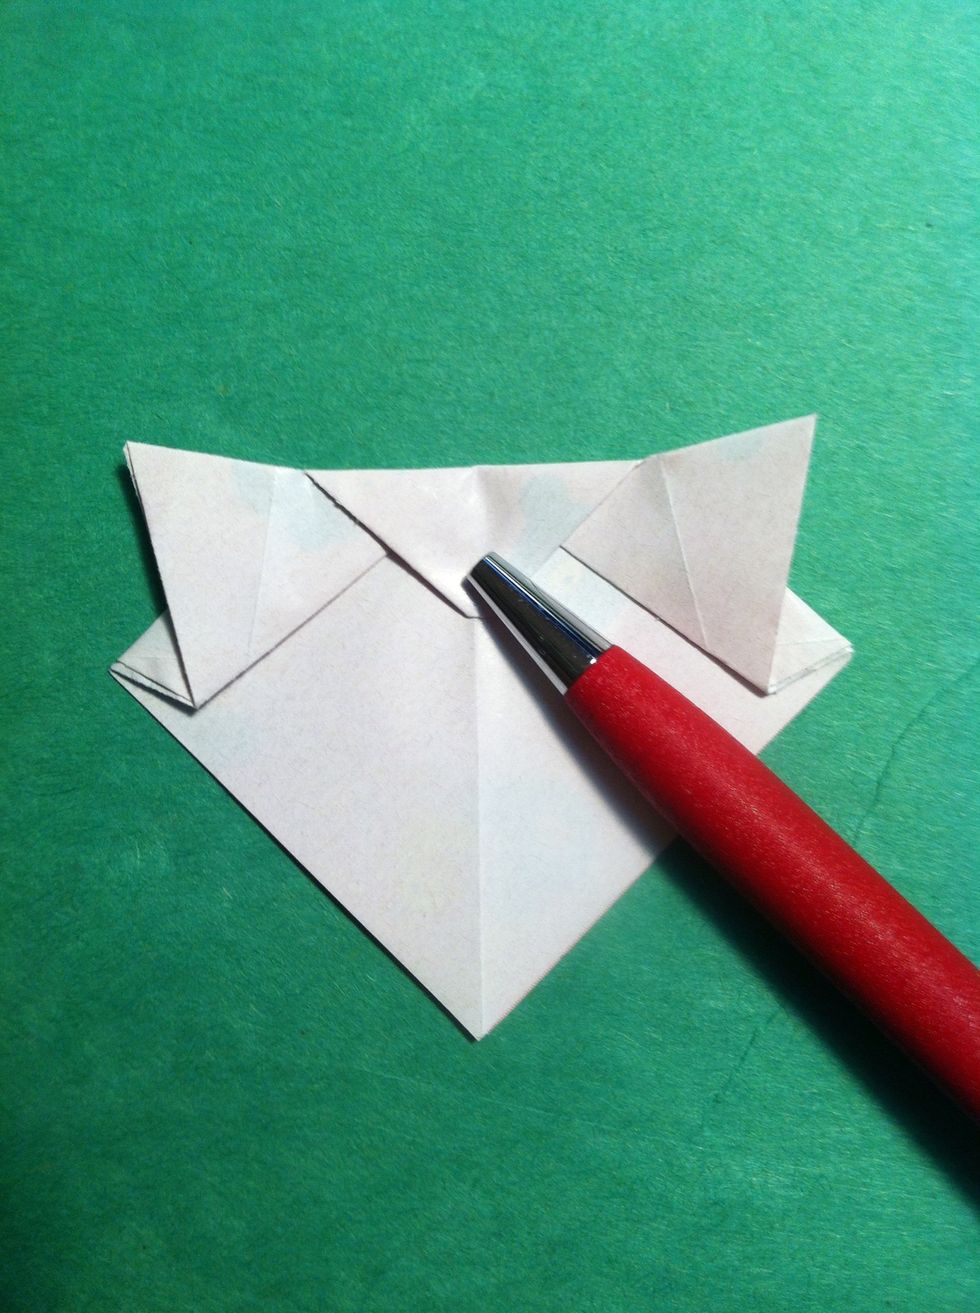
Fold the top point down.
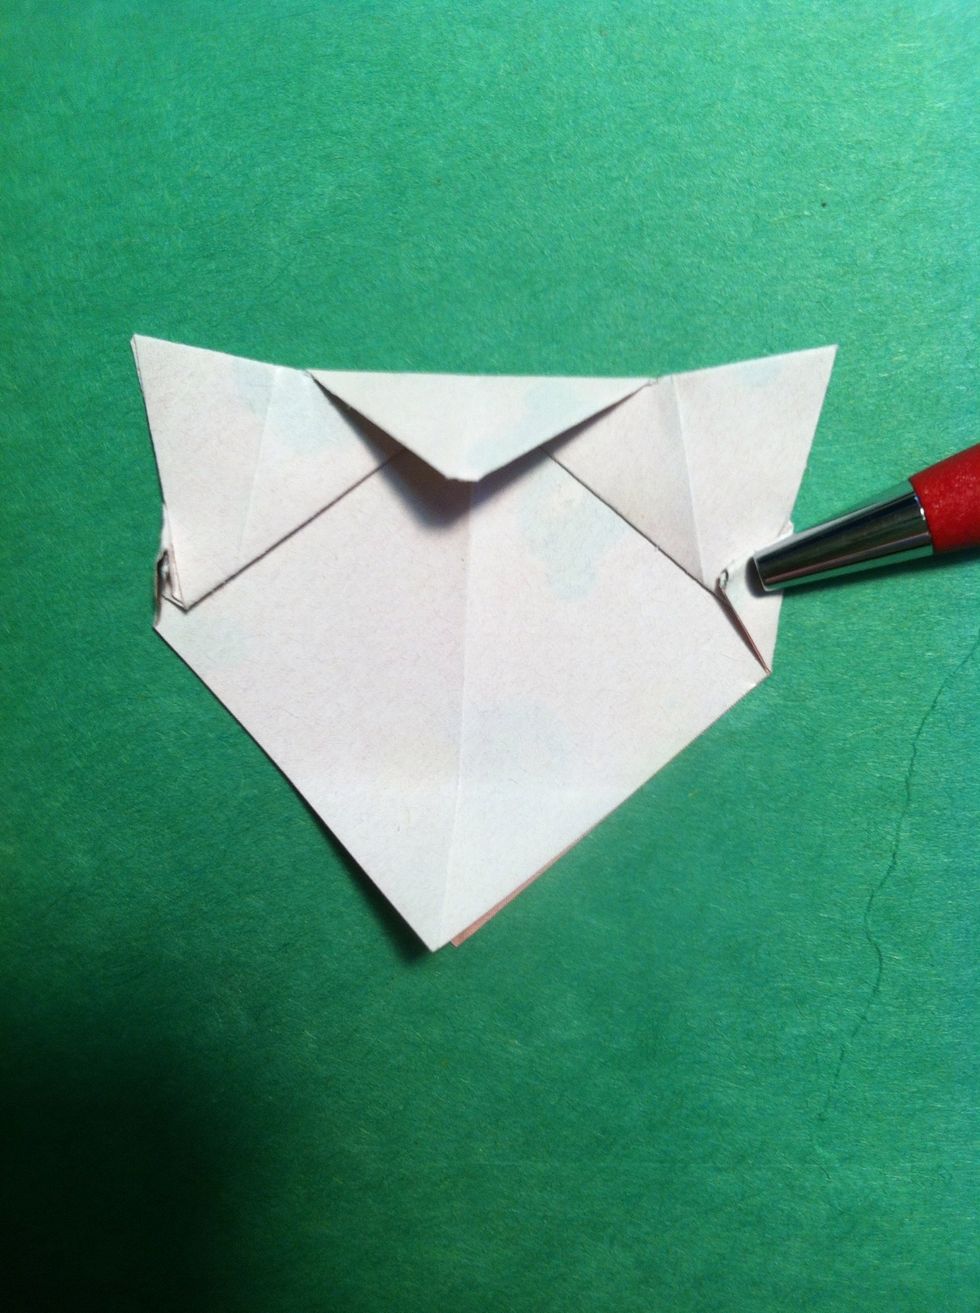
Fold the sides in a bit.

Tuck the bottom under & repeat on the back...
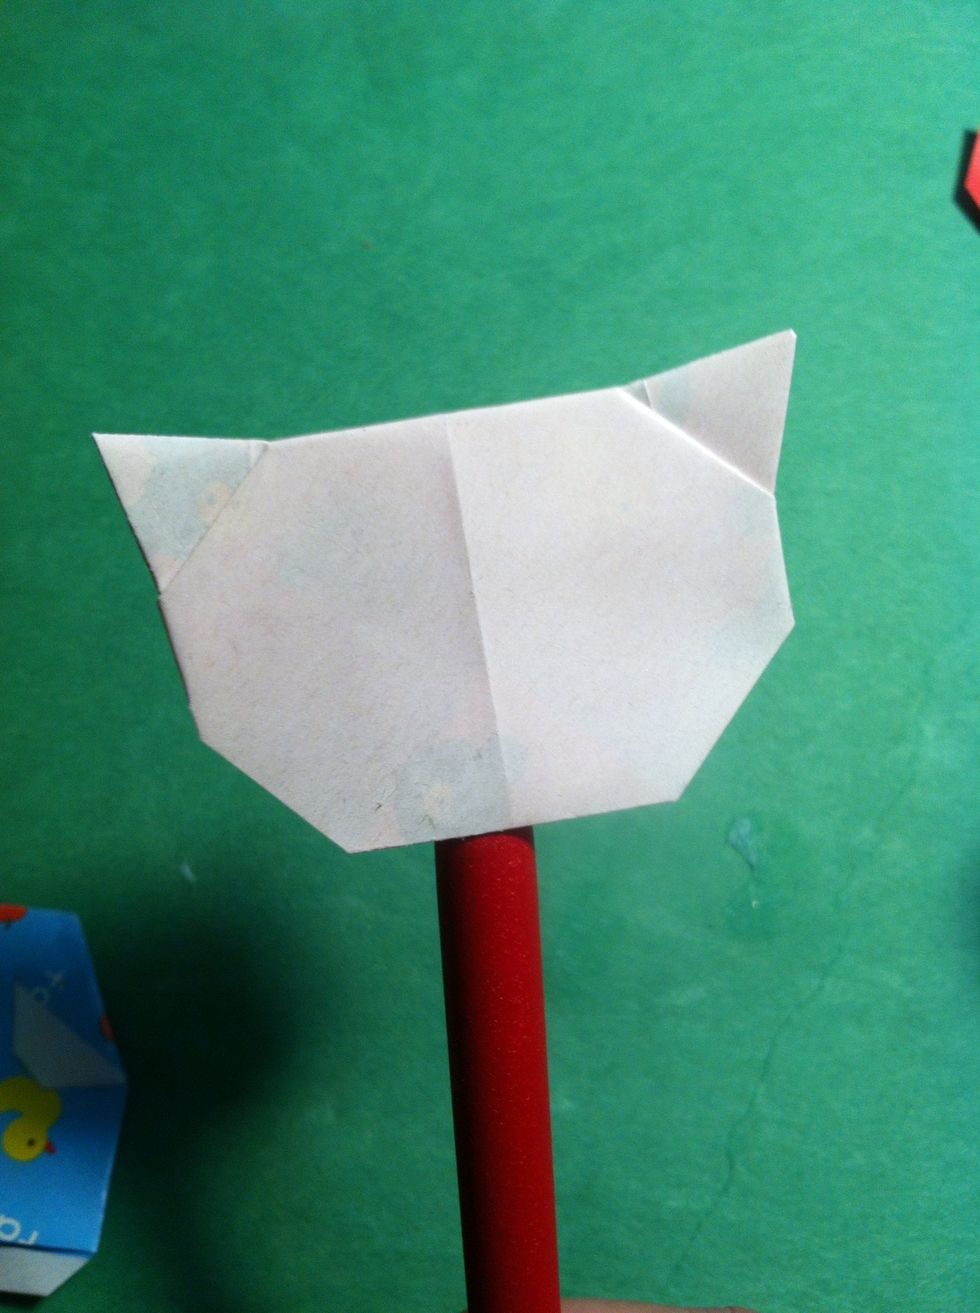
It's open on the bottom. I stuck a pencil in there. Head is done...tho it does still require some features!
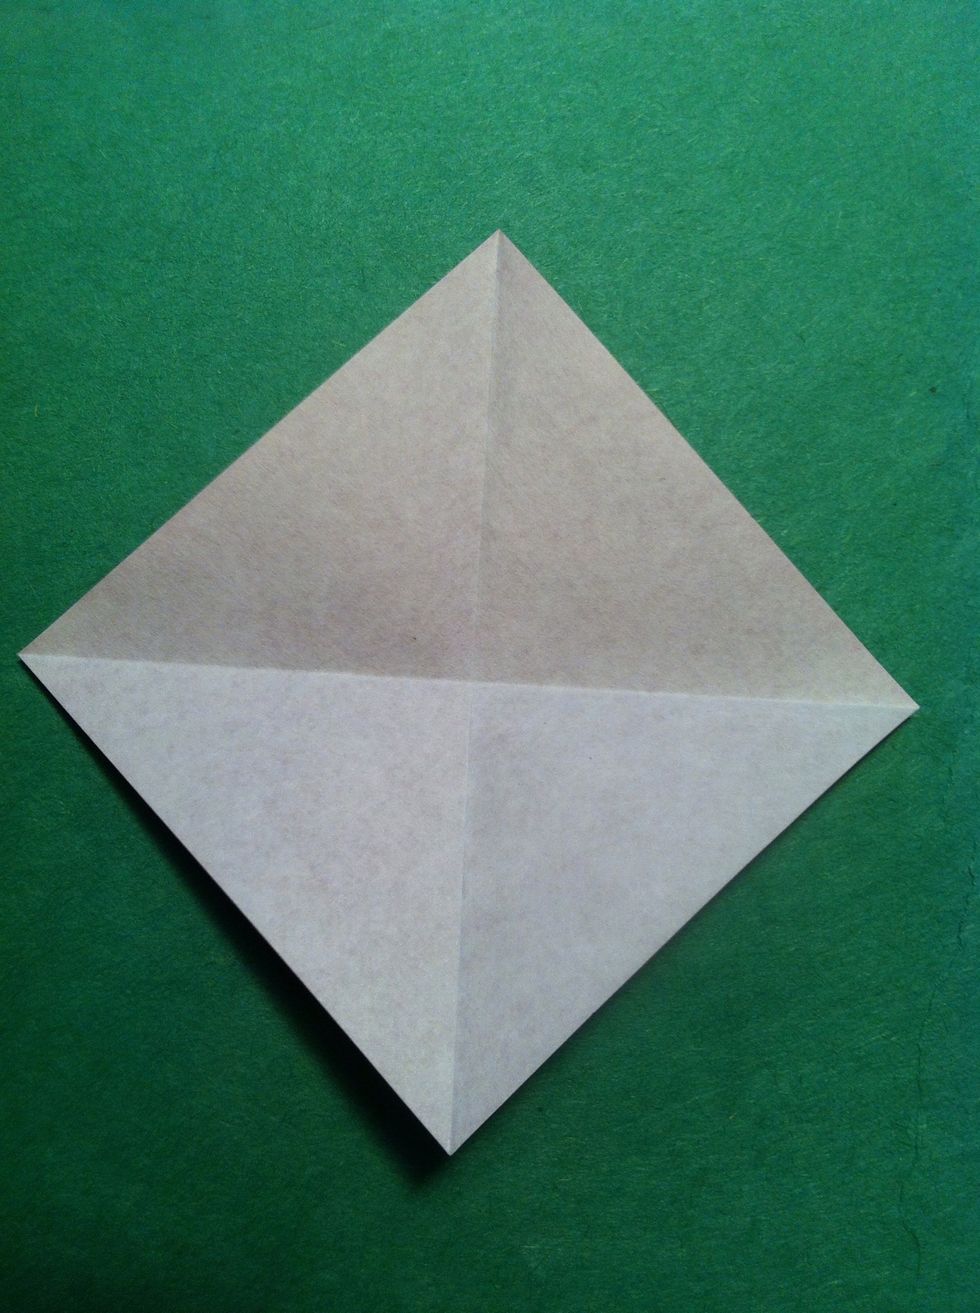
How about the bow? I used a 2 inch square...kinda think i should have went a bit smaller. Fold in half both ways as shown by the creases here.
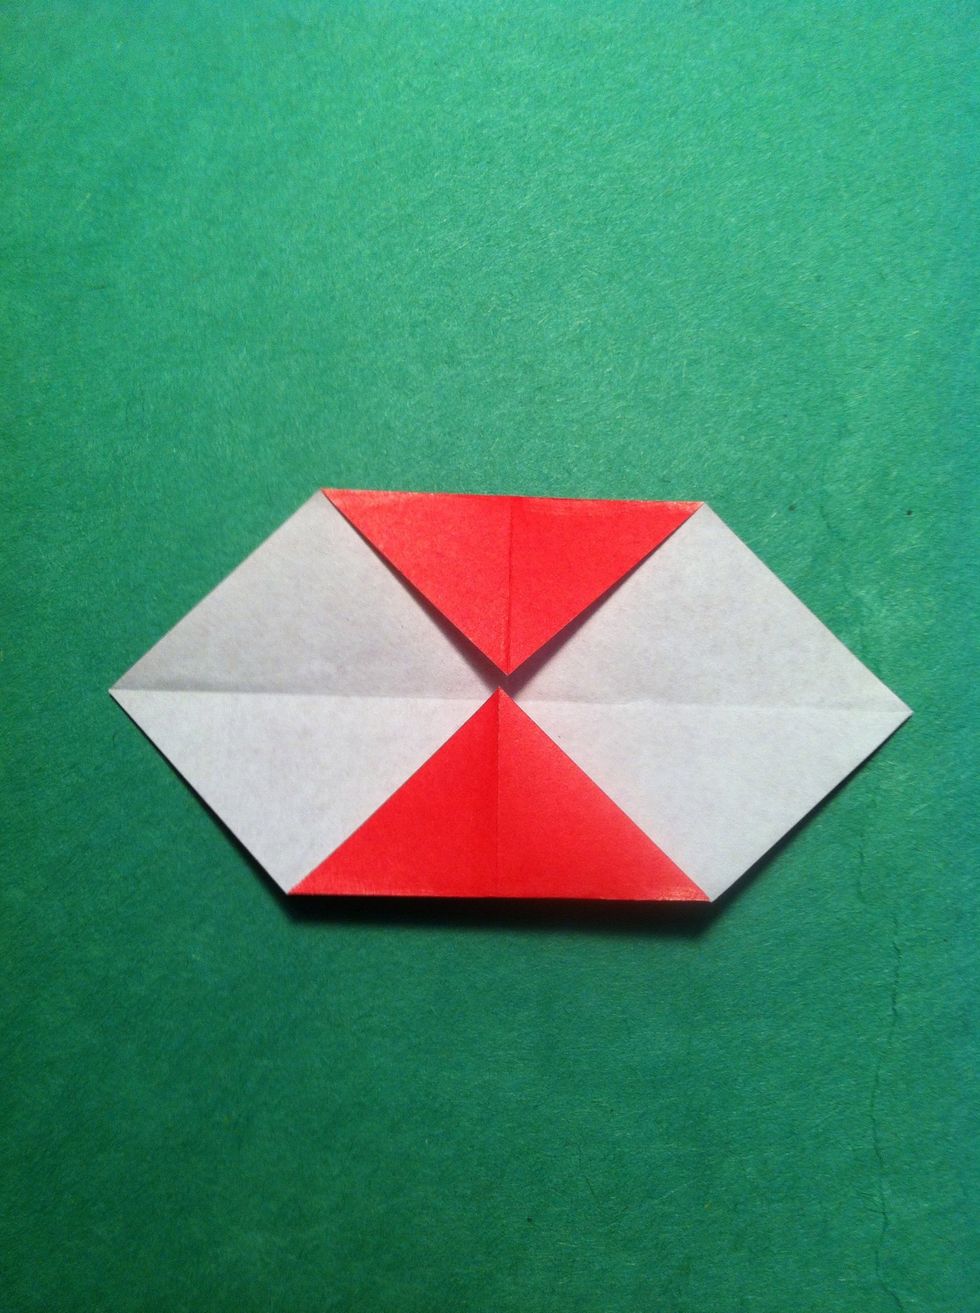
Fold the top & bottom tips to the center.
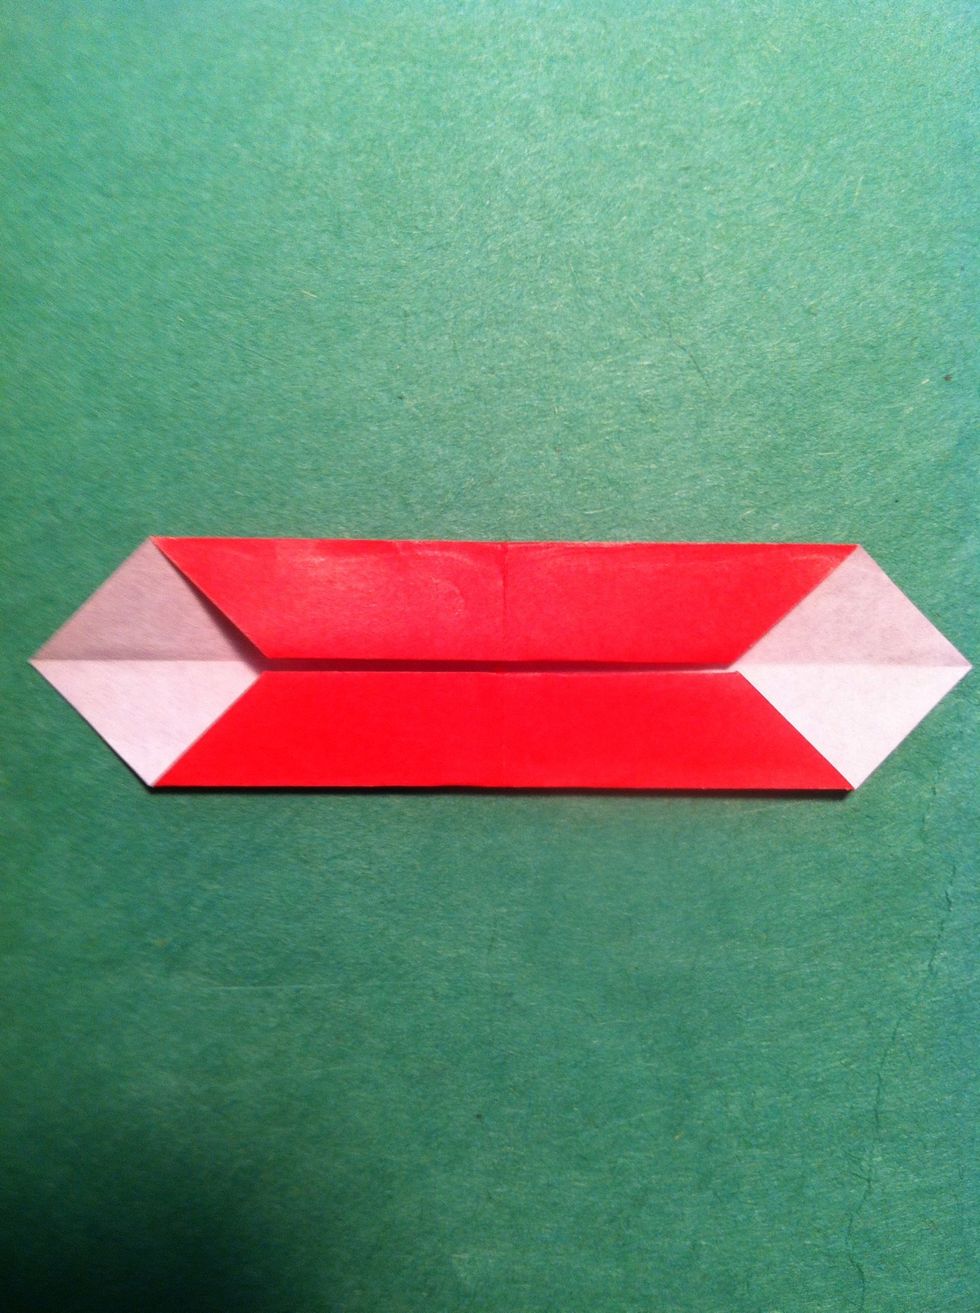
Fold to the center again.

Fold in half (right side to left).
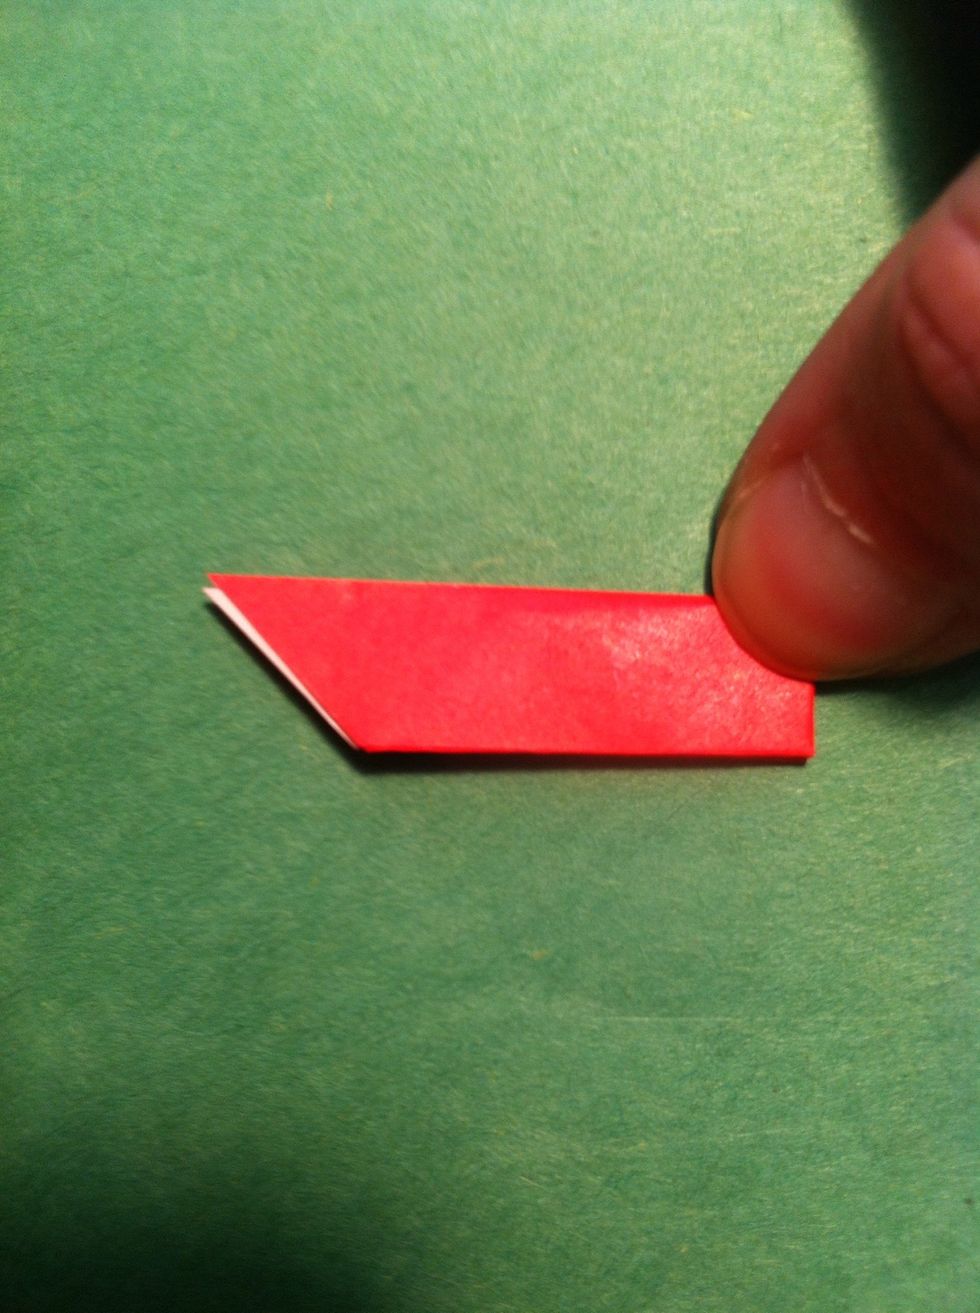
Fold in half (top to bottom).
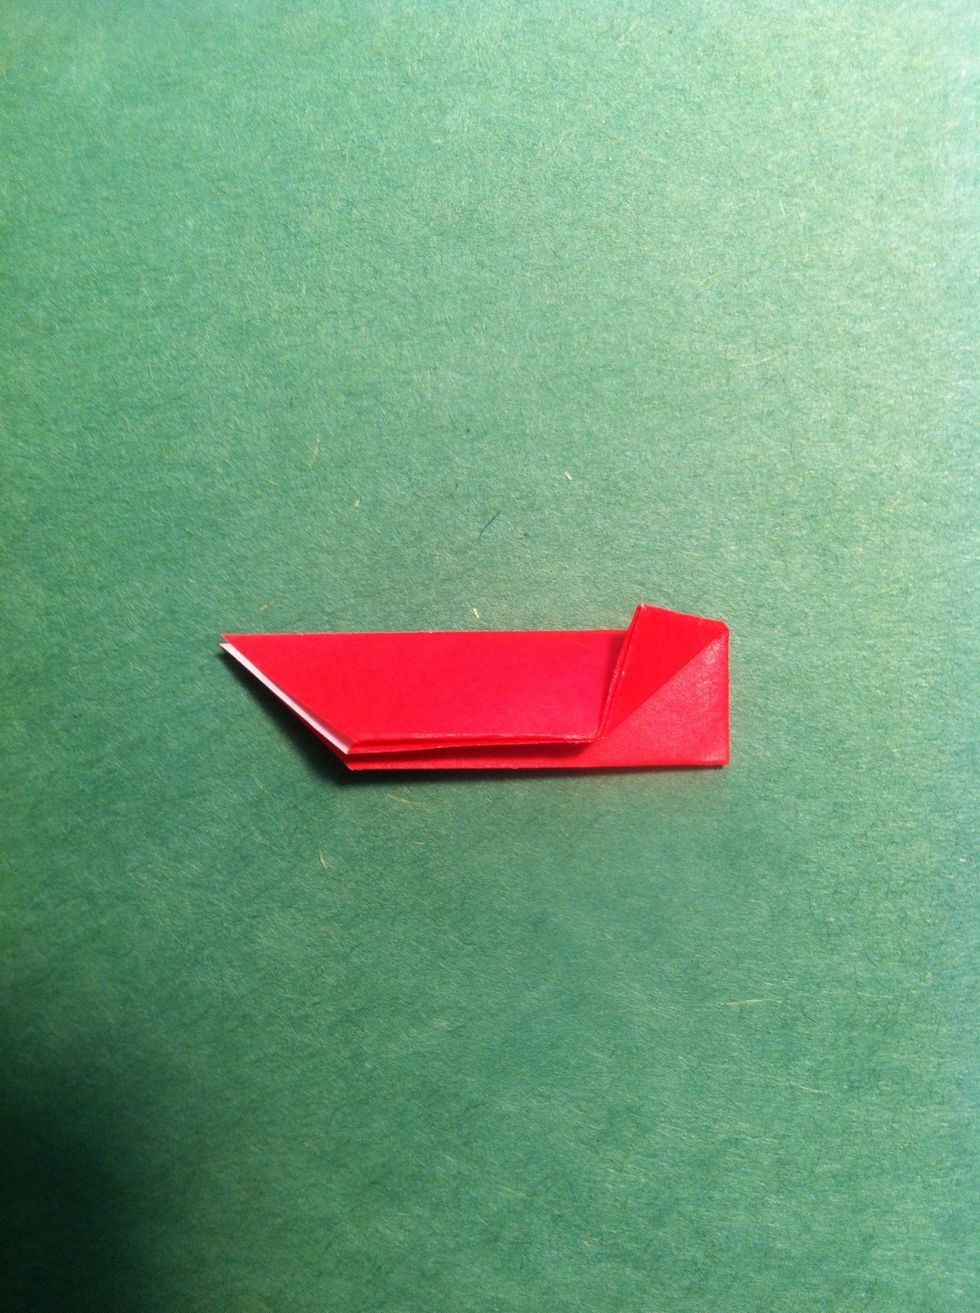
Fold the bottom right corner up (top layer).
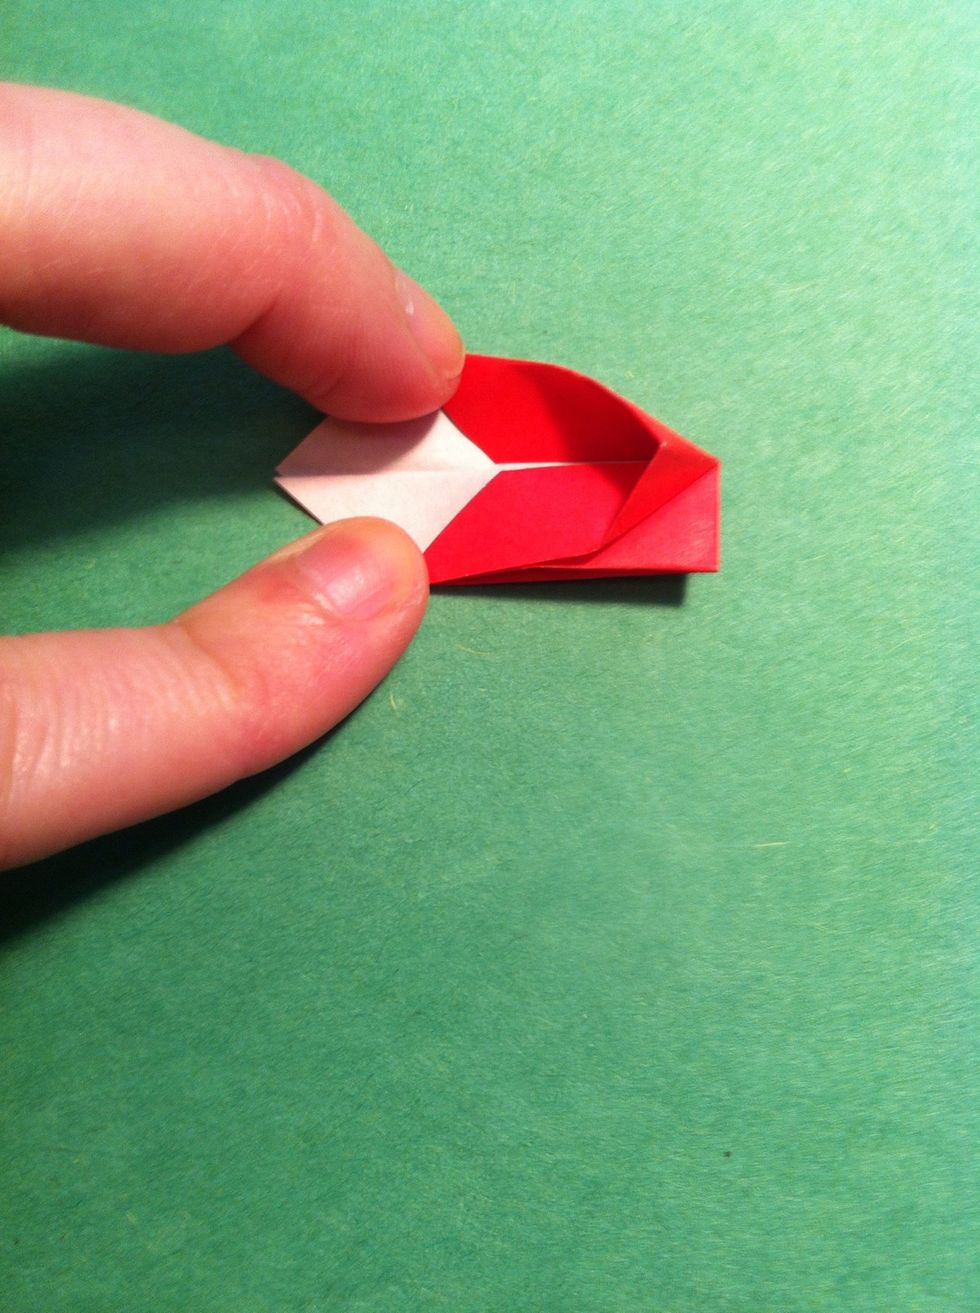
Open up the top layer &...
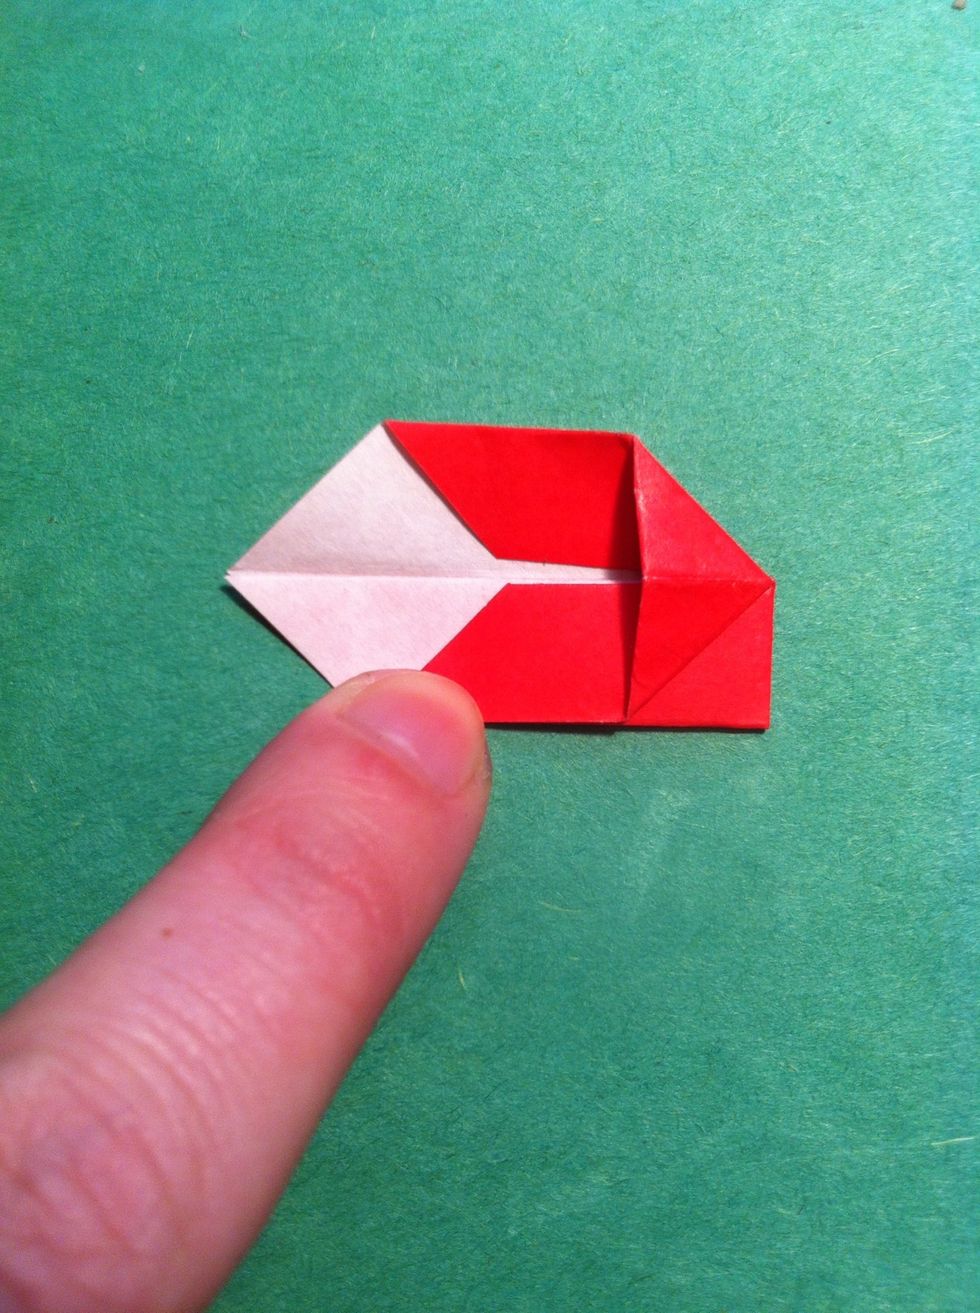
Squish flat.
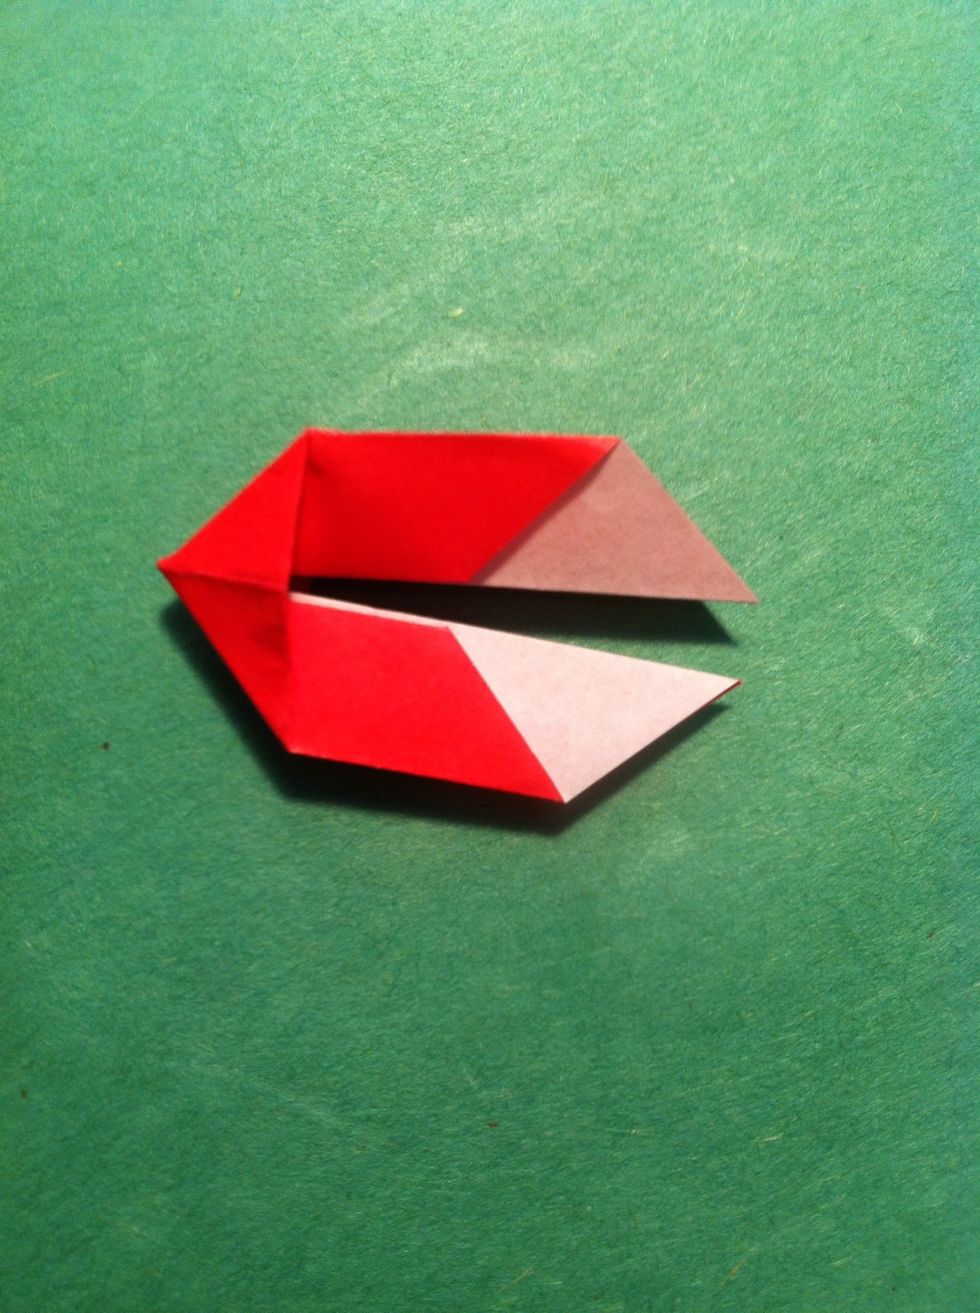
Repeat on back (bottom layer). Rawr!
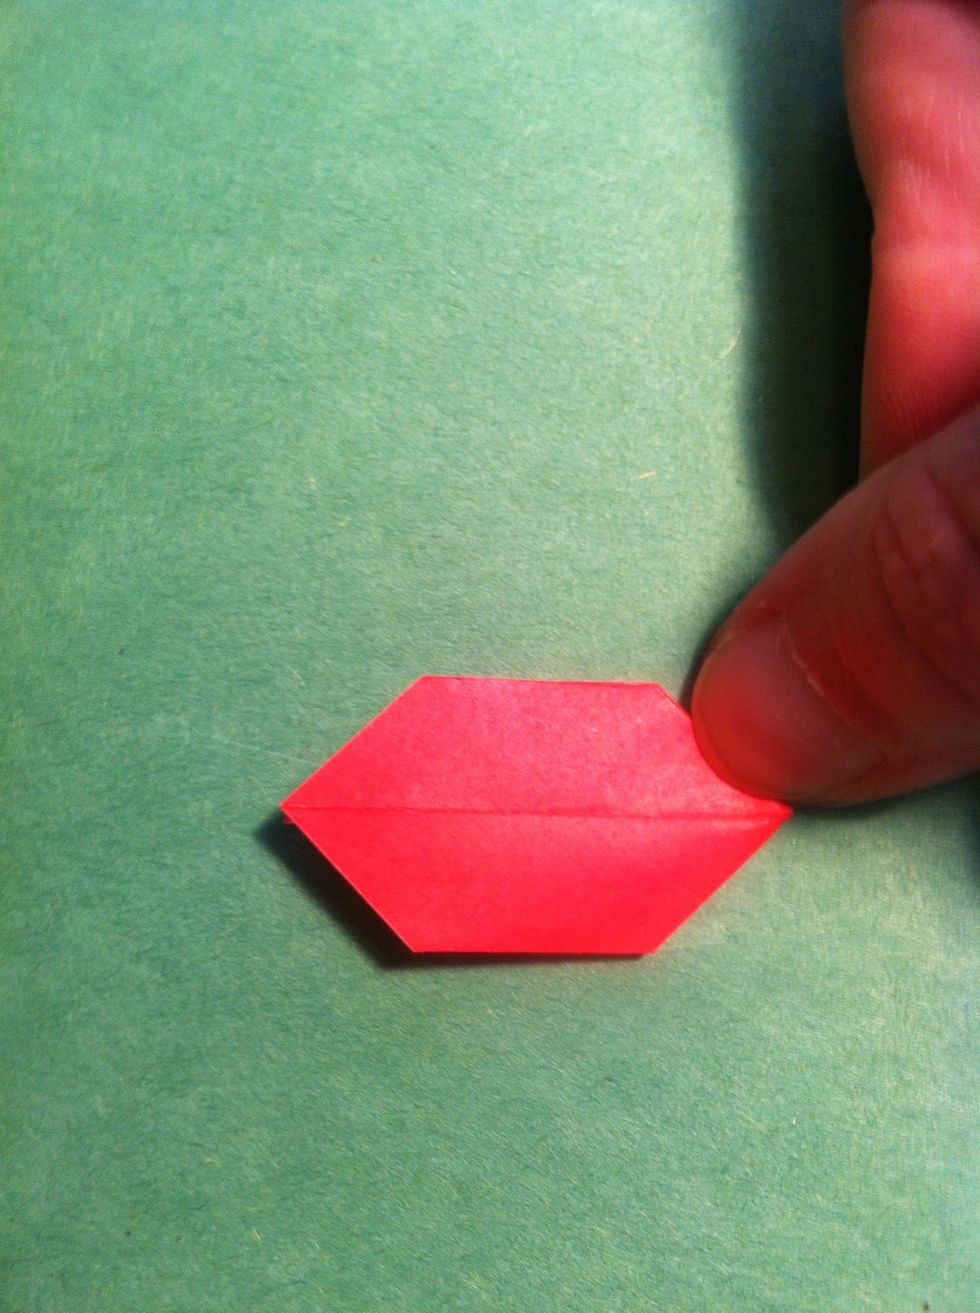
Fold the top edge to the bottom edge & repeat on the back as shown.
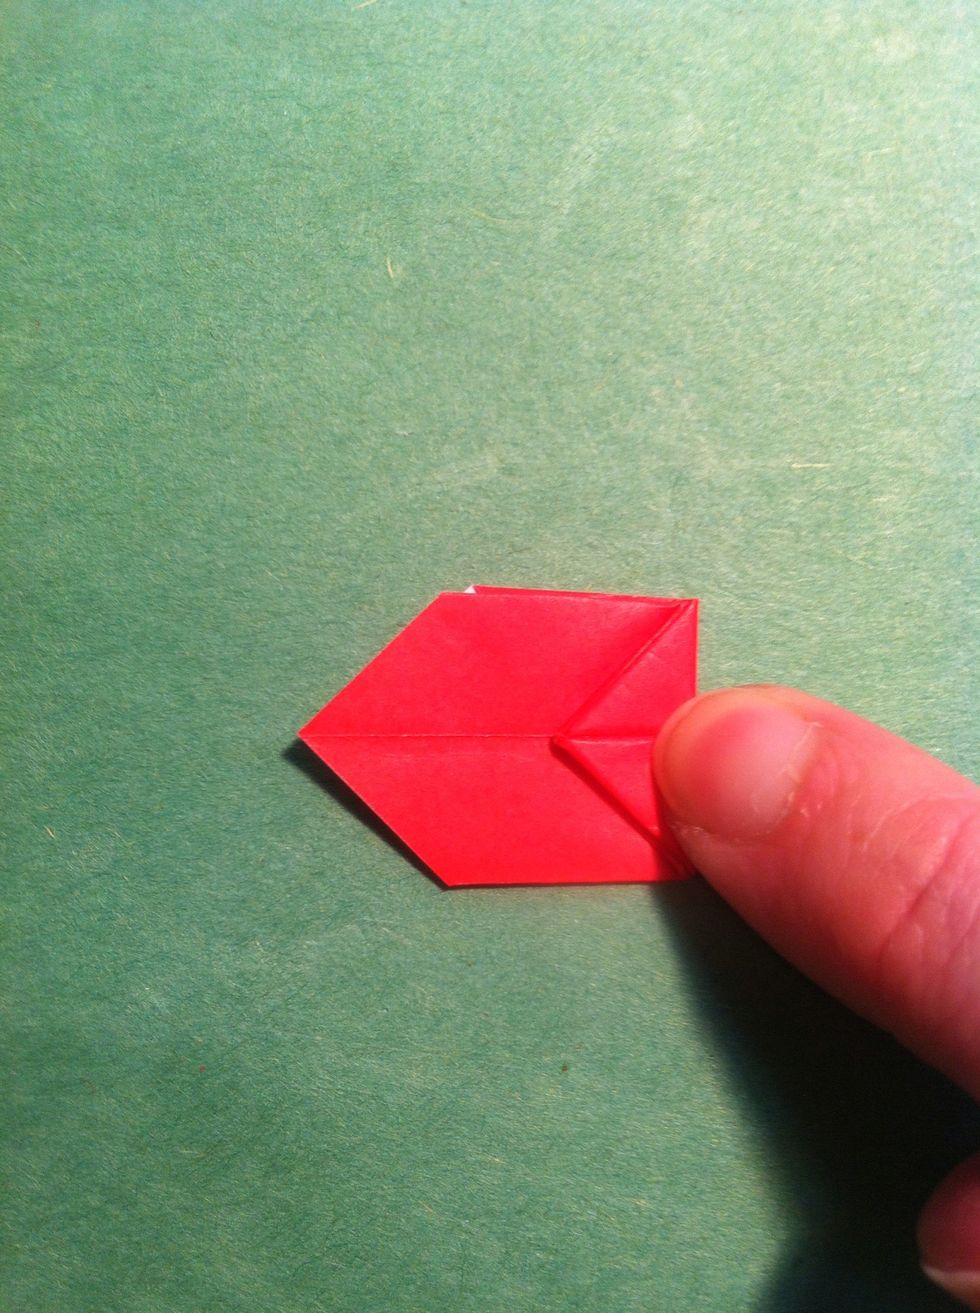
Fold right tip over. Unfold.
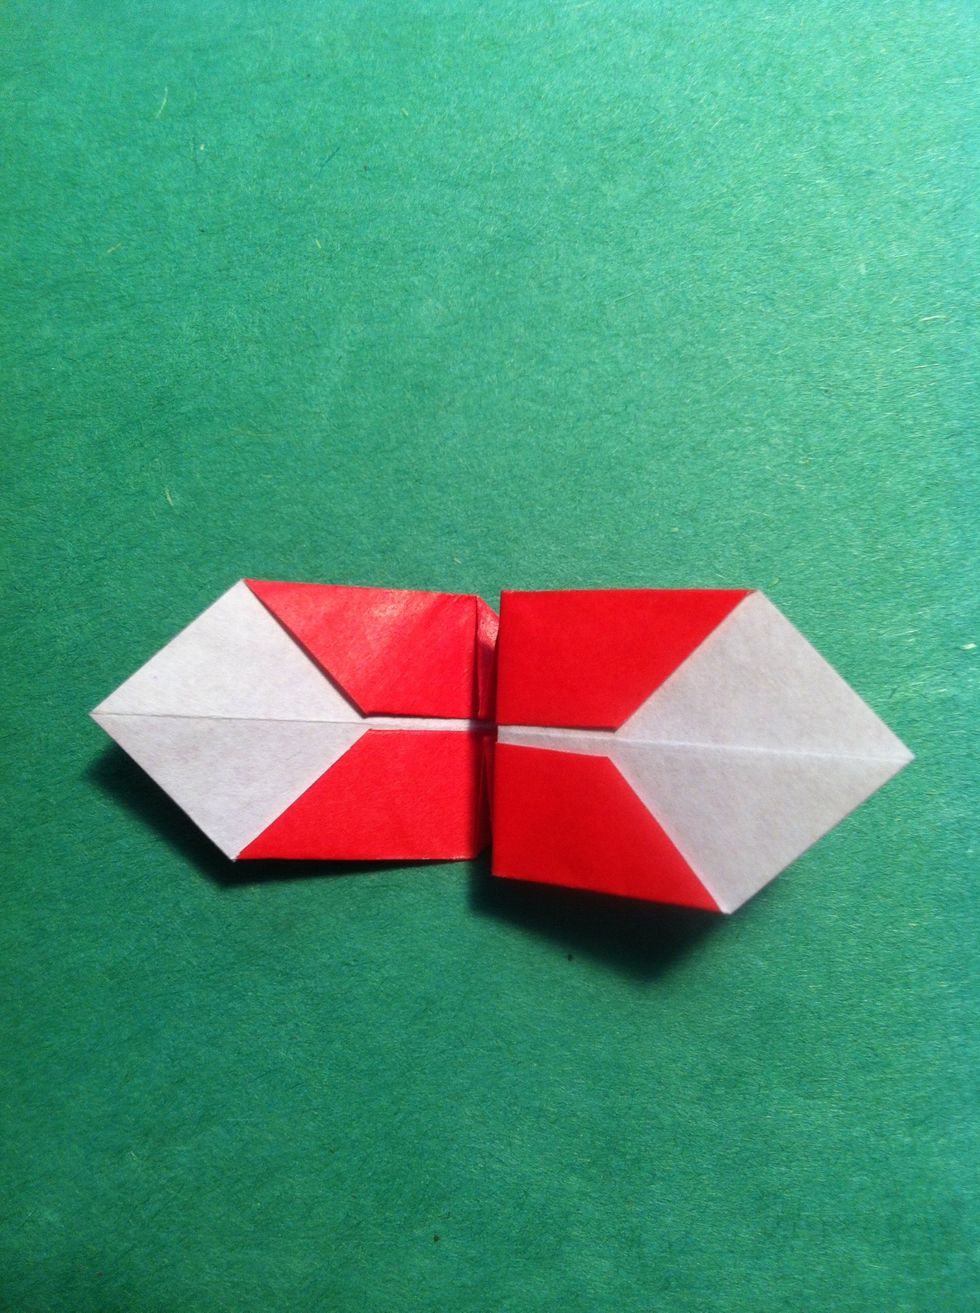
Fold top layer over to the right following that crease you just made. Repeat on the back.

Fold bottom corner up. Fold the other 3 corners same way.
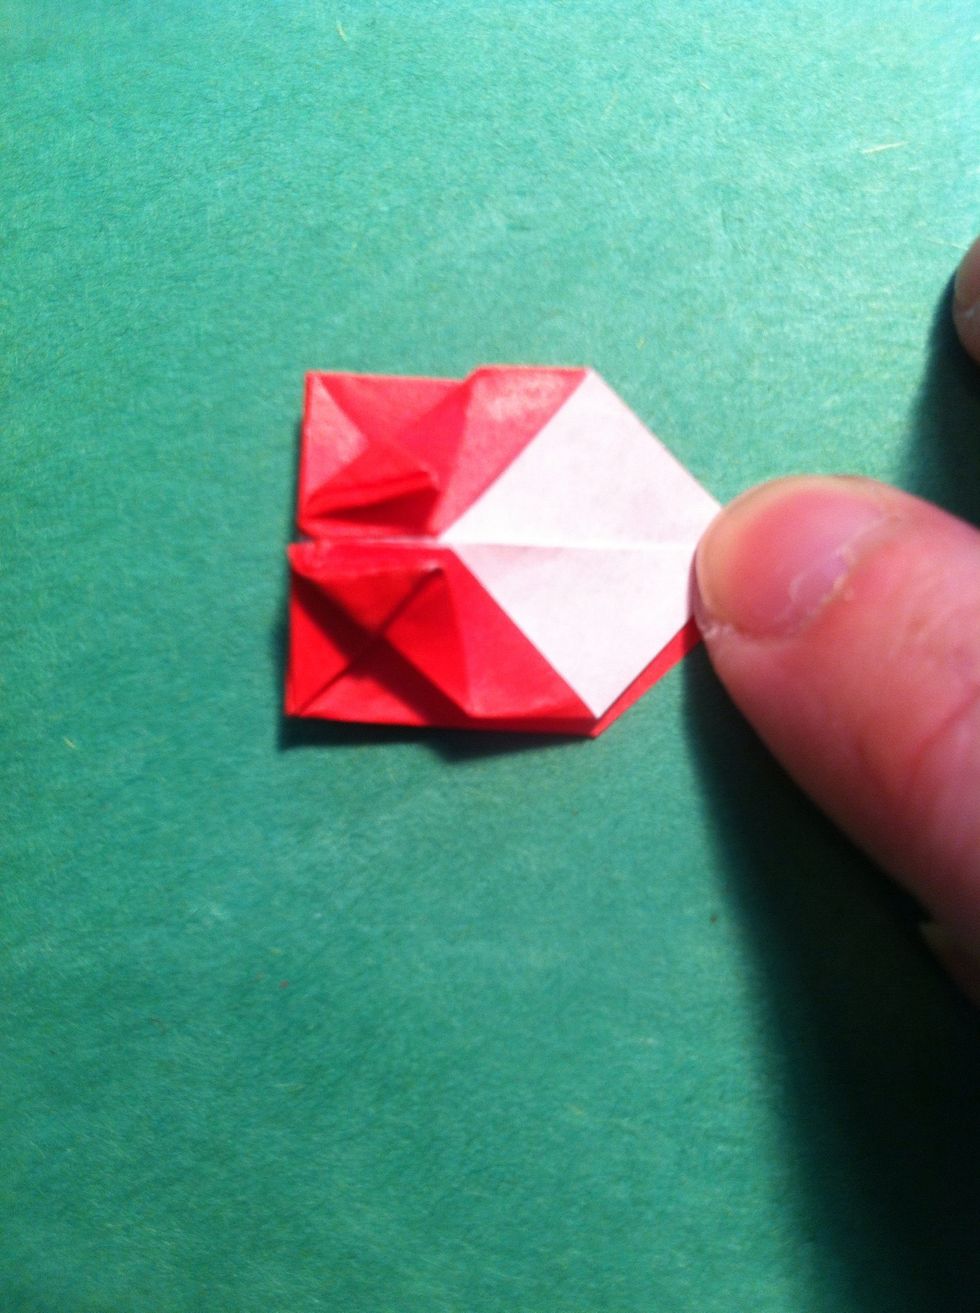
Here's the front 2 done...
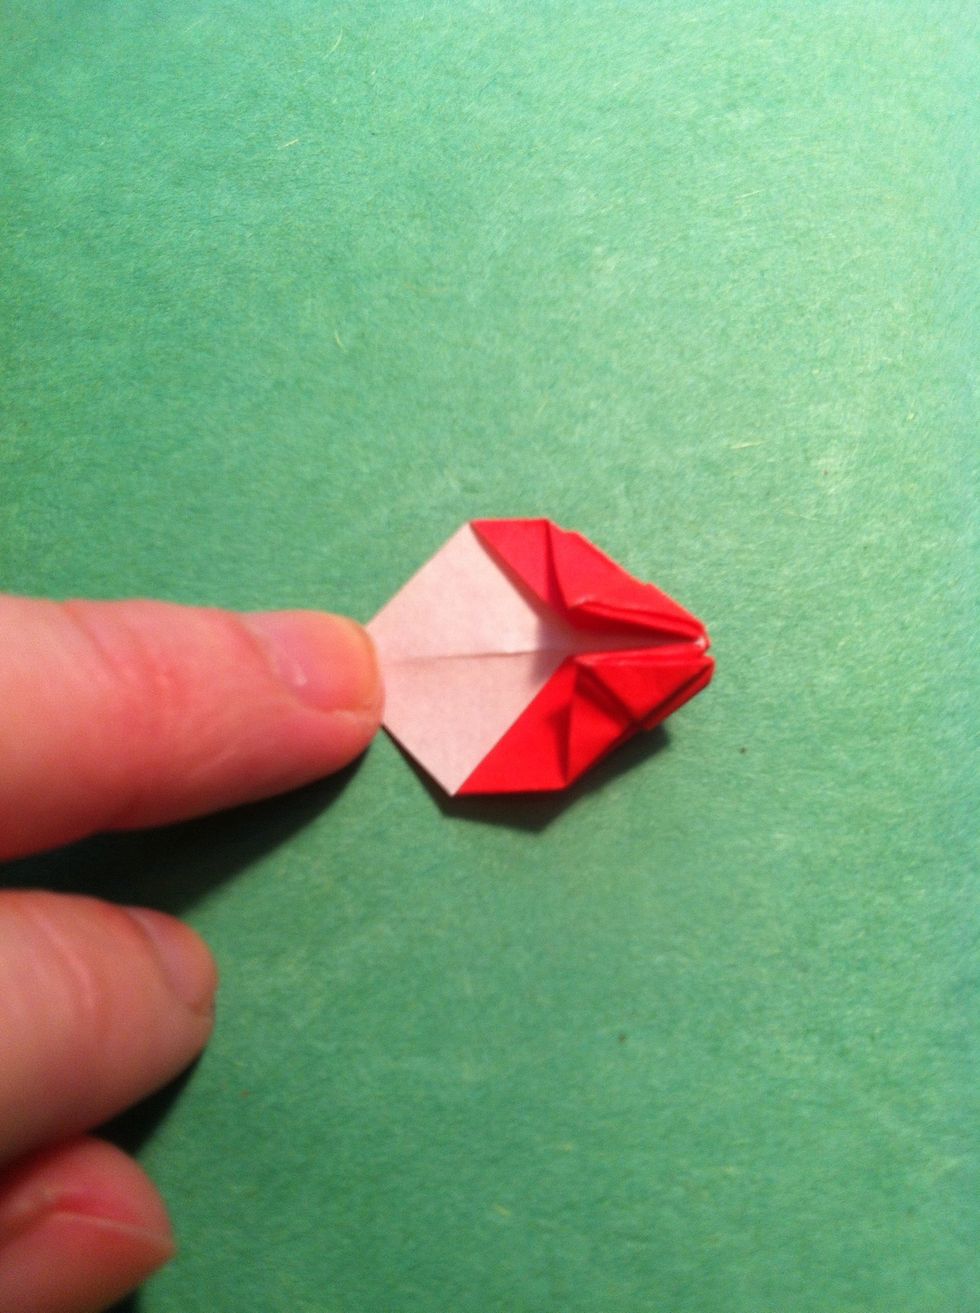
And the back 2 done.

Now fold the top layer over to the right following the crease my fingertip is touching.
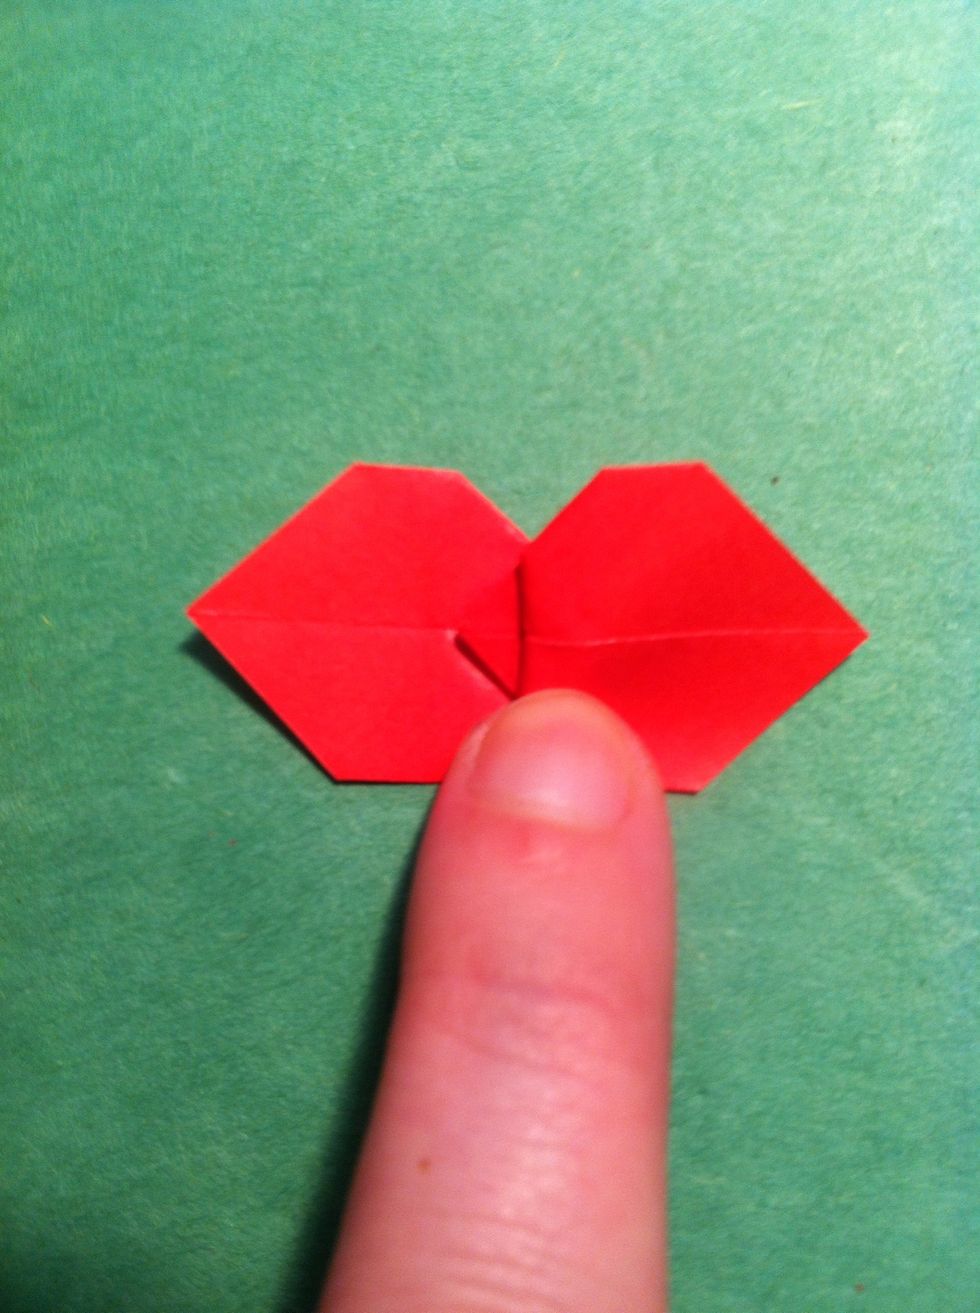
Like this.
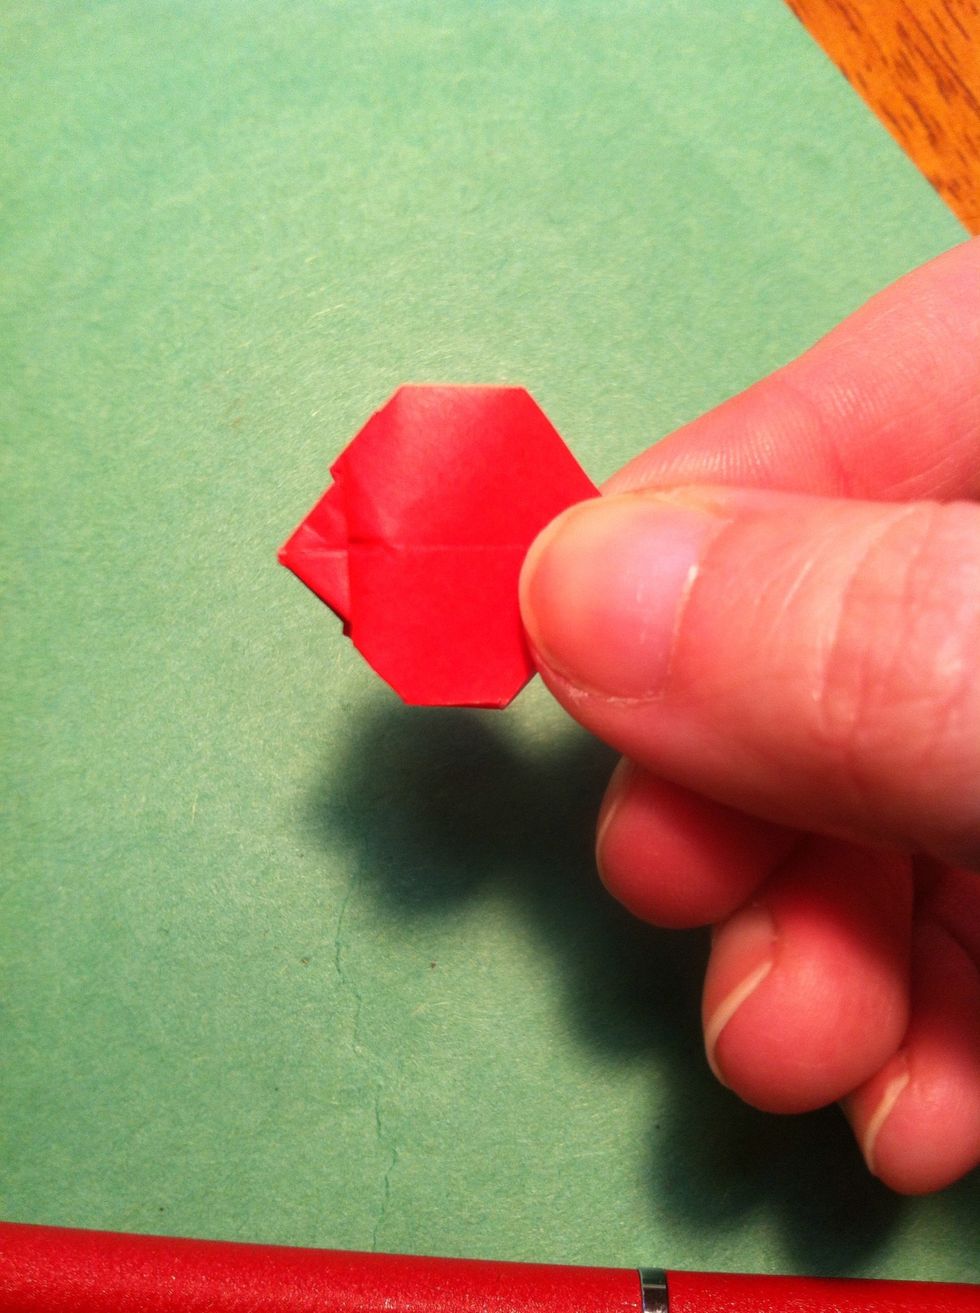
Repeat on back like this.
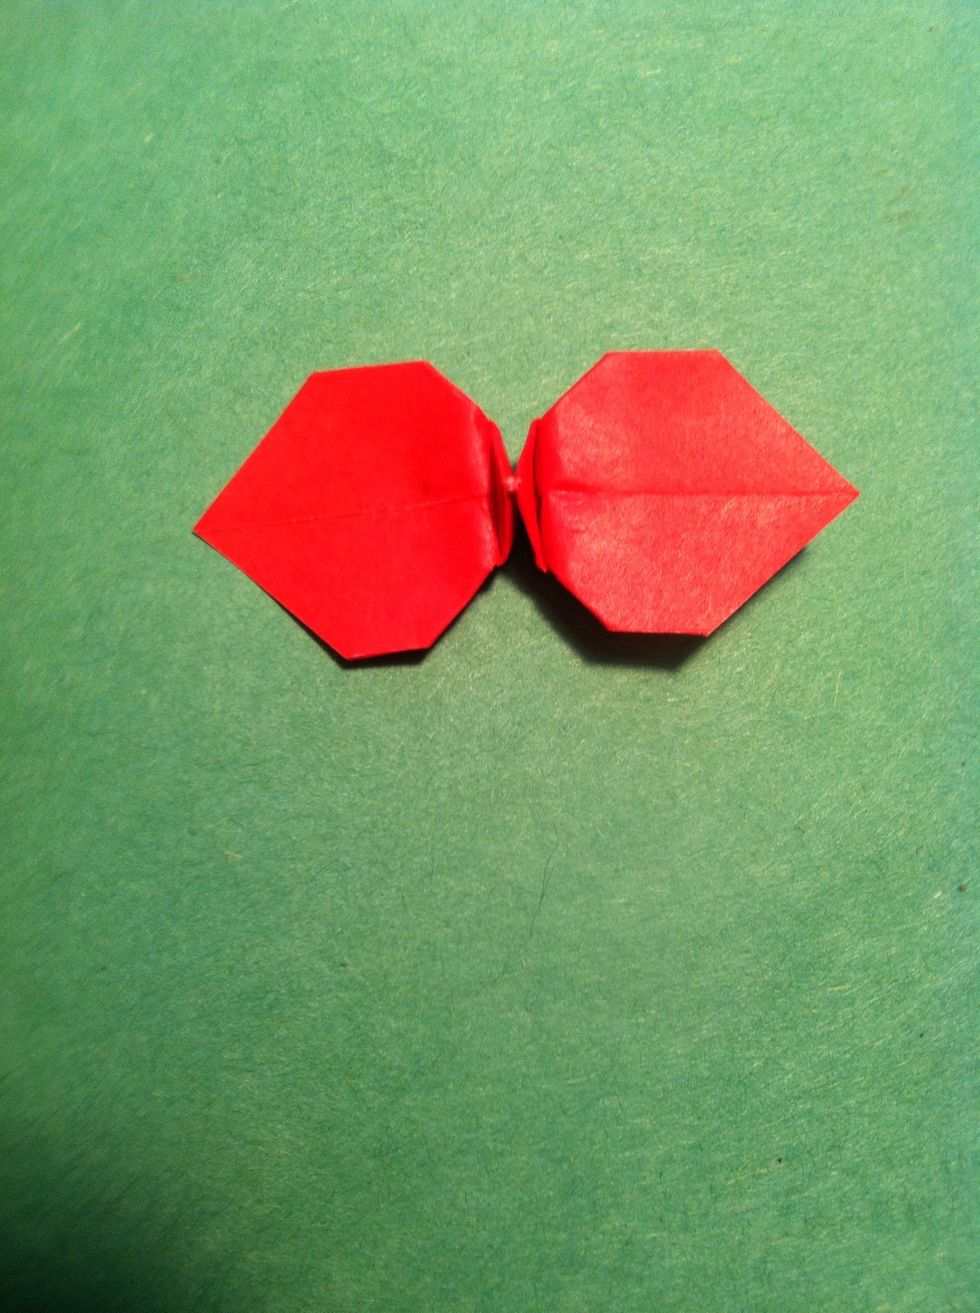
Pull carefully on the tips & squish the center point down...
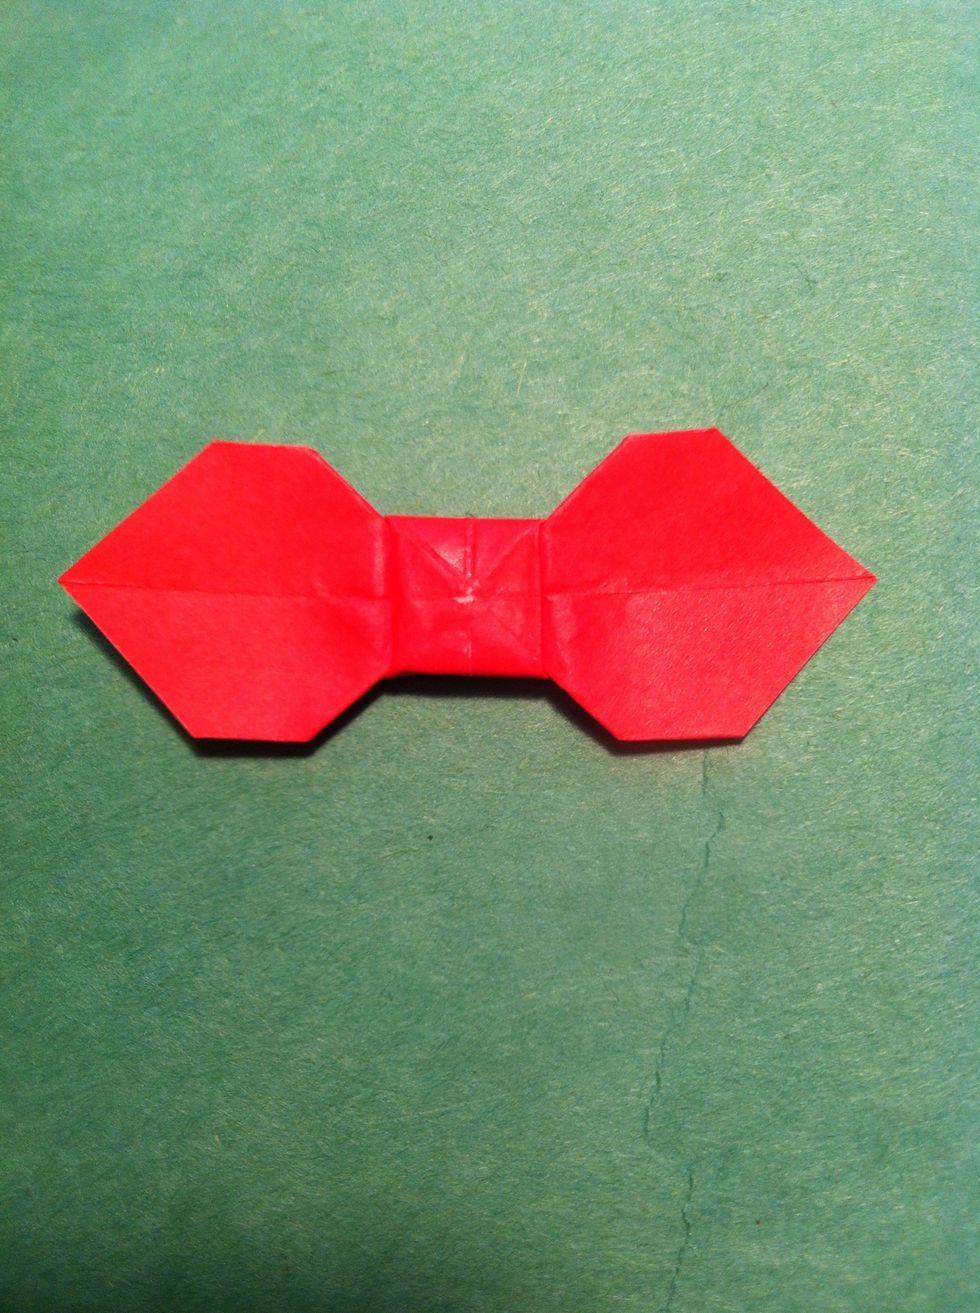
Squished!
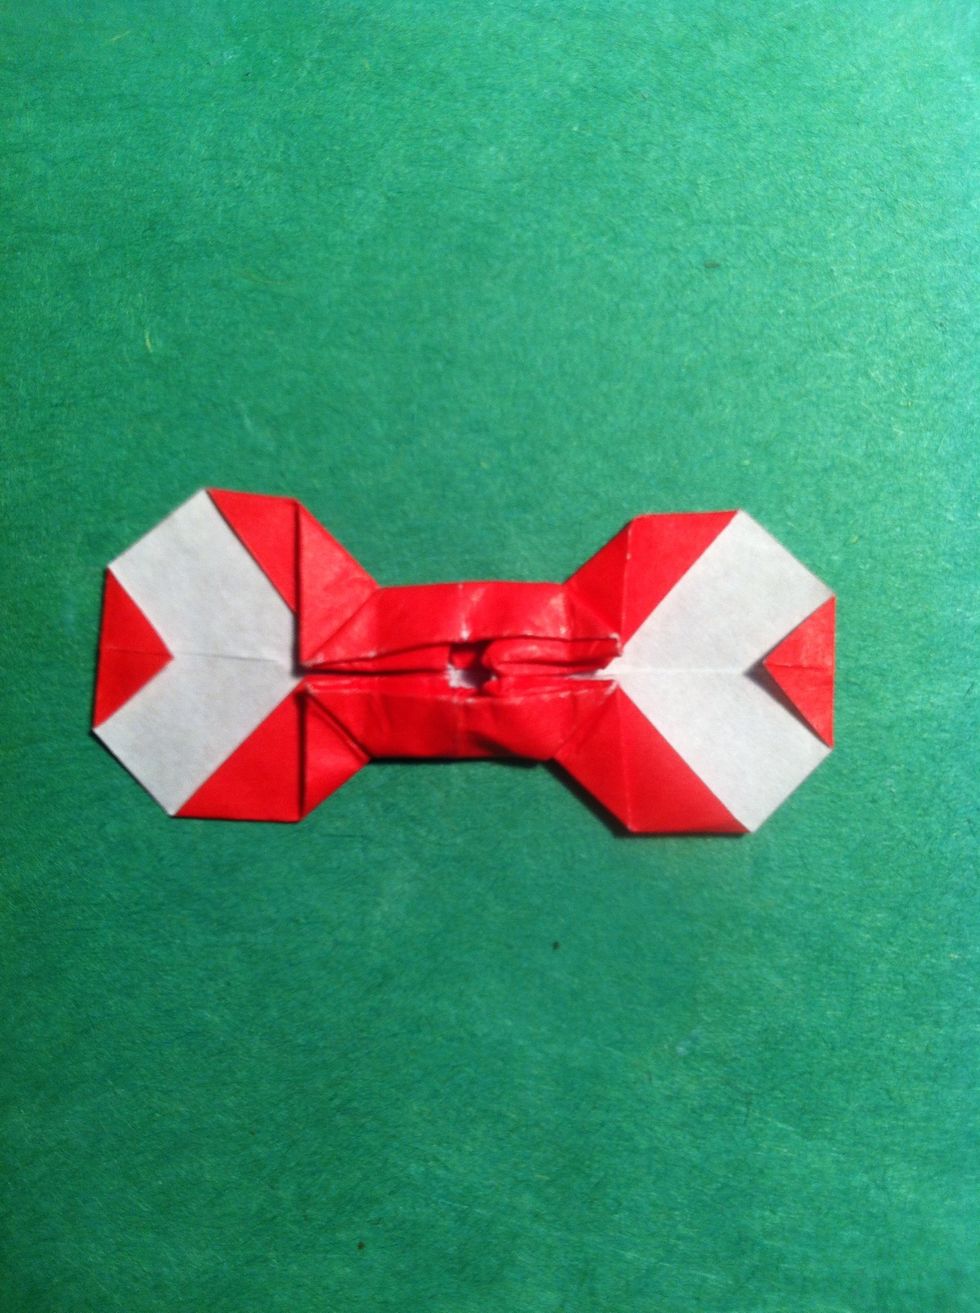
Flip it over & fold the tips in. You can glue them.
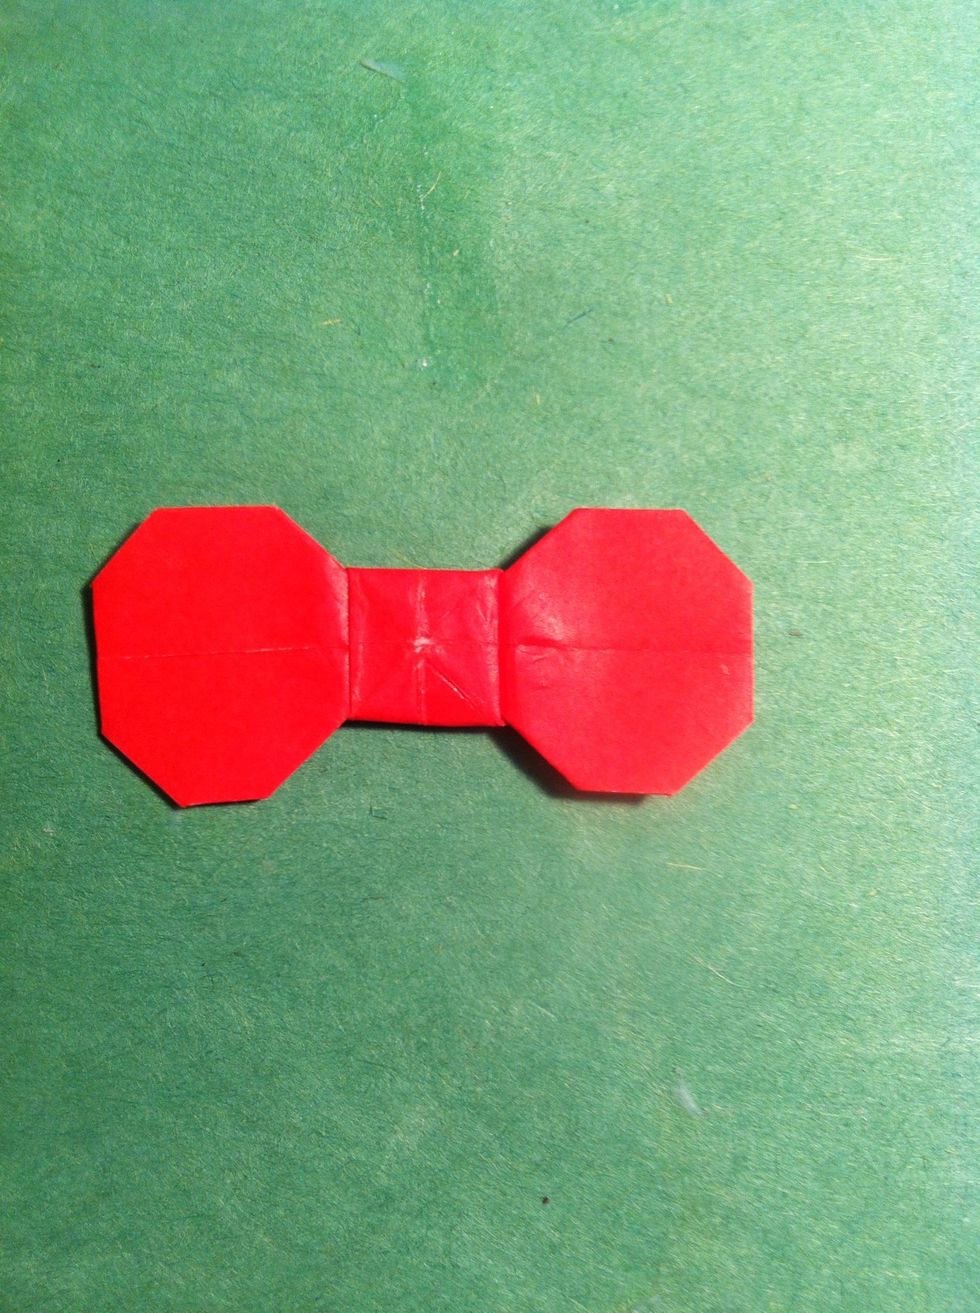
Bow done!
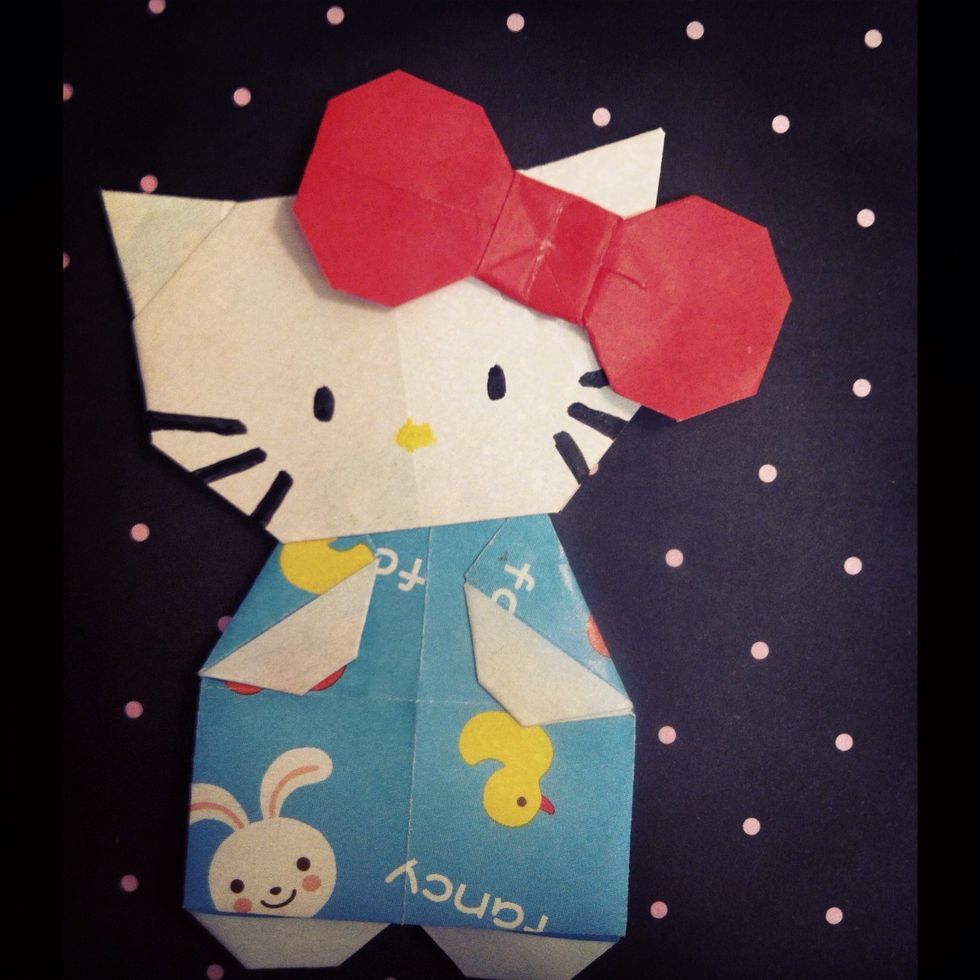
Add her face & slap on that bow. There she is. Wish I would have used plain blue paper instead of my "fancy" kind, tho.
- Paper
- Glue
Ellie Kneeland
ℓᎥƘƎ ᗩИ ⚙C̤̈✞⚙ƤυƧ ⚙И Я⚙ℓℓƎЯ ƧƘᗩ✞ƎƧ\nThese are not my designs; I'm just trying to keep origami alive. Please enjoy & pass along what you learn. ?ellie
Corona, California
The Conversation (0)
Sign Up