The Conversation (0)
Sign Up
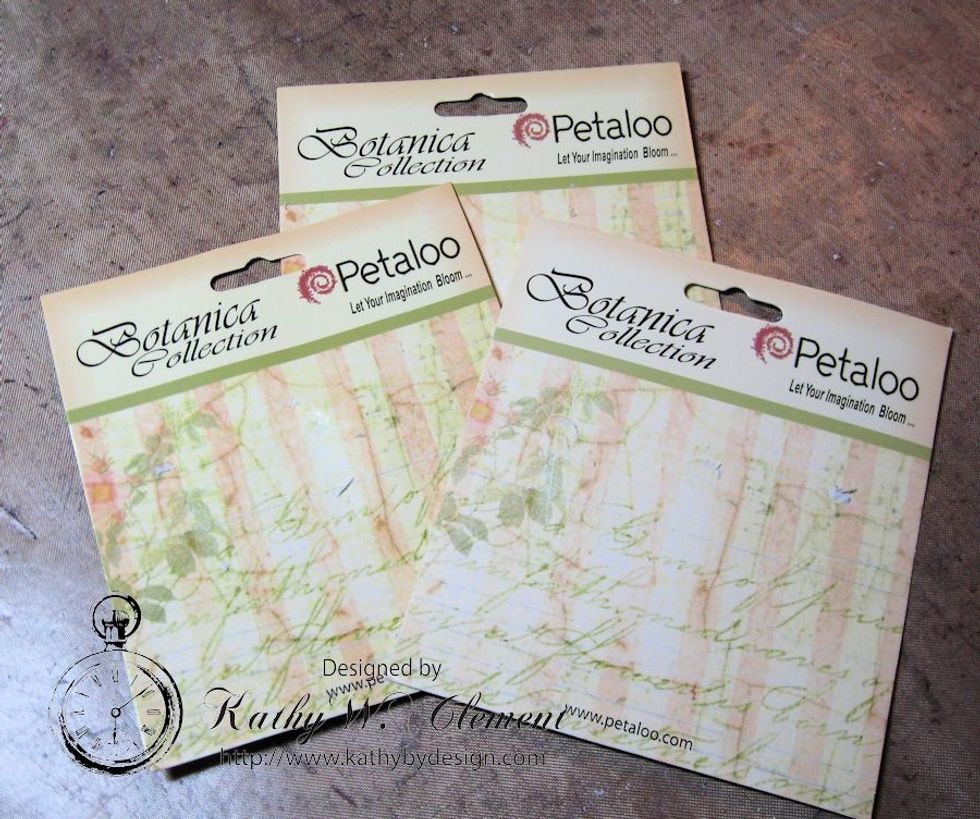
Save the chipboard base from 3 Small Petaloo Botanica Packages. For my tags, the packages measured 4" wide x 4.5" tall.
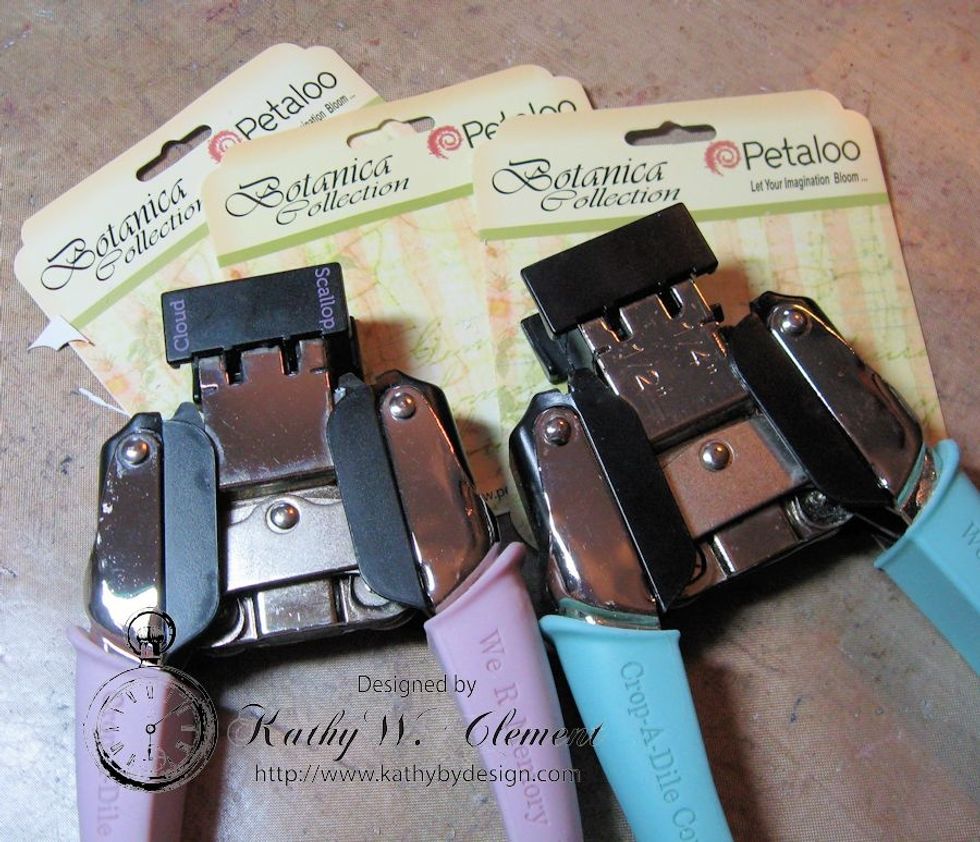
Round the corners on the bottom edge of each tag. Use the Scalloped Edge of a Crop A Dile to shape the top corners as seen in the photo.

Use a sanding grip to rough up the surface of the tag, but don't remove all the pretty text and pattern. Focus on the printed part of the tag.
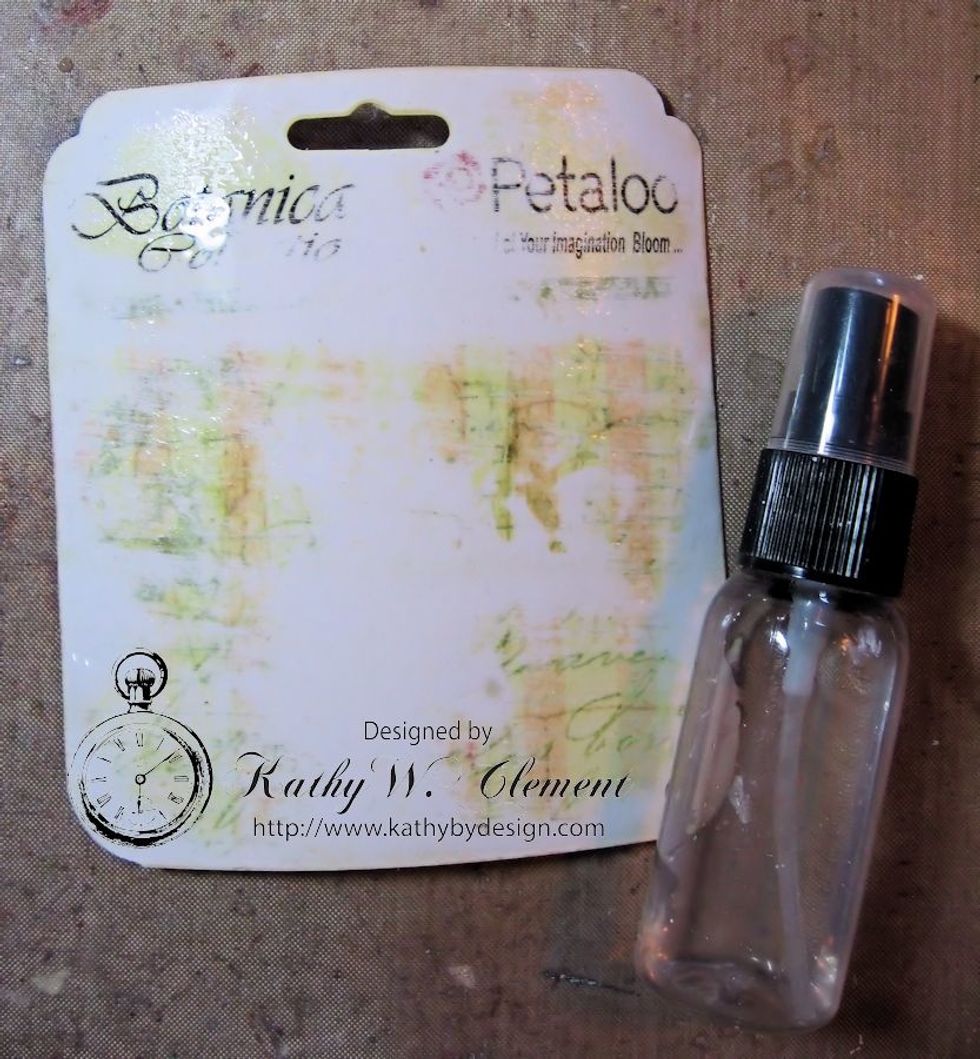
Spritz the front and the back of the shaped tag with a mister bottle. Don't saturate it, just dampen it.
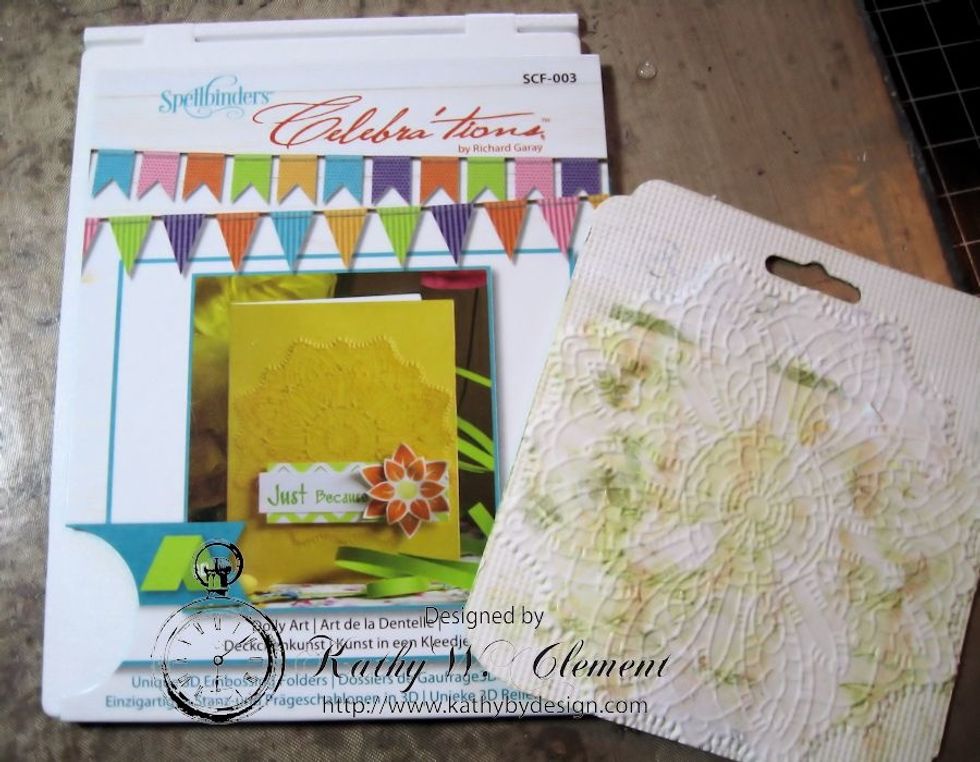
Center each dampened tag in the embossing folder, with the raised portion of the folder on the bottom. Run each tag through your machine.
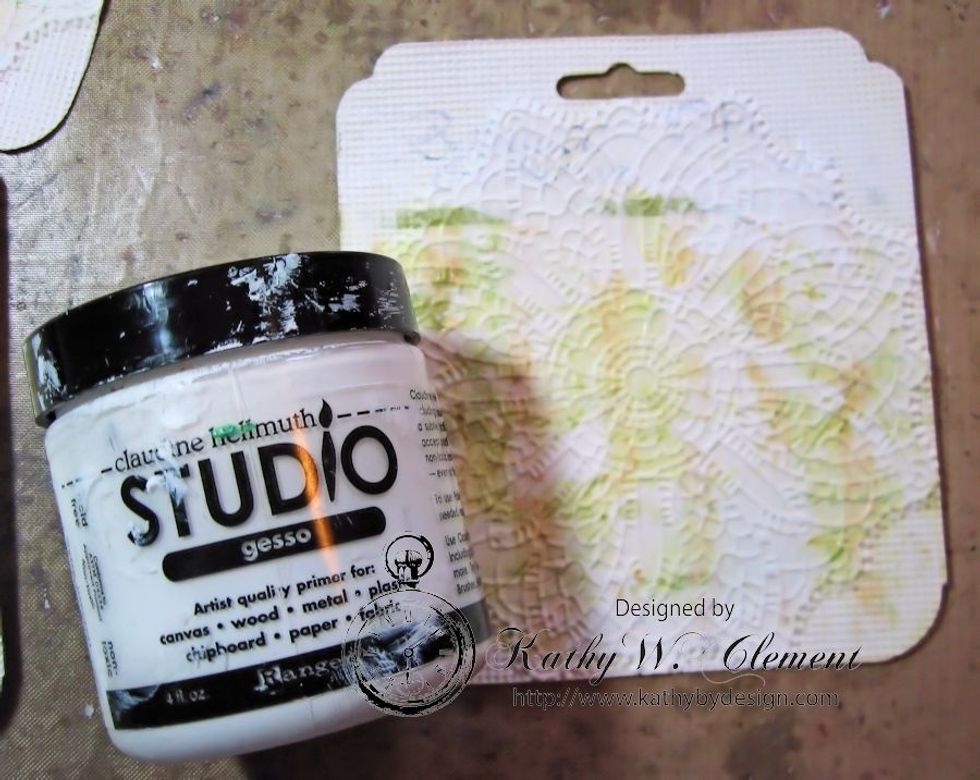
Use a foam brush to add a light coating of gesso on the edges of the tag to cover up the printing.

Use foam applicator to sponge Tea Dye Distress ink over the embossed edges of the tag. You may have to sand very lightly if there is gesso on the tag, as it will resist the ink. Sand lightly & ink.
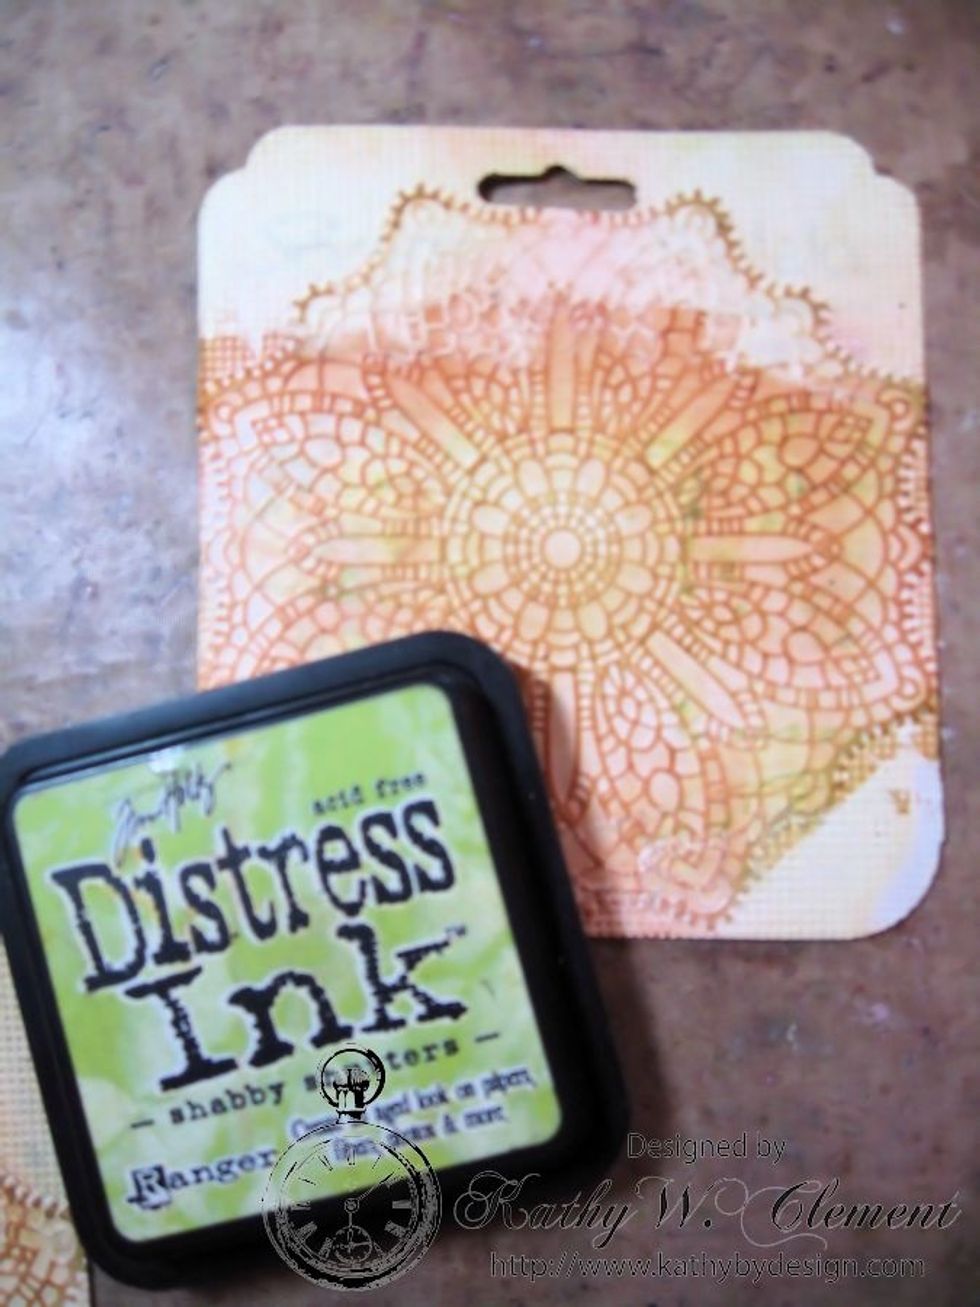
Repeat with Shabby Shutters.
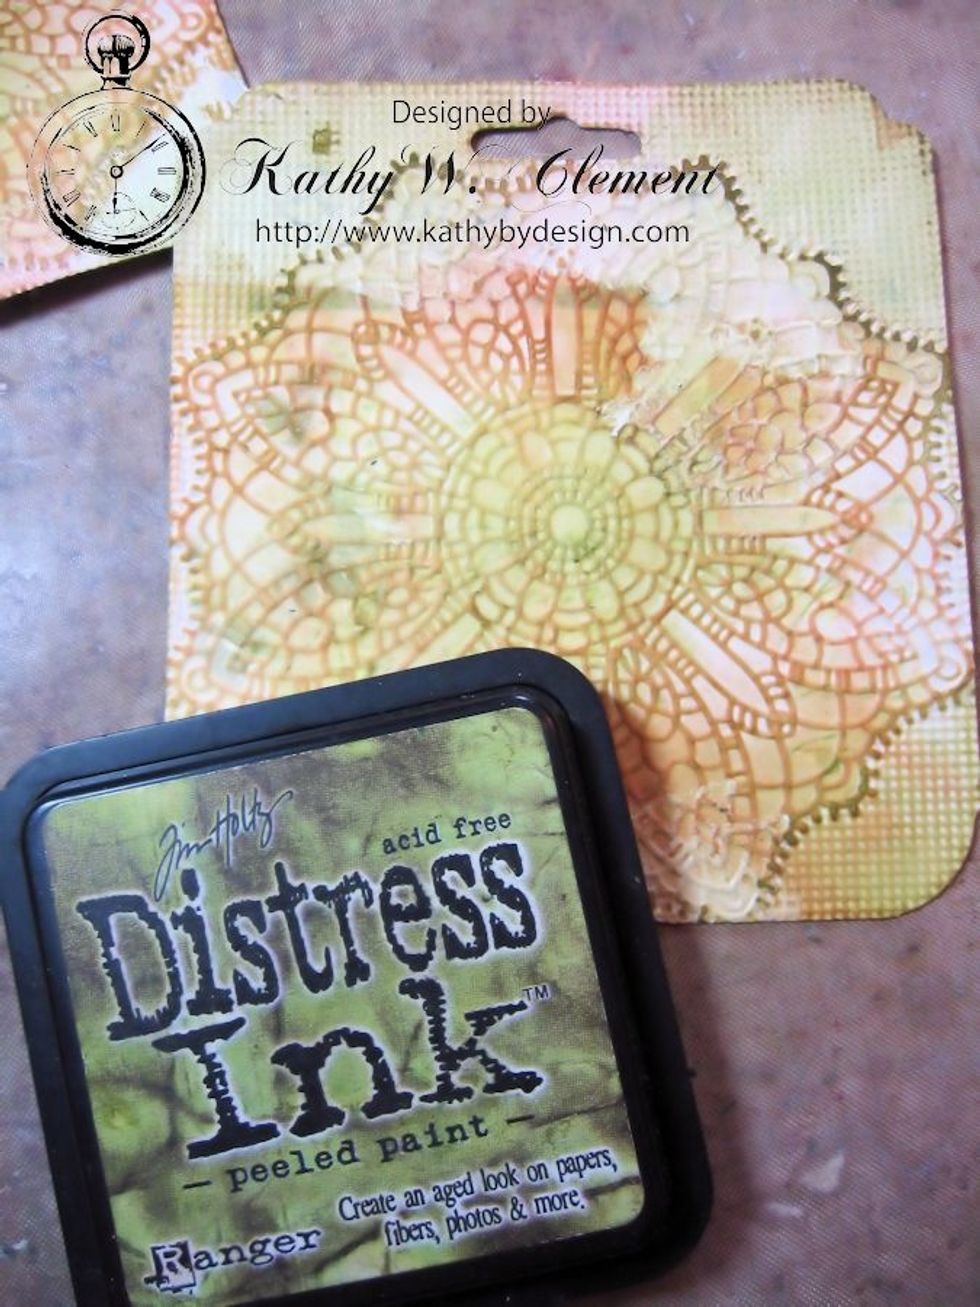
And again with Peeled Paint. See how the embossed design is becoming more defined?
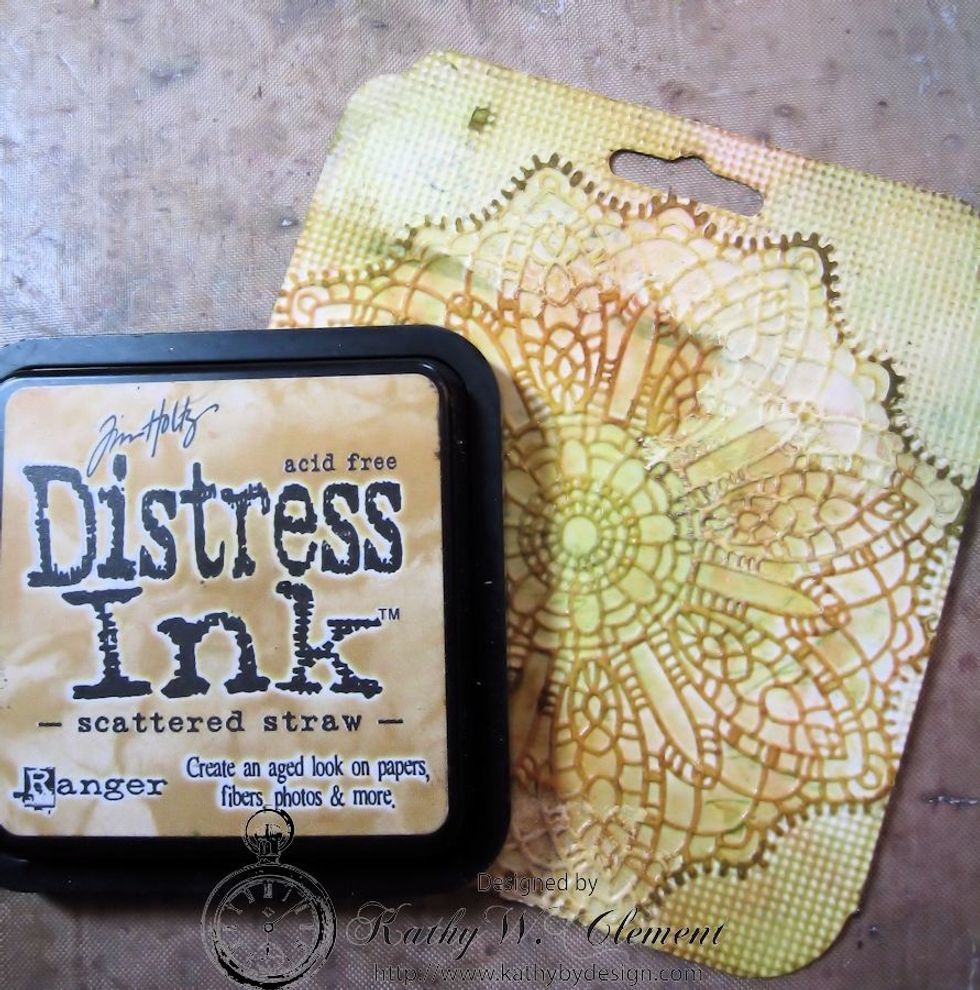
Repeat one last time using Scattered Straw.
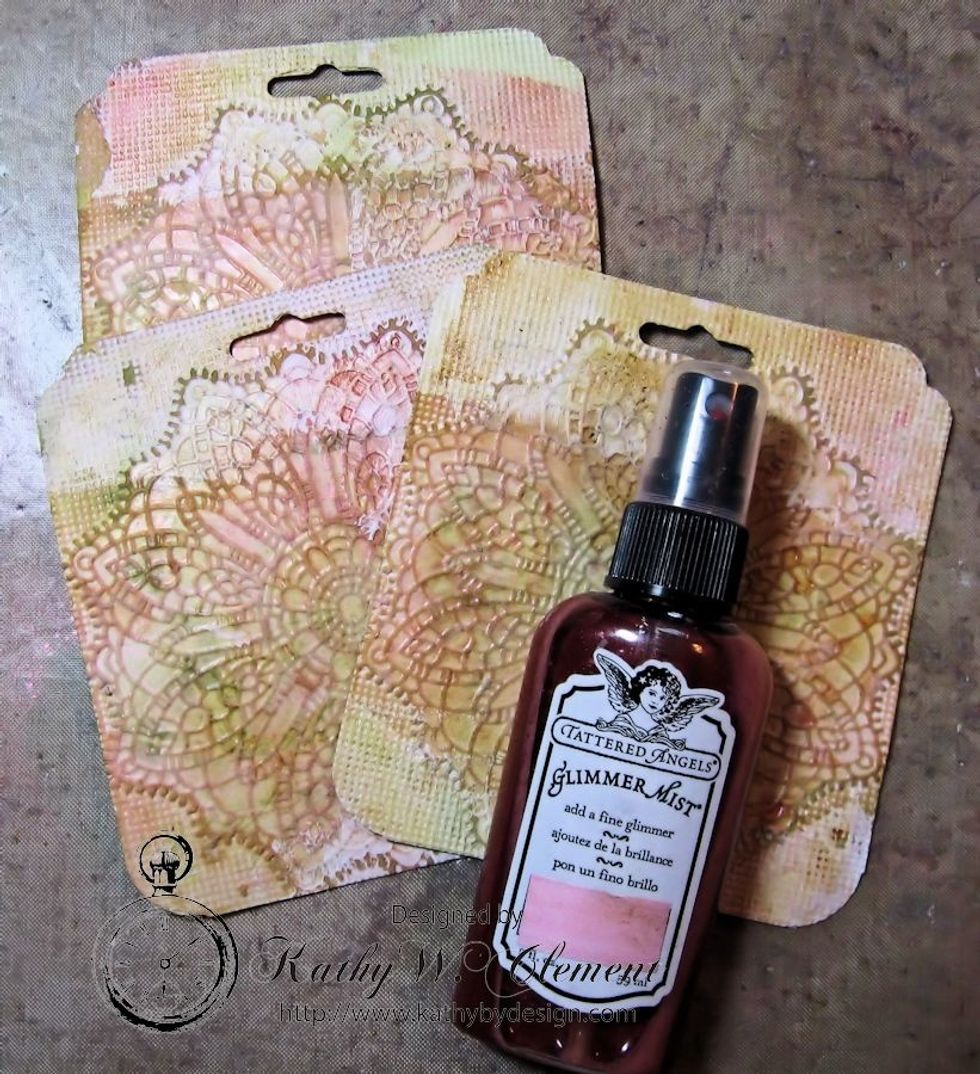
Mist the tag with Tattered Angels Vintage Pink Glimmer Mist. Start with a light coat, then add until you are happy. Heat dry.
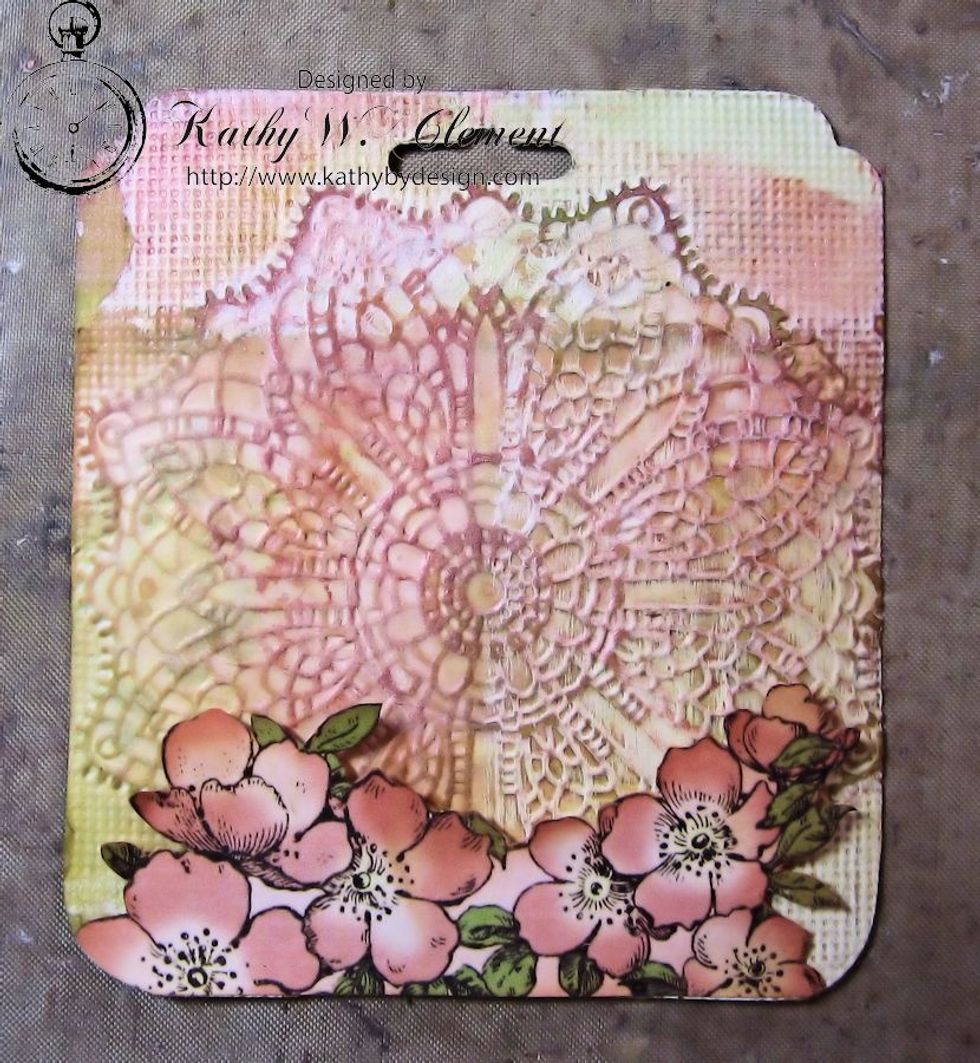
Fussy cut flowers from Once Upon a Springtime Primrose Cottage. I fussy cut 3 sets, one for each tag. Glue just the bottom edge to the base of the tag. Use foam dimensionals halfway up to create lift.
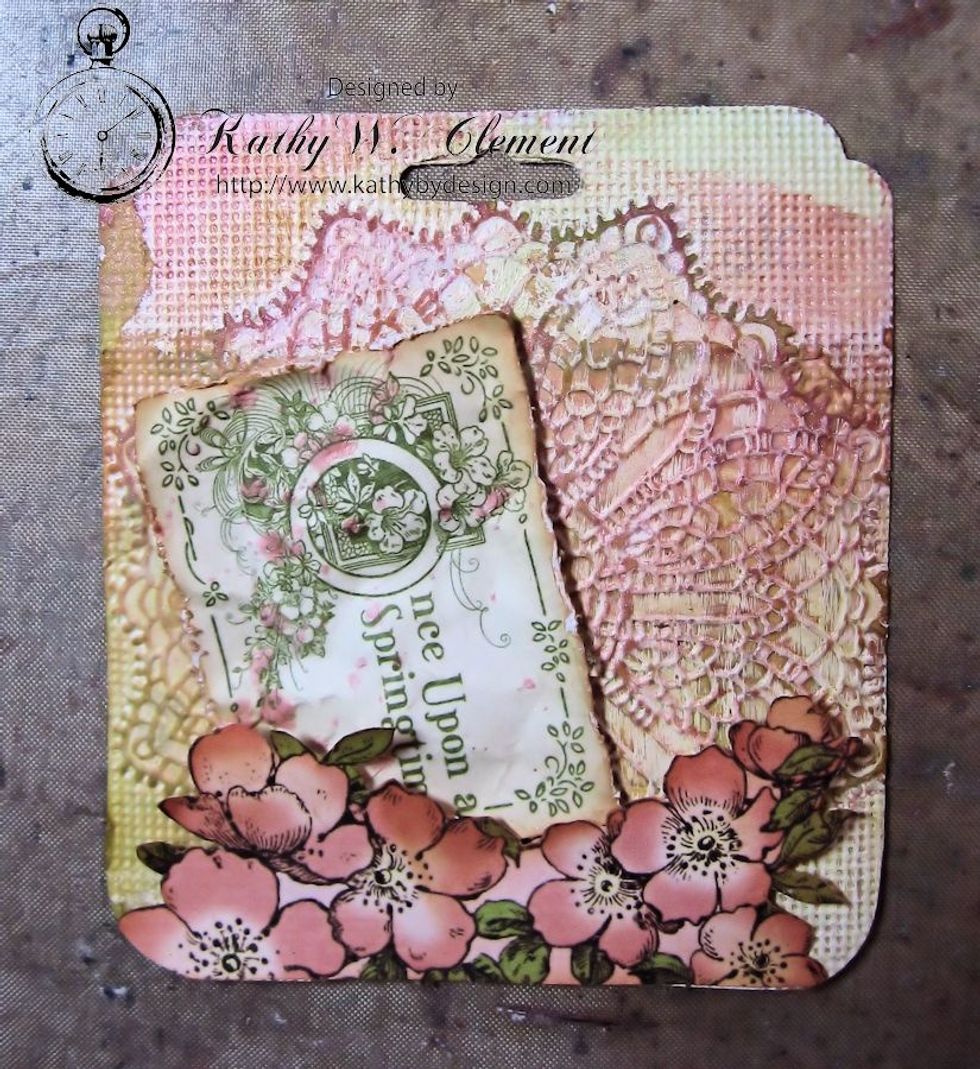
Cut apart the images from the Enchanted Forest page. Ink the edges with Vintage Photo. Spritz with water. Crumple. Unfold. Spatter w/Glimmer Mist. Glue the bottom edge & use foam dots on top edge.
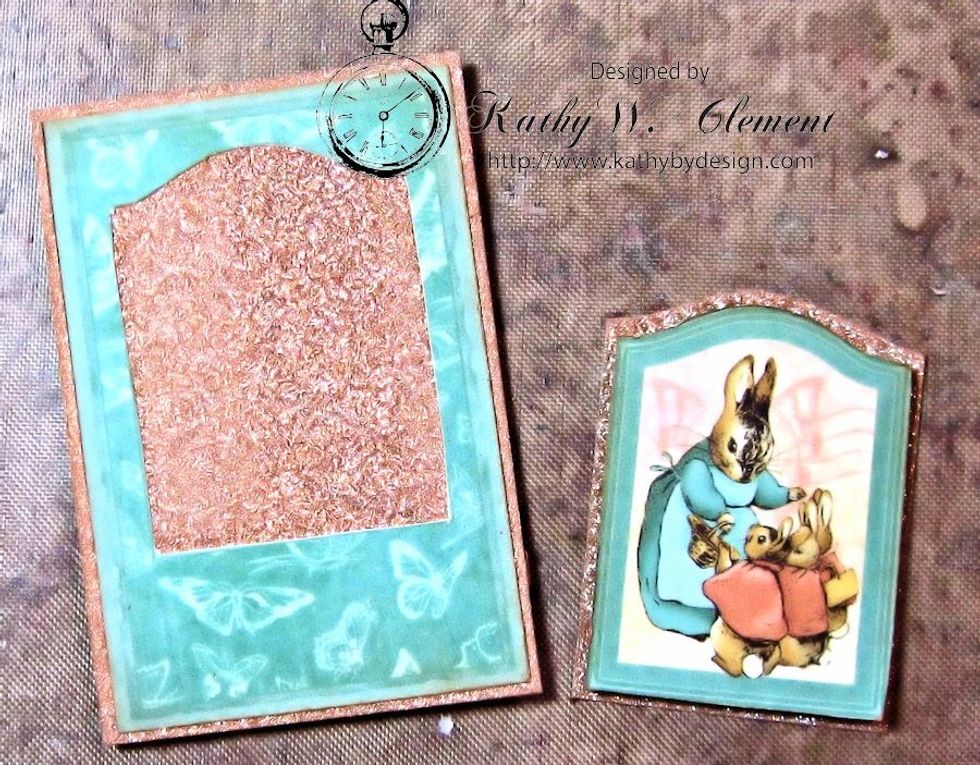
Cut images from Once Upon Springtime Frames. Use a craft knife to cut out the center image. Mat on Glitter cardstock. (If you use your craft knife on a glass surface, it will cut like buttah!)
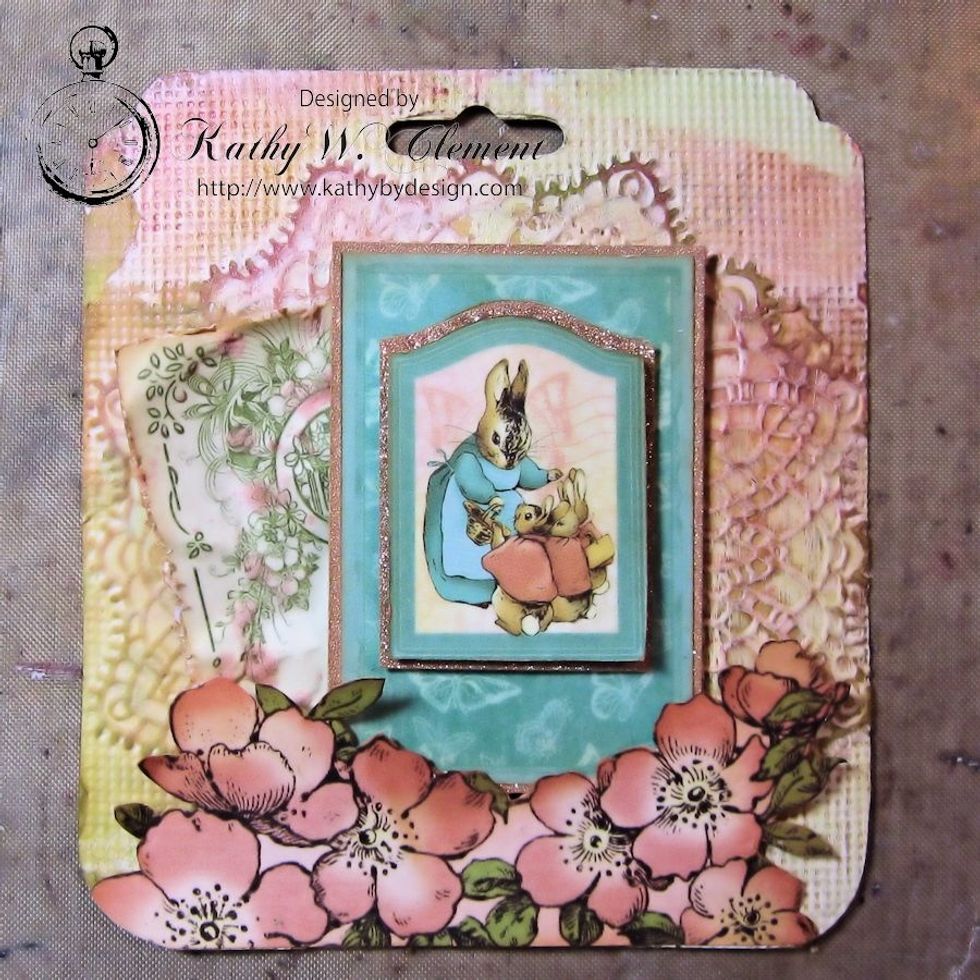
Use foam dimensional between the image and the frame, and again between the frame and the tag base. Glue the bottom edge under the fussy cut flowers.

Use a hot glue gun to attach a hydrangea blossom. Glue the Botanica Mini on top, as shown. This anchors the corner. Continue to layer in flowers and leaves around the focal image.
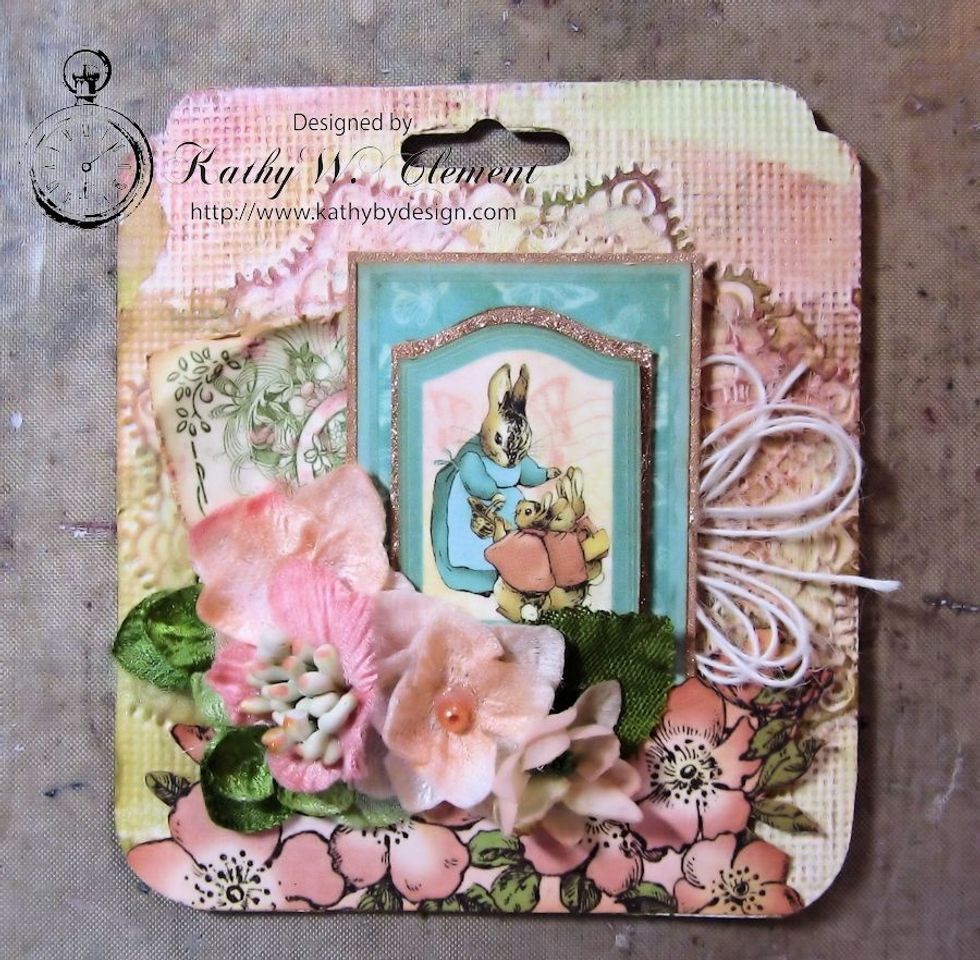
Cut green hydrangea petals in half to use as leaves and glue beneath the flower petals. Make a string bow and tuck under the image, using scissor points.
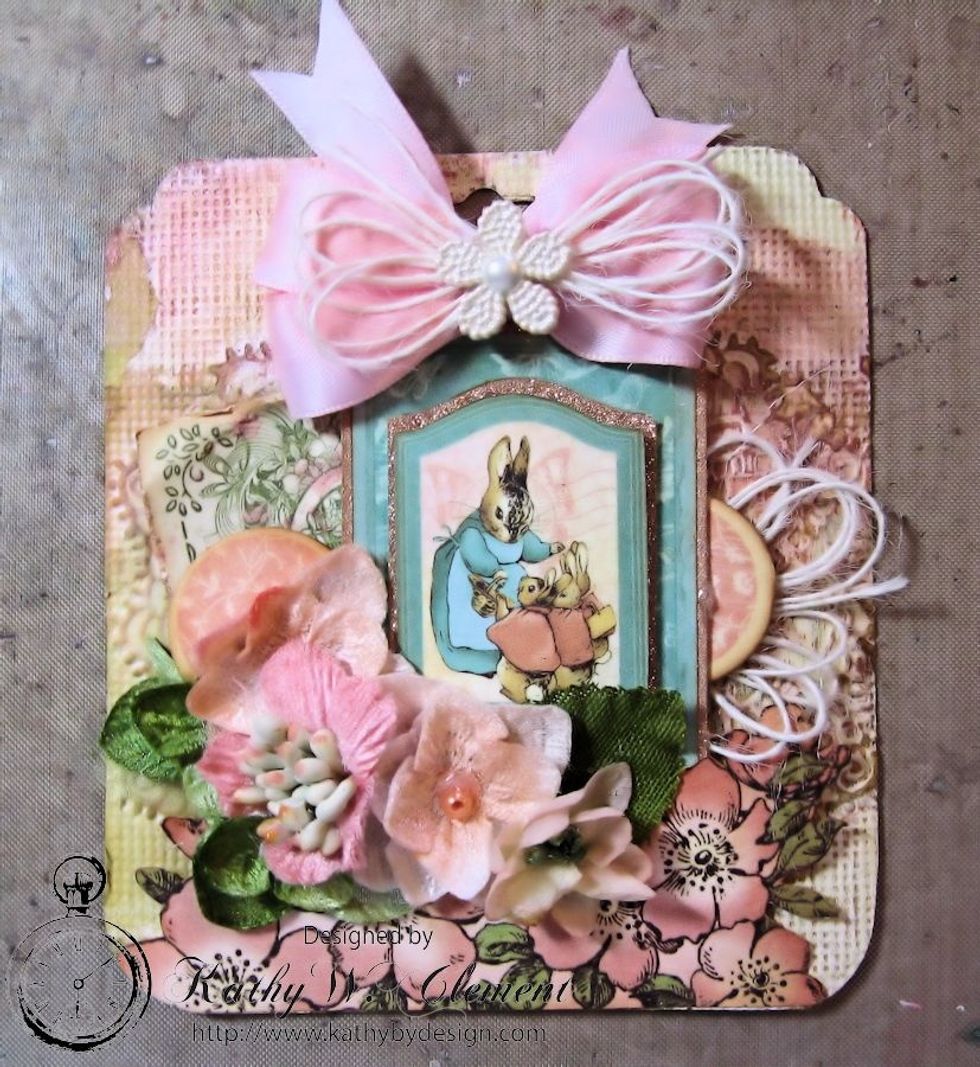
Cut a chipboard button in half. Ink edges. Glue behind flowers on left, and under image on right. Tie bow with Pearl Pink Satin Ribbon. Top with string bow. Add vintage pearl button.
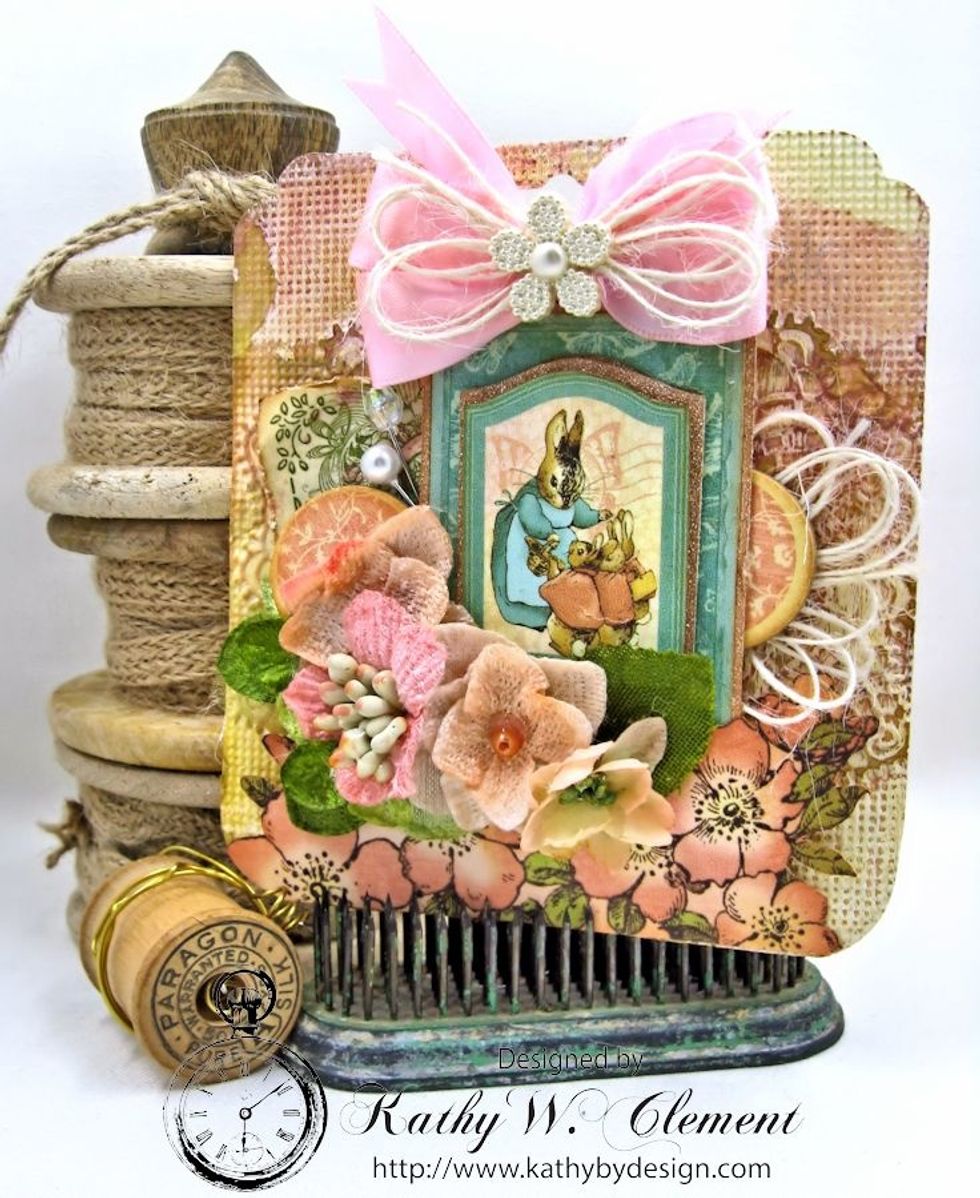
Here's the finished tag. It's all ready to dress up a special gift package! Add beaded hat pins to the side of the image, if you desire.
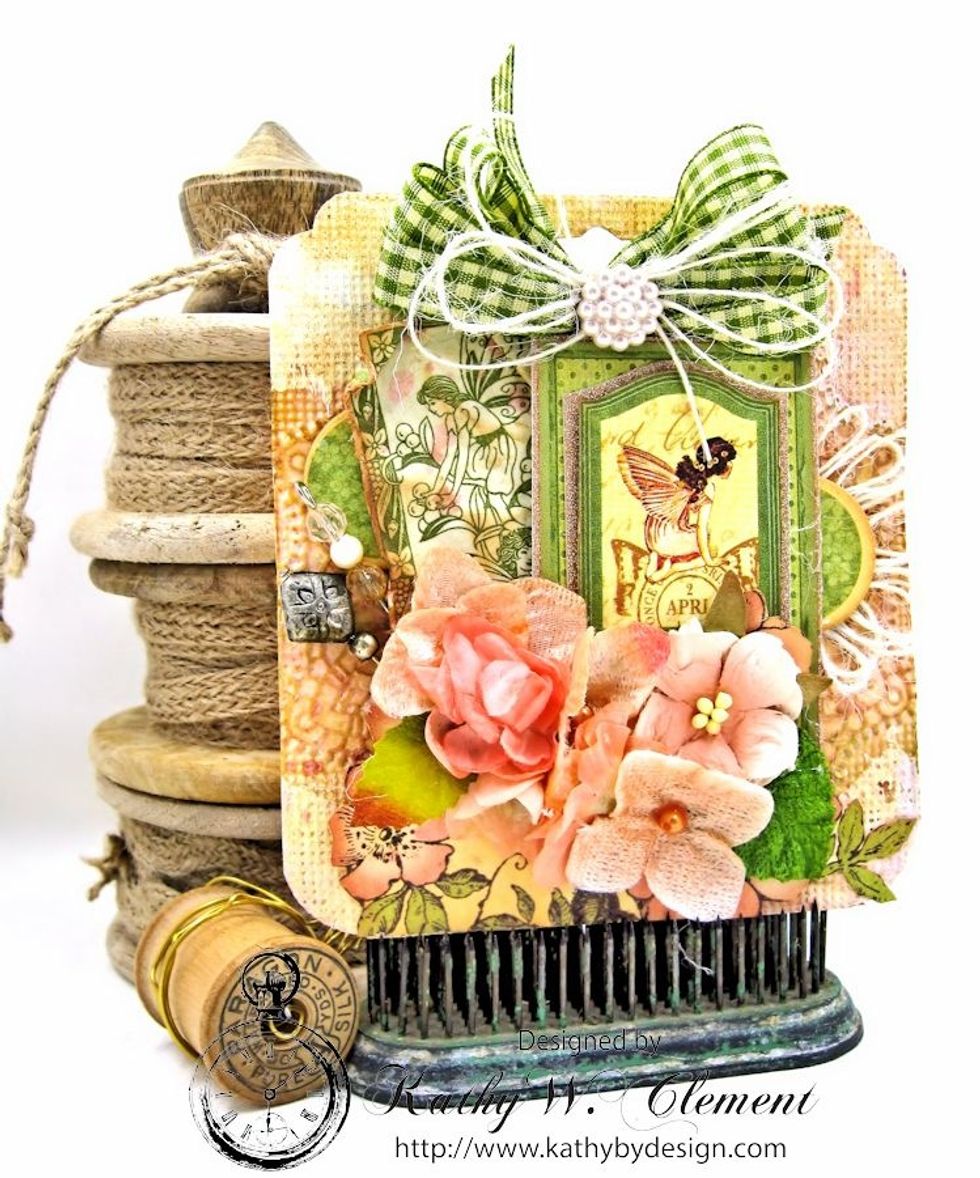
The steps are the same for this tag, only I added Moss Gingham ribbon to the top, and used Petaloo Beaded Hat Pins.

This tag is topped with Coral Satin Ribbon. Now that you've seen what pretty tags you can make, I bet you'll start saving your Petaloo packaging, too. Thanks for joining me. Now go get crafty!