The Conversation (0)
Sign Up

These panels have a bow detail at the top...
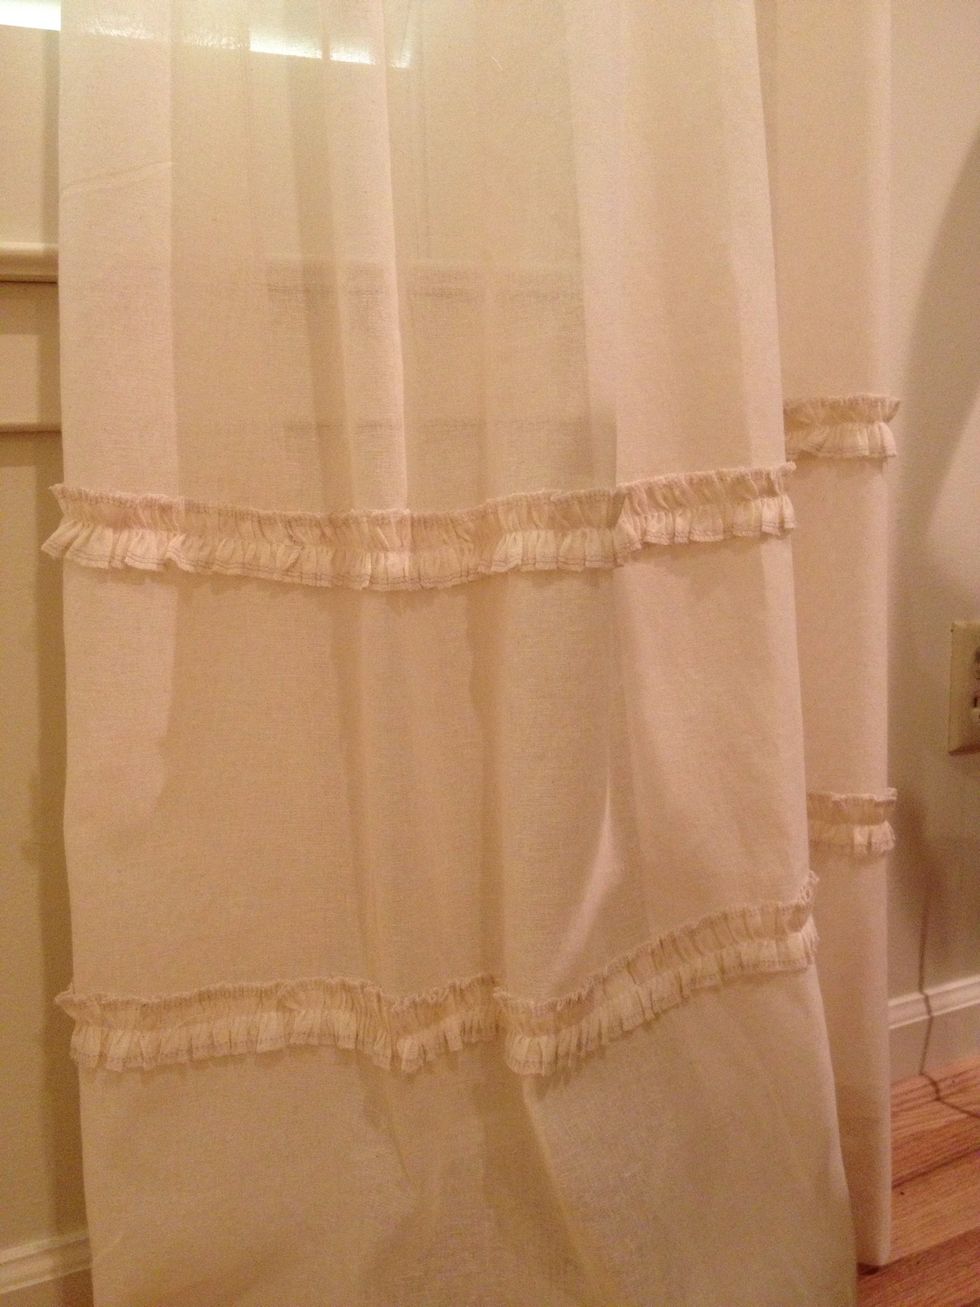
and two rows of ruffles at the bottom. The fabric and ruffled trim is available at www.patemeadows.com/NoSewCurtains.
First, install your rod. For our 36" wide window, we extended the rod 10" on either side of the window for a total rod width of 56". We used 5/8" diameter rods (www.patemeadows.com).
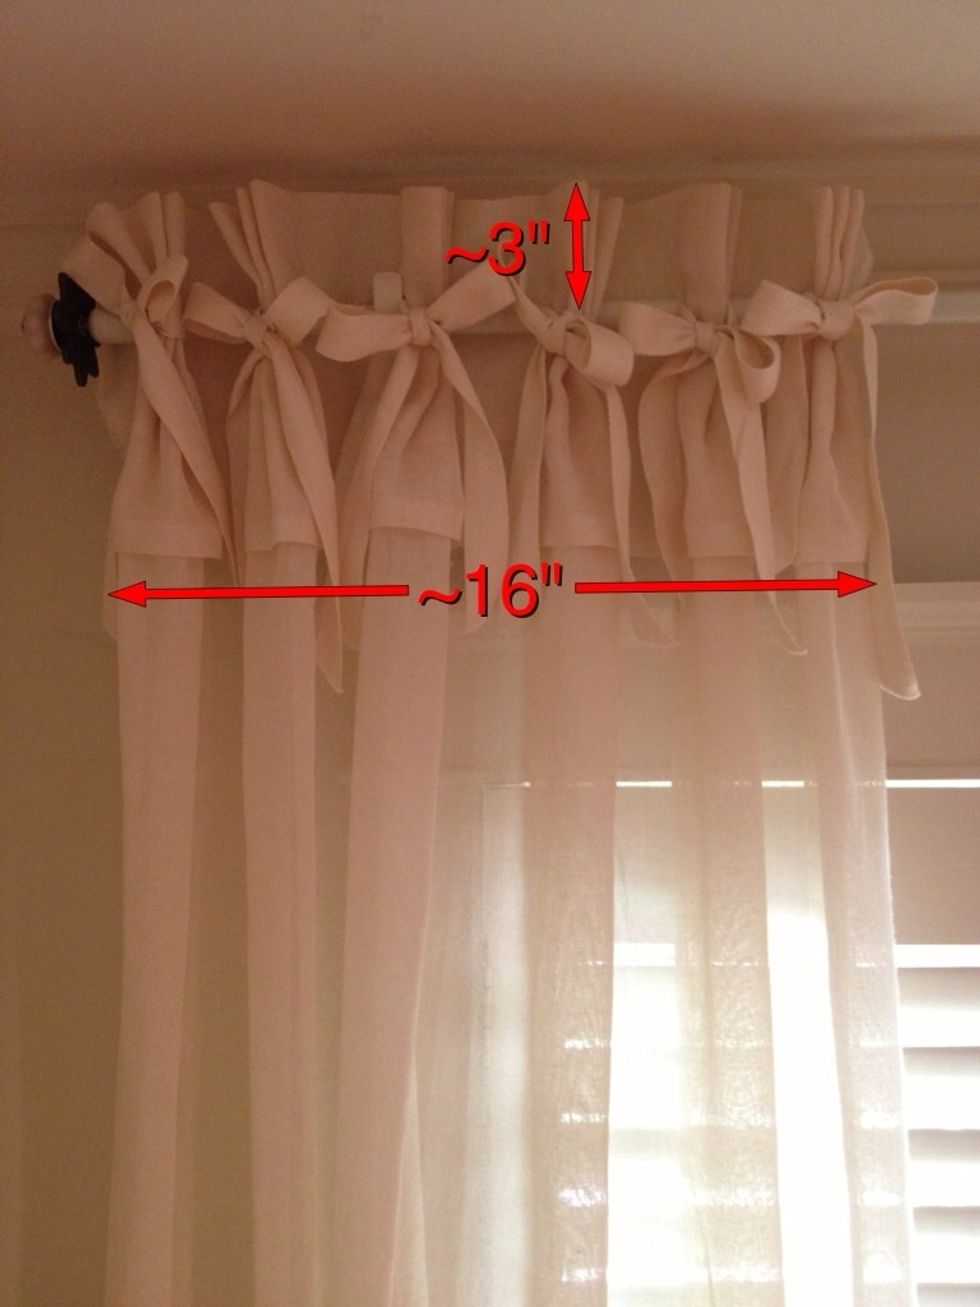
Keep in mind that the curtain header will extend about 3" above the rod. Refer to the chart on the next page to find your finished length. The installed width of each panel is approximately 16".
Download the chart and pattern pieces from the website at patemeadows.com/NoSewCurtains.
Measure from the bottom of rod to floor. Find your measurement in Column 1 of the chart. Refer to Column 2 to get the length to cut your panels. Column 3 will give you the finished length with header.
For example, if the measurement from the bottom of the rod to the floor is 91", you will cut your panel 105".
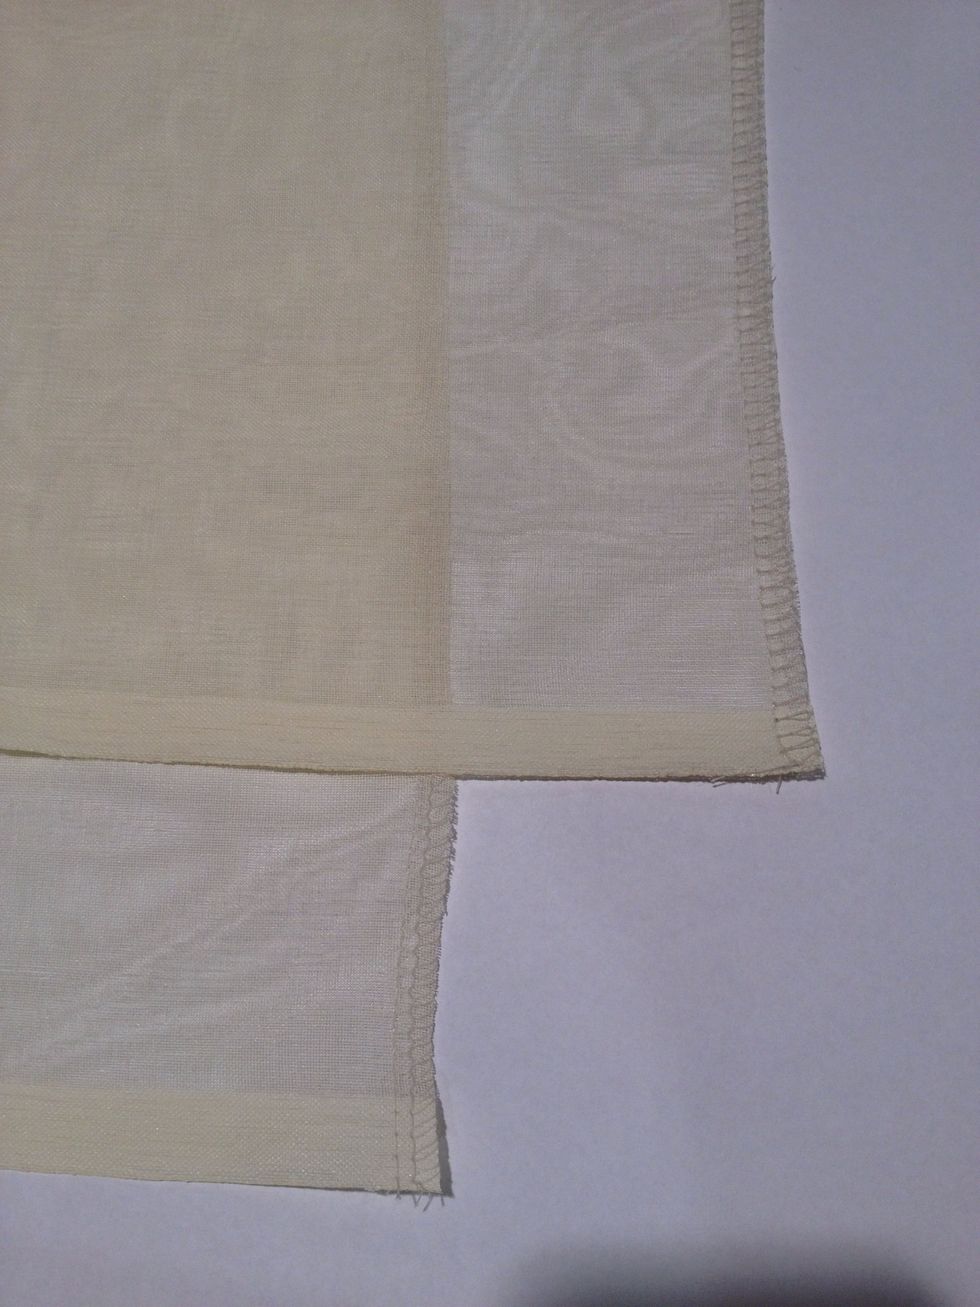
Panel fabric ordered from www.patemeadows.com will be 60" wide by 117" long. You will need to cut your panels to the length determined on the chart.
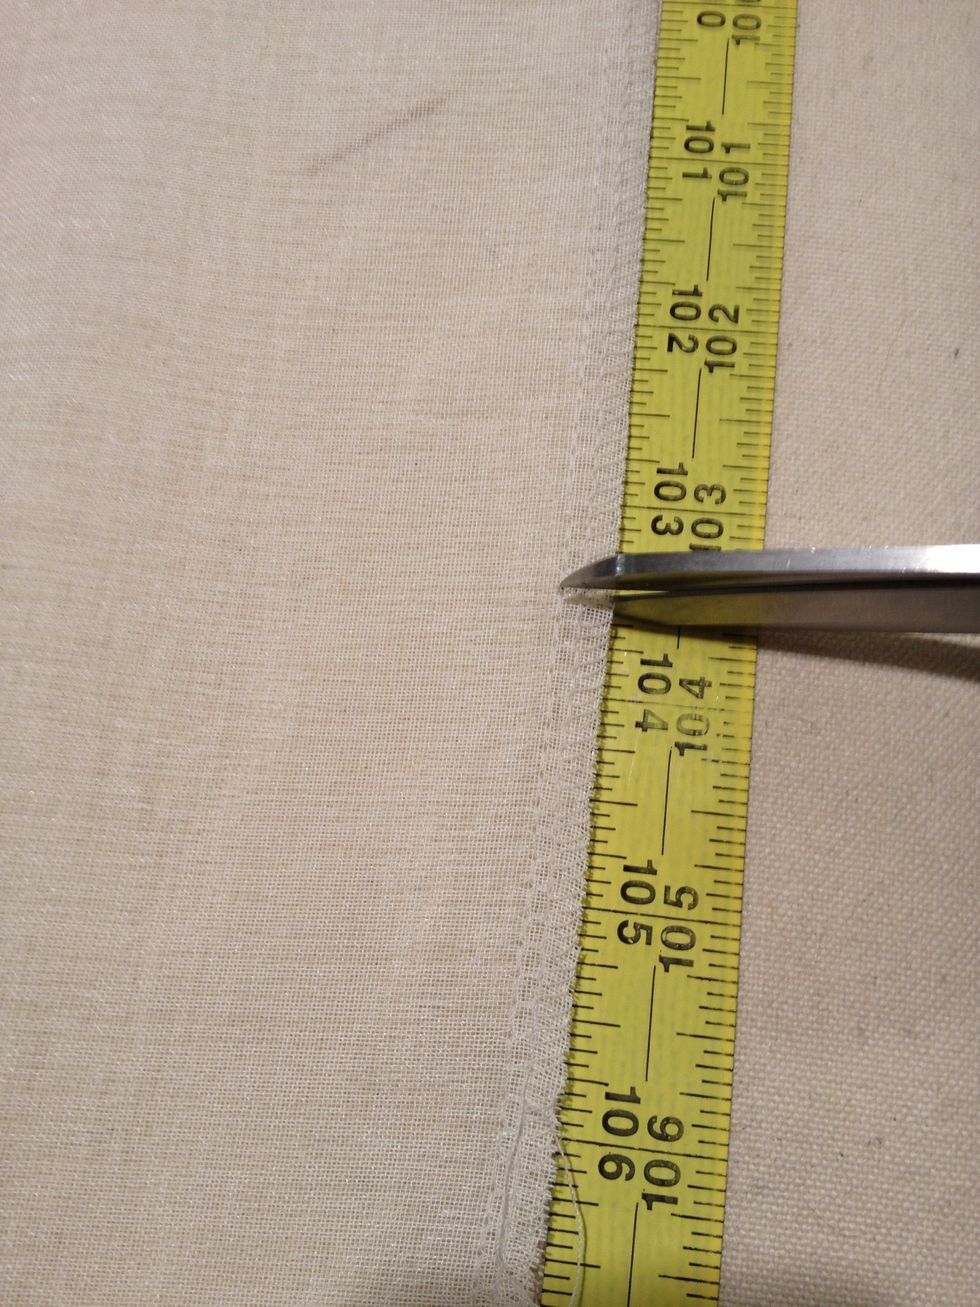
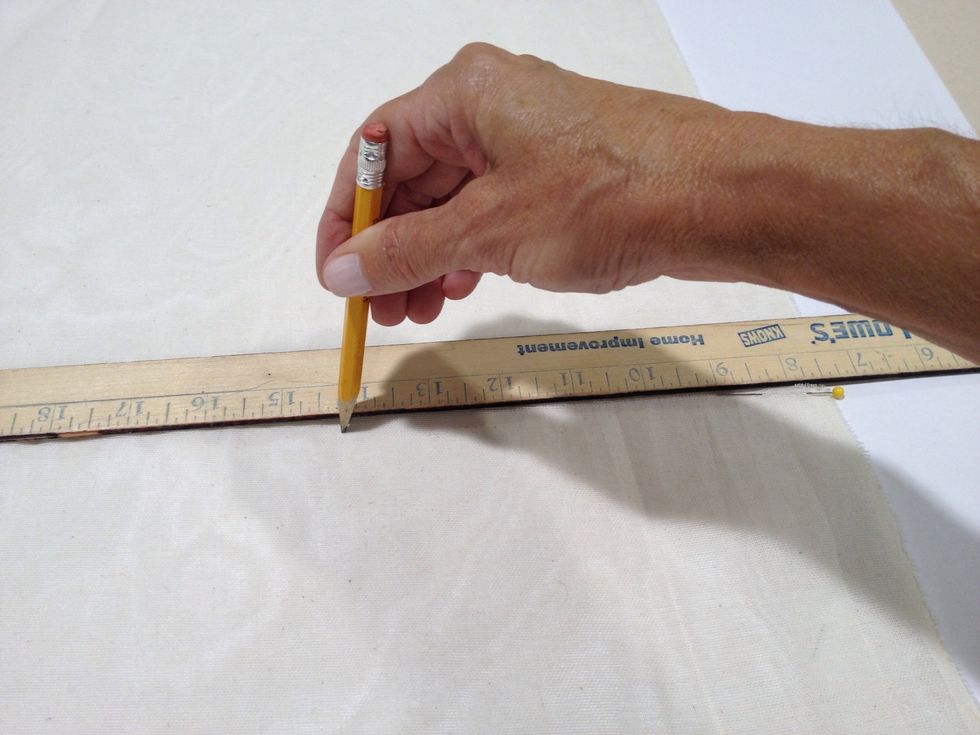
Mark the length of your panel and make a small clip with your scissors.
Pull a thread of fabric along the entire width of the panel. This will give you a very straight line across the grain of the fabric. Cut along this line with your scissors.
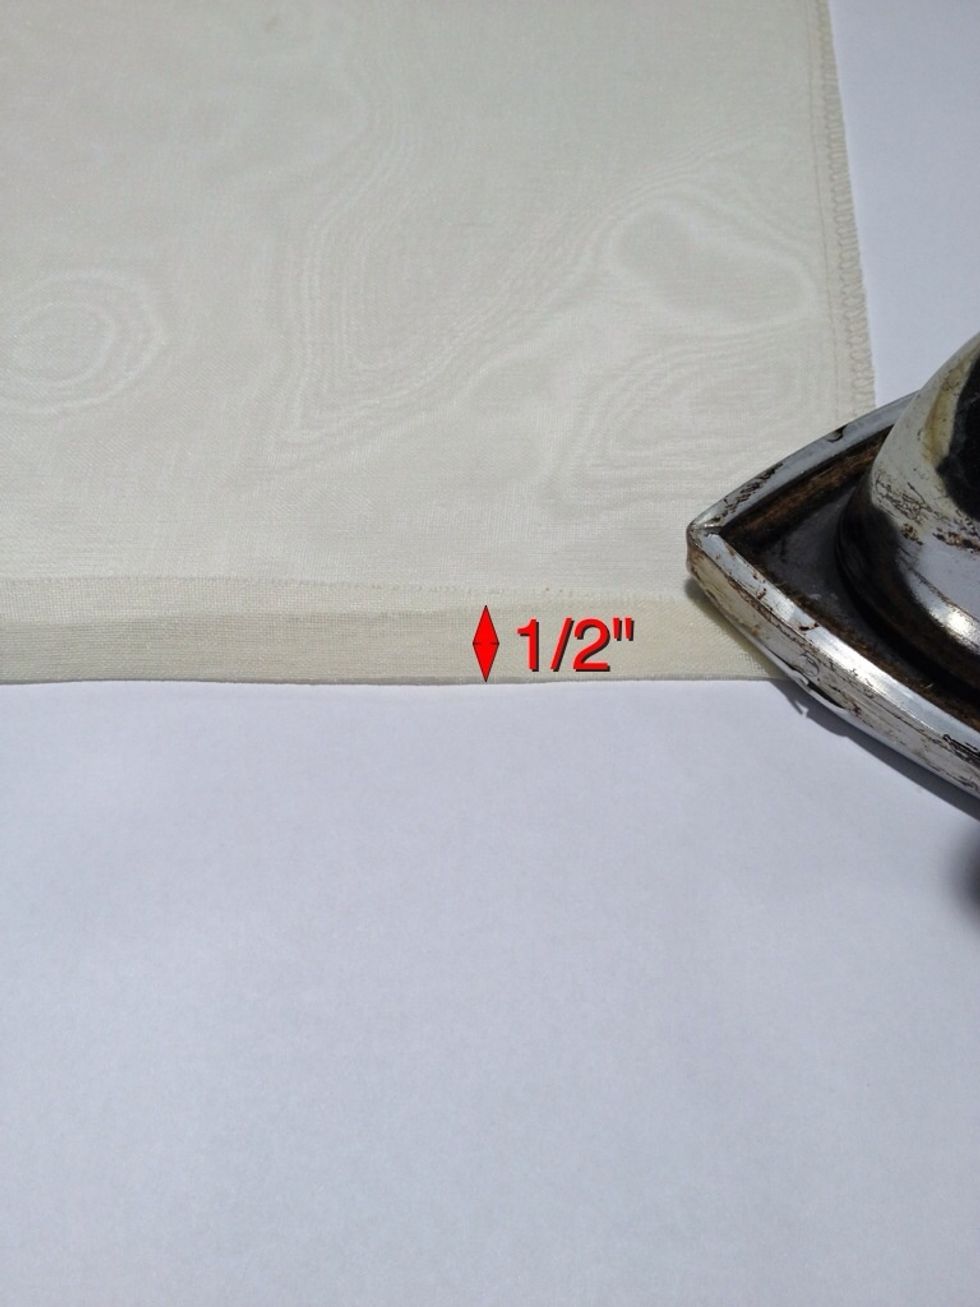
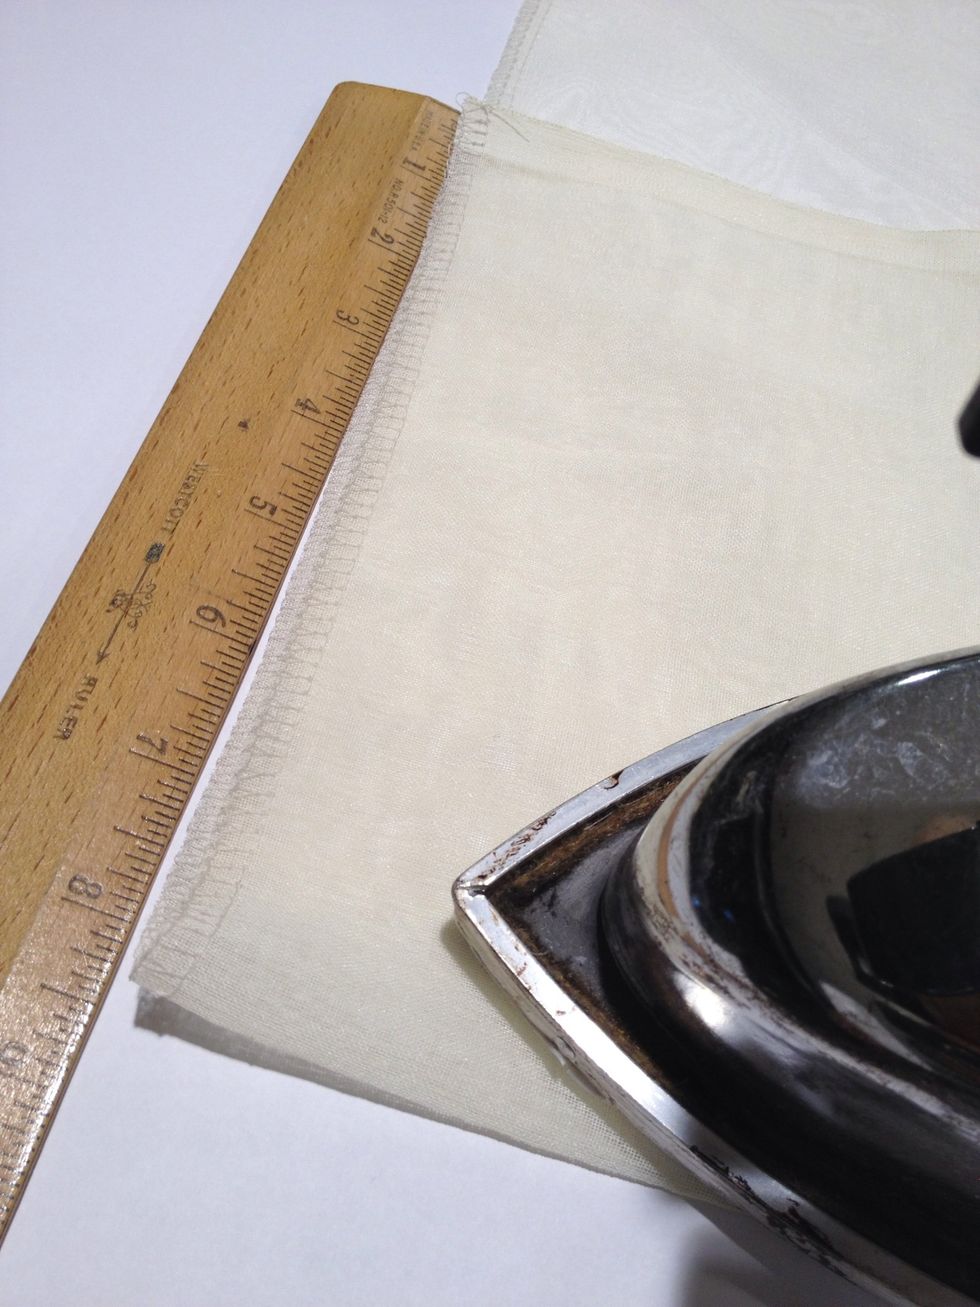
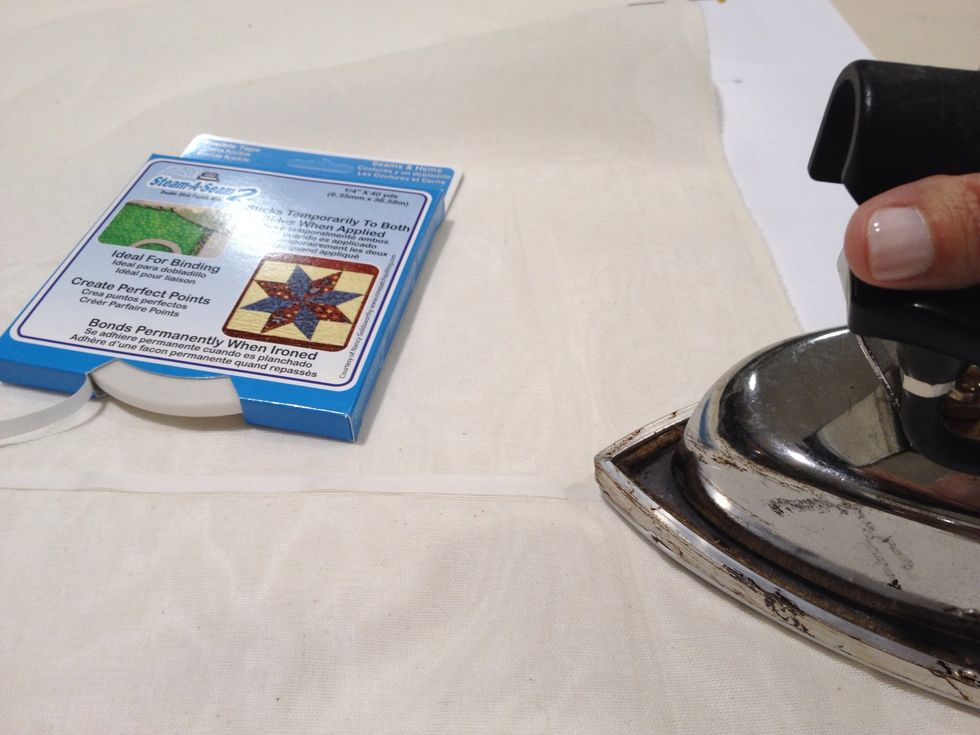
If you have to cut the length of the panels, you will need to hem the cut end. Turn up 1-2" along raw edge. This will be the bottom of the panel.
Apply 1/2" Steam-a-Seam to the 1/2" fold and press thoroughly.
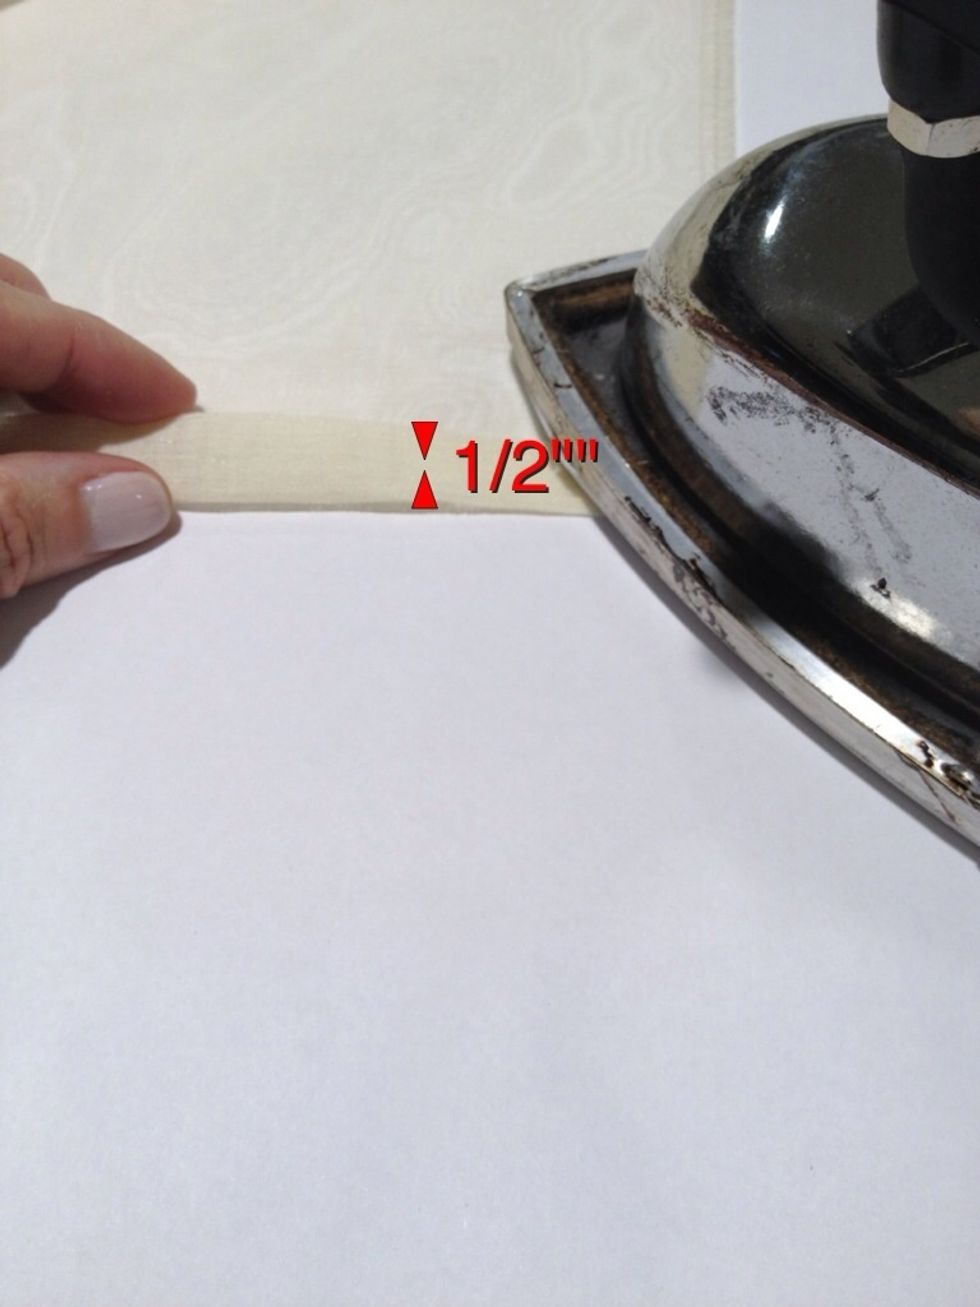
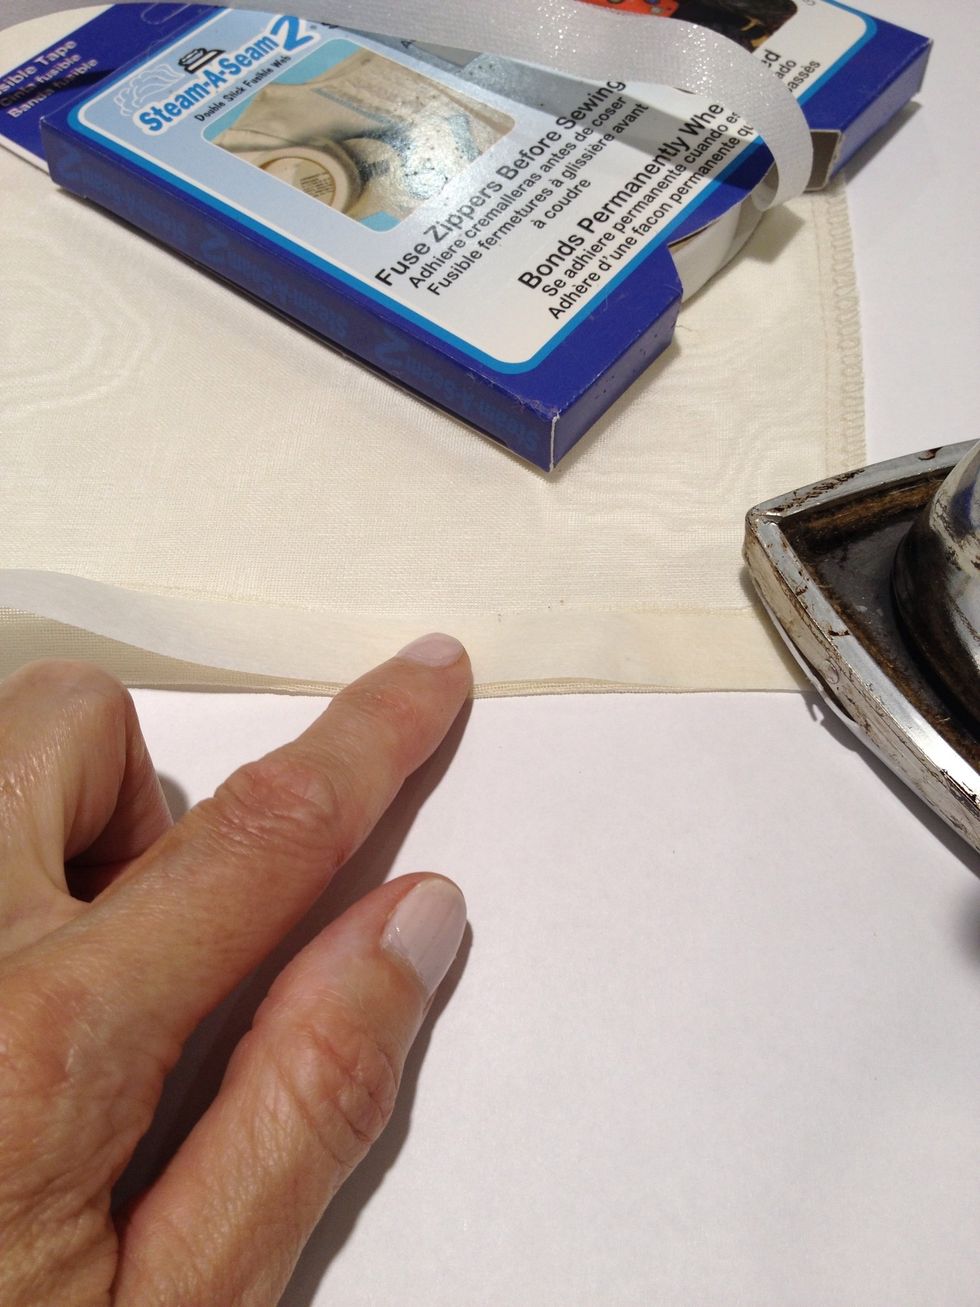
Peel the backing off the Steam-a-Seam. Turn up another 1/2" and press. This will form the bottom hem.
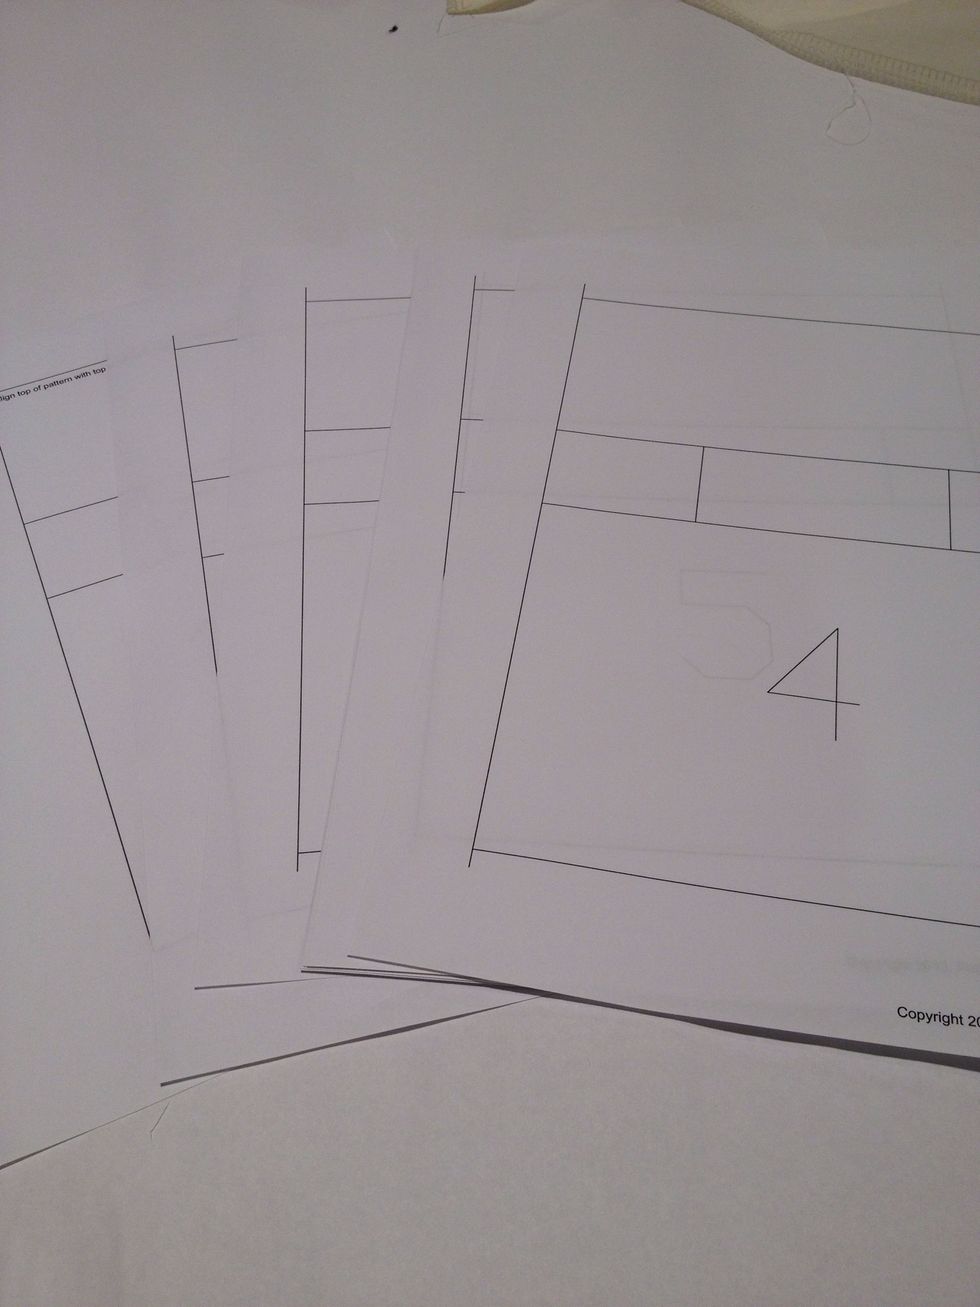
Download and print out the pattern template on our website at www.patemeadows.com/NoSewCurtains.
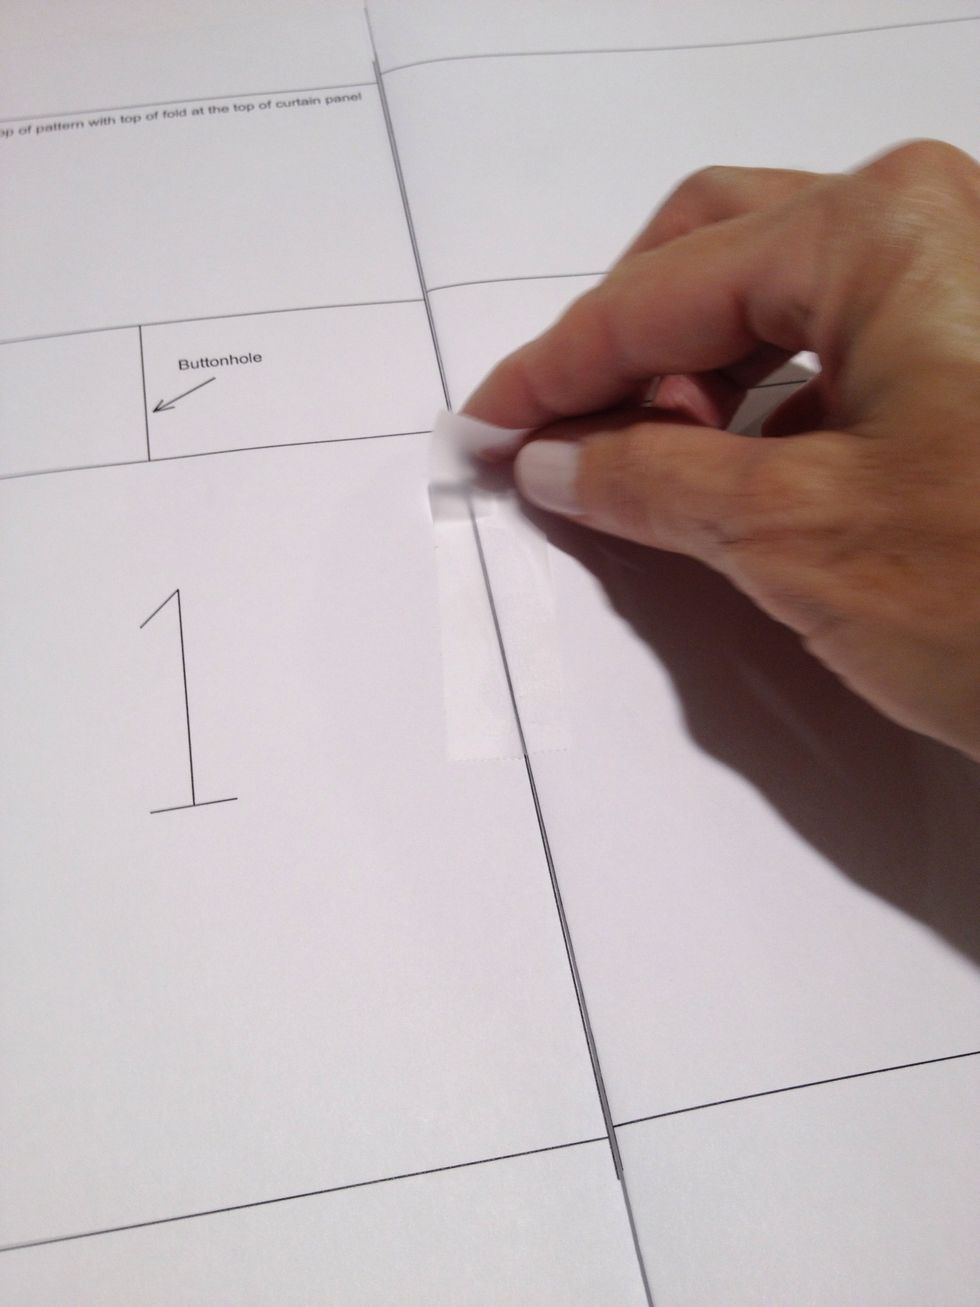
Tape the pages together in consecutive order along the vertical lines to form the pattern template.
Lay the panel out with right side up. To form the header, fold over 8.5" along the top edge of the panel and press/steam thoroughly.
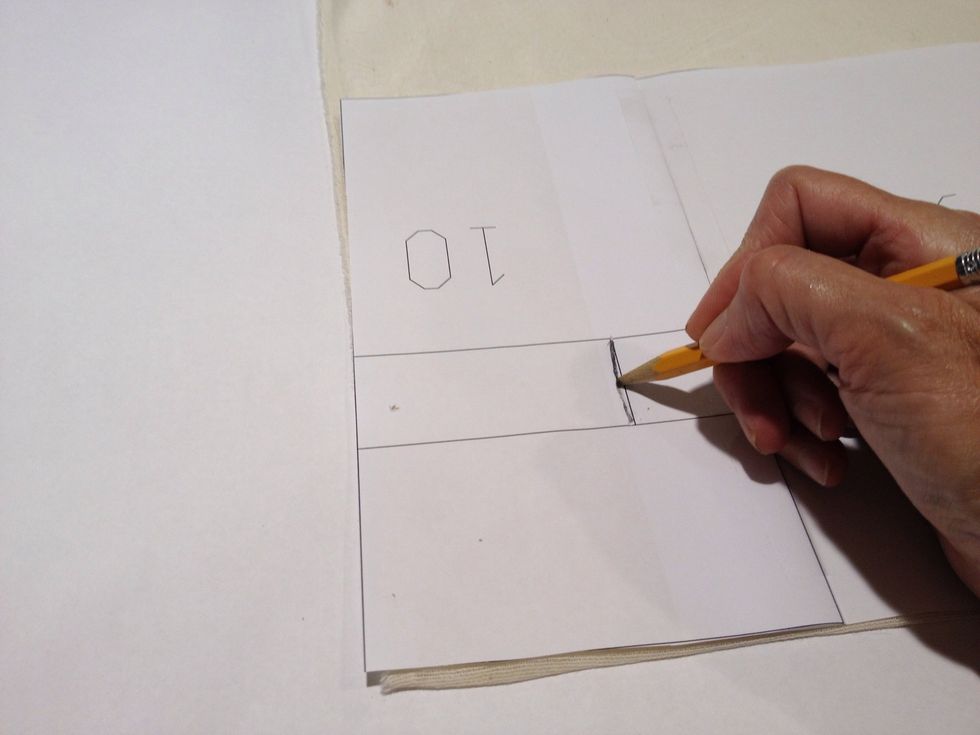
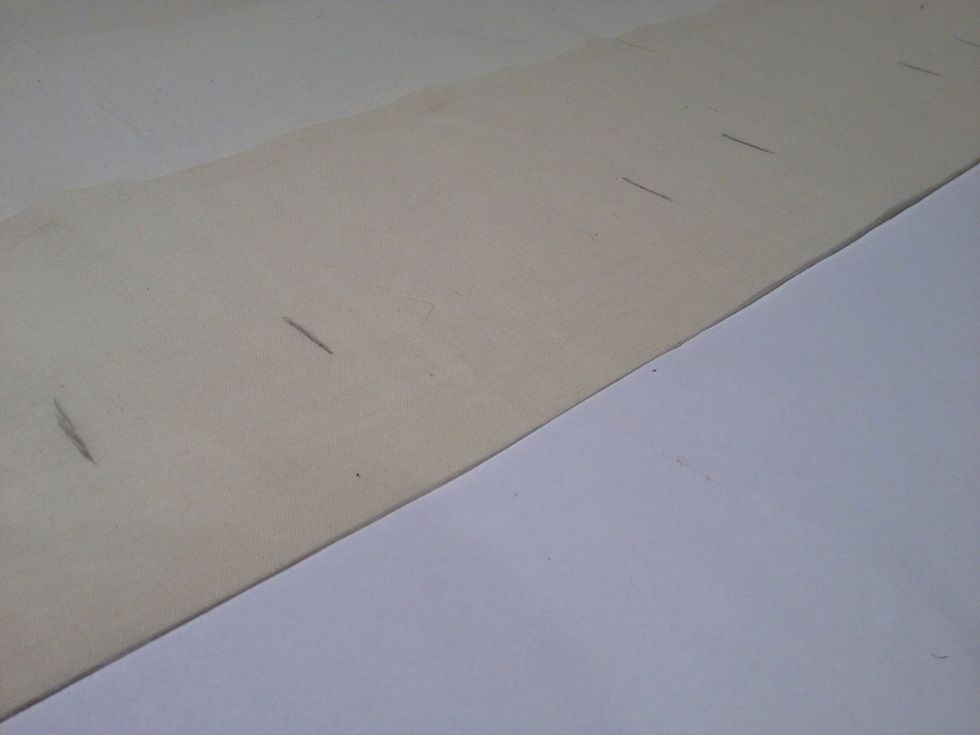
Place the template on the in the top of the panel, aligning it with the fold at the top and the sides of the curtain. Mark all the buttonholes across the top of the panel.
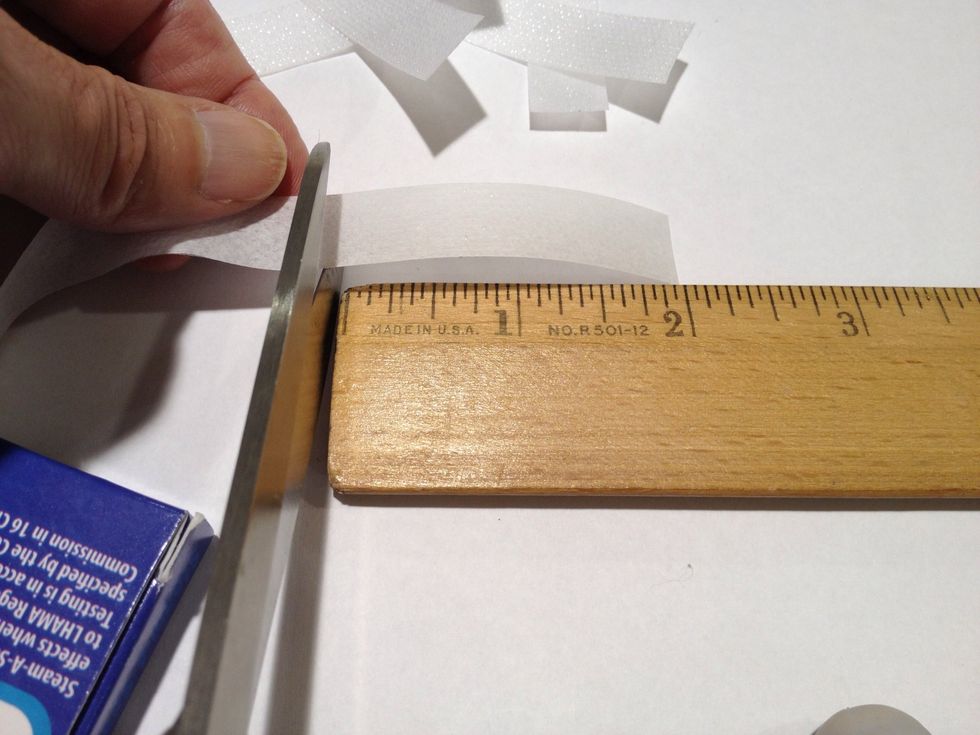
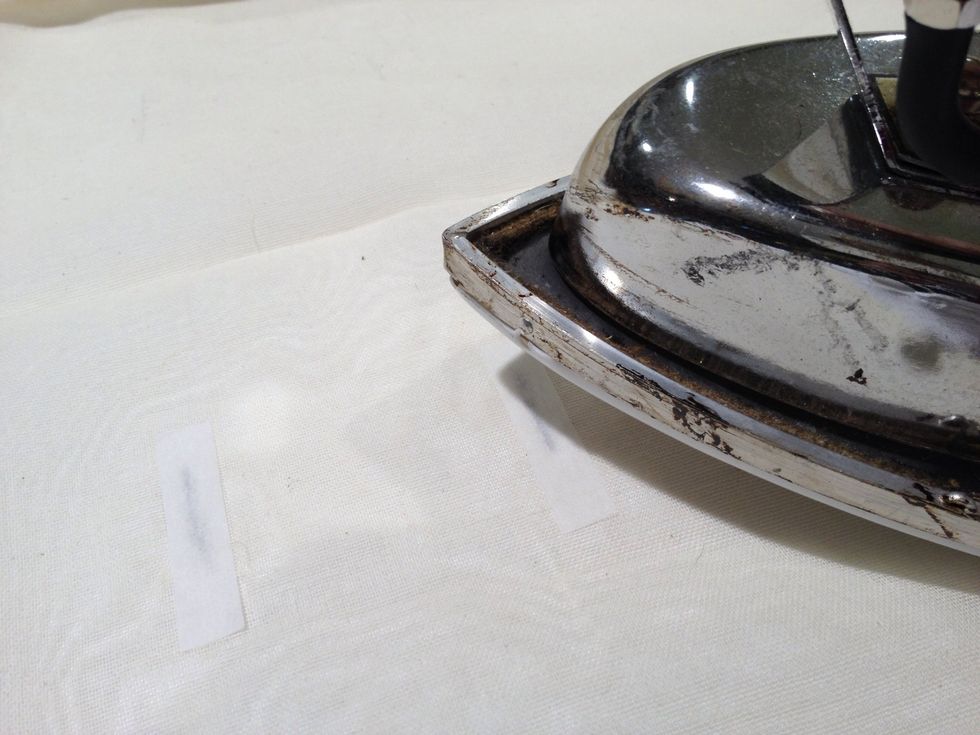
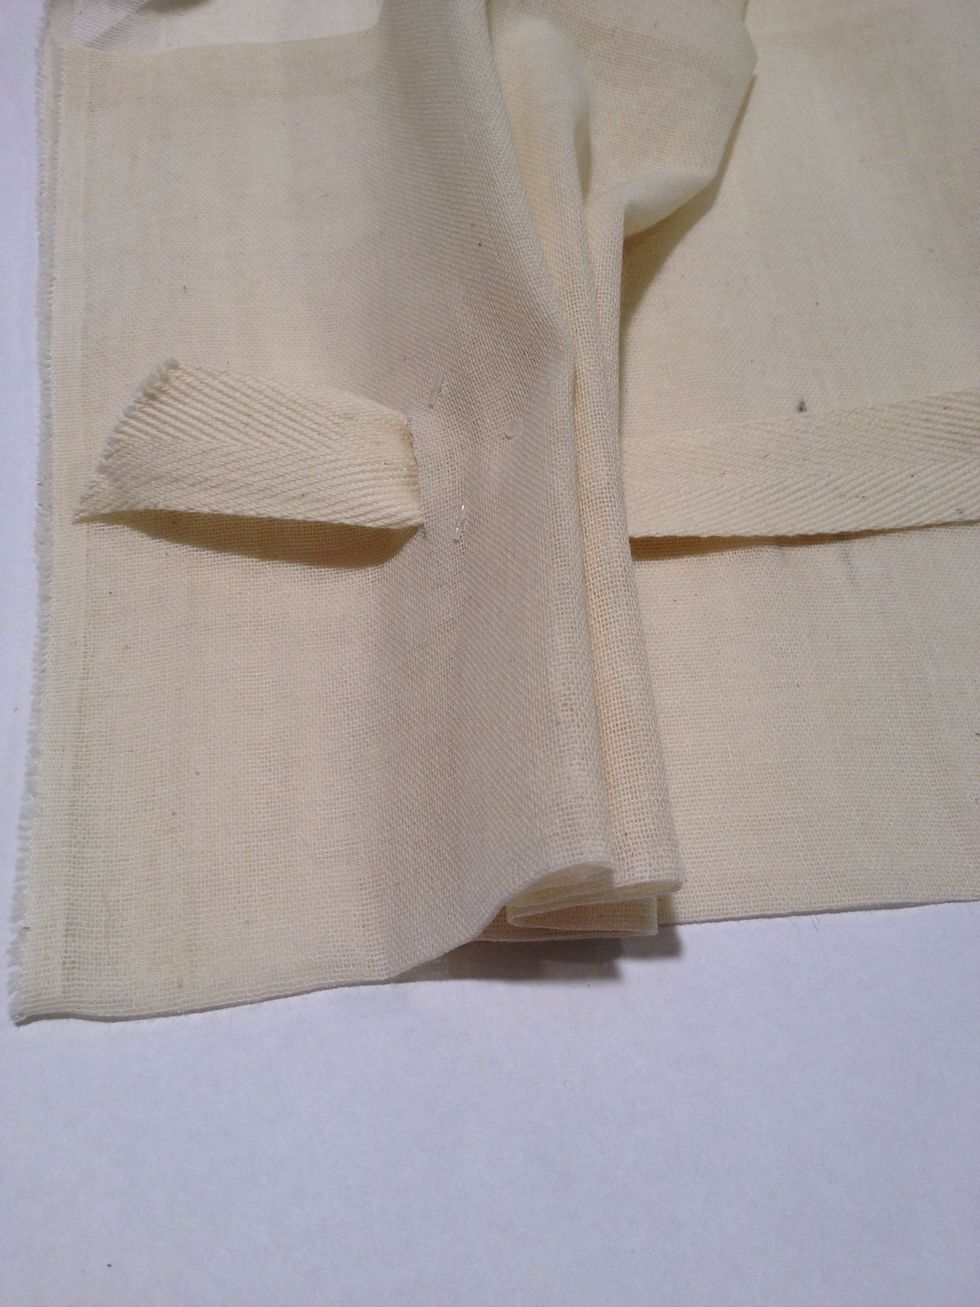
Cut 2" pieces of Steam-a-Seam. You will need 12 per panel.

Open the 8-1/2" fold and place the cut pieces of Steam-a-Seam on the backside of the marked buttonholes. The fabric is sheer, so you should be able the see the markings through the fabric.
Press thoroughly in place with the iron. Peel the backing off the Steam-a-Seam.
Fold back down the 8-1/2 inches and press over the buttonholes so that the two layers adhere to each other.
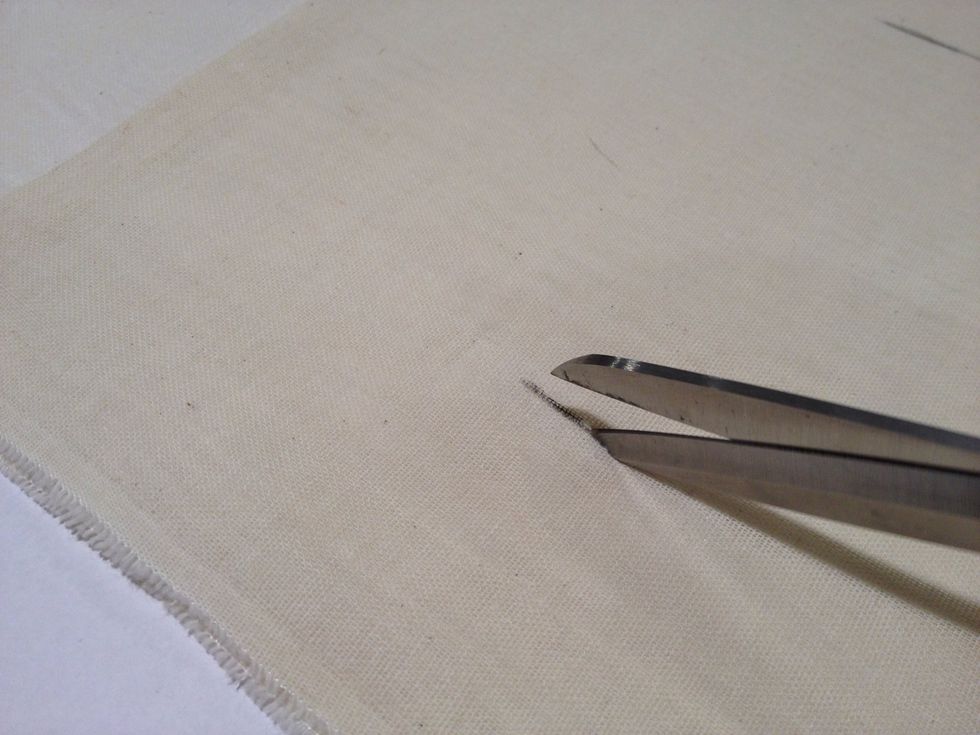
With sharp scissors, cut 1-1/4" buttonhole openings. Depending on the diameter of your rod, you may want to cut the holes a little smaller or larger.
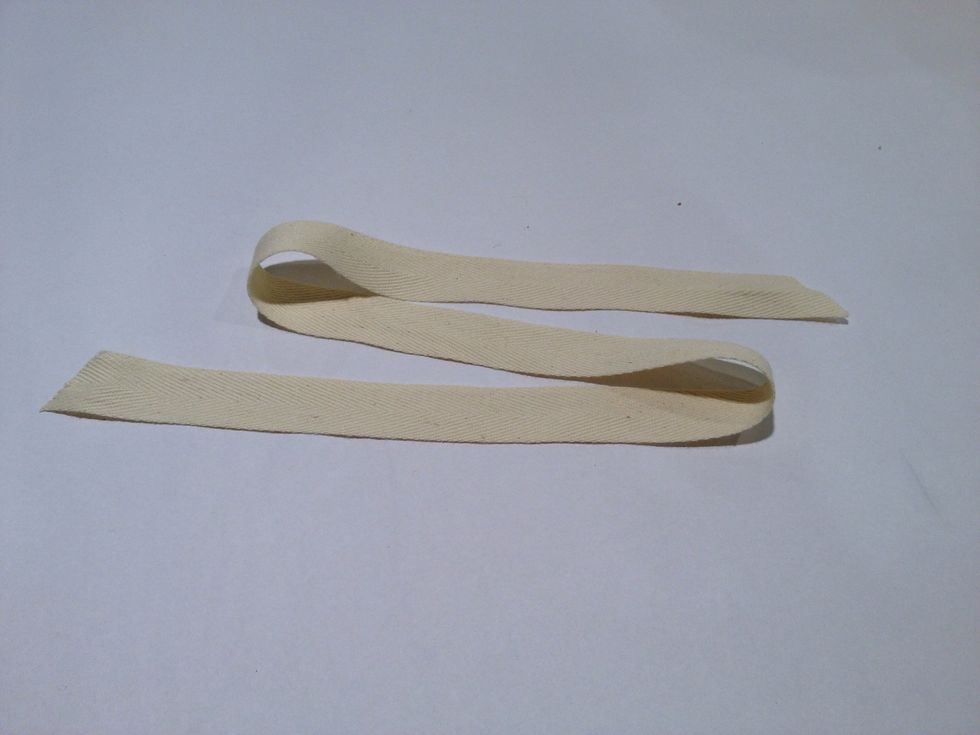
Using 1" twill tape (www.patemeadows.com), cut the ties 32" long.
String the twill tape through the buttonholes.
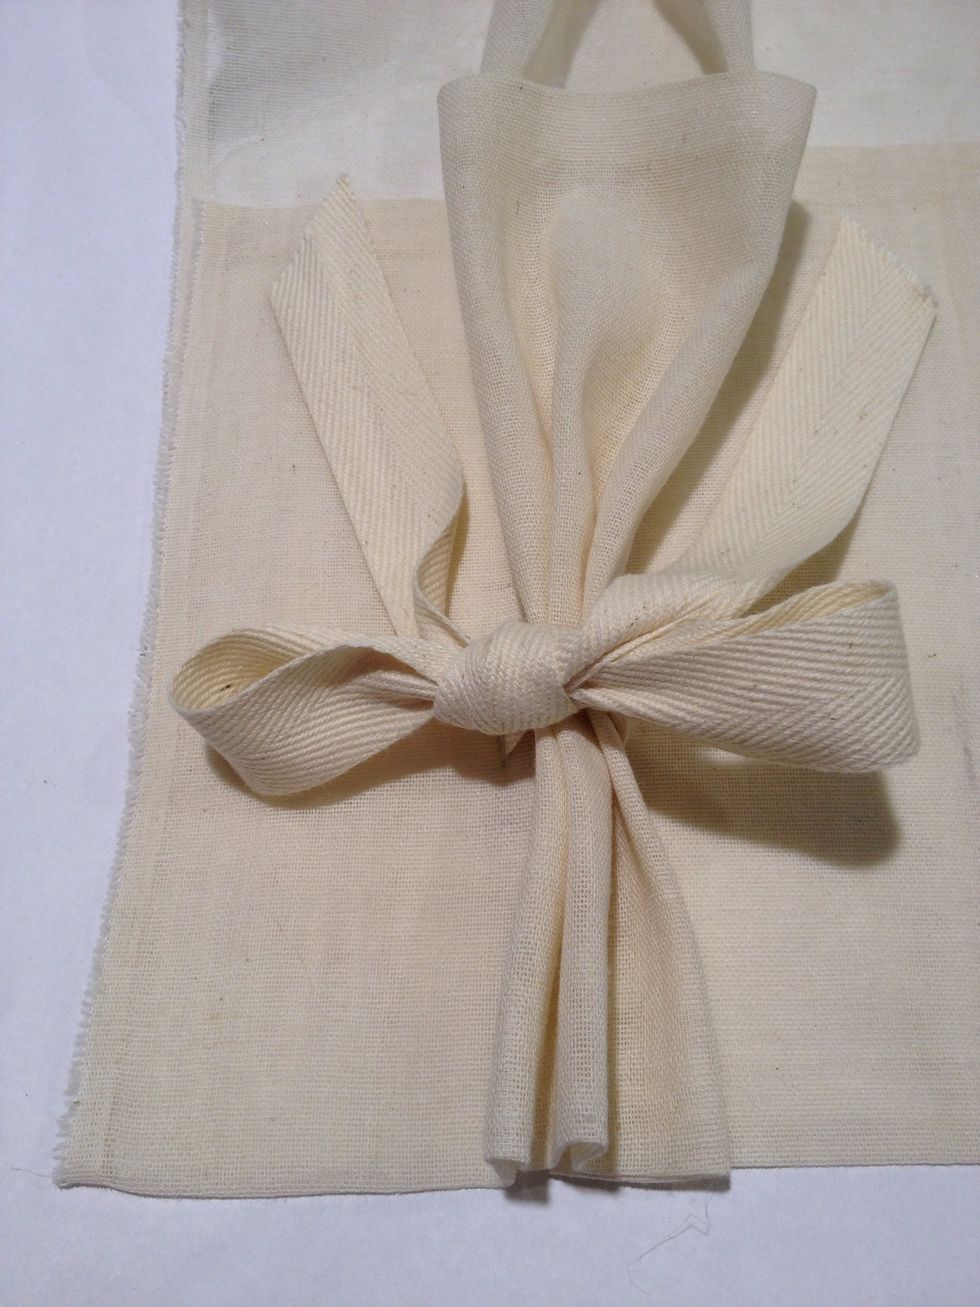
Tie into a bow.
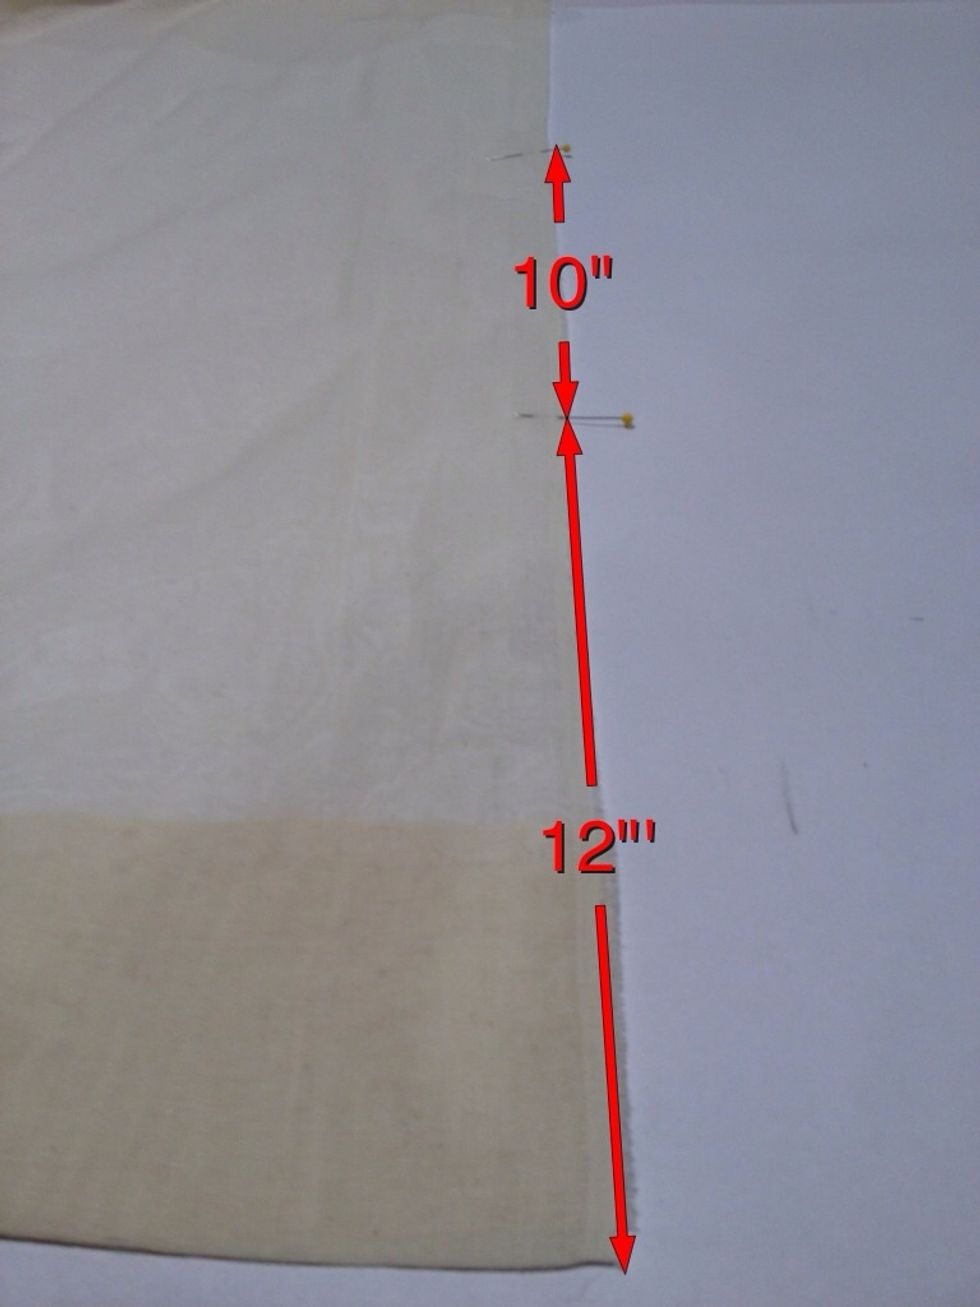
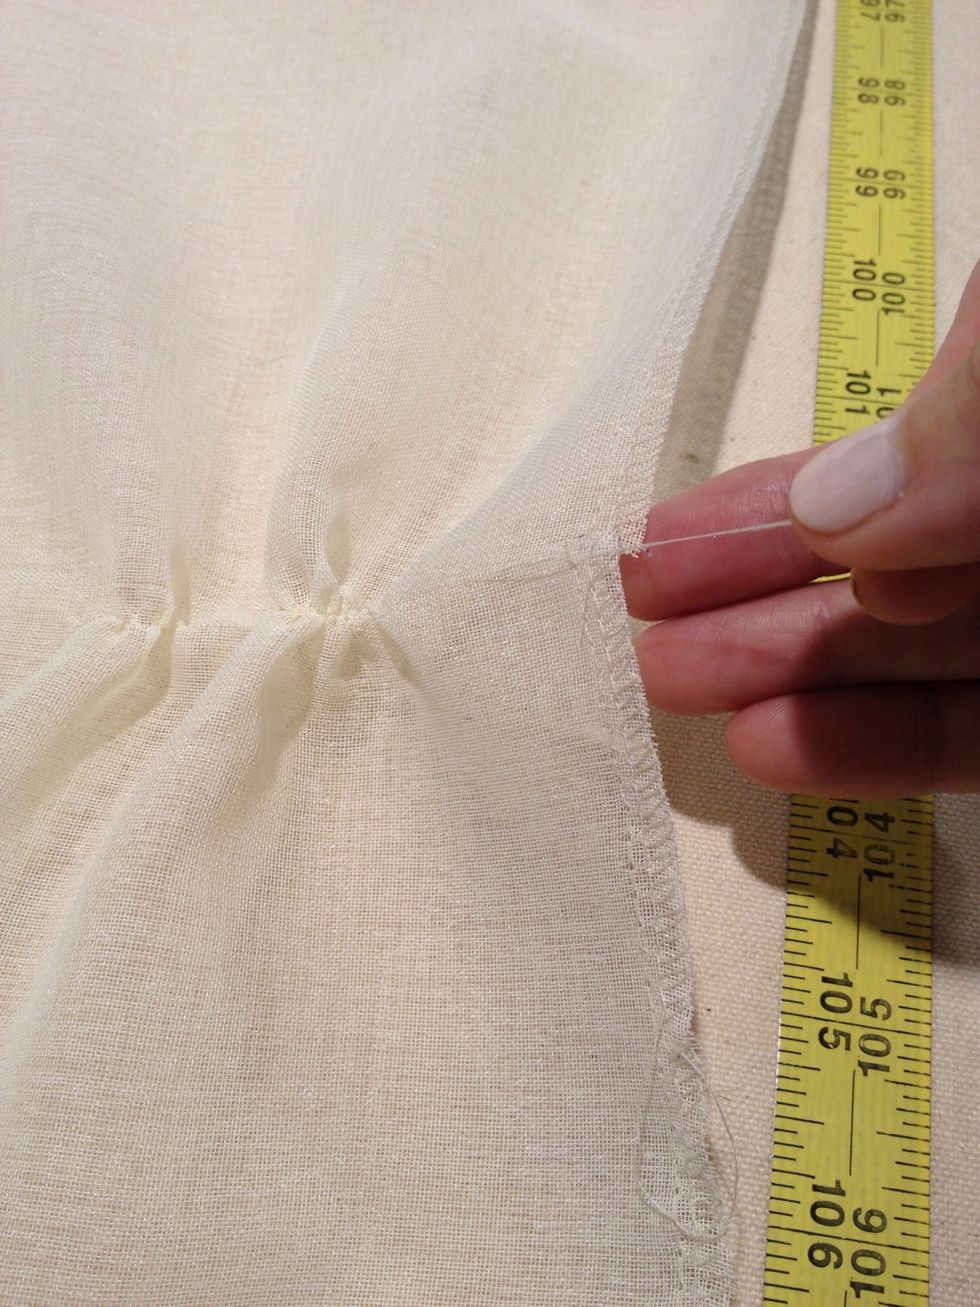
Now for the ruffling. Measure up 12" from the bottom of the panel and mark. Measure up another 10" and mark.
Draw a line across the panel at the 12" and 10" mark.
Apply Steam-a-Seam along both lines.
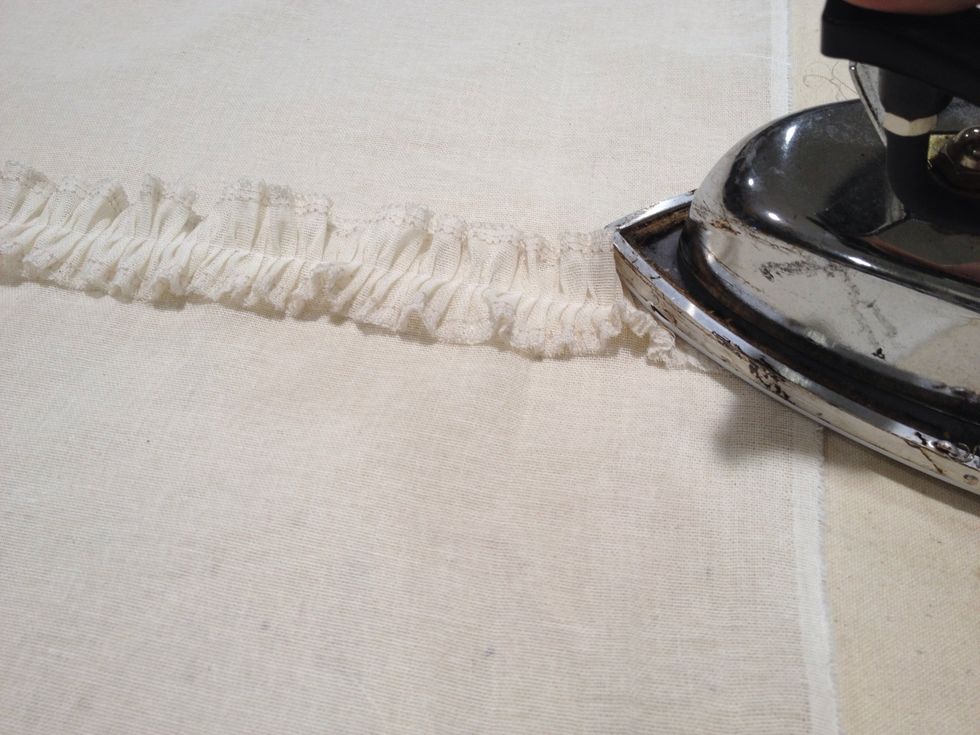
Peel the backing off the Steam-a-Seam and press the ruffling along each line.
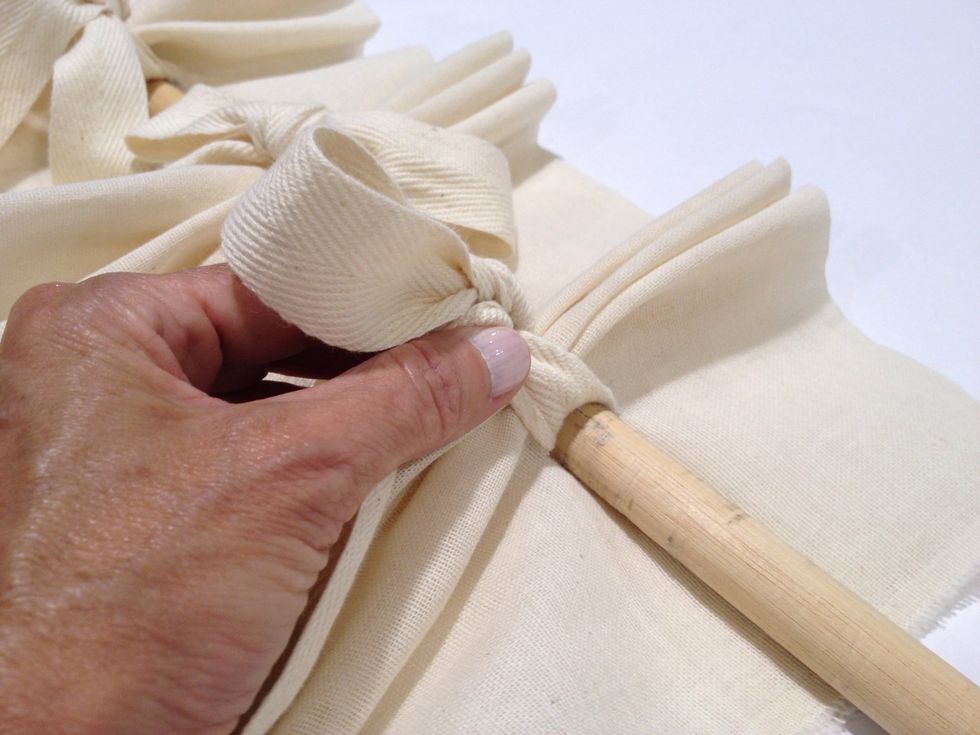
Insert the rod through each buttonhole.
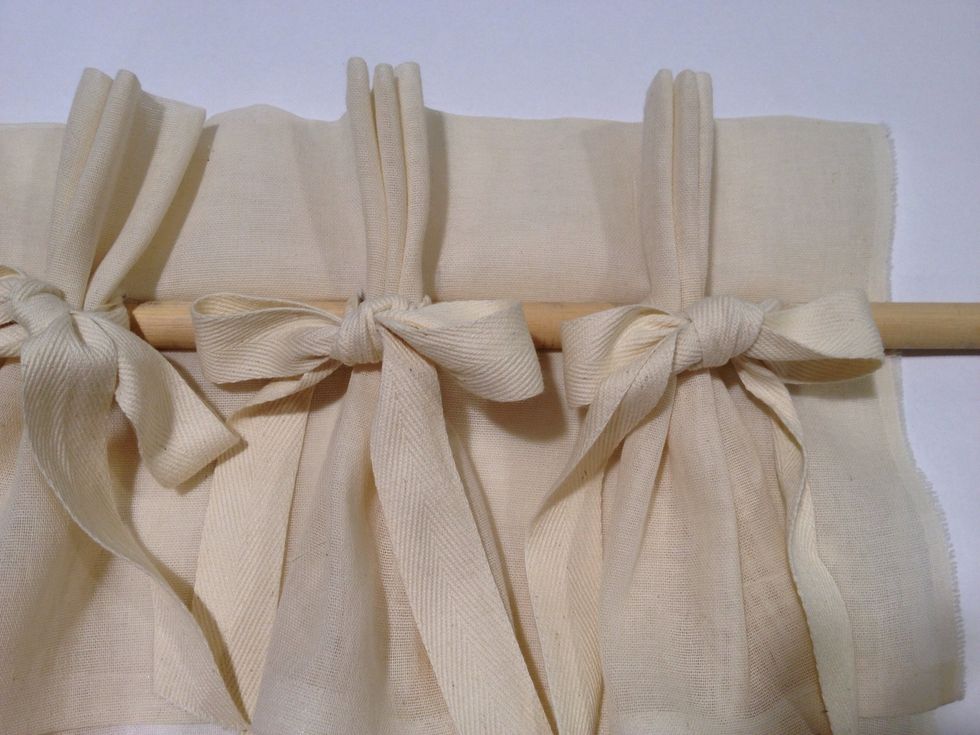
Adjust the pleats evenly in the rod and straighten the bows. Each panel should cover about 16" of space on either side of the rod.
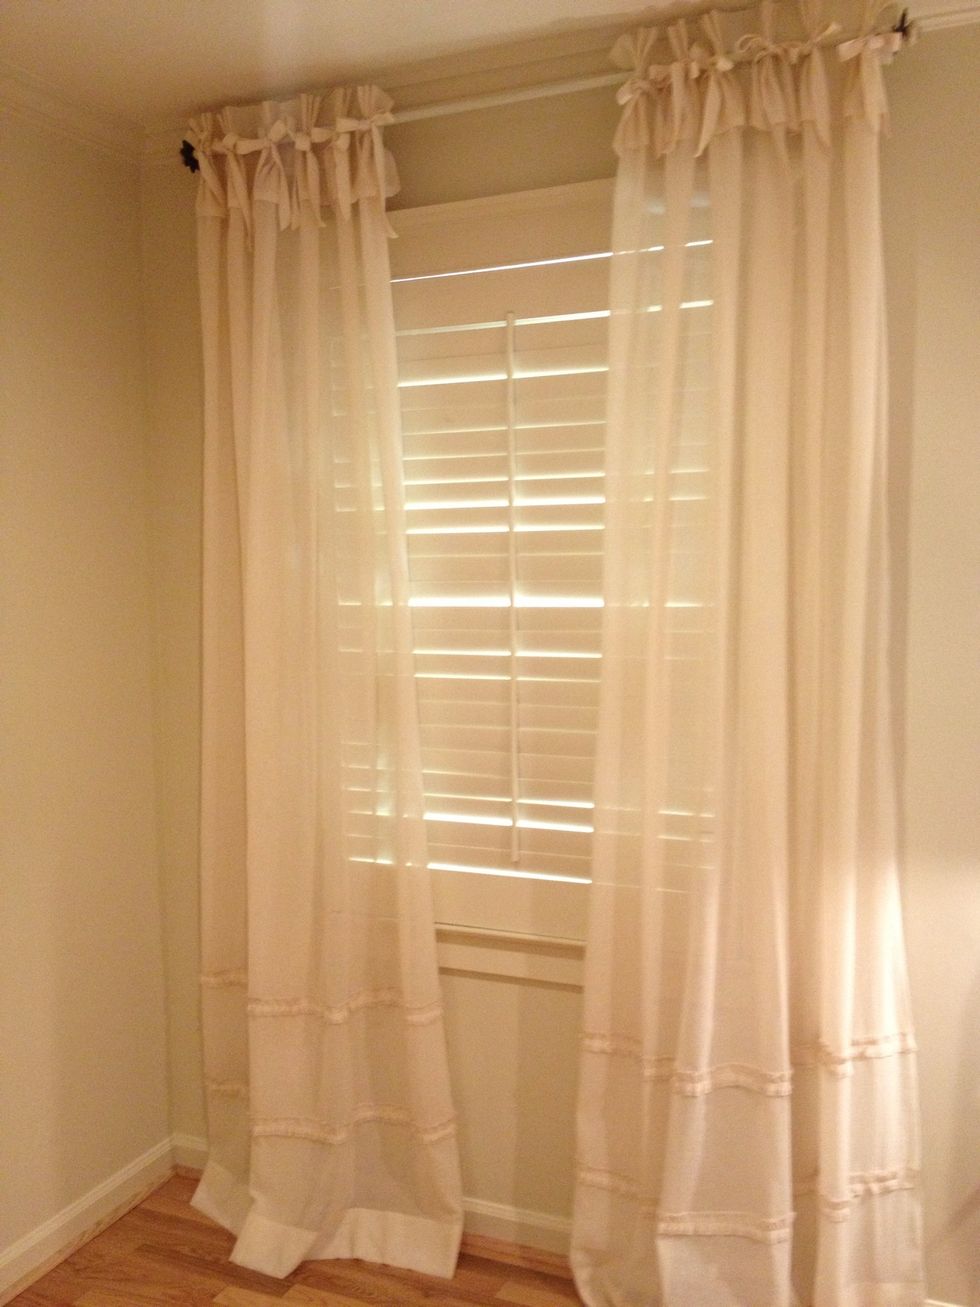
Put your rod back on the brackets. Now wasn't that easy?!!!