The Conversation (0)
Sign Up
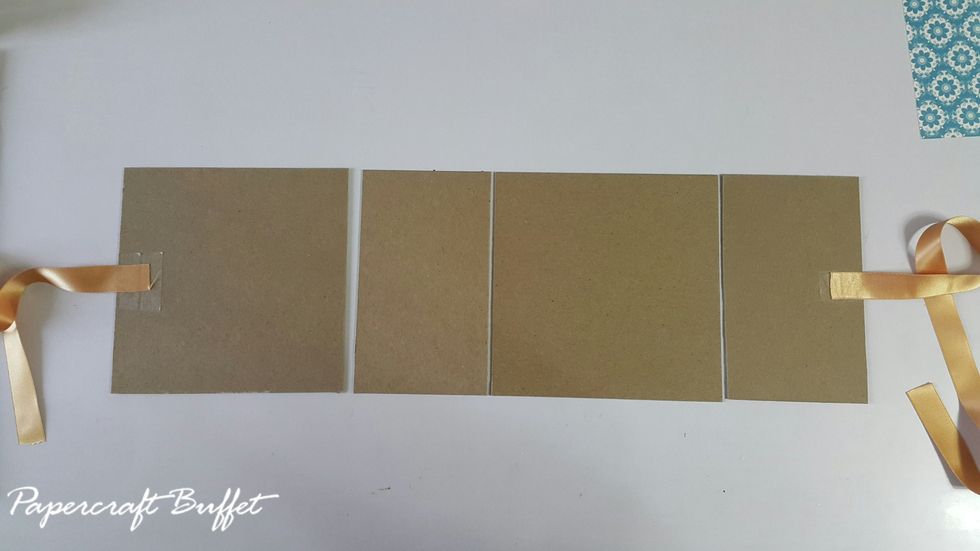
Cut chipboard 2pcs of 6"x6" and 2pcs 3-1/2"x6", adhere ribbons on two ends.
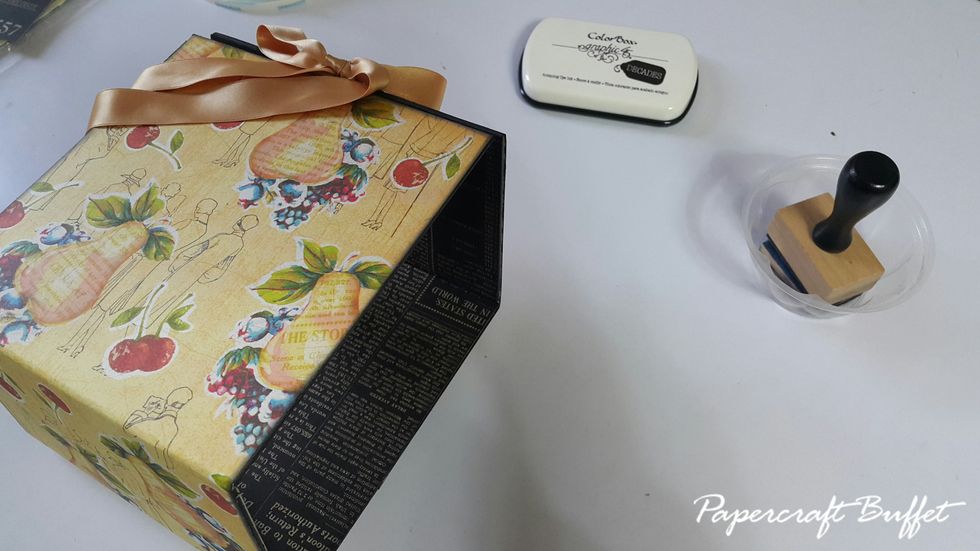
Cover the chipboard with paper to form the cover of the album, apply colors if desired. (remember to left gaps between chipboard to fold)
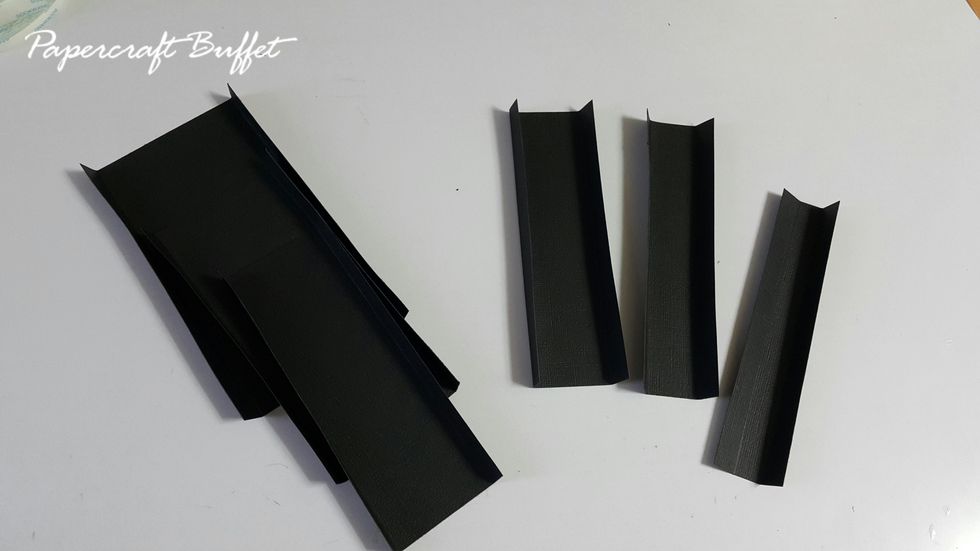
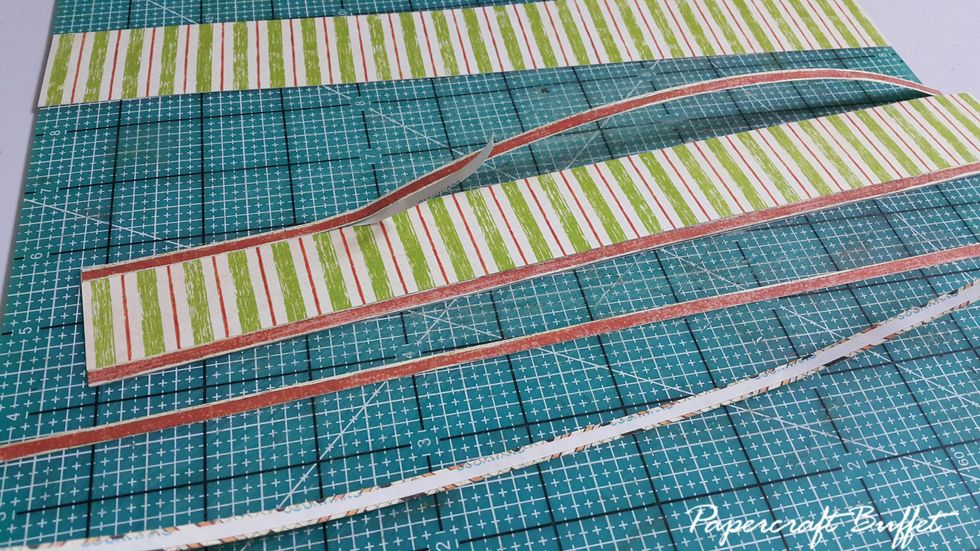
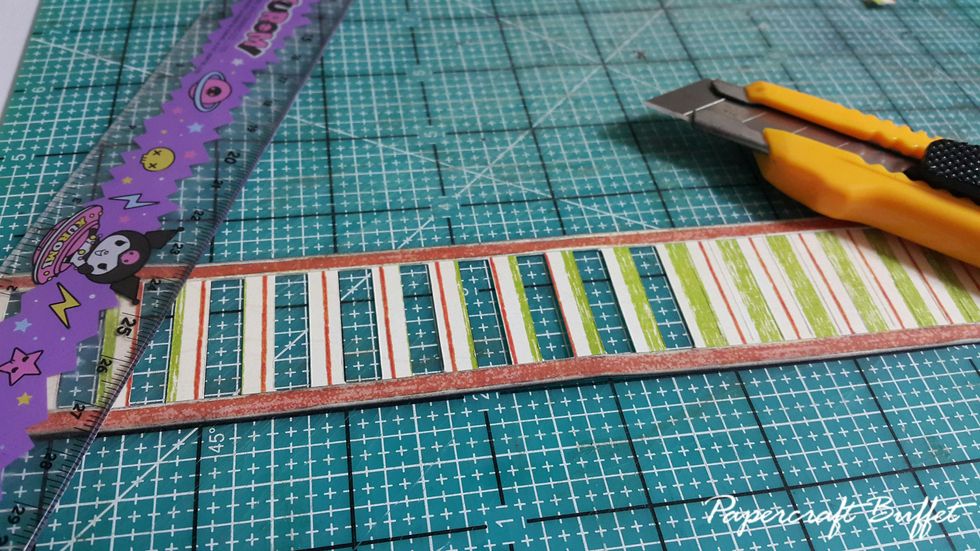
Ready six layer of flags for album pages, all in 6" high, and folded at 1/4" on each side. The paper width you need is 1-1/2", 2", 2-1/2", 3", 3-1/2" and 4".
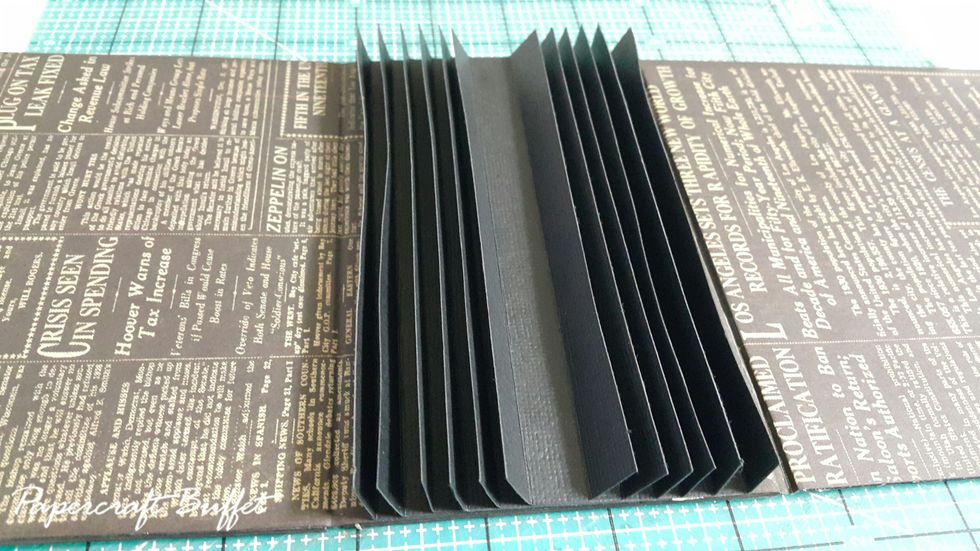
Form the layers and adhere on the album.
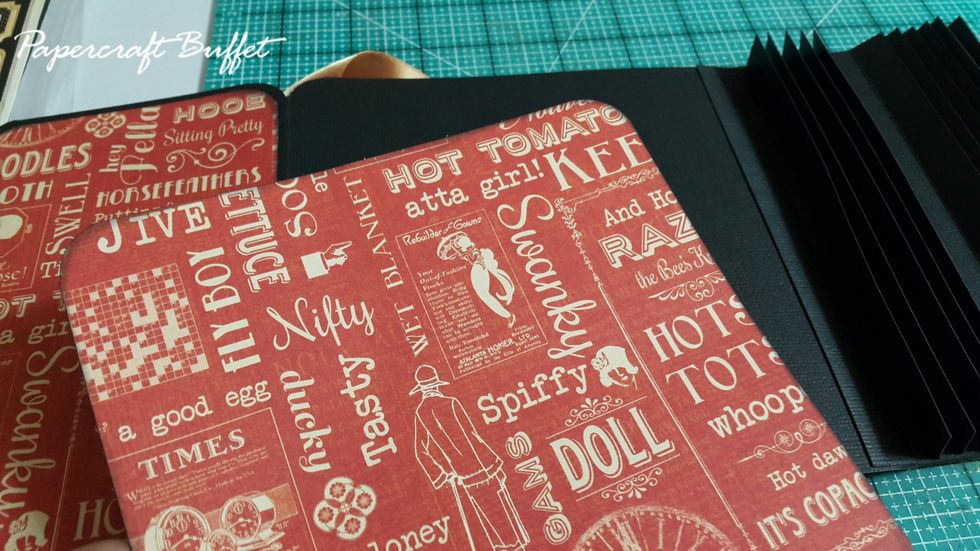
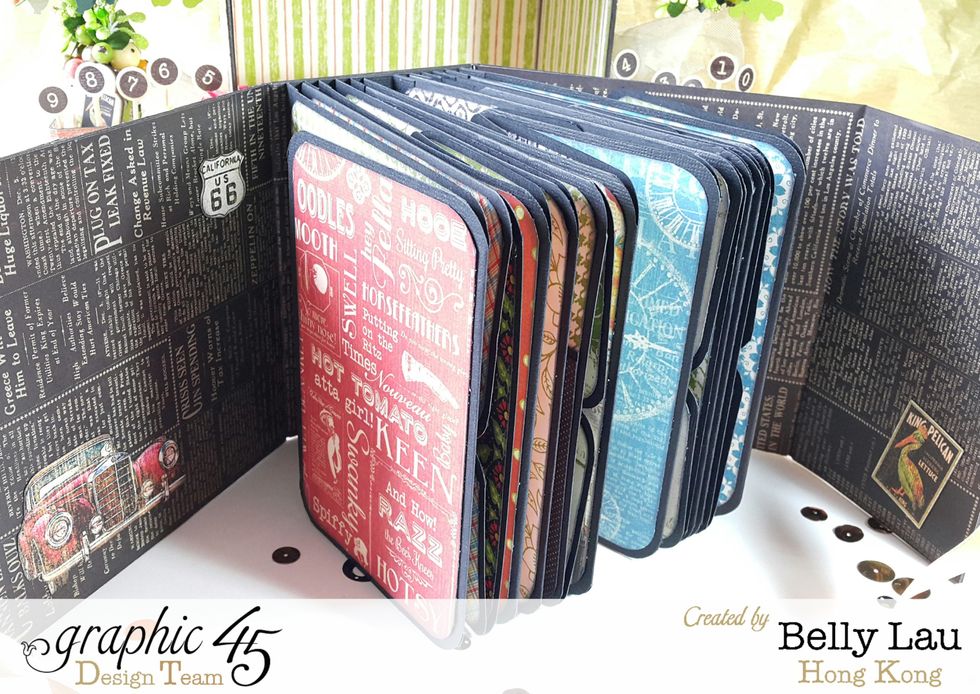
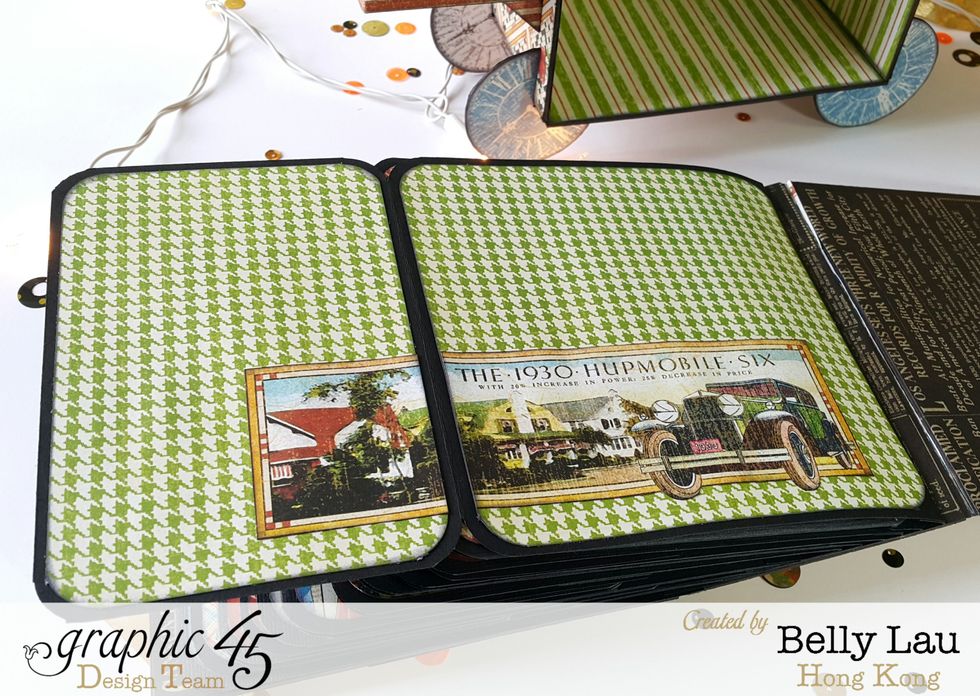
Ready pages and pattern paper, they are all in 6"x6" as basis, will show you the folds at the end of the guide.
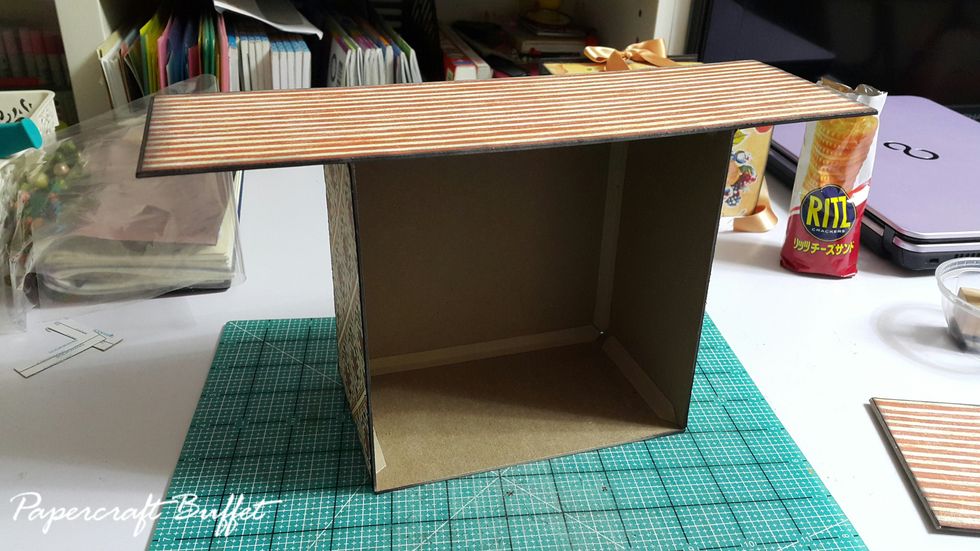
Cut chipboard of 1pc 12"x3-3/4"(top), 1pc 6-1/4"x6-1/4"(back) and 3pcs of 3-1/2"x6-3/4"(sides and bottom), form into shape with connecting strips, then cover with pattern paper.
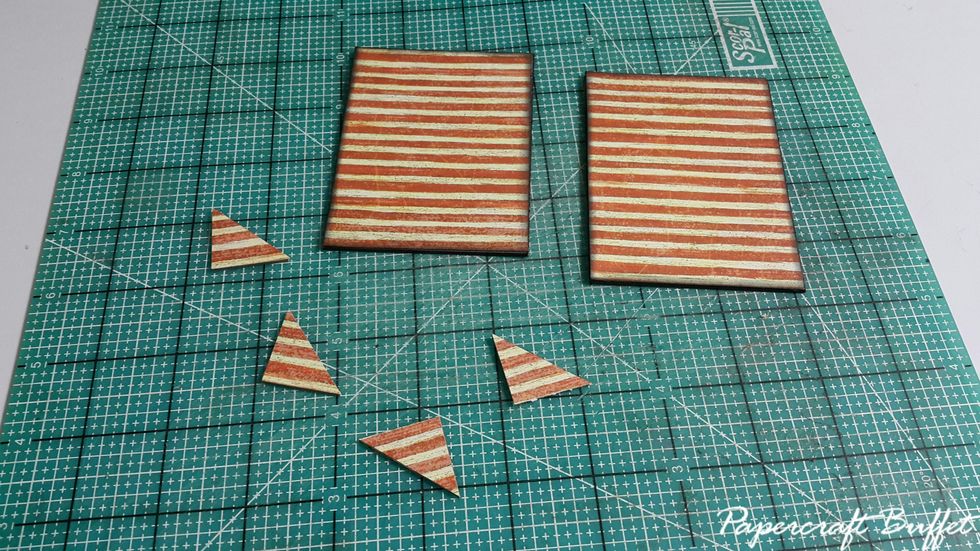
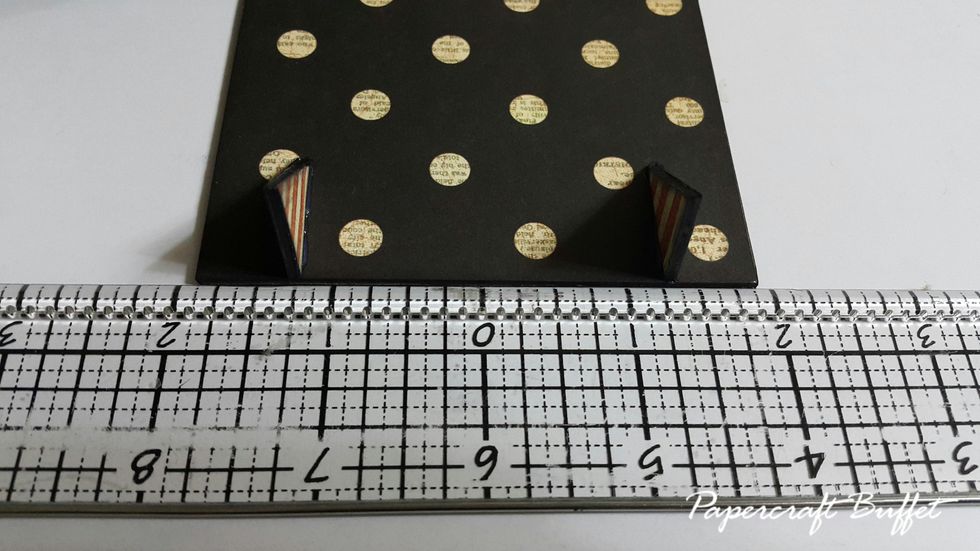
Ready parts for the balcony, 2pcs of 3-3/4"(D)x2-7/8"(W) chipboard, cover with paper. Then 4pcs of covered small triangle for supporting the balcony.
Use strong glue on the bottom of the balcony.
Cut 2strips of 1-1/2" high paper, then adhere a tiny strips at the top and the bottom, this not just because for the beauty, this can also help supporting the paper.
Cut holes for the balcony.
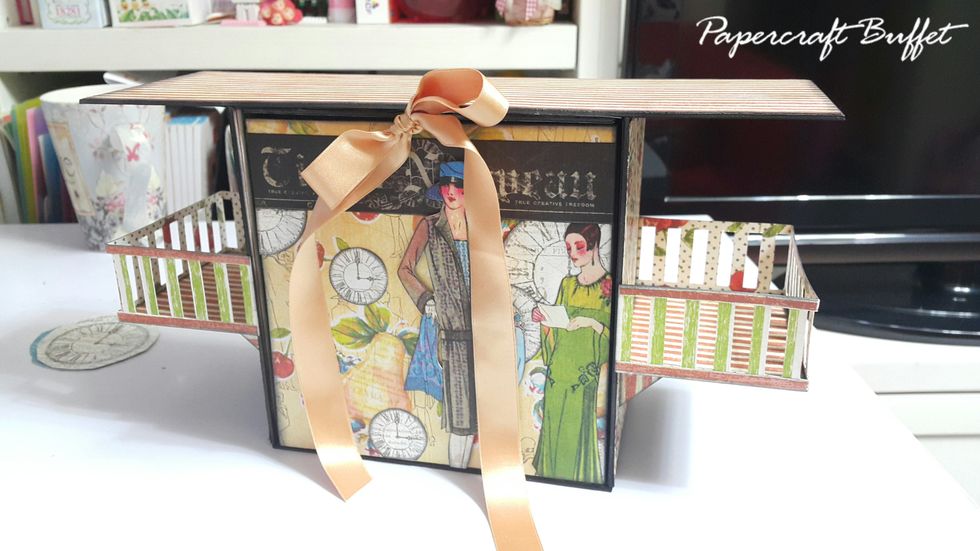
Adhere on the balcony with strong glue, and this is what it looks like when putting in the album with the balcony done.
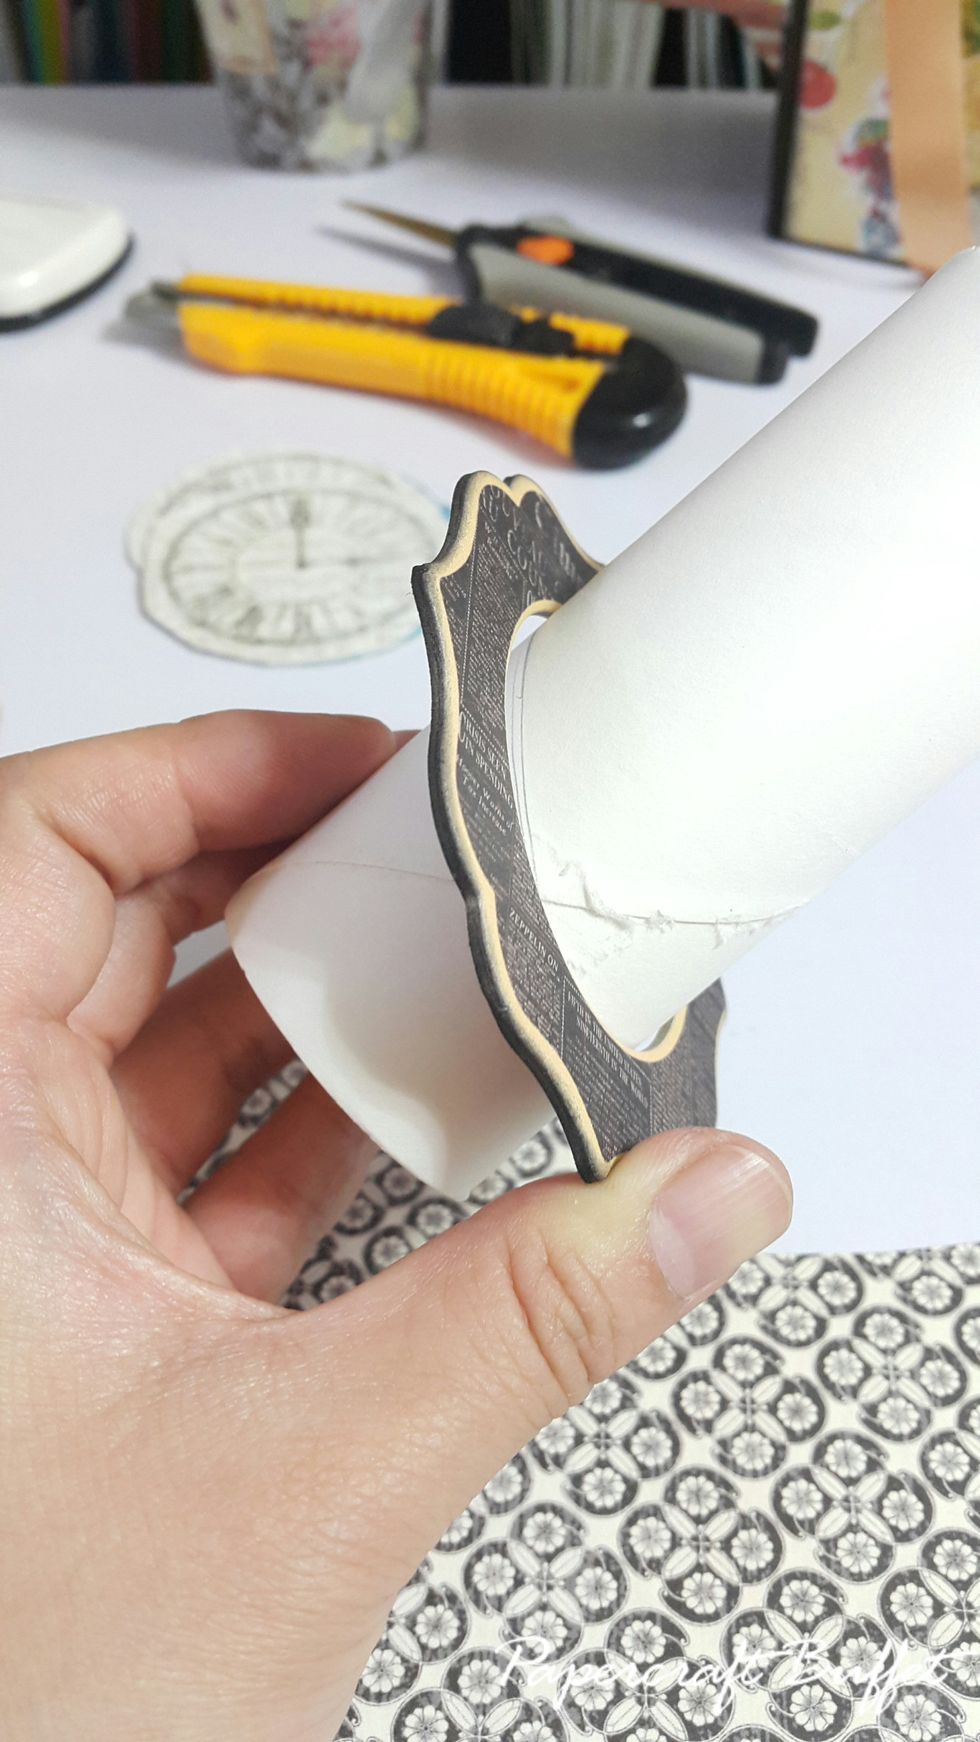
This is how the flower pot made, take out the chipboard die-cut and mark on the toilet tissue roll.
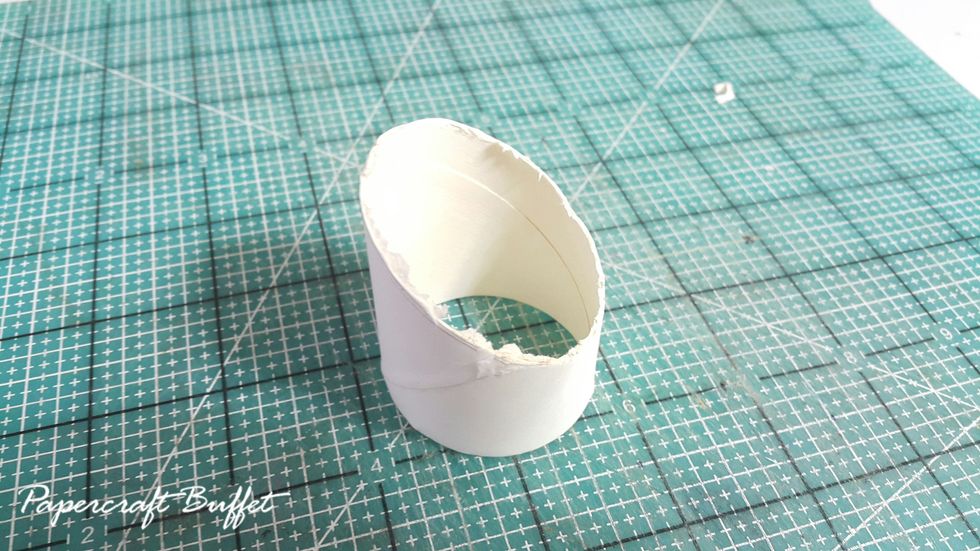
Cut it out, don't care how ugly it is.
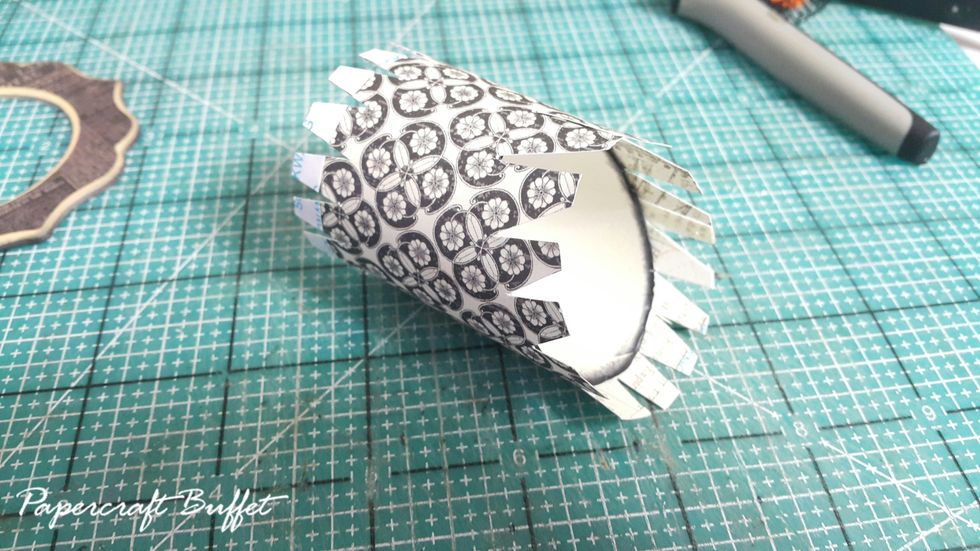
Cover the toilet tissue roll with pattern paper, cut the two ends with gaps, get ready to adhere the chipboard piece on and on the bar cart.
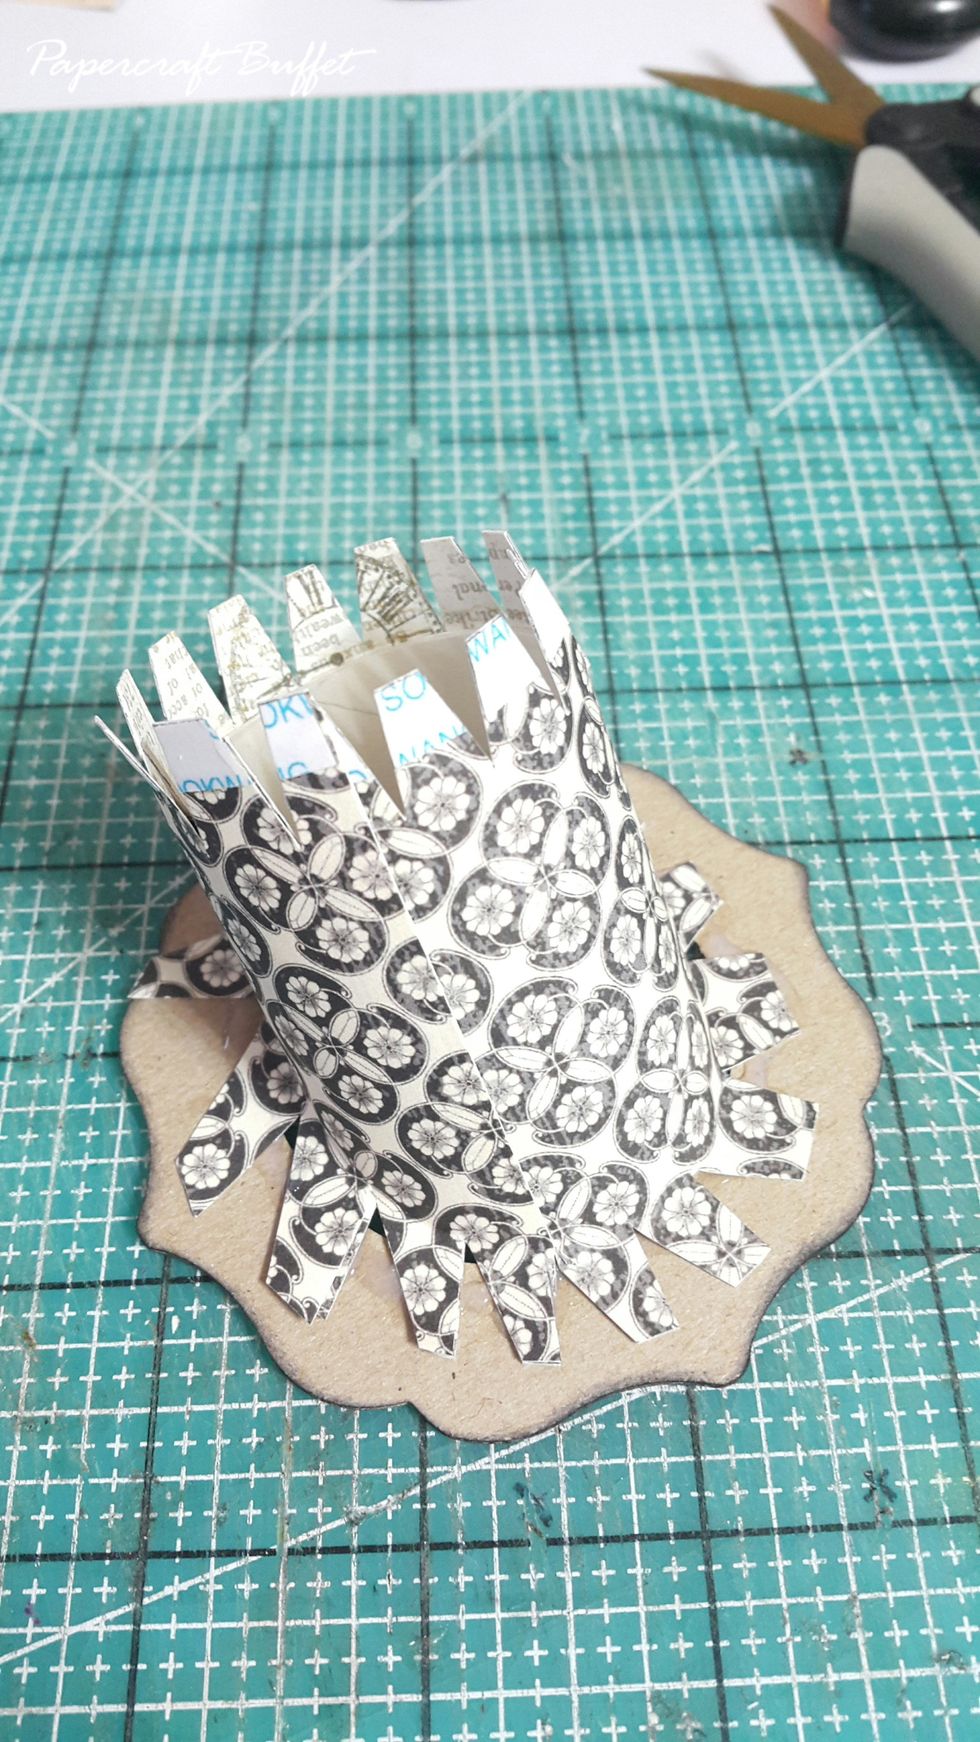
This is how it adhere on the chipboard piece.
You will cover the flower pot with flower so no need to care the ugly look of the toilet tissue roll.
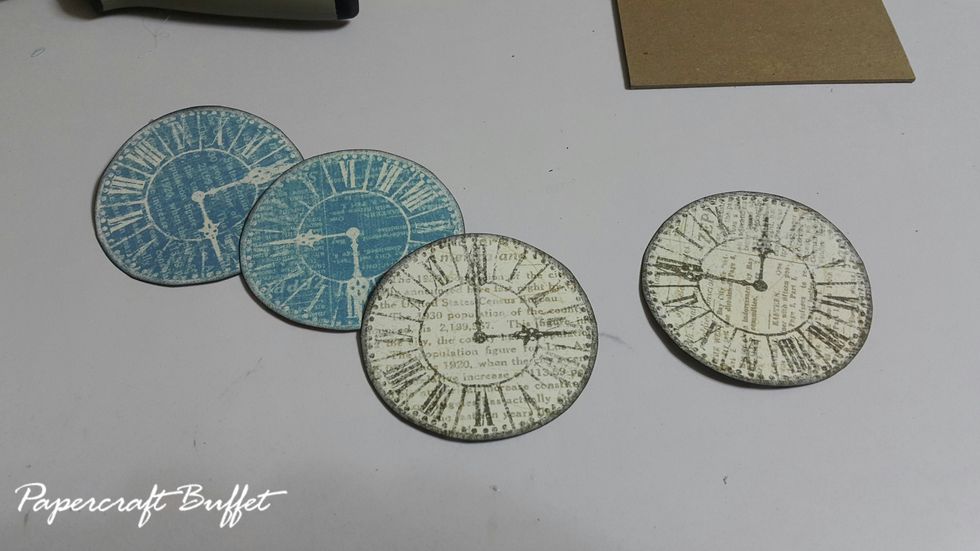
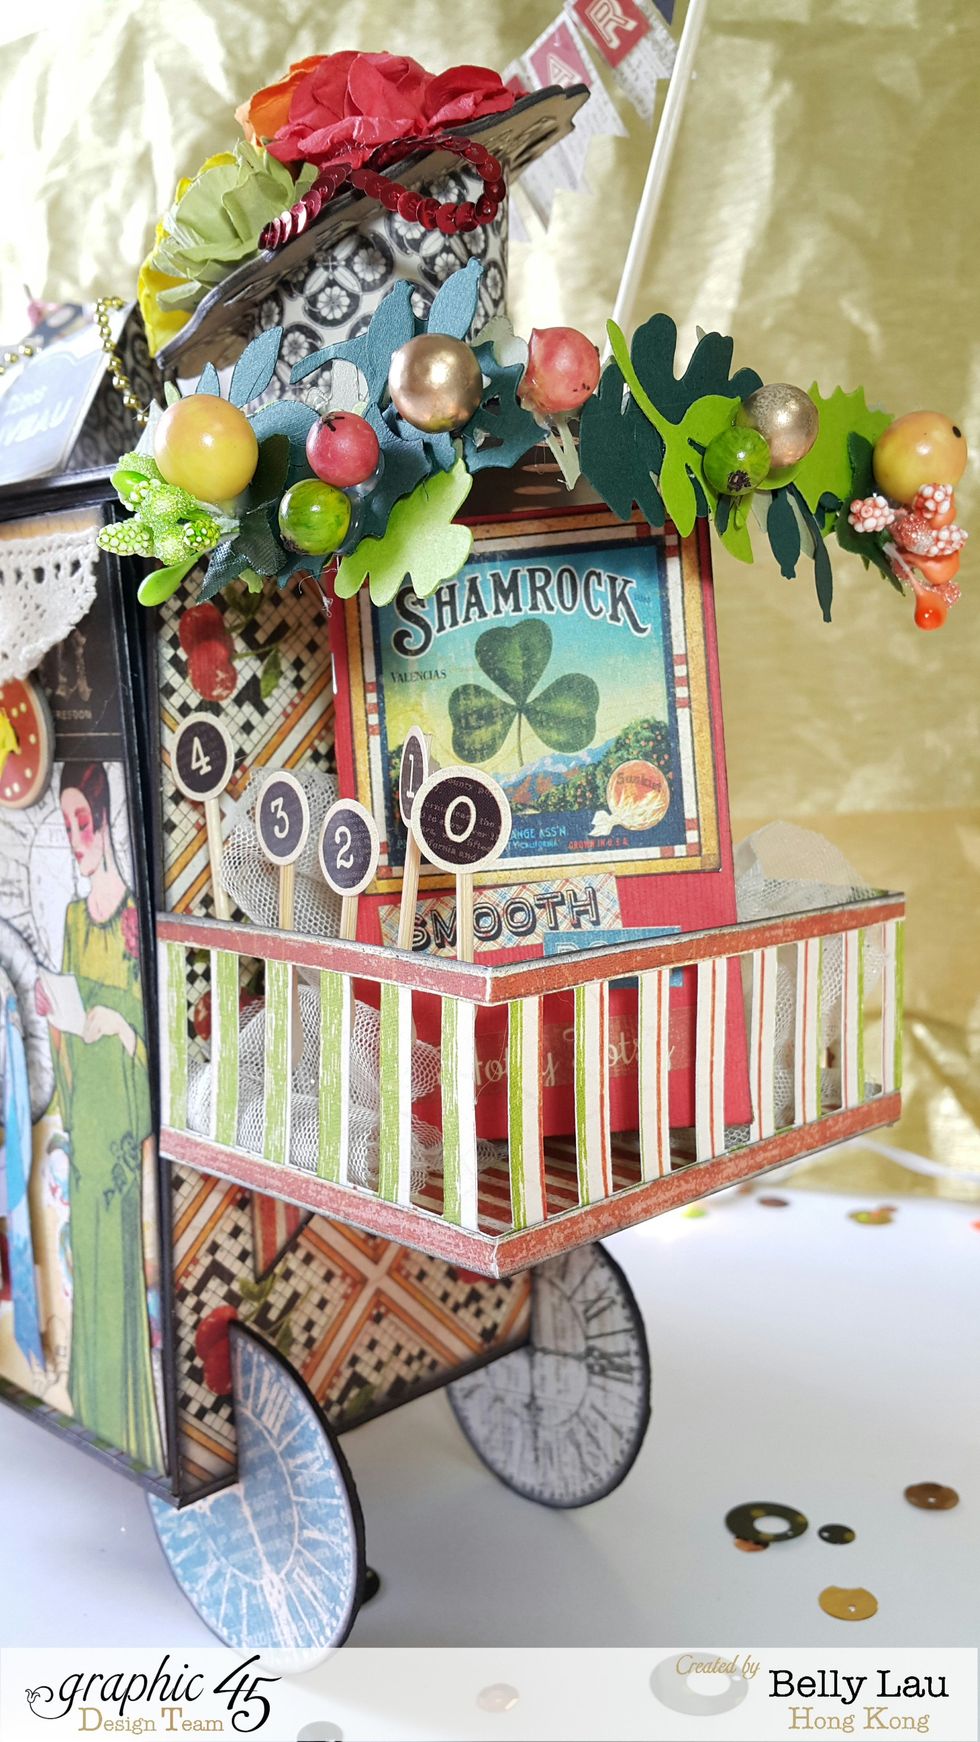
Then we go to the wheels, fussy cut out the clocks from pattern paper.
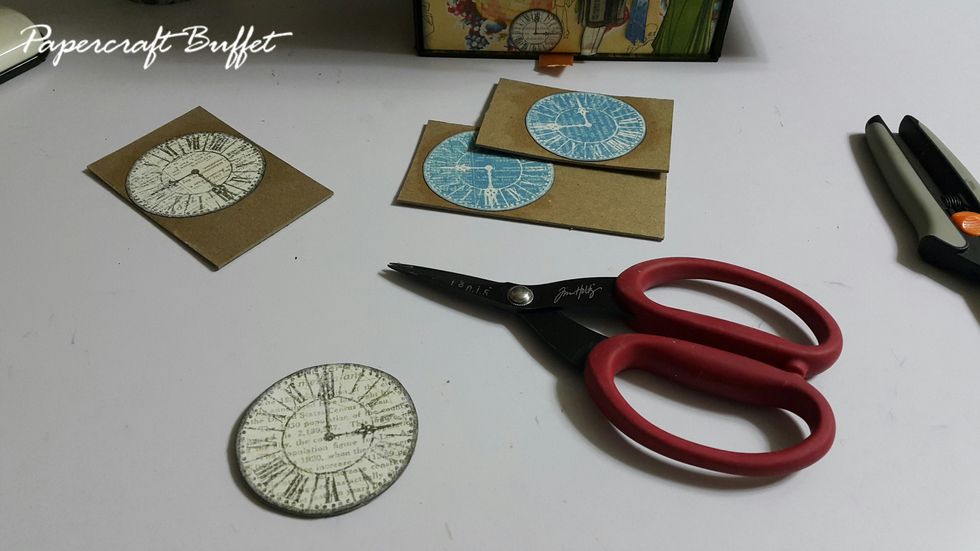
Adhere on chipboard and cut them out.
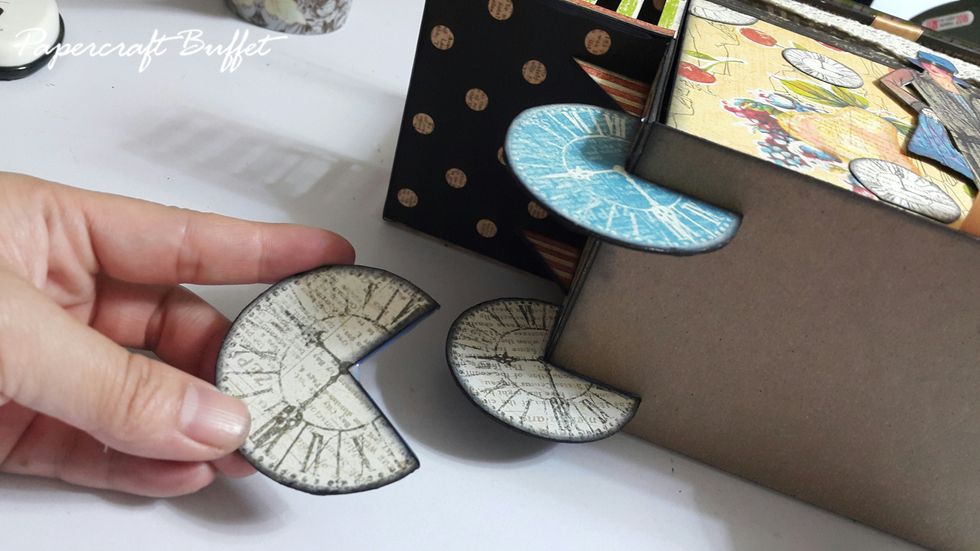
Cut out quarter of the clocks and adhere on the cart with strong glue, suggested here it would be better standing if you use double layer of chipboard for the wheels.
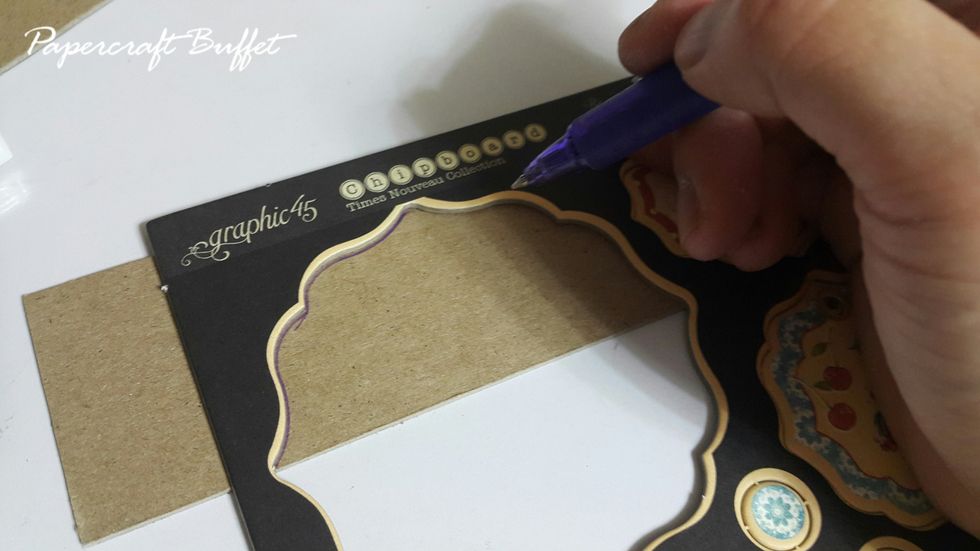
The go to the clock decoration, in order for the clock to be stand up, chase the shape on chipboard and cut it out.

Cut another two small pieces of chipboard in triangle shape.
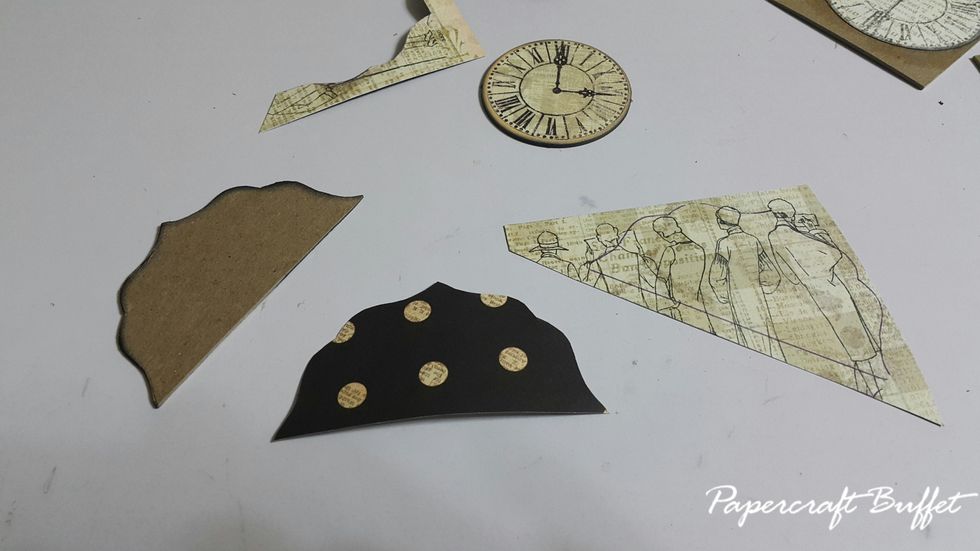
Cover the chipboards with papers.
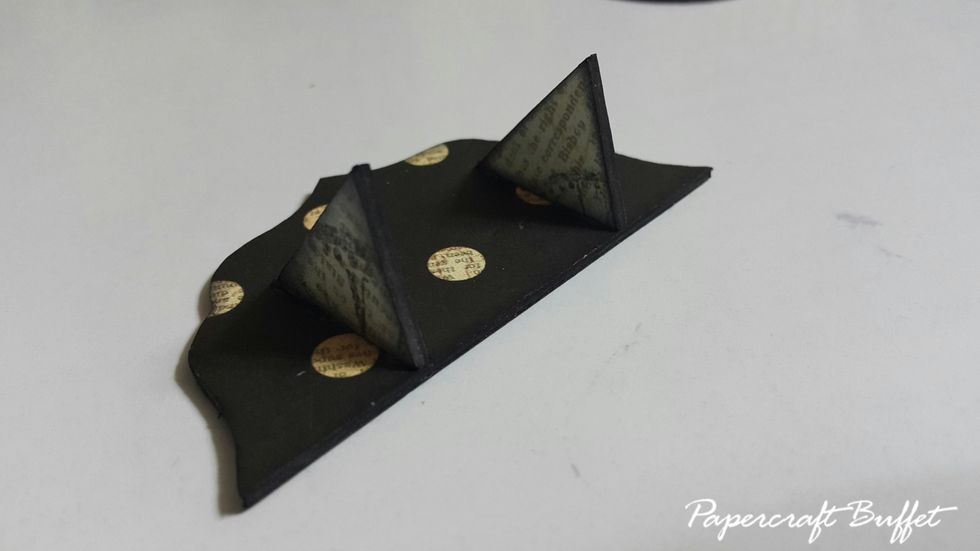
Glue on the legs, adhere on the clock chipboard piece and done for the clock.
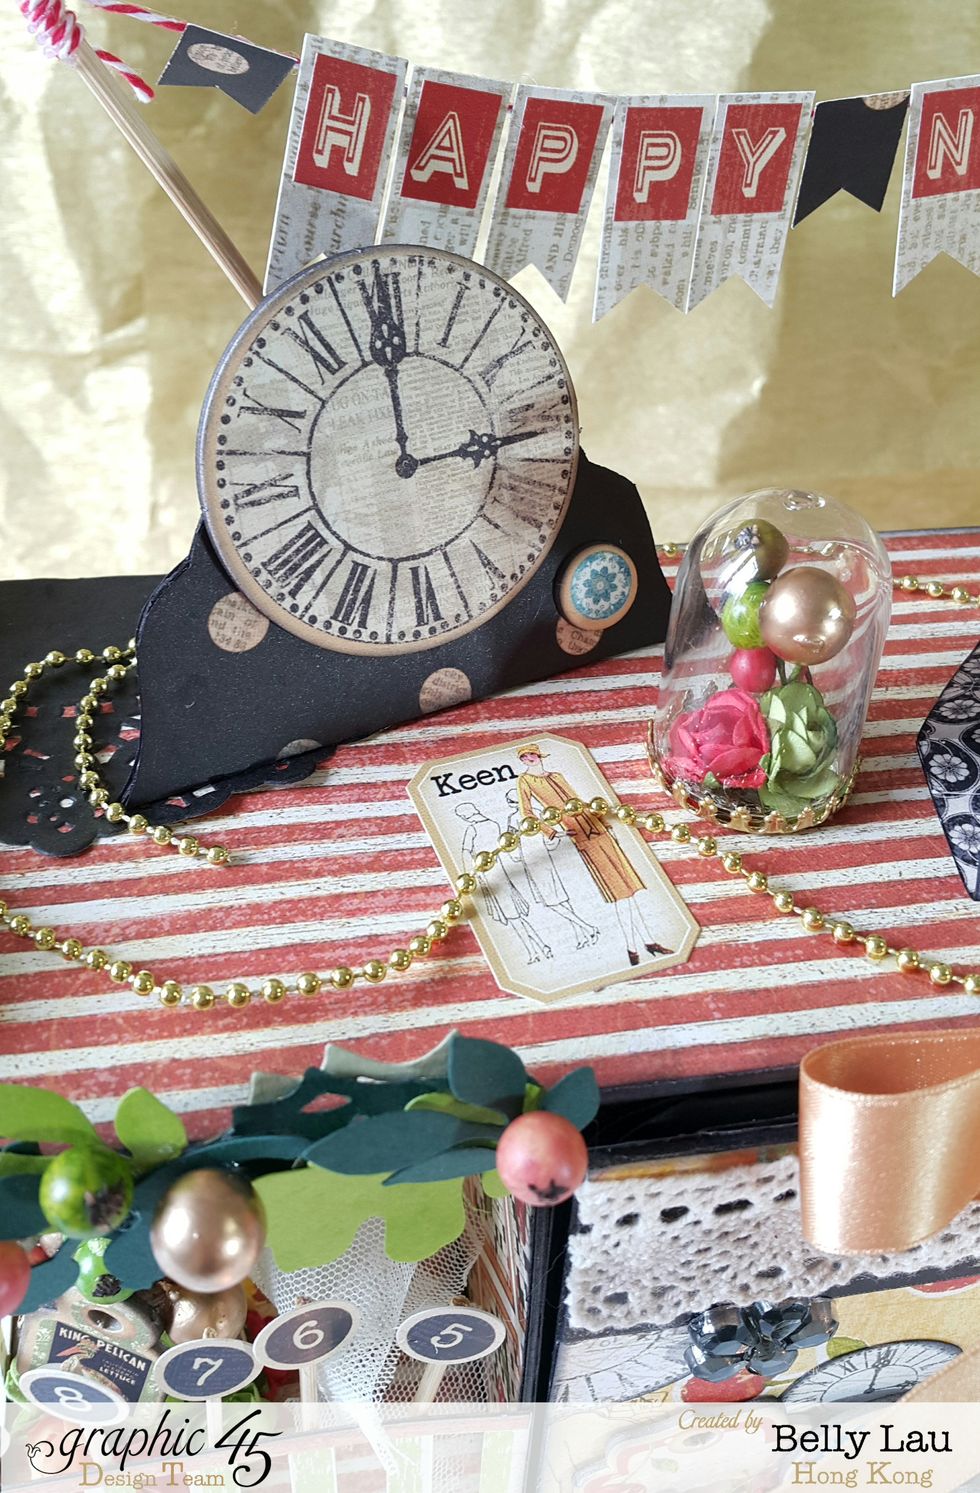
This is what the clock looks like.
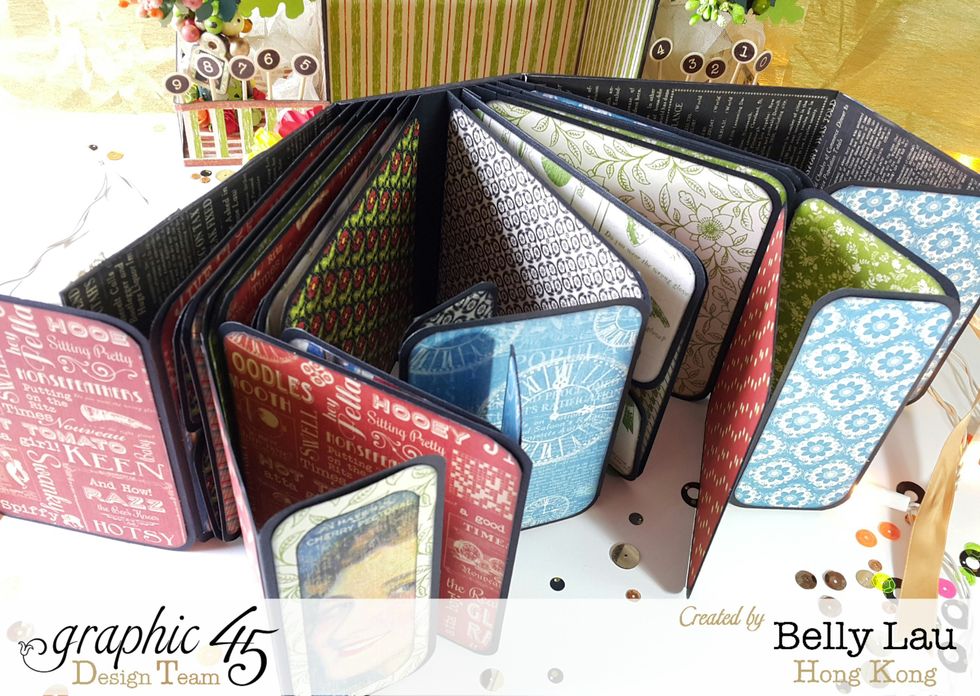
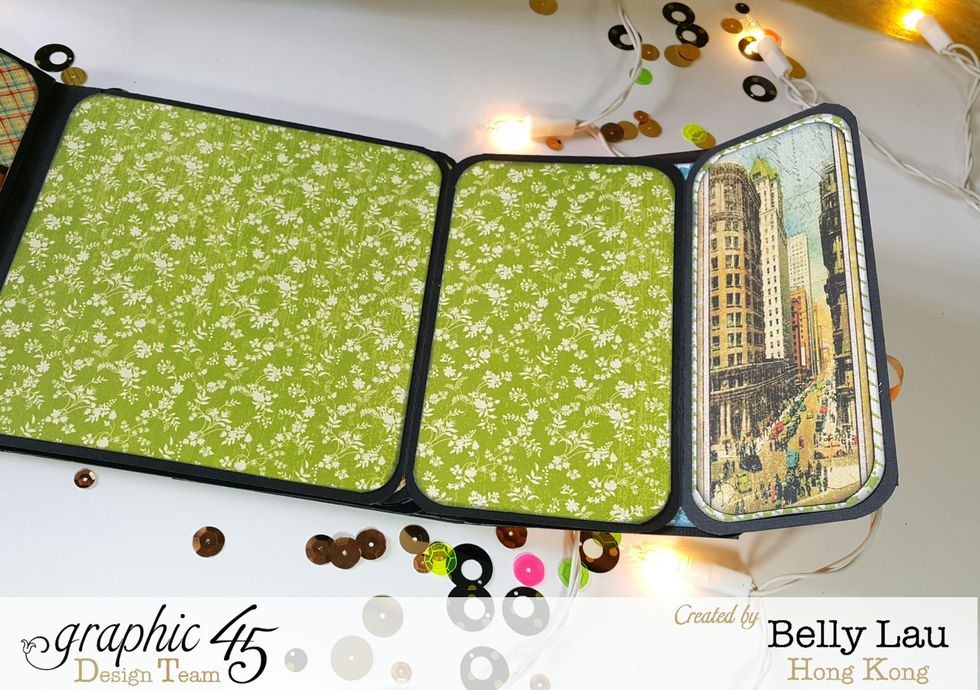
I have some of one fold and some of them with two foldings.
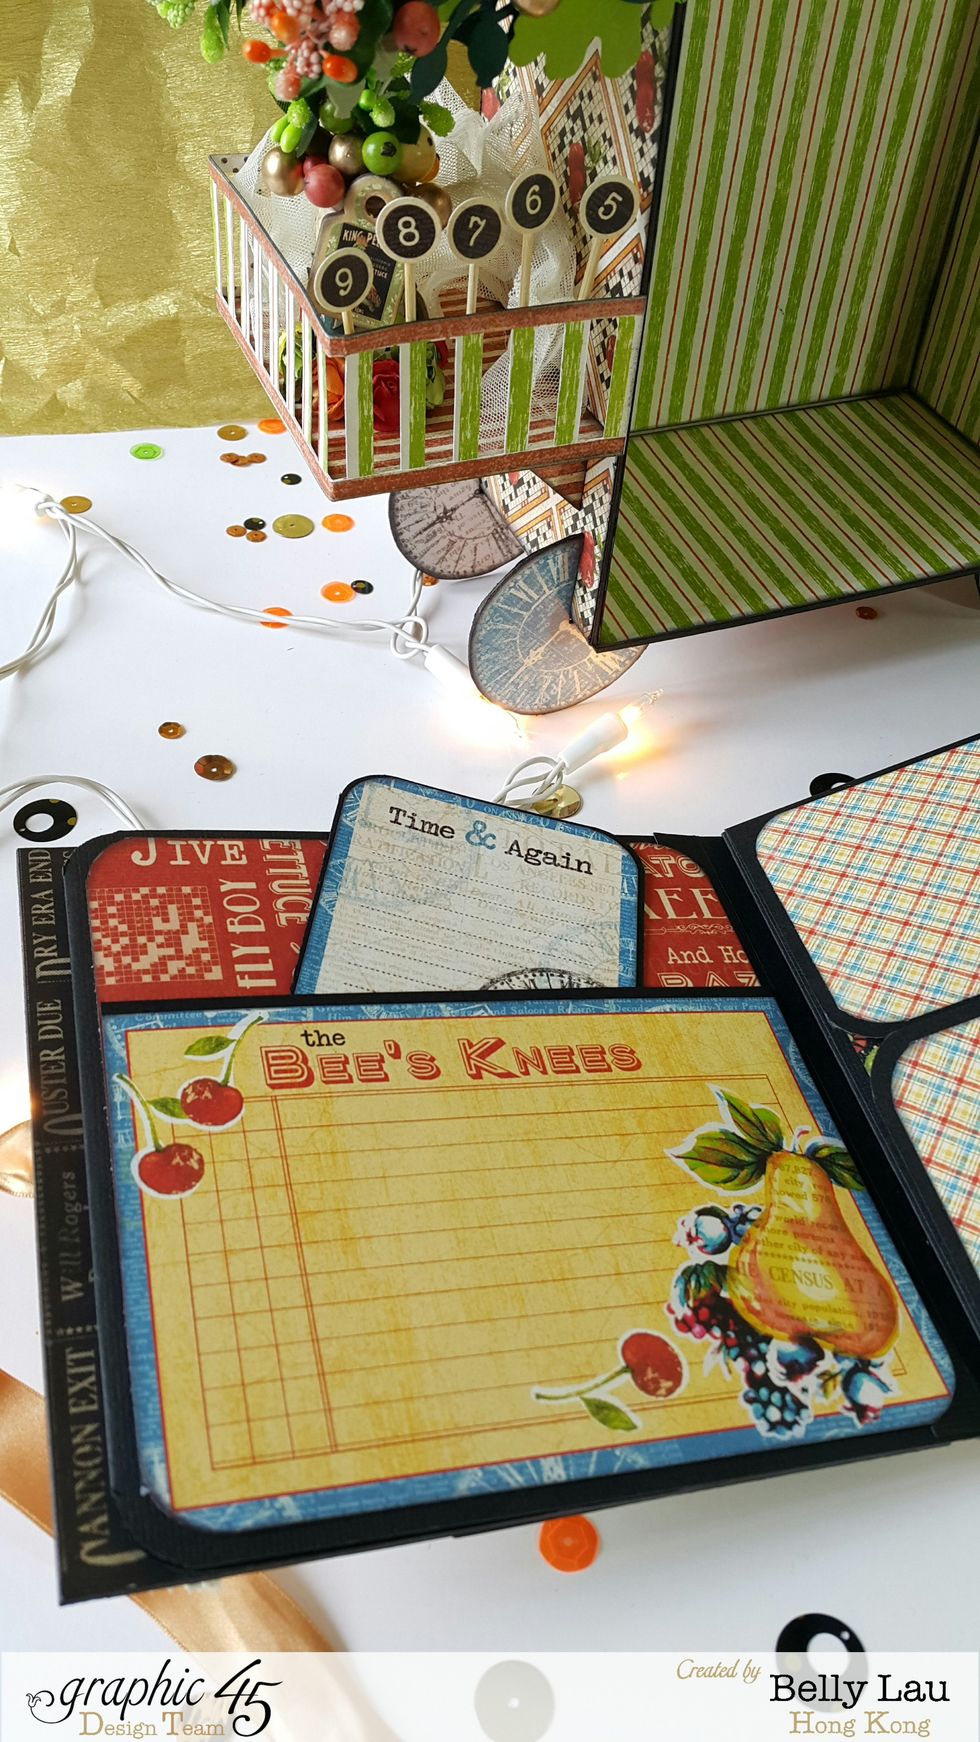
Other than folds, I have a few of the pages made with pockets.
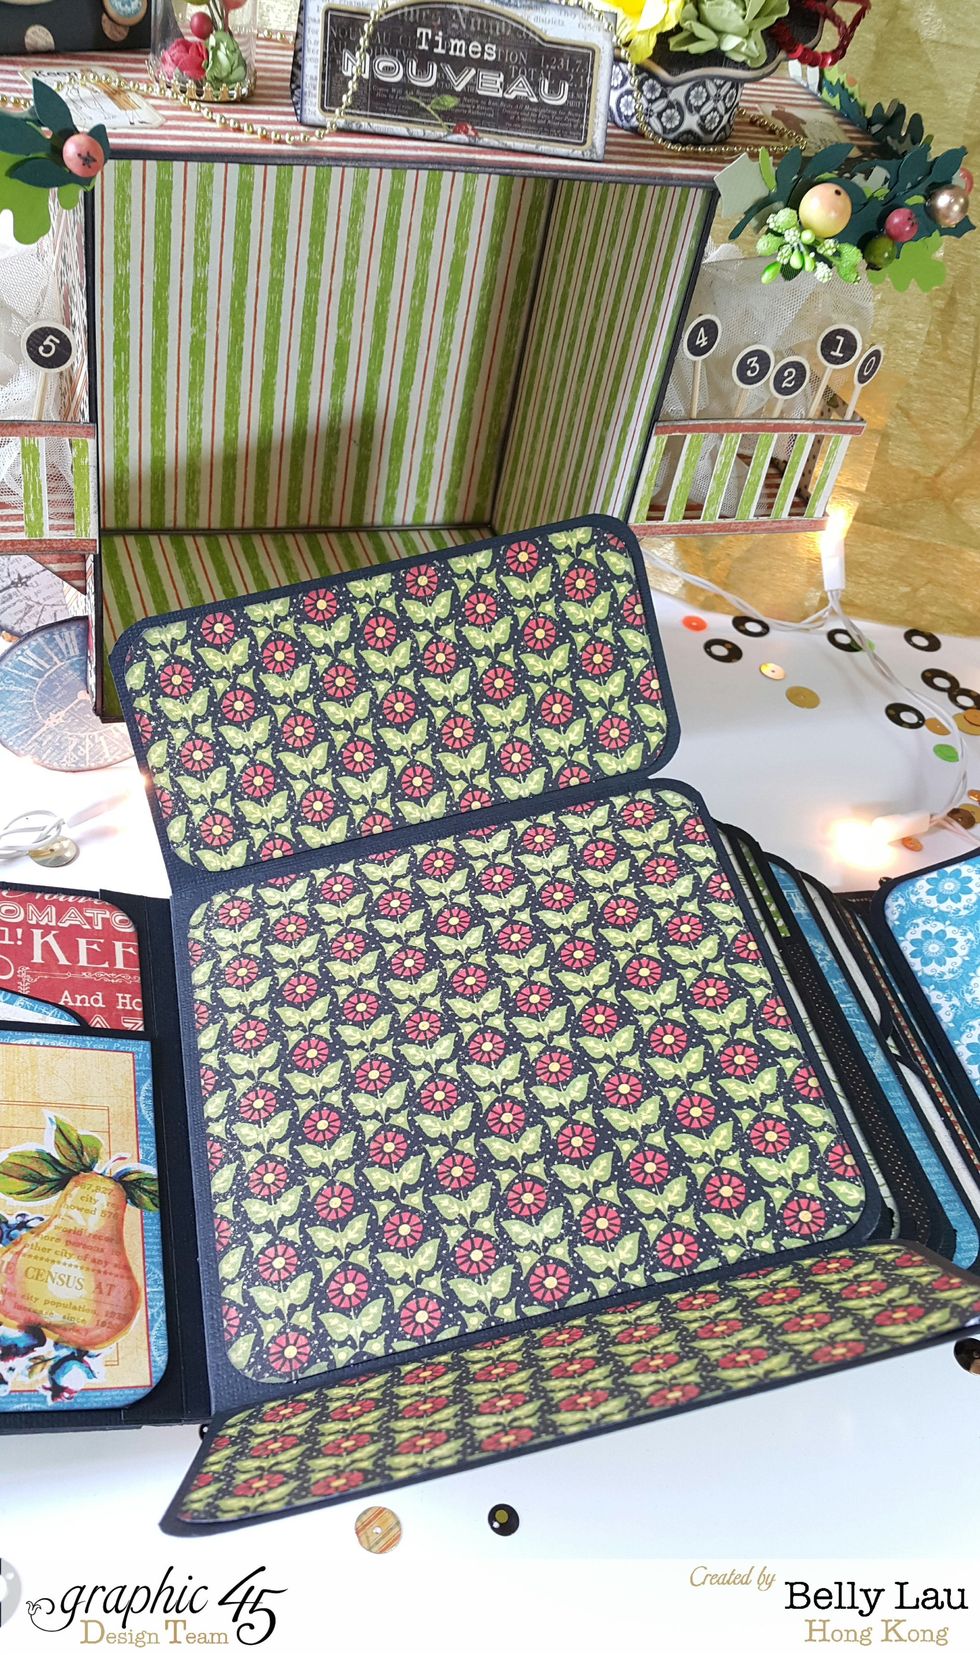
This is one kind of the fold with open from the top and bottom, which I fold the paper at 3" by each side.
This page is fold at 2-1/2" and 6"
This page is just make a fold at 4"
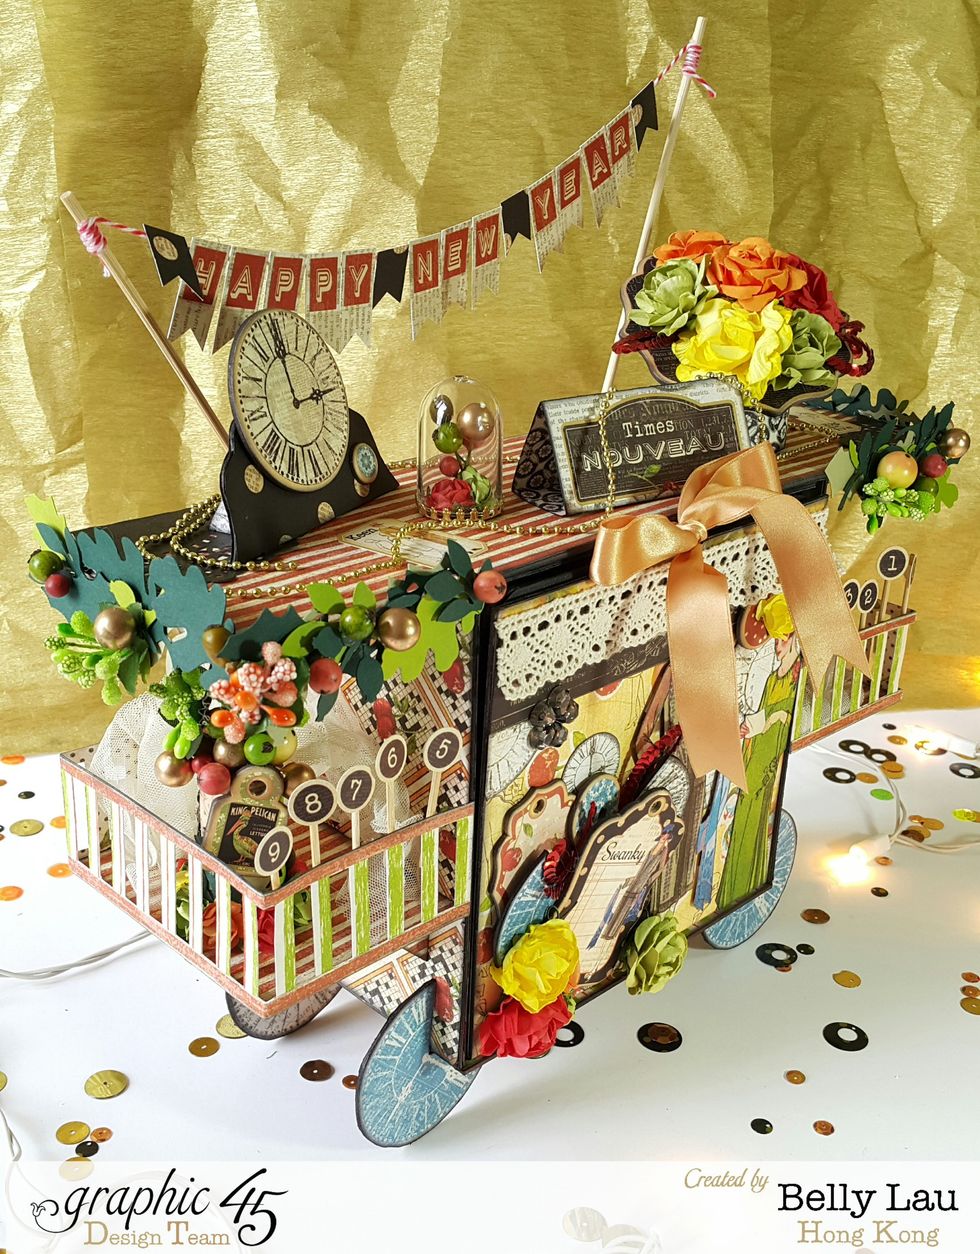
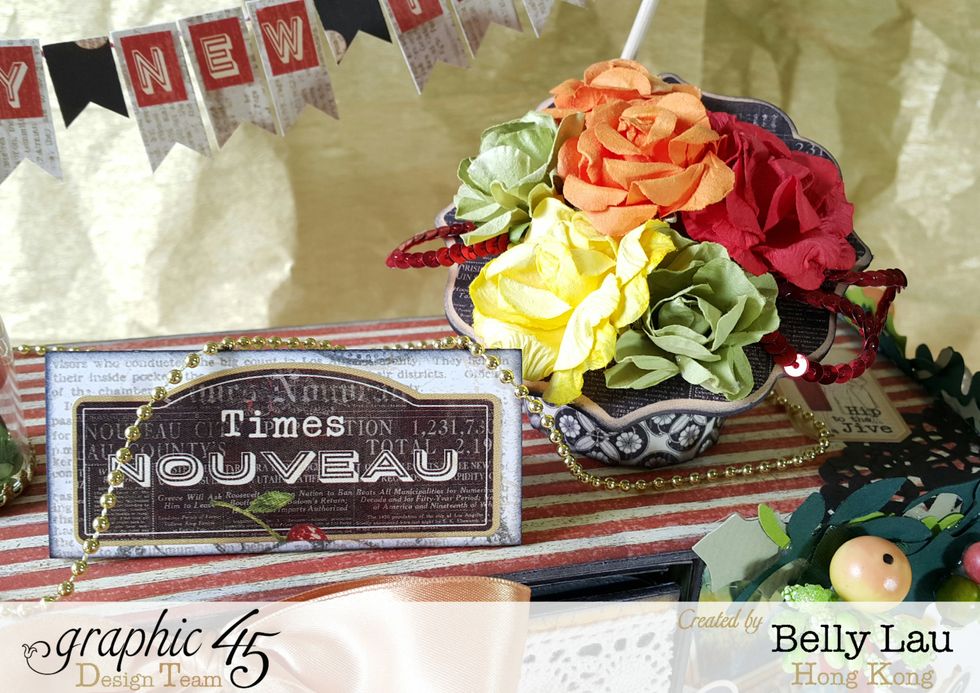
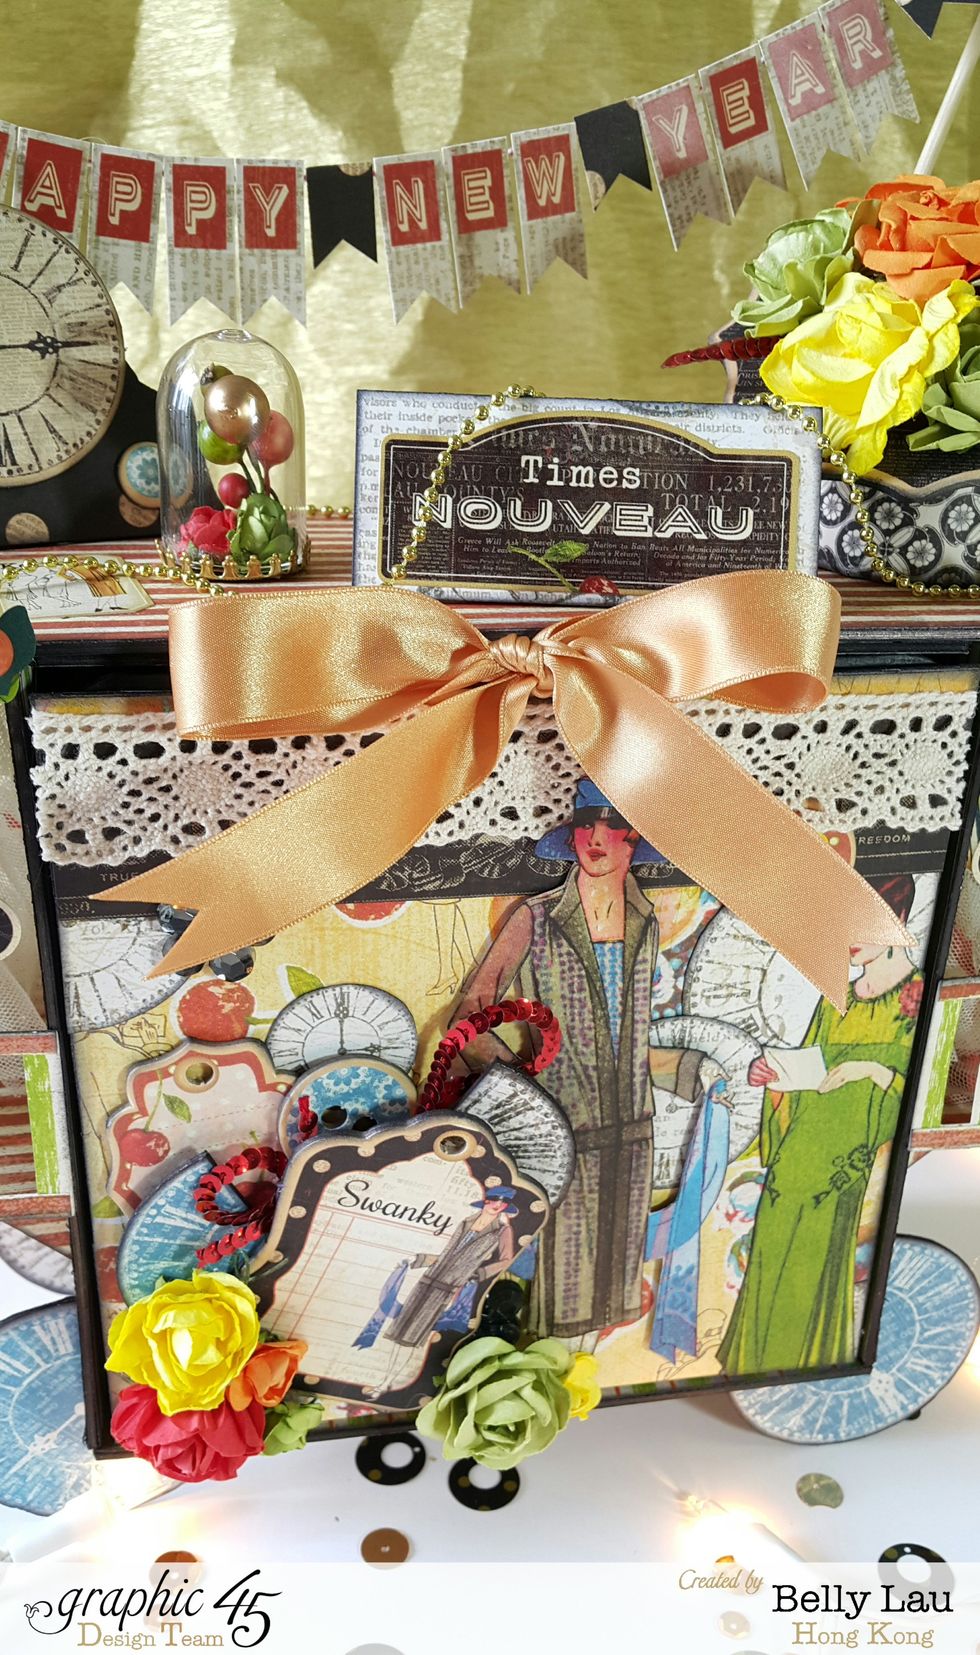
Adding leave die-cuts and decorative fruits for more celebrating mode.
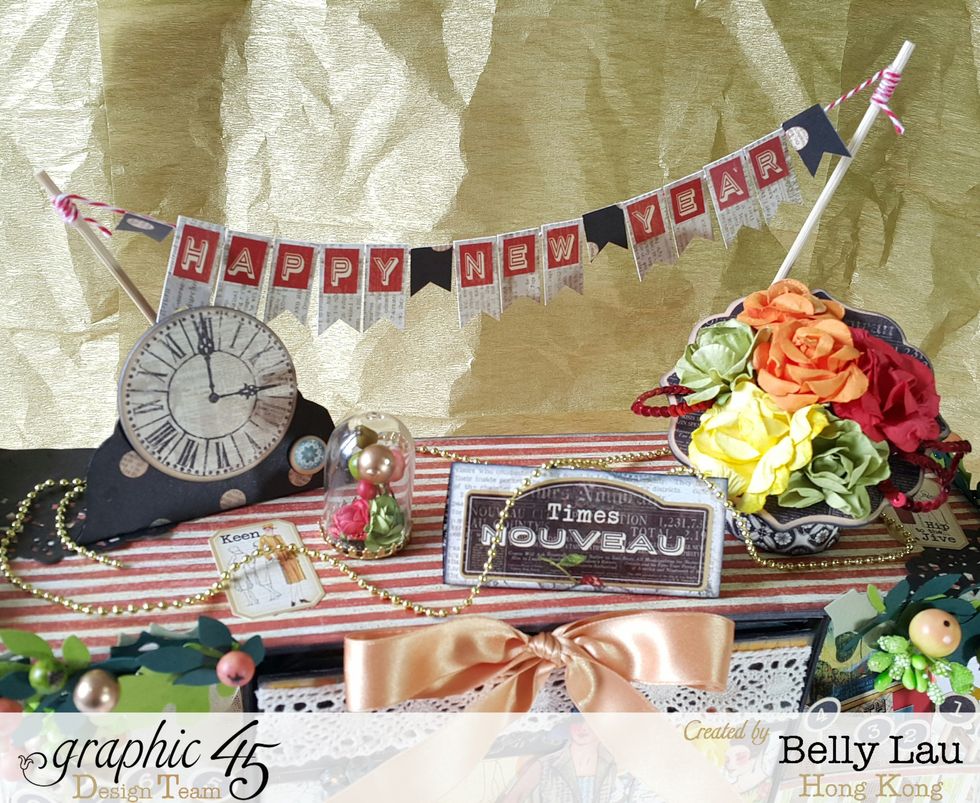
Shine gold color can bring out the paper colors.
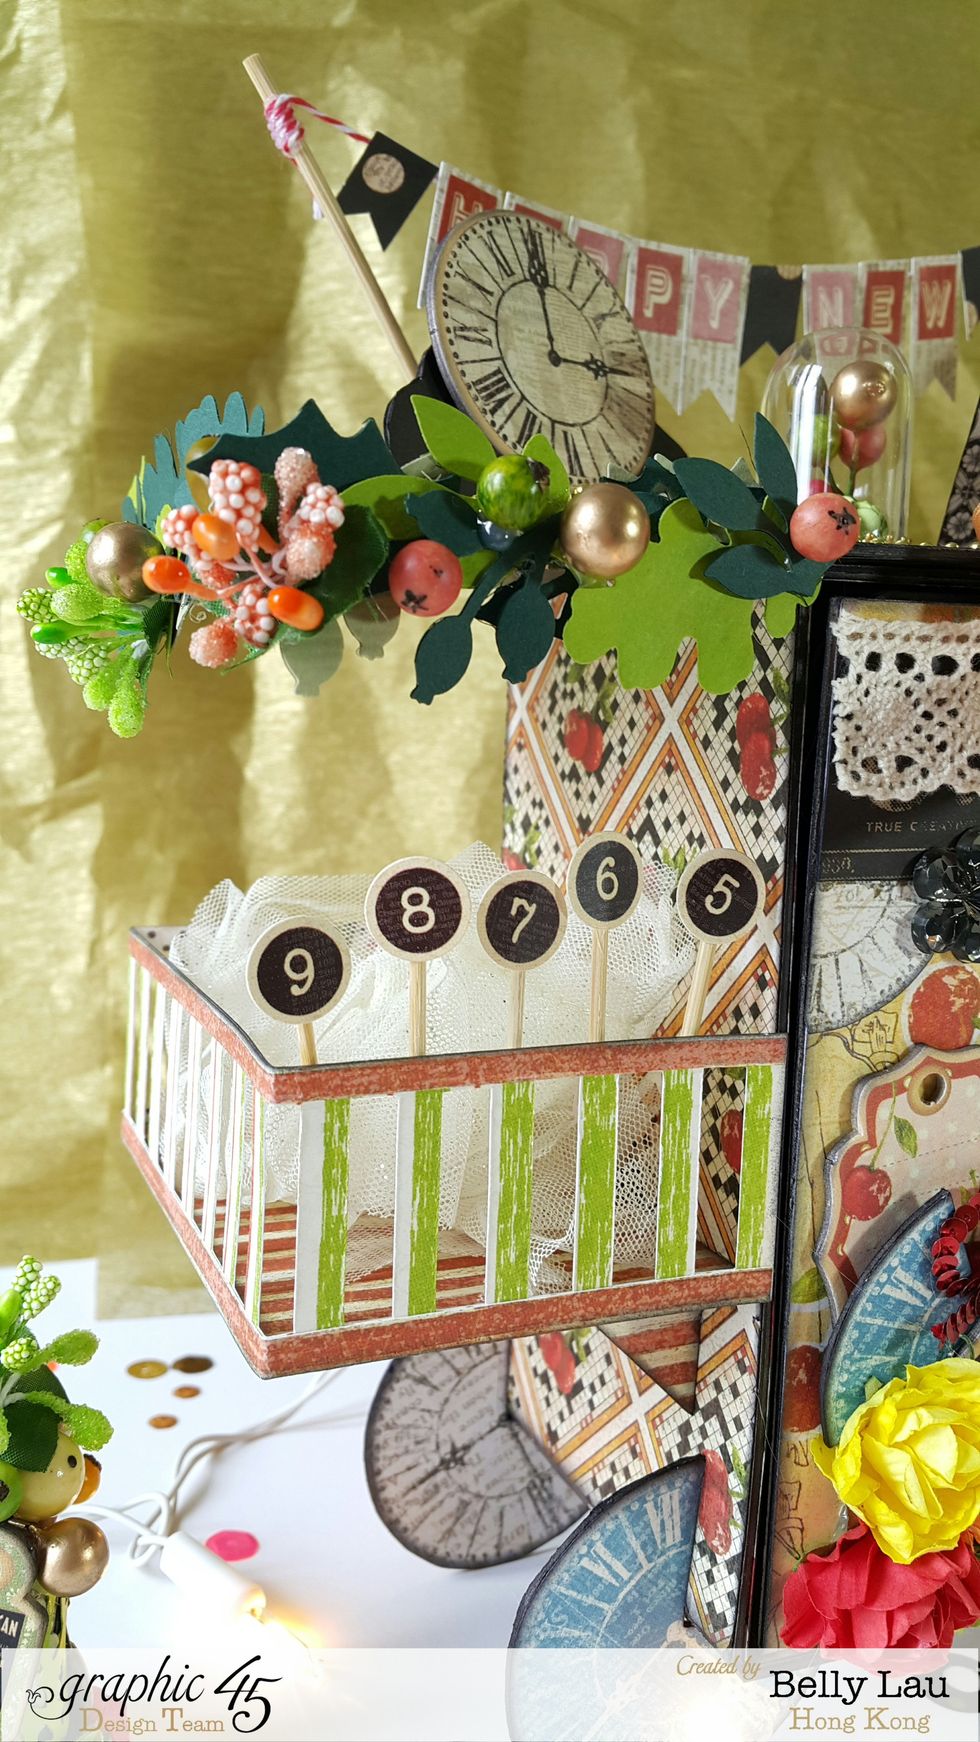
Use toothpicks for making the number countdown.
Here a simple folded magazine.

Use wine cork for decorating, I made this like a small flower pot.
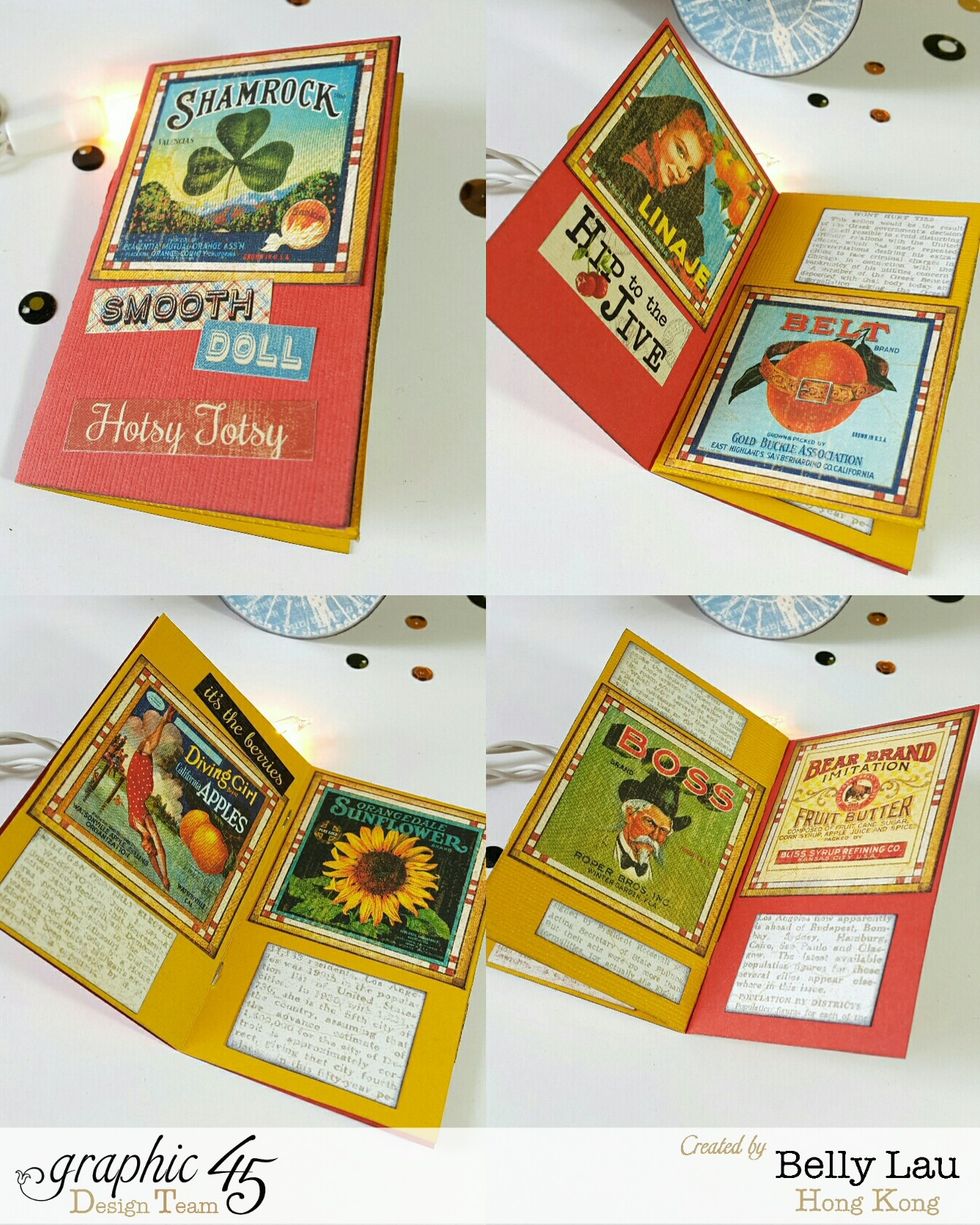
Cut out pattern from papers and make pages for magazine.
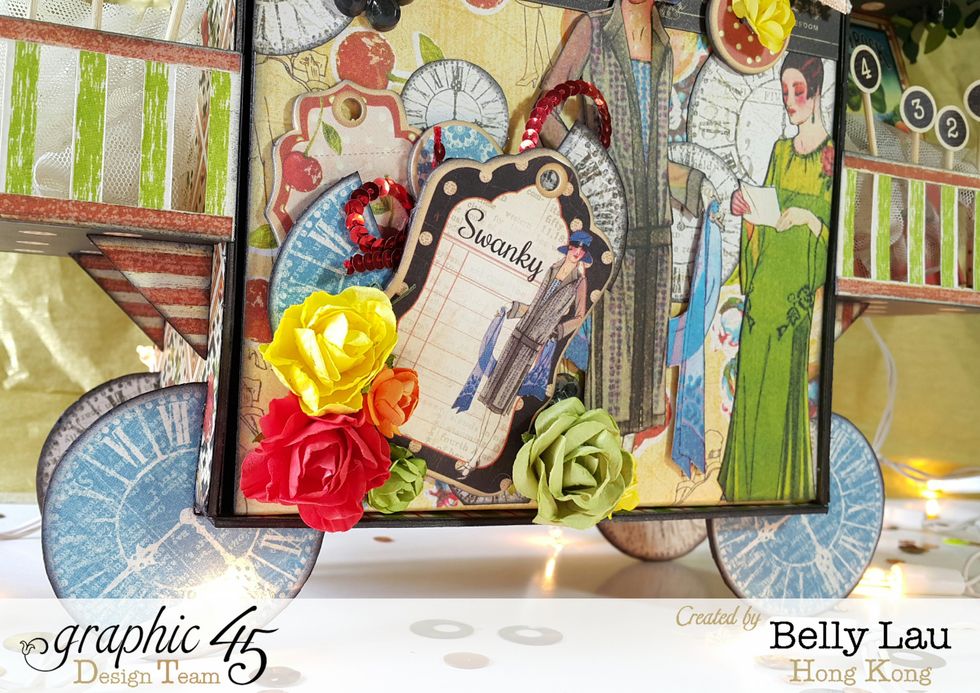
Layer chipboard pieces and paper flowers in the front of the album.
Enjoy!!!