The Conversation (0)
Sign Up
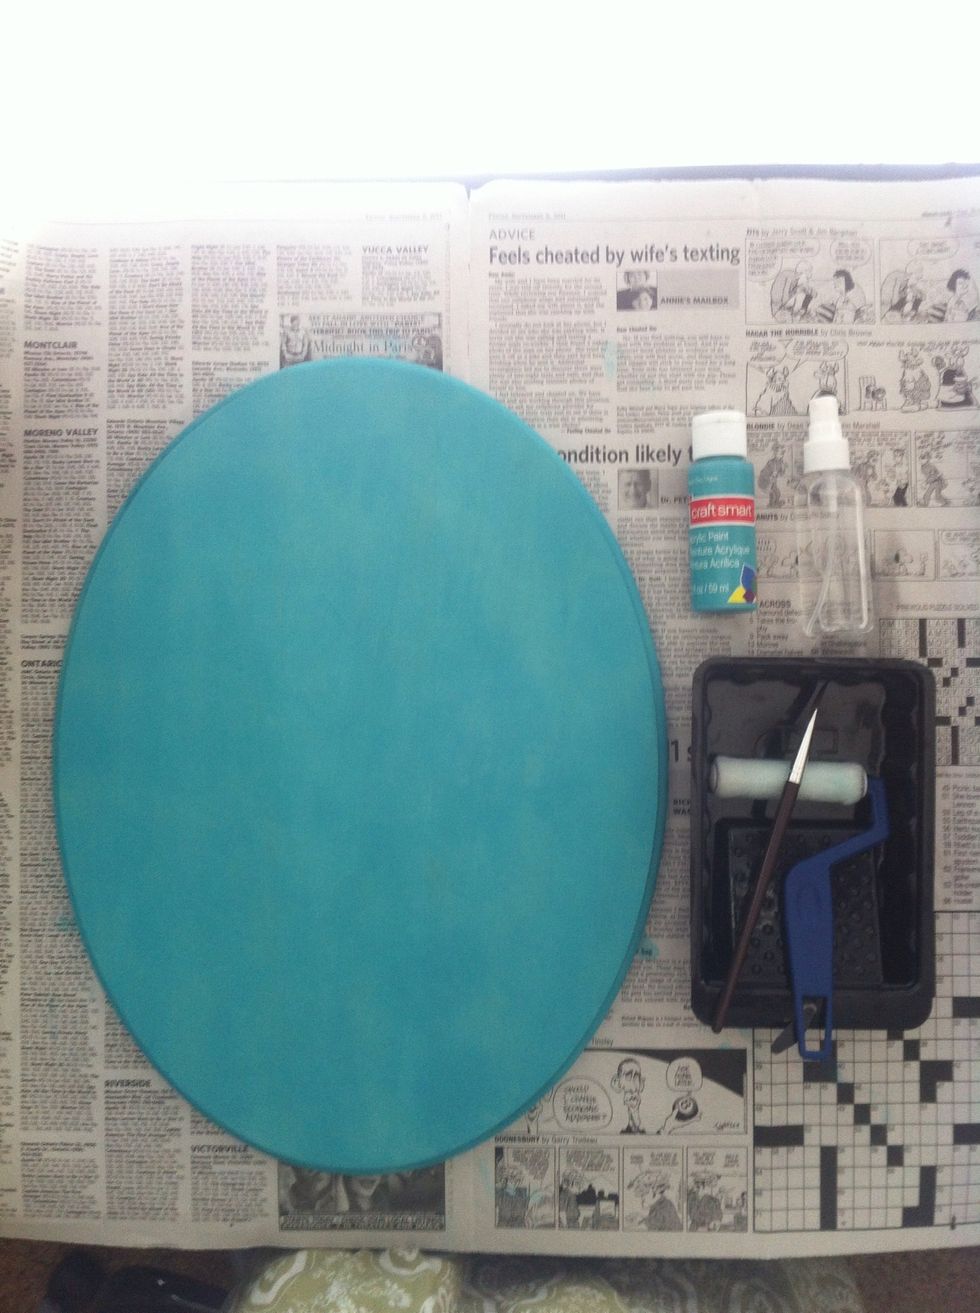
Paint or stain your board however you like. Here I used an aqua craft paint on unprimed wood with a little water to get more of a stained rustic look.
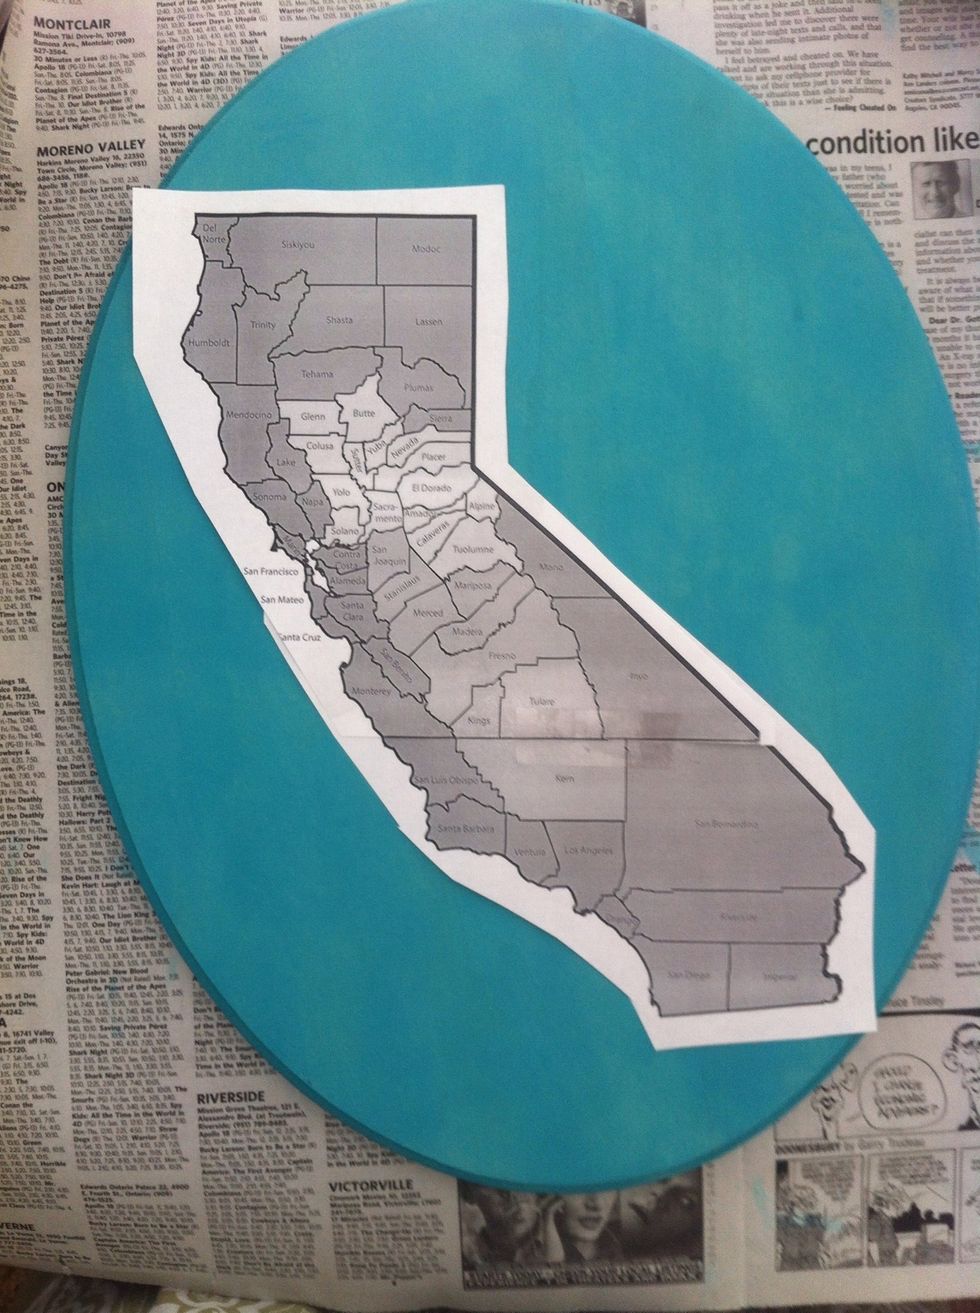
Next print a map of the state you plan to do at the size you need. (I had to split the map into 2 sheets to achieve the correct size.) Then tape it down to your board.
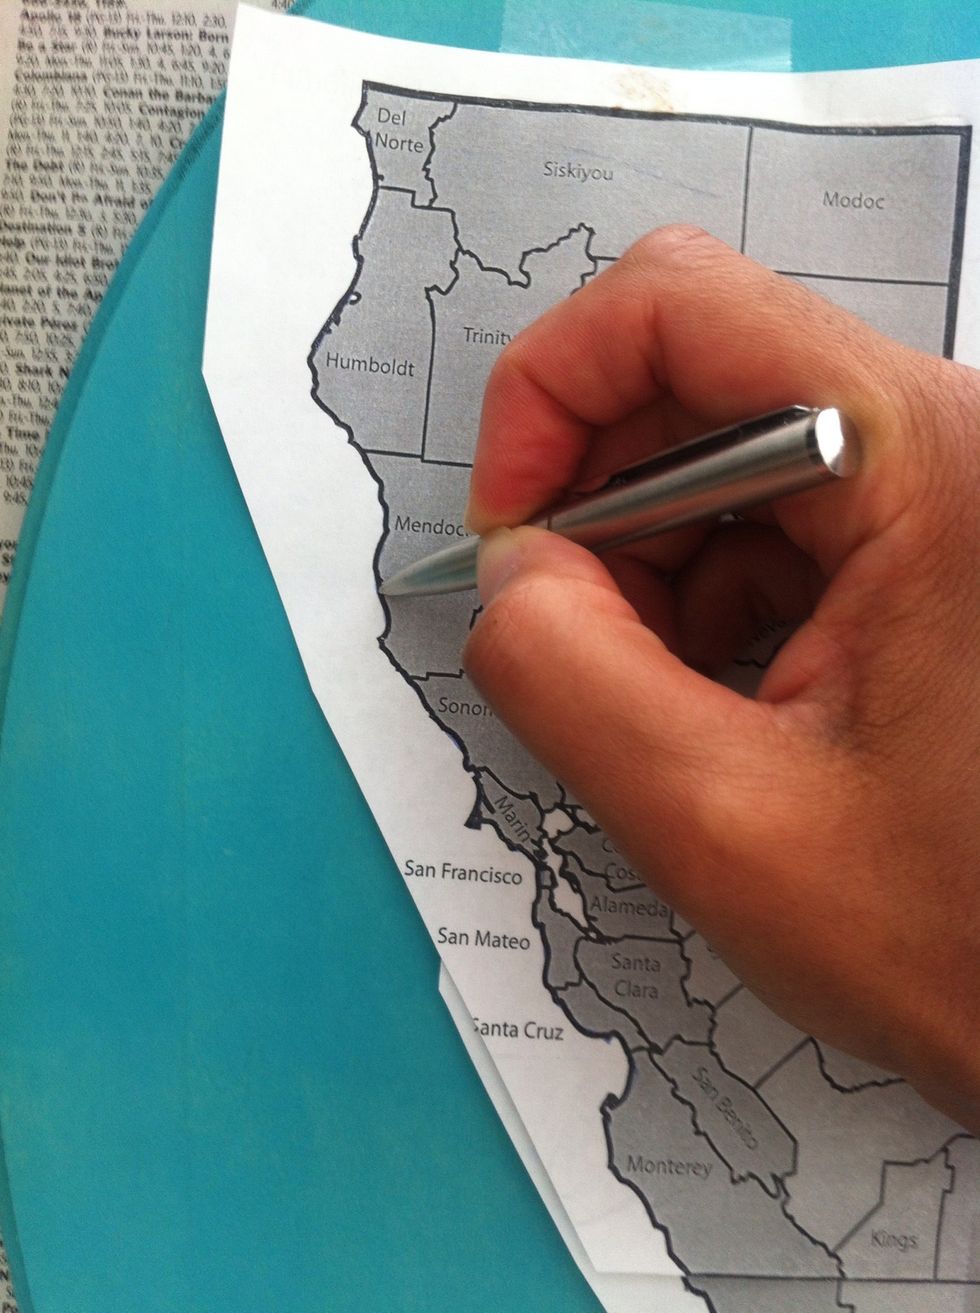
Begin to trace the outline of the map with a ball point pen, pushing pretty hard while you do. Go around the entire state.

Remove the printed map and you should see an indentation into the wood where you traced.

Now start hammering the nails along the indent outline in the wood, keeping the nails fairly close together.
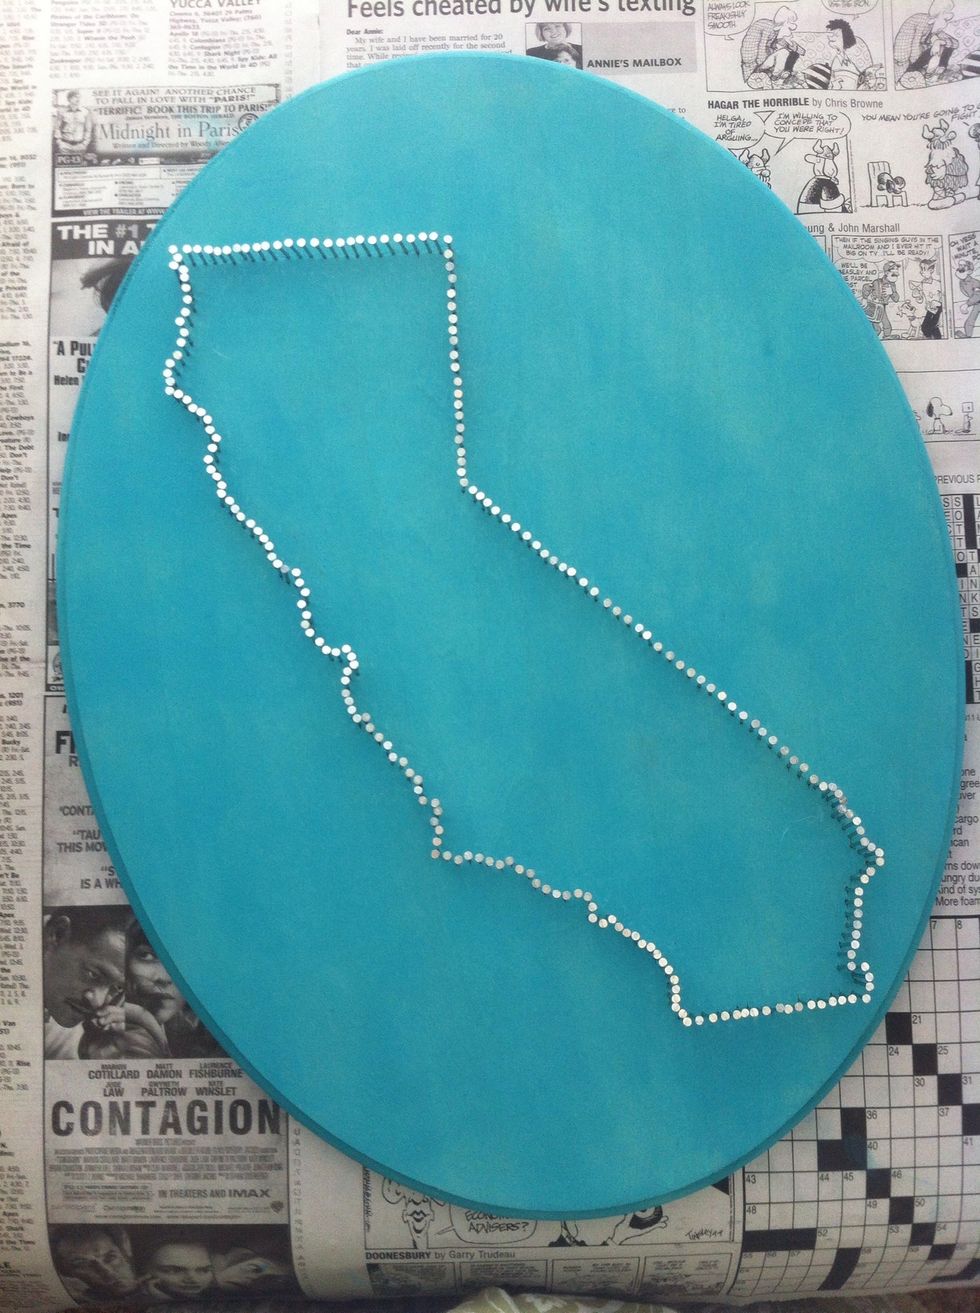
Keep going until you go around the entire outline.

You can add a heart or star if you want in the city or area you live in. I decided to do a heart in the SoCal region for balance. My town is too far near the bottom to look good.
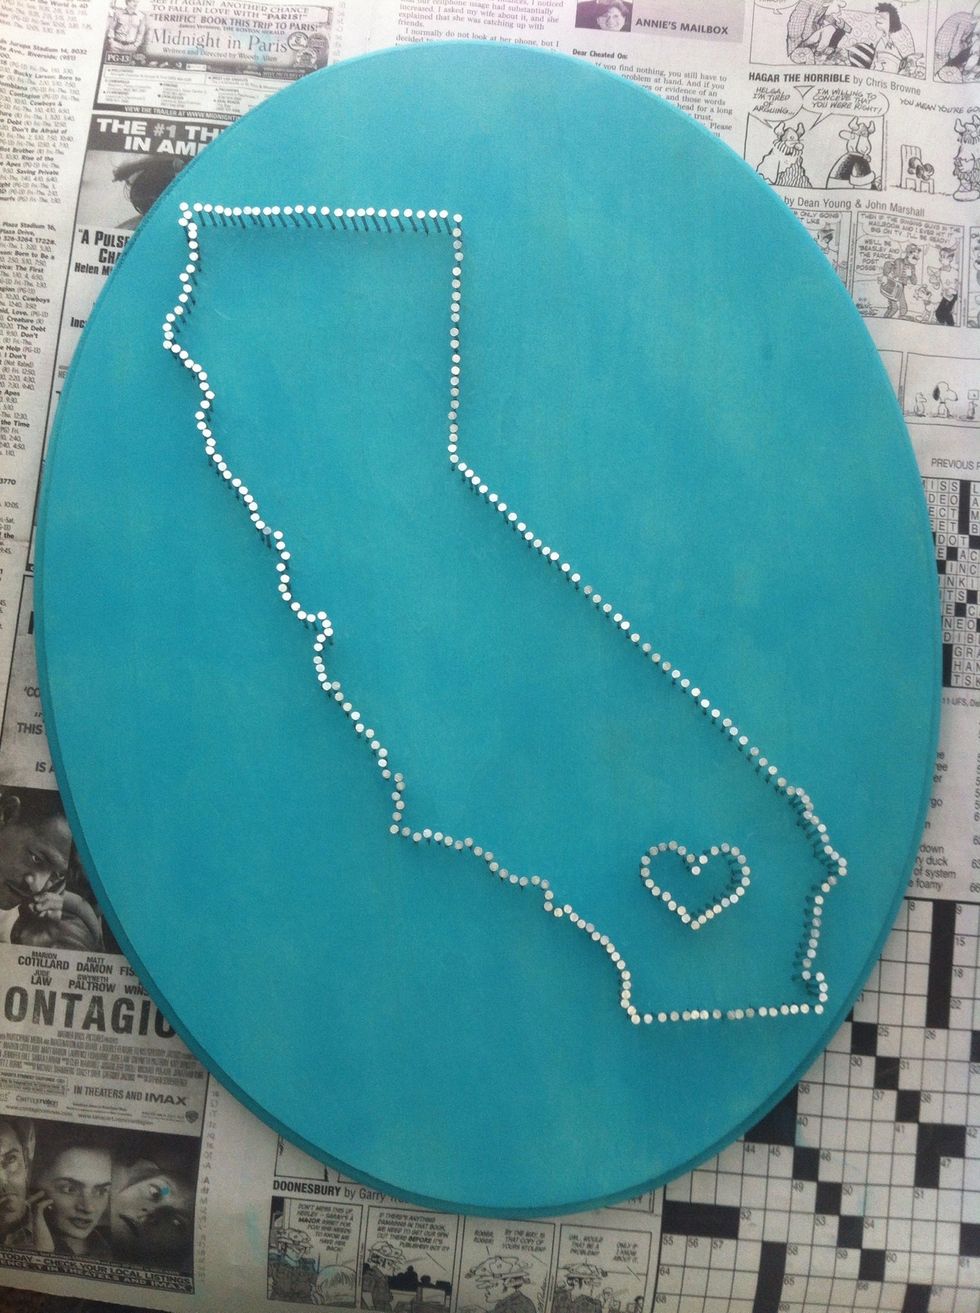
Do the same thing you did with the map: trace & nail. Now you are ready to start stringing.
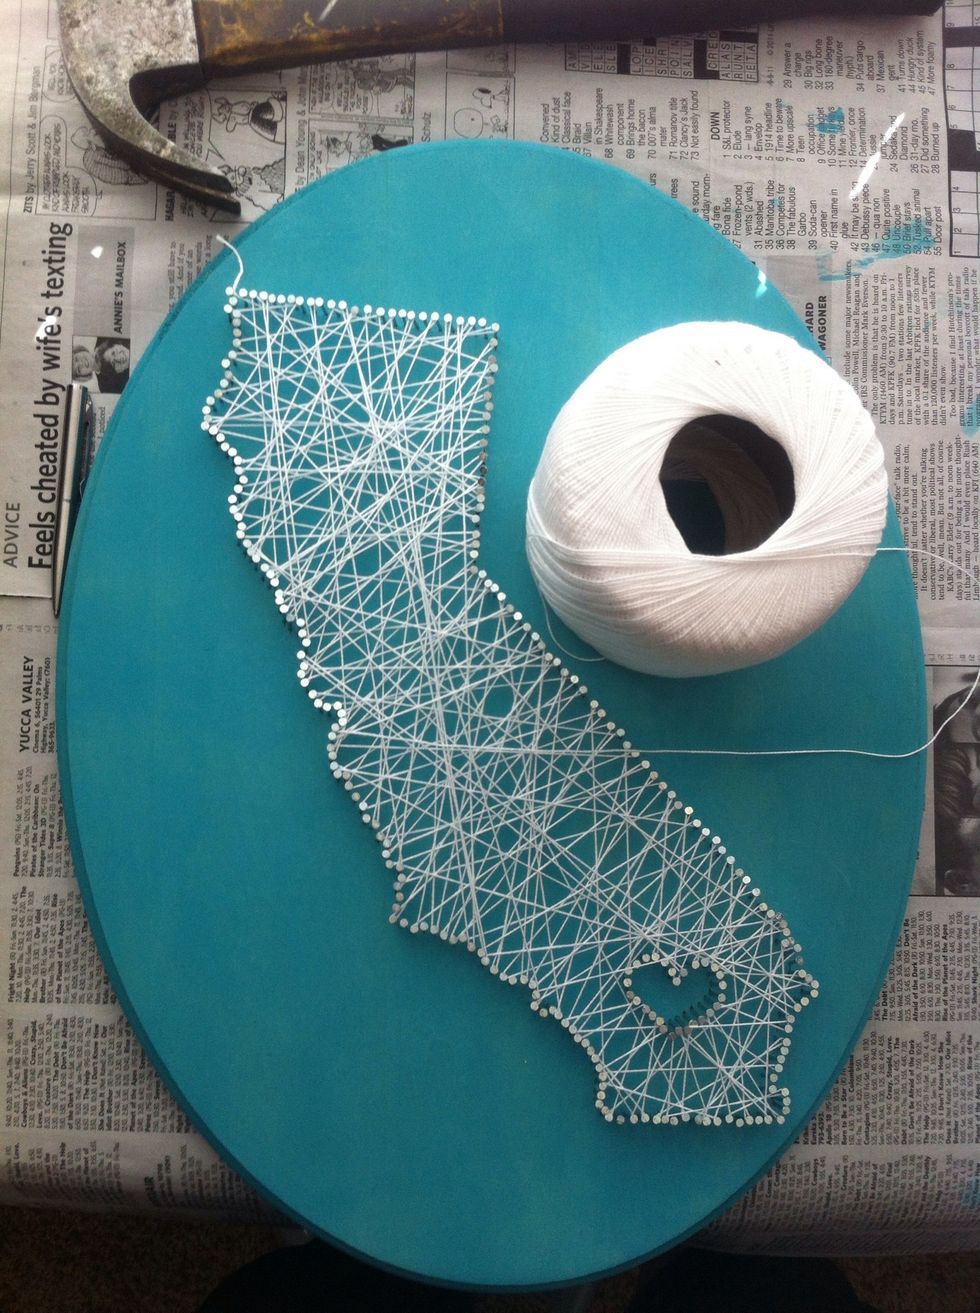
Tie a knot around a nail to get started. Then start criss crossing through the middle to try and fill most of the space, careful to avoid crossing outside the nails or over the heart area.
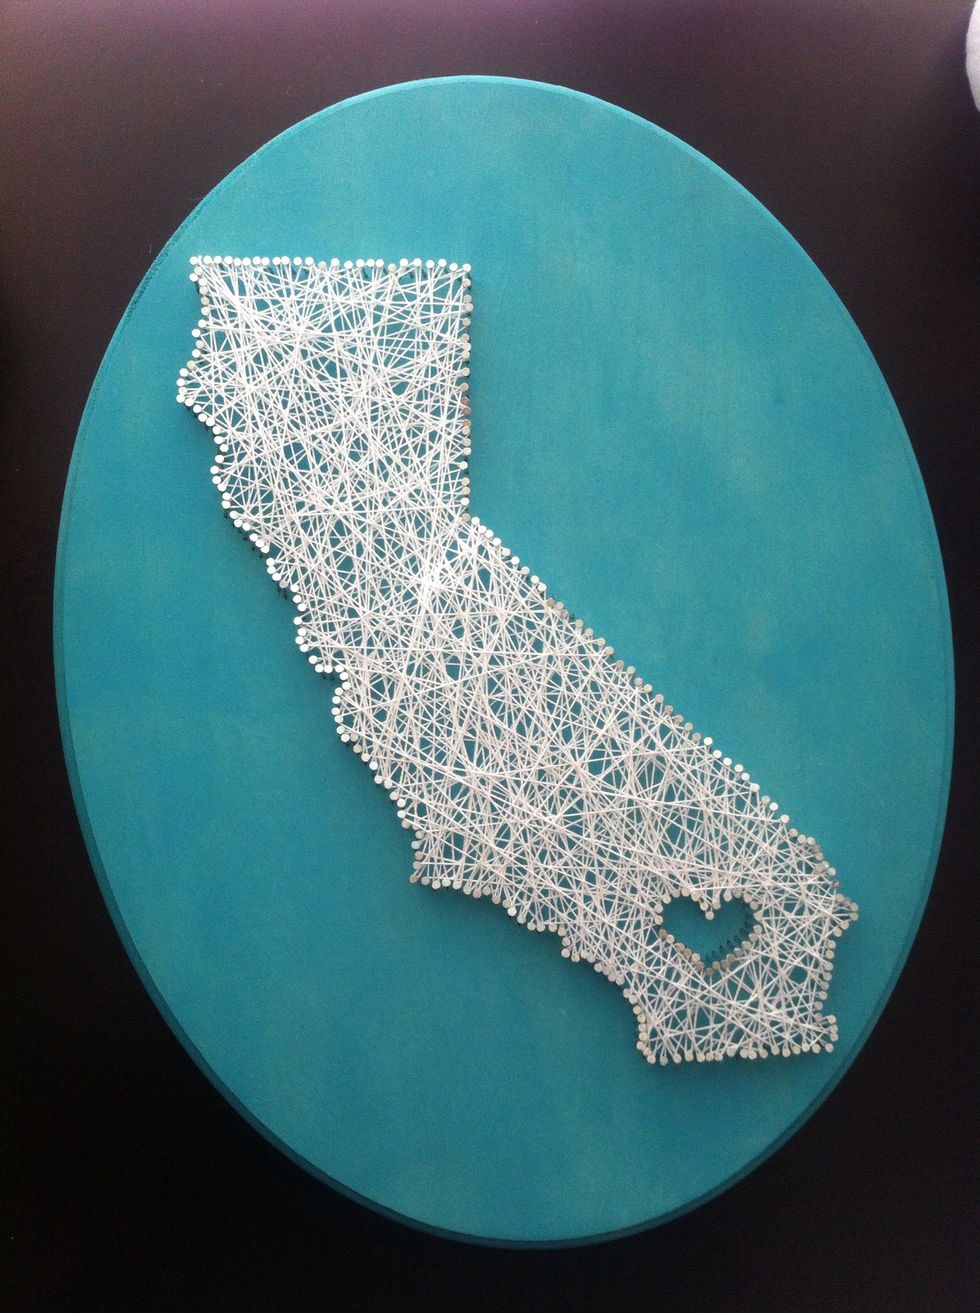
Keep going till you hit every nail head at least once. Some you will use 2-3 times. When you are satisfied, tie another knot around the last nailhead and Voila! Your very own string art!
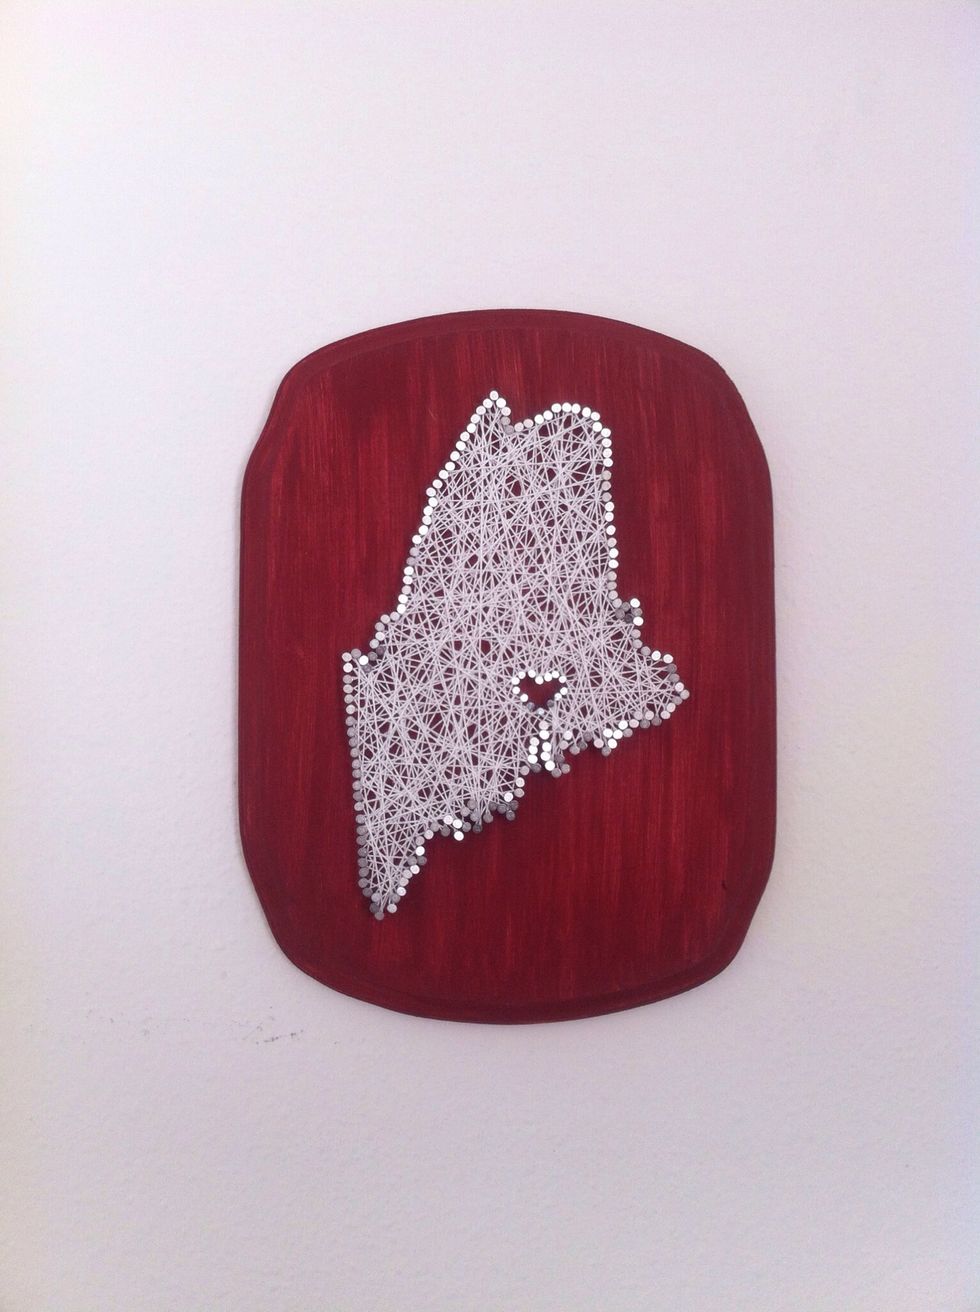
Here is another project I did using the state of Maine. Have fun making your own String Art State!