The Conversation (0)
Sign Up
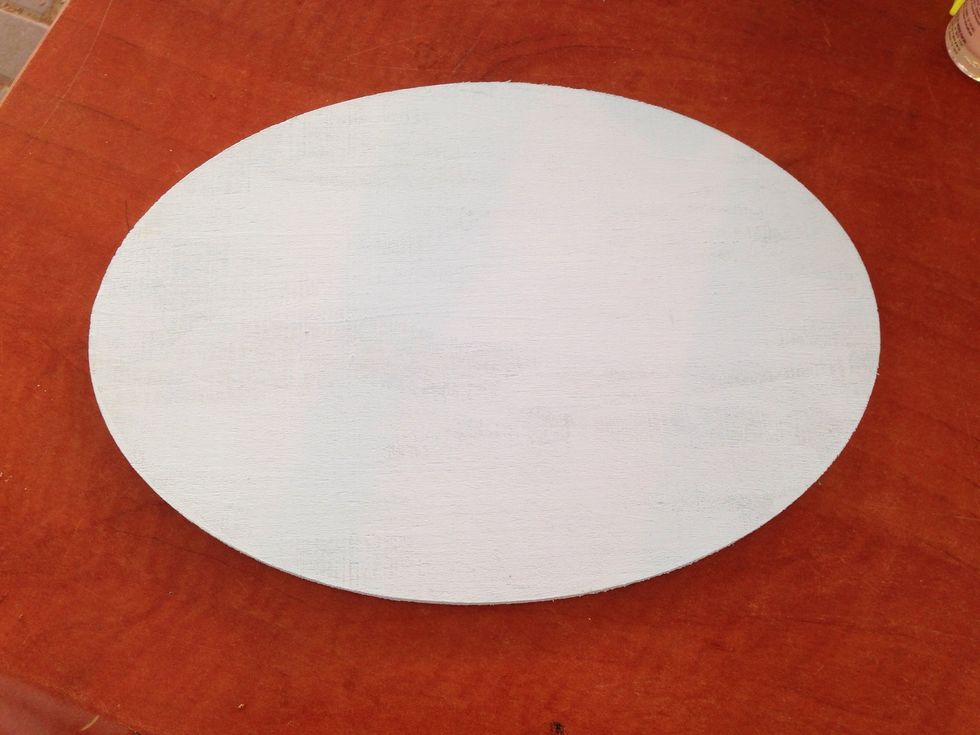
Start off with the blank wooden plank/board! mine isn't the largest... I feel like with this project, the bigger the better. Anyways, paint board the color/design of your choice and set to dry!
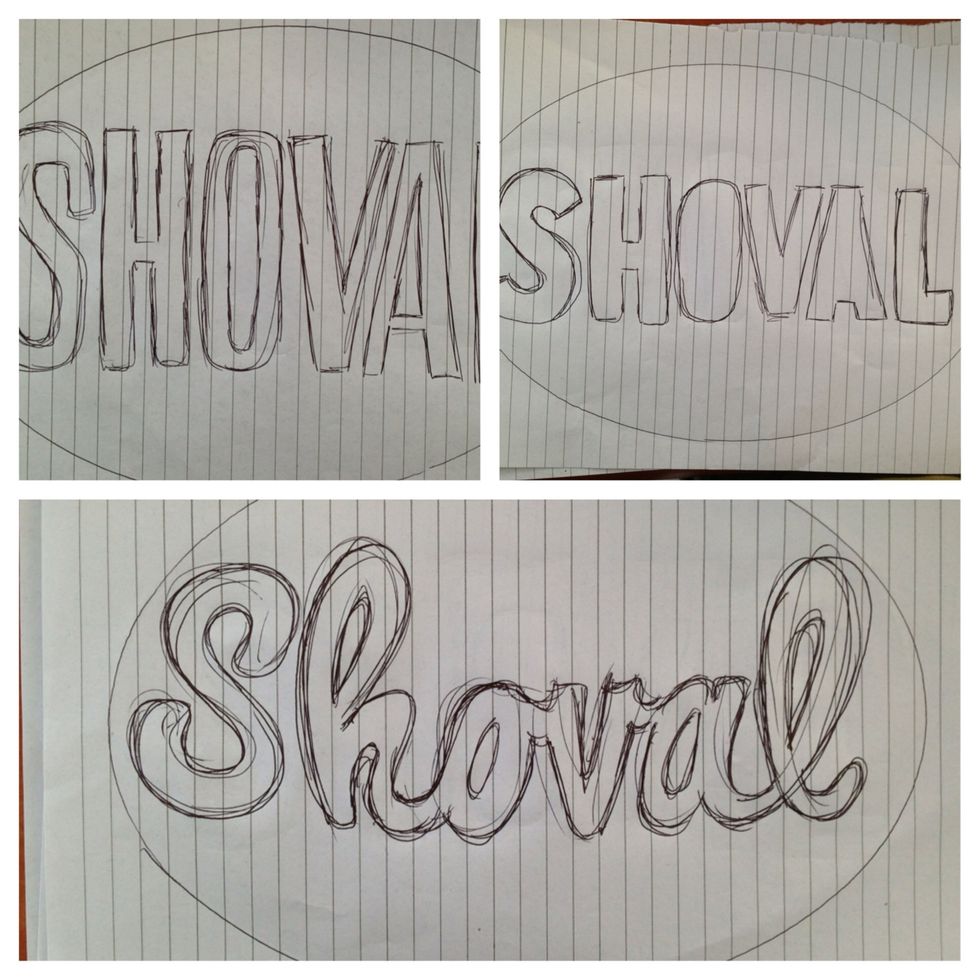
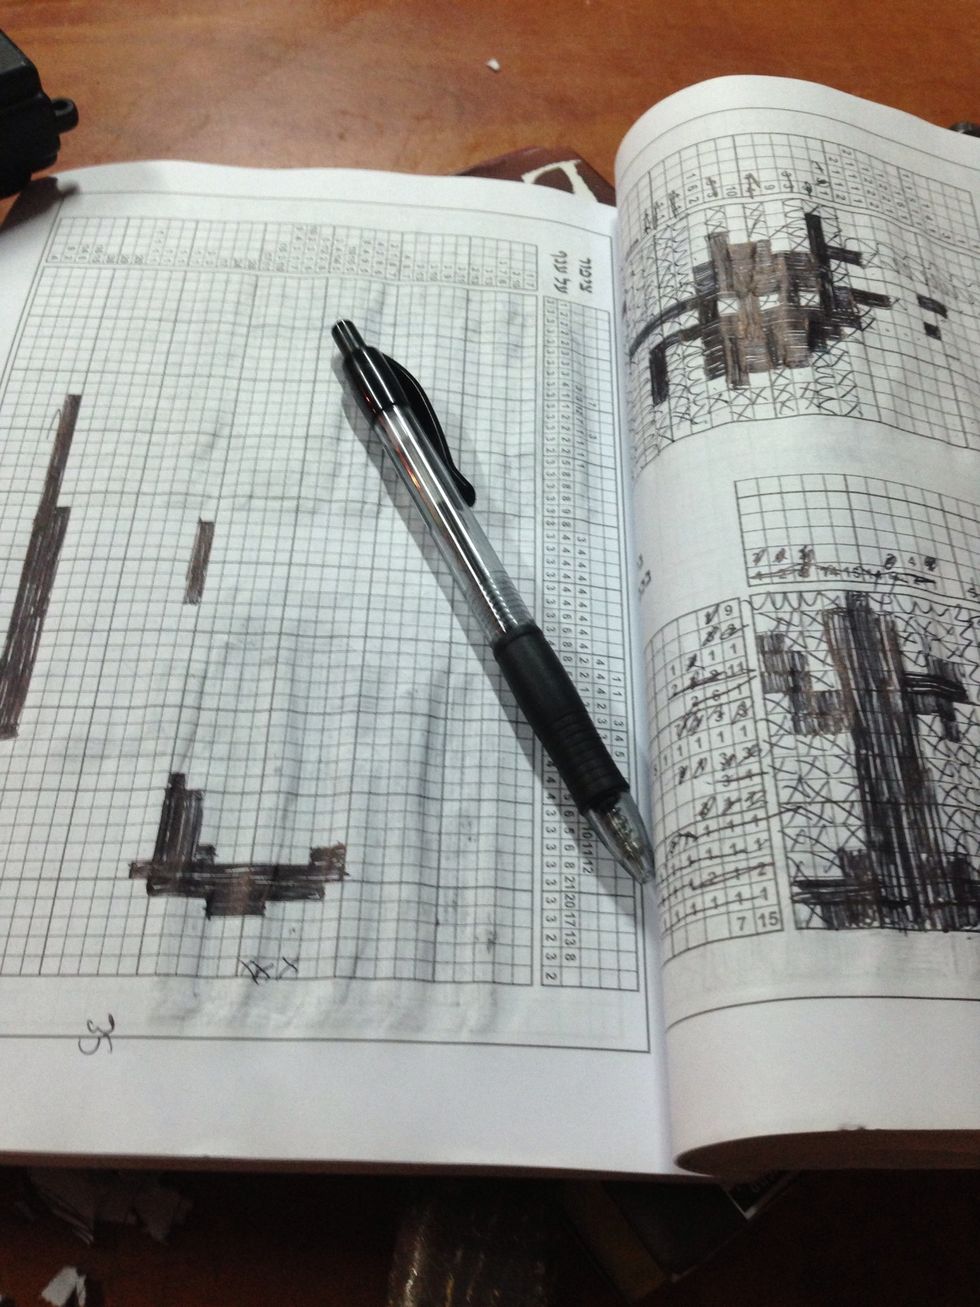
The next step is to pick a design. Remember - WIDE BUBBLE LETTERS work best! If you have a printer, your easiest option is to print the word off in a font that you like! (I didn't have one available)
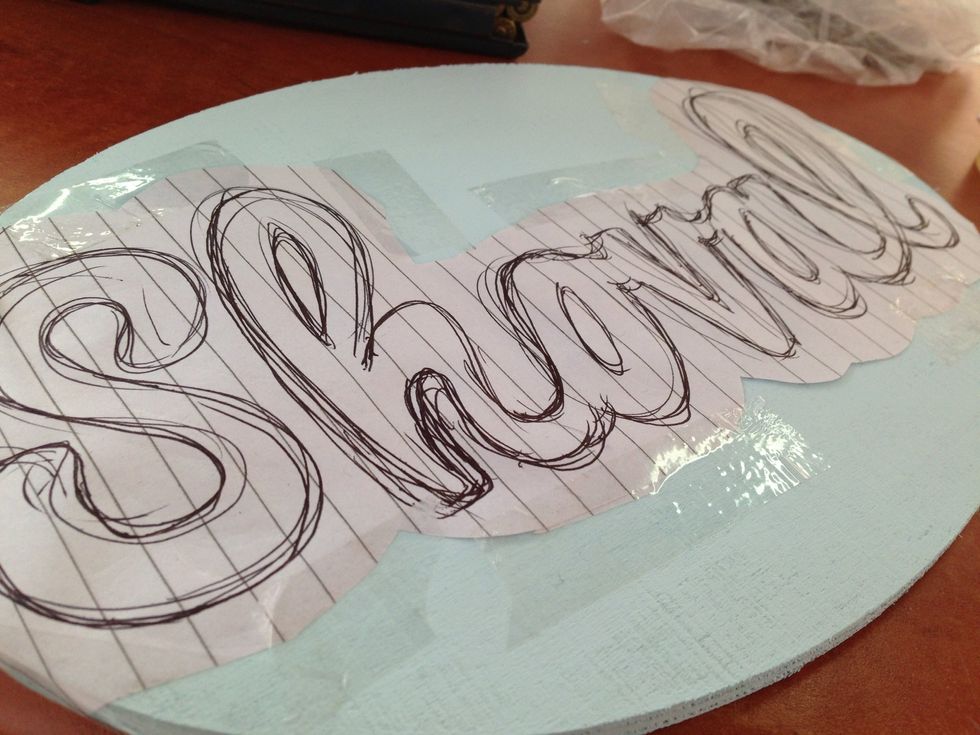
Cut out & tape the letters to your board, leaving a border around the words,

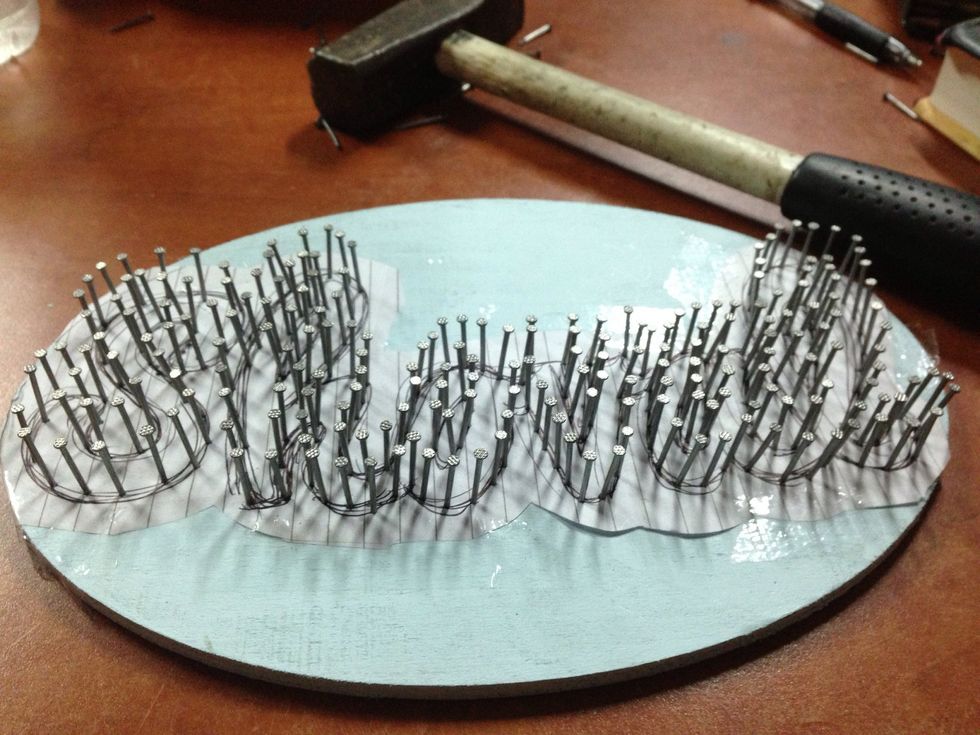
Start hammering your nails into the board, straight onto the paper. Keep the nails fairly close.. 1/2 and inch for a design this small.. but experiment! Get closer for curves so that they're smoother.
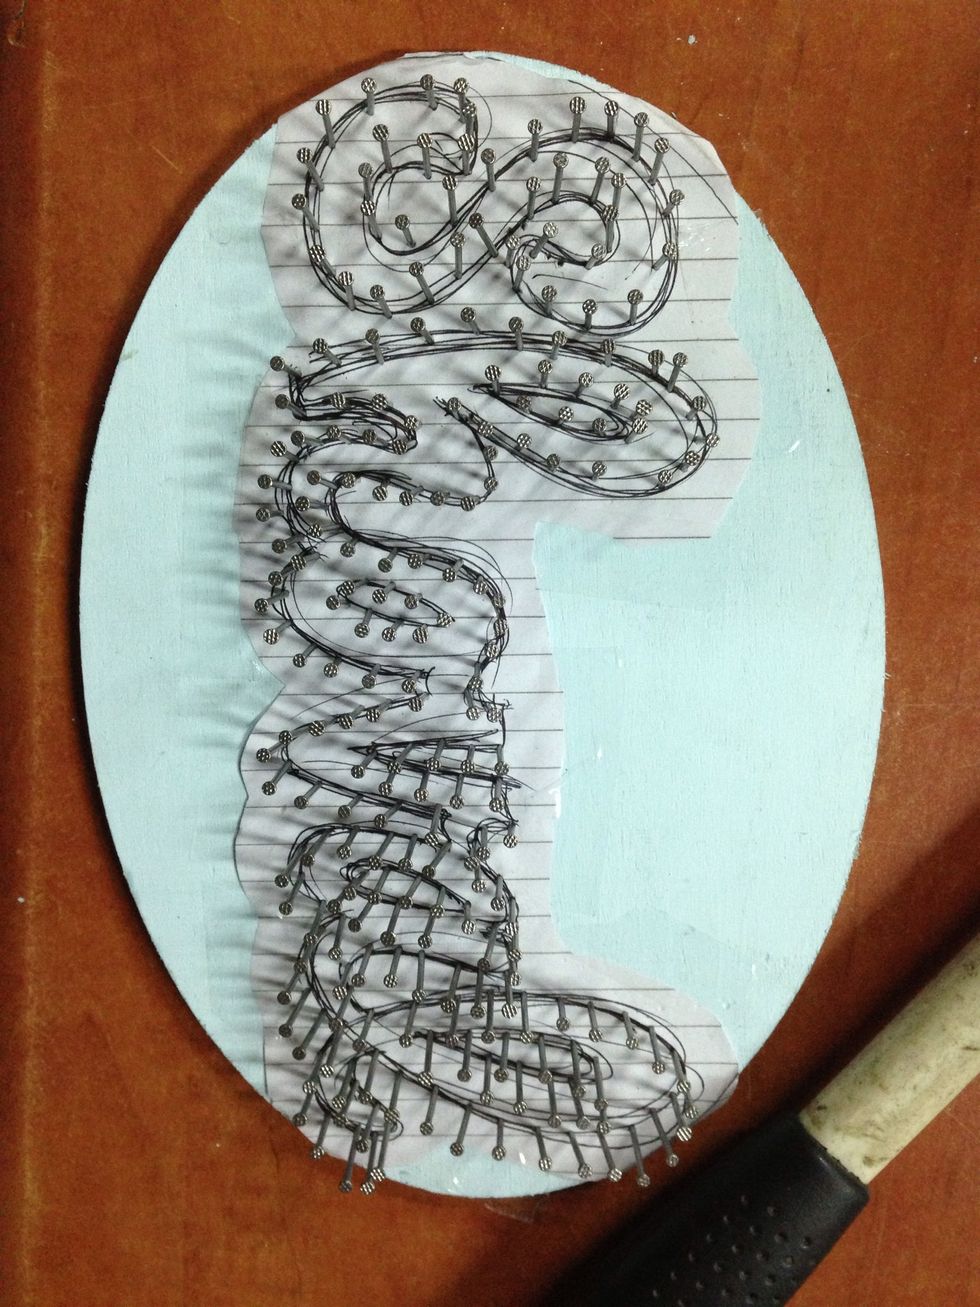
My final nailed board
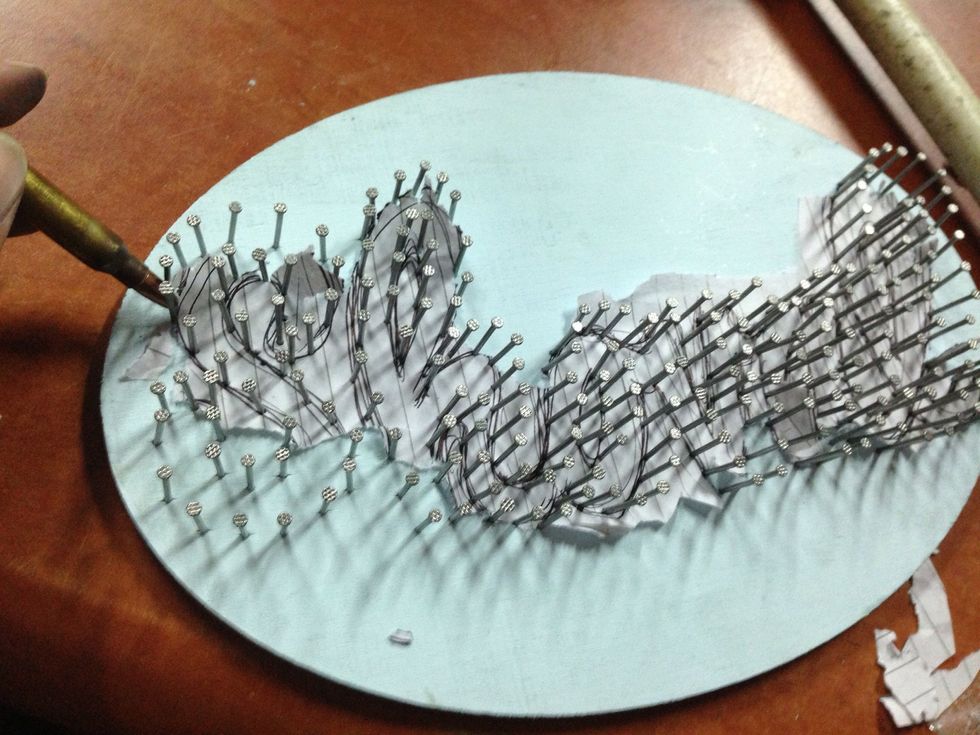
Start ripping the paper out, CAREFULLY! Use tweezers to get out the small, hard to get bits.
Take a break... you've worked hard.
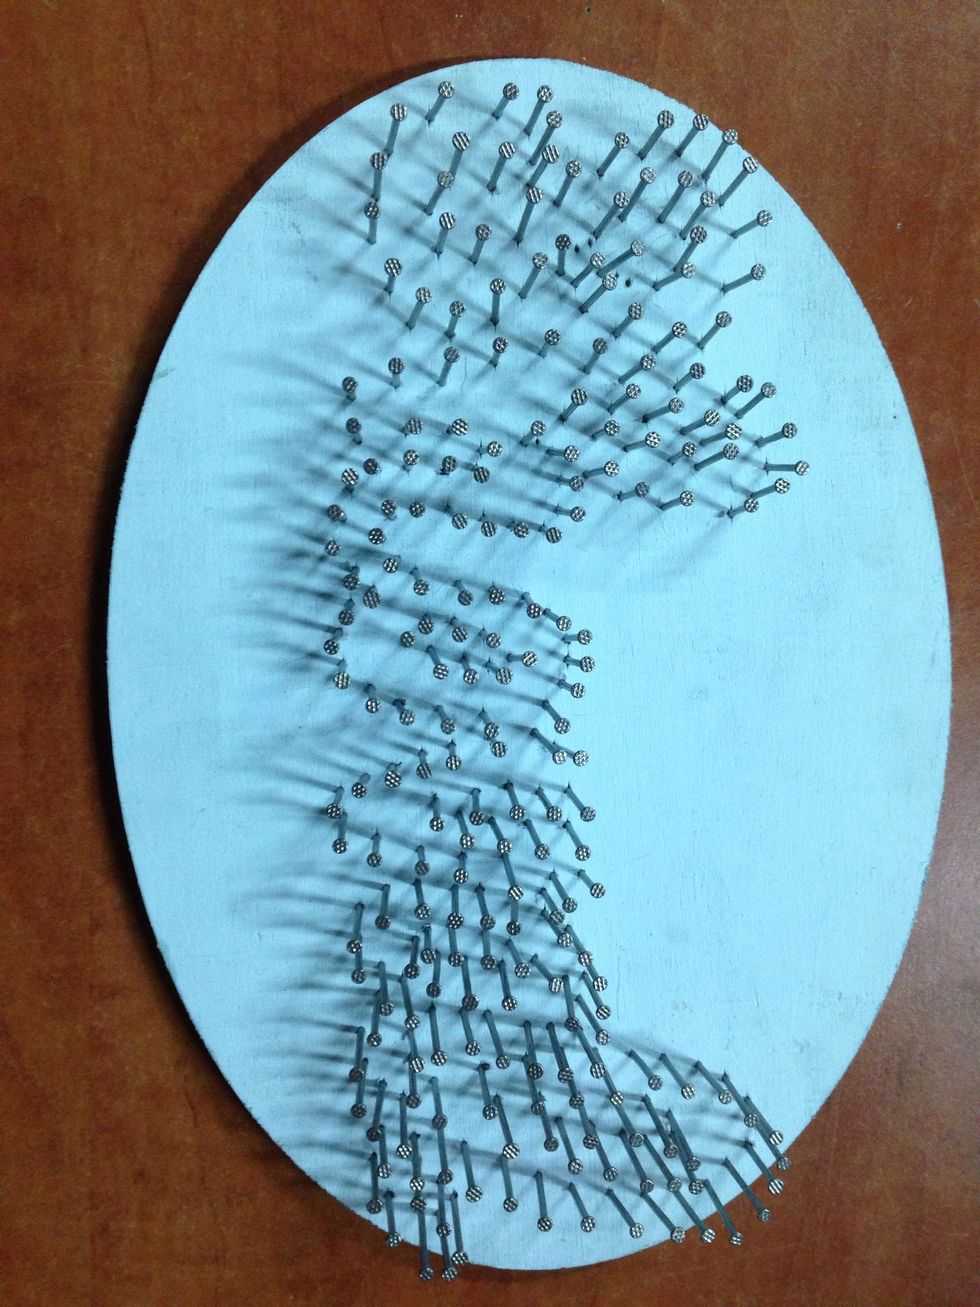
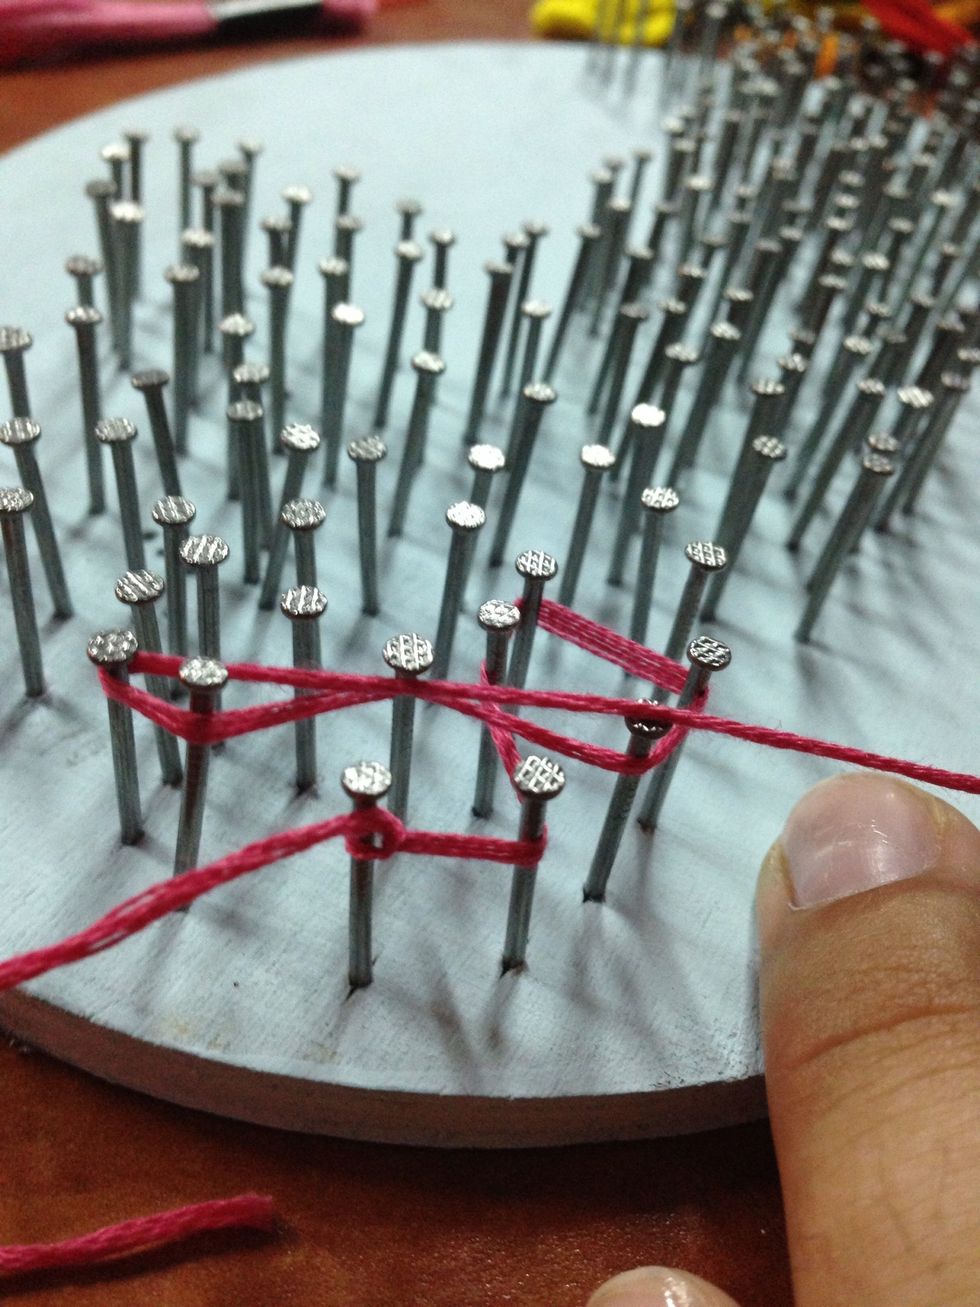
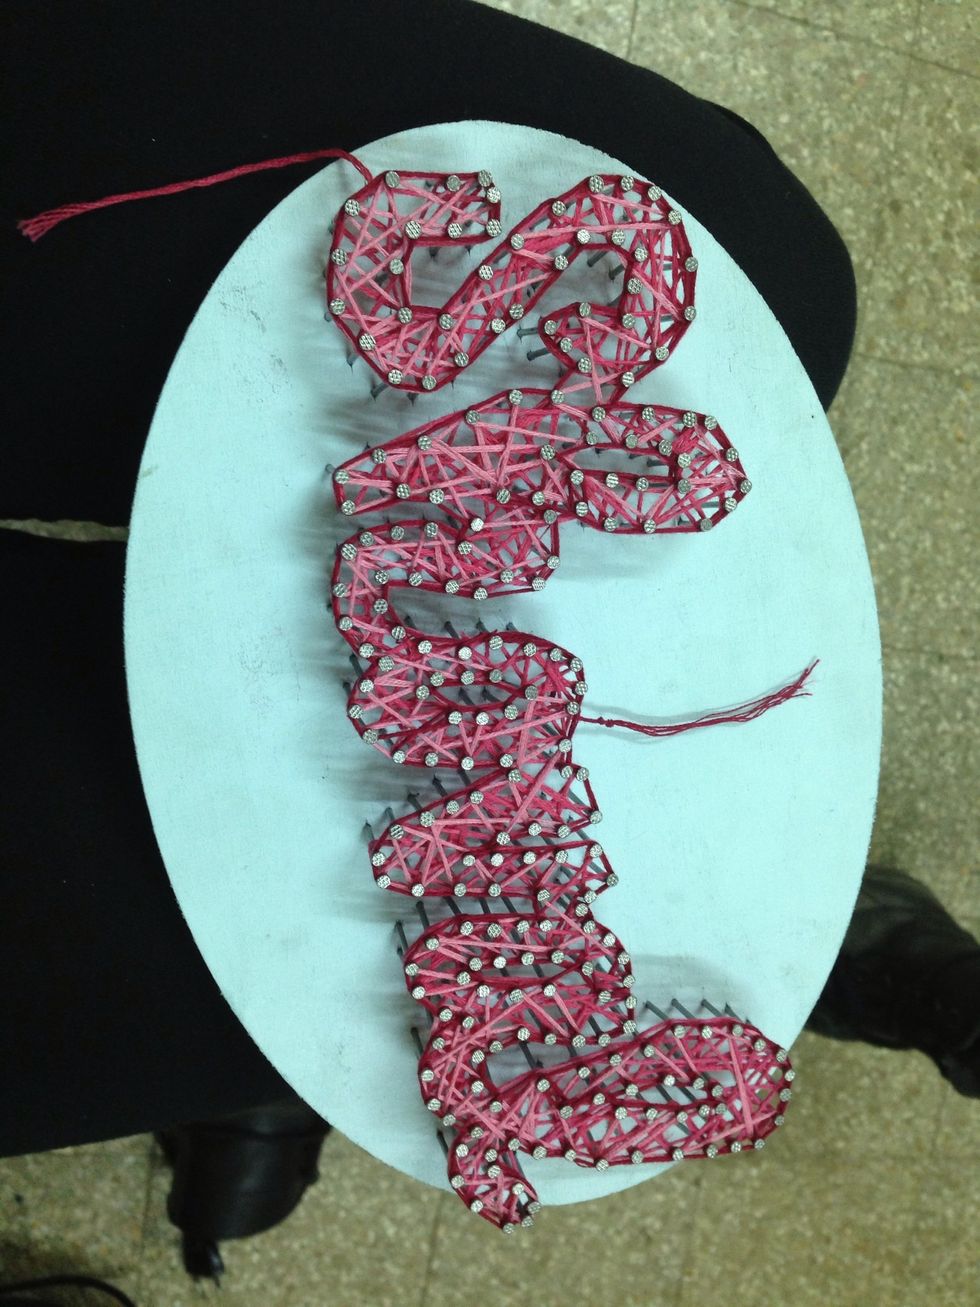
Now start stringing! Start by tying to one nail and then start zig zagging between the nails! Switch up colors and get creative! Make sure to remember your borders.
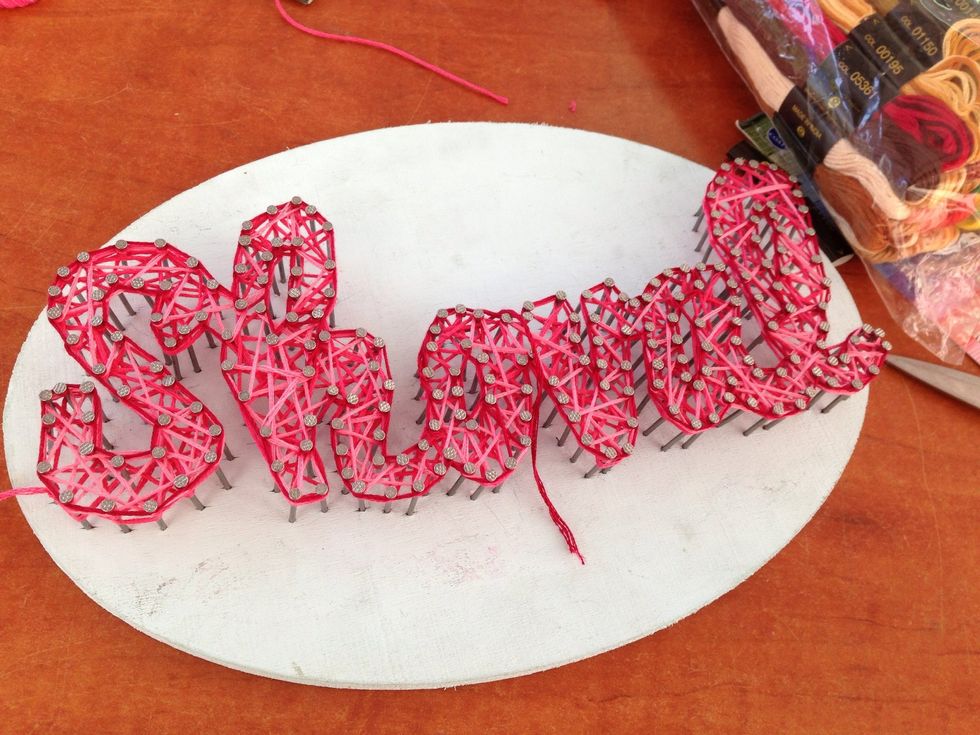
I ended up bordering the outside with darker string to define it more. Probably also could have used more string for the fill.
Tie off at the end (Tweezers help) and cut off excess string.
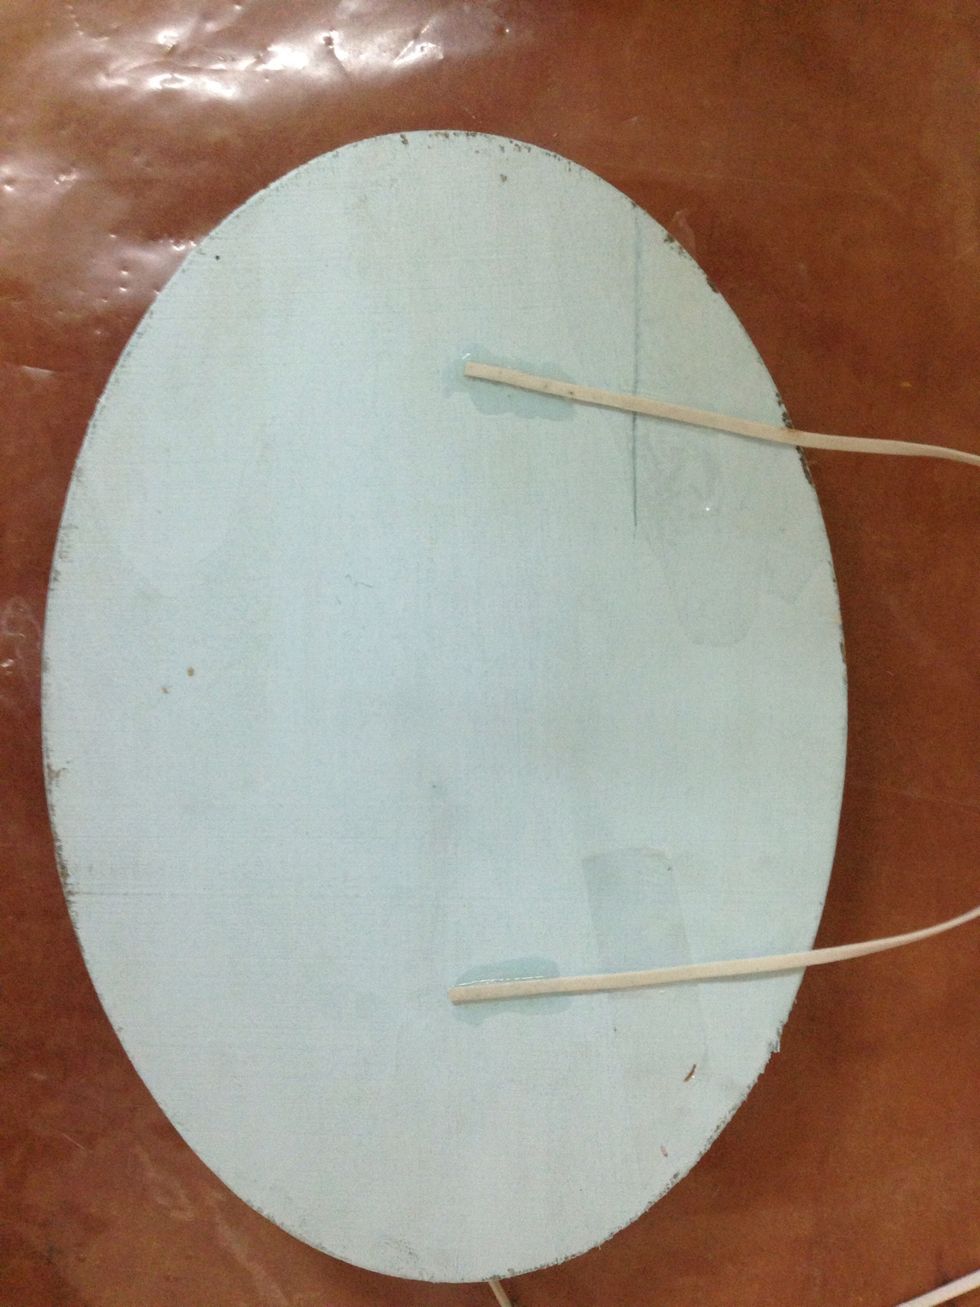
Hot glue, tape, or somehow fasten a string or hook to the back of your sign.

And voila! Hang up and enjoy :)
Another cool idea is to do one of your state, with a small heart where your town is... google "state nail & string art" for a visual!
This was actually the first time I've done this project so it was an experiment for me as well... I'd love to see how it turned out for you guys, and if you have any tips or tricks! 🌞