The Conversation (0)
Sign Up
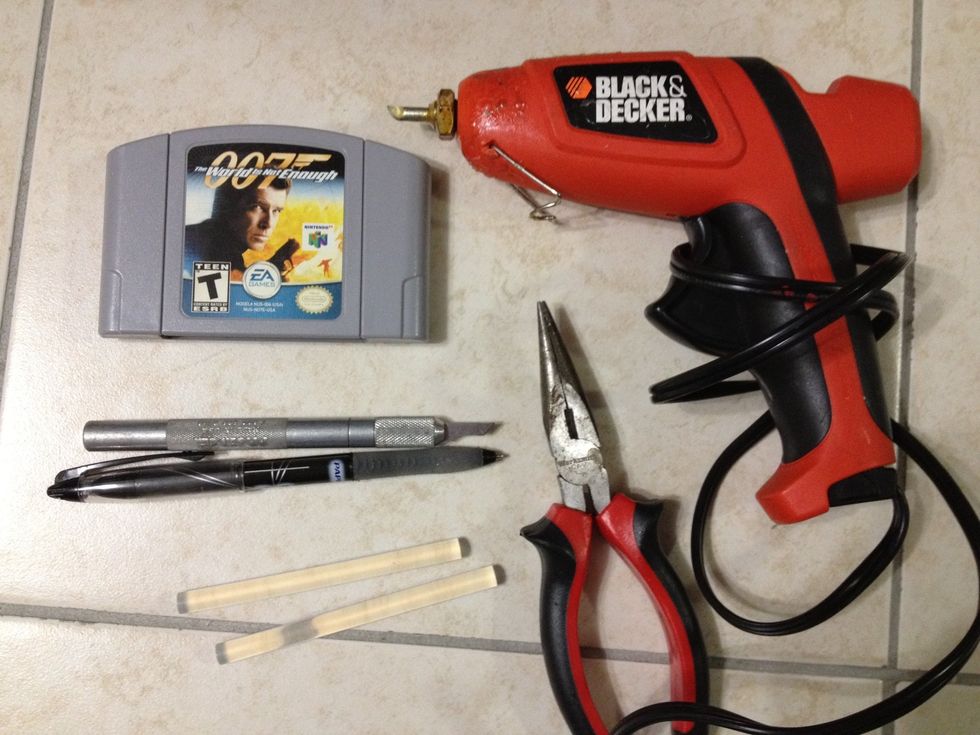
Take your N64 game and decide which side you'd like to make visible when the dock is complete. I chose the back of the cartridge because I like the way it says "Nintendo" on it.
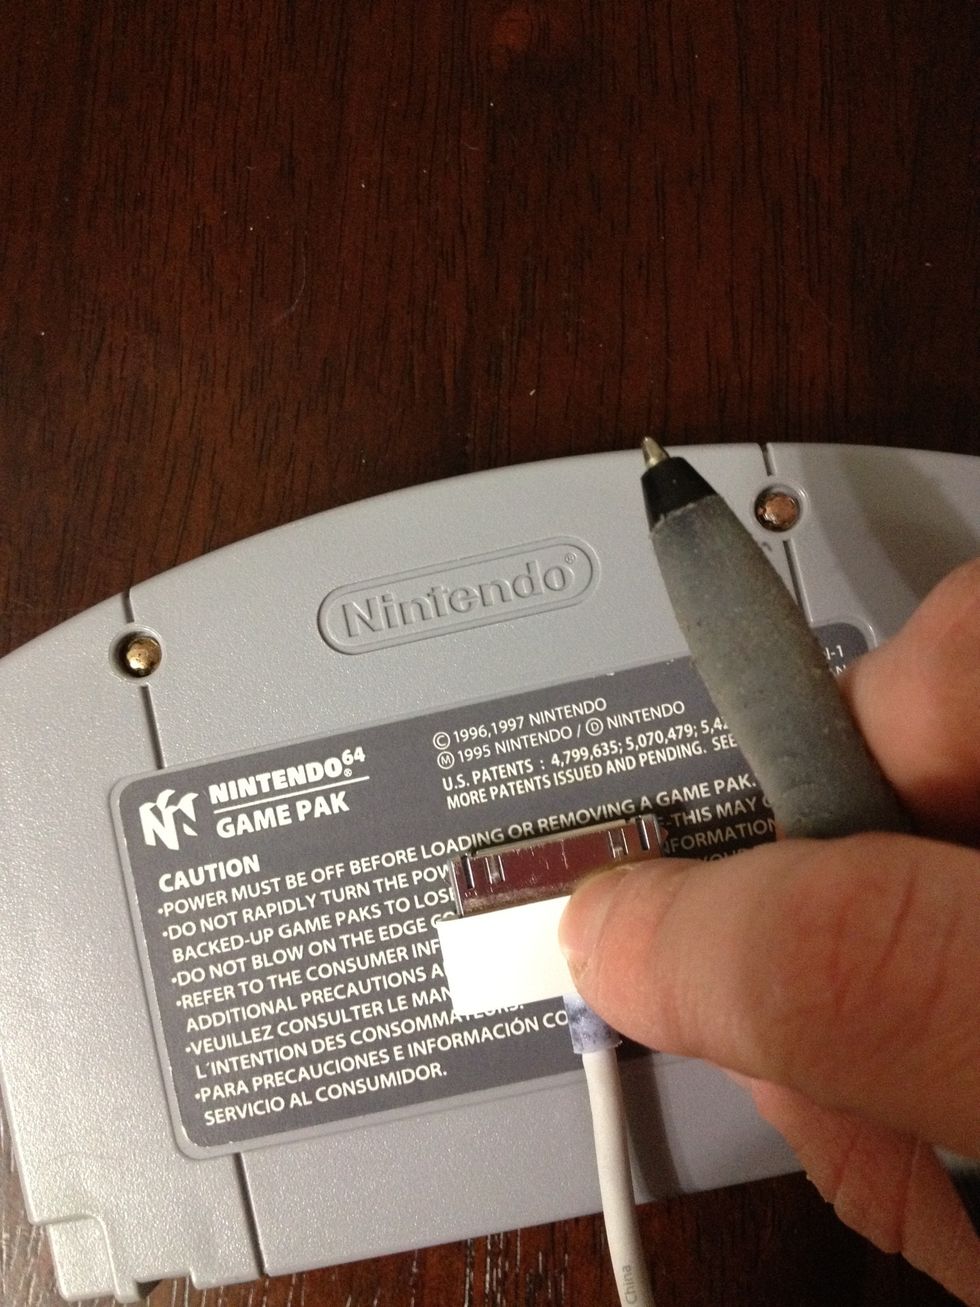
Then take the USB cord and with a pen, mark down where you'd like the charger to go.
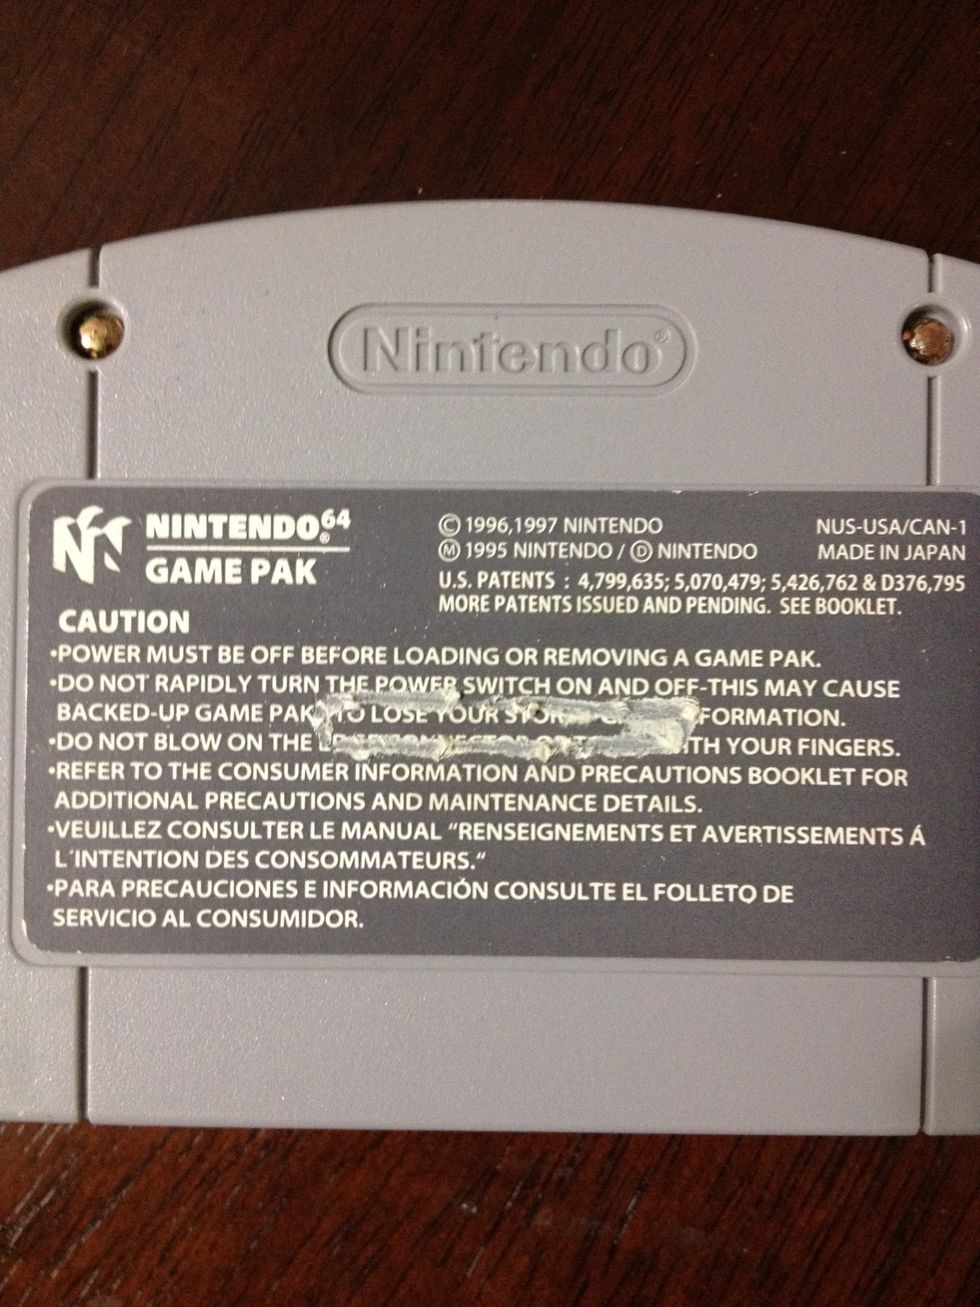
I decided to centre mine.
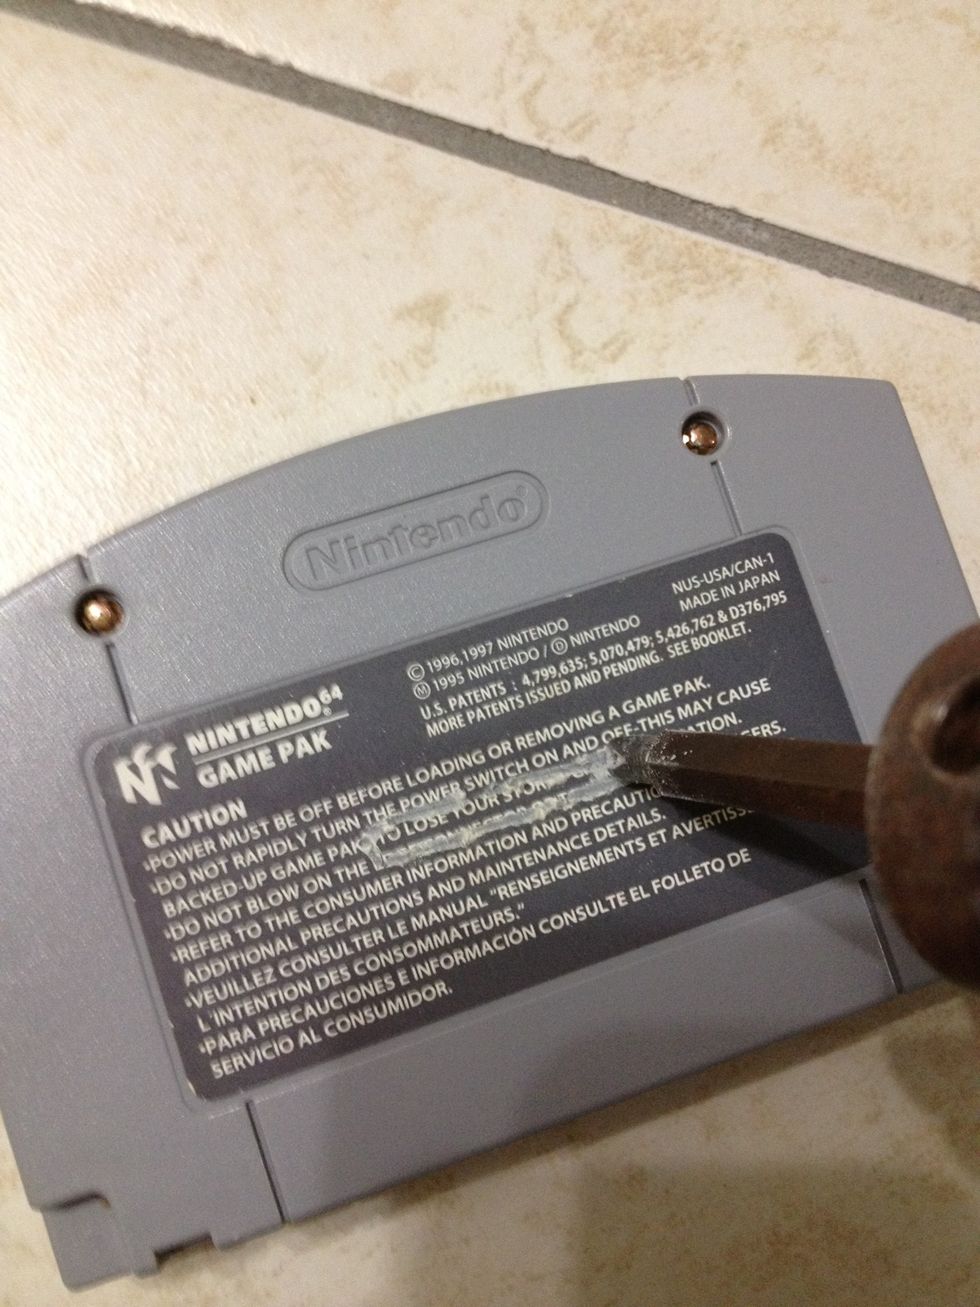
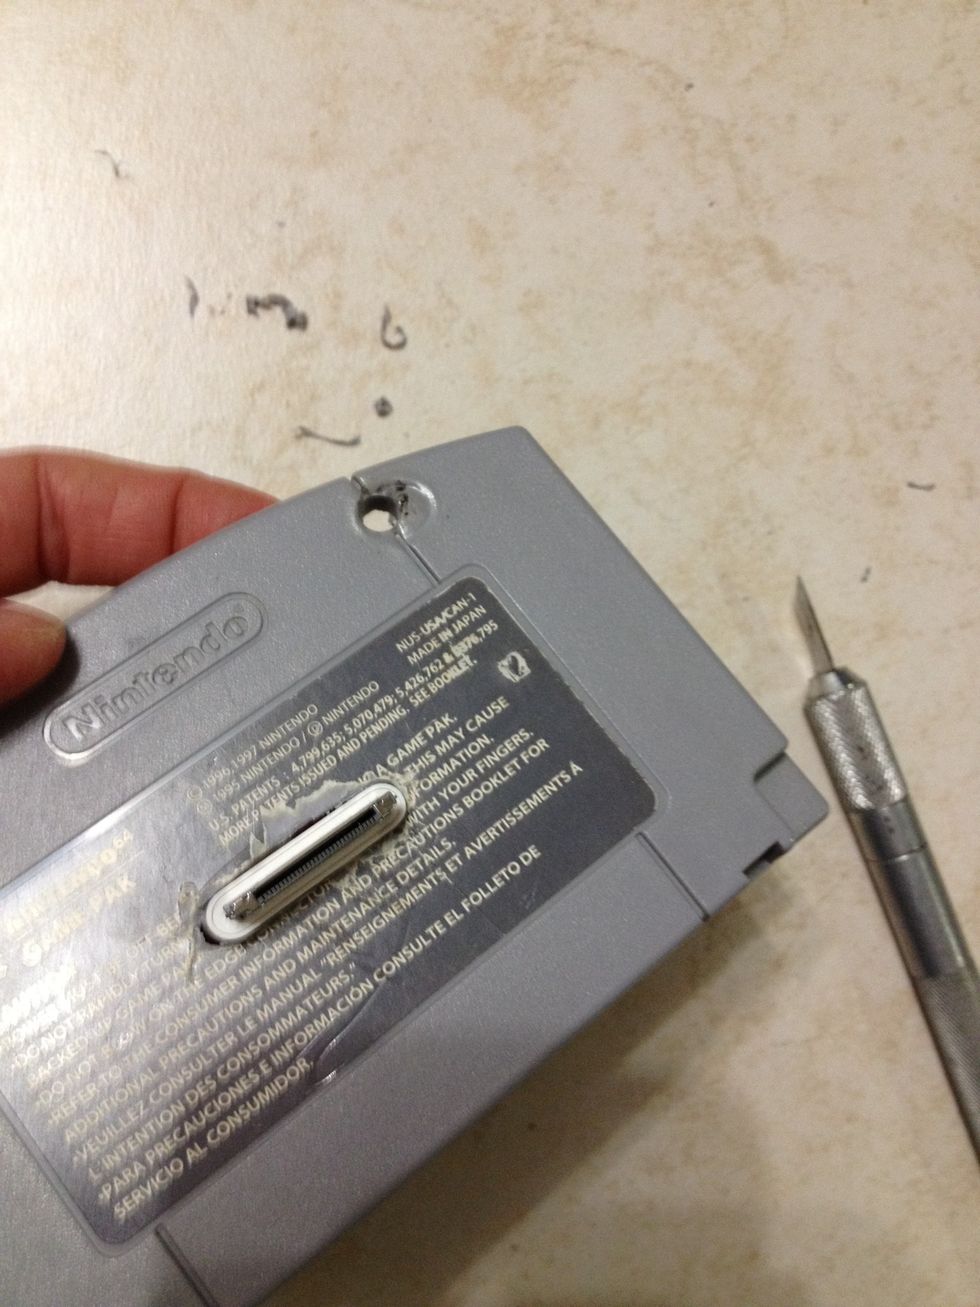
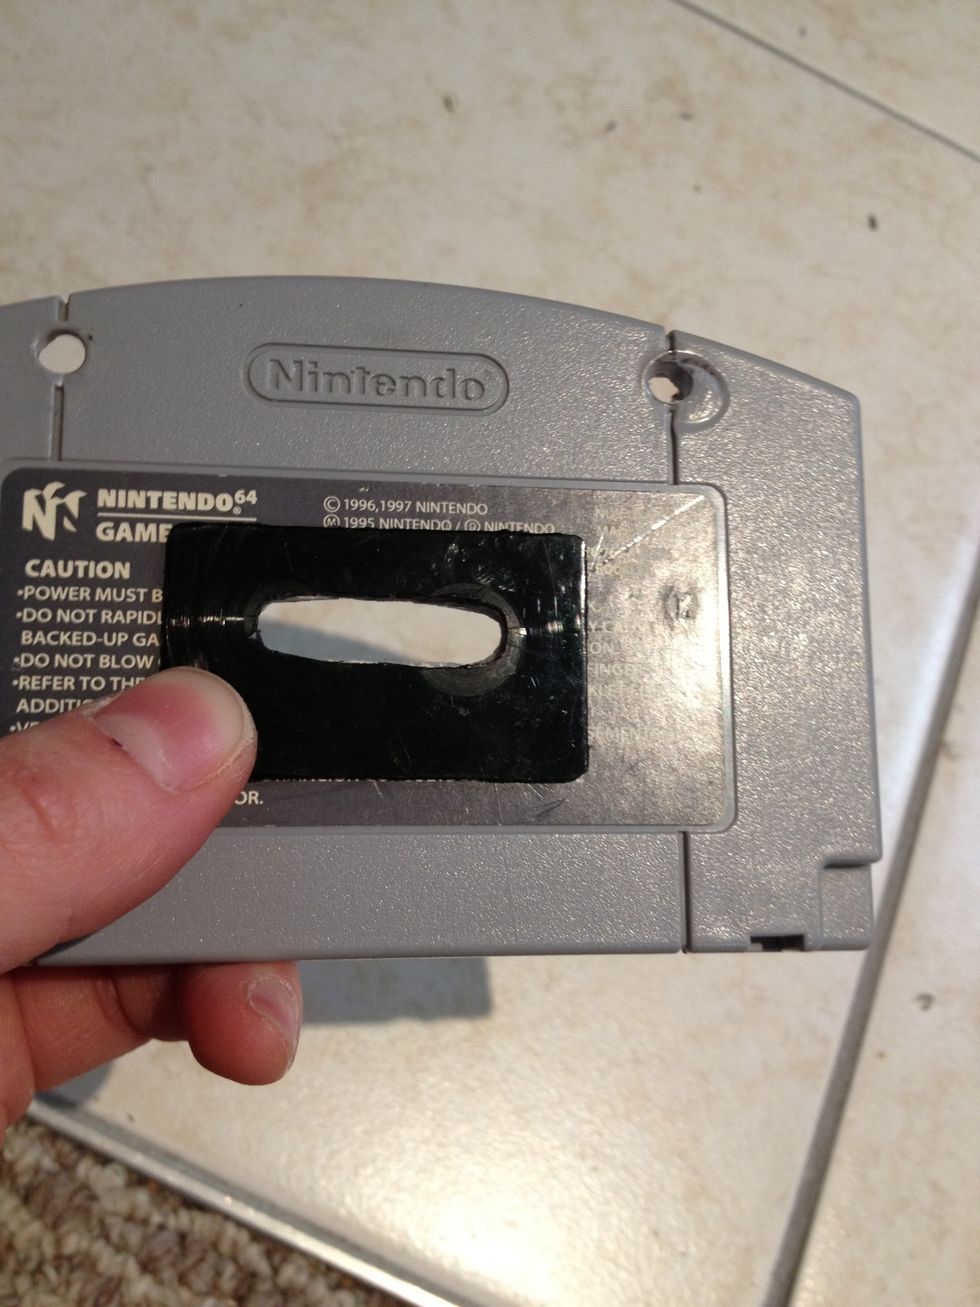
Once you've marked the cartridge, take the power drill and make holes on either side of the marking.

I found it easier to drill a hole on each side of the marking and then work my way to the middle, making hole after hole. Then use the knife and create a smoothed look.
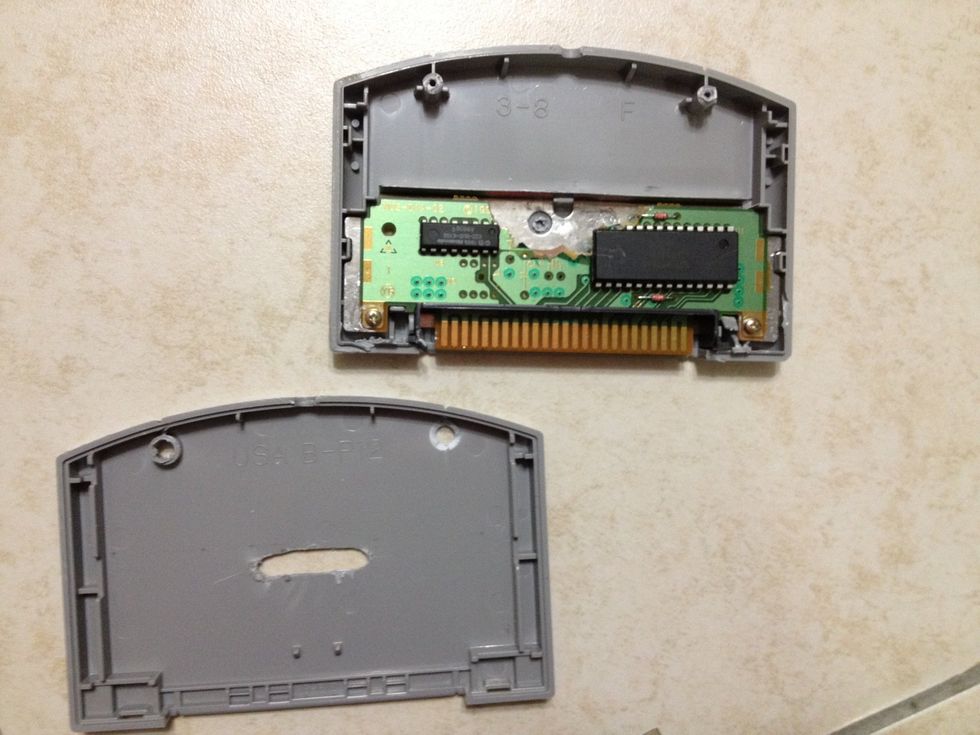
Remove the screws and open the game cartridge. If you don't have a screwdriver for the particular screw, don't worry. I didn't have one either. I just pried it open until it gave way.
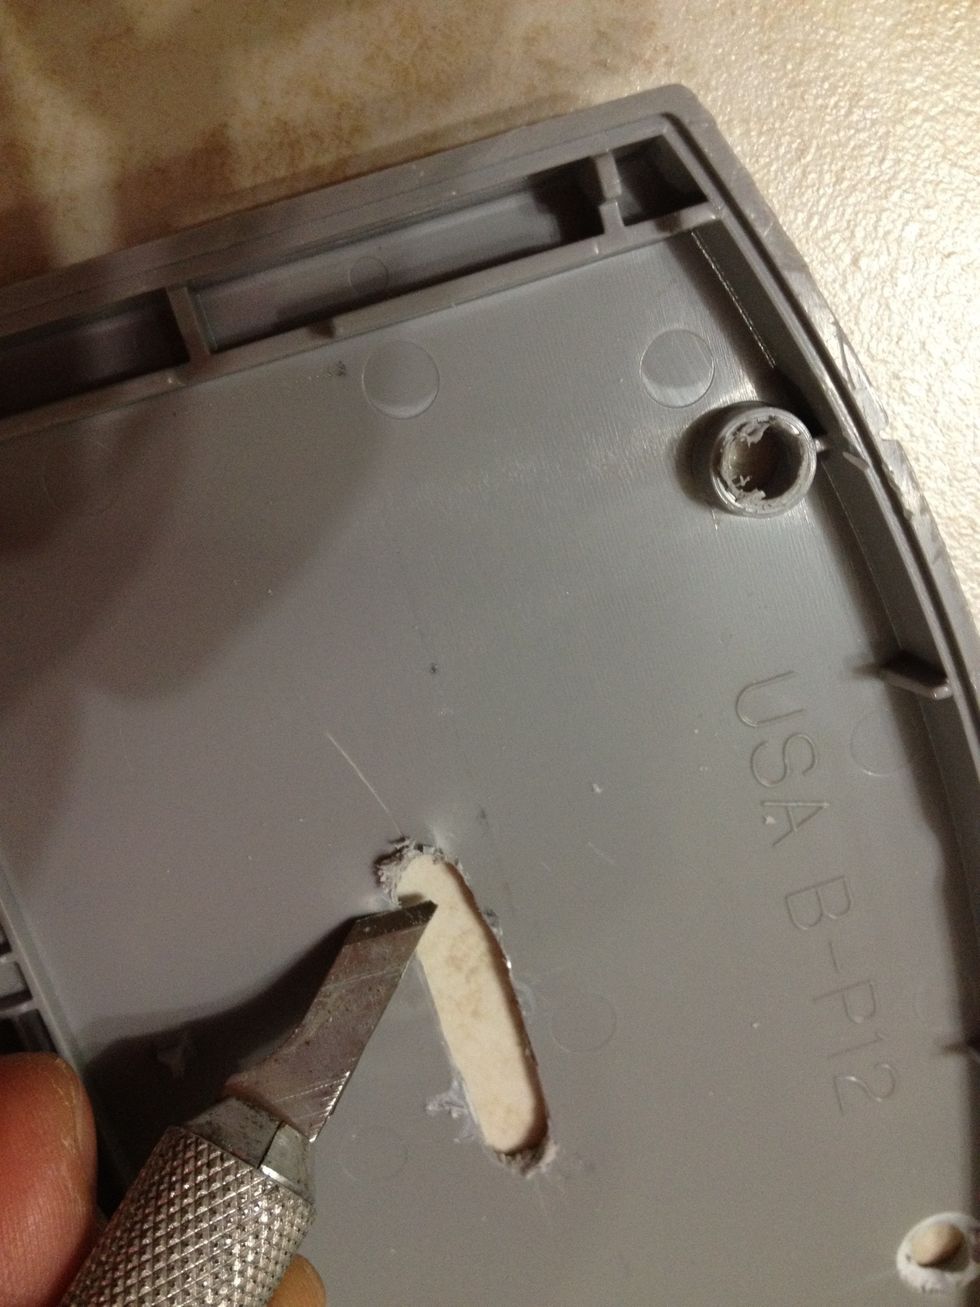
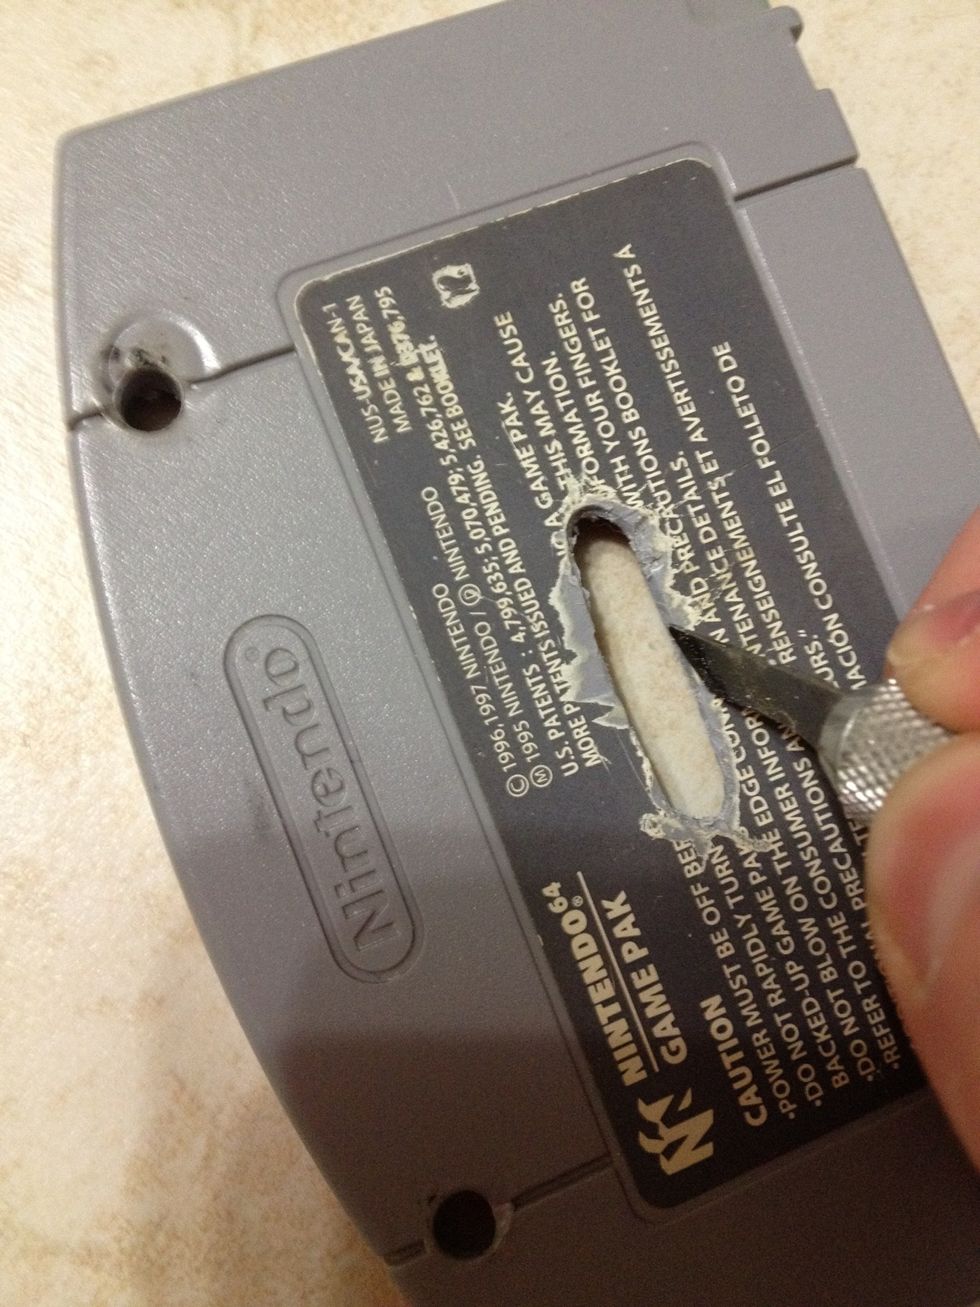
Use the knife to gently remove excess plastic made by the drill.
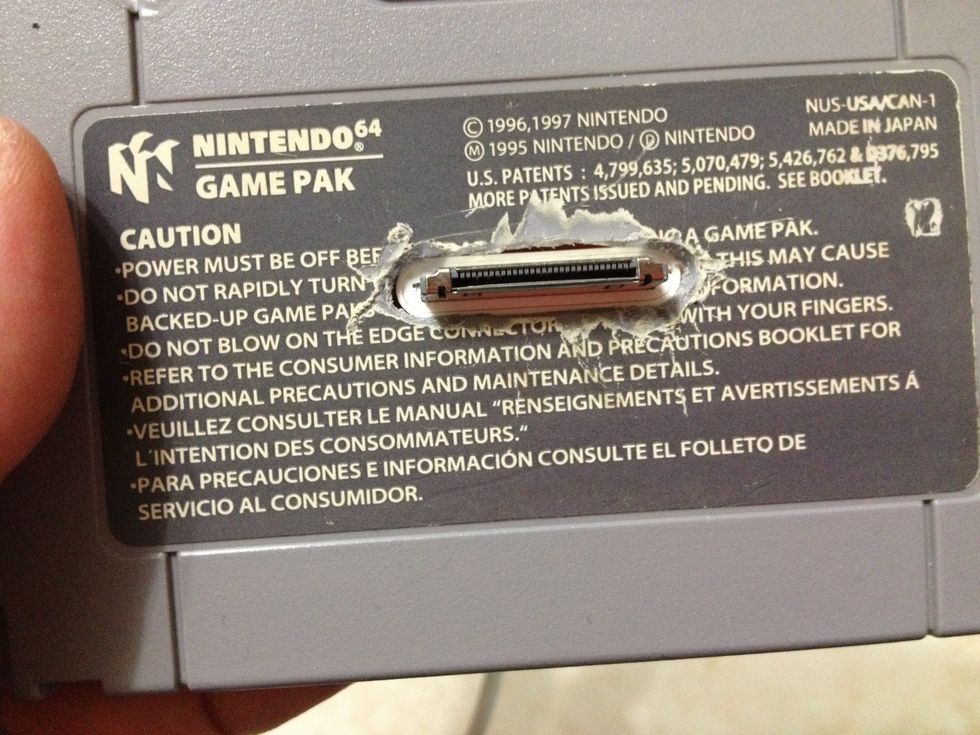
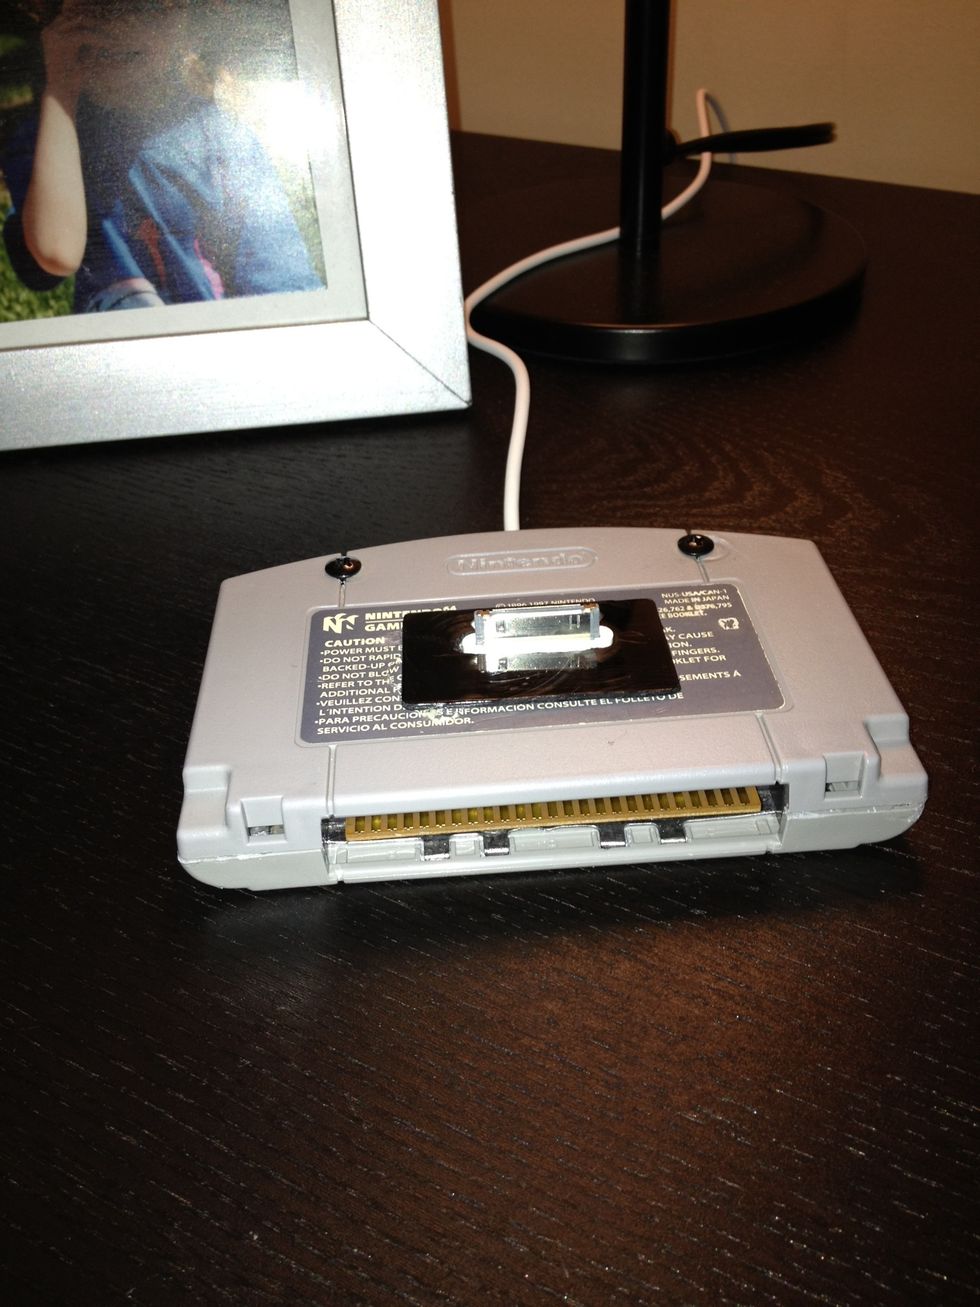
Check and see if the USB fits.
Make adjustments if needed. The USB should fit nicely and smoothly.
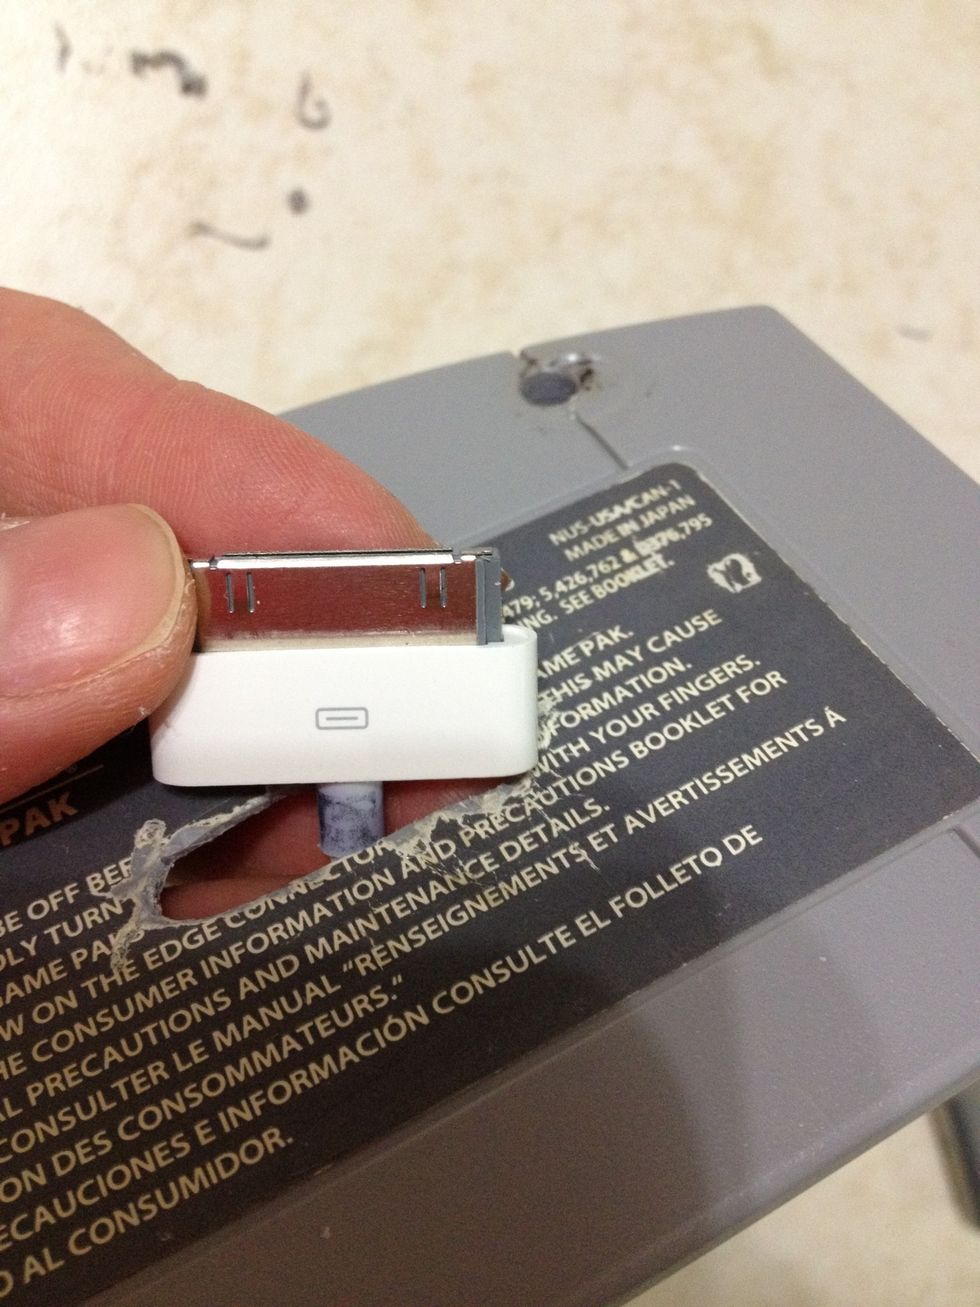
Before gluing the USB in place, make sure the cord is facing the correct way. Glue the USB securely to the cut out. Be careful not to get any glue on the metal of the charger.
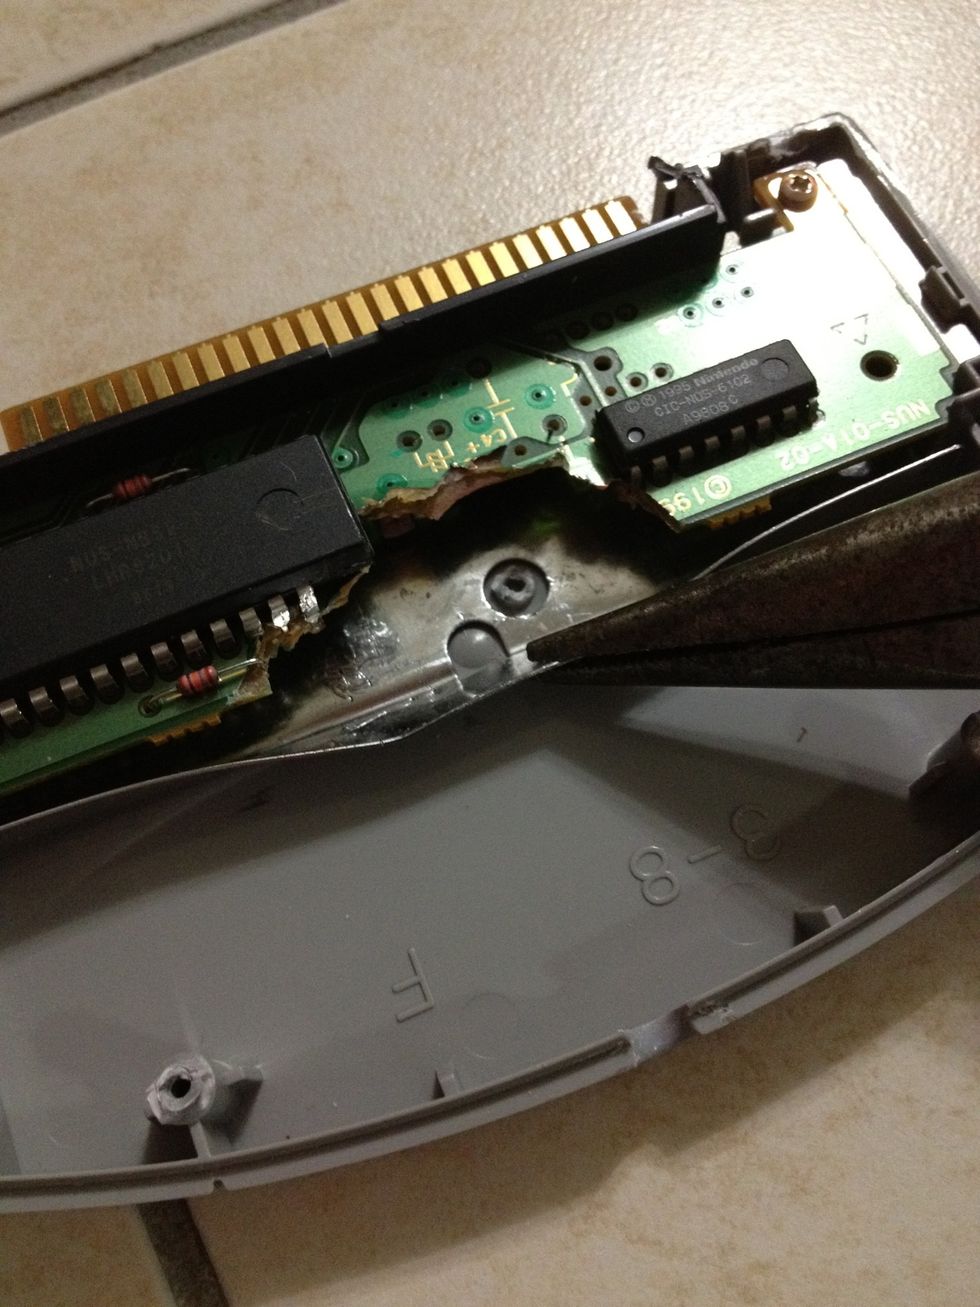
This step is optional: Use pliers to flatten the metal piece that can be harmful to the USB cord inside.
Took a while, but it's nice and flat :)
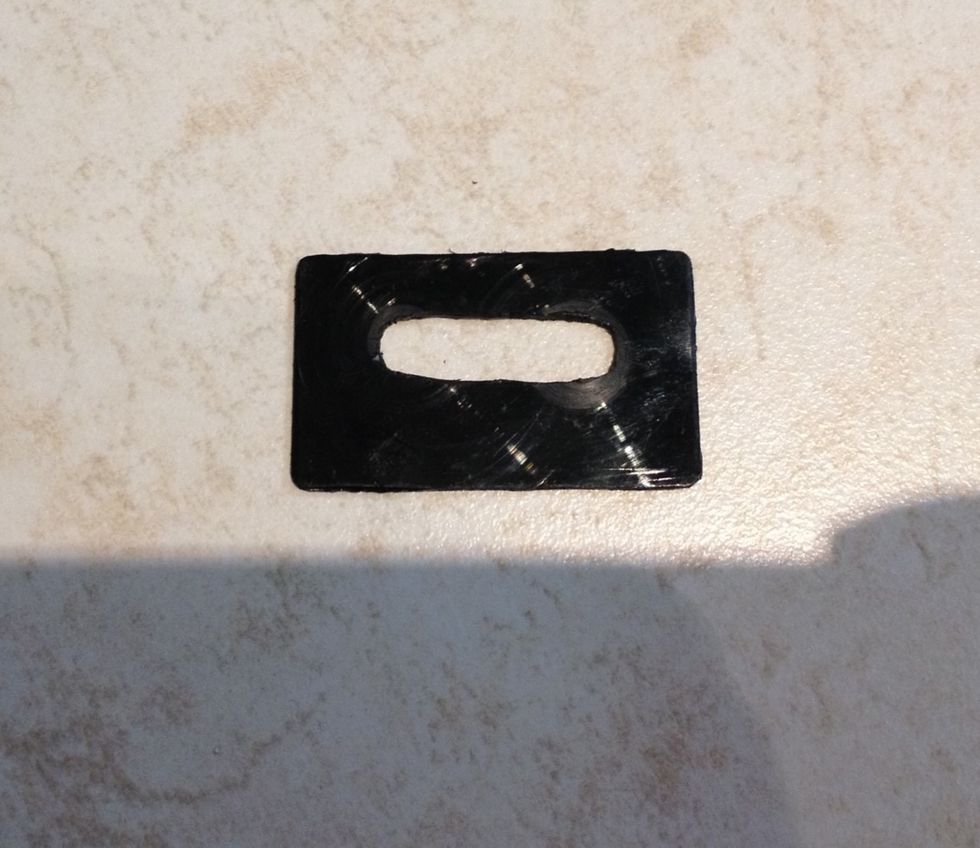
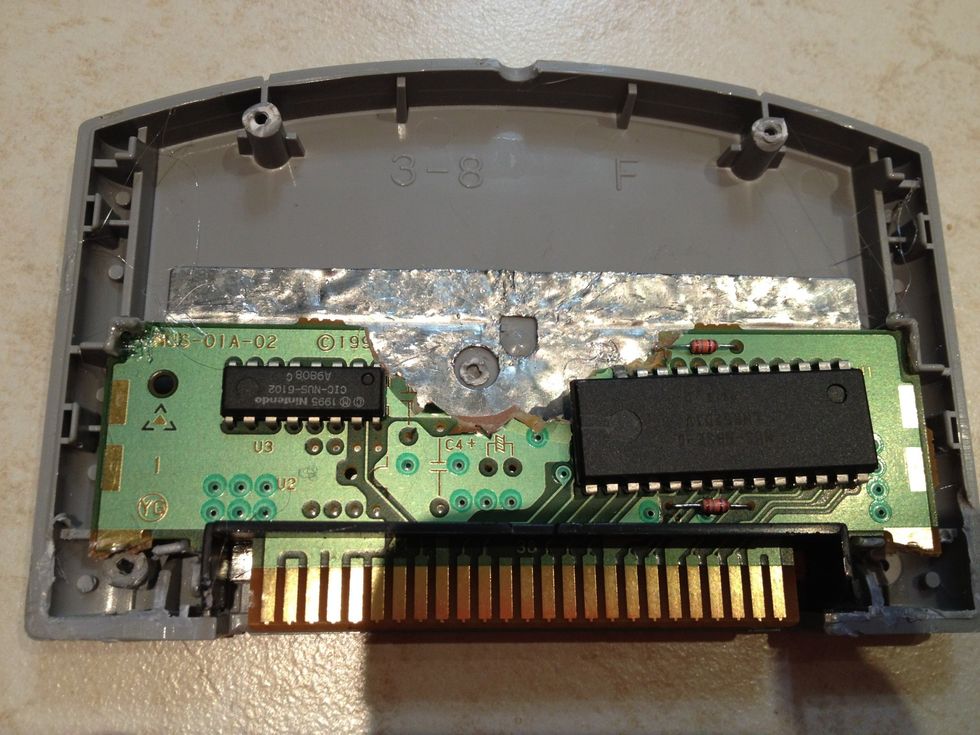
Optional: I took an old plastic case and cut a rectangular shape. I then carefully measured and cut a whole needed for the USB.
Optional: Using a glue gun, I glued the black plastic onto the front of the N64 game cartridge for some added personality.
Carefully glue everything in place and remove excess glue around edges, if any. I chose to use black screws to match the black plastic on top of the N64 cartridge.
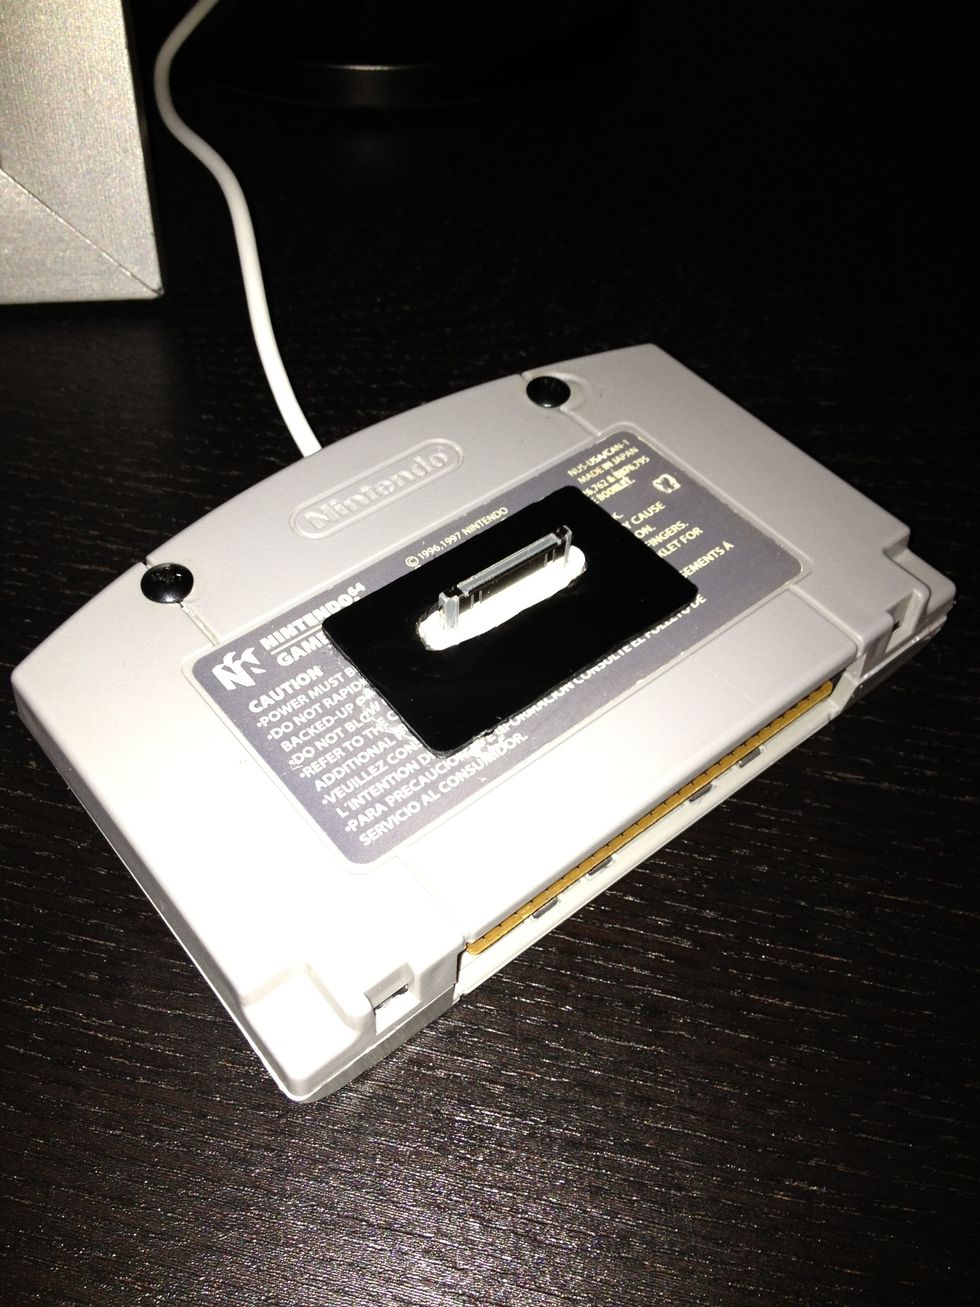
The finished result.
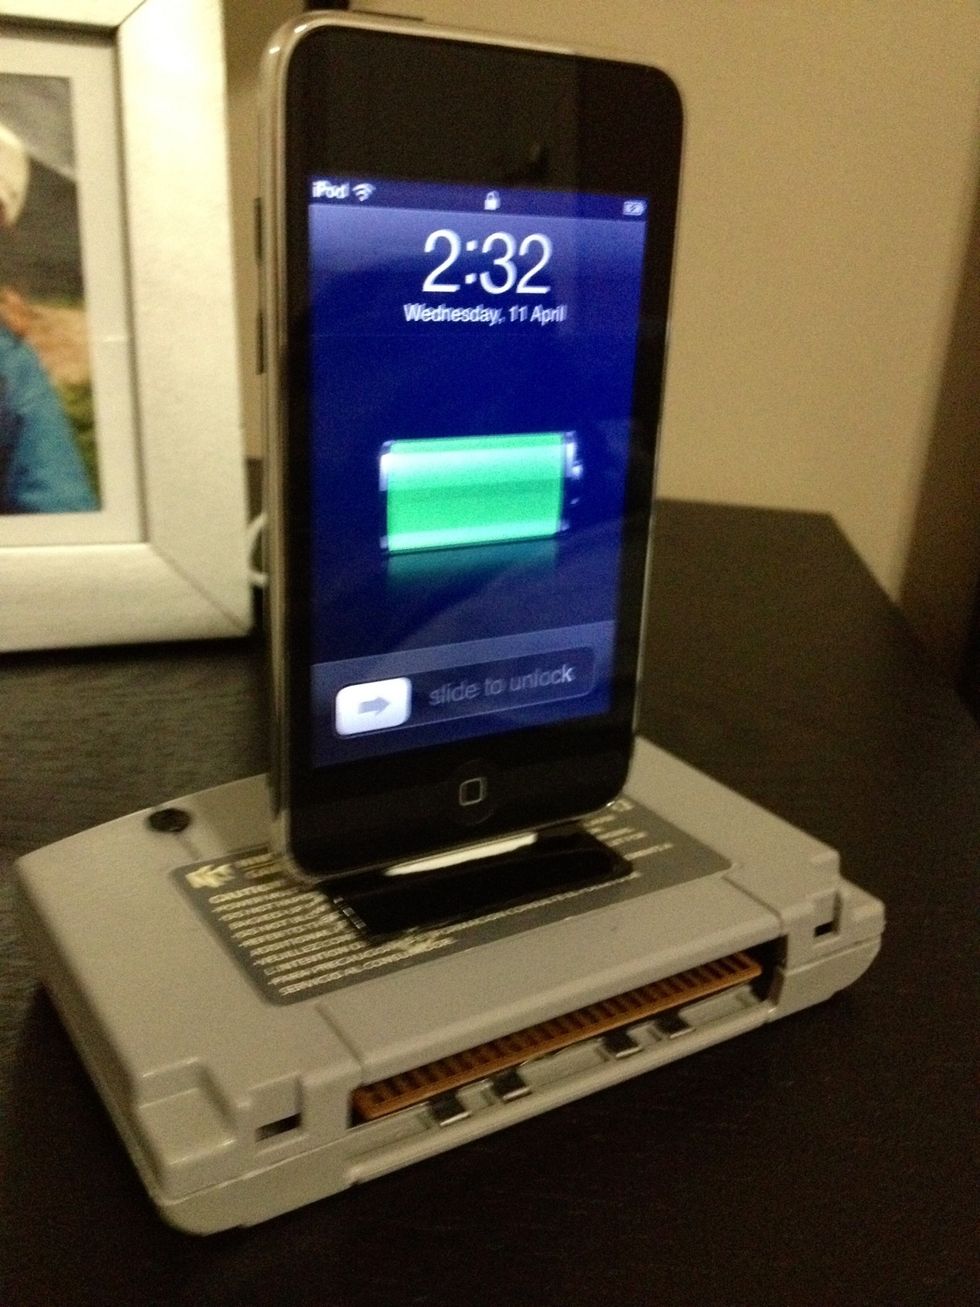
It works and looks great!