The Conversation (0)
Sign Up
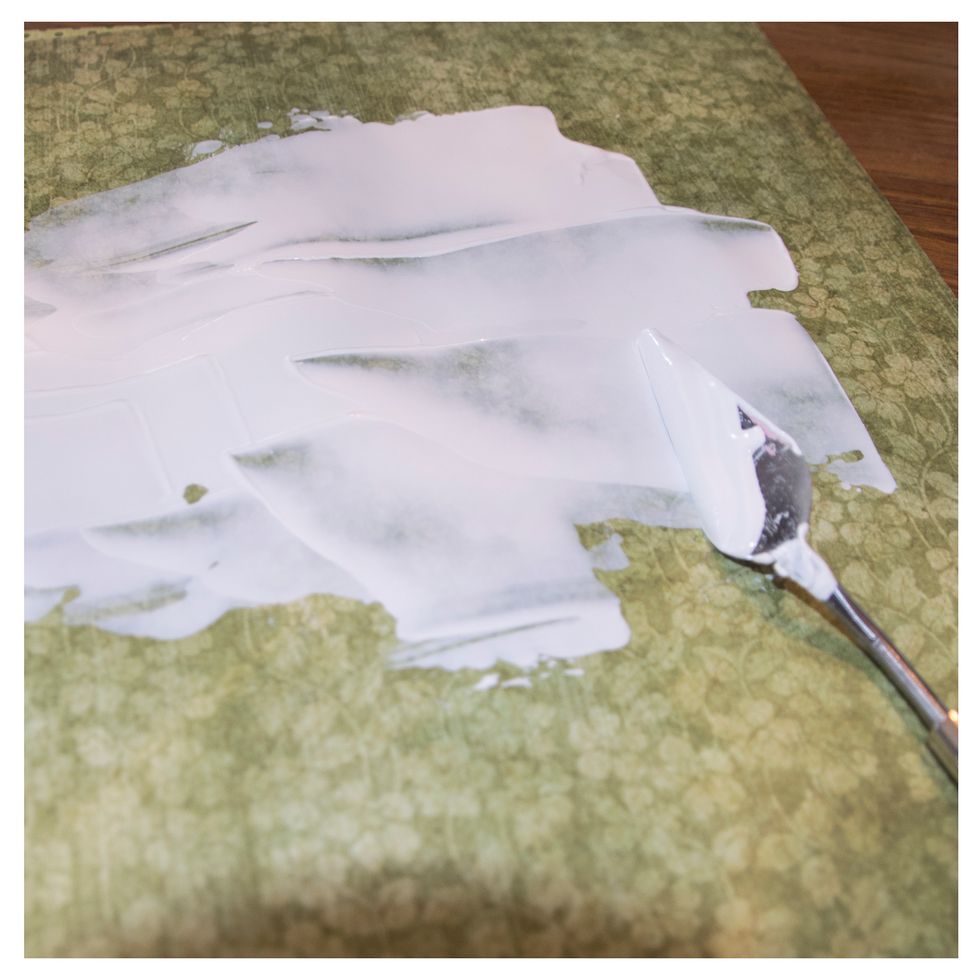
First of all I use a pallette knife to add a layer of gesso on the background paper.
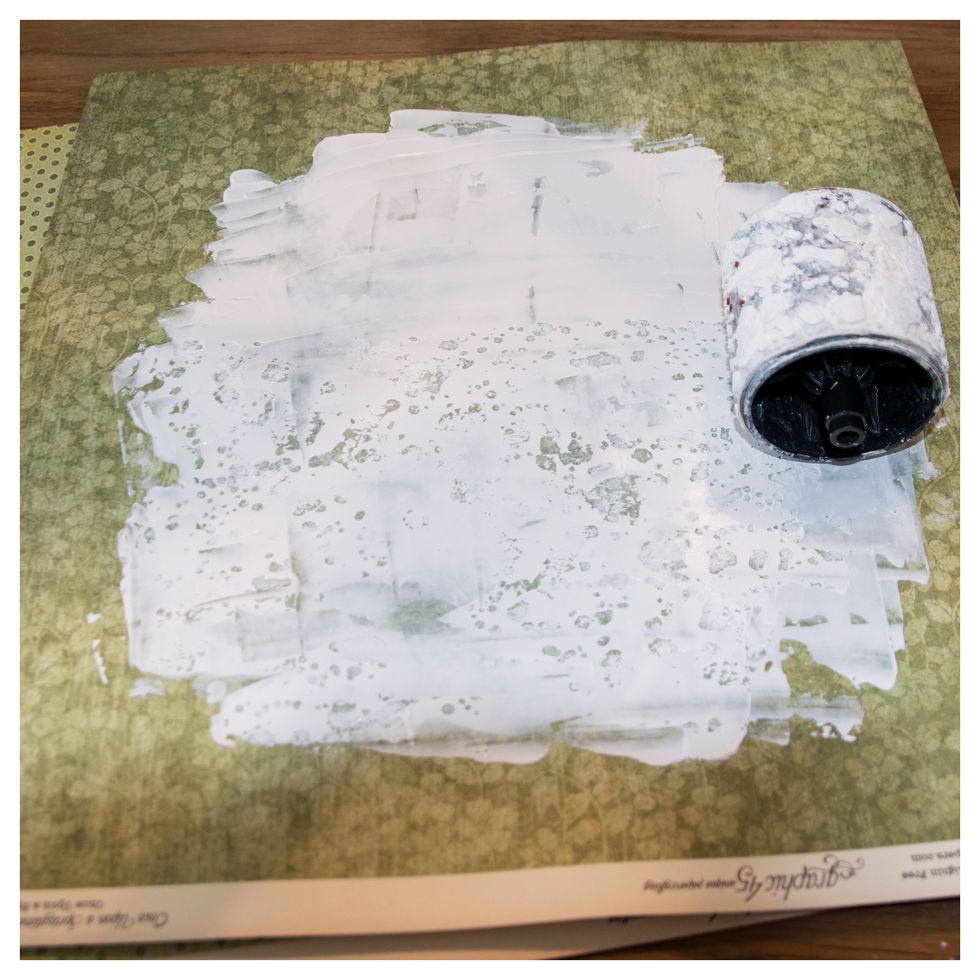
When the gesso is still wet, I use a roller stamp to make the background more "alive". It makes a great effect.
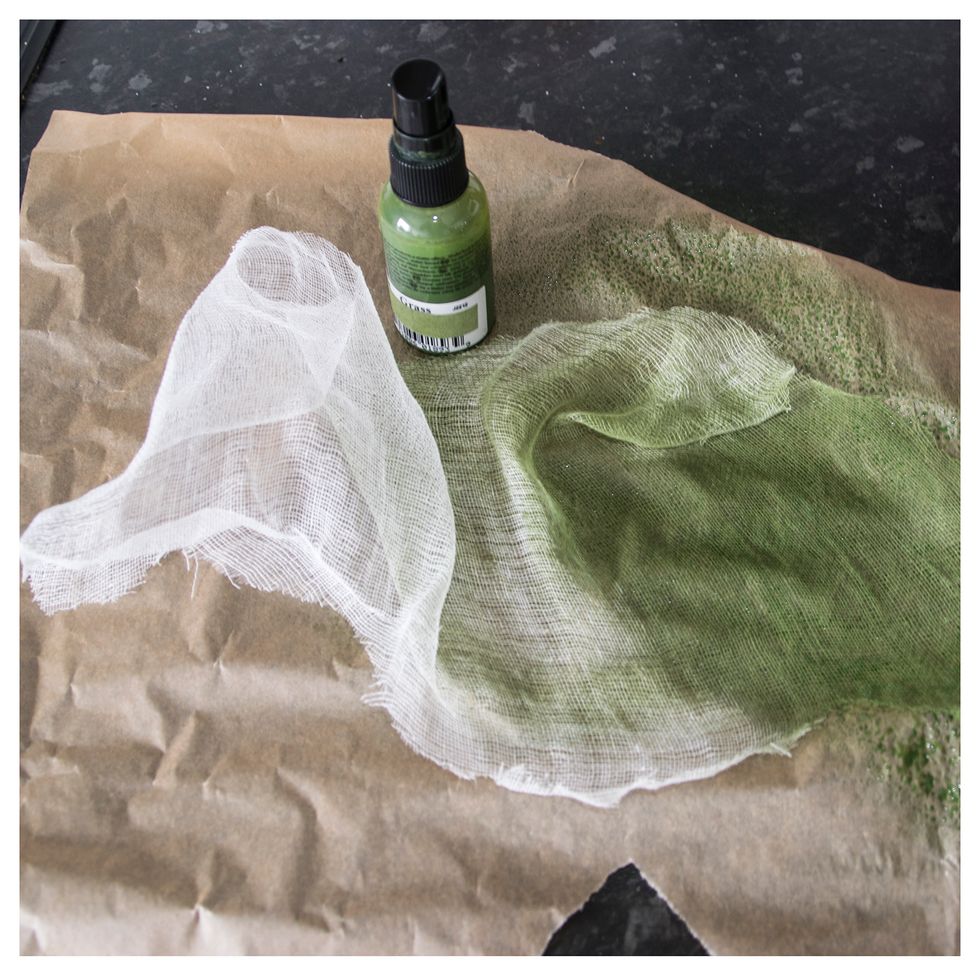
I cut up a piece of cheesecloth, and color it with some green mist. Hang it up to dry, or use a heat gun.
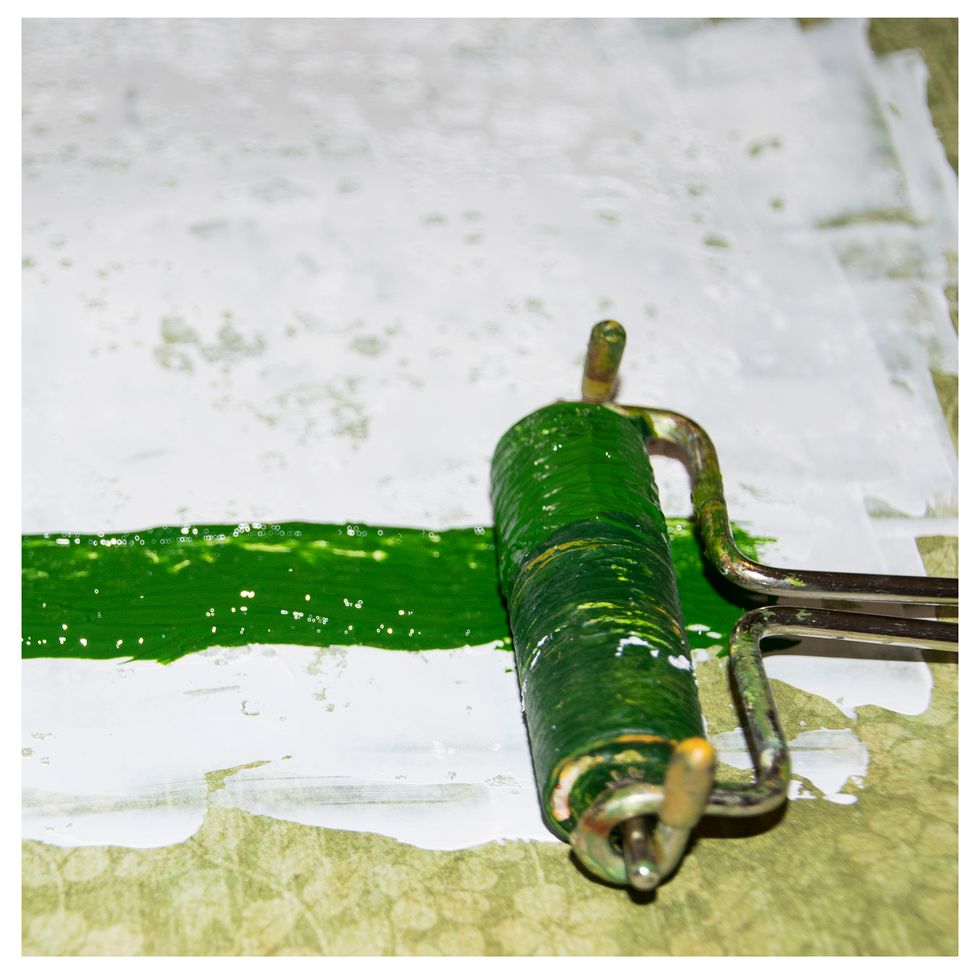
Add a thin line of green acrylic paint at the bottom of the gesso (a coupke of cm. from the bottom).
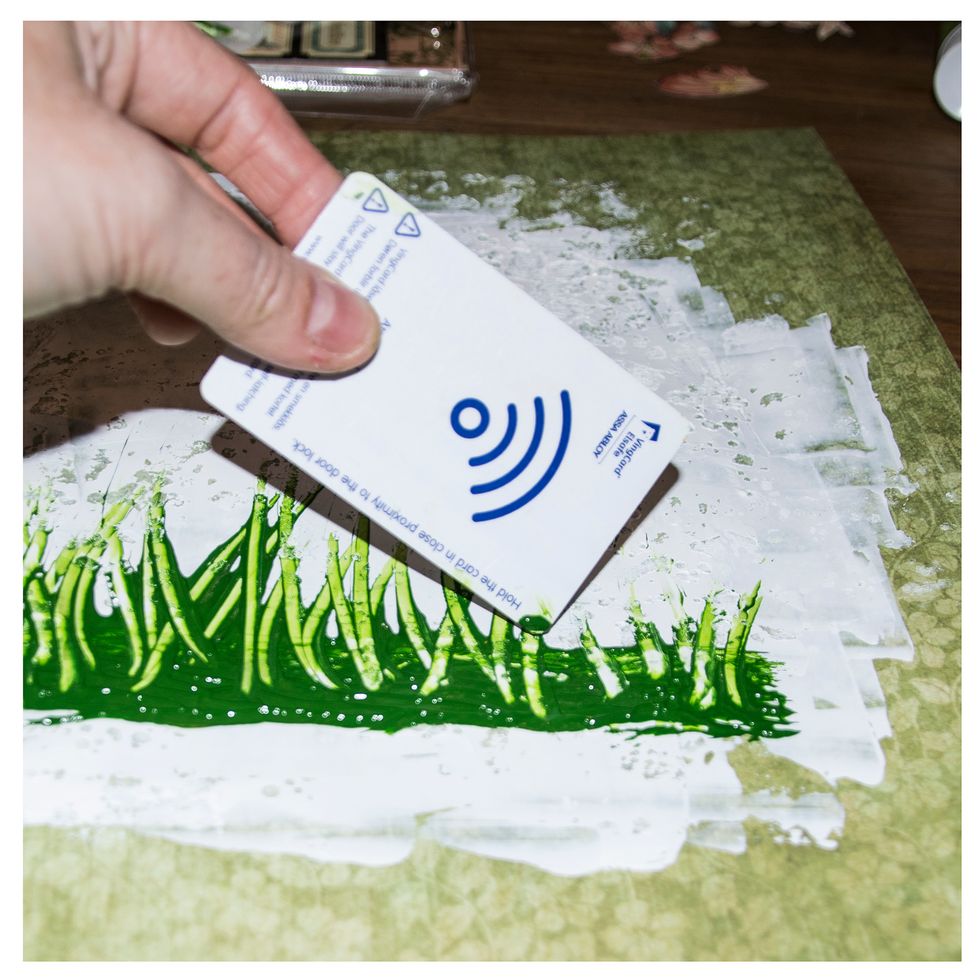
I then use an old credit card or hotel key to kind of drag the wet paint up, so it looks like grass. I make it turn different ways. That will make it look like the wind is blowing in the grass.
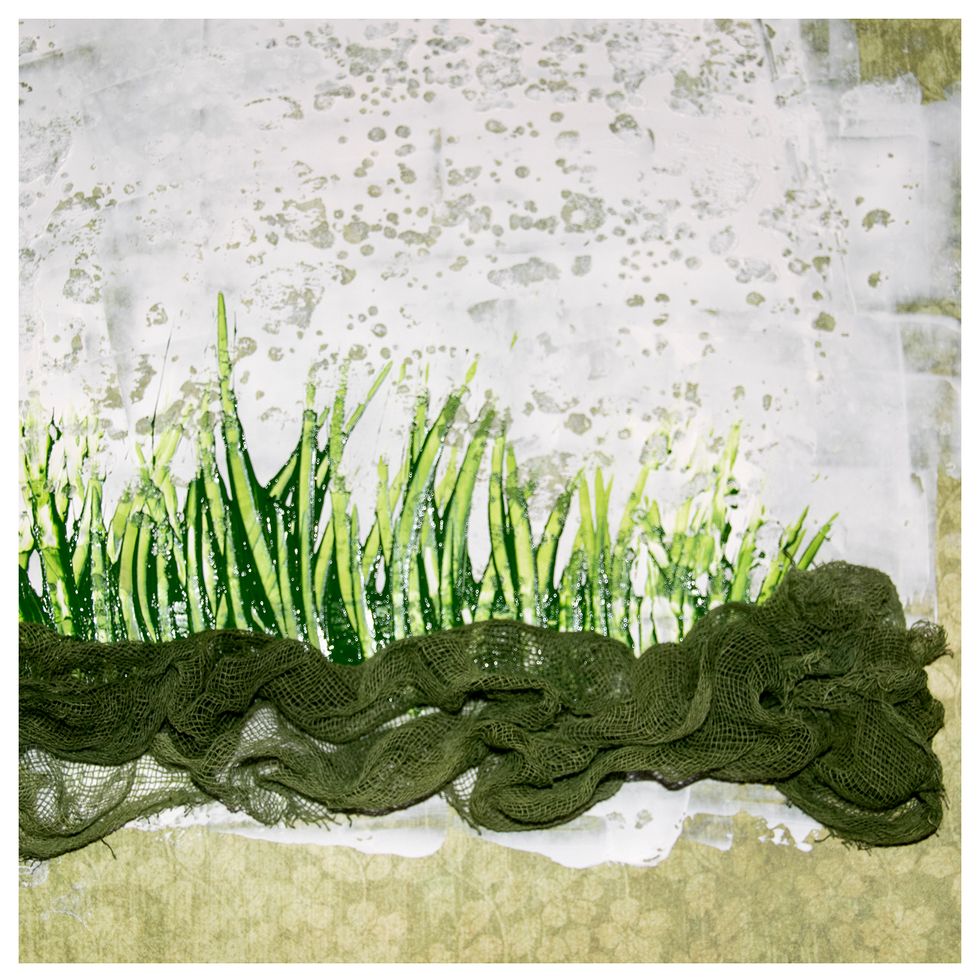
I then glue the cheesecloth over the bottom of the paint. It will then hide the part of the paint that doesn`t look so good.
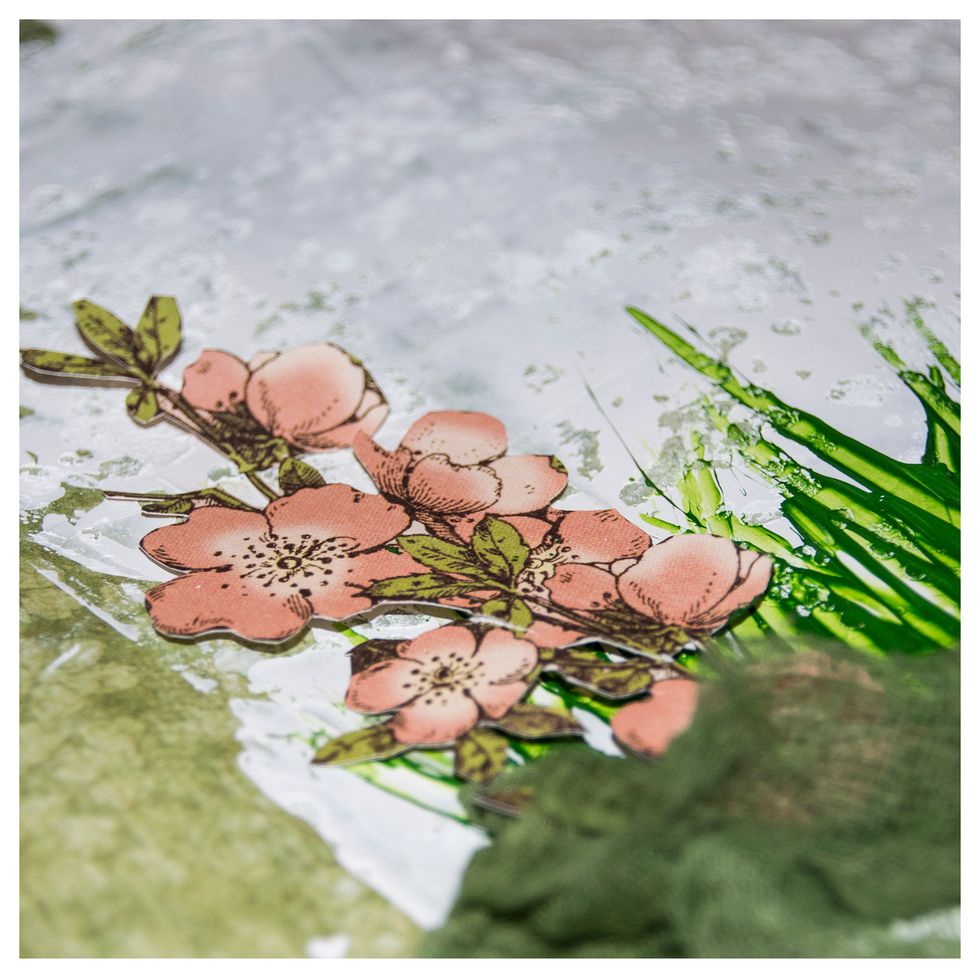
I cut out lots of motifs from the pattern papers, and glue them to the background.
The things that I want to look like it`s far away in the scene, I glue directly to the background. If I want things to look like they`re closer, I put 3D foam squares under.
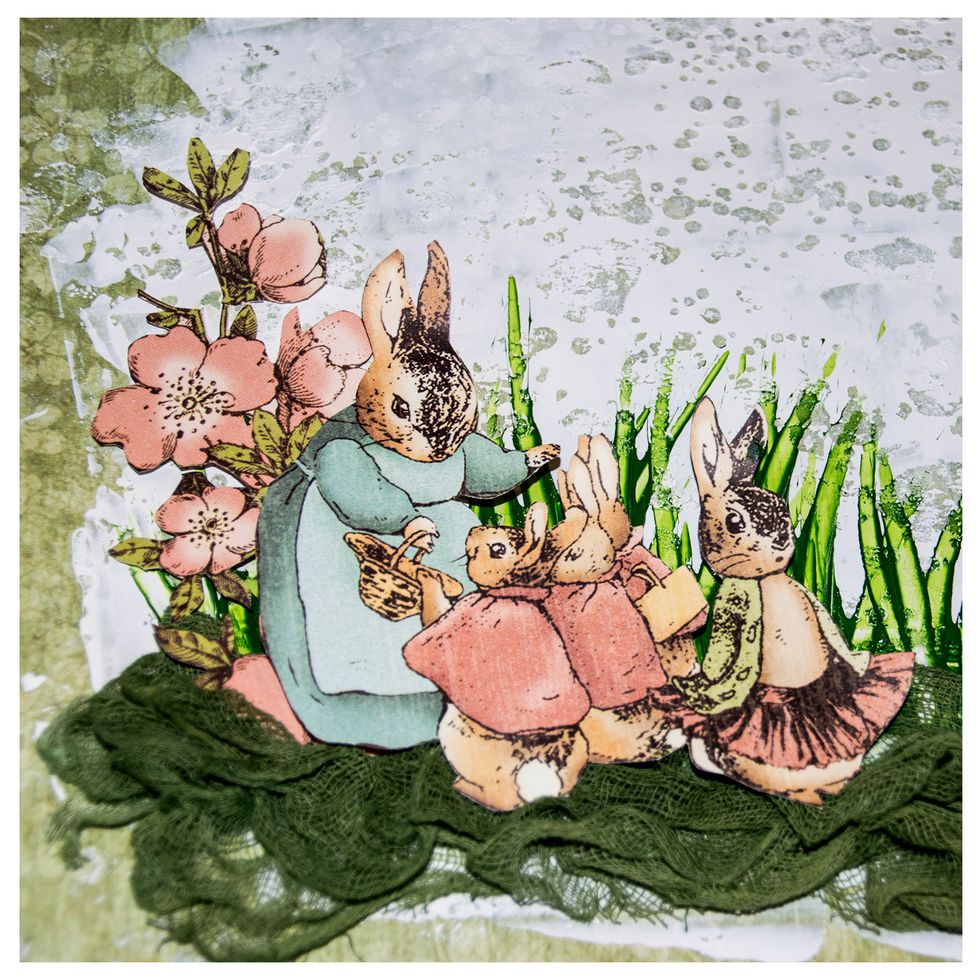
I can use several layers of 3D foam squares. It depend on how close I want them to be. Here I have used dobble set of foam squares under the picture of my children.
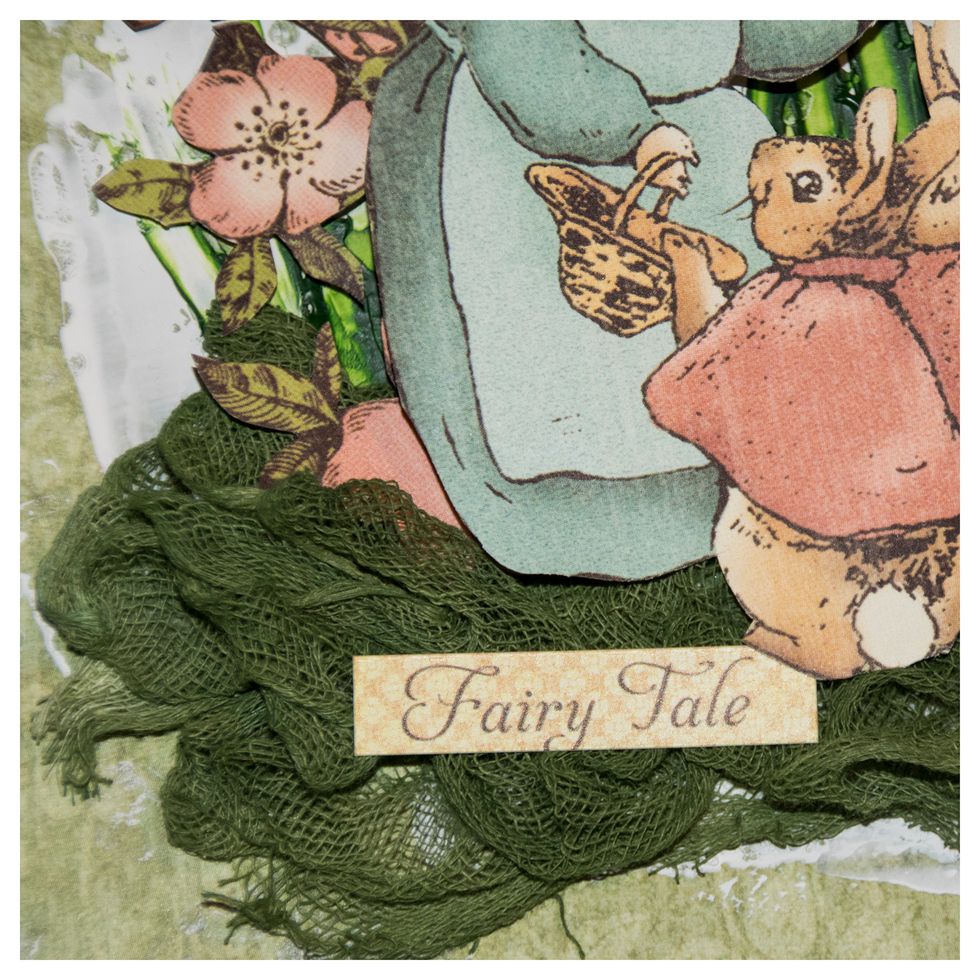
I like using strips of text. Cut them out of pattern papers, make my own or like this; sticker text.
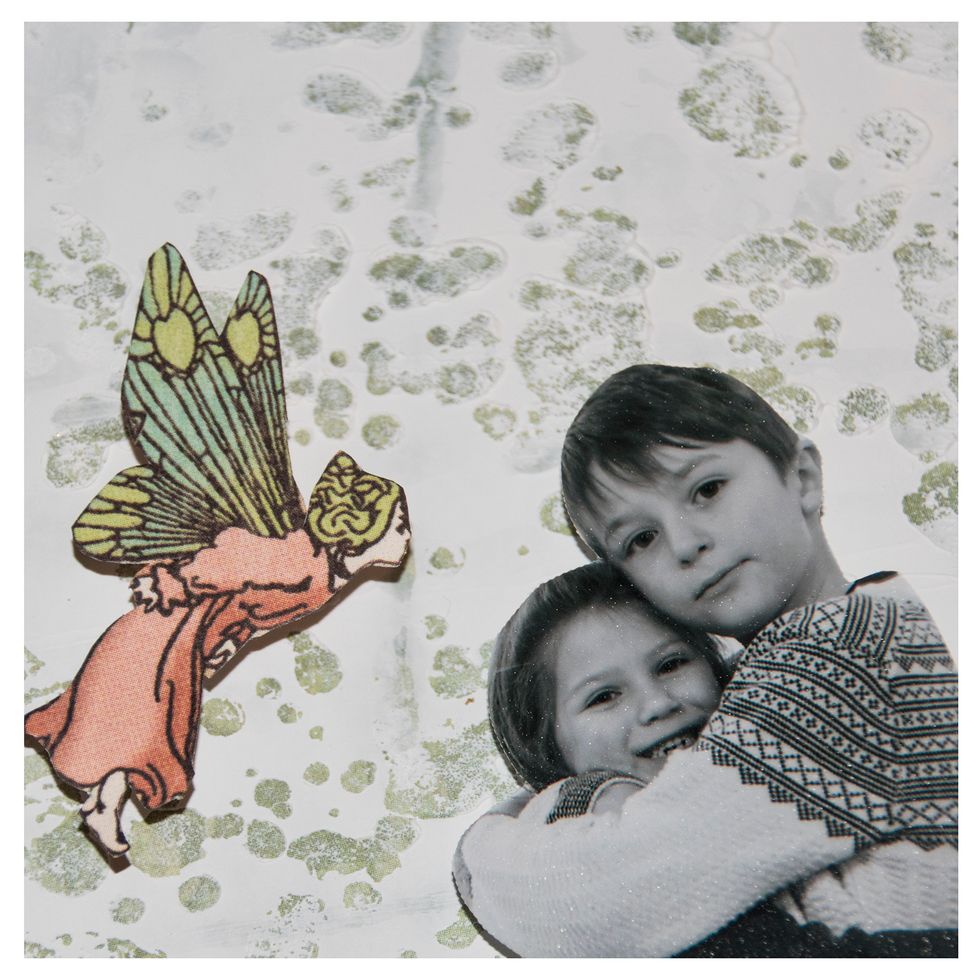
I have the same ammount of foam dots under the fairy as I did under my picture. So it looks like she is looking at them. If I used less foam dots, it would have looked like she was behind them.
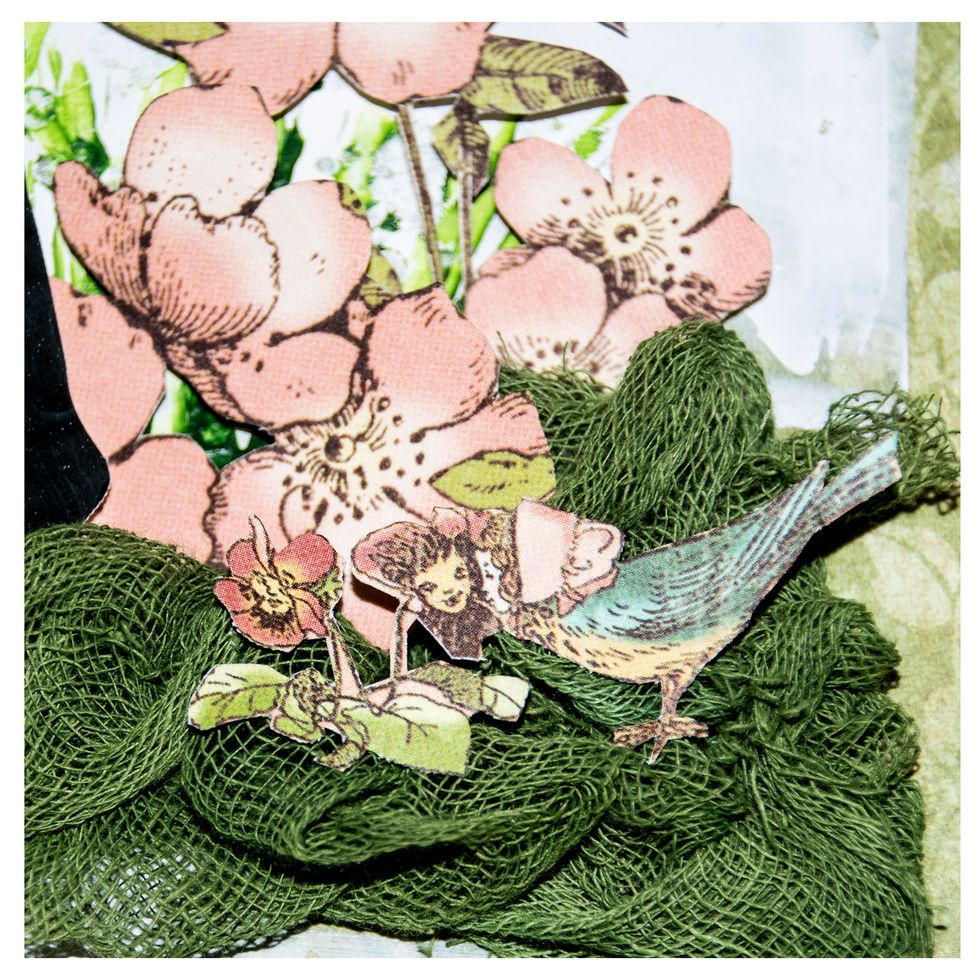
Just to show you some small details hidden in the grass.
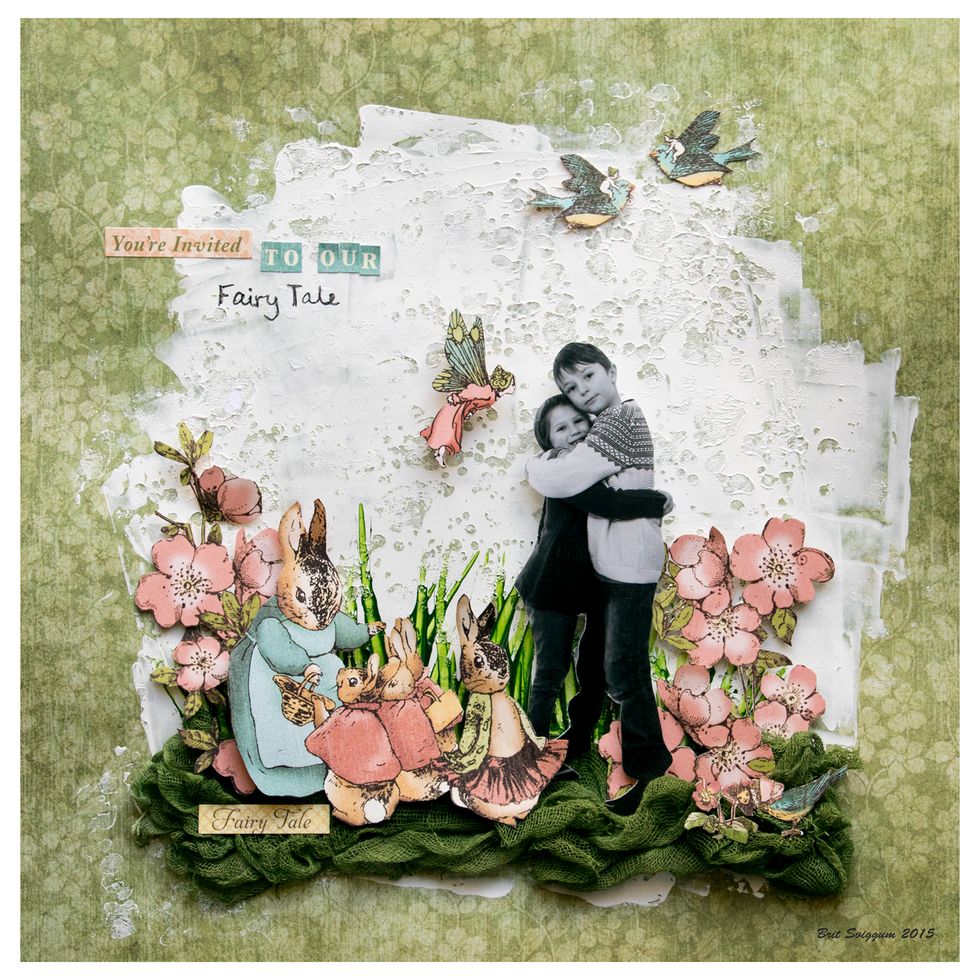
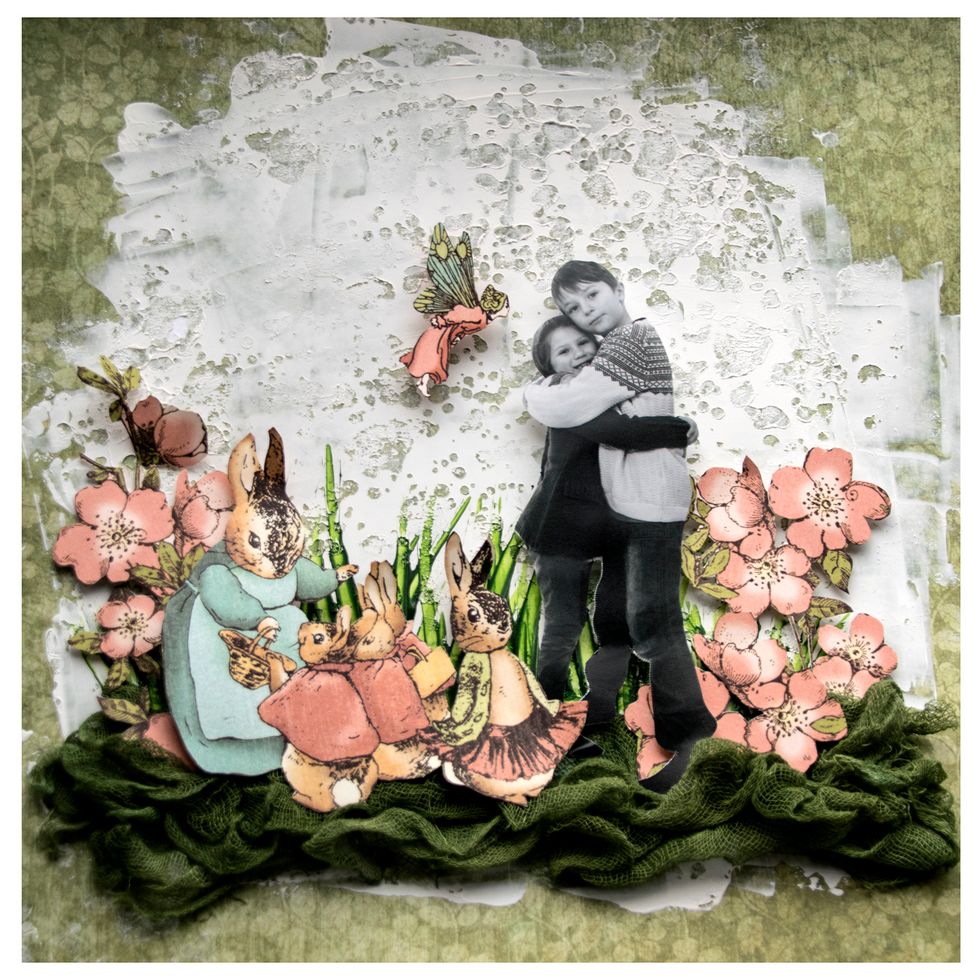
And here is the finished project, with text and some more cut outs.