The Conversation (0)
Sign Up
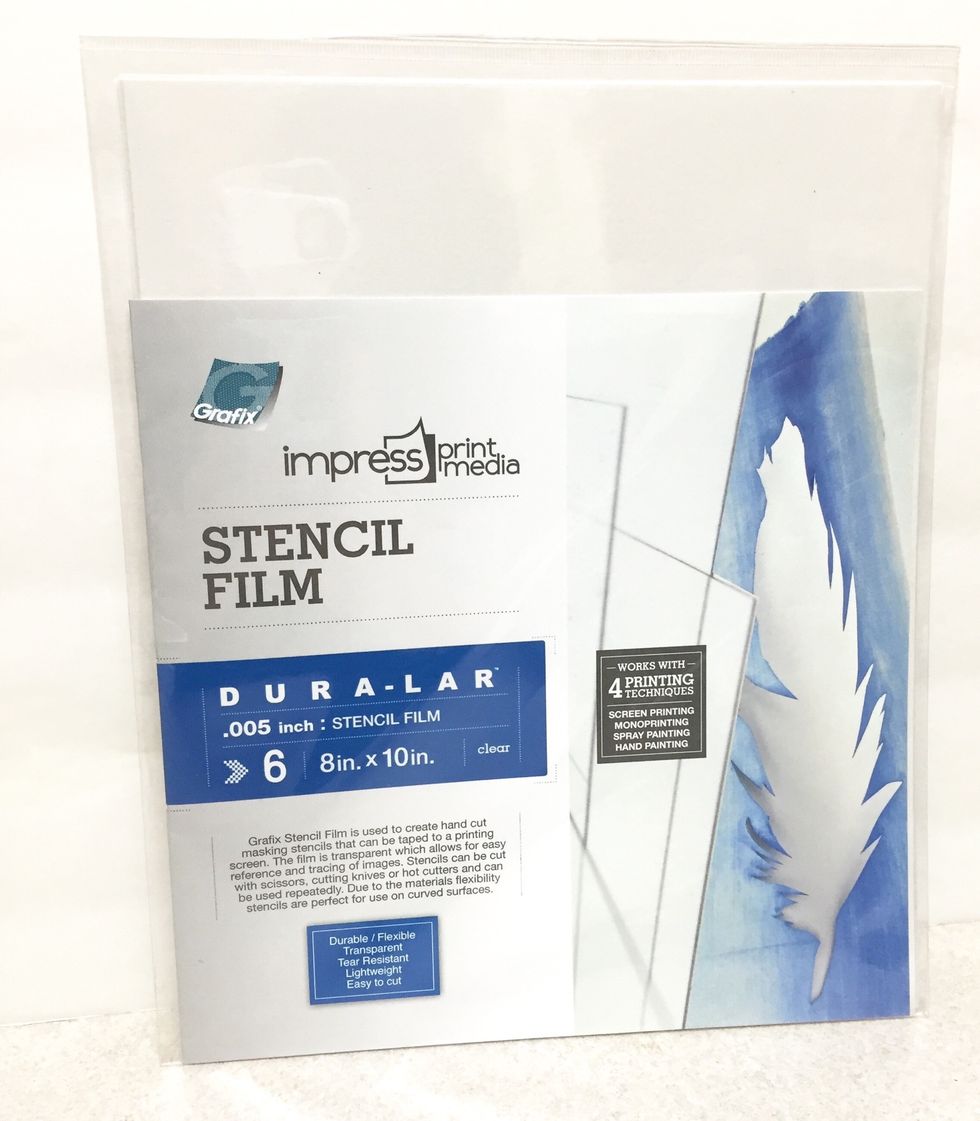
create a stencil to utilize in your monoprint using Stencil Film from Grafix. the film is durable, but thin enough to be easily cut with a kraft knife or scissors. create your own design or use a die.
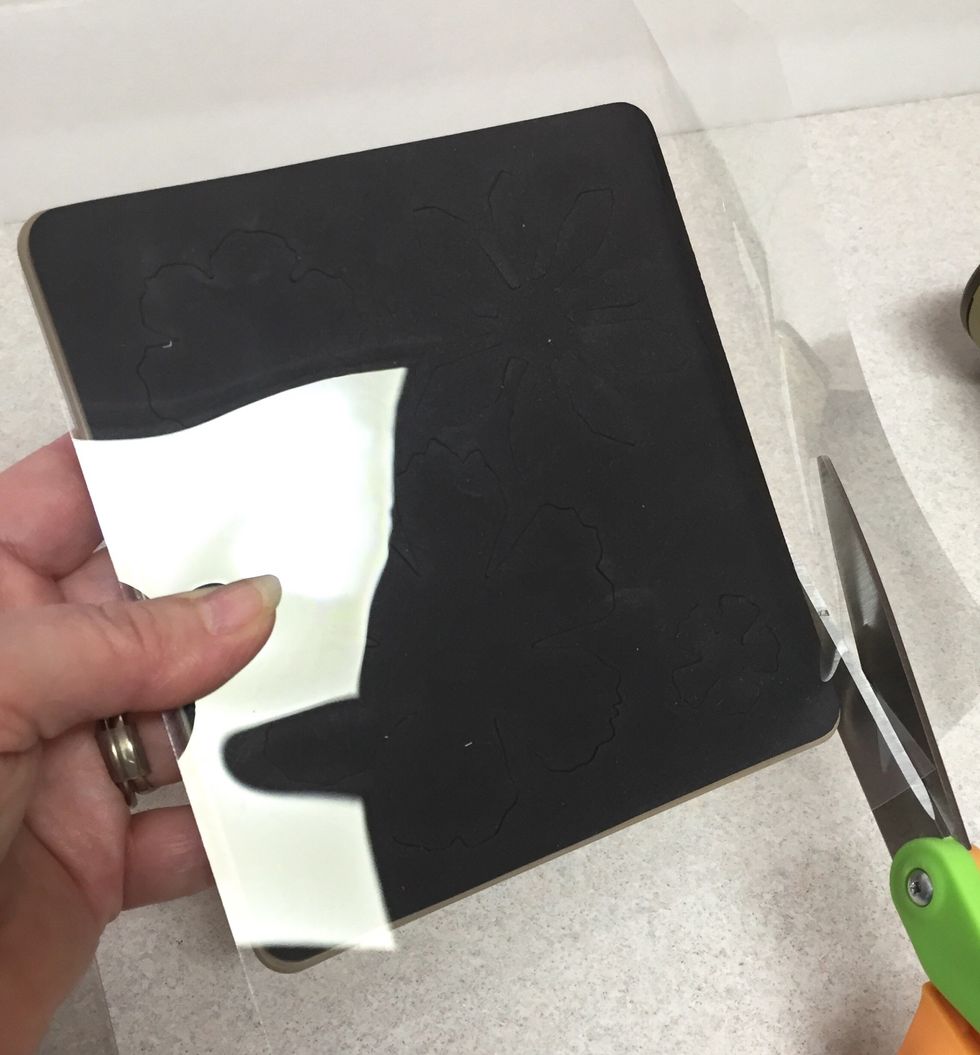
i decided to make my stencil using a die. so i started by cutting the stencil film just slightly larger than the die.
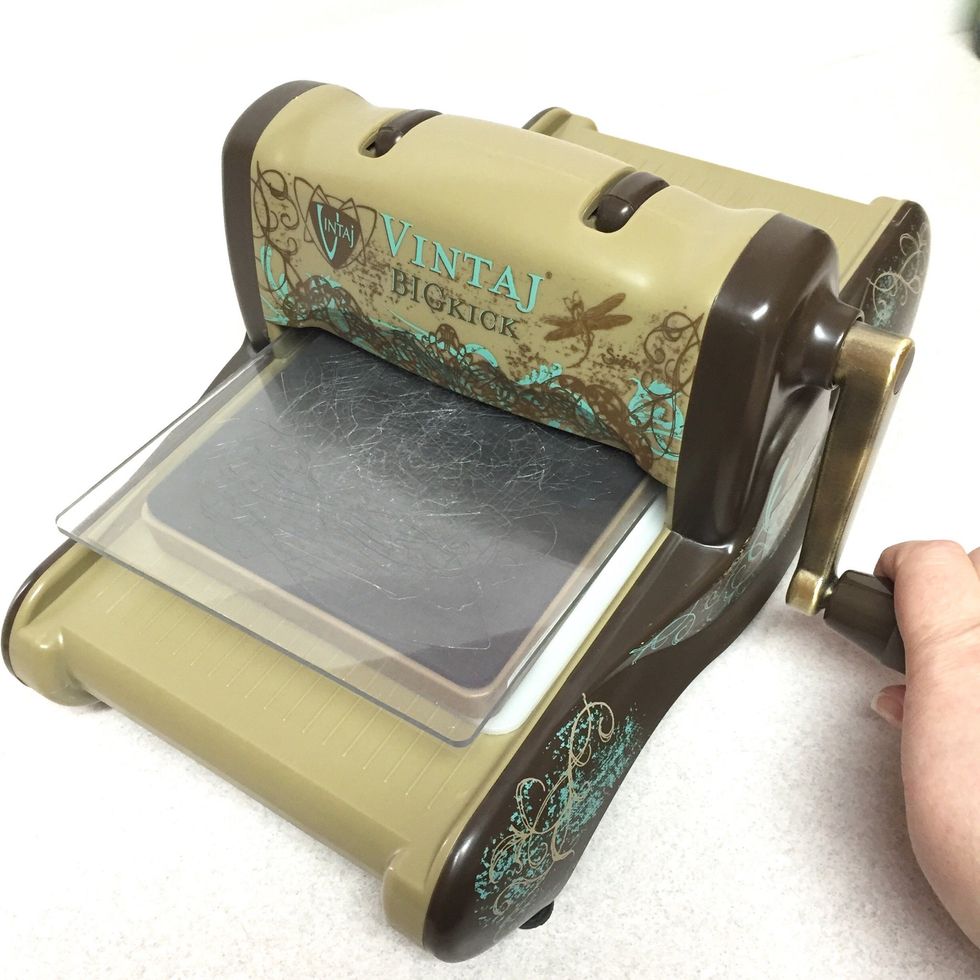
i ran the film and the die through my die cut machine.
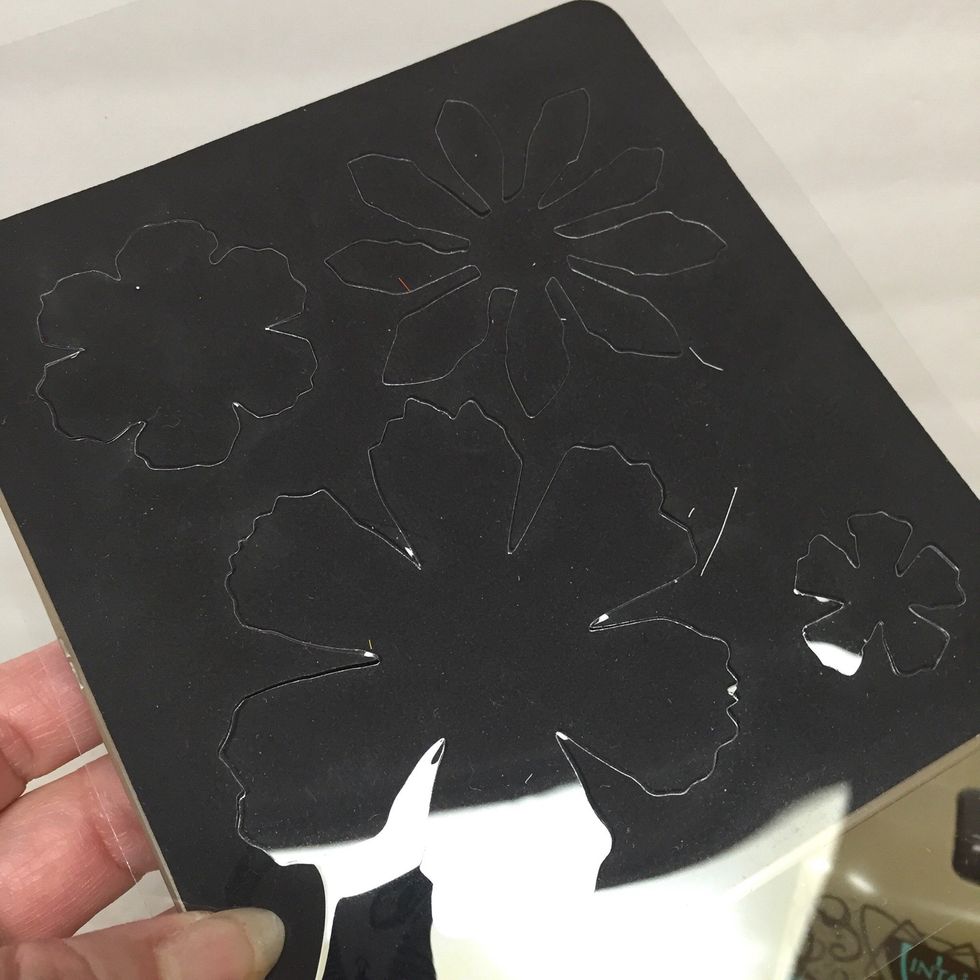
diecut stencil film. you'll want to save both the inner and outer portions of the diecut film as you can use both for positive and negative stenciled images.
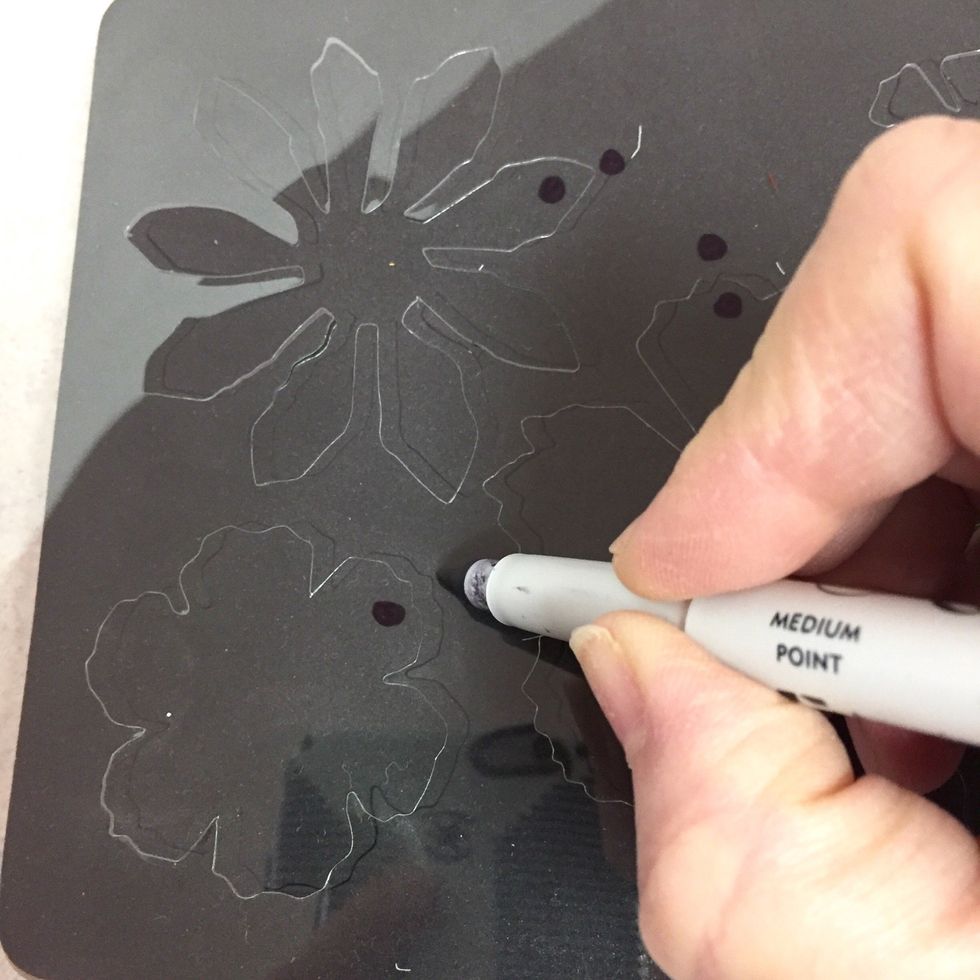
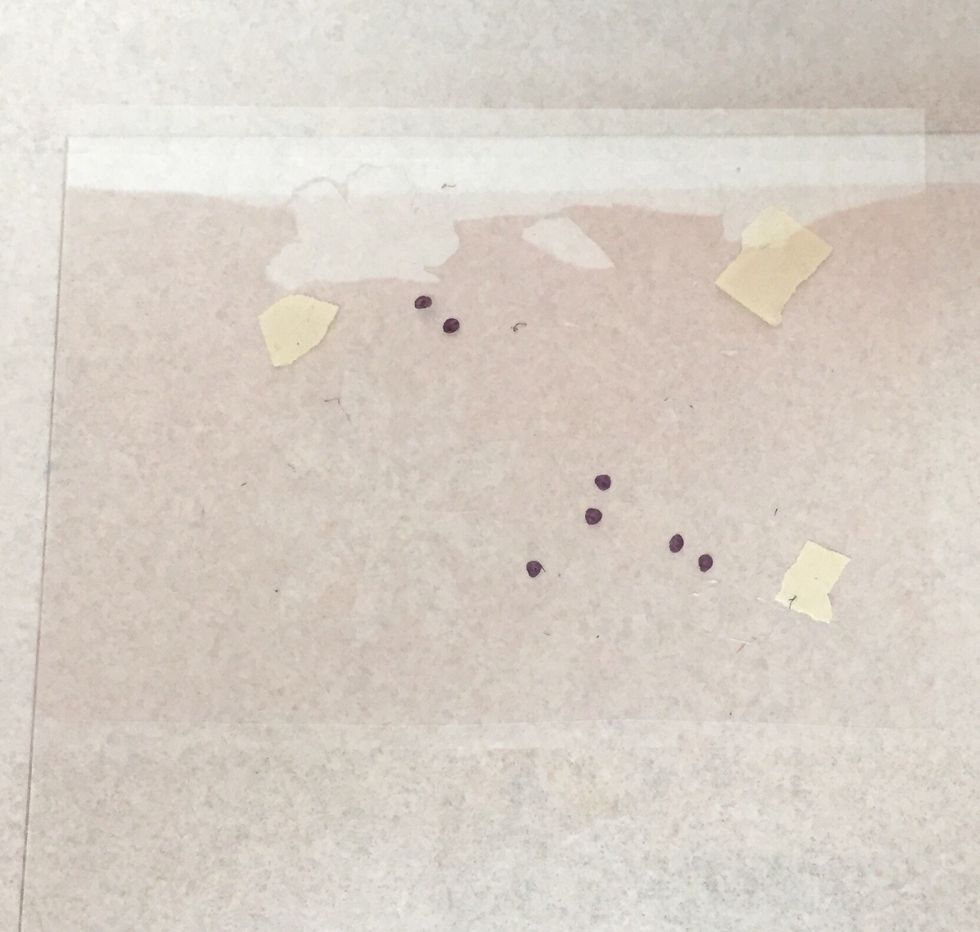
in order to easily replace inner diecut pieces, i placed registration marks using a permanent pen.
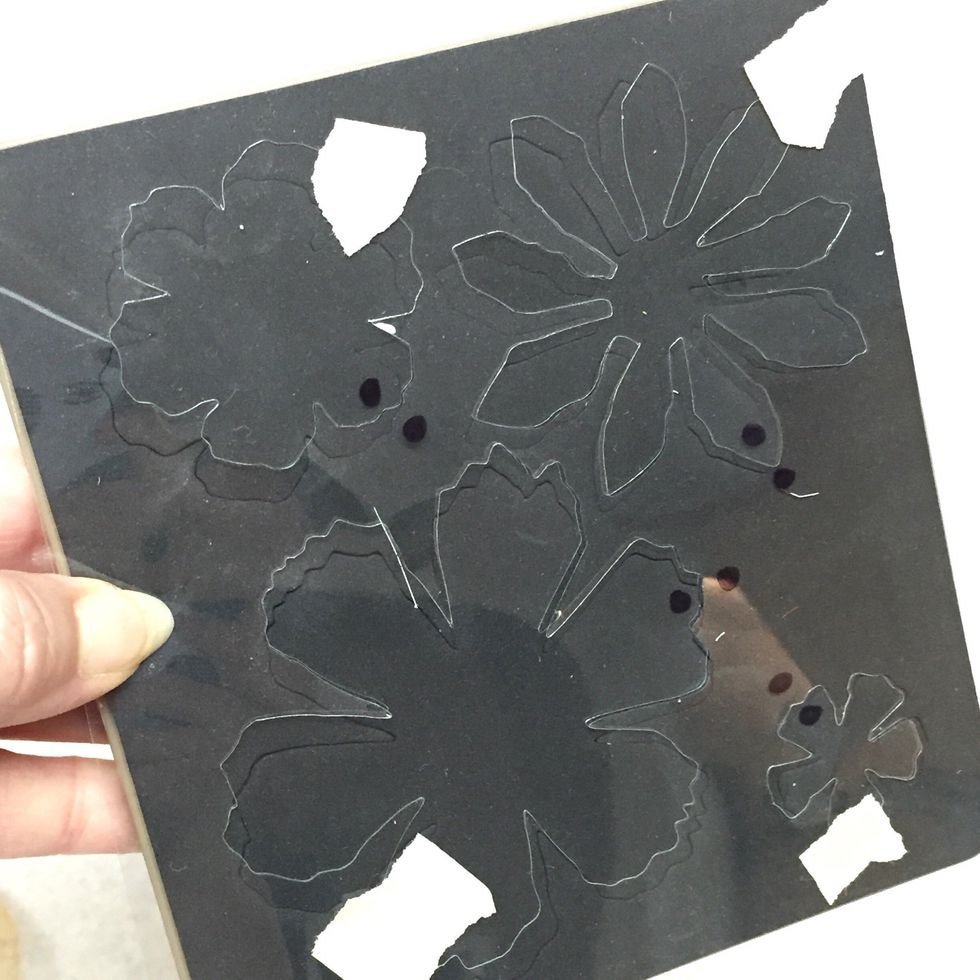
to keep loose diecut pieces in place, tack with a piece of masking or blue painter's tape.
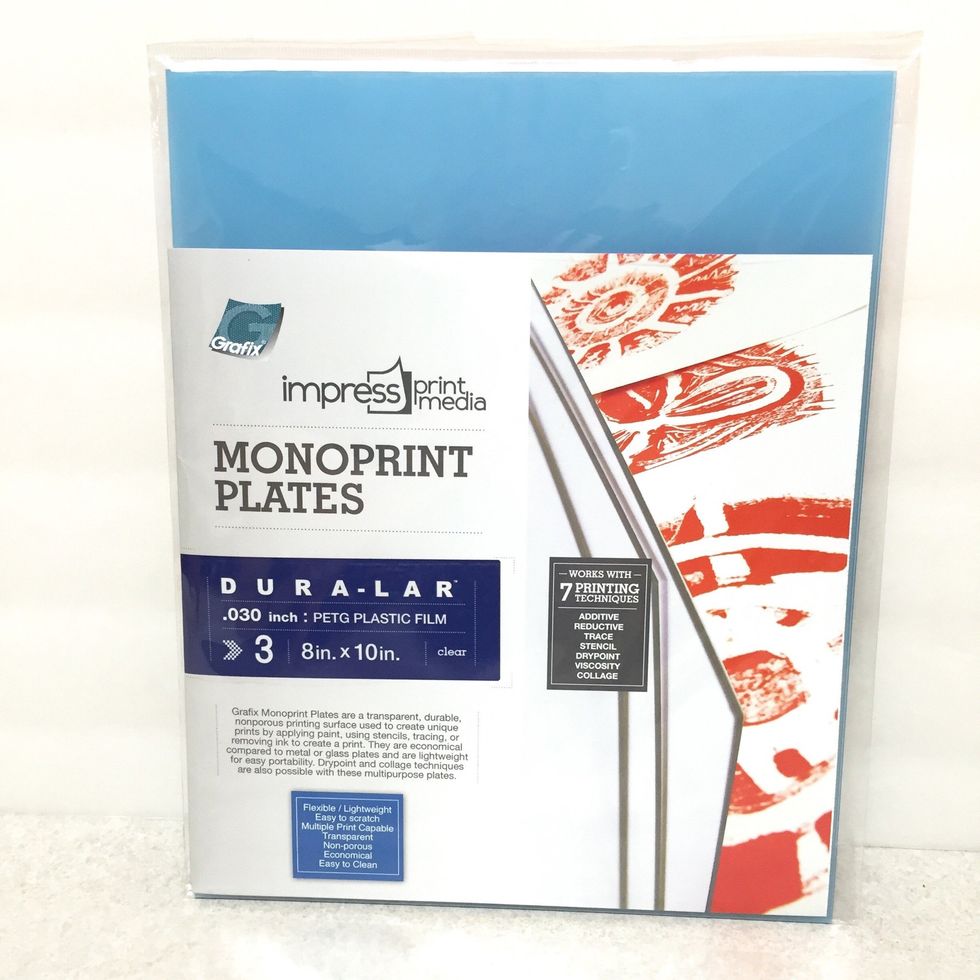
Monoprint Plates are available in 2 sizes and come 3 to a package. plates are are washable and reusable and can be used for a variety of monoprinting techniques.
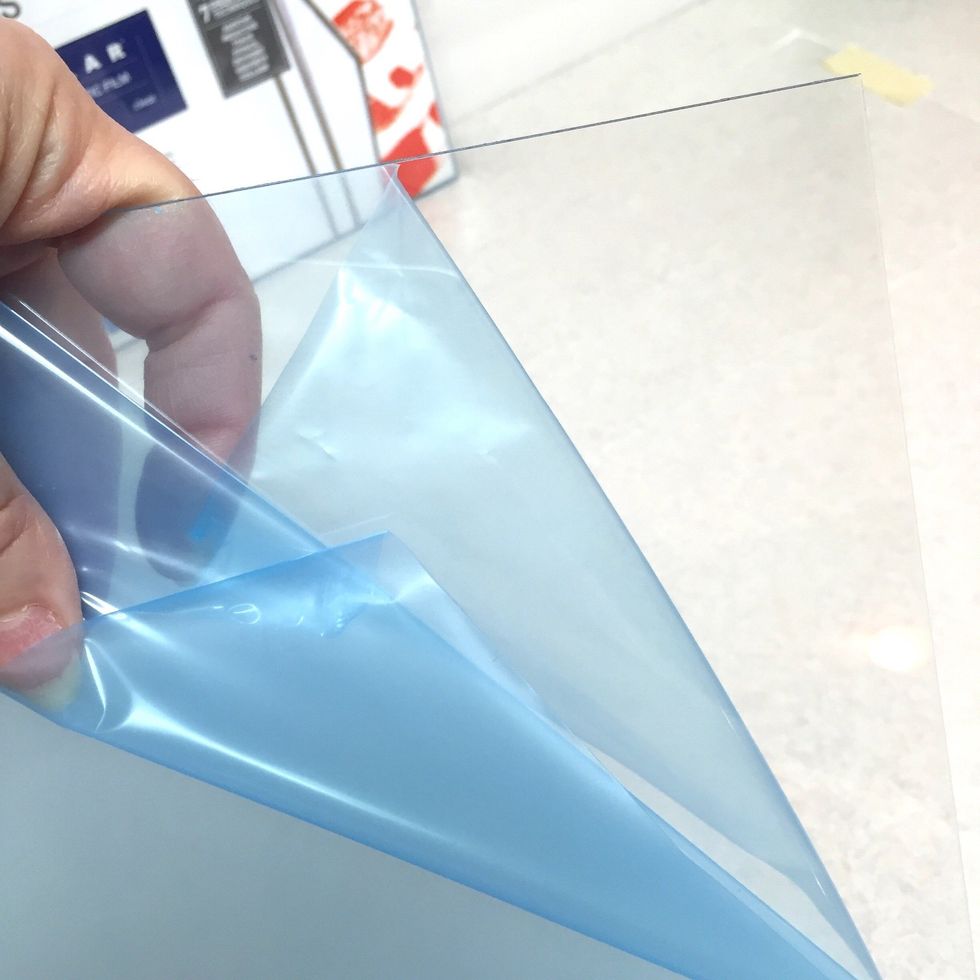
remove blue protective film from both sides of the plate. prep your work surface by using a craft mat, waxed paper or other covering. using something non-absorbent will allow excess ink to be used.
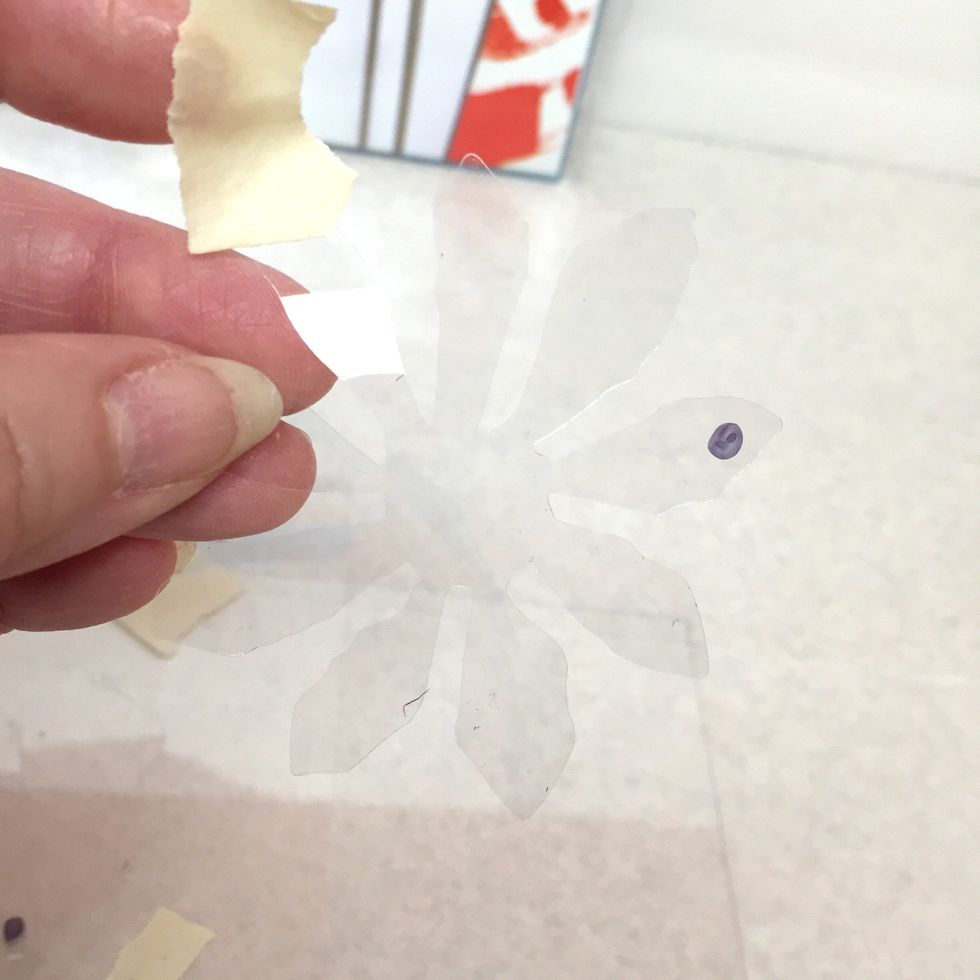
next, i pulled out one of the flower diecuts from my stencil sheet. i left the other 3 designs in place.
it's a little hard to see - clear on clear, but place the stencil on the monoprint plate. print will be mirror image of what is on plate, so remember that when placing your stencil.
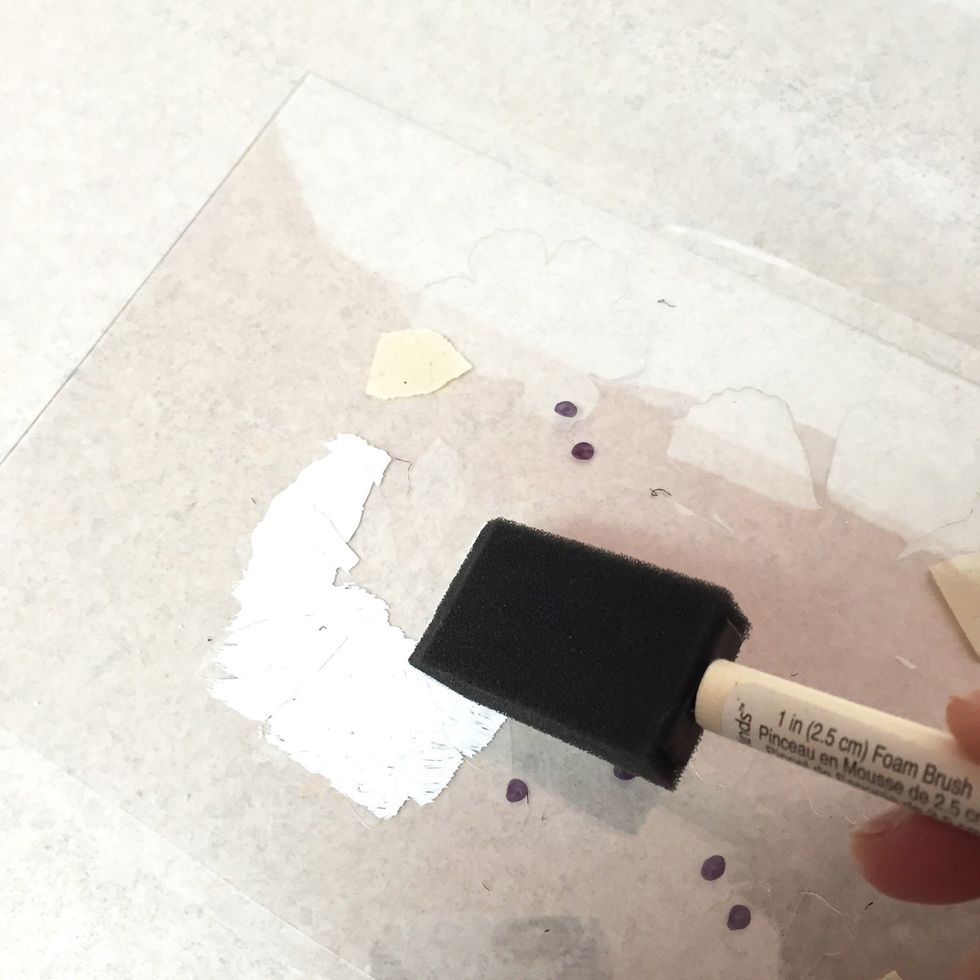
use a brush to apply white paint to stencil using a dabbing motion. make sure you apply enough paint so that design will transfer, but using too much will cause a very blurry image. experiment!
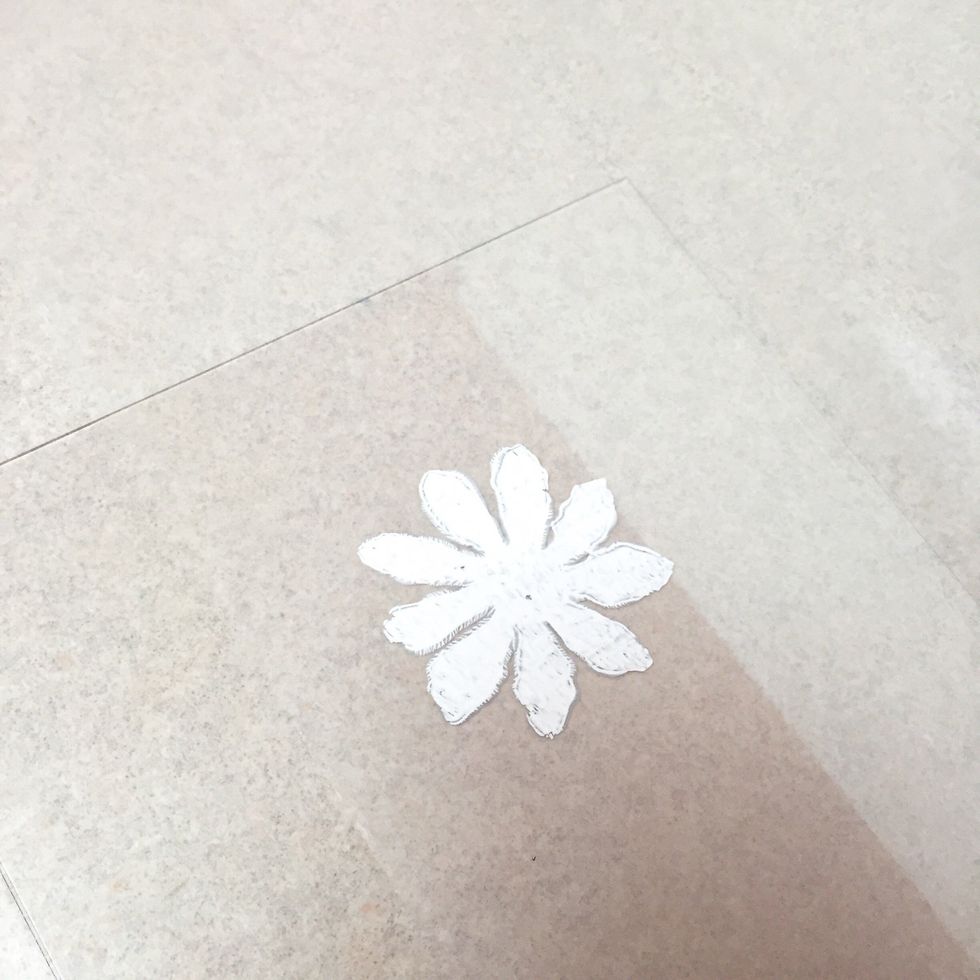
remove stencil to expose painted design on plate.

begin adding color to plates with ColorBox Spritzers. spritz different colors in different areas of the plate, overlapping them in places.
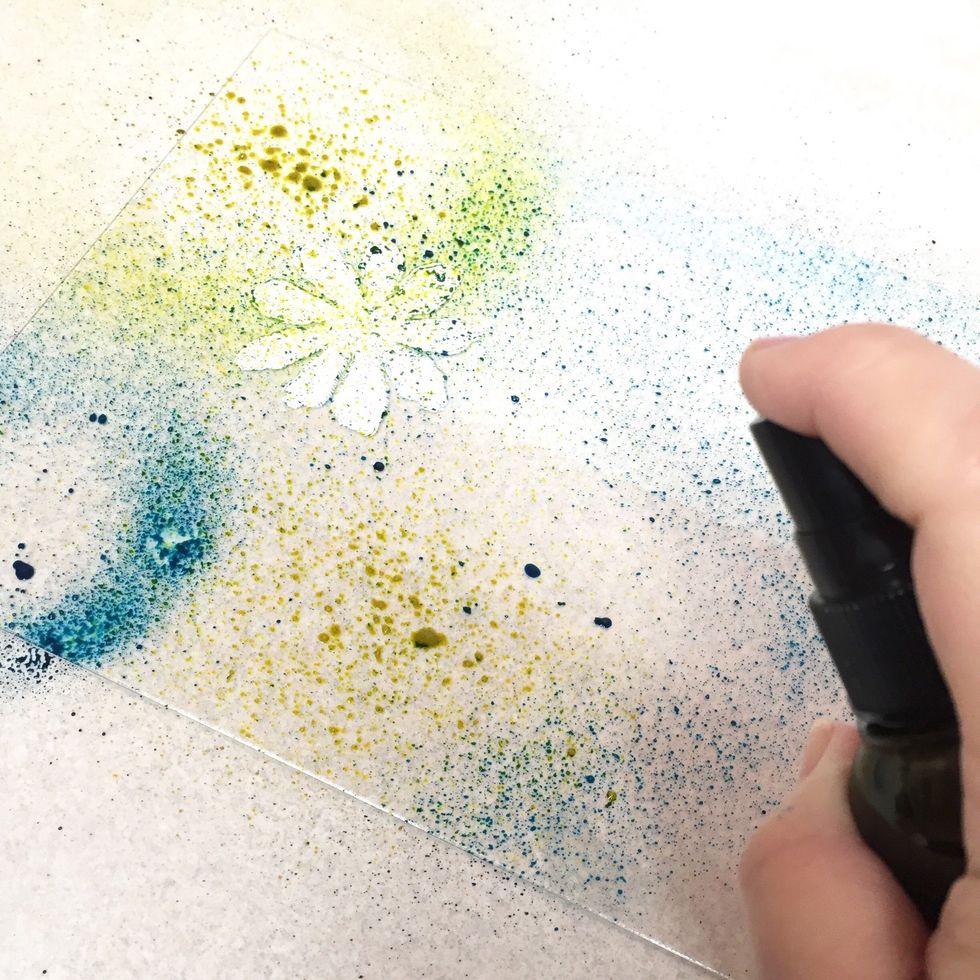
here yellow is being added to plate.
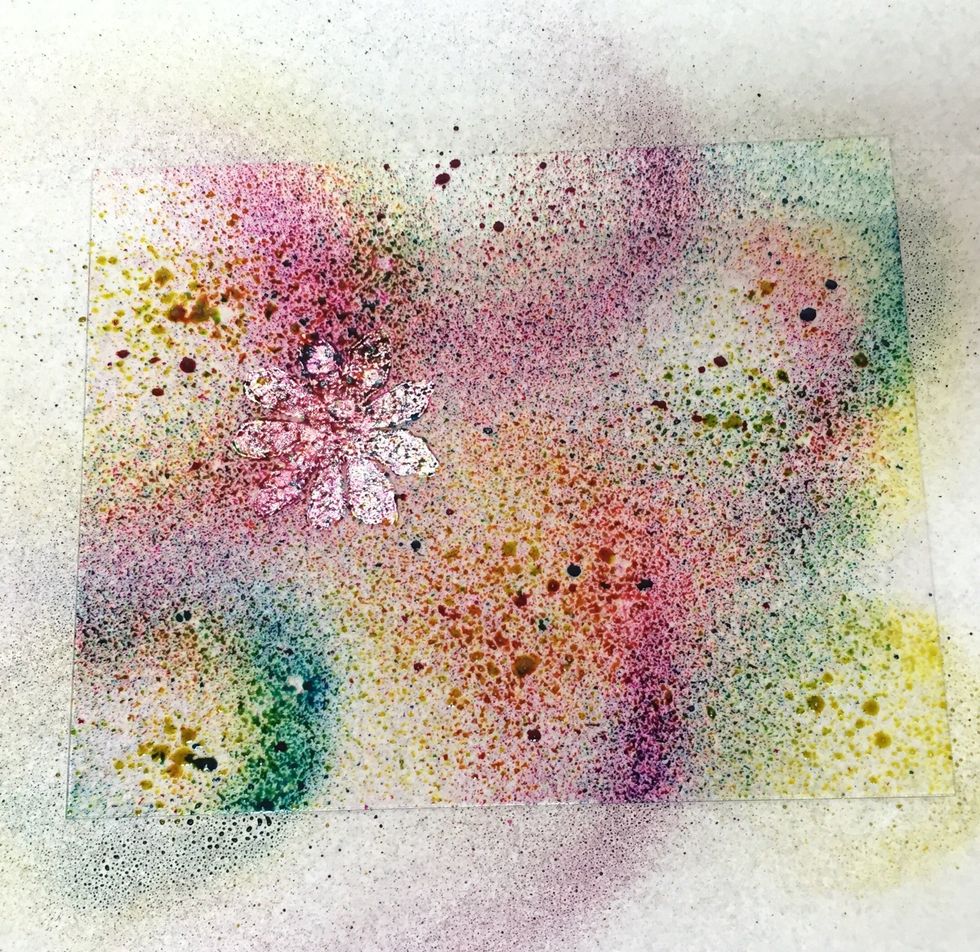
inked plate after third color, pink, has been added.

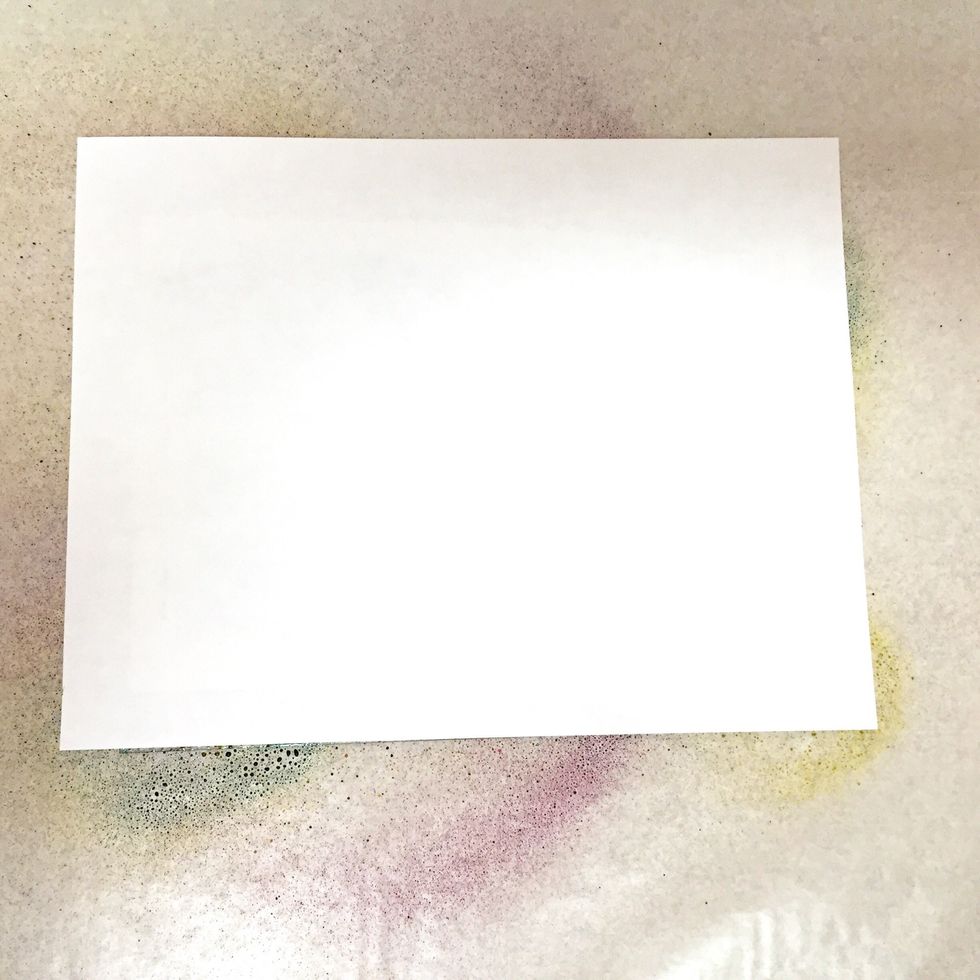
carefully cover plate with your dictionary page.
then place cover sheet over page and plate. this helps protect the brayer from getting "inky" in next step.
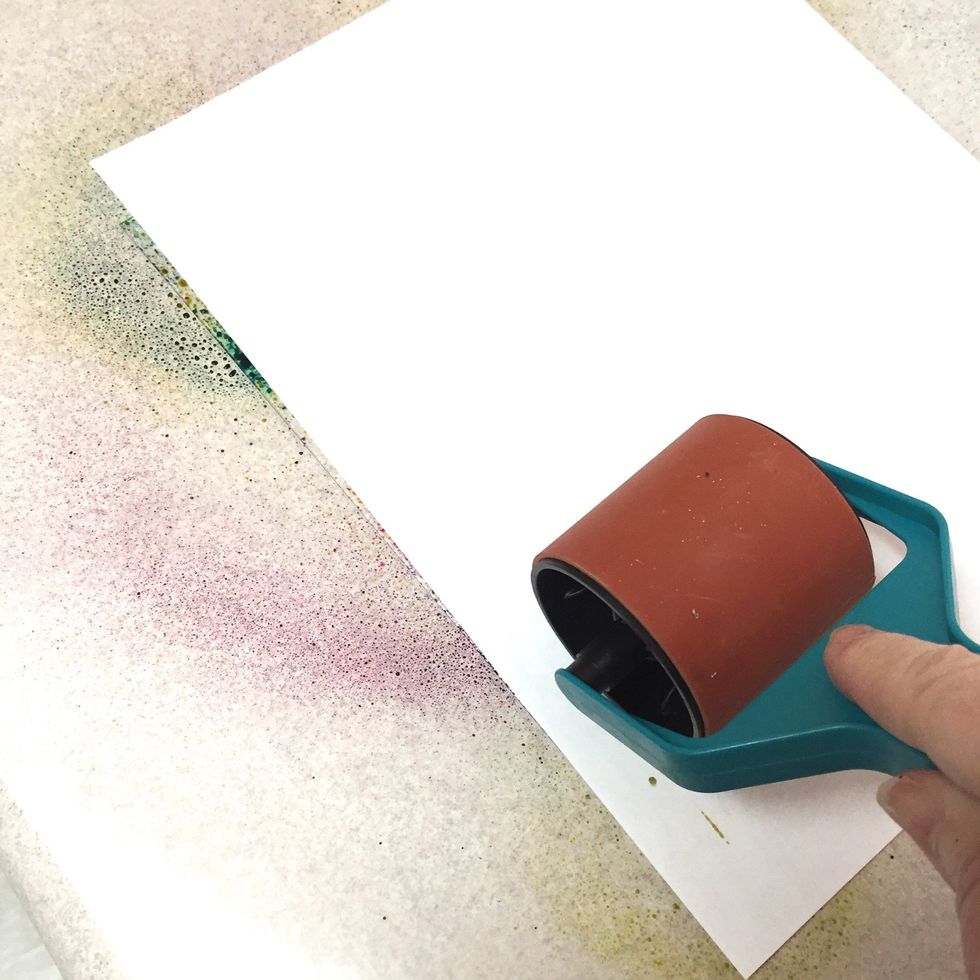
begin transferring design from plate to page by rolling over the plate with the brayer. be sure you roll over the entire surface. paints and inks will "smoosh" slightly in direction you roll.

carefully remove cover sheet, then gently remove monoprint. start at a corner and lift slowly to remove print from plate.
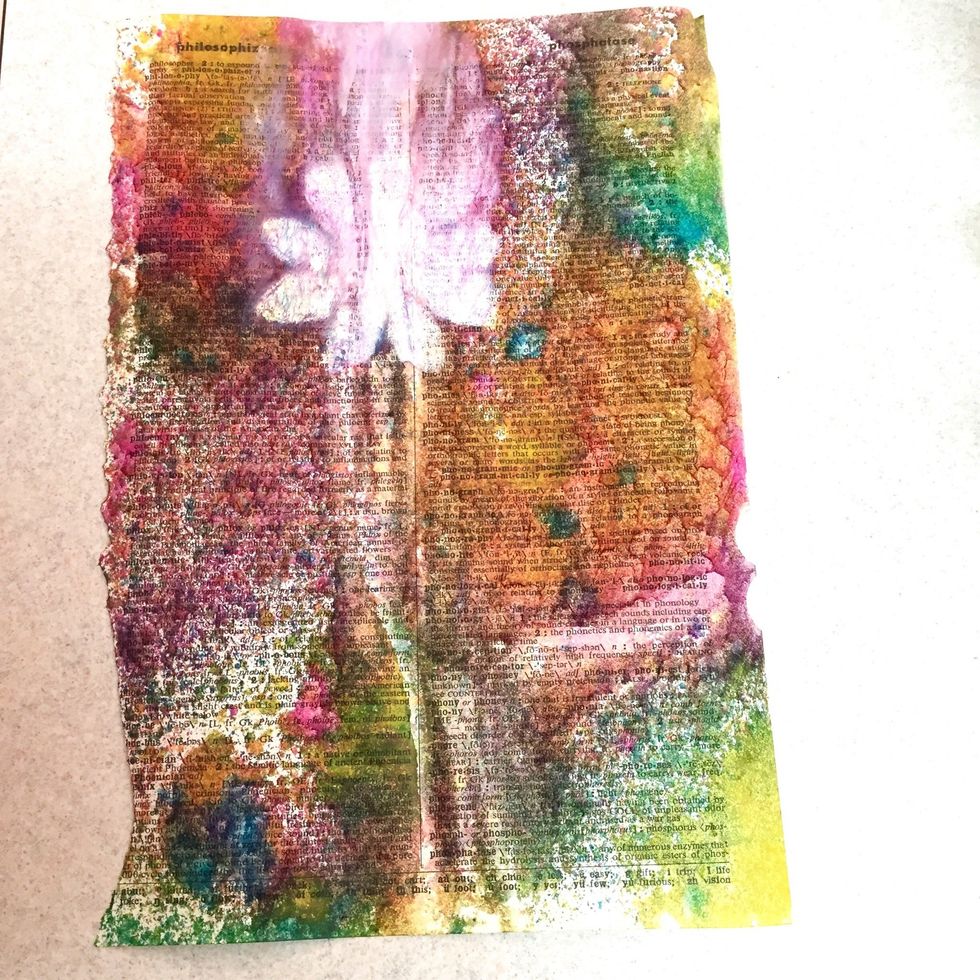
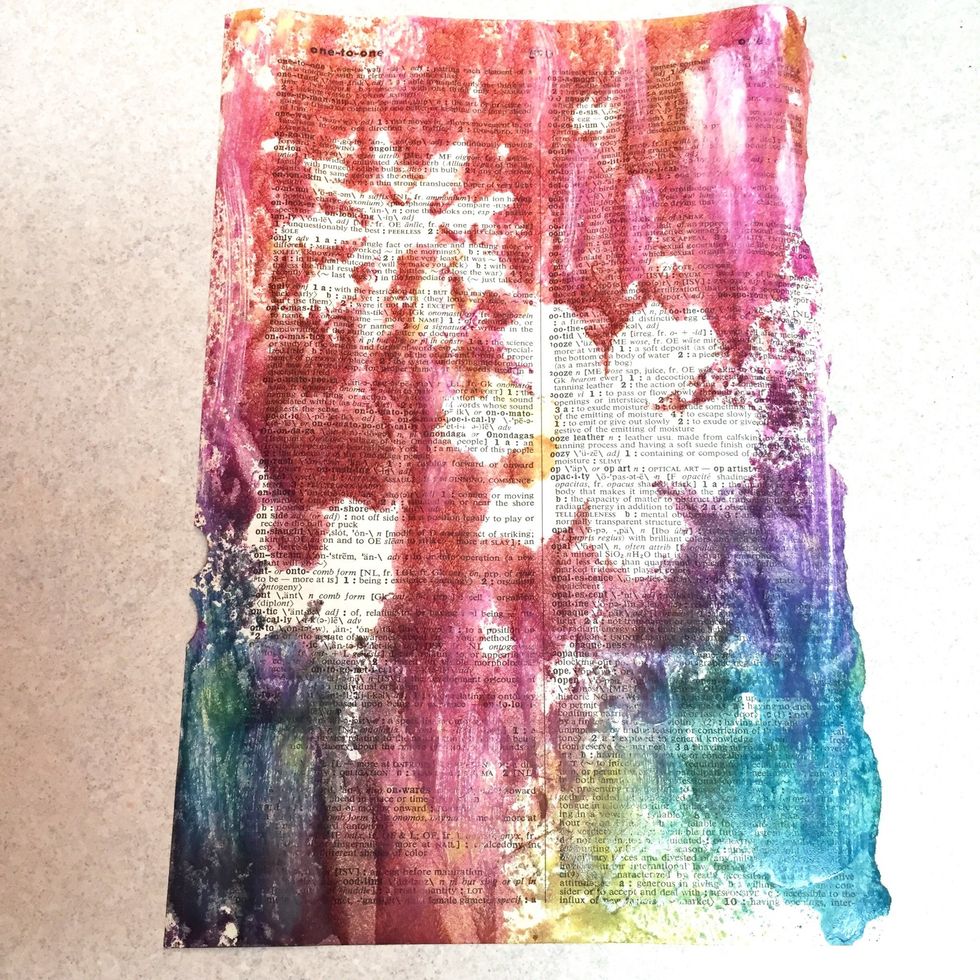
finished monoprint. notice how the paint from the stenciled design flows up - creating a light effect. the paint was spread up slightly because that is the direction i rolled to transfer the design.

for this print, i decided to add more flowers. so stenciled 3 flowers, one at a time with white paint.
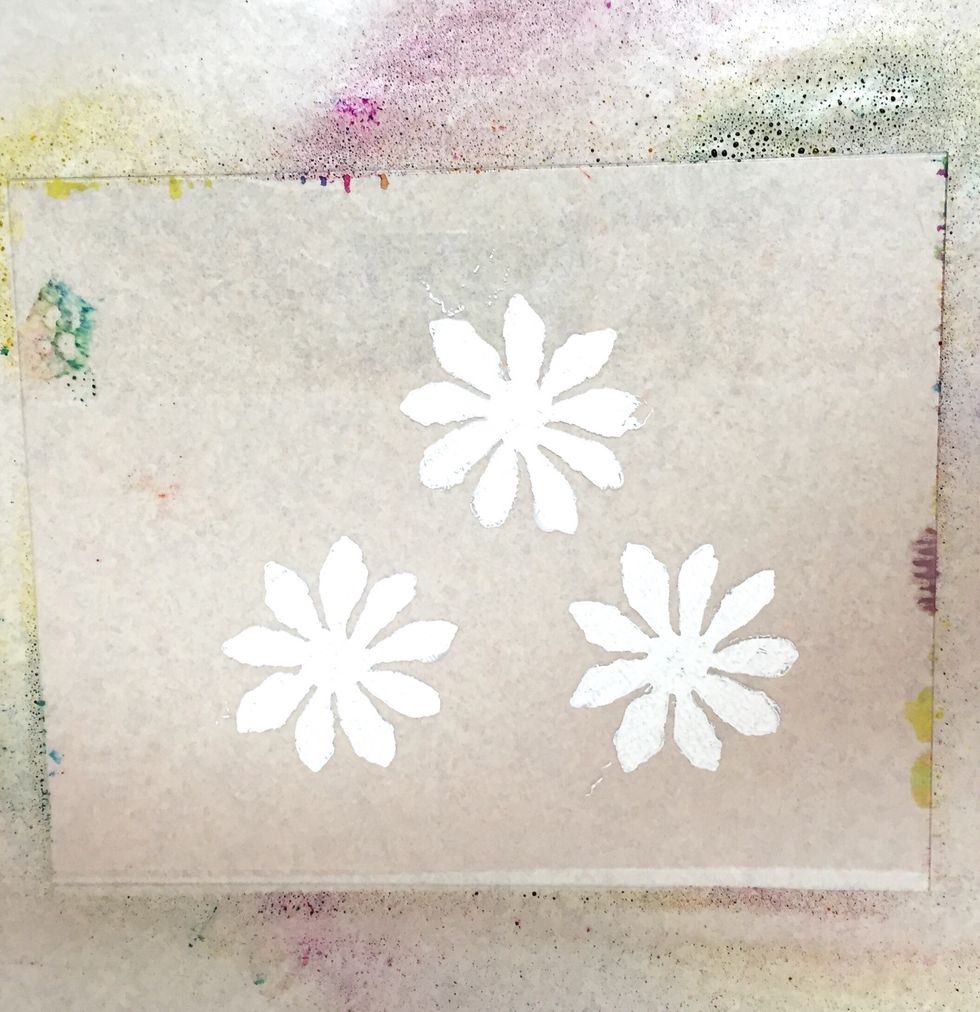
stenciled flowers on plate.
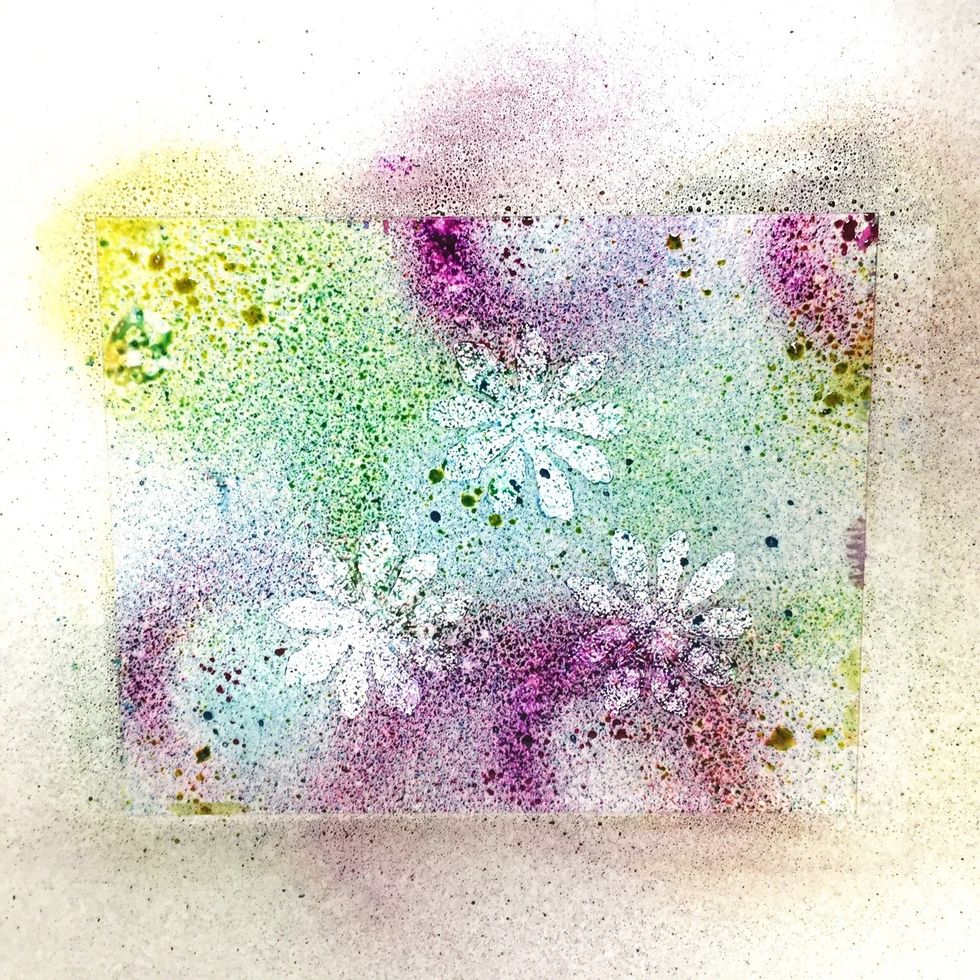
next, add sprays as before.
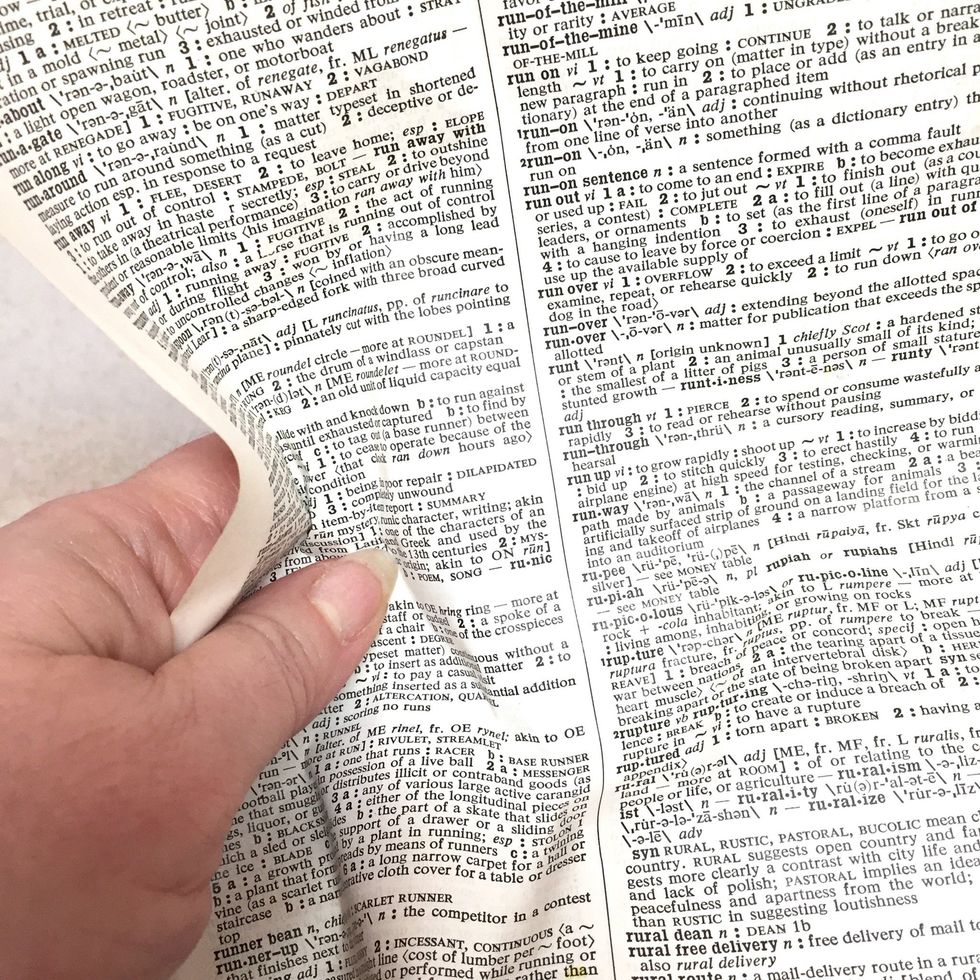
this time i slightly crumpled the dictionary page before placing it on the plate. this will create lines and creases in the design.
here is the finished print.
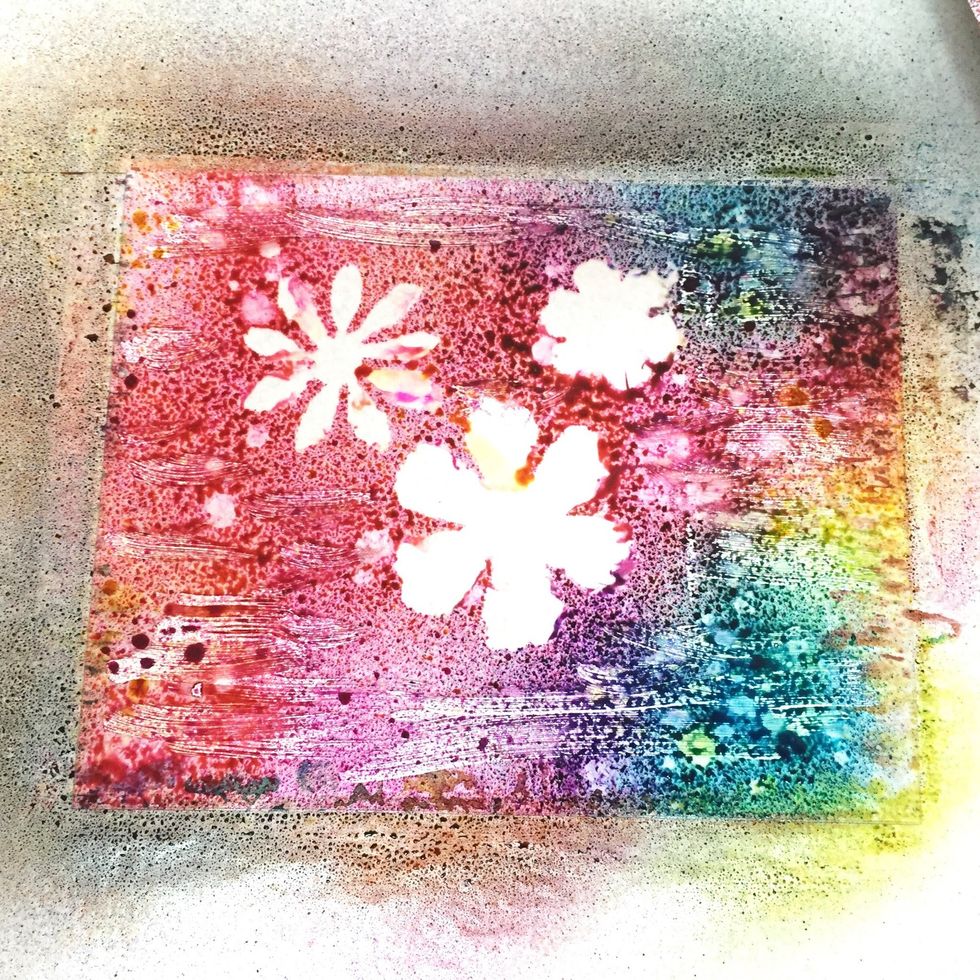
for the next print, i removed 3 of the diecut flowers from the stencil and arranged them on the plate.

i added streaks of white paint around and in between the flowers.
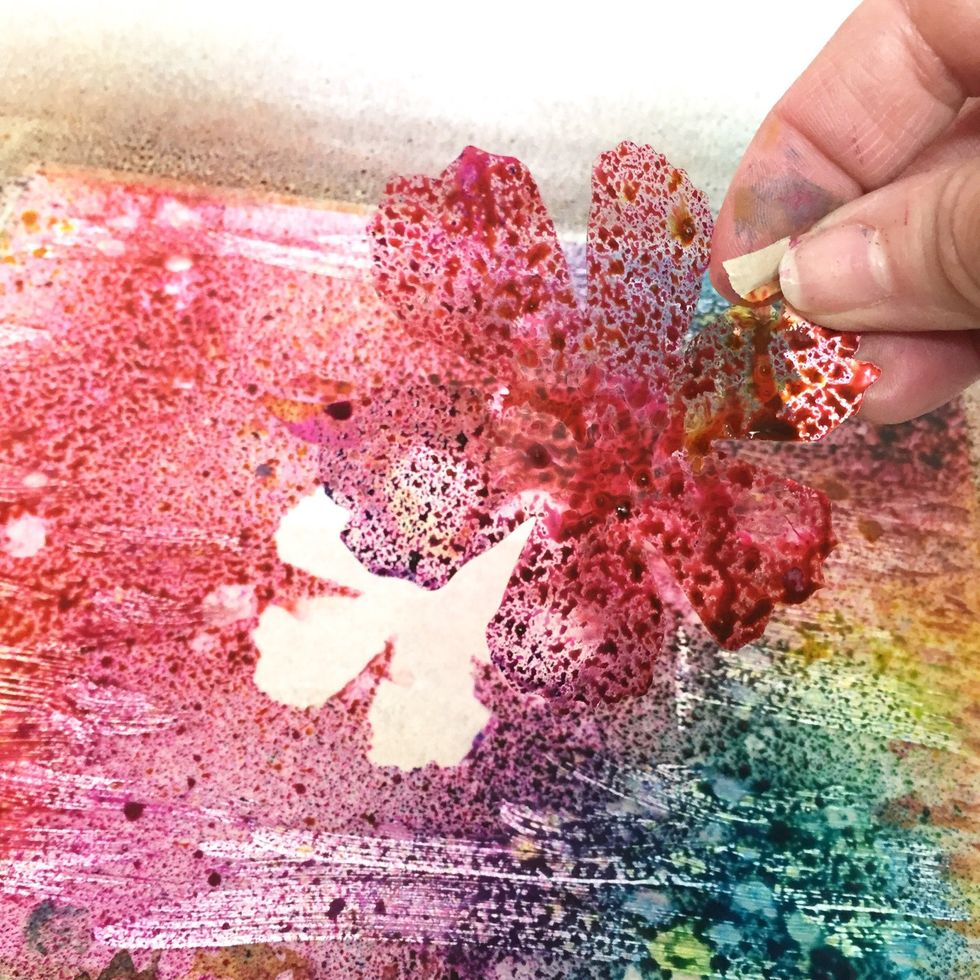
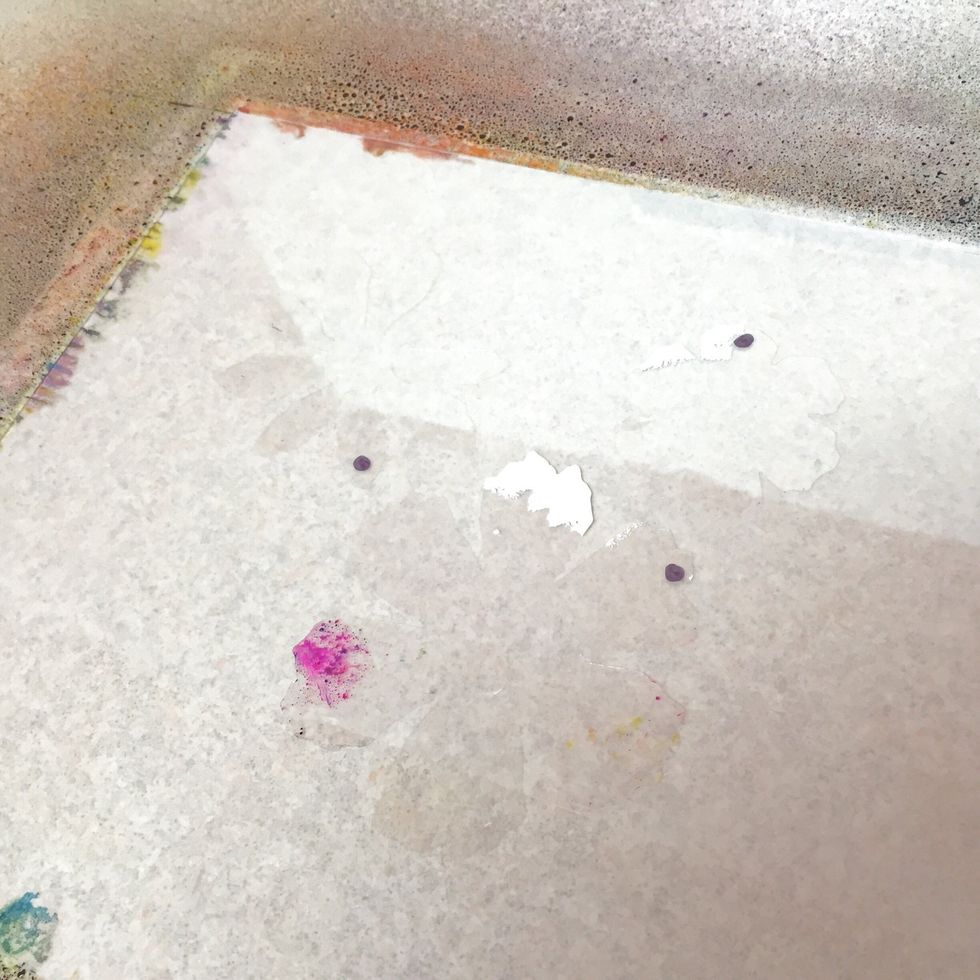
after i spritzed the plate with inks, i carefully removed the flowers. set them aside carefully, as we'll use them in another print.
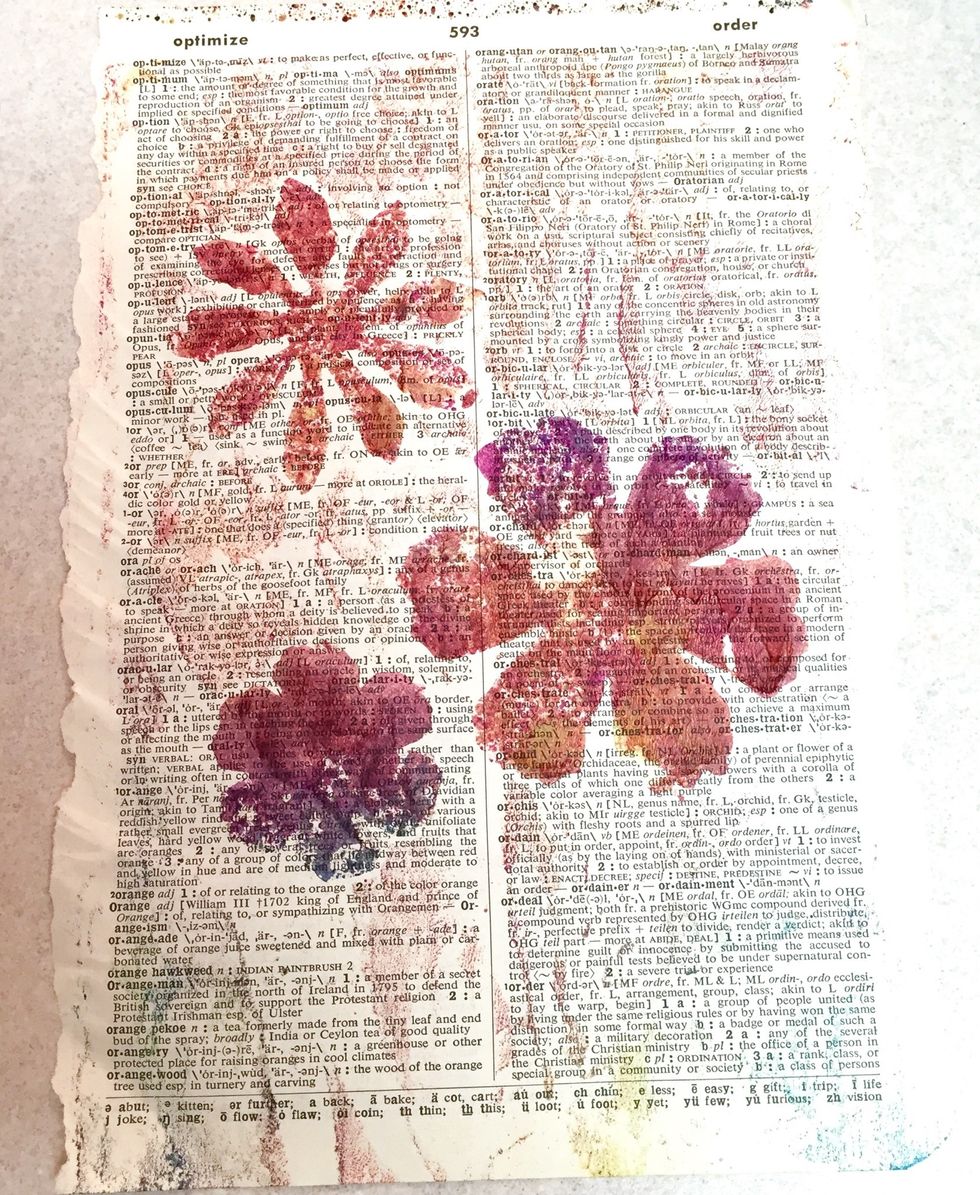
here is what the plate looked like once the flowers were removed. follow the same steps as before: covering the plate with dictionary page, then cover sheet, then rolling.
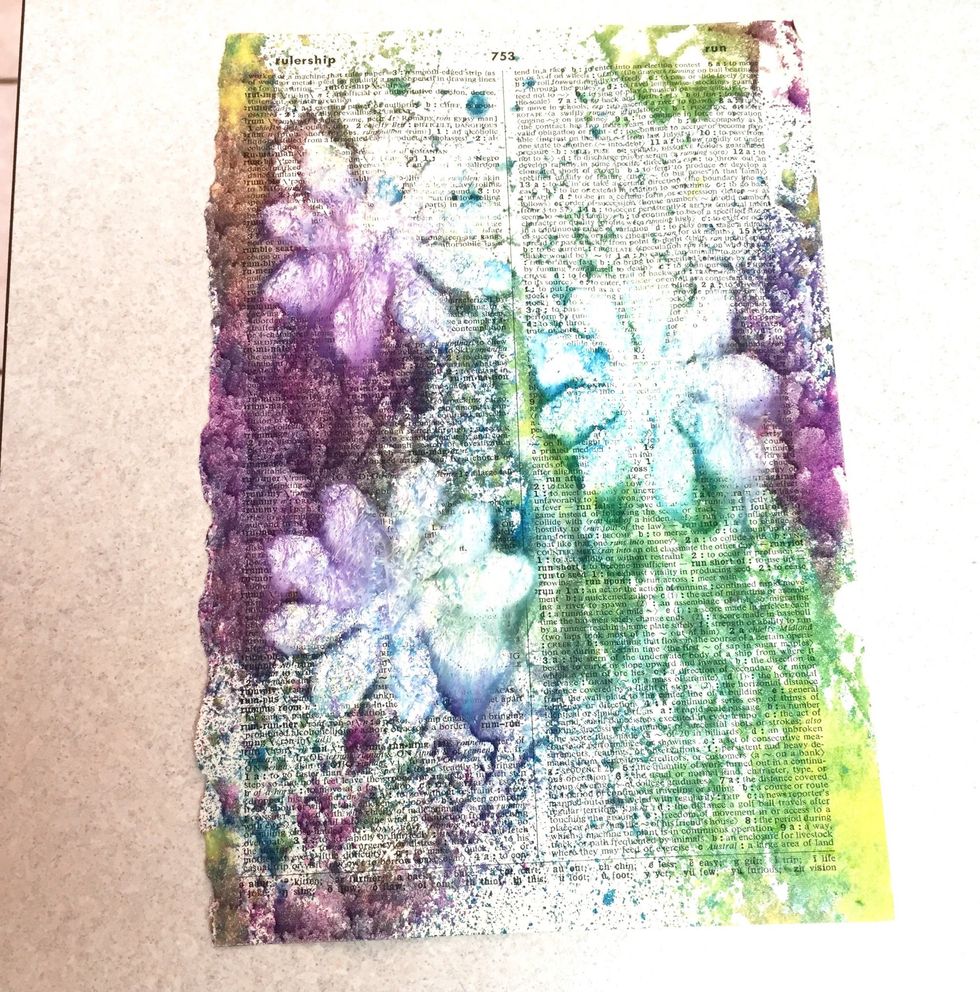
here is the finished monoprint.
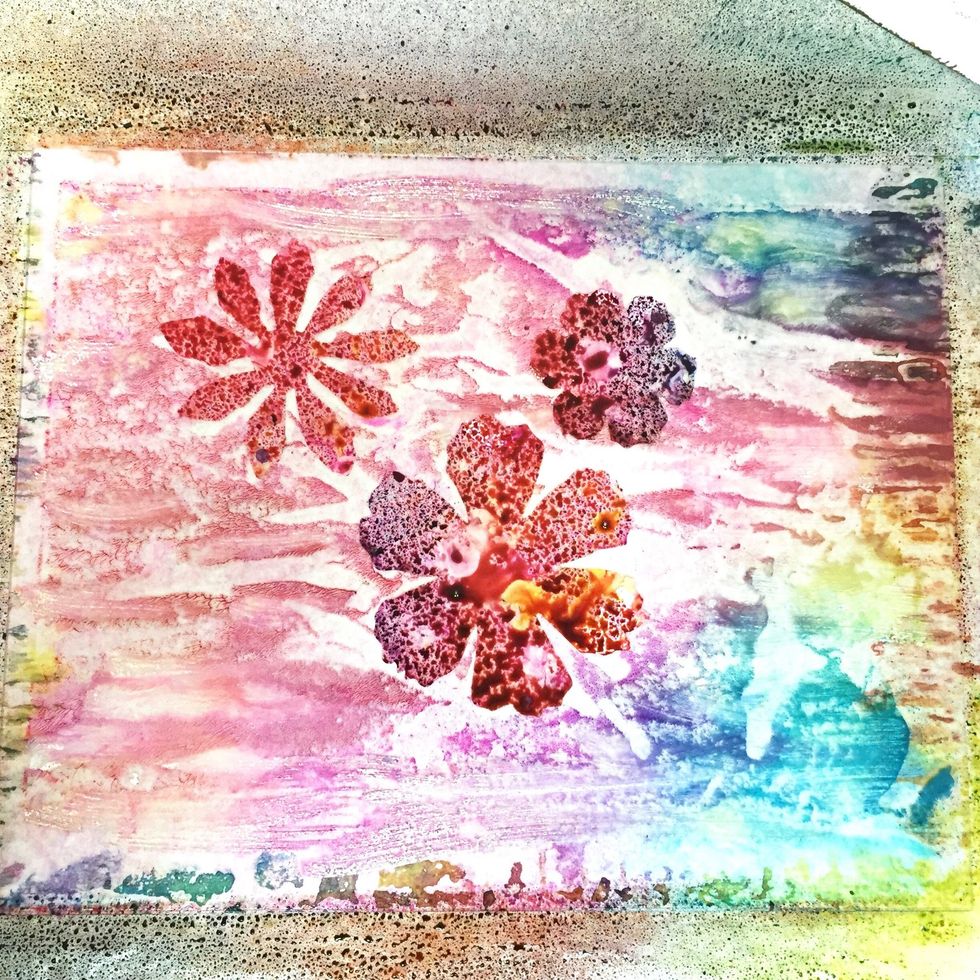
for the final print. i added the diecut flowers back to the uncleaned plate - there was still some ink and paint remaining on it, and the flowers had inks on them from previous print as well.
here is the finished monoprint.
thank you for viewing this guide! i'll be adding another Snapguide soon showing how to use your monoprint to make an altered canvas.
find me on my blog... www.tamisanders.com view more great products and project ideas from Grafix on their website... www.grafixarts.com