The Conversation (0)
Sign Up
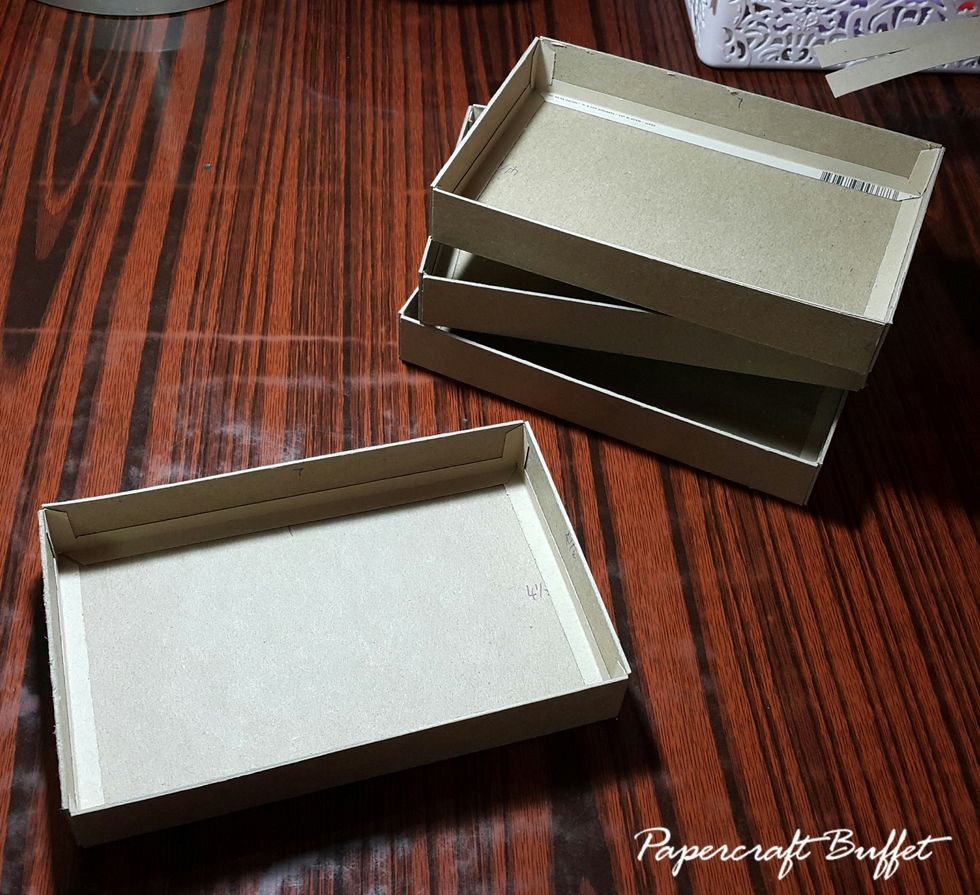
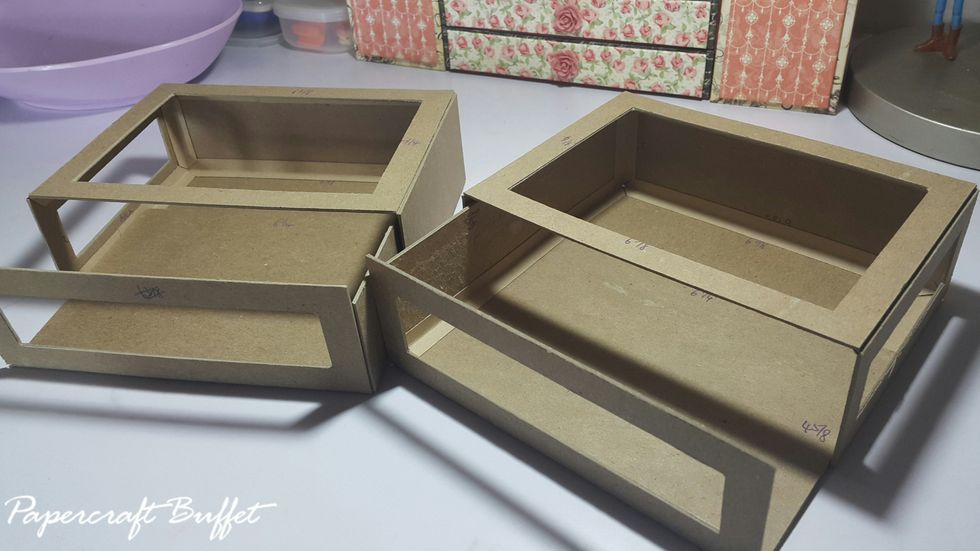
Cut 4 sets of chipboard for drawers, 2pcs 7"x1", 2pcs 4-12/"x1" and 1pc 7"x4-1/2" for each set. Use connecting strips to form into shape.

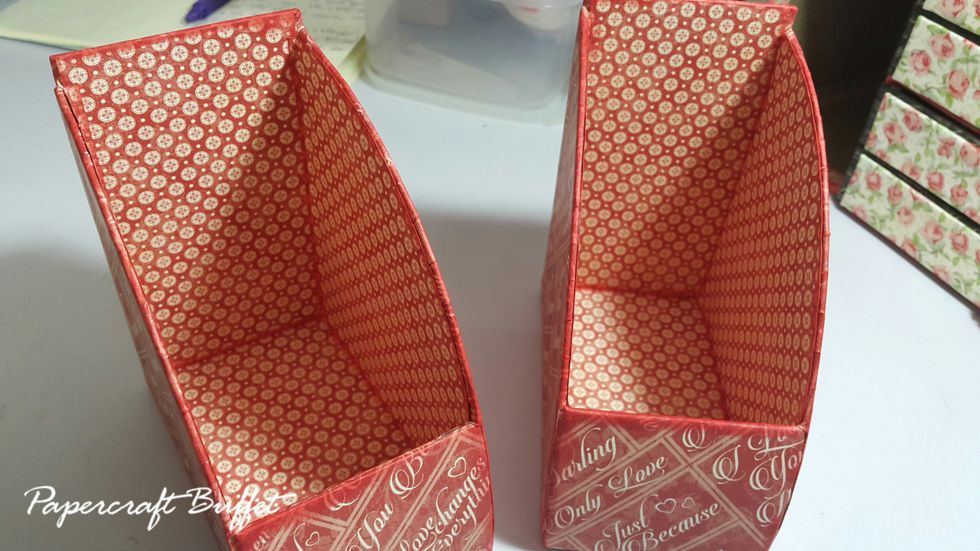
Cut 2pcs of 8"x2" paper to cover the front and back of each drawers.
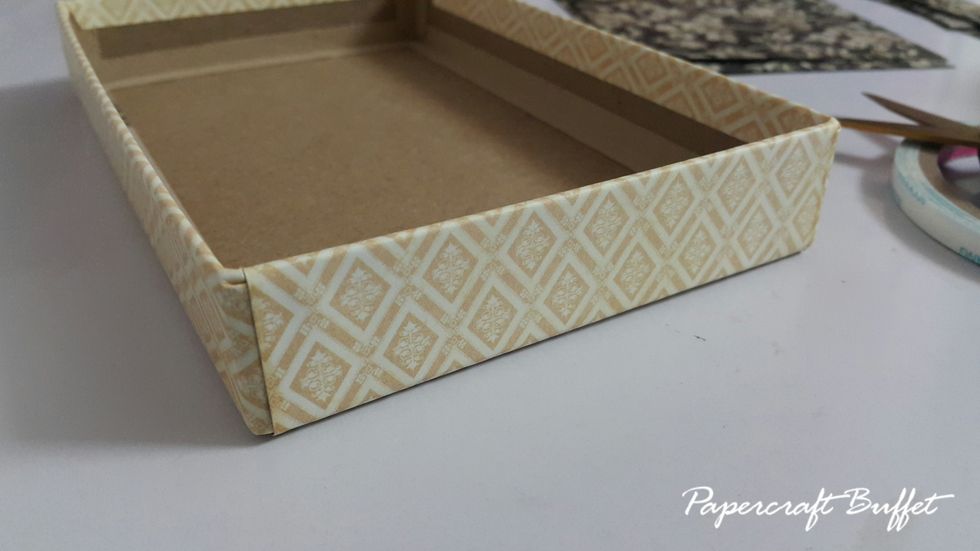
Cut 2pcs of 5-1/2"x2" paper to cover the sides of each drawer.
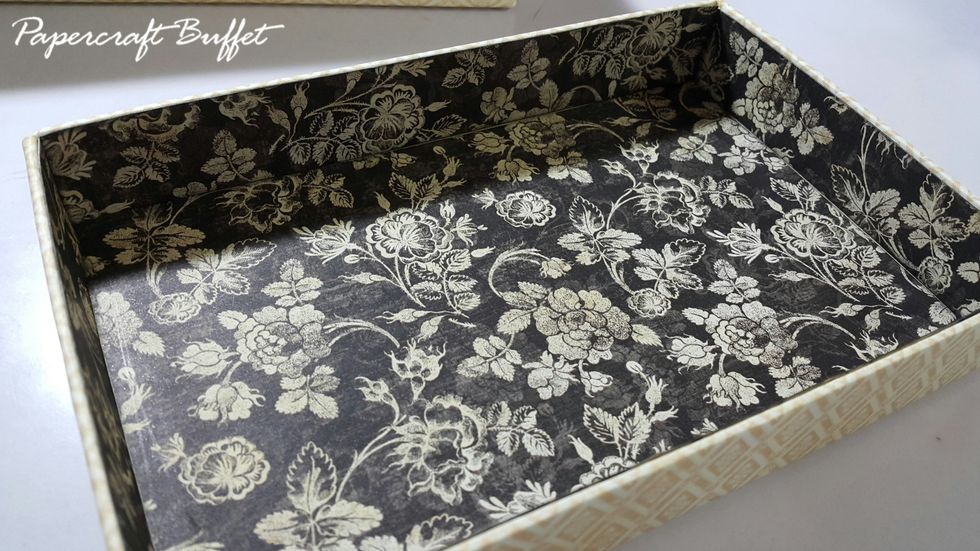
Cut 1pc 7"x4-1/2", 2pcs of 4-1/2"x1" and 2pcs of 7"x1" to cover the inside of drawers, apply Black Soot Distress Ink before adhere. Then apply Antique Linen Distress Ink for all the edges.
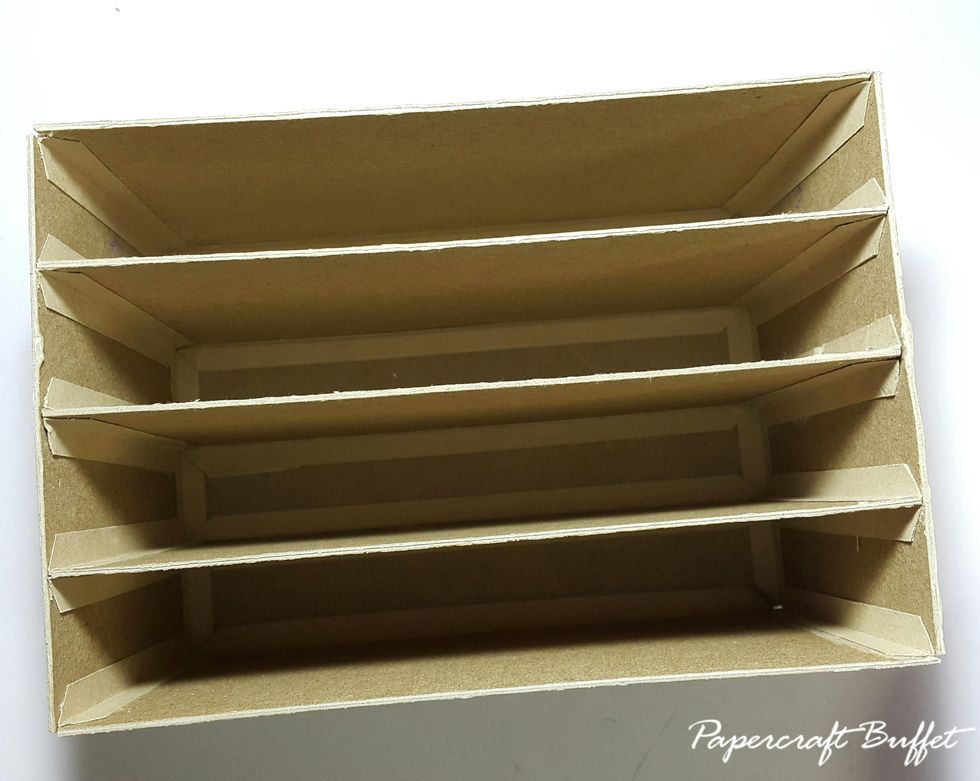
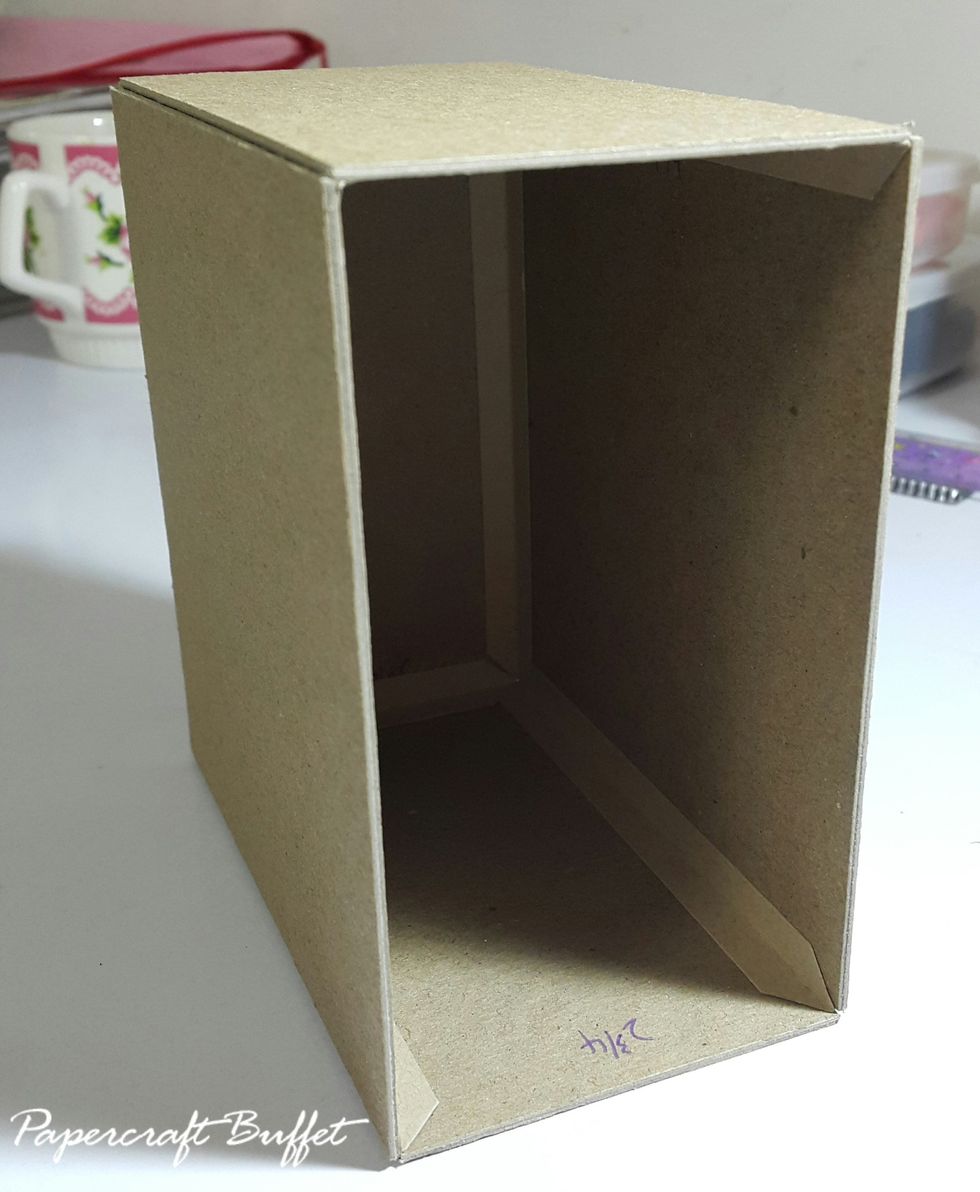
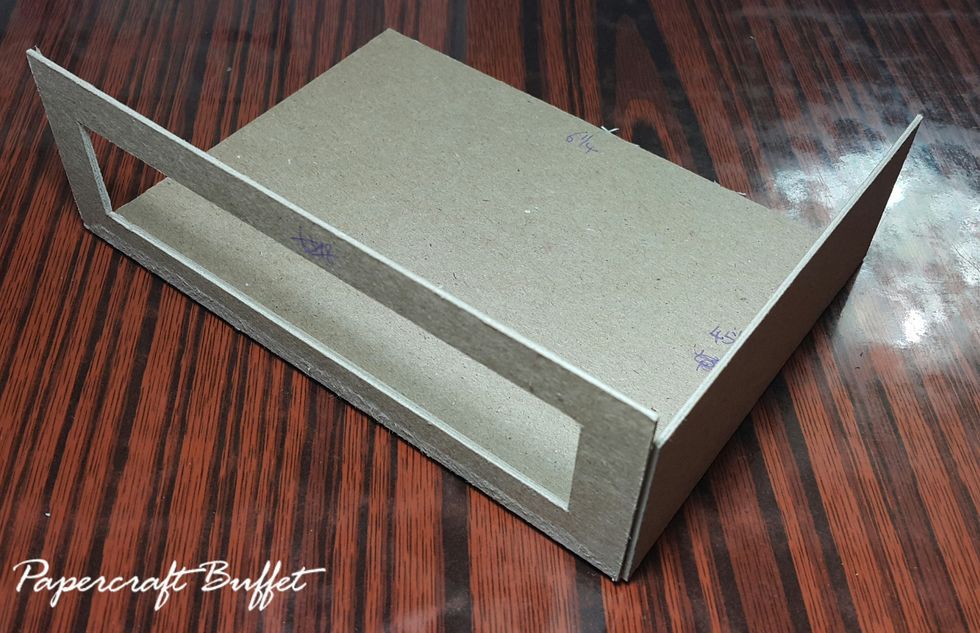
Cut chipboard 5pcs 7-1/4"(W)x4-3/4"(D), 1pc 7-1/4"x5"(H), 2pcs 5"x4-3/4", use connecting strips to form the shape for inserting drawers, use drawers to help position the dividers.

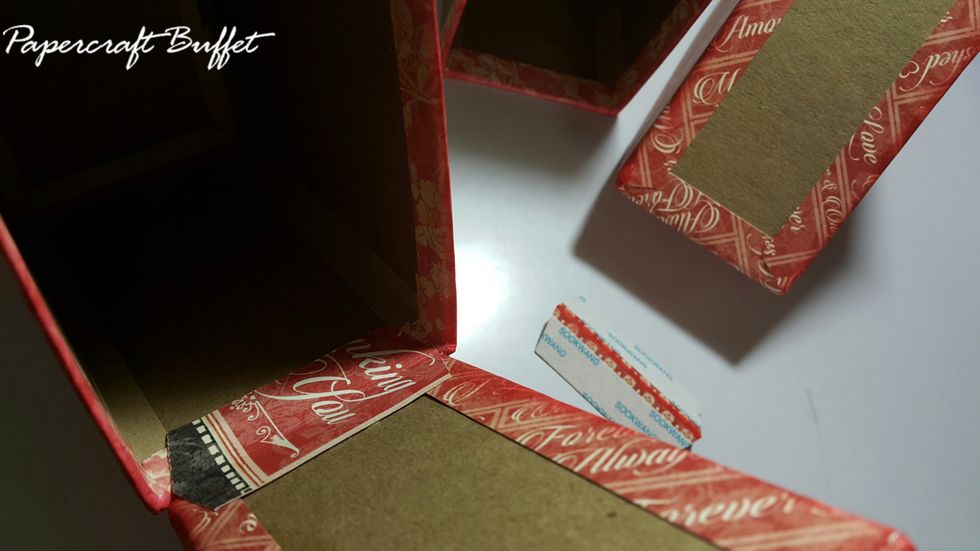
Cut 1" strips of pattern paper to cover just the edges, apply Worn Lipstick Distress Ink.
Cut 4pcs of chipboard 1-1/8"x7-3/8" and 4pcs of 1"x7", wrap with paper, adhere on the front of drawers as front board. If you would like to stop here, its fine.
Cut chipboard 2pcs 5"(H)x4-3/4"(D), 2pcs 2-3/4"(W)x4-3/4" and 1pc 2-3/4"x5", use connecting strips to form the shape.

Cover the boxes edges with paper, apply Distress Ink.
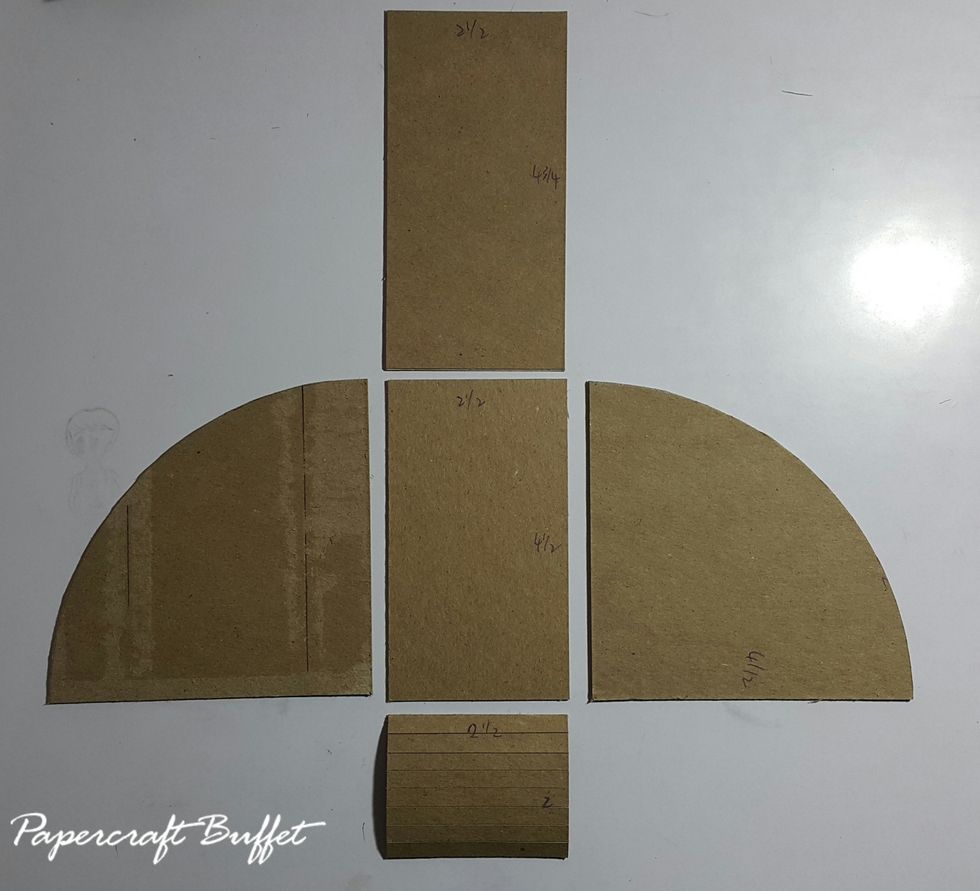
Cut chipboard 1pcs 2-1/2"x4-3/4"(door), 1pc 2"x2-1/2"(back), 1pc 2-1/2"x4-1/2"(base) and 2pcs 4-1/2"x4-1/2"(sides), draw quarter circle on the side boards as shown, cut out.
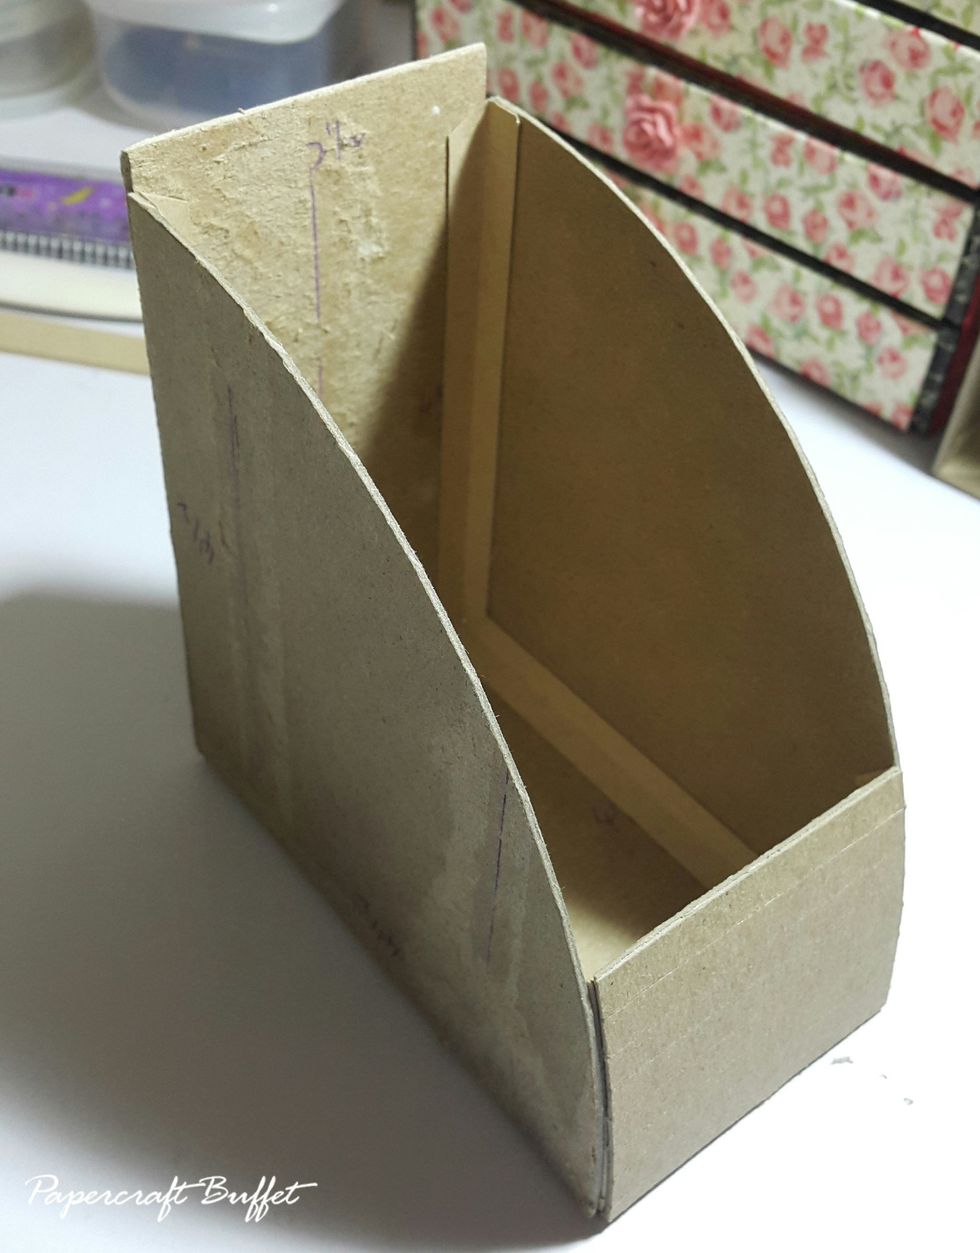
Use connecting strips to form the shape as shown.
Cover the inside boxes with papers as well, if you want to make it easier, painting work too.
Use a piece of scraps to connect the holder and the box.
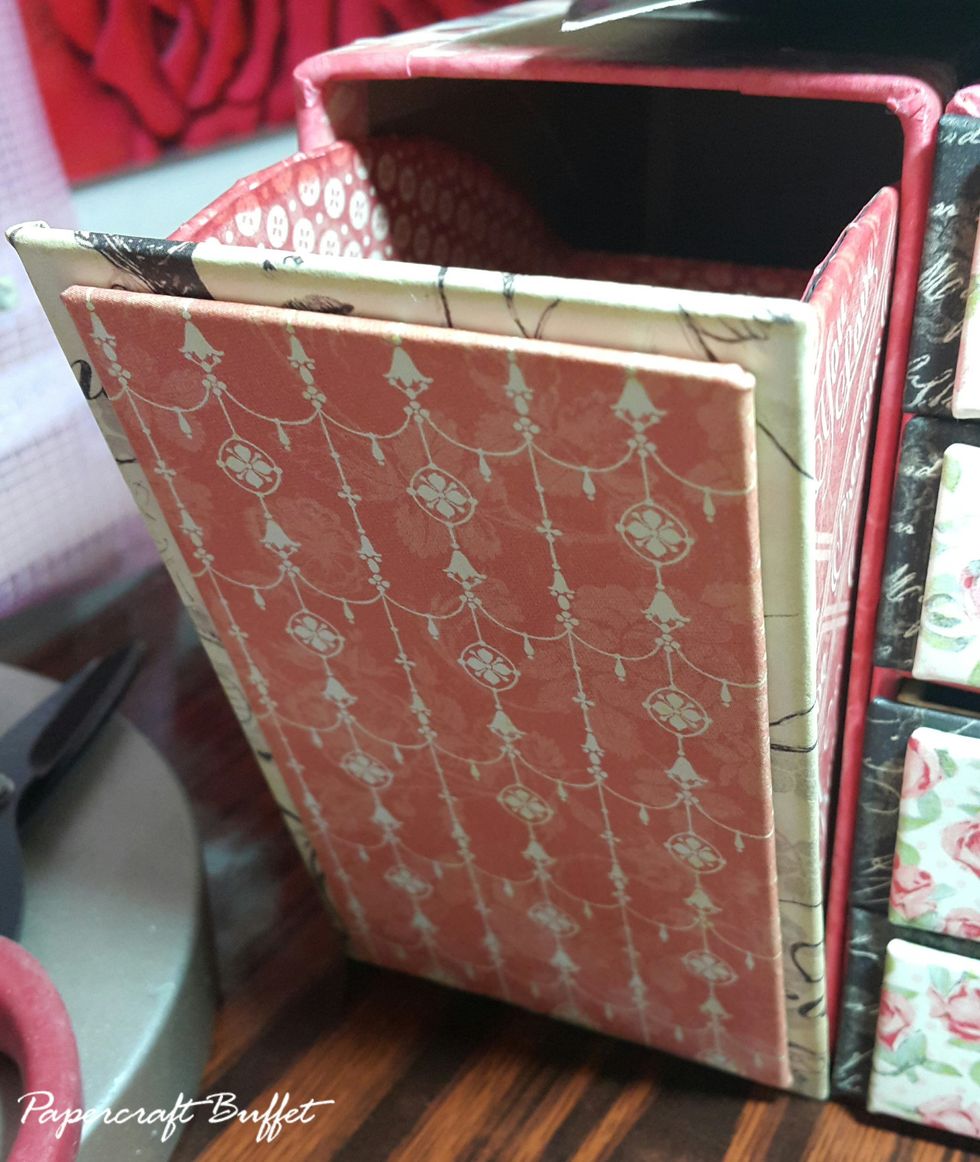
Cut chipboard 2-7/8"x5-1/8" and 2-1/2"x4-3/4", cover with paper, adhere on the front as door.
Cut chipboard 2pcs 6-3/8"(W)x4-3/4"(D), 2pcs 2"(H)x4-3/4" and 1pc of 6-3/8"x2", cut holes from 1/2" for the top and one of the side pieces, use connecting strips to form into shape.
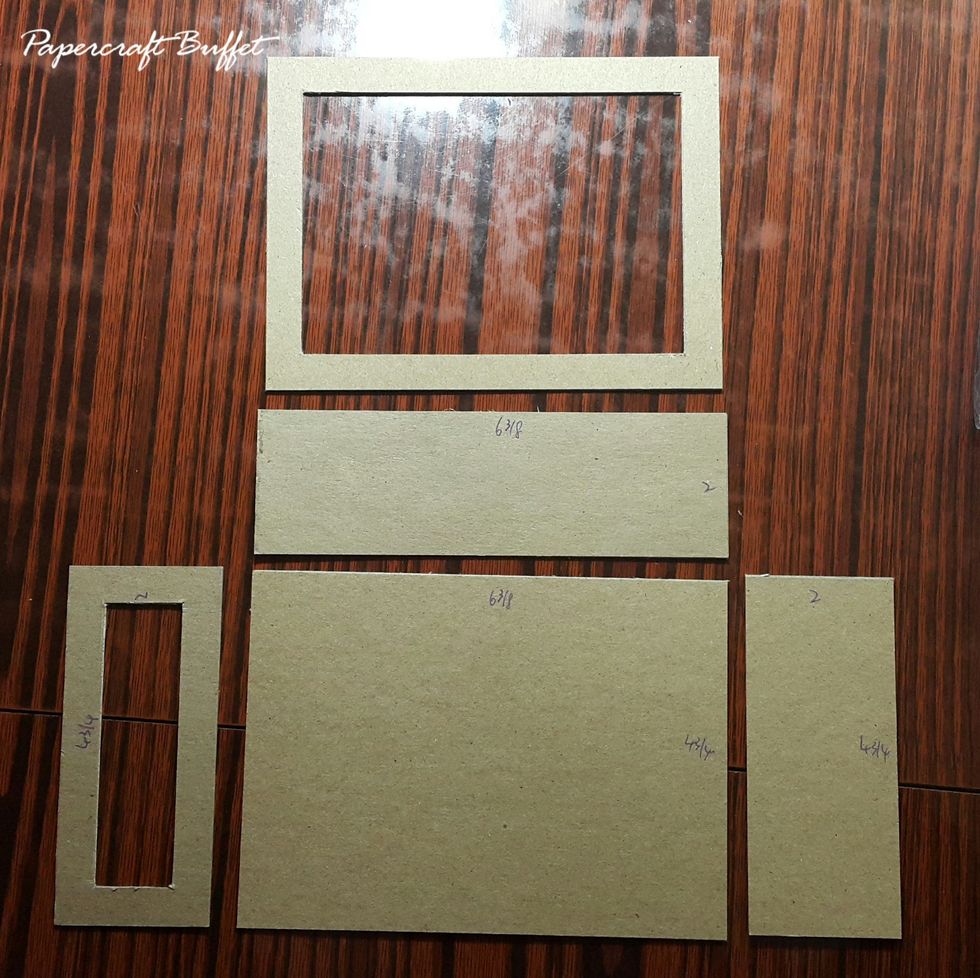
Cut chipboard 1pc 6-1/4"(W)x4-5/8"(D)(base), 1pc 6-1/4"x2-1/8"(H)(front) and 4-5/8"(D)x1-3/4"(H)(side) for display drawers, but front piece with a hole of 1/2" edges, form into shape.
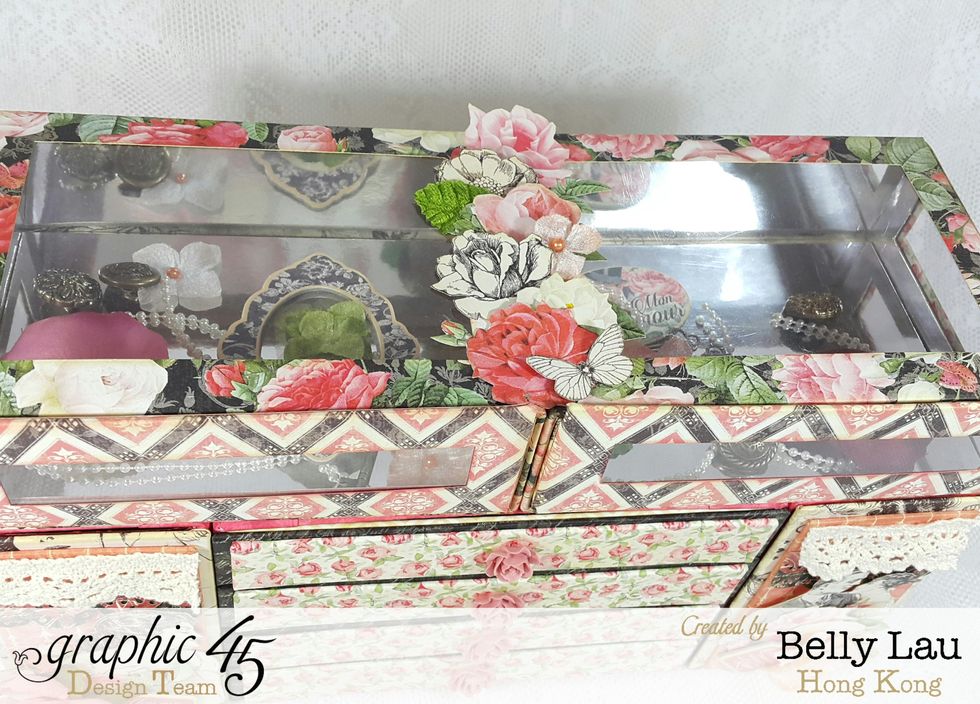
This is how they look like for the display drawers.
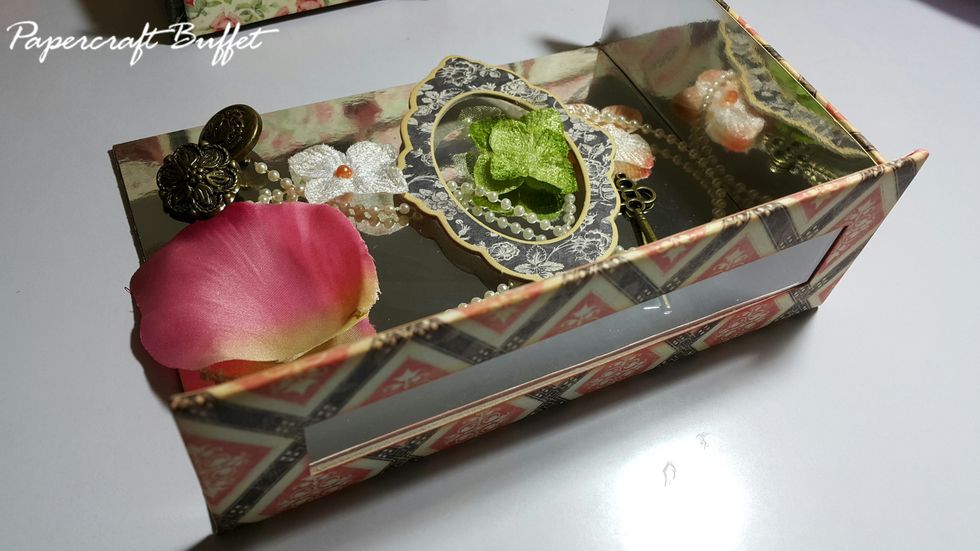
Cover the holes with acetate and then the display drawers with paper and silver cardstock, you can of course use paper instead of cardstock.
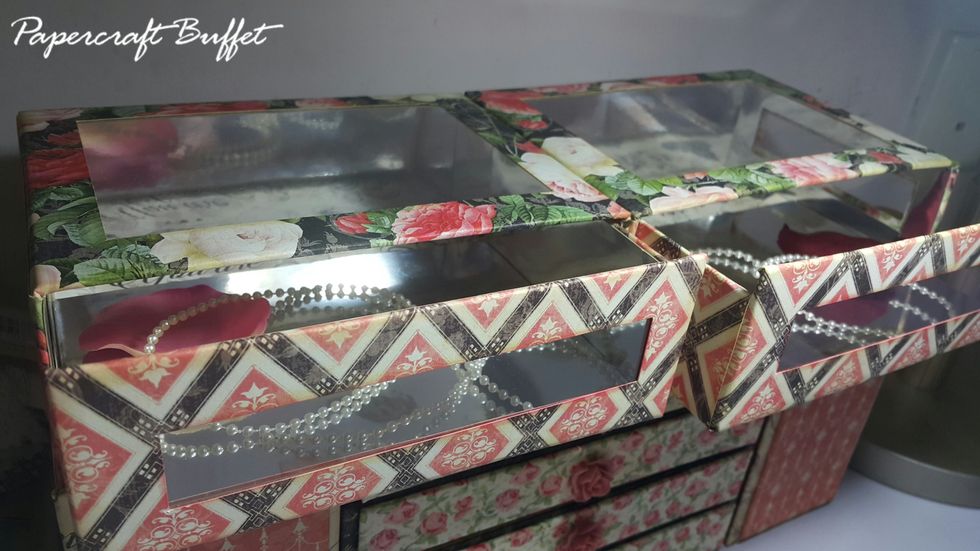
Cover the holes with acetate and then the outside boxes with paper and cardstock as well, then the dresser is almost done.
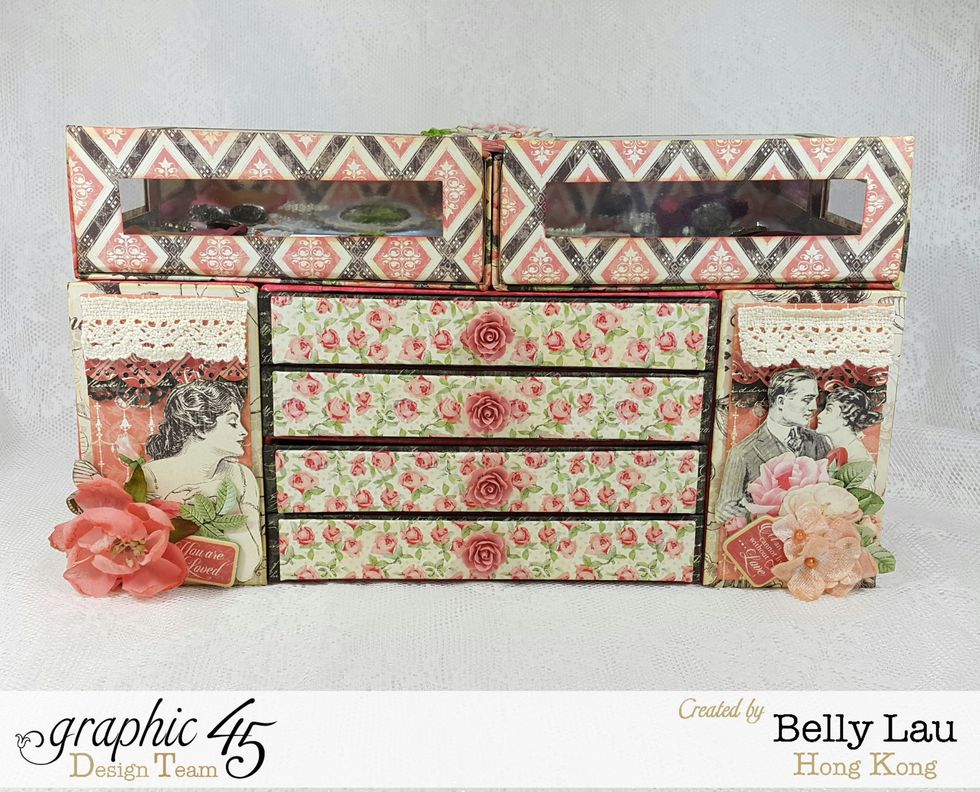
Adhere the parts together and the dresser is done, you can start decorate.
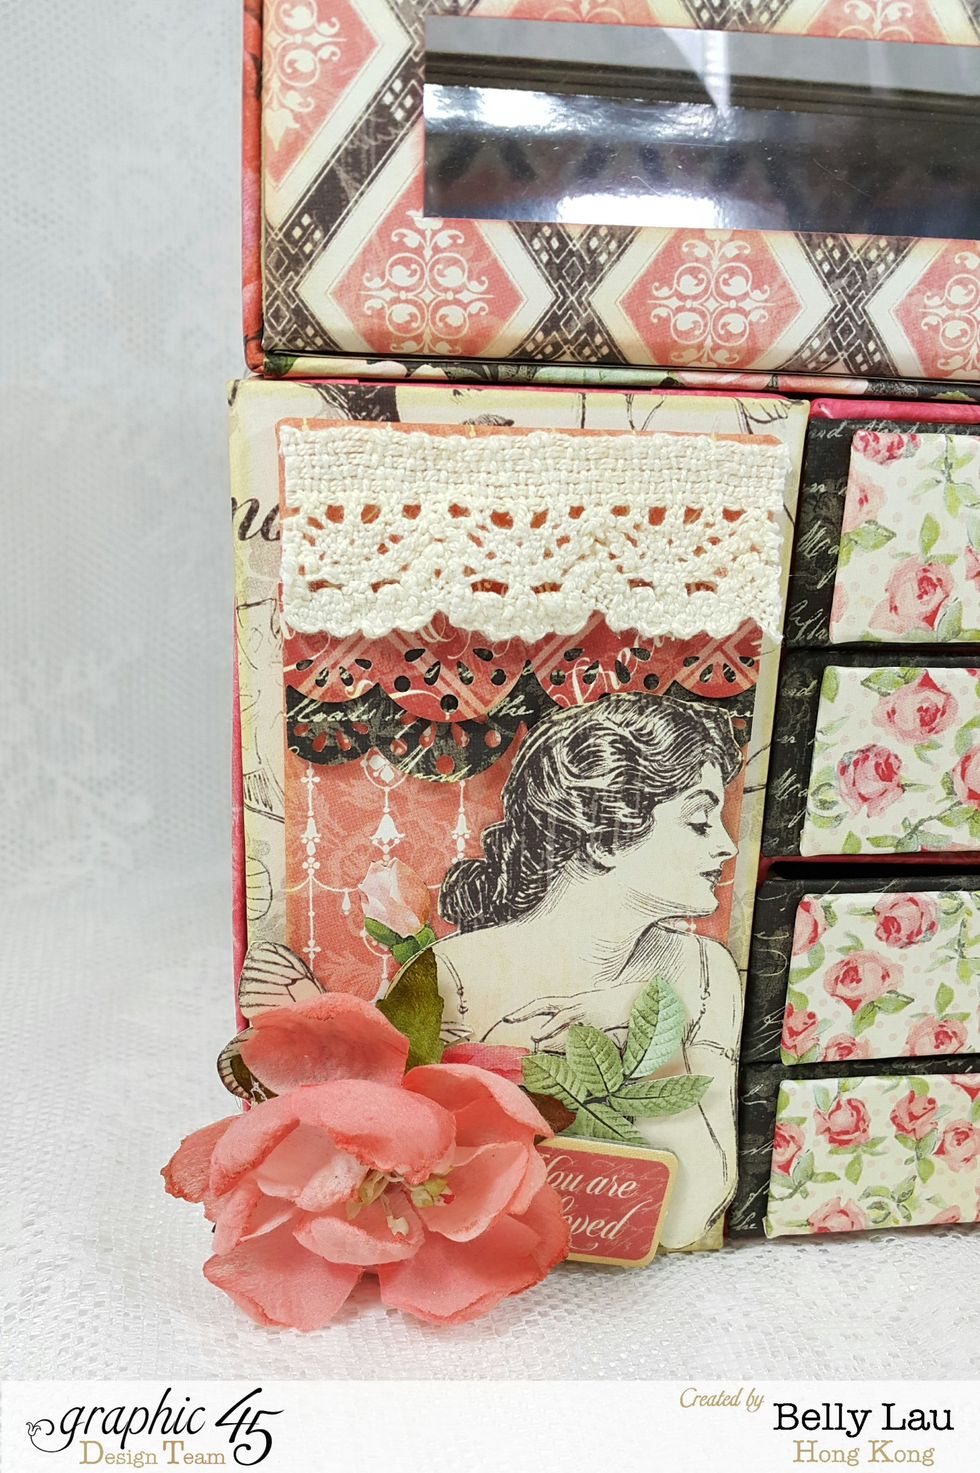
Fussy cuttings, lace, flowers, punch outs and chipboard for the doors.
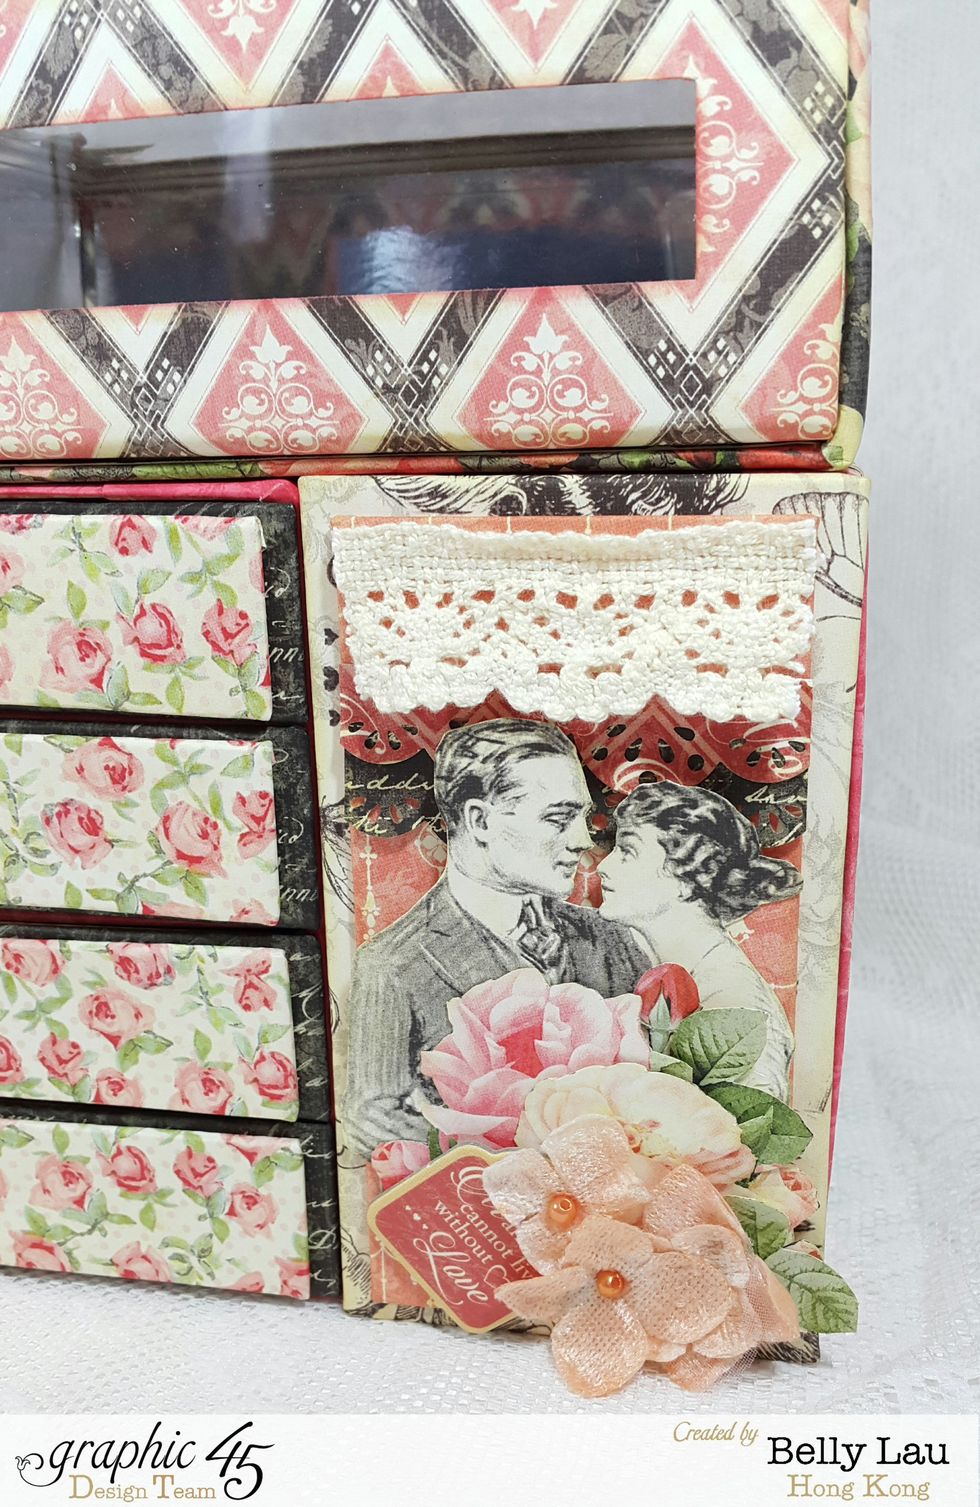
Fussy cuttings, lace, flowers, punch outs and chipboard for the doors.
Fussy cuts and flowers are perfect for hiding the gap.
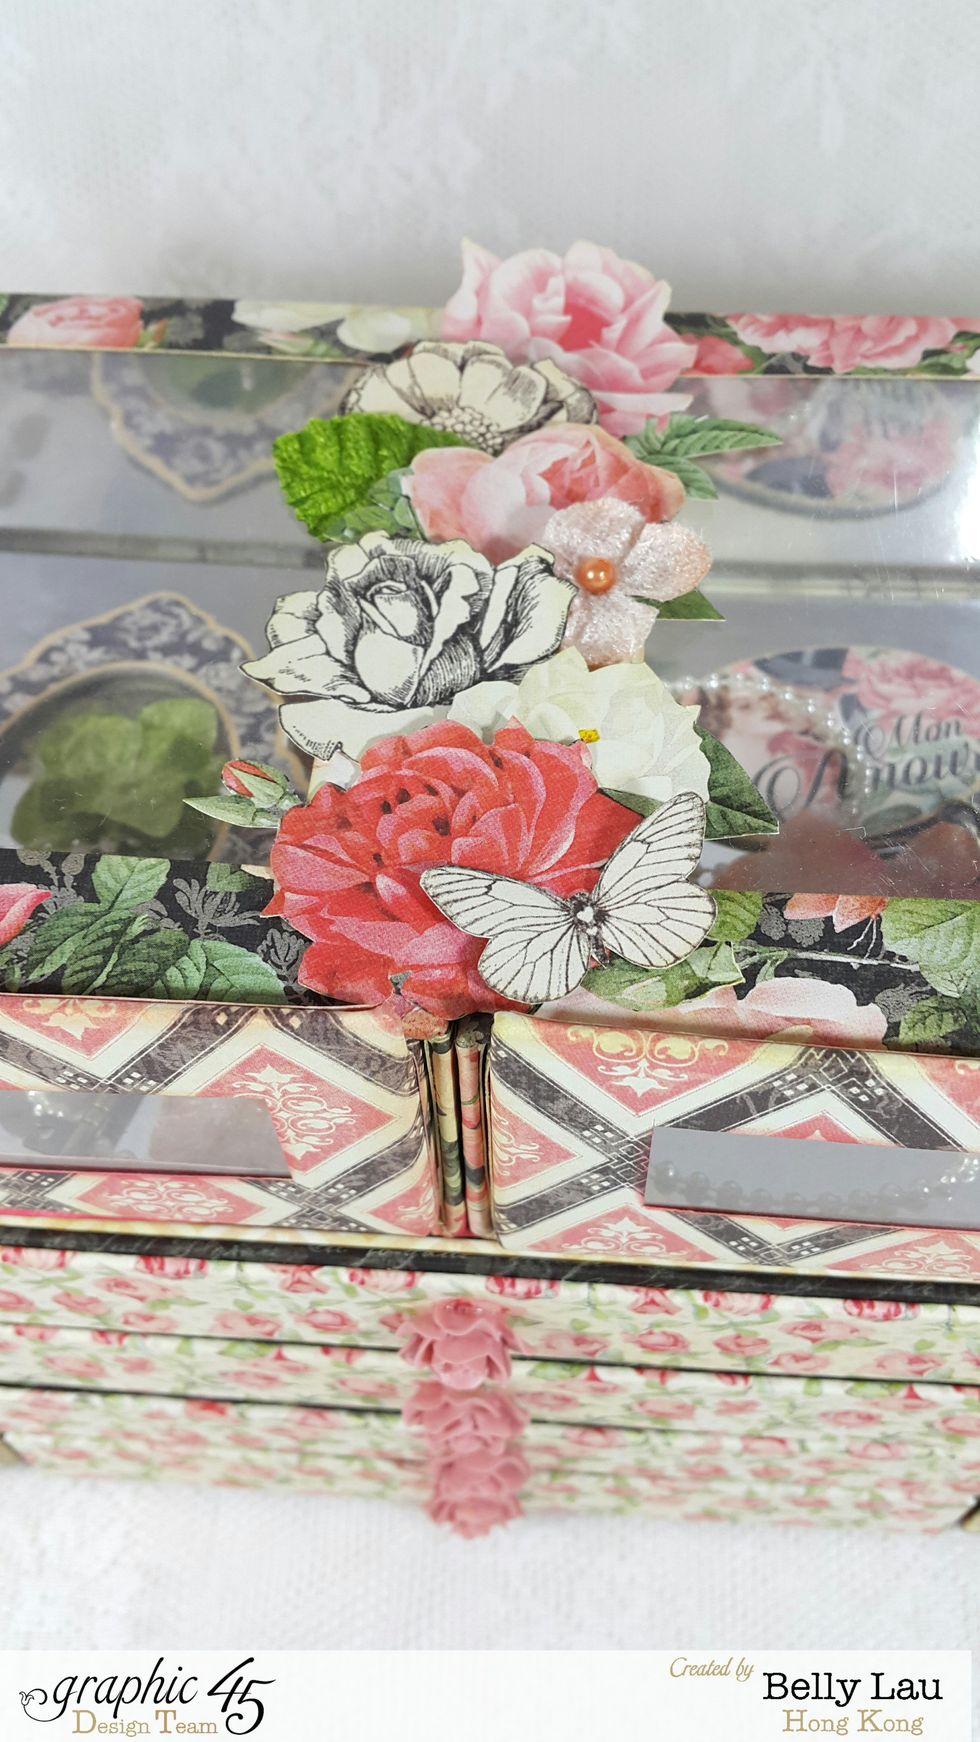
Fussy cuts and flowers are perfect for hiding the gap.
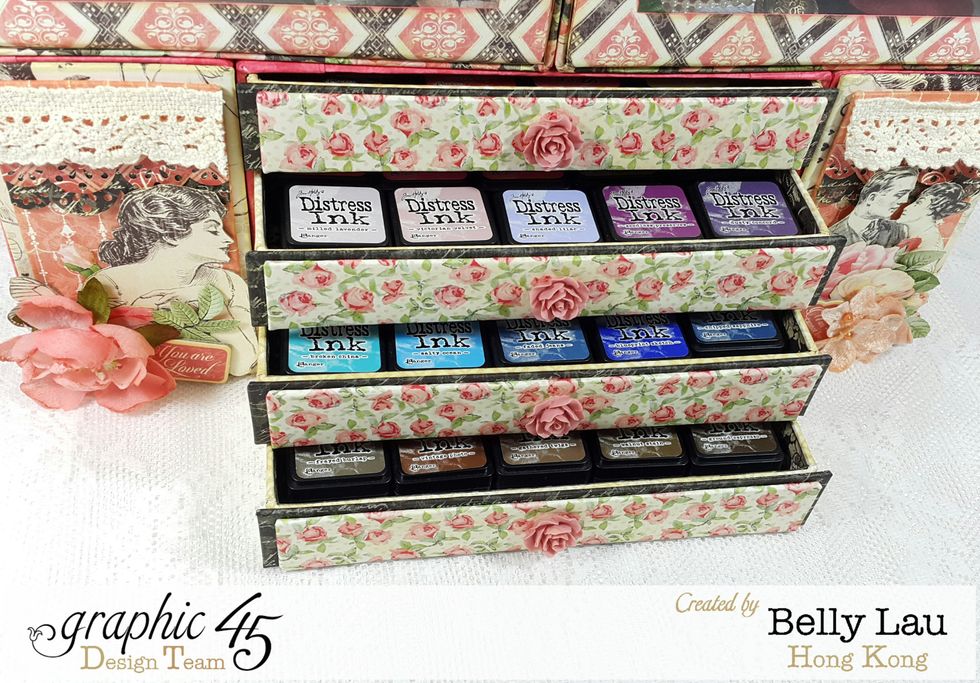
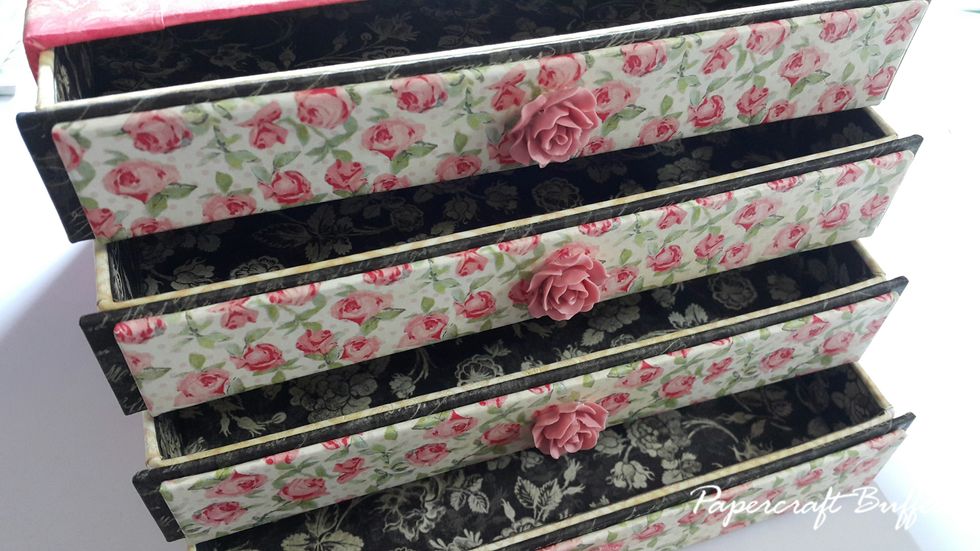
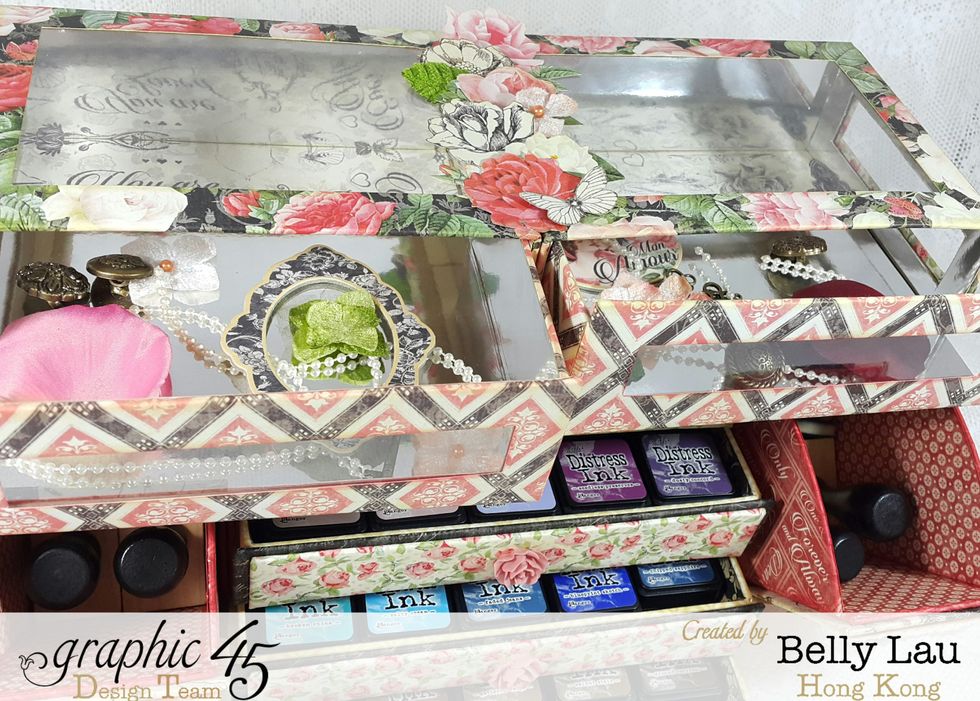
Drawers are fit for 3x5 mini Distress Ink pads.
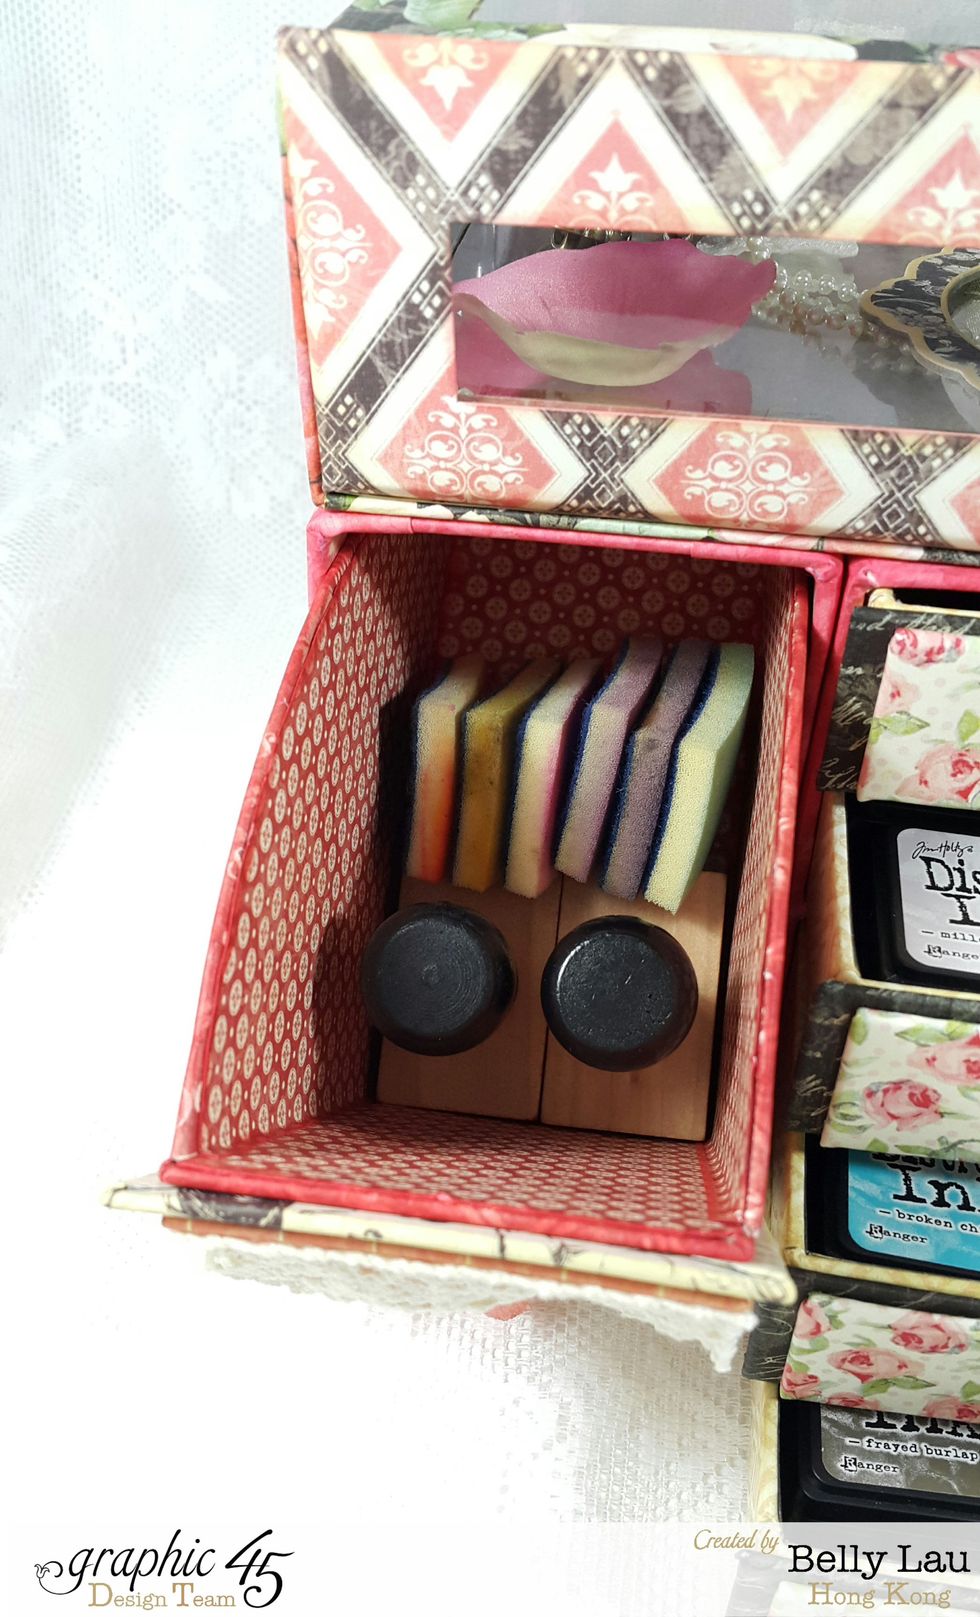
Slide out drawers are fit for blenders and foams.
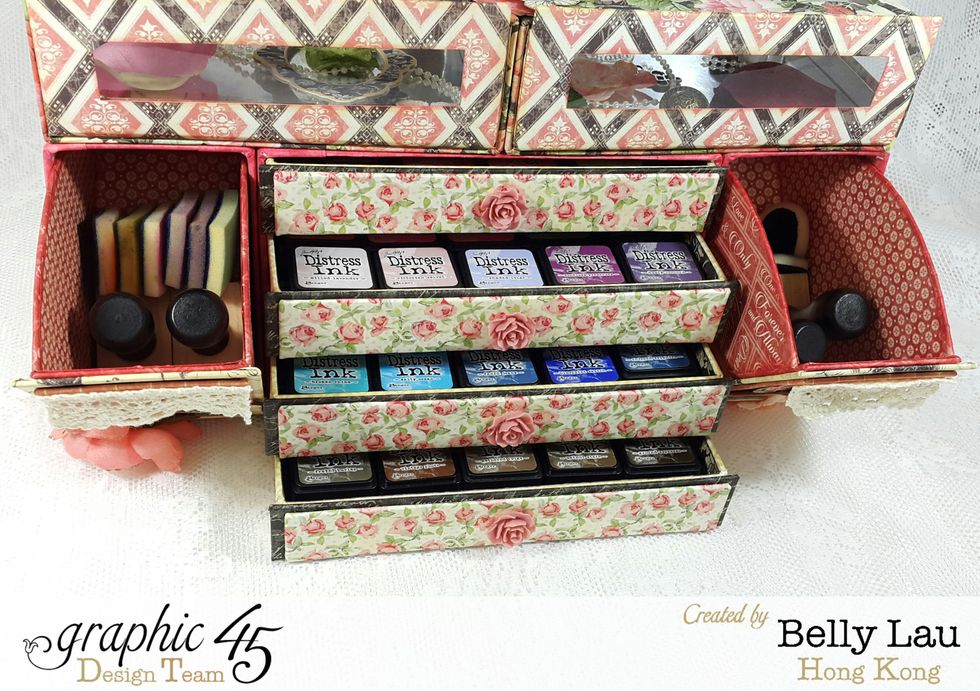
Use the drawers for accessories are great as well.
Displaying your favorite accessories, findings or even ATCs are perfect.