The Conversation (0)
Sign Up
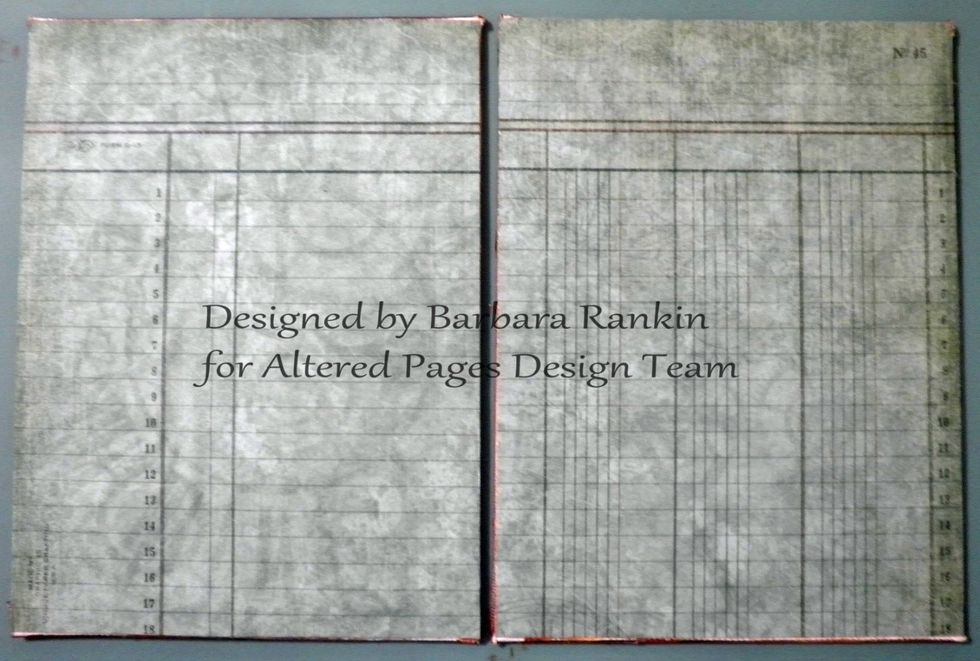
Cover inside of each board with a piece of print card stock a scant smaller than 6"x8".

Edge the inside page with the DecoArt Burnt Sienna and retarder mixture, as before.
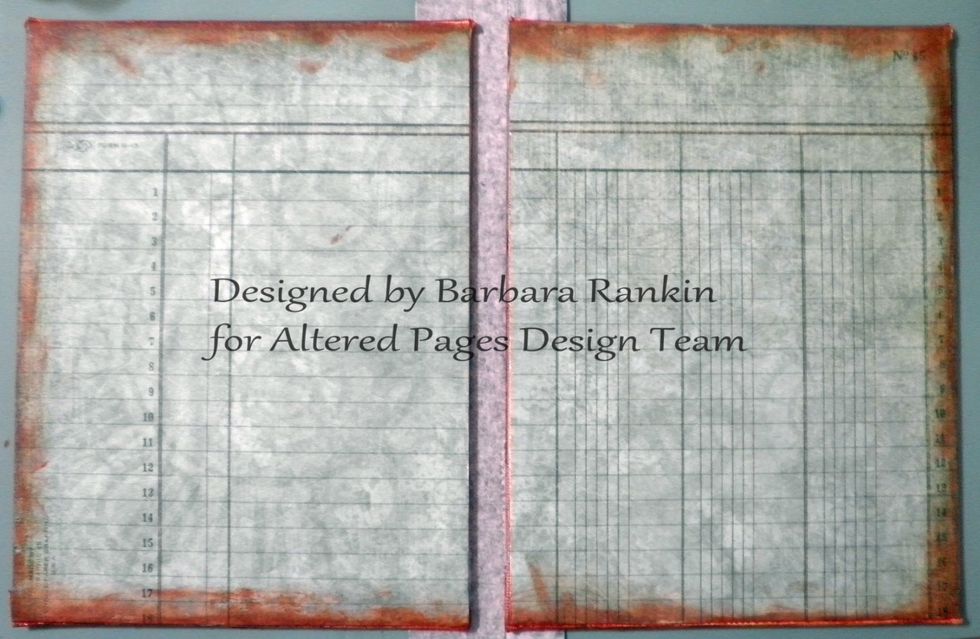
Cut a strip of book cloth 2" wide by 9-1/2" long. On the reverse (paper side), draw pencil lines 3/4" in on each long side. Use these lines to align and adhere your book boards, leaving a gap.
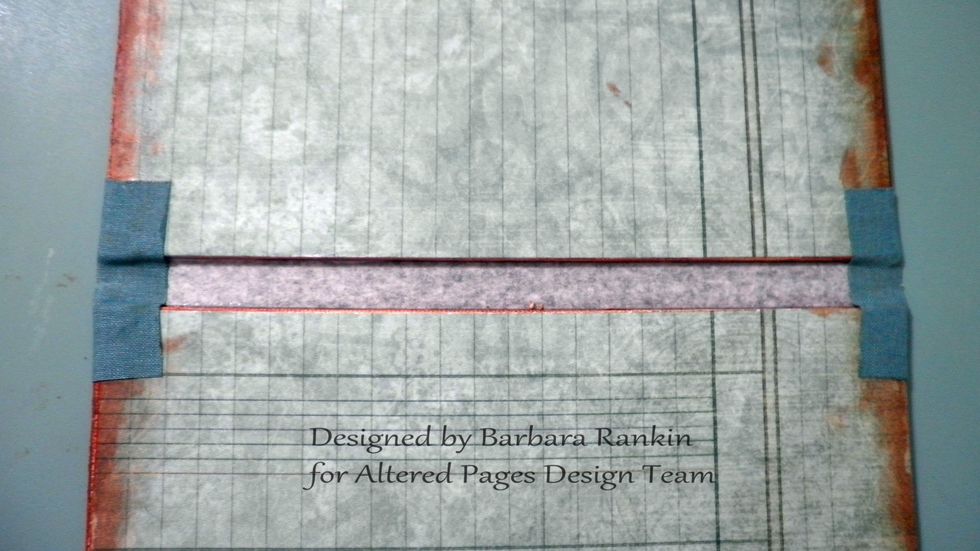
Turn excess book cloth over to inside, and burnish down into spine.
Cut a second strip of book cloth 2" wide by 8" long, and adhere to inside of book.
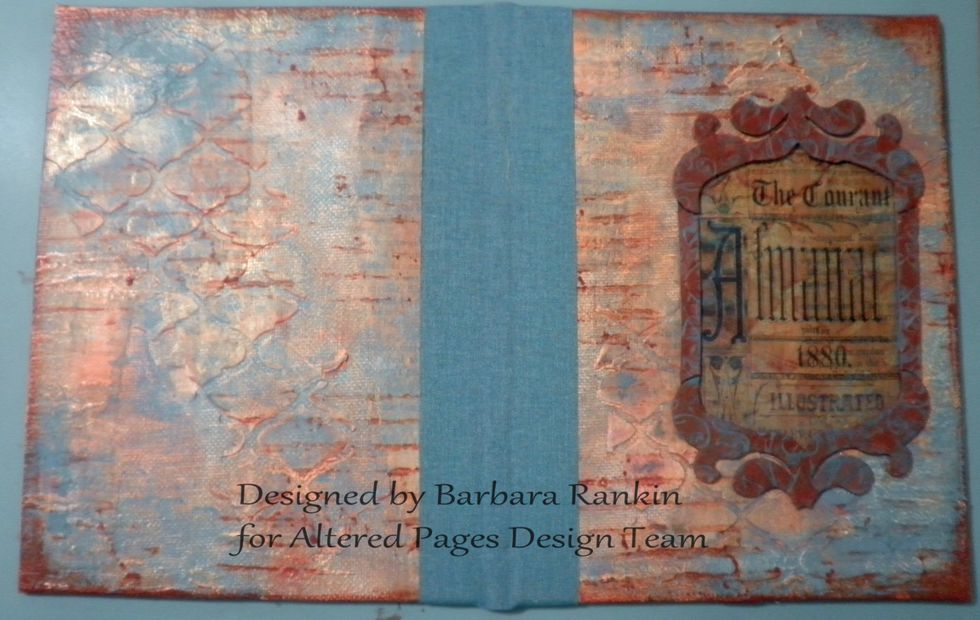
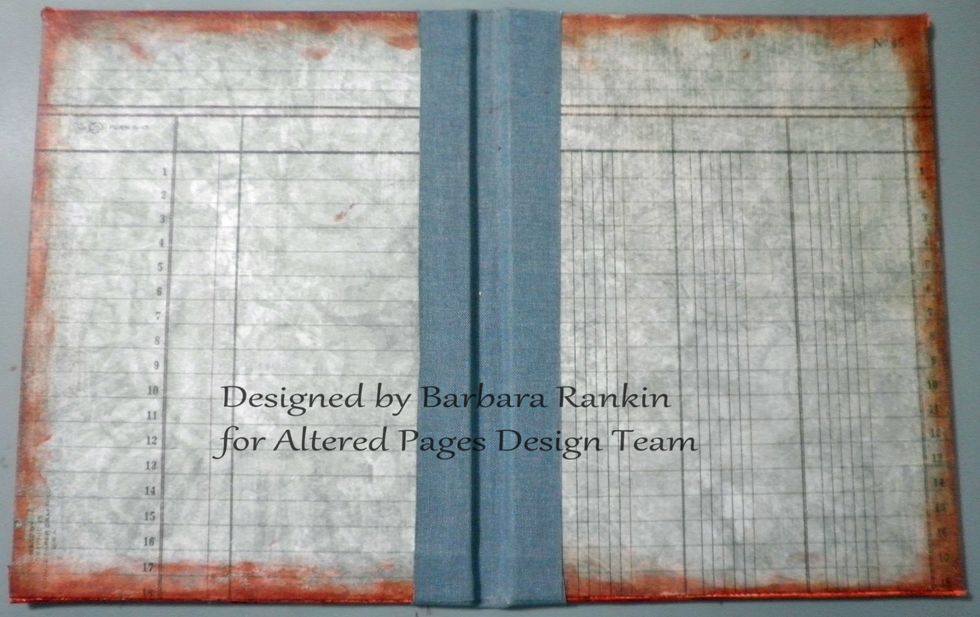
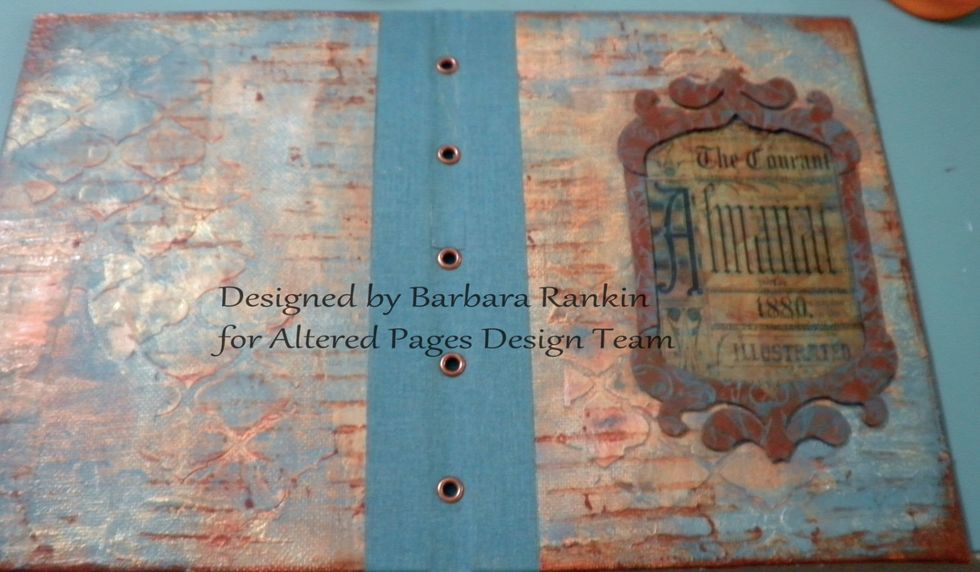
Here is what the outside of your book boards look like. A nice finish, don't you think?
Now, we are ready to start on making some signatures to put inside the book.
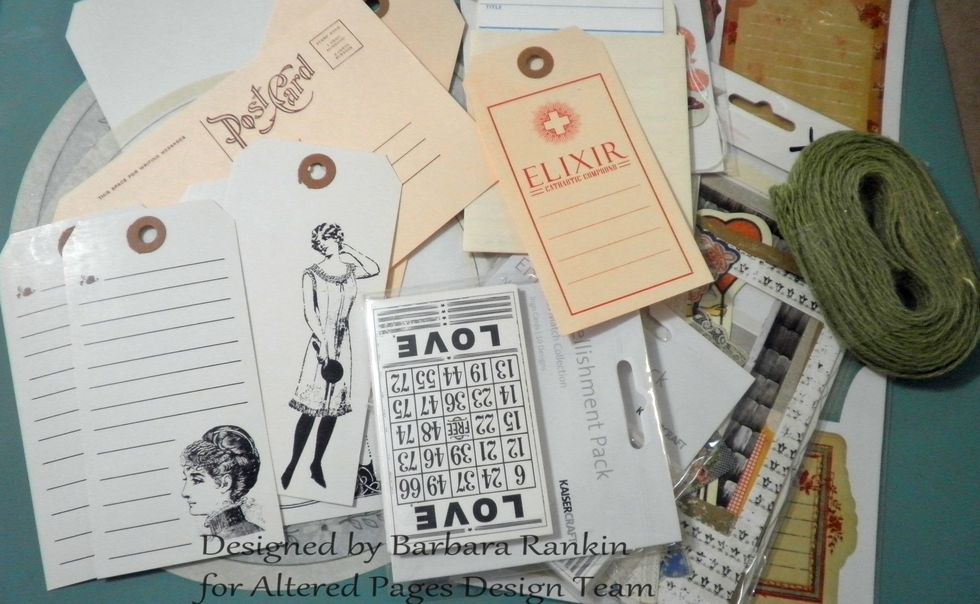
Here is a collection of ephemera I have collected from Altered Pages that I think will work in my book. I may not use all of what is shown here, but it is certainly a start.
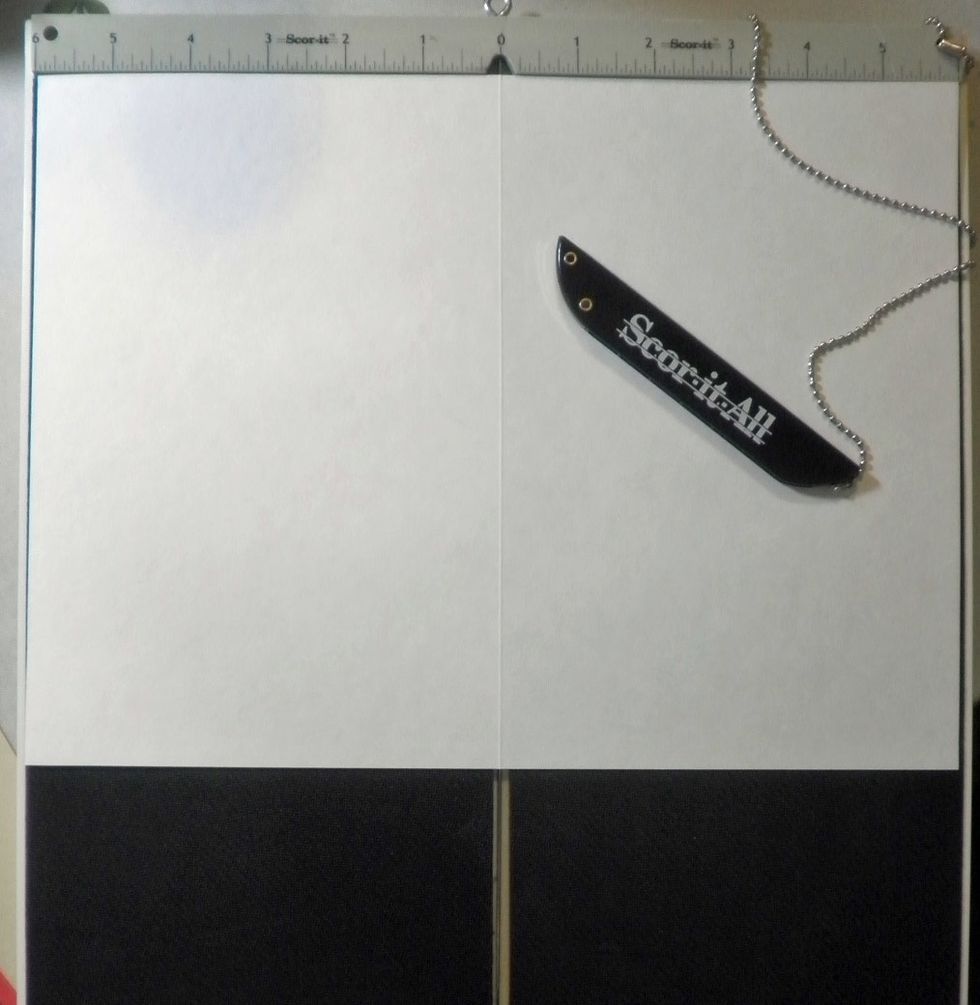
Take six sheets of 9" x 12" 90lb watercolor paper and fold in half lengthwise to make your pages 9" x 6". I will make two signatures with three sheets each.
We are going to need to trim each signature to fit inside the book covers.

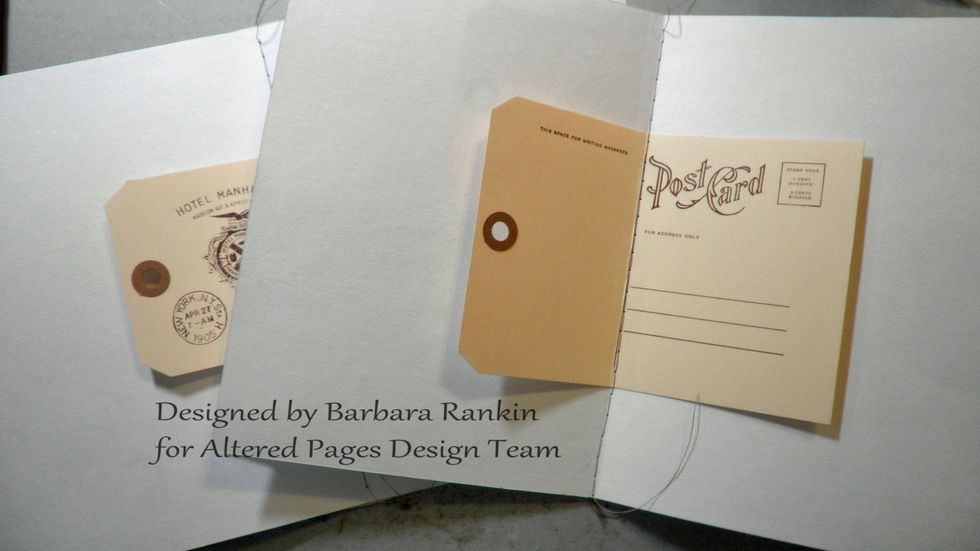
When you insert the pages inside each other, each page will extend beyond the one before it, giving this uneven edge.
So I will take the first signature and trim the side edges evenly.
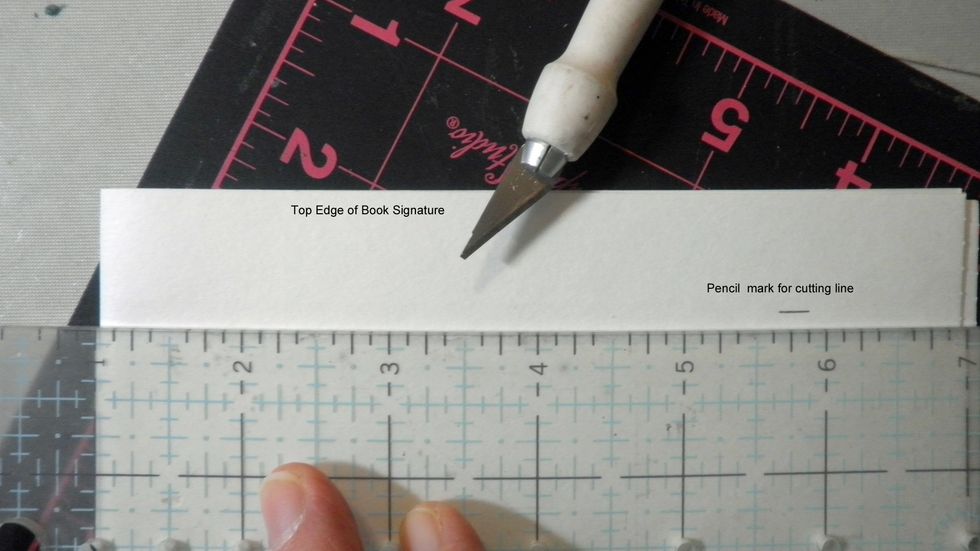
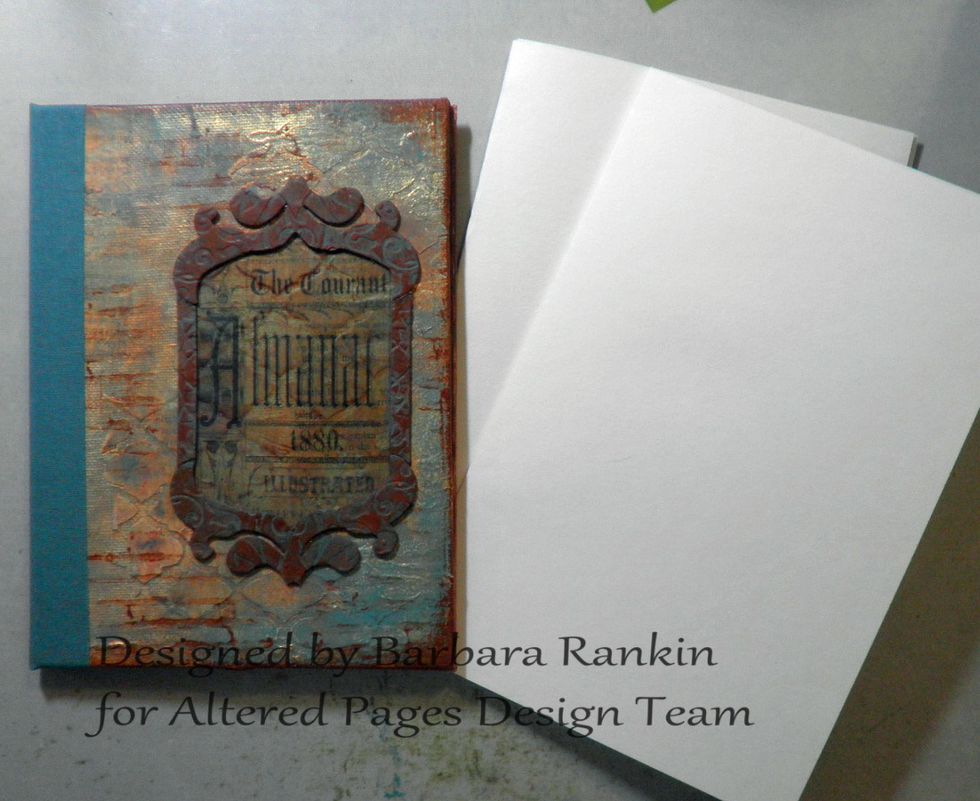
My book is shorter than my signatures, so I need to trim the top down to 7-¾" to fit inside the covers, which is approximately 1/4" shorter than the height of my book.
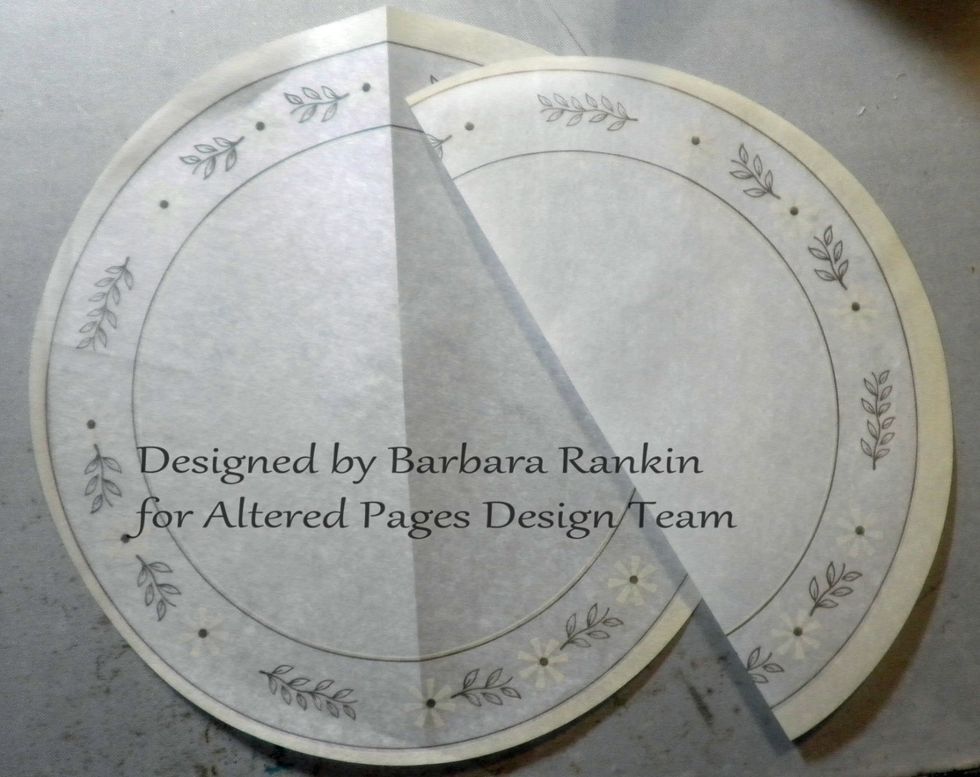
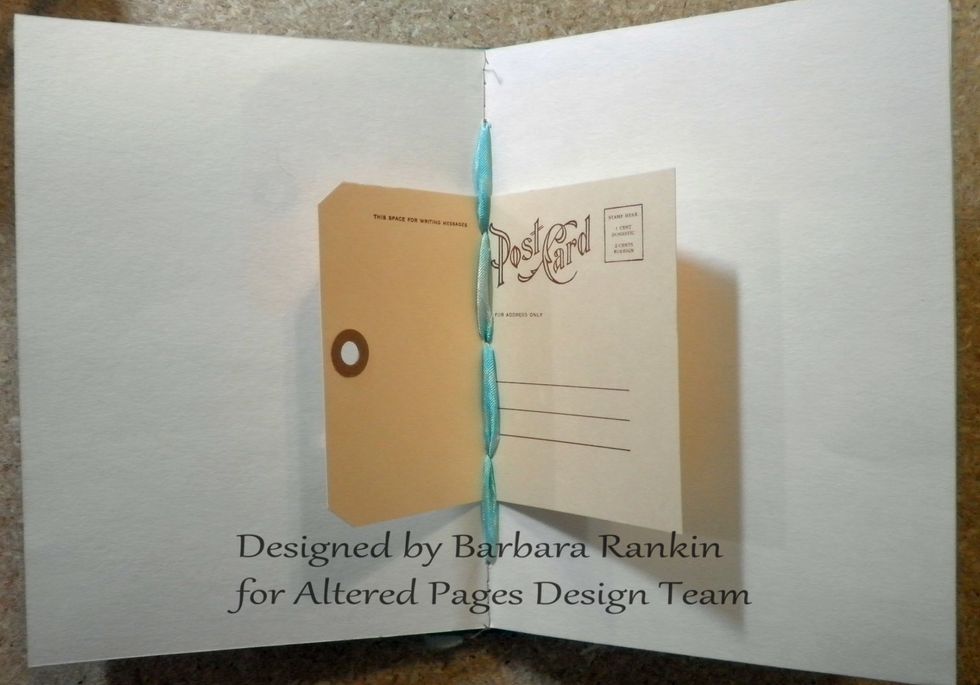
I want to make some pages irregular by using folded tags and these beautiful circular Serviette papers. Fold each paper or tag in half, or off center for interest, and insert between the pages.
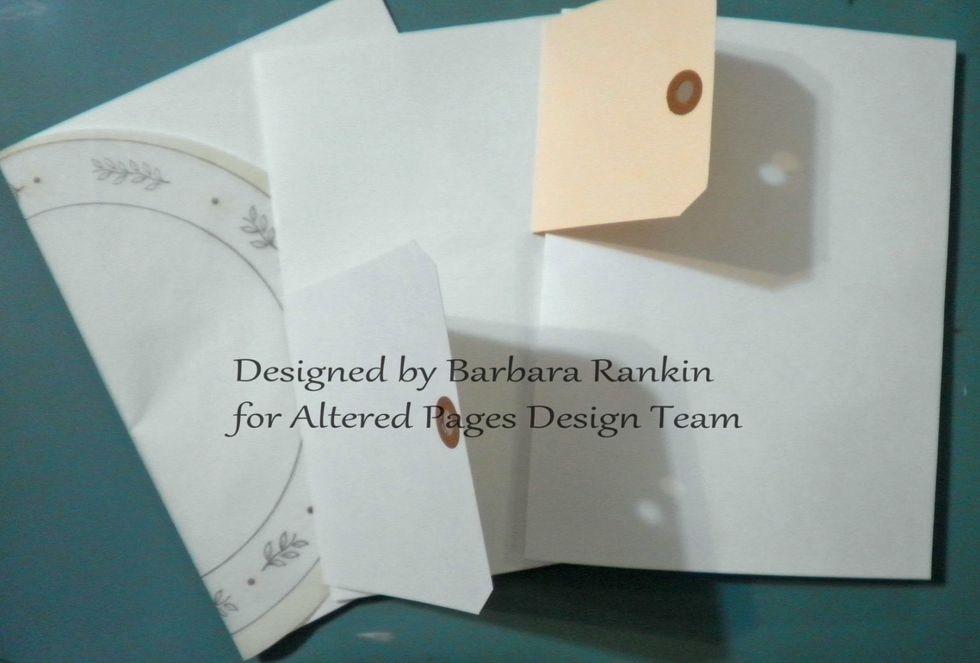
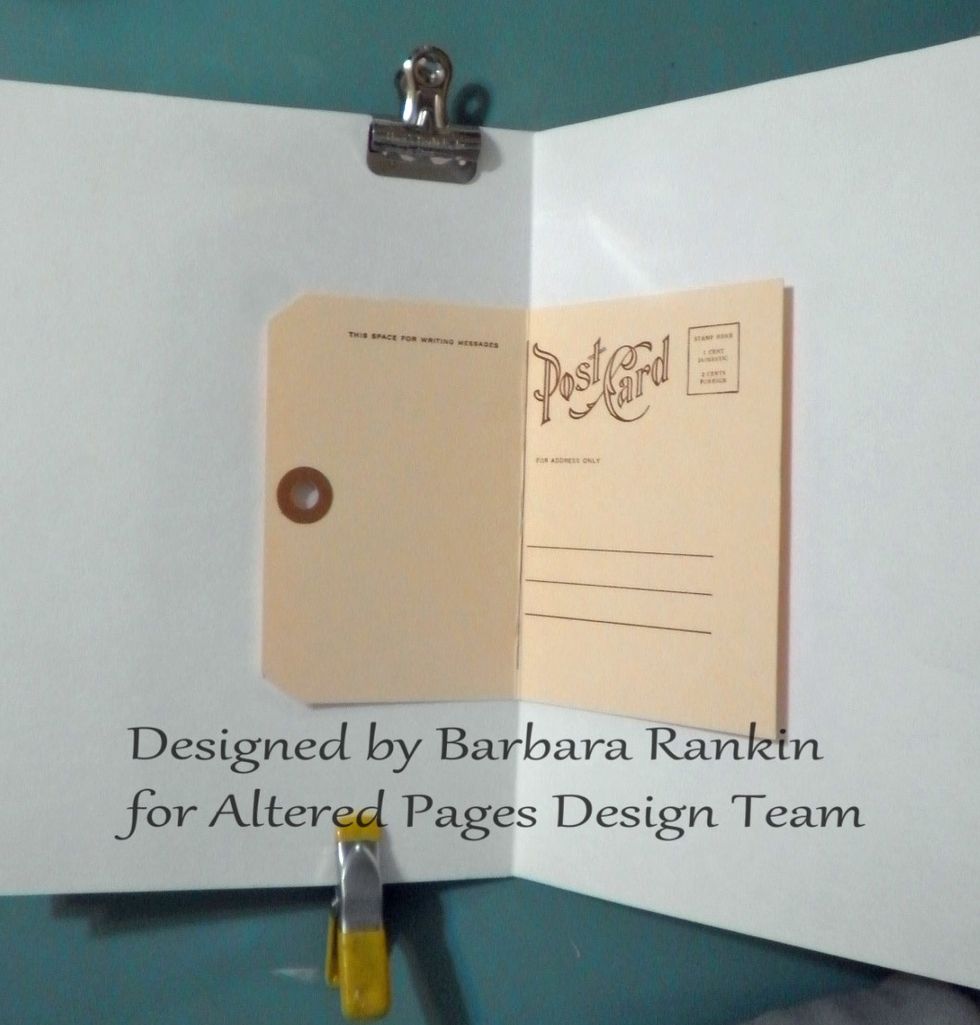
Here is an example of how you can vary the contents of your book signatures.
Clip the papers together, then machine or hand stitch each signature together. This should make it easier to add your signatures to your book spine later
Use a very long machine stitch to sew the signatures pages together.
Make a template from scrap paper, 2" x 8" long. Fold in half along the 8" length.
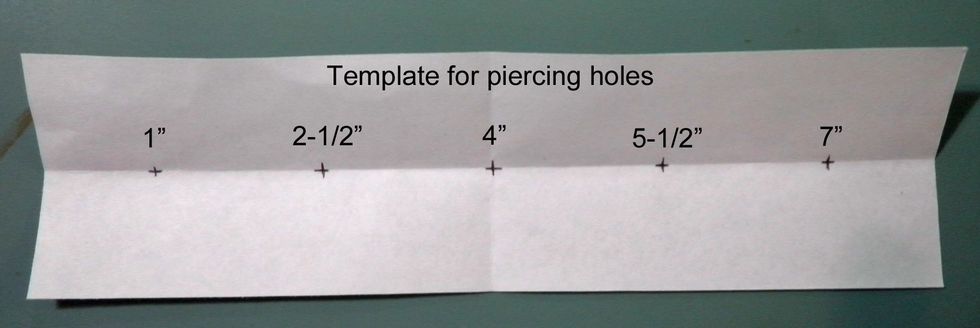
These measurements will vary depending on the size of your book, but for my book, holes are marked at 1", 2-1/2", 4", 5-1/2", and 7". Use an awl to enlarge the holes in your signatures.
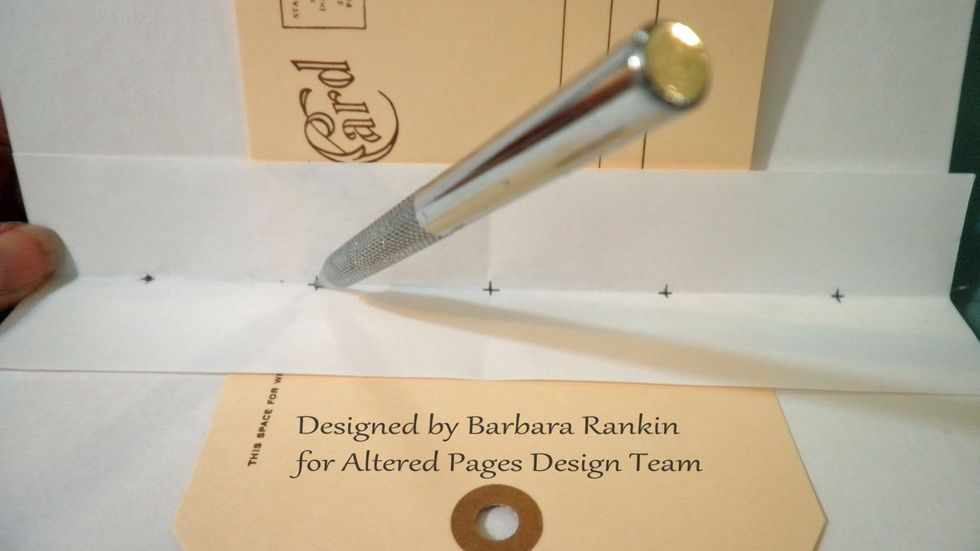
Use a paper piercer or awl to pierce the signature pages, all at once. Keep the signatures folded up in a "V" shape while piercing to ensure piercing on the fold line of each page.
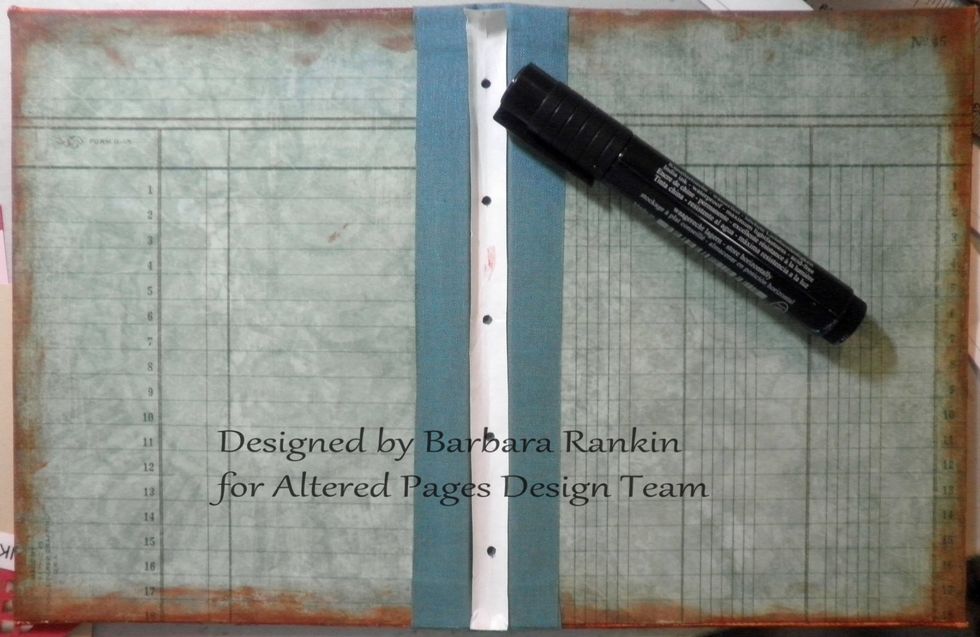
Next, I trimmed off the excess paper from my template to fit inside the spine, and used a hole punch to punch through the pencil marks. This allowed me to mark my spine with a black pen.
I punched holes through the marks I made in the spine and attached 3/16" copper eyelets with a Cropadile tool. Use whatever eyelet setting tools you have to do this.
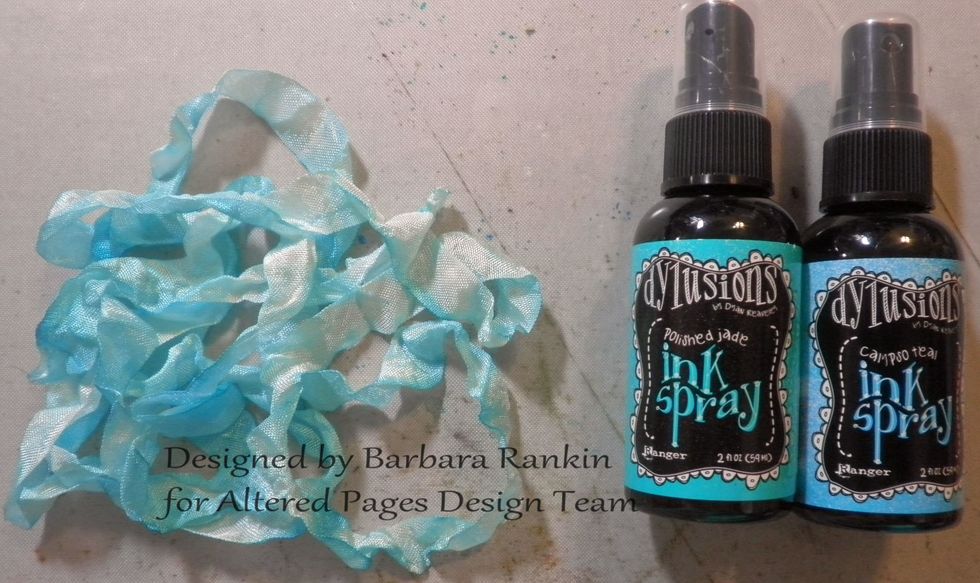
Color off-white seam binding to match your cover. Let dry in a crinkled fashion. You will need approximately three times the height of your book spine, in my case, 24".
From the outside, thread ribbon through second hole (2-1/2"), back out through top (1") hole, back in through 2-1/2" hole.
Continue threading ribbon in and out down the length of the spine until you return to the center hole on the outside.

Your ribbon ends like this on the outside. Tie ribbon in a knot at the center hole and then tie a beautiful bow.
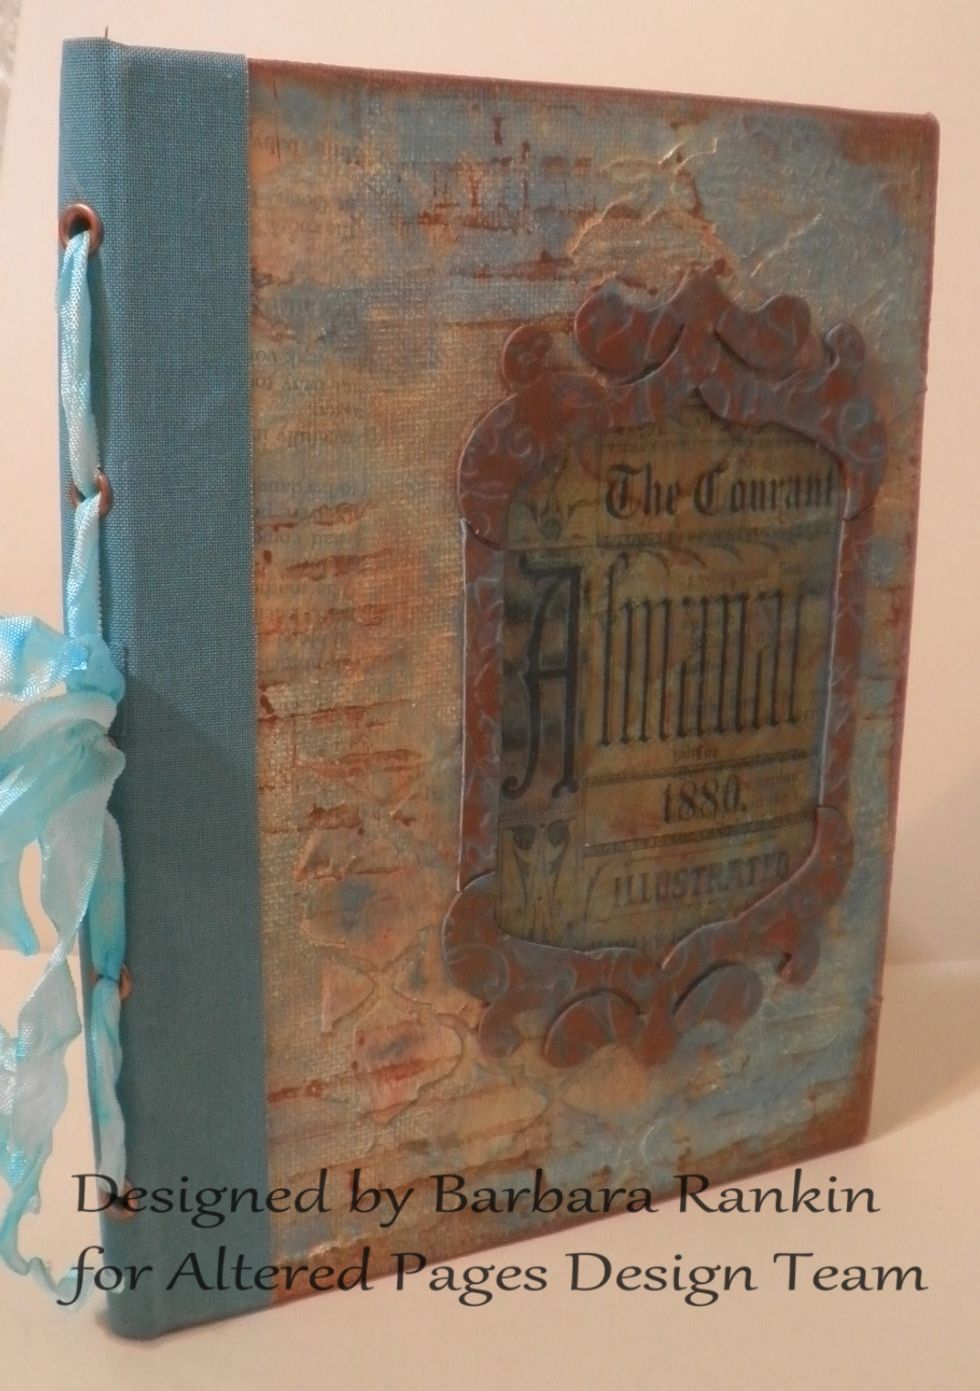
And here it is. As it turns out, I made my spine too thin to hold both signatures, but I will save that second signature for another book.
Let's work on a page inside. Ready for some more mixed media? Coat first page with DecoArt White Gesso. Let dry.
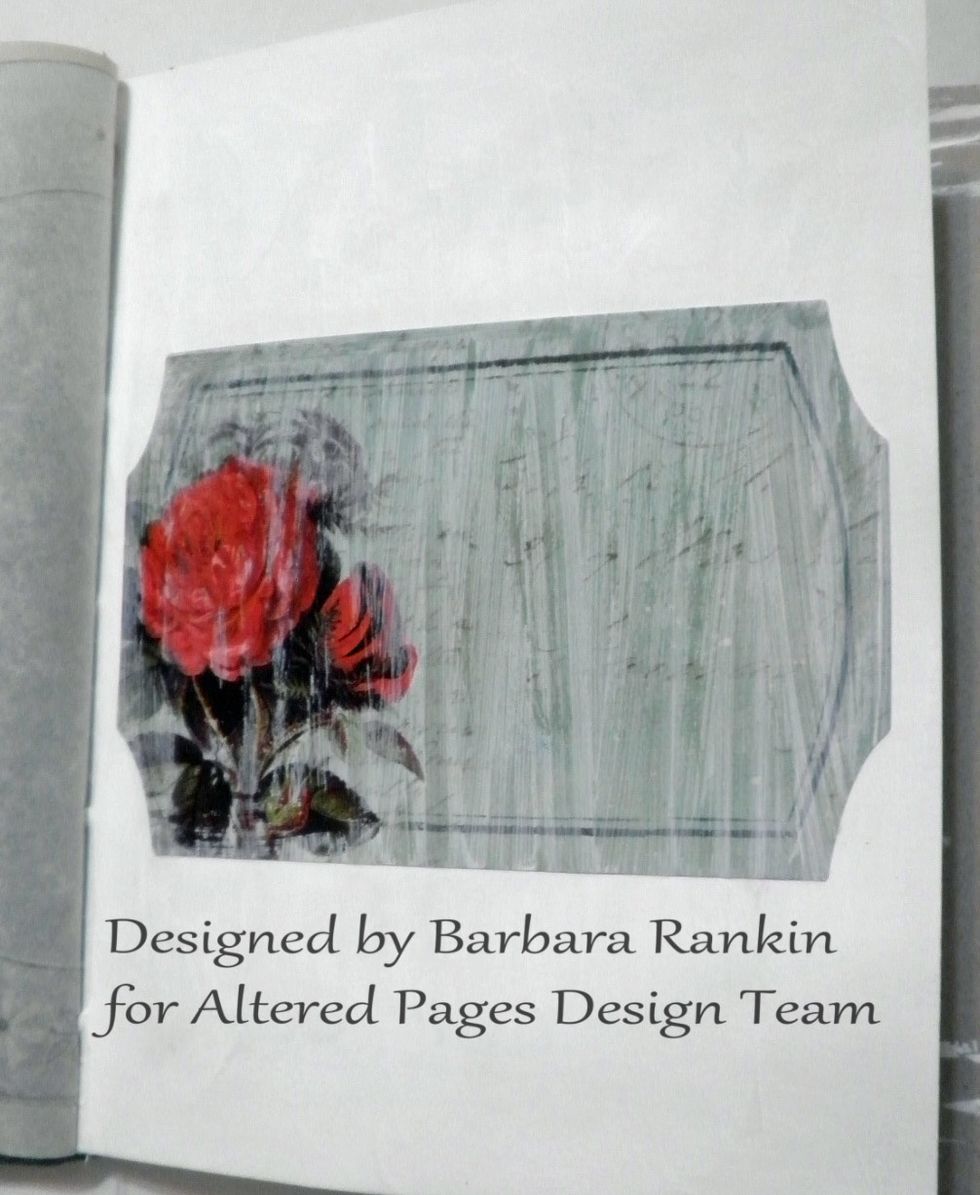
Adhere Glitz Design journaling sticker (Happy Travels) to center of page and add another wash of white gesso. Wipe away some of it to reveal parts of the sticker you want to show through.
The reason for doing this is to "integrate" the sticker into the page, rather than have it just appear to be "stuck" to the top of the page.
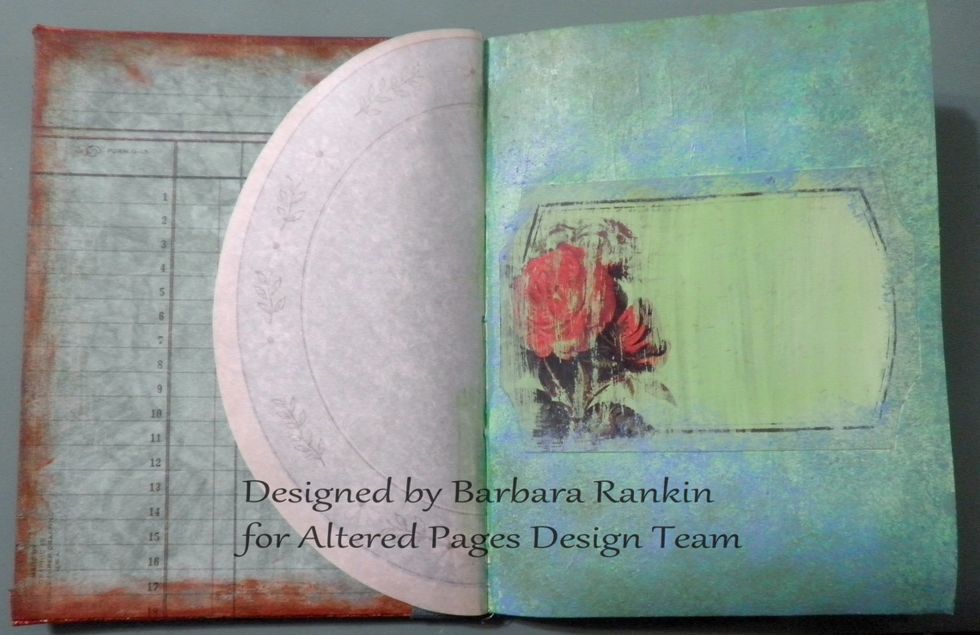
Apply a wash of DecoArt Cerulean Blue mixed with a couple of spritzes of the Yellow Green Mister. Cover everything and wipe away any areas you want to show through.
Next, apply a mix of DecoArt Titanium White and Cerulean Blue with a sponge over the page. If it starts to look too blue, then add a bit more of the Yellow Green spray on the sponge and blend.
Remember, it is all about playing and experimenting, so my instructions are just to let you know what I did to this page. You can make it your very own with your own color combos.
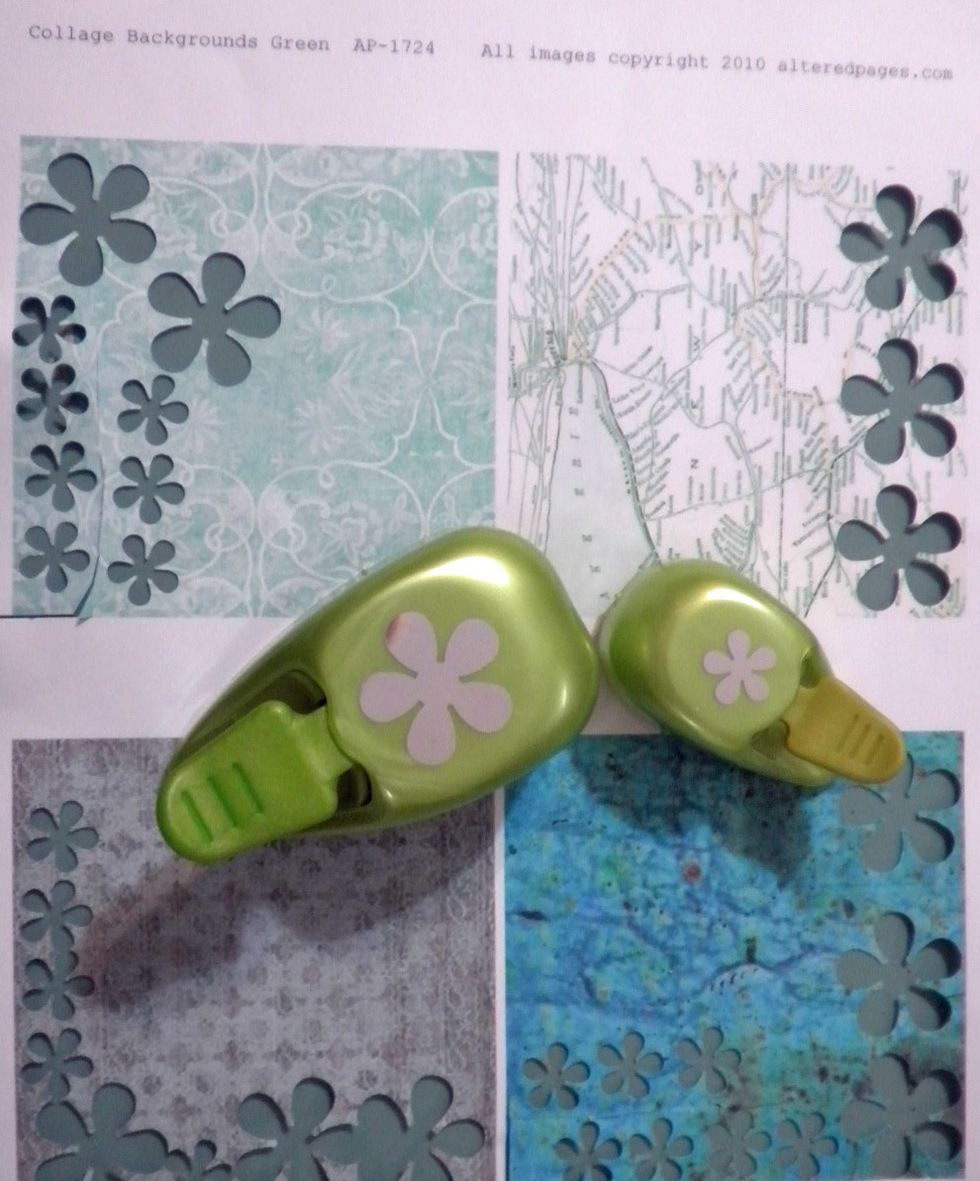
Punch two sizes of small flowers from the Altered Pages 1724 Collage Backgrounds Green sheet, varying the colors and size.
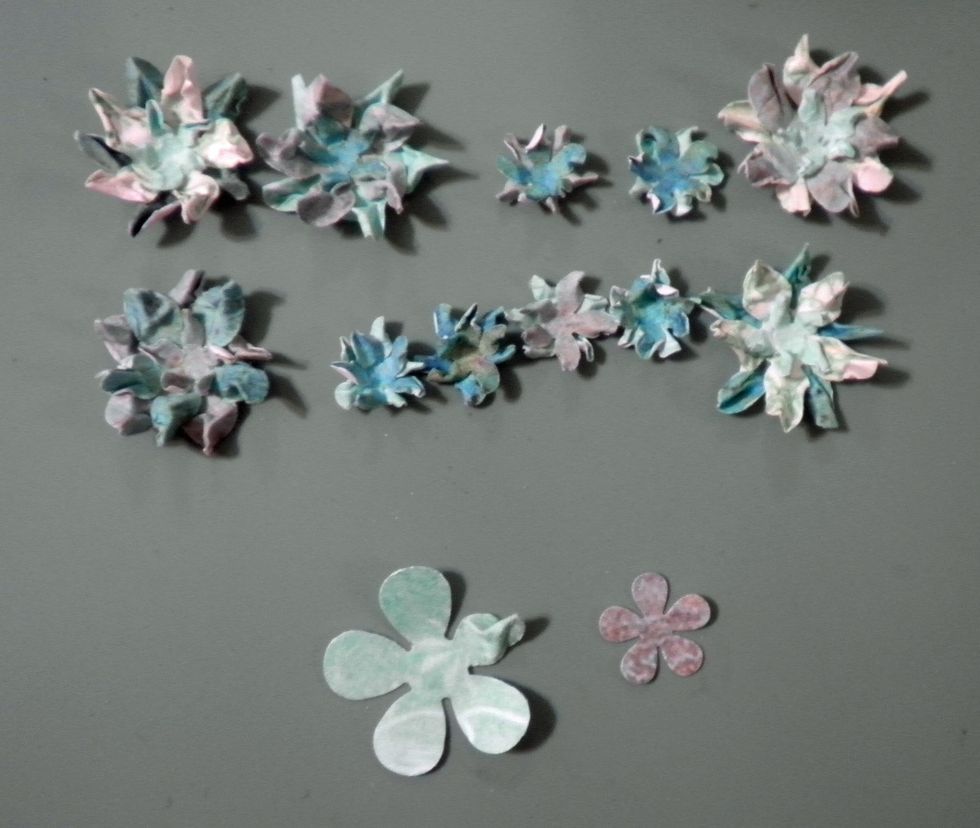
Lightly mist each flower with water and pinch for a shabby look. Layer two large and one small petals together for the large flower, and two small petals together for the small flower.
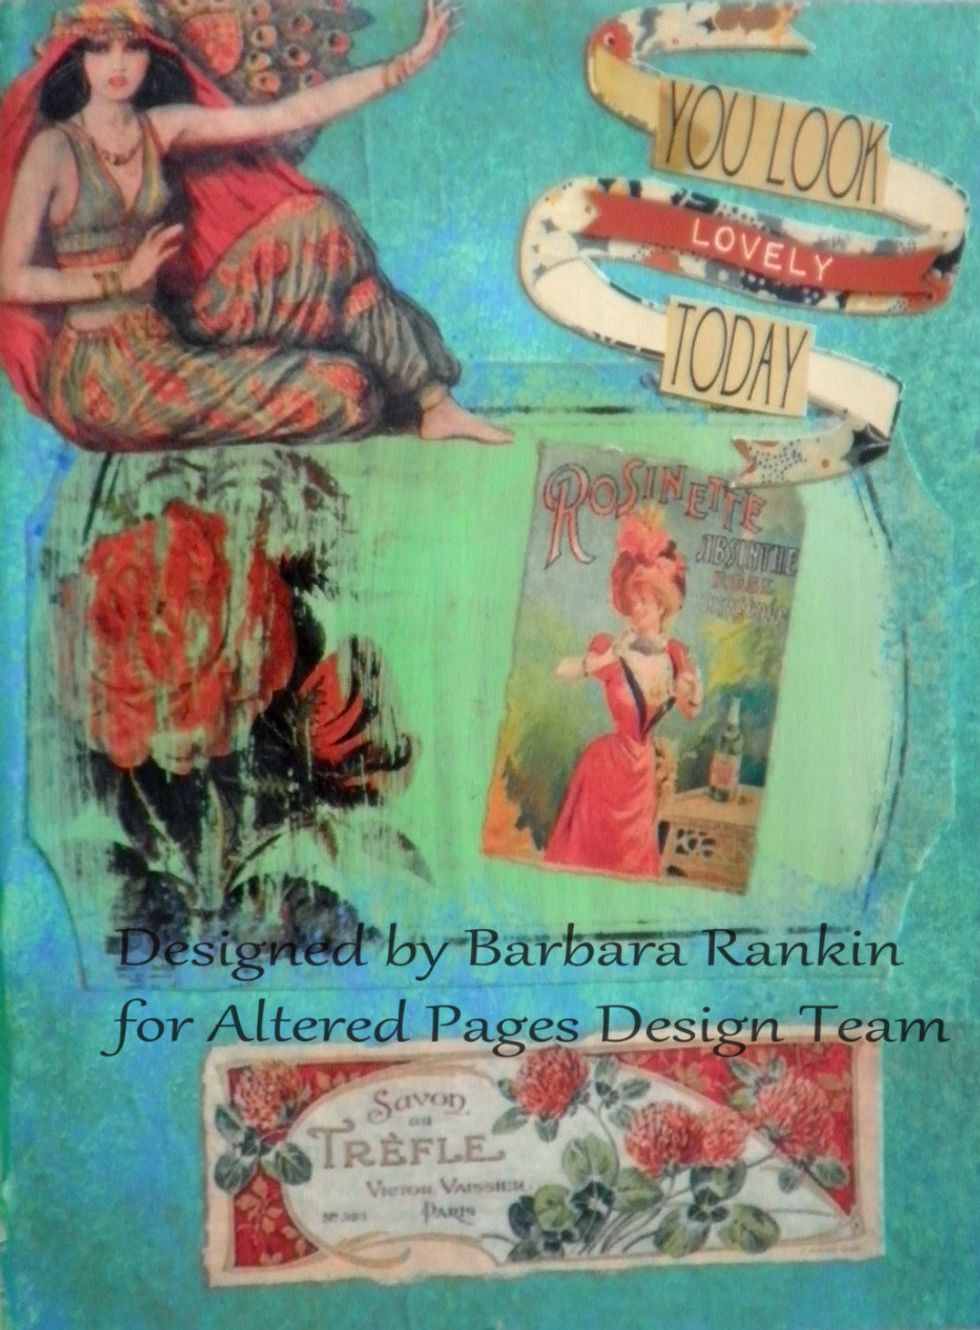
Fussy cut banner from the Glitz What-Nots Embellishment Collection, tear images from Color ATC Red collage sheet, adhere each to page with Matte Medium, as shown.
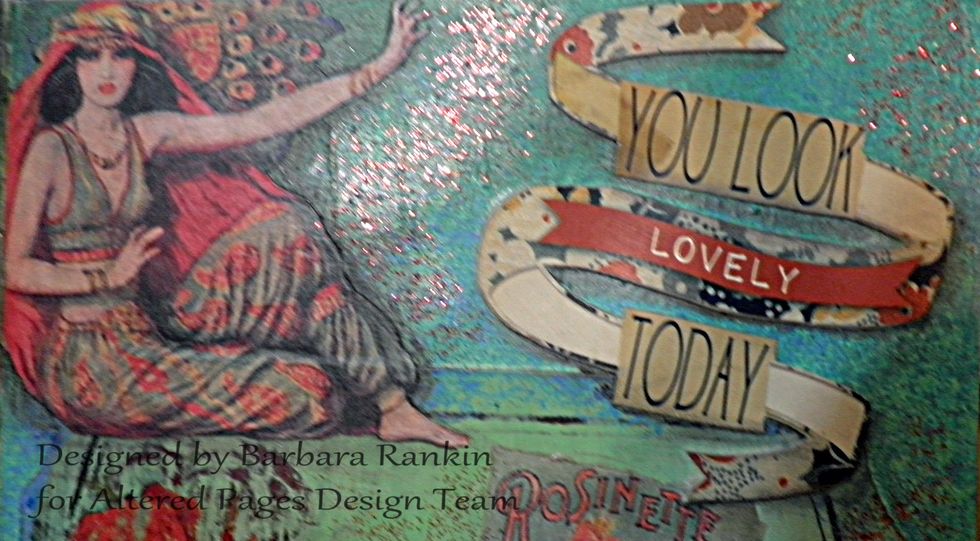
Closeup of top section. I added Red Fire Glitter randomly to page.
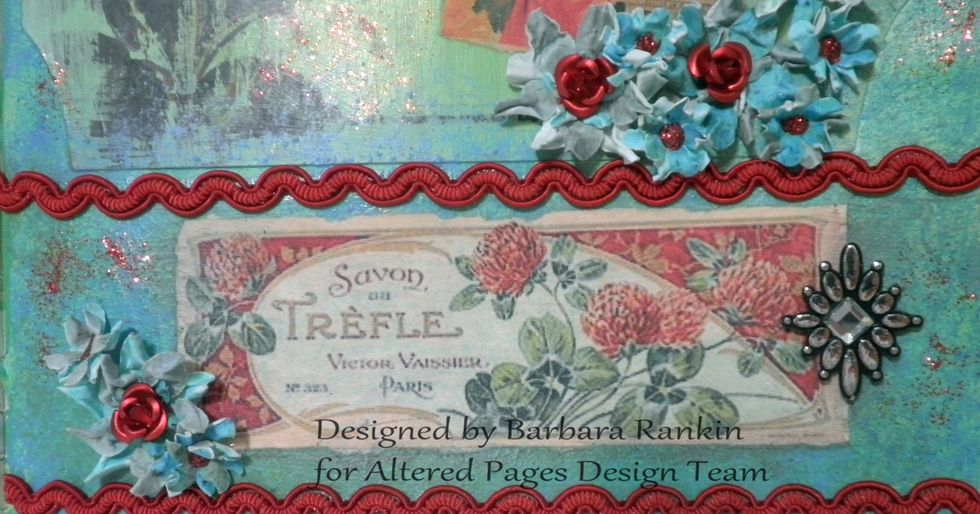
Arrange flowers on page and add Fire Red Glitter to the centers. I also added some tiny red metal roses from my stash to the centers of the big flowers, as well as red trim.
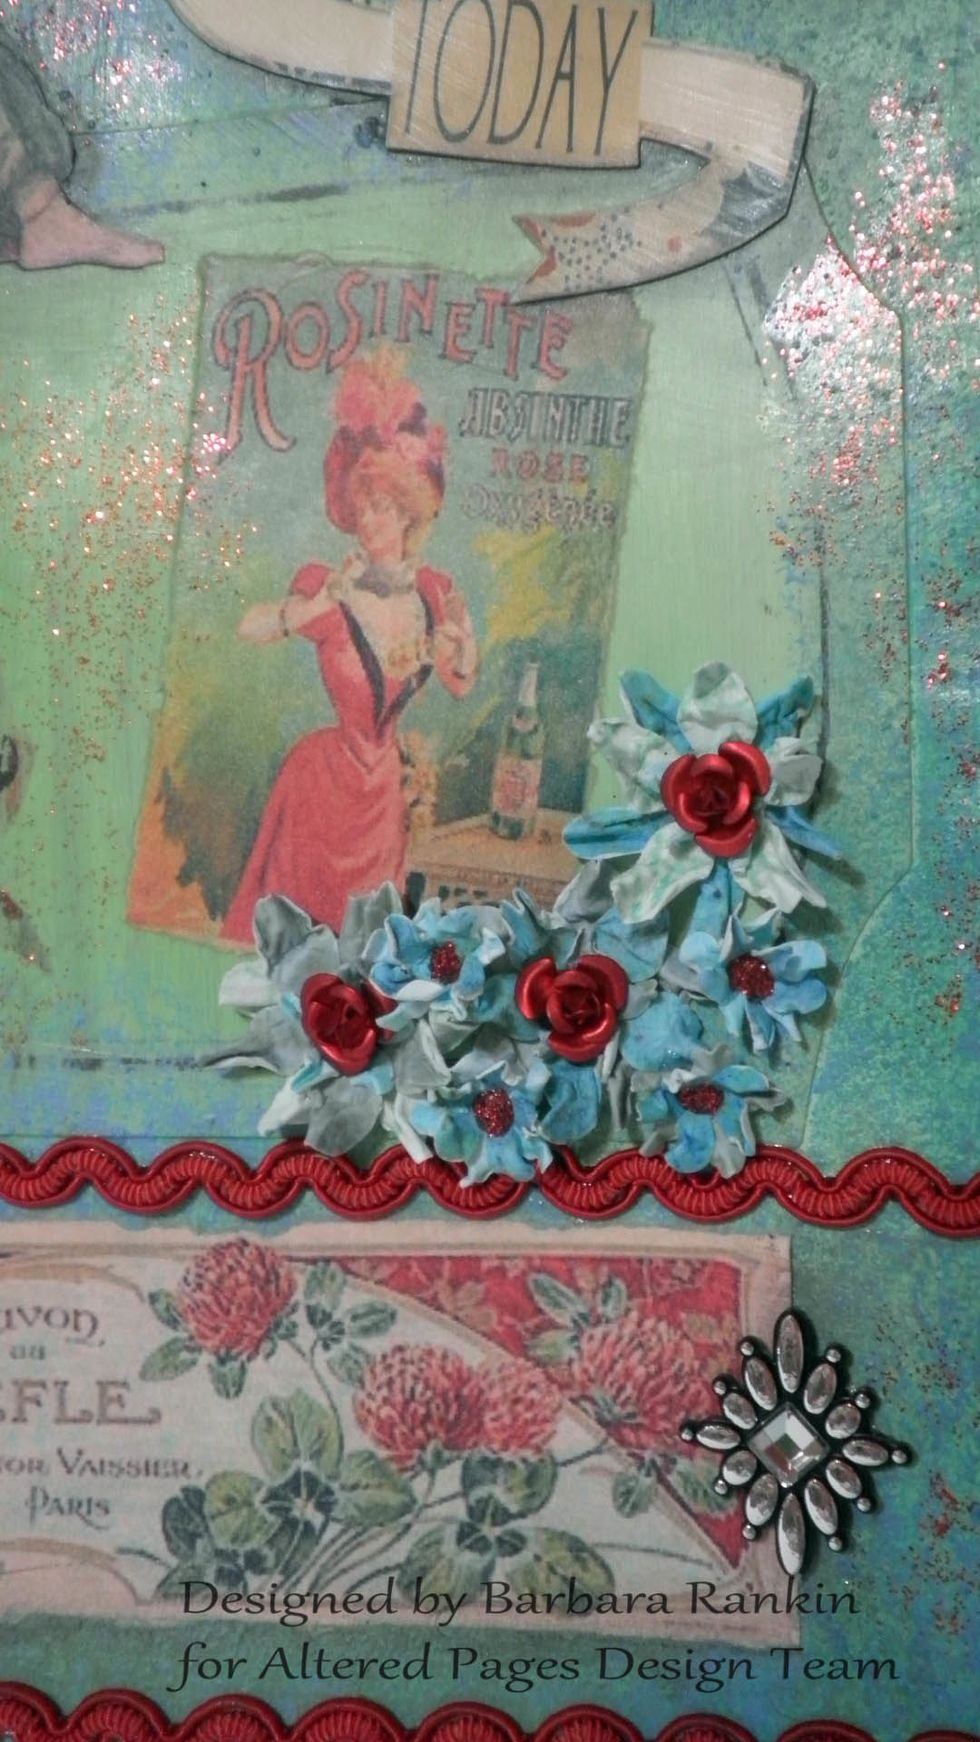
A gem stone added for extra pizazz!
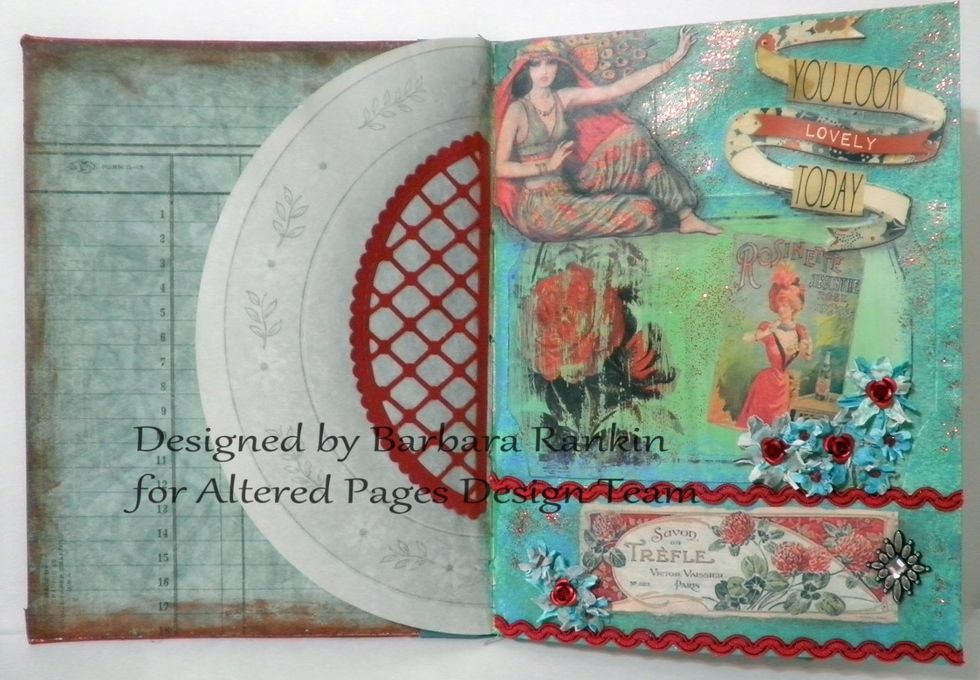
Die cut a doily piece from red card stock and adhere to Serviette Paper with matte medium, as shown.
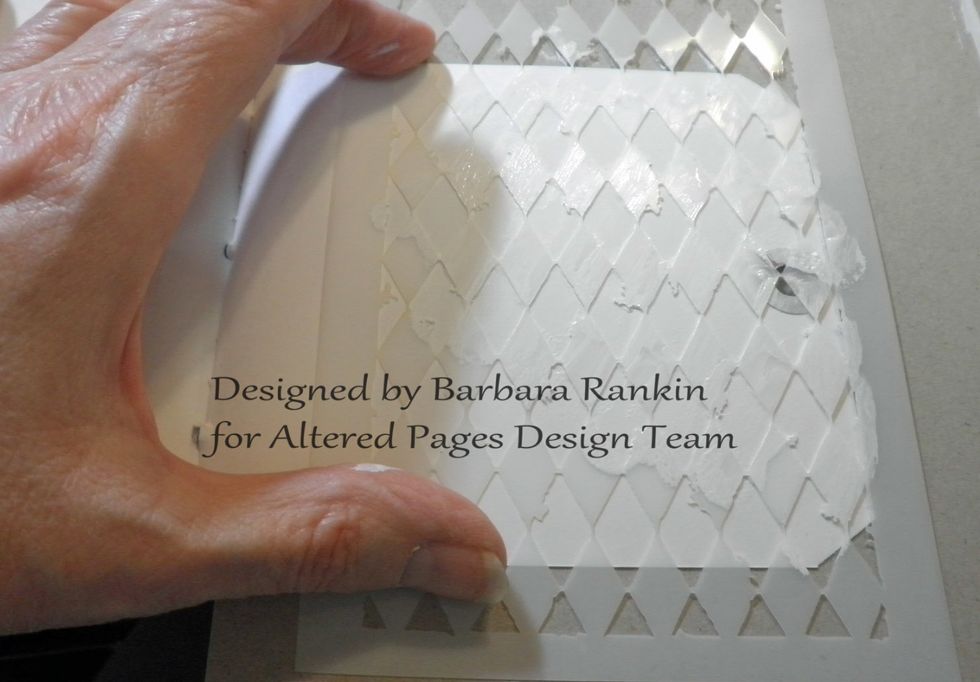
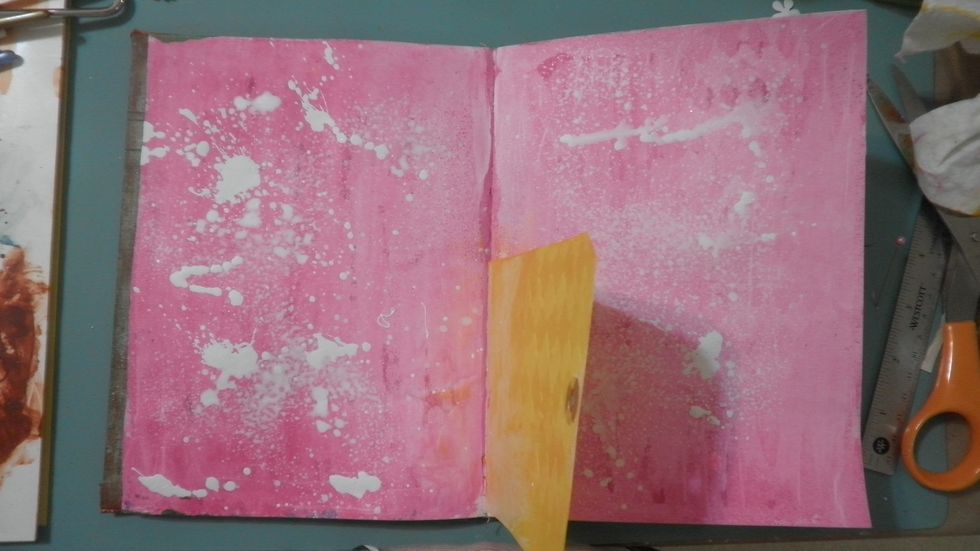
Add a light wash of white gesso over entire page and allow to dry. Apply white gesso through stencil and let dry.

White gesso added through stencil on both sides of tag.
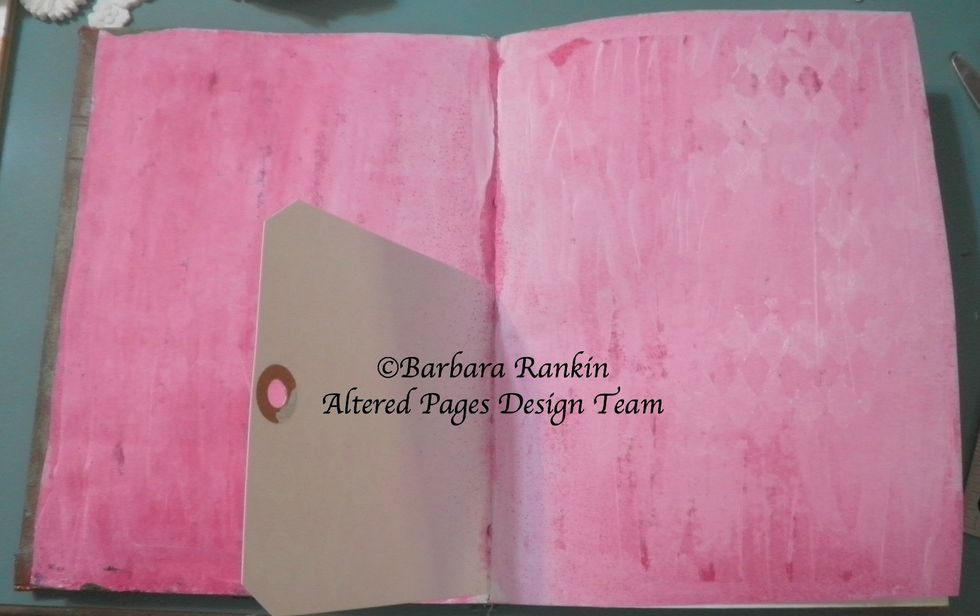
Protect tag and spray both pages with the DecoArt Primary Magenta Mister and wipe with paper towel.
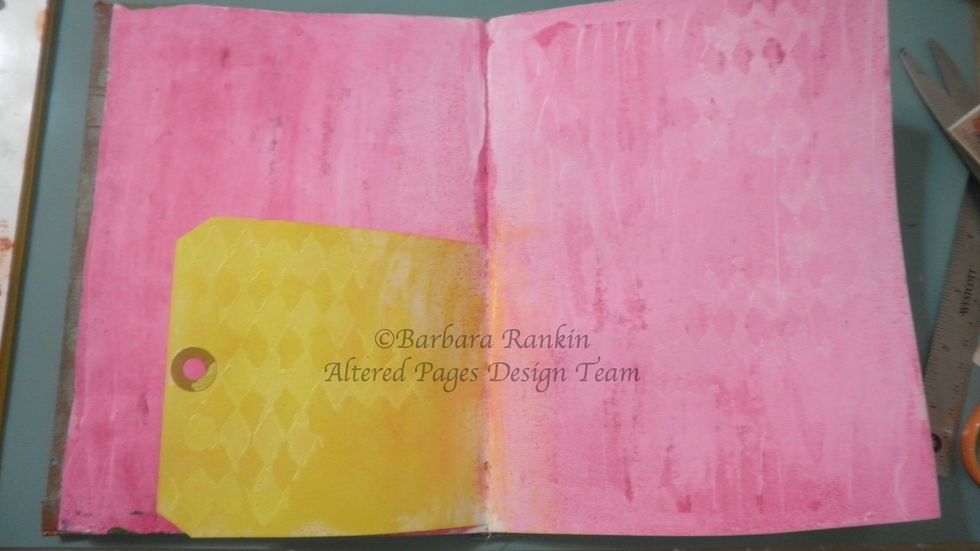
Protect pages with scrap paper and spray both sides of tag with the DecoArt Shimmer Yellow Mister and wipe with paper towel.
Protect tag and spray both pages with the DecoArt White Mister and let dry. Some puddles are very thick, giving great texture for the steps to come.
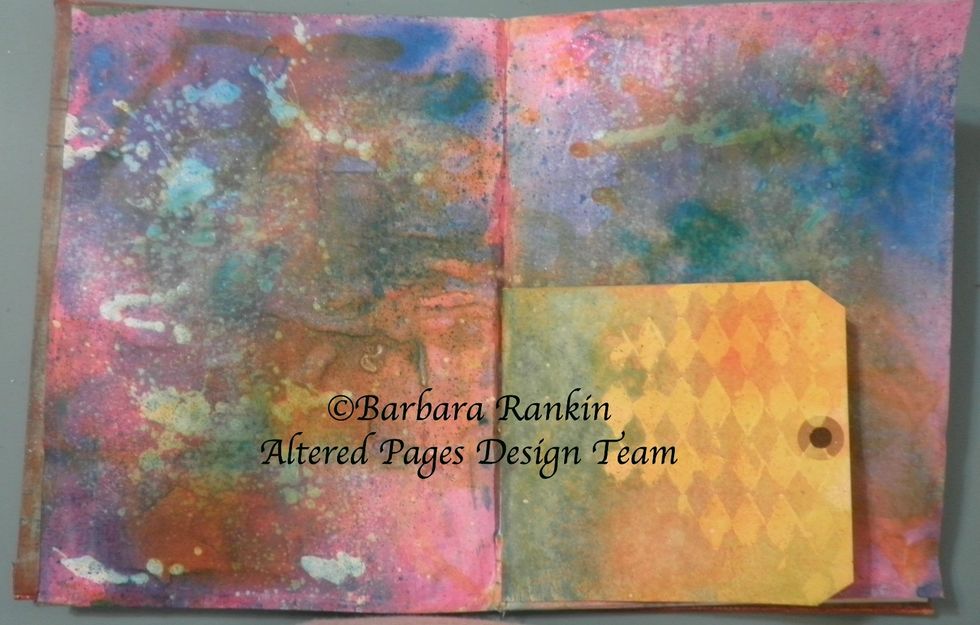
Protect tag and spray both pages with the DecoArt Shimmer Turquoise Mister, Shimmer Yellow Mister, and Orange Misters. Spray water over all and let each color move around the page. Dab excess water
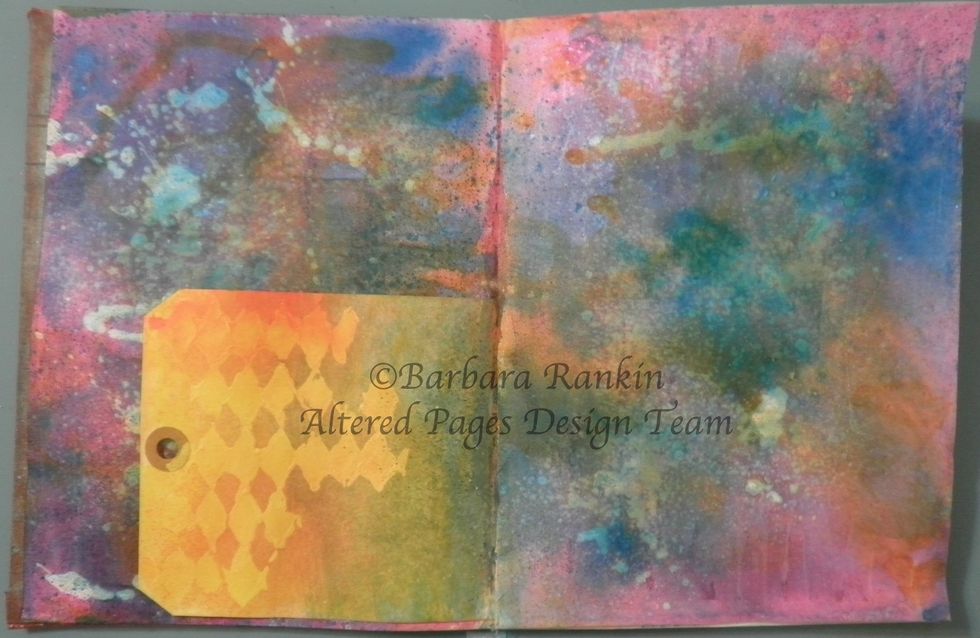
Protect both pages, spray both sides of tag with the DecoArt Shimmer Yellow and Orange Misters, pick up some of the DecoArt Shimmer Turquoise Mister with a baby wipe and add to tag.
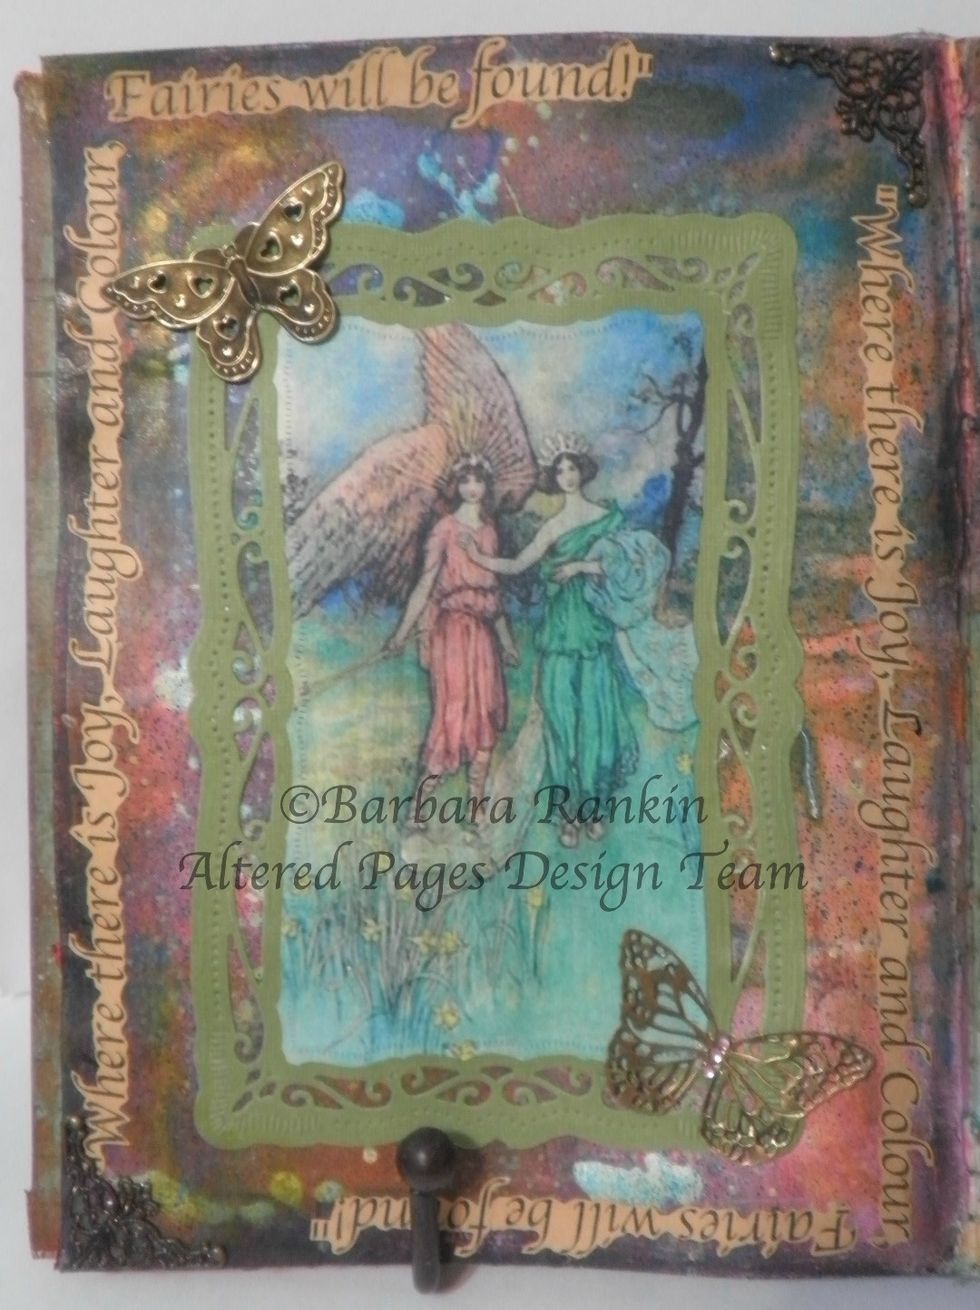
Die cut ornate frame from olive green card stock and fairy image with smaller frame, adhere both to page with DecoArt Matte Medium. Add metal corners and butterfly, as shown.
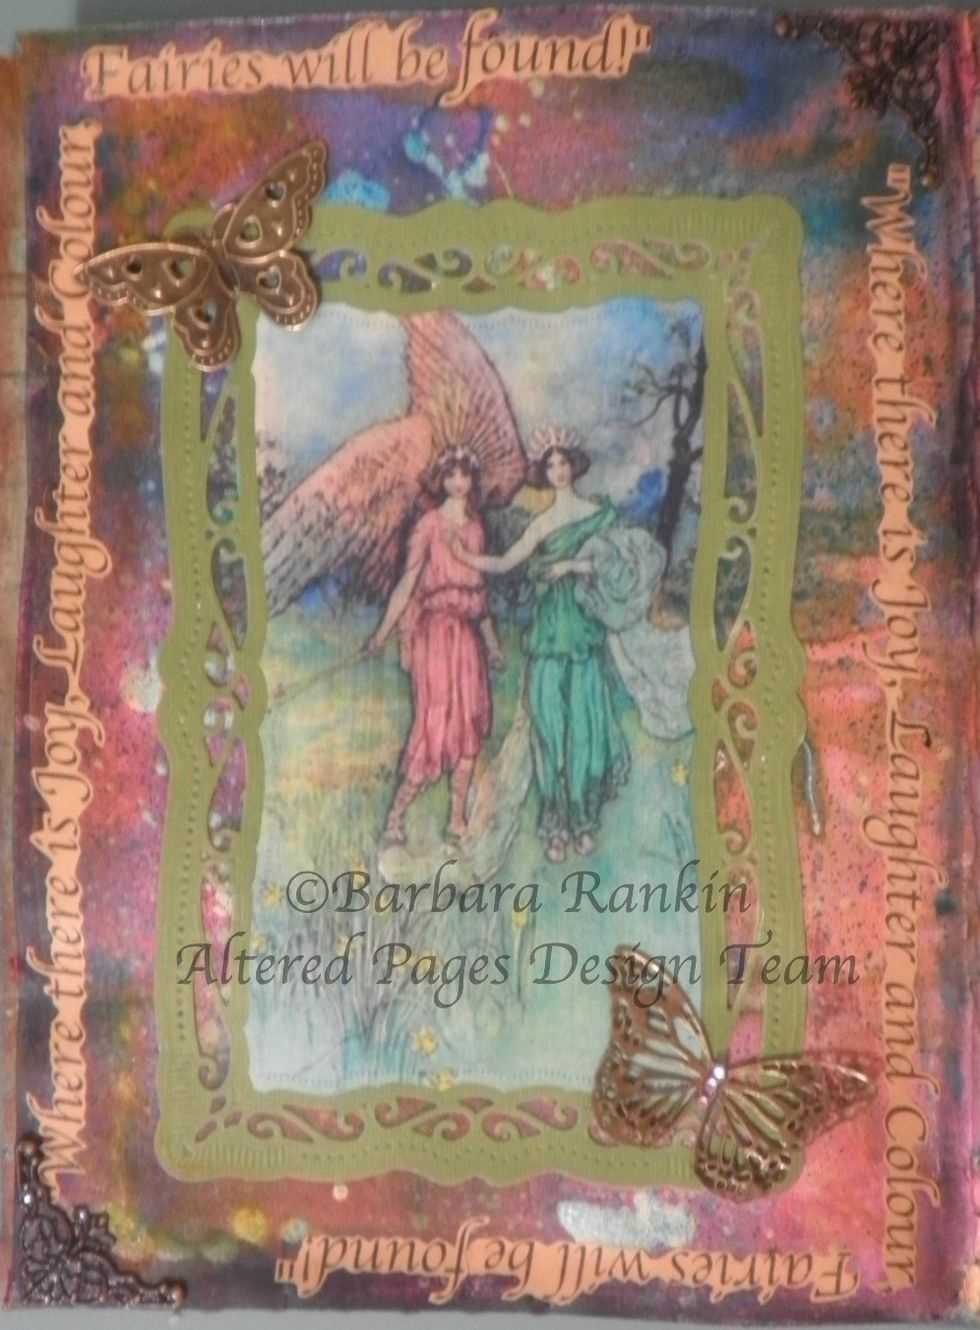
I found some fairy quotes online, so I computer-generated and printed them onto tan paper for use on my journal/tag pages. I fussy cut around the quotes and adhered around the page.
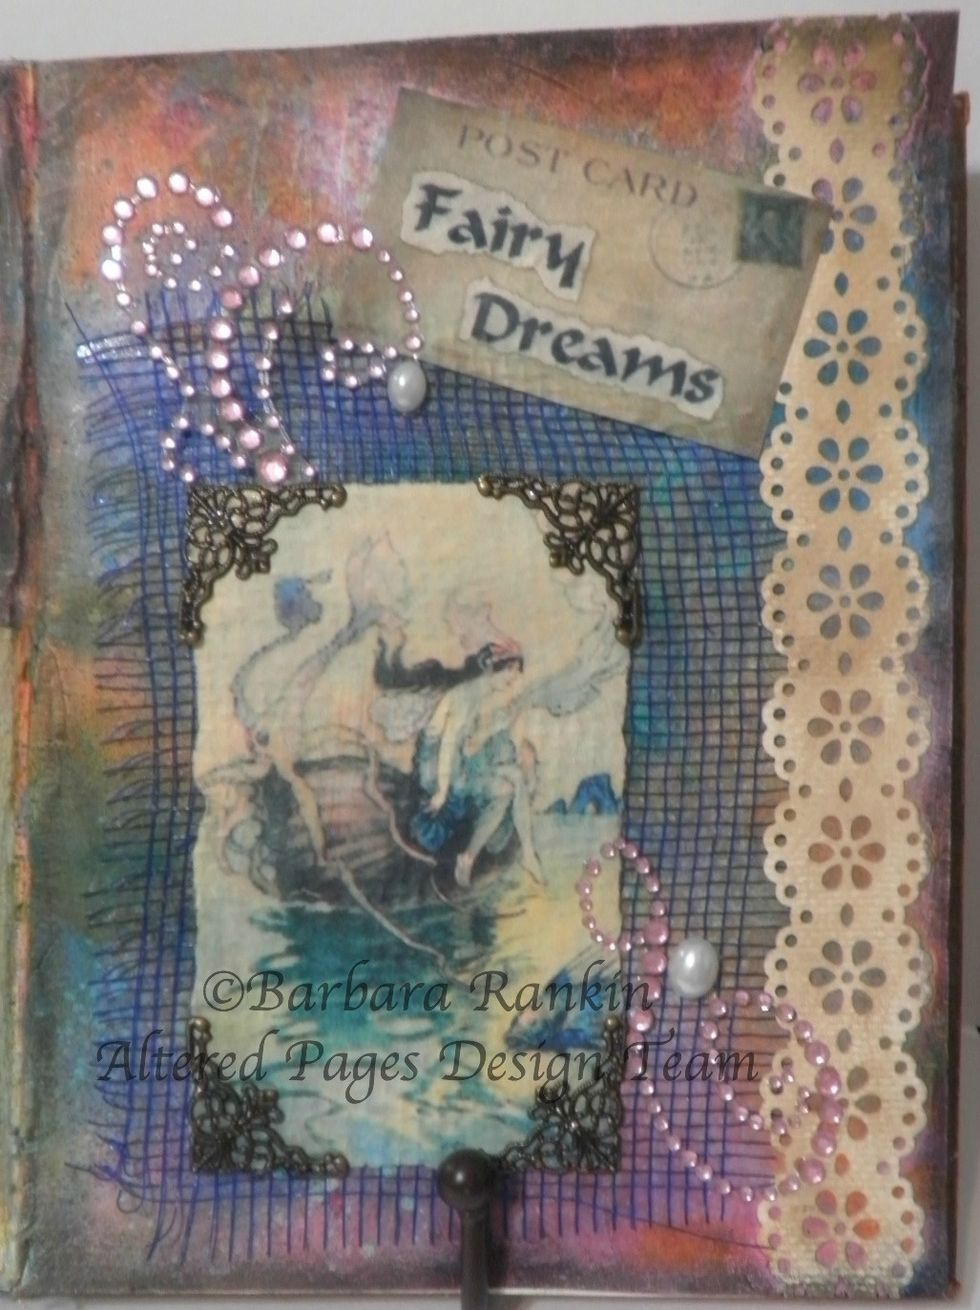
Adhere scrap of blue open weave fabric and torn fairy image to page with with DecoArt Matte Medium. Tear around the words "Fairy Dreams" and adhere to Post Card image with DecoArt Matte Medium.
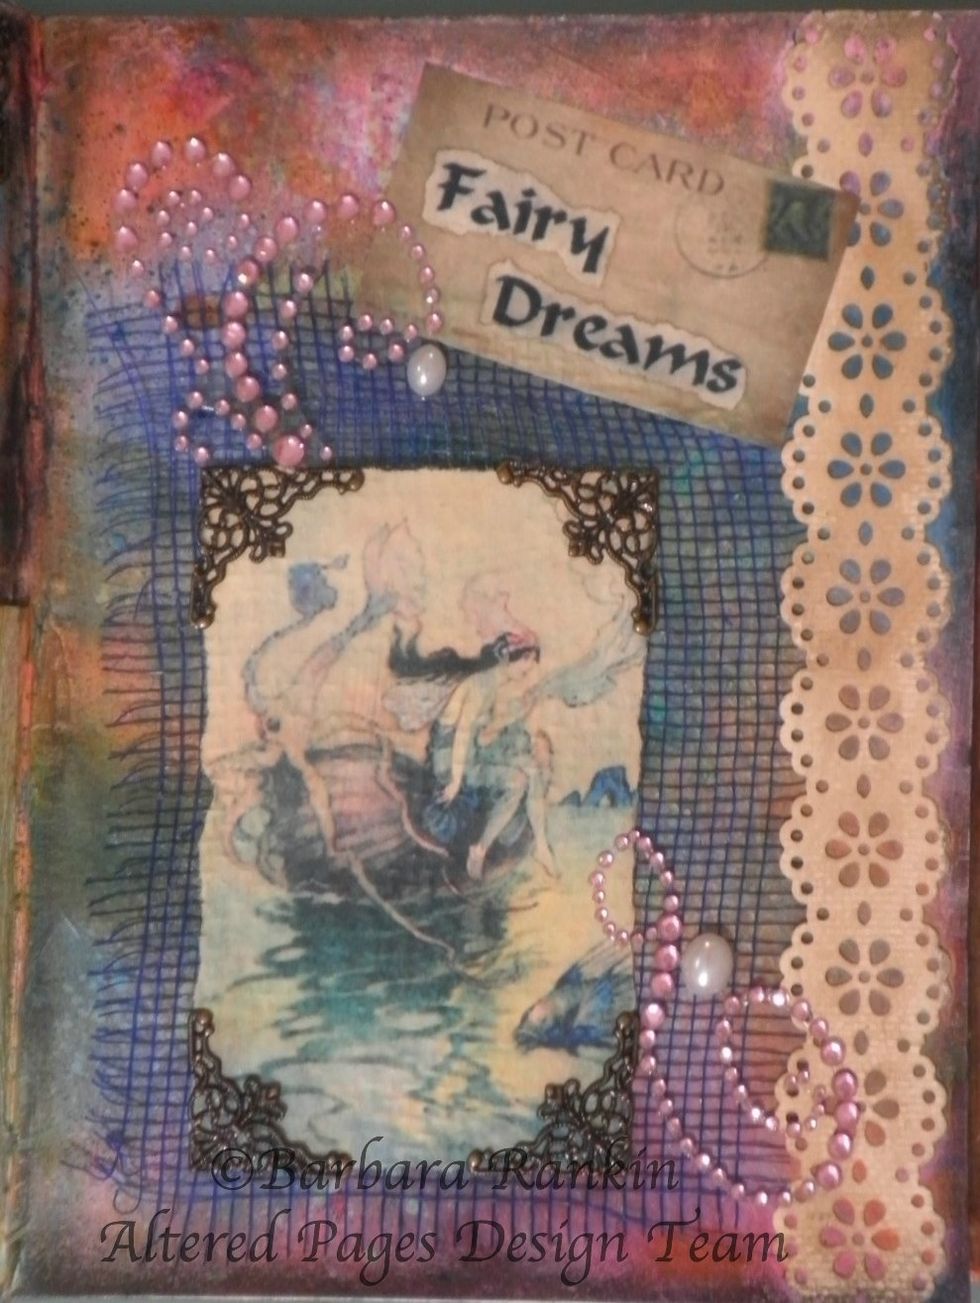
Punch decorative strip from ivory card stock and adhere to right side of page with matte medium. Dry brush with DecoArt Raw Umber Antiquing Cream. Add gem swirls and metal corners, as shown.
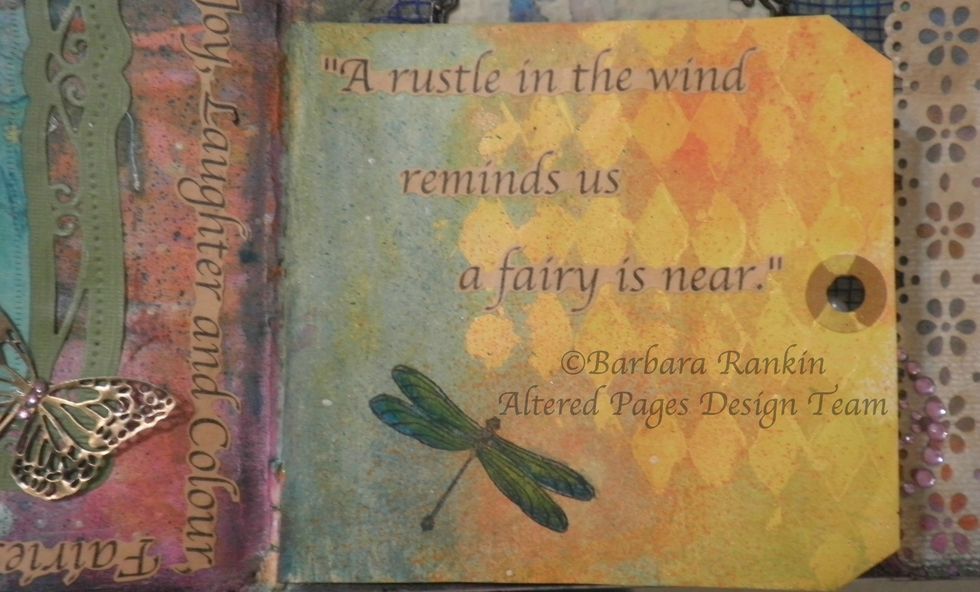
Stamp small dragonfly on each side of tag with Black StazOn ink. Color wings with DecoArt Cerulean Blue and Yellow Green Mister. Fussy cut fairy quote and adhere.
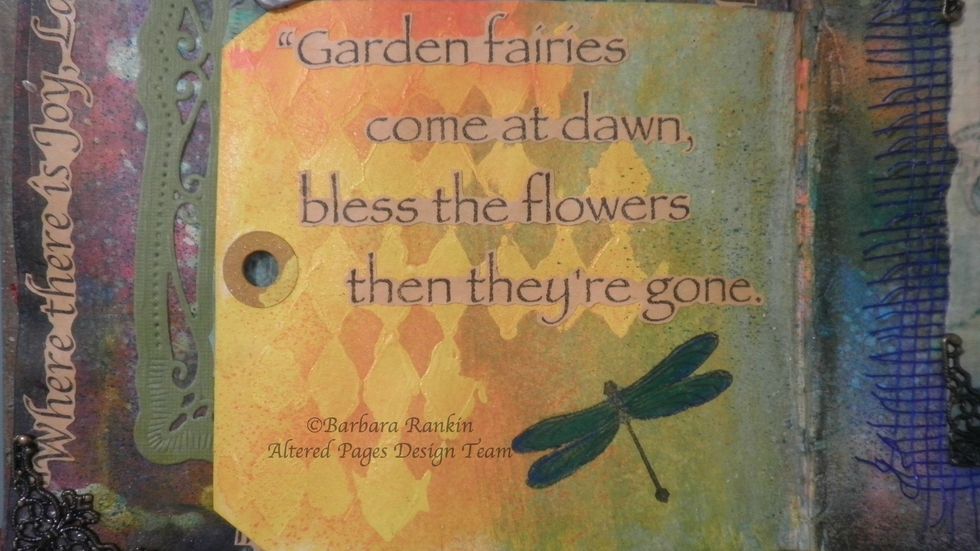
Do the same on this side of tag, but adhere a different fairy quote.
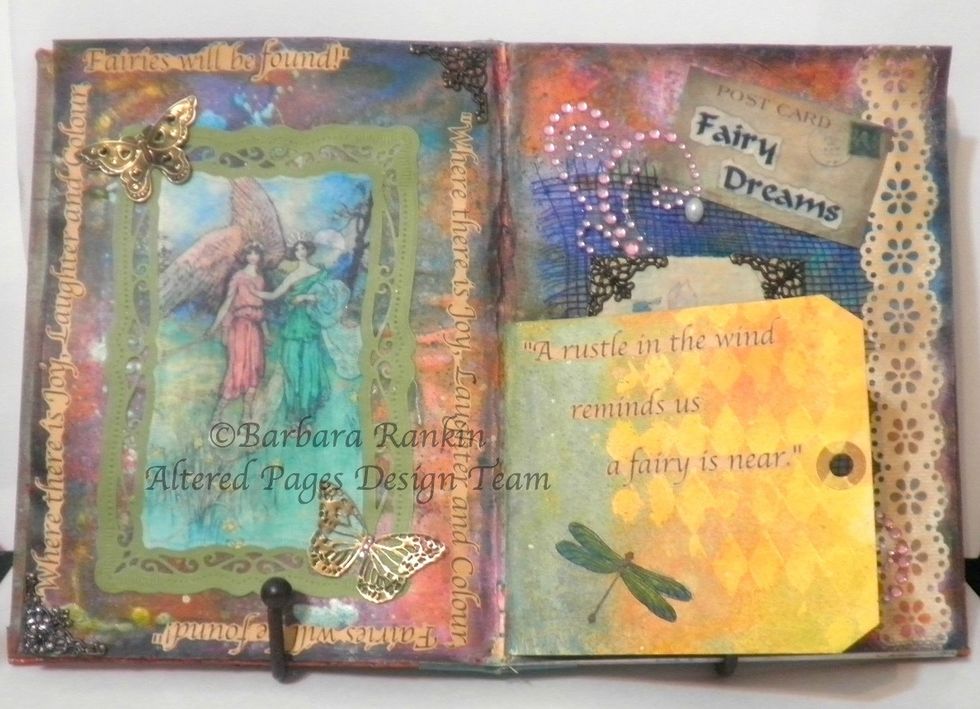
A final look at the pages, including the central tag.
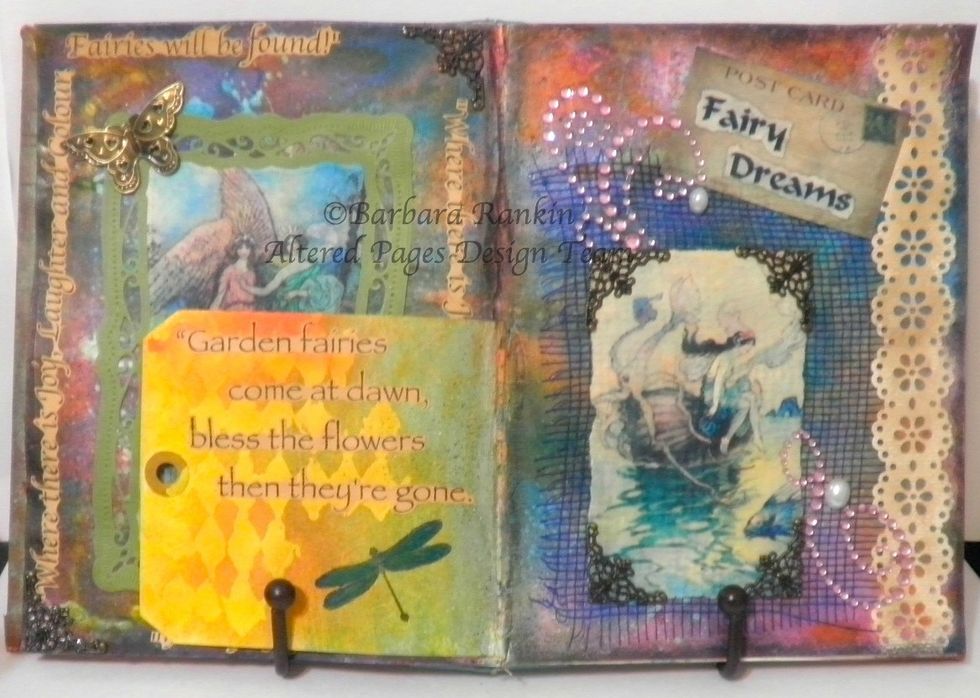
A look at the opposite side of the tag and the next page.
I hope you enjoyed this part of my handmade art book, and please be sure to stop by www.alteredpages.com, as well as www.decoart.com, for products used in this project, and a complete list of supplies
This guide will be featured on the Altered Pages blog on Monday, 26 January 2015 at www.alteredpages-artsociates.blogspot.com
If you would like to see more of my work, I hope you will visit me at my blog, Black Hole Art Studio, at http://blackholeartstudio.blogspot.com Thanks for looking!