The Conversation (0)
Sign Up
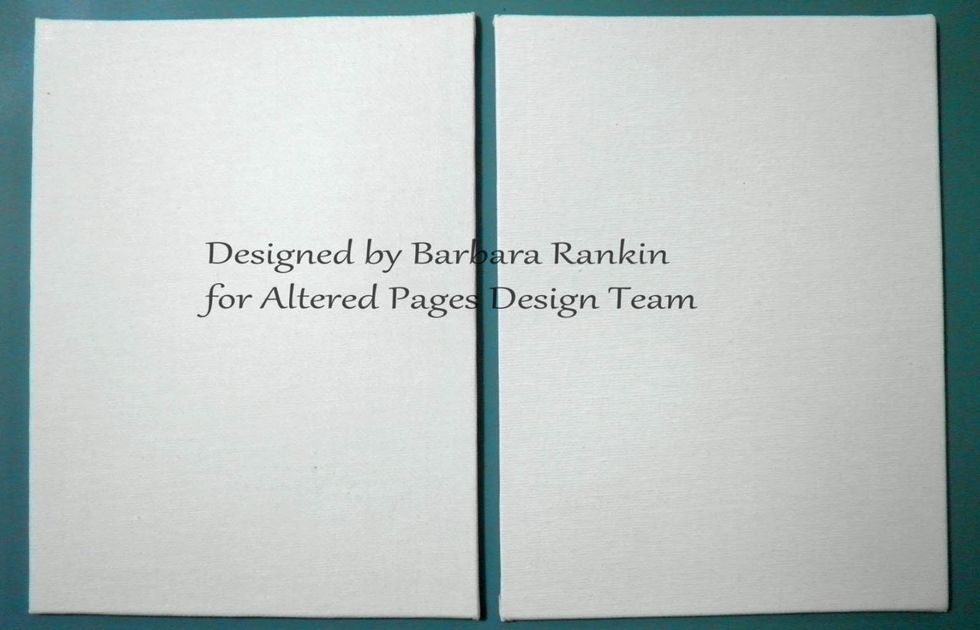
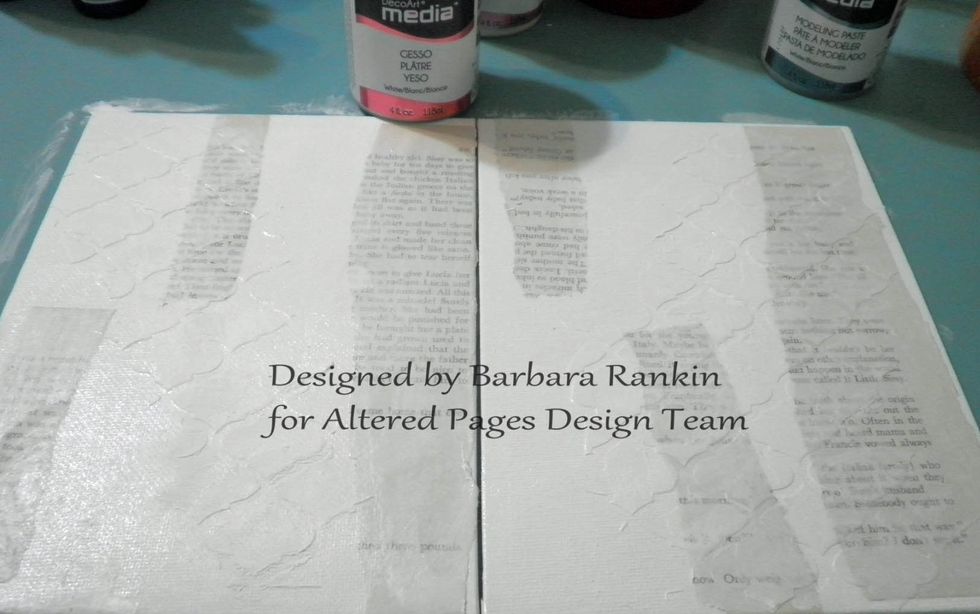
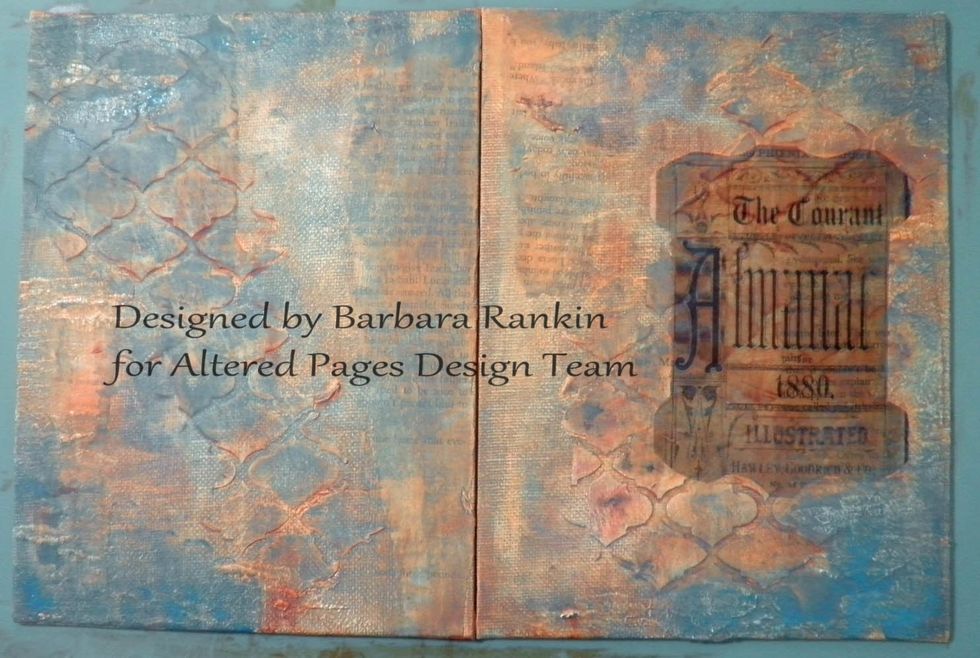
I started with two Canvas Art Boards from Altered Pages. These boards measure 6"x8", but you can make your book any size you like.
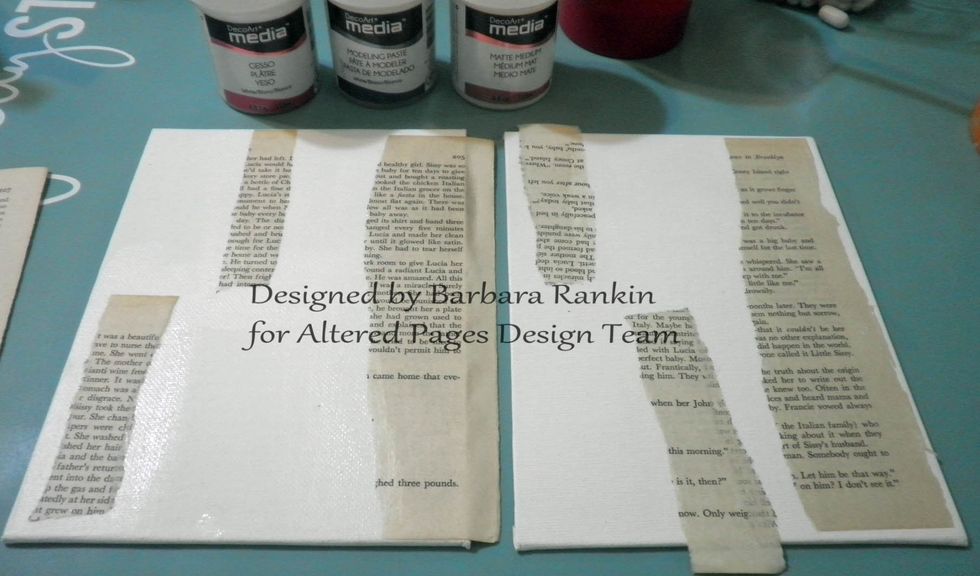
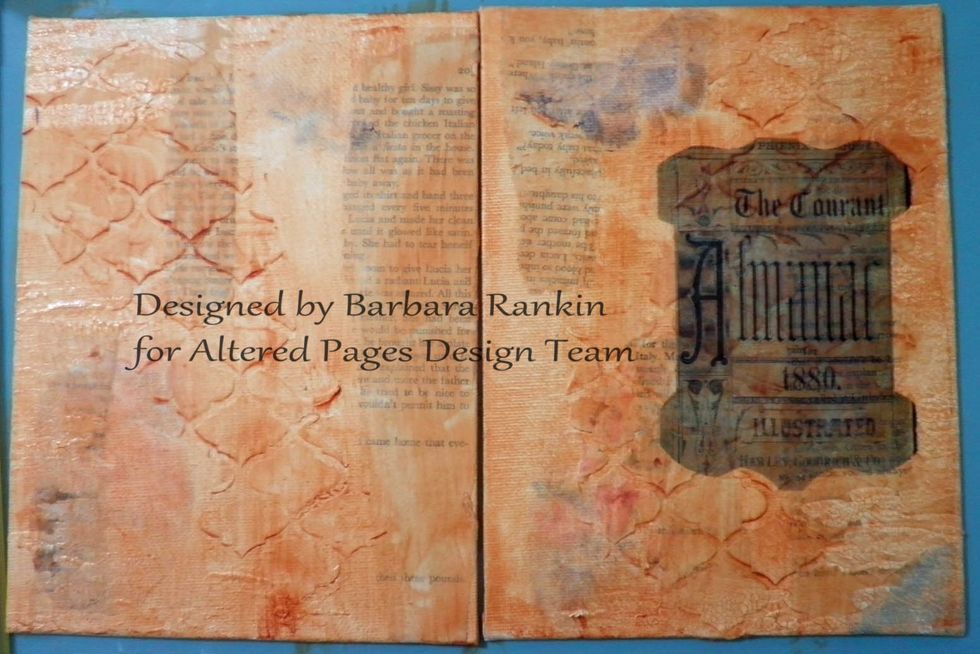
Tear and adhere strips of Vintage Text Pages using DecoArt Matte Medium. I worked on the covers side by side, keeping the back cover on the left and the front cover on the right.
By working in a side by side fashion, I was able to remember that my spine will be down the center, so I did not want to put any embellishments or dimensional items along both center edges.

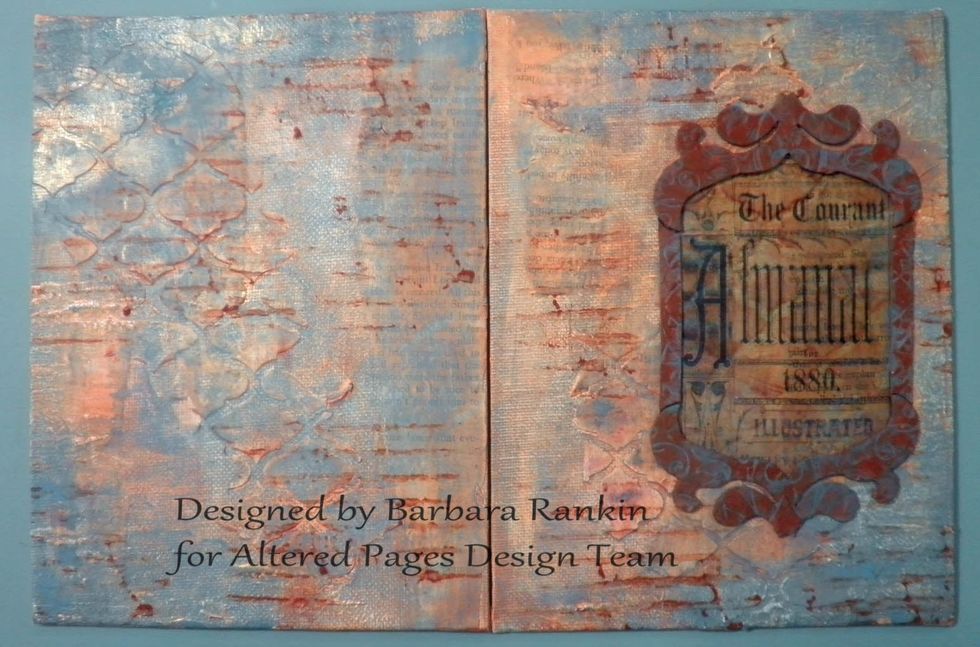
Place a stencil over the board and apply the DecoArt Modeling Paste with a spatula, leaving areas blank or partially stenciled. I also kept the center area along both boards free.
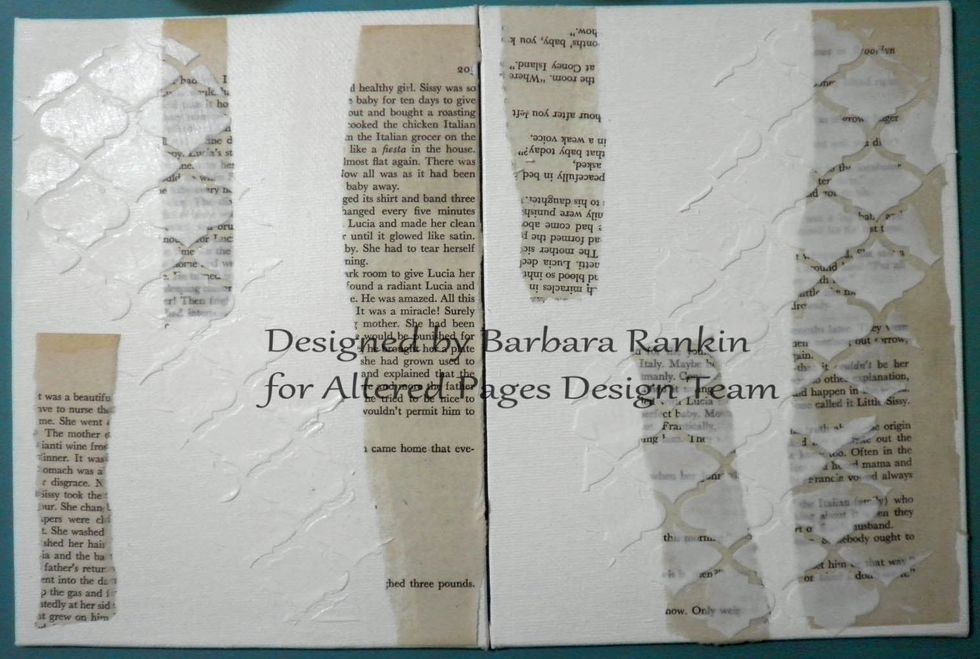
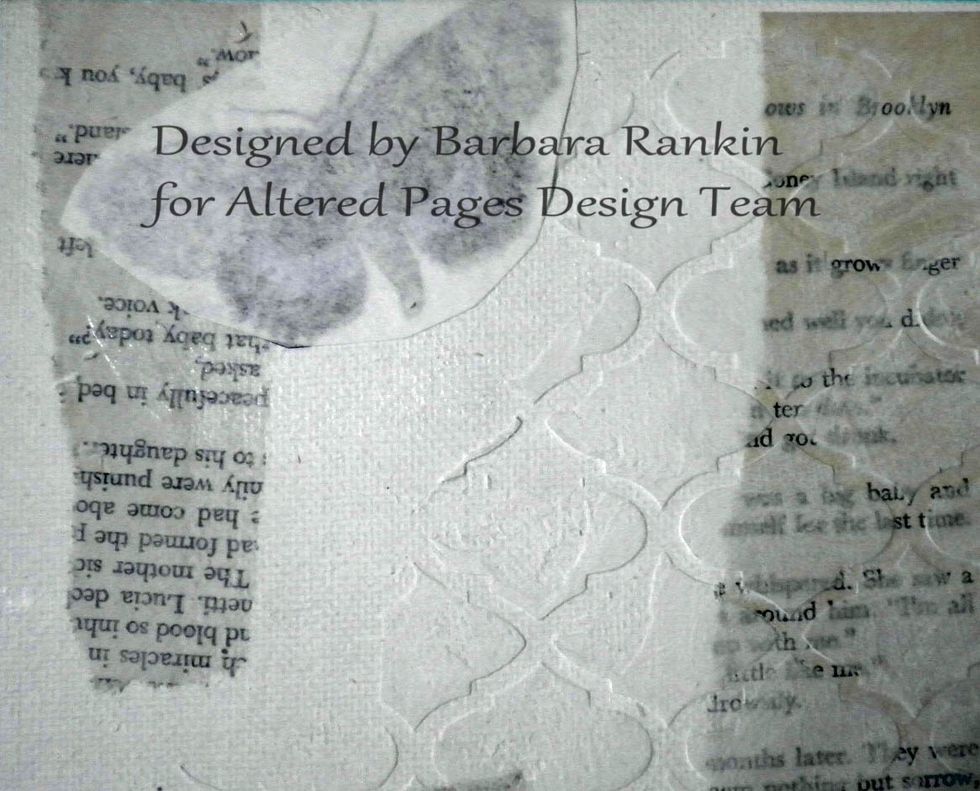
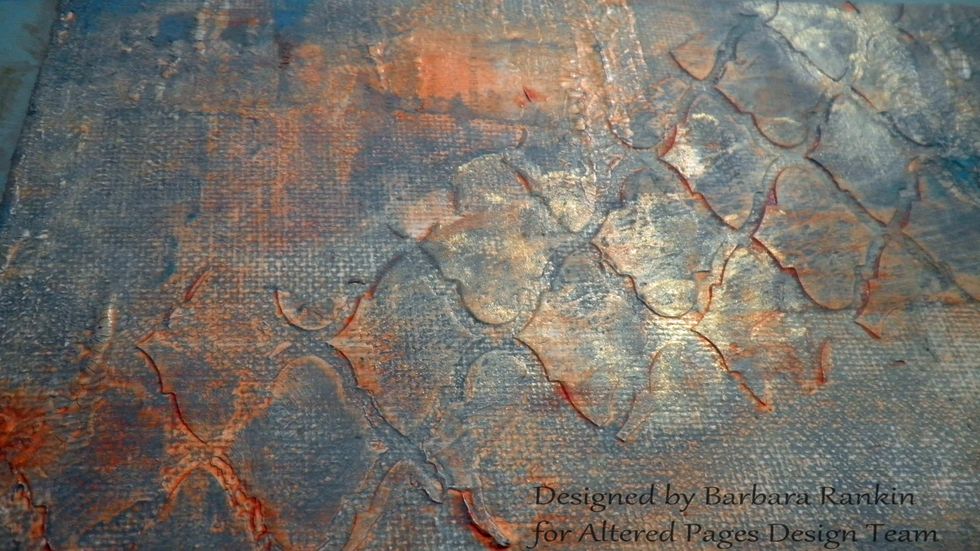
After the paste dried, I noticed that it was a bit transparent. I could still see my text pages through it. Pretty cool.
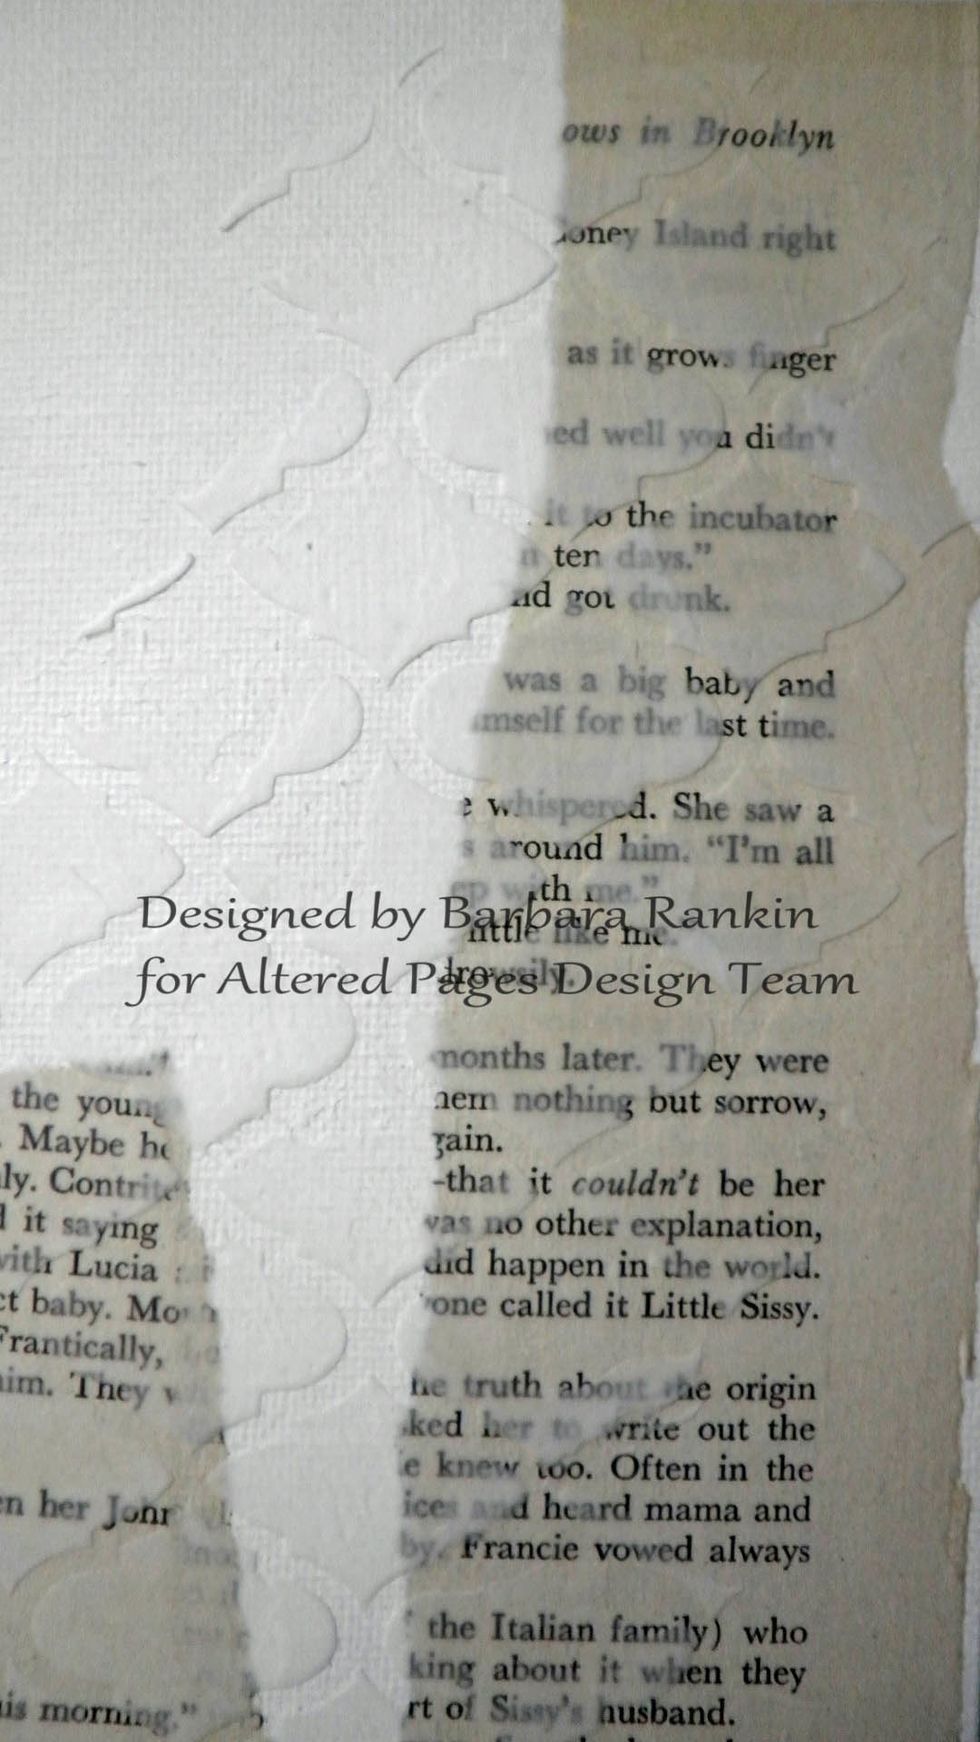
Here is a closer look at that transparent effect.
Next, I added a thin wash of the white gesso over everything. The DecoArt Gesso is very thick, and I used very little by mixing it with my wet paint brush as I applied it.
To get some color layers on the board, I printed some images from the A Little of This and That and Klein Postcards collage sheets onto inexpensive copy paper.
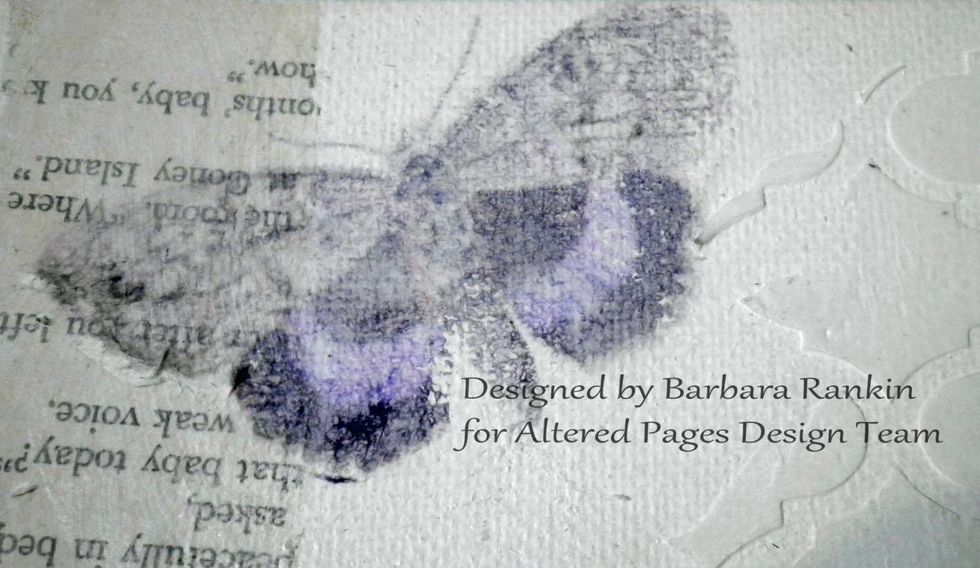
I used the DecoArt Matte Medium to transfer the images, not going for perfection, just some color layers.
This image was transferred from the Klein Postcards collage sheet from Altered Pages.
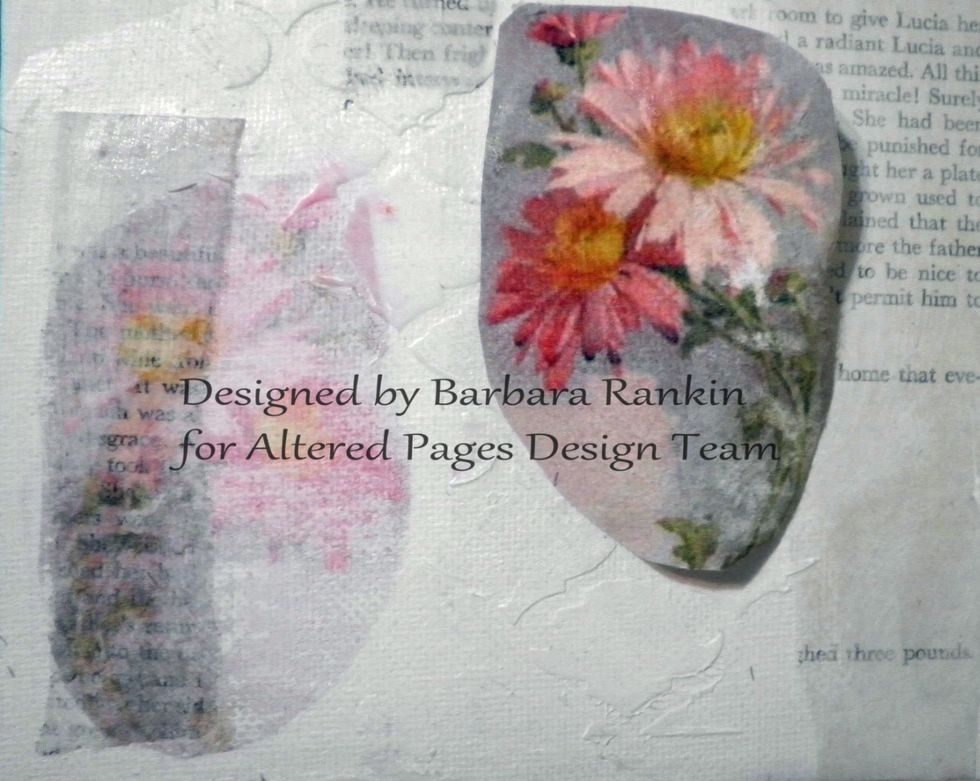
Transfer as many images as you like. Another image from the Klein Postcards collage sheet.
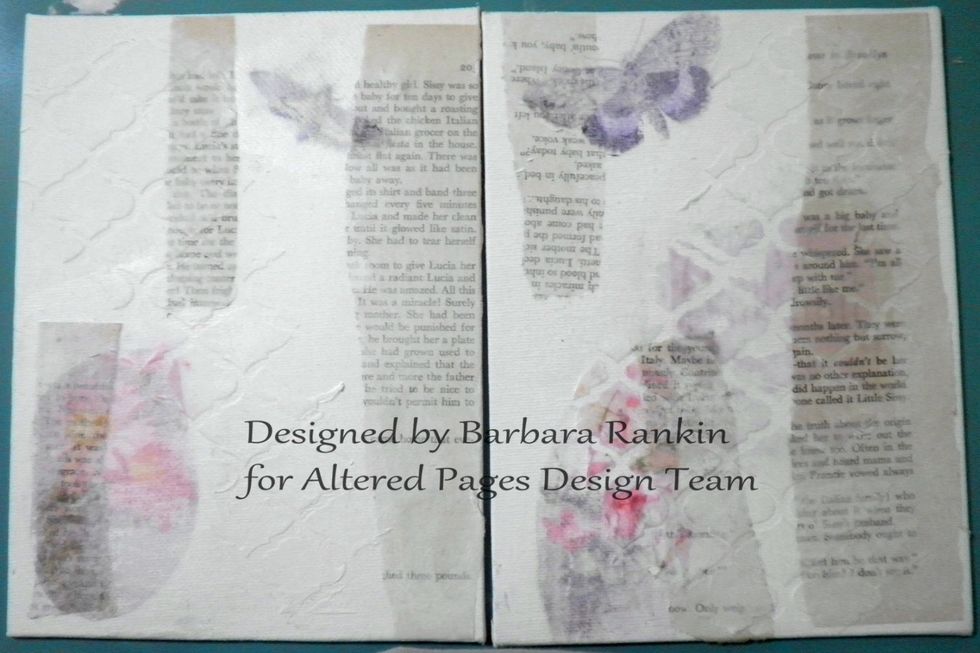
Here is a look at the pages with the images transferred. Not perfection, but it will be another layer to work upon.
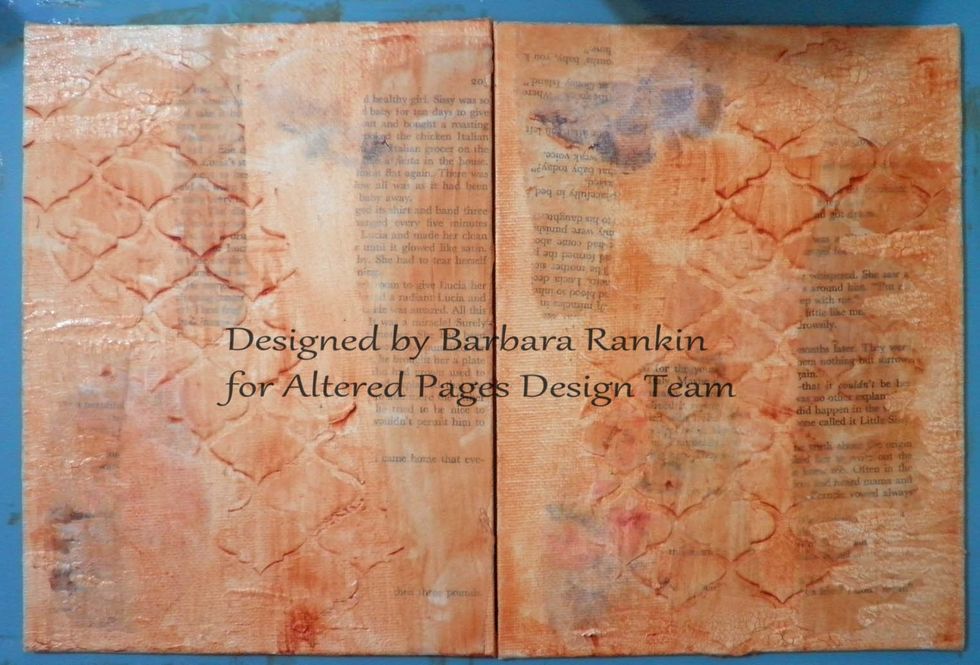
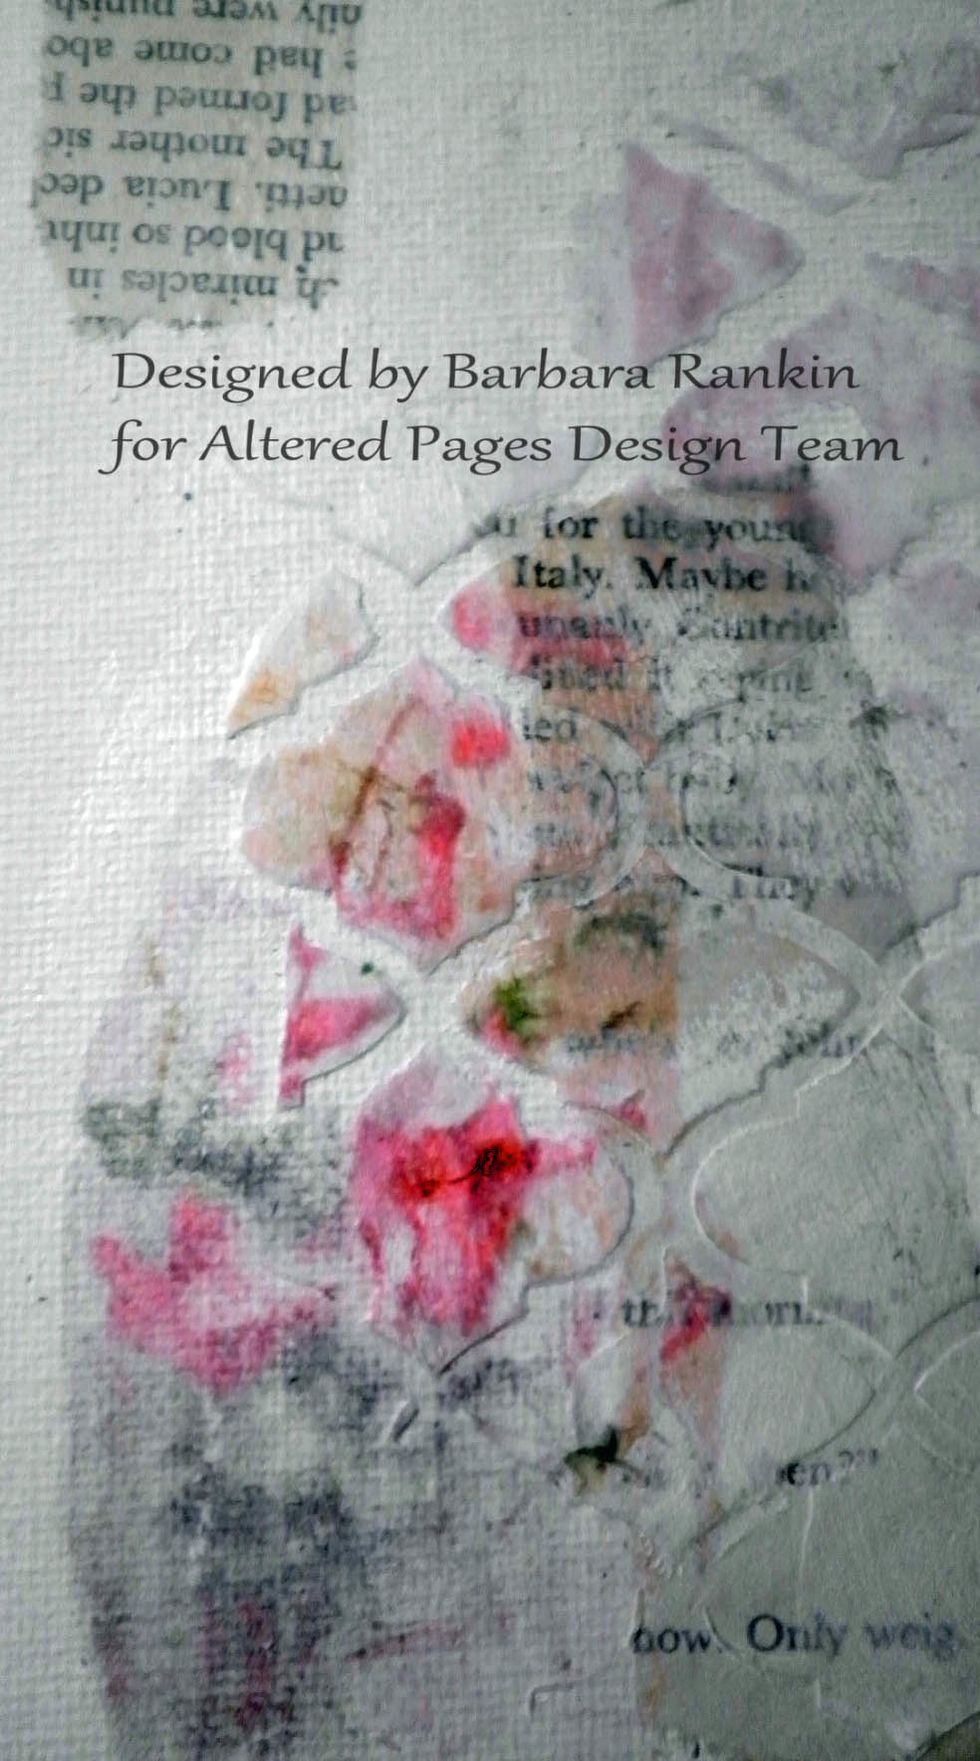
Add a light wash of DecoArt Transparent Red Iron Oxide mixed with an equal amount of retarder. You could also use a glazing medium if you don't have retarder.
This makes the paint very transparent, depending on the amount of retarder added, without losing the color. I let the wash puddle around the stenciled parts for added depth.
Next, I printed the Fun Ephemera sheet onto a sheet of Craft Attitude (CA), in reverse, so the words would be legible when I adhere the images. I let the CA dry overnight.
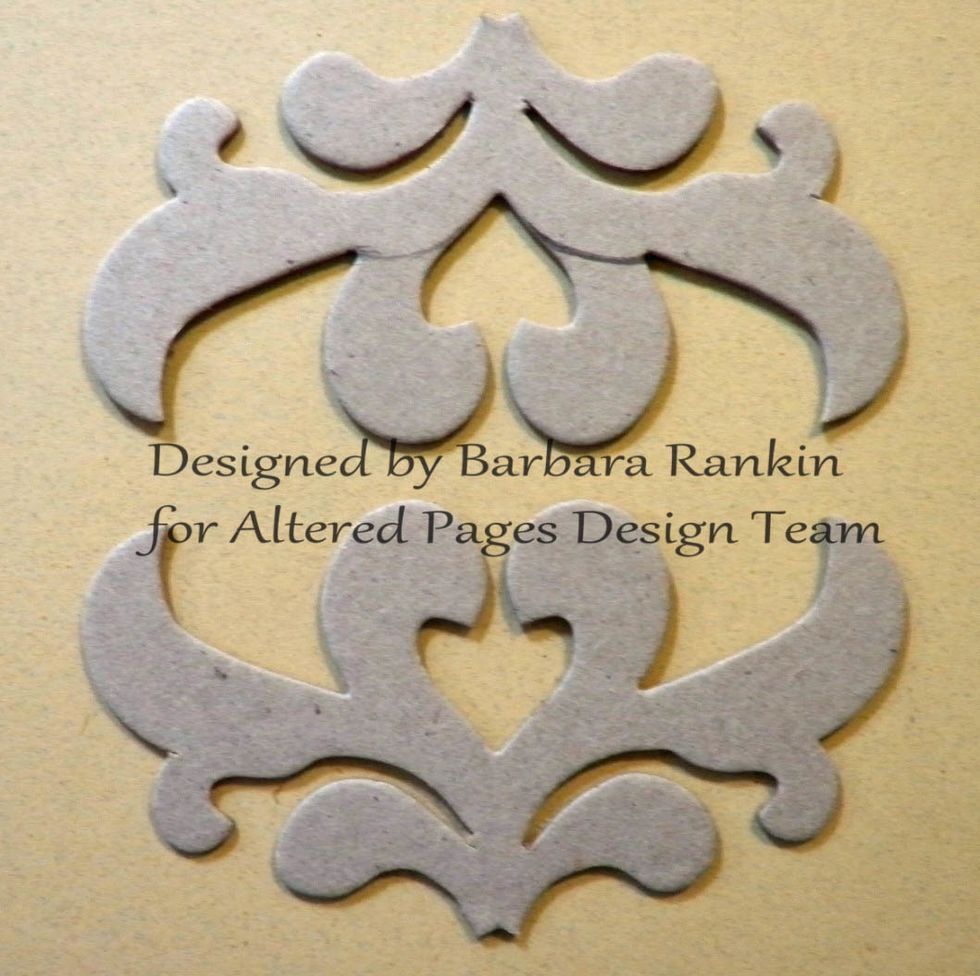
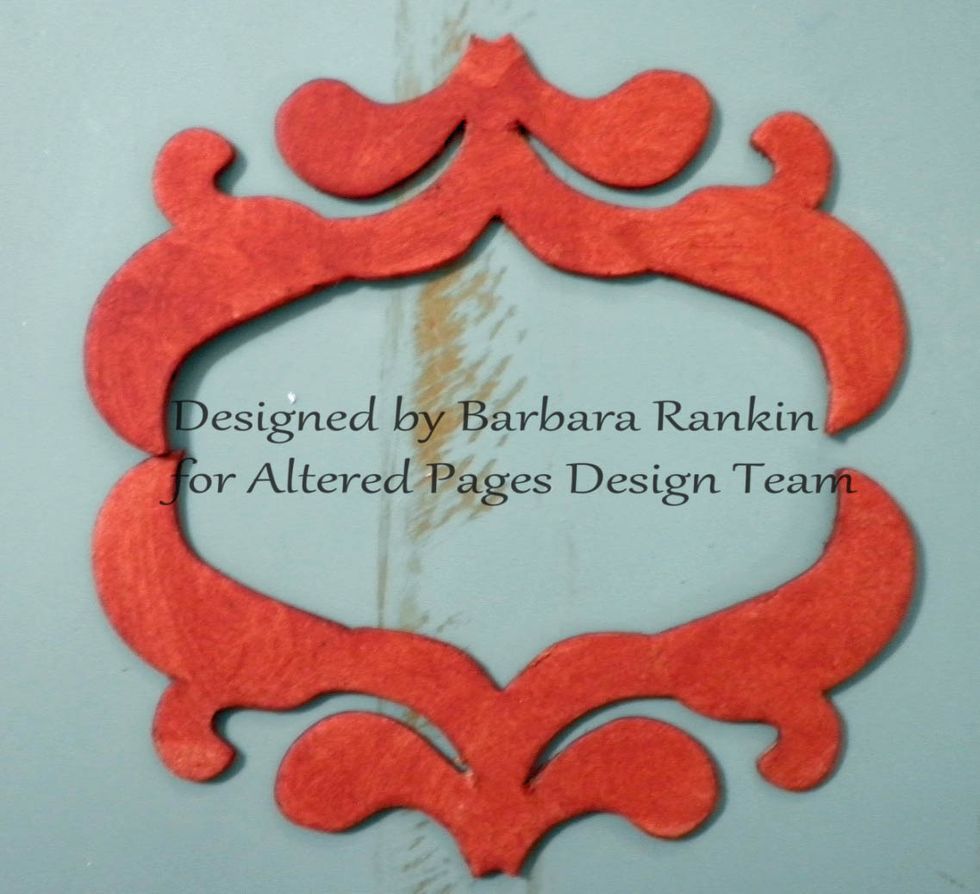
Choose the Chipboard Scroll Corners to fit your CA image to form a frame for your book title. I marked the bits that I wanted to remove.
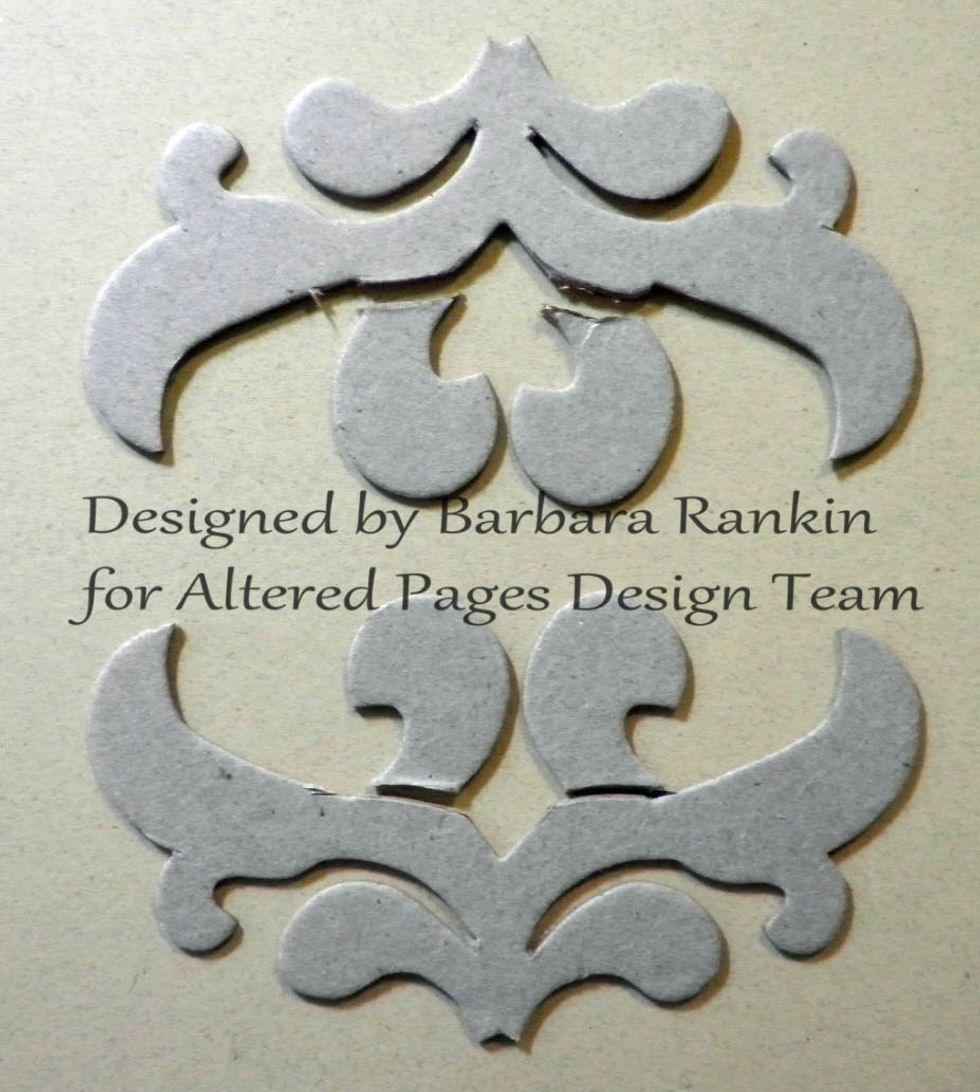
I chose to use the "Almanac" collage image, so that helped determine the scroll size I needed. I removed the bits, as shown in the picture. Save those bits. You never know when you will need them.
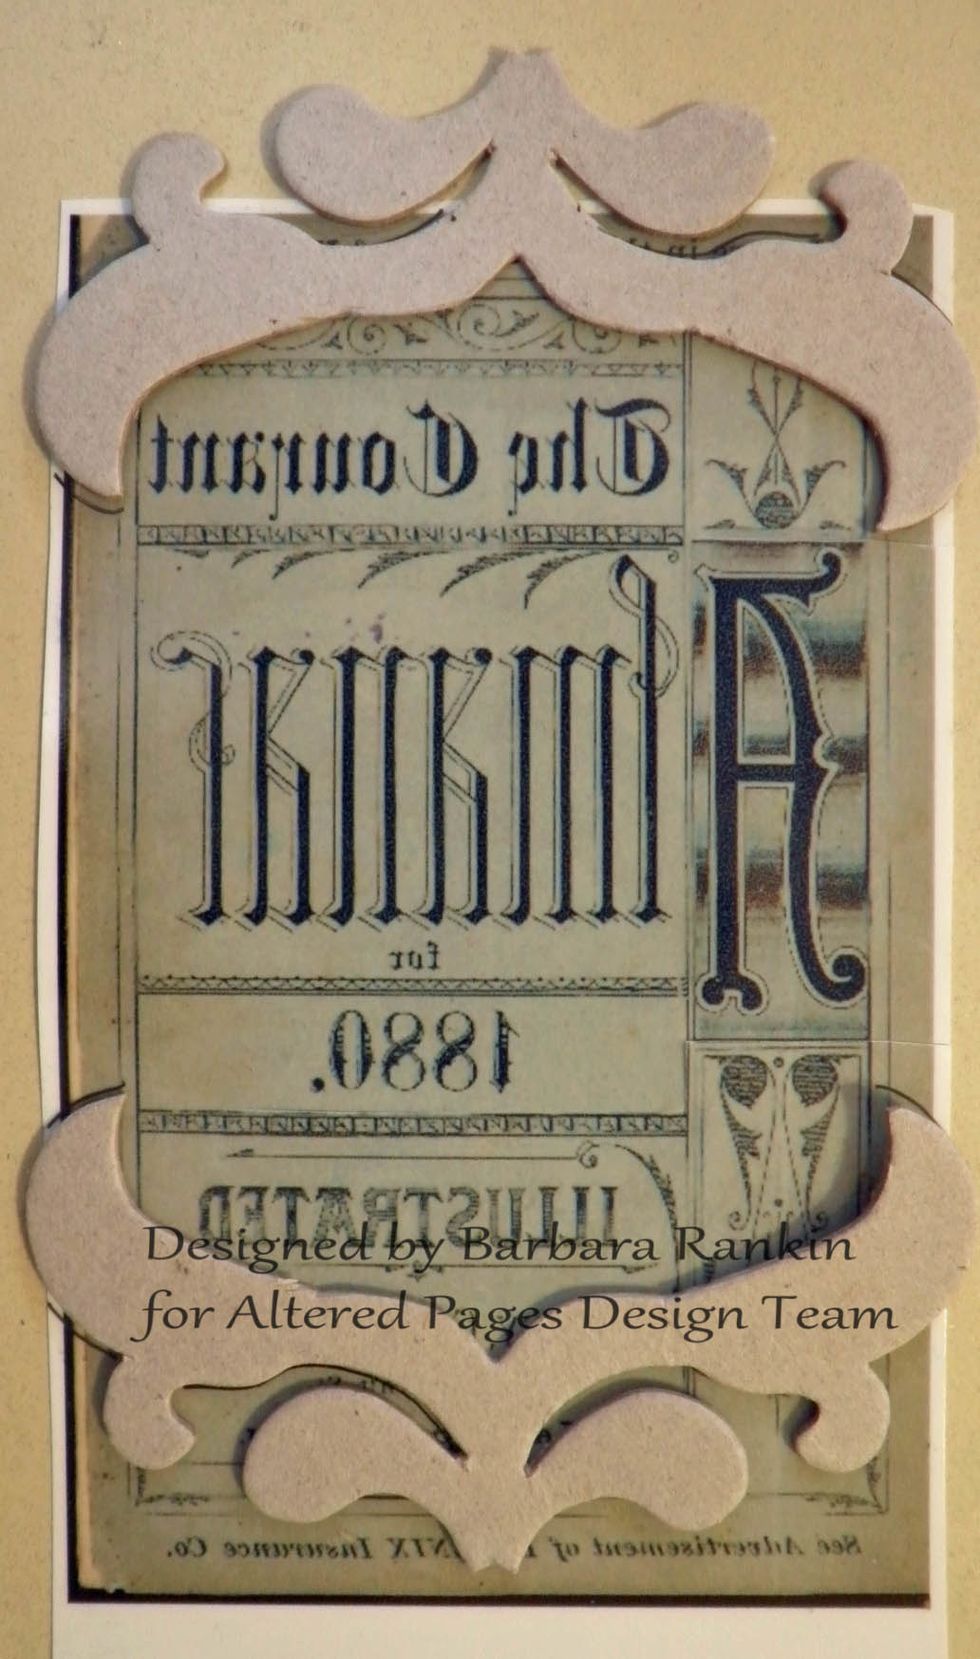
Next, I laid them onto the "Almanac" image and drew around the outer edge of the chipboard, trimming the excess CA.
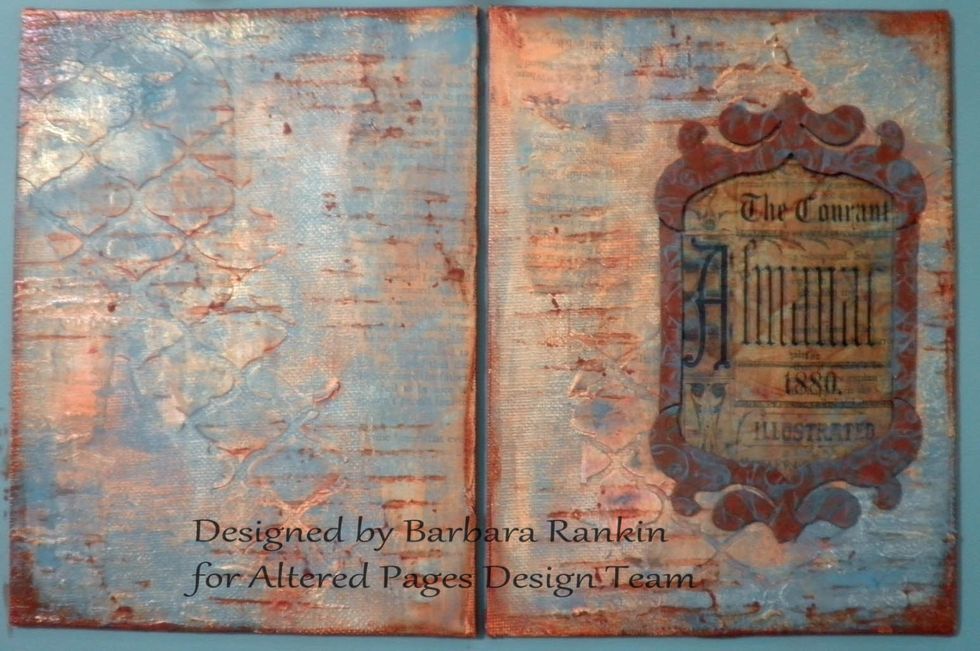
Following the CA package directions, I adhered my trimmed "Almanac" image to the cover, using a glue stick.
Look closely at the image and you can see the texture through the CA. Isn't that awesome?
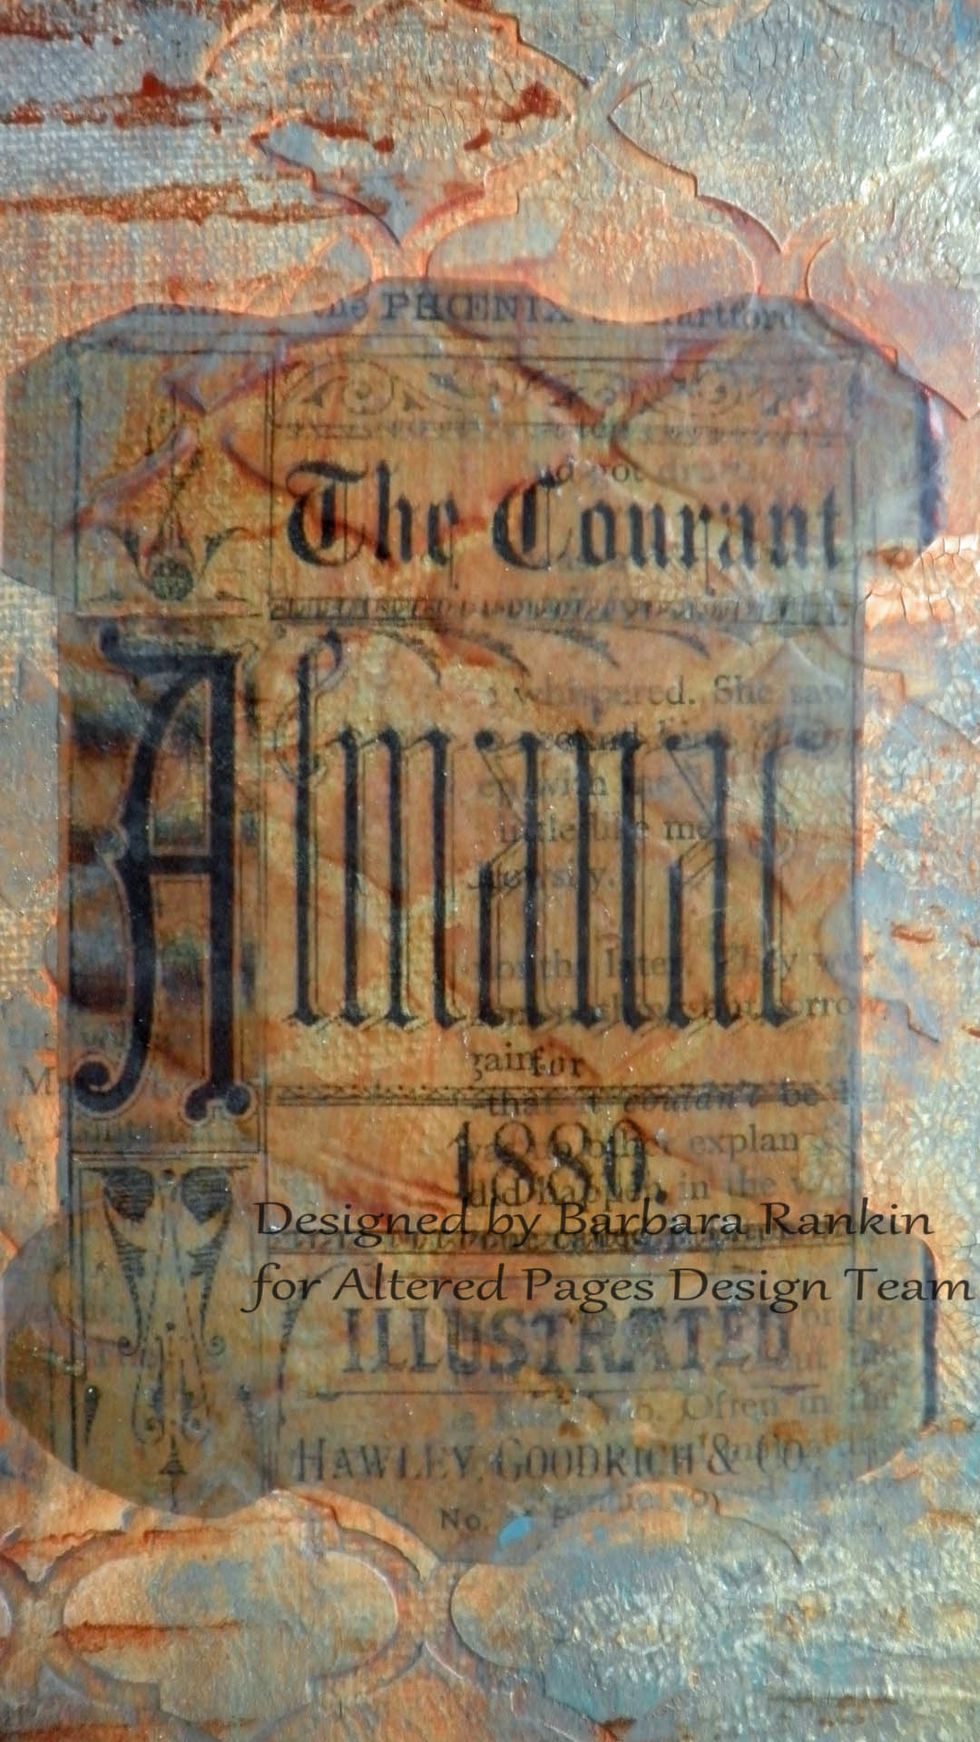
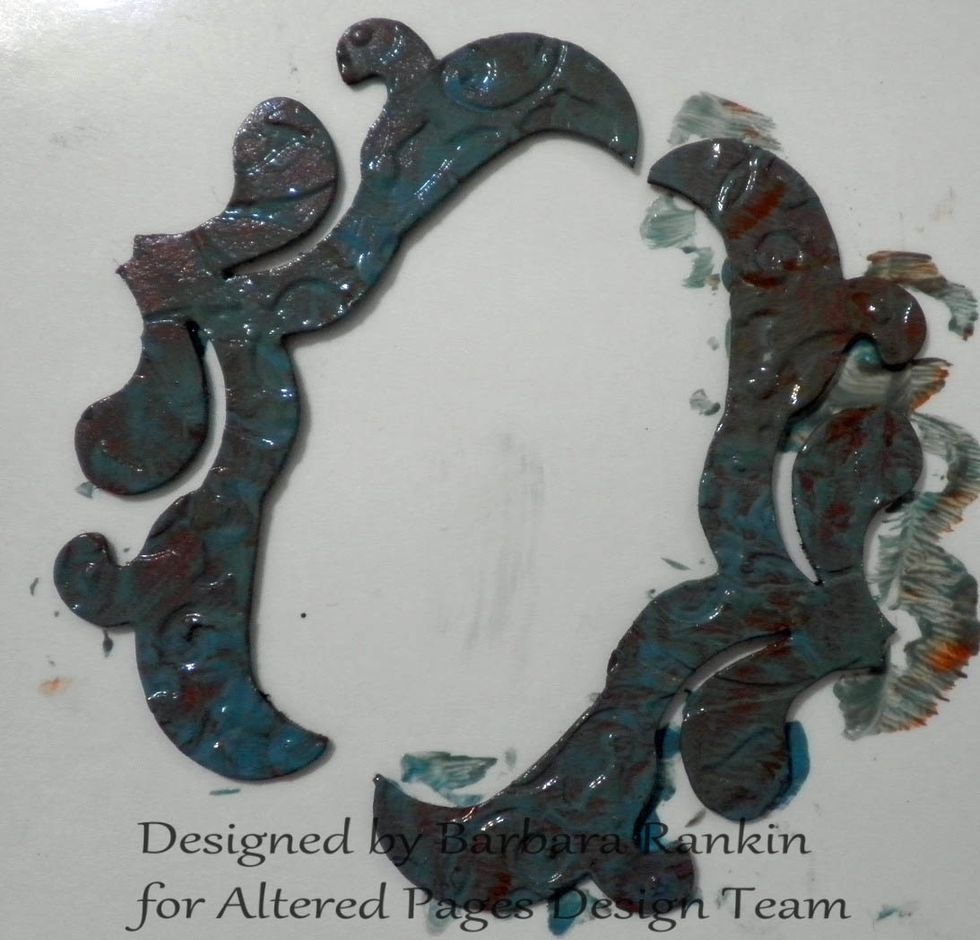
Using my finger for best control, I applied the DecoArt Patina Green Antiquing Cream to the covers, concentrating on the crackles and outer edges. You can use a baby wipe to remove some to the cream.
Next, I randomly added DecoArt Interference Gold, concentrating on the darker areas. Because it is an interference paint, it needs to have a darker background to reflect the light.
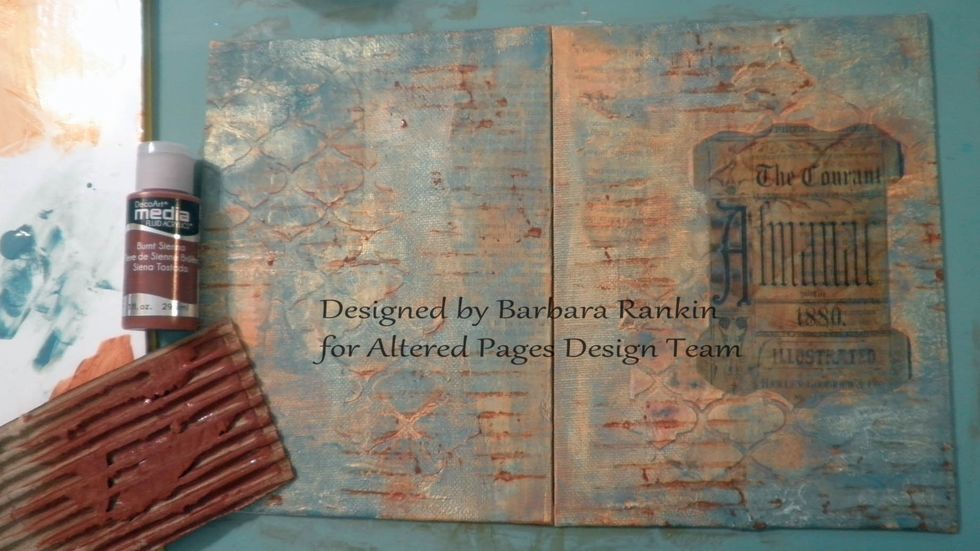
One of my favorite "mark making tools" is a piece of corrugated cardboard from packages. I painted DecoArt Burnt Sienna over the corrugations and randomly pressed the cardboard onto my cover.
Now to get back to the frame for my title. I painted both Chipboard Scroll Corners with DecoArt Burnt Sienna mixed with a tiny amount of retarder, making sure to paint the edges as well.
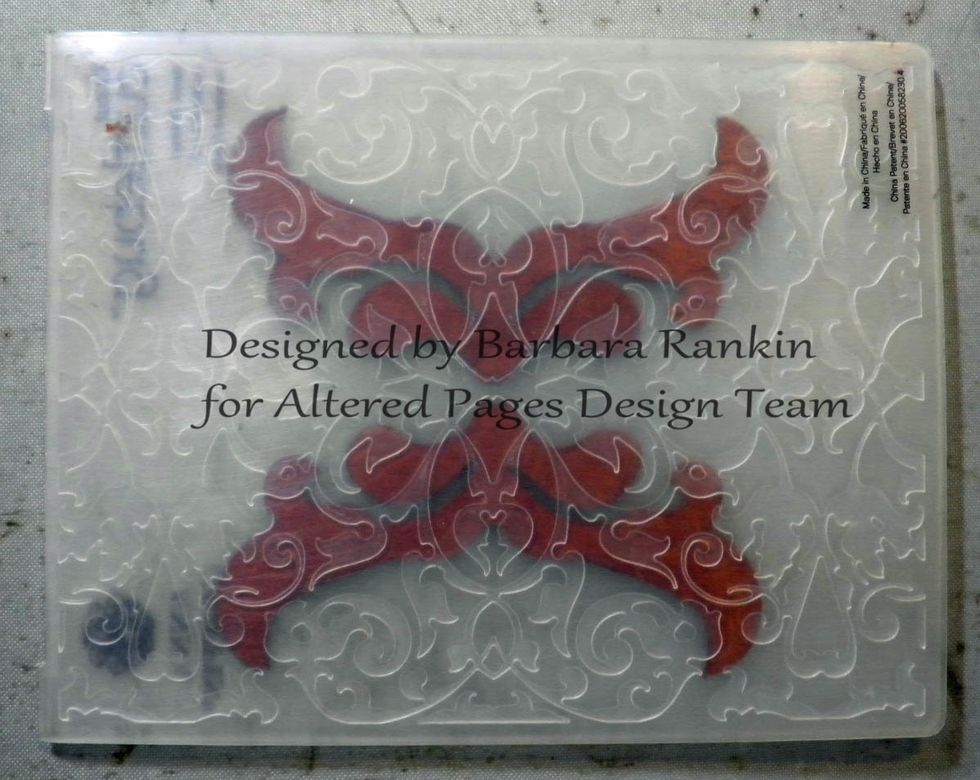
Emboss both corners with the embossing folder.
Add a wash of the DecoArt Patina Green, mixed with a tiny bit of retarder, and let set for a minute before wiping off the excess.
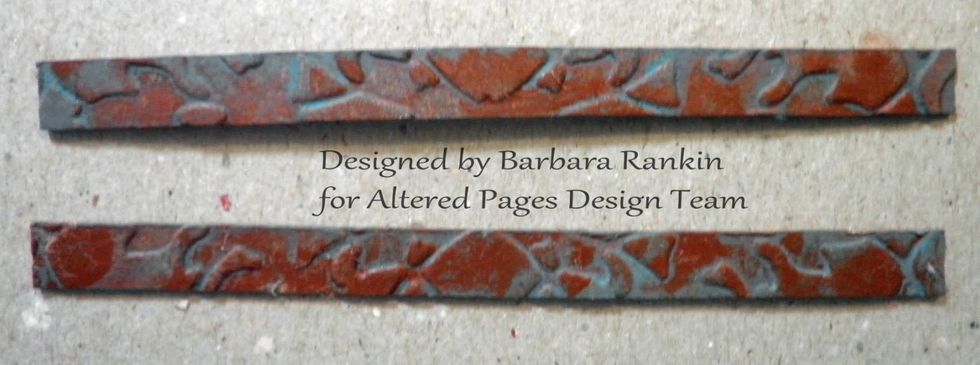
Make two 1/4" chipboard strips, embossing and painting exactly the same as you did for the corners.
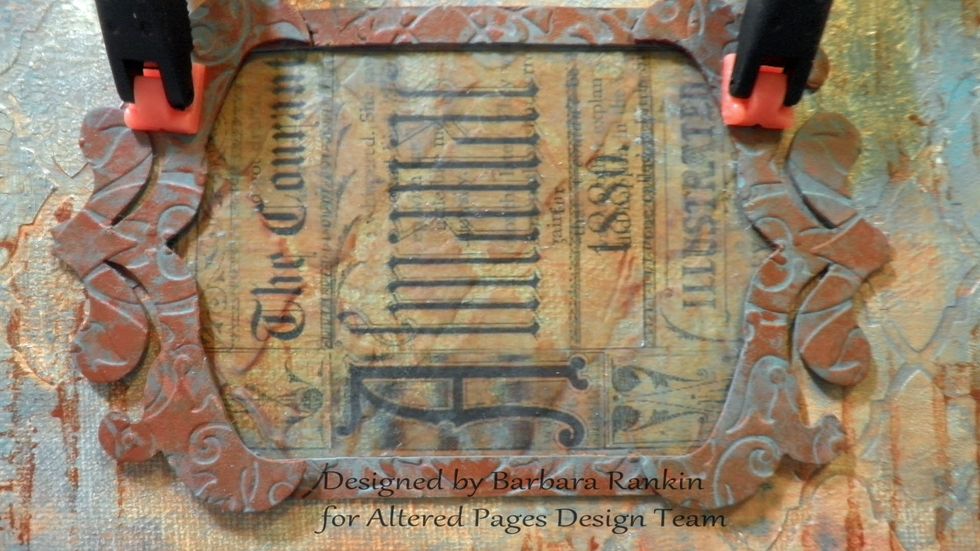
Dry fit the pieces and mark the strips for cutting so that they will lay flat on either side of the corners. I used a couple of clamps to hold the corners in place while I measured the strips.
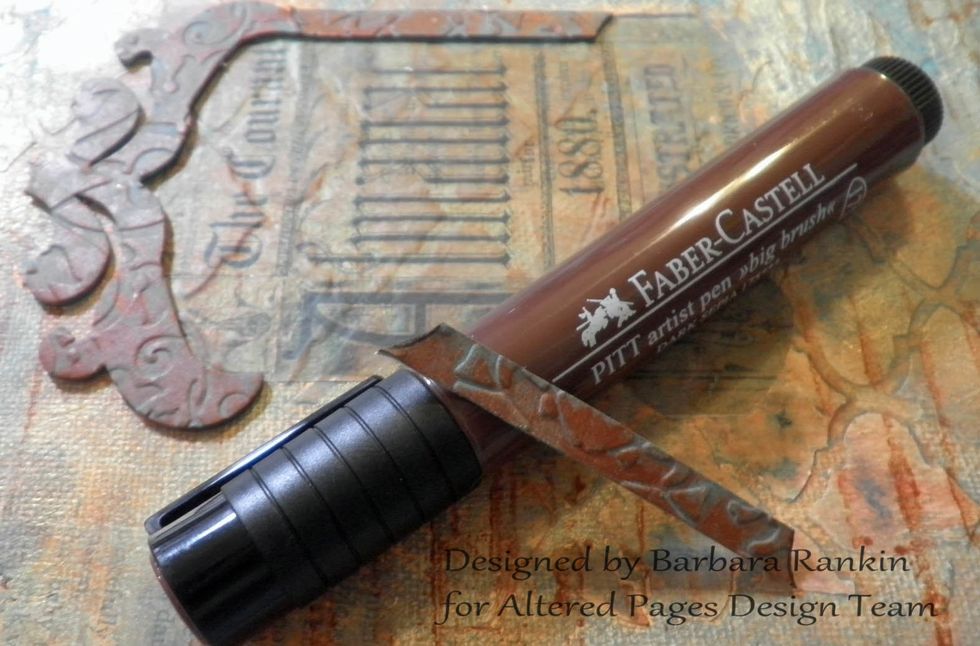
Use a brown pen to color the cut edges of the strips to disguise the join.
Then adhere all frame sections with the Zig 2-Way Glue Pen.
One last thing to finish off the covers is to add a darker color around the edges. I used the DecoArt Burnt Sienna and a tiny bit of retarder, applying it to the edges with my trusty "finger" tool.
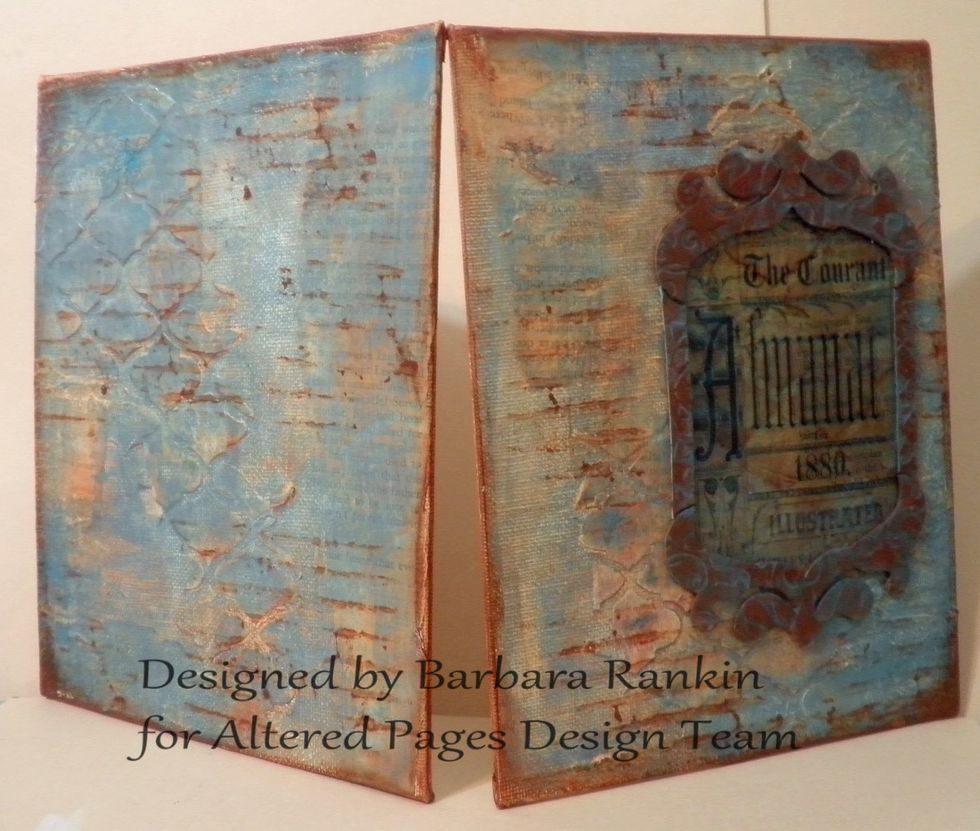
Now you have nice finished edges, no more white showing. Lovely!
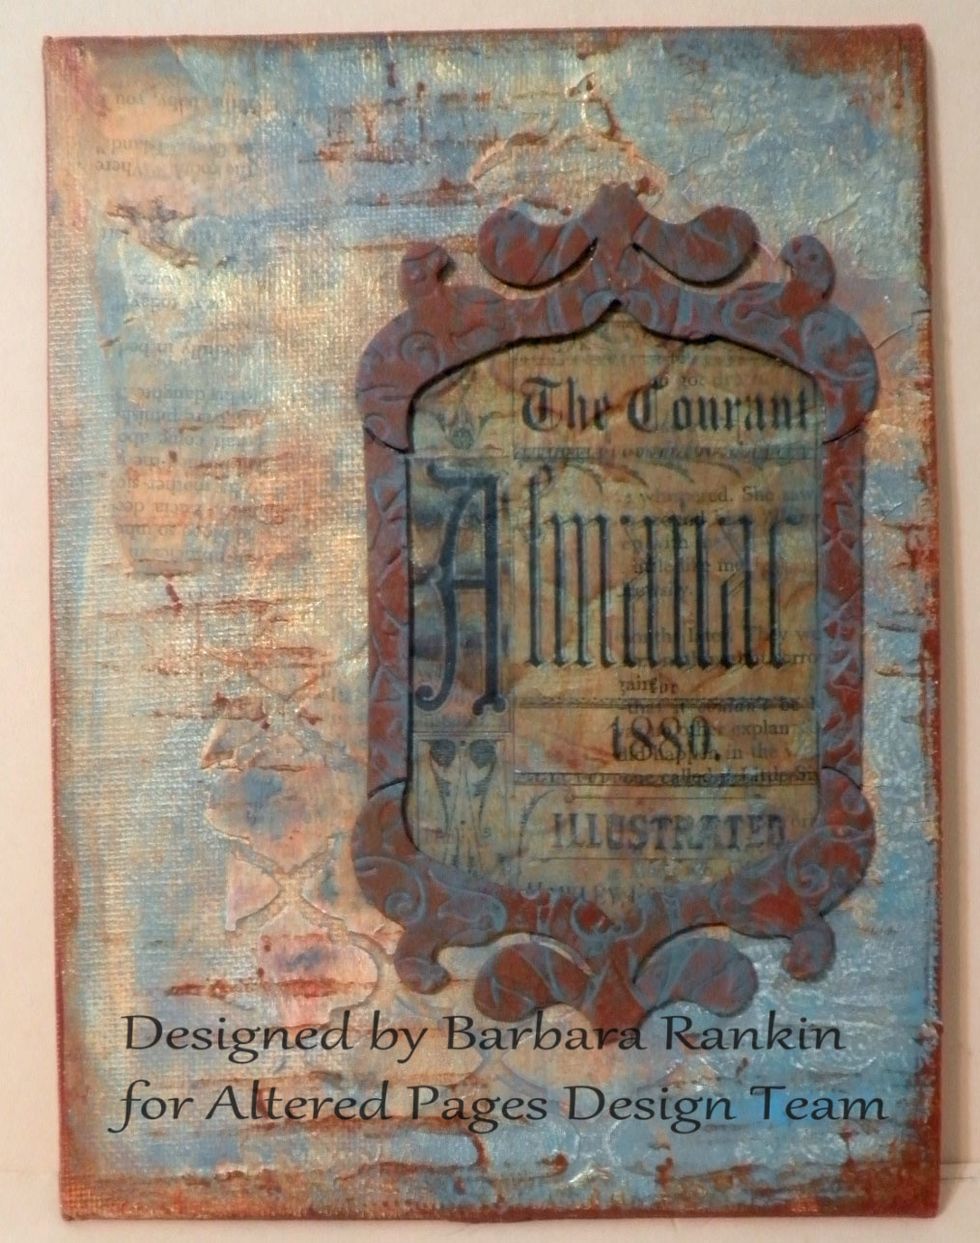
One last look at the front cover. I really like it. Please follow me this month as I continue this WIP (work in progress).

Here are the DecoArt Media products used for this project. Please visit the Altered Pages blog for more fun inspiration with this month's sponsor, DecoArt!
This project will be available on the Altered Pages blog at http://alteredpages-artsociates.blogspot.com, and at my personal blog, http:blackholeartstudio.blogspot.com on 12 January 2015. Thank you!