The Conversation (0)
Sign Up
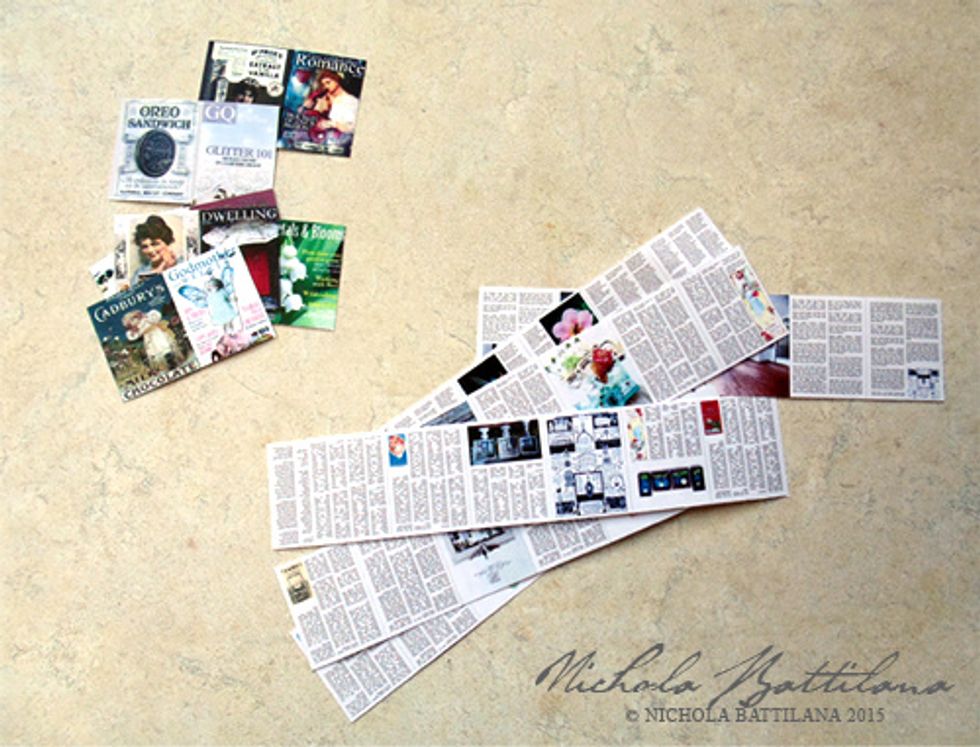
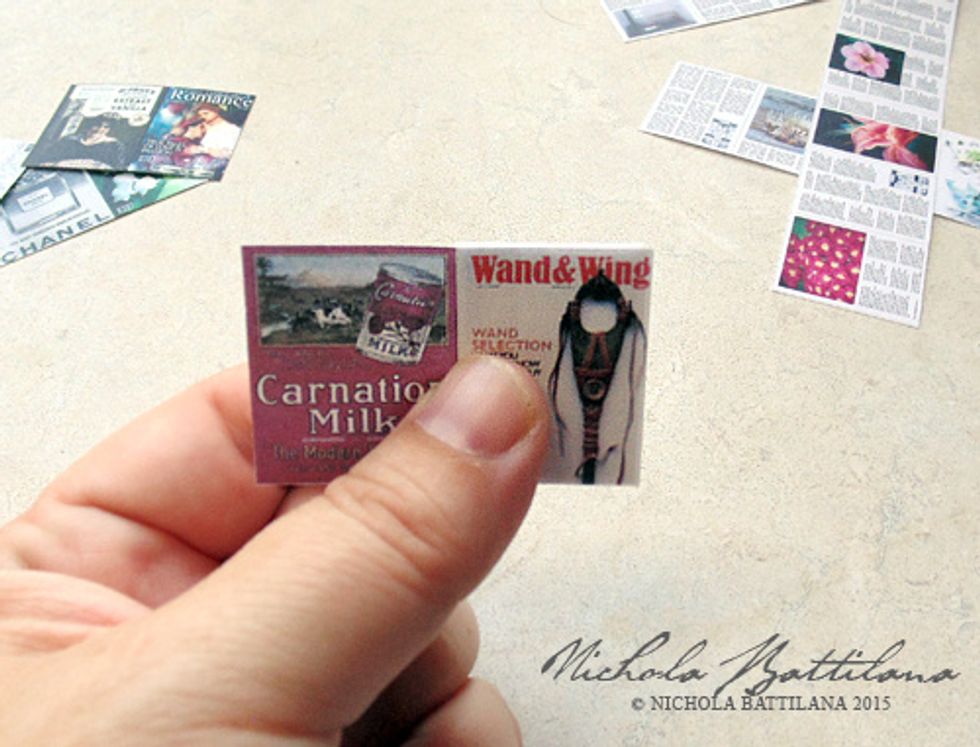
Print out the Fairy Godmother Magazine Collage Sheet available for purchase from http://etsy.me/1DrtkRu. Cut out the pieces like so. *Note: for 1:12 scale print at approx 75%*
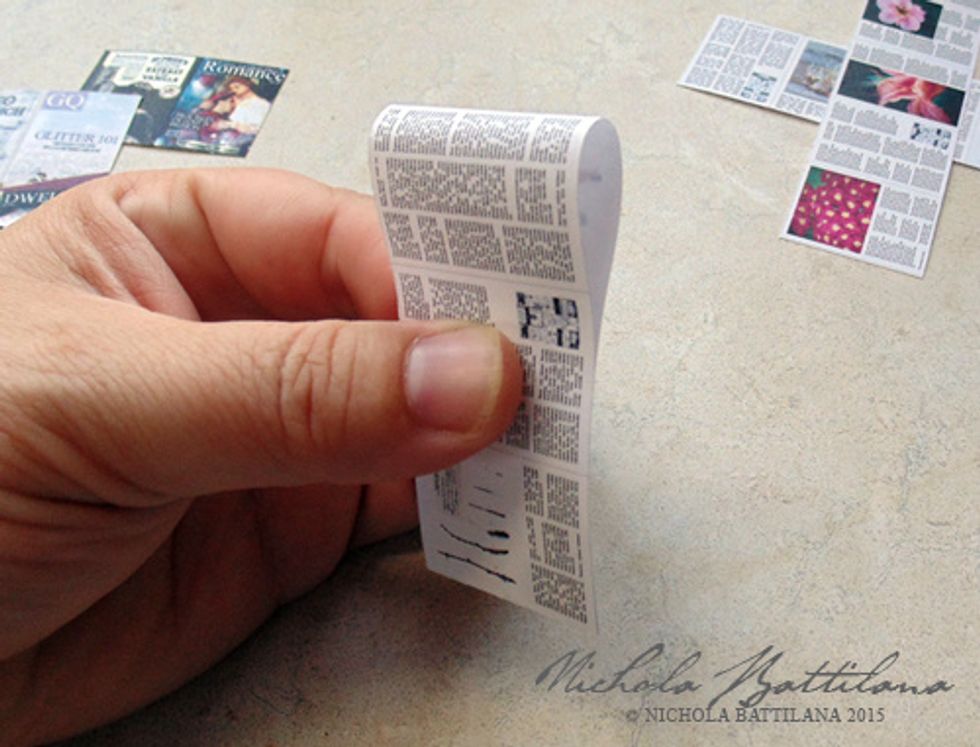
You want to accordion fold the magazine pages. I've found the way that keeps the pages most neat and uniform is this: Bend one of the 'editorial' pieces and align the bottom edges...

... now and create a neat, crisp folded edge at the bend.
Look for the second faint line from the edge you just folded.
Align your folded edge to that second line. Press to create a fold.
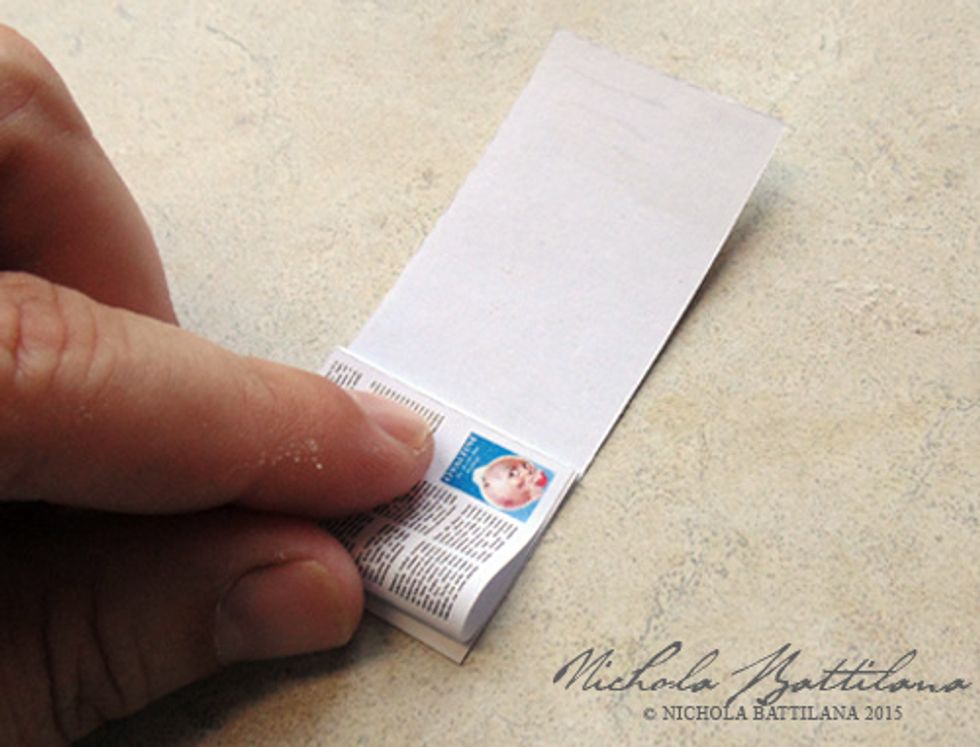
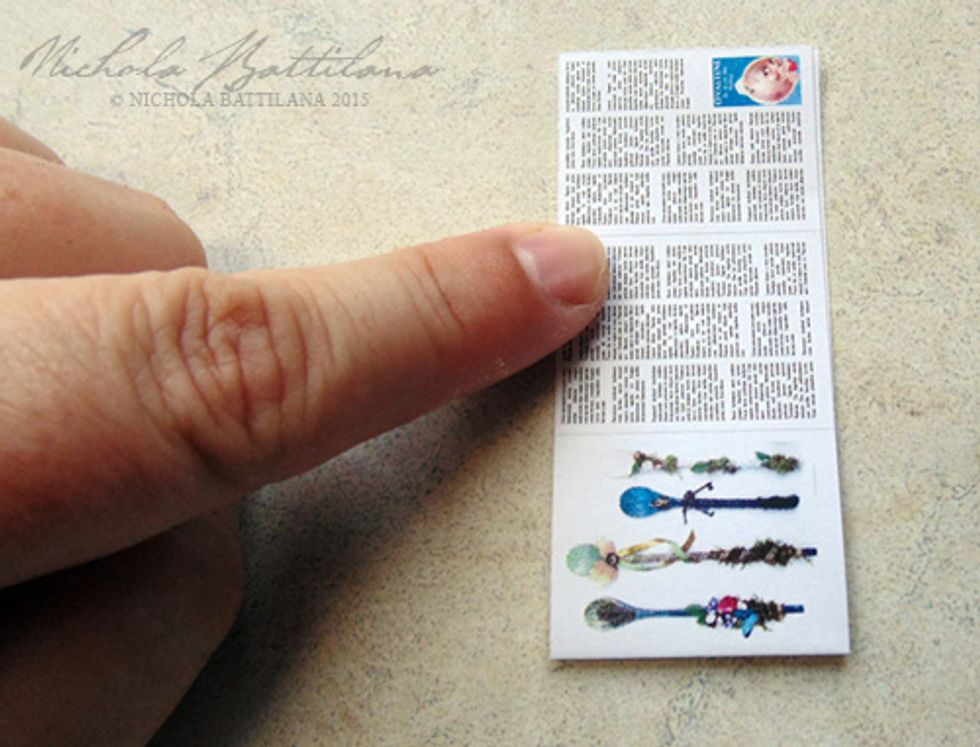
Now, fold the last 'page' to meet the centre folded edges.
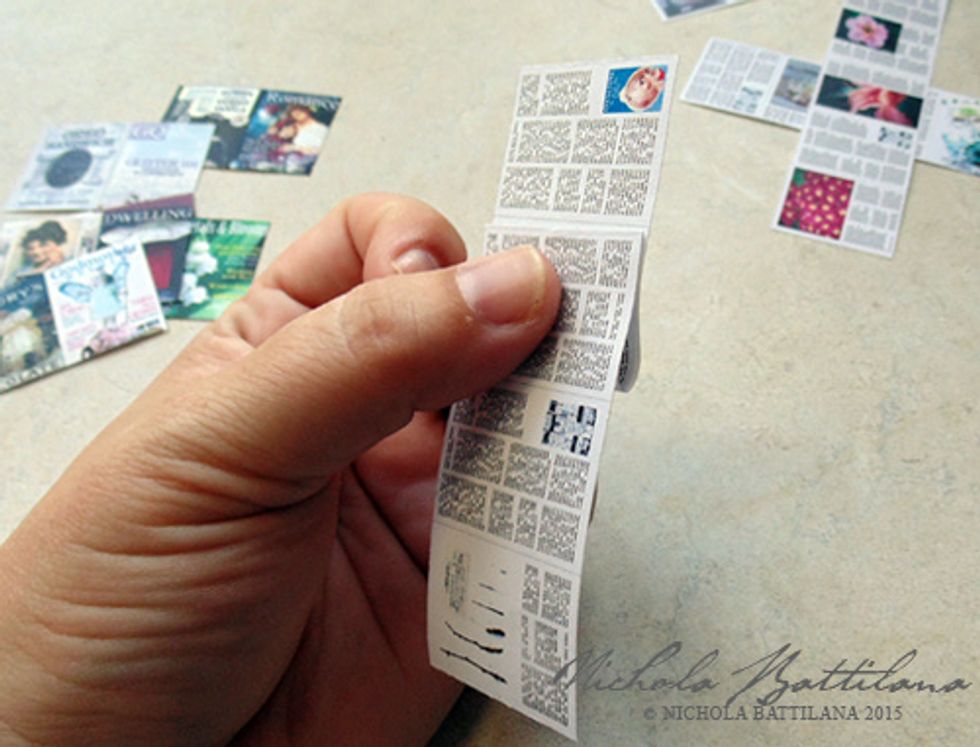
Repeat for the other side.

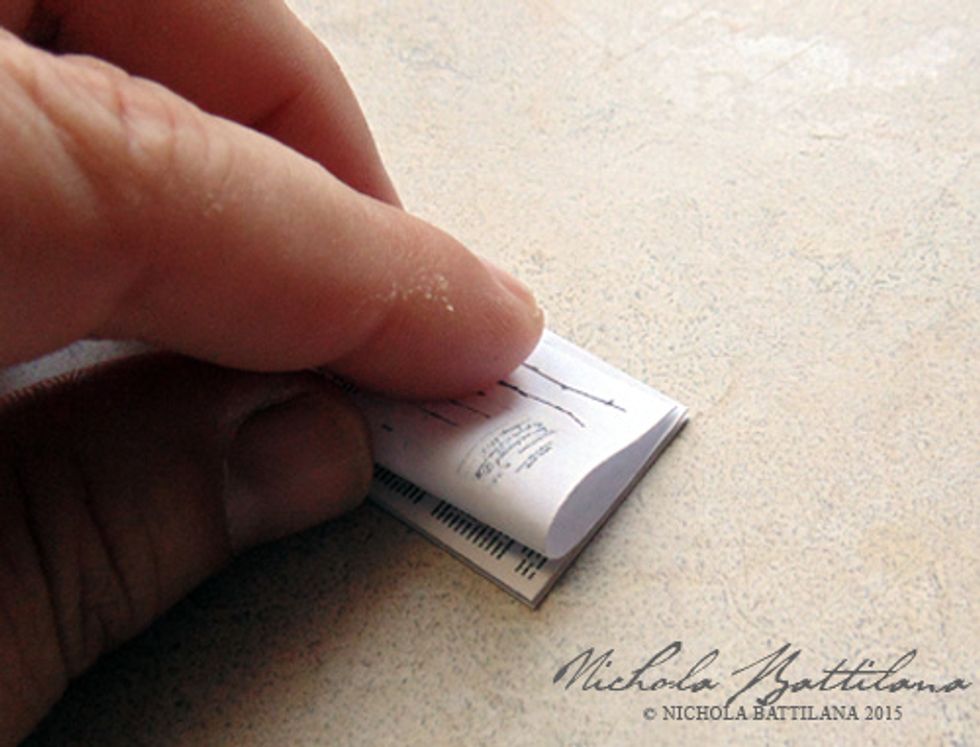
It may seem like a lot of hullaballoo just to accordion fold a bit of paper, but the results seem neater when done this way.
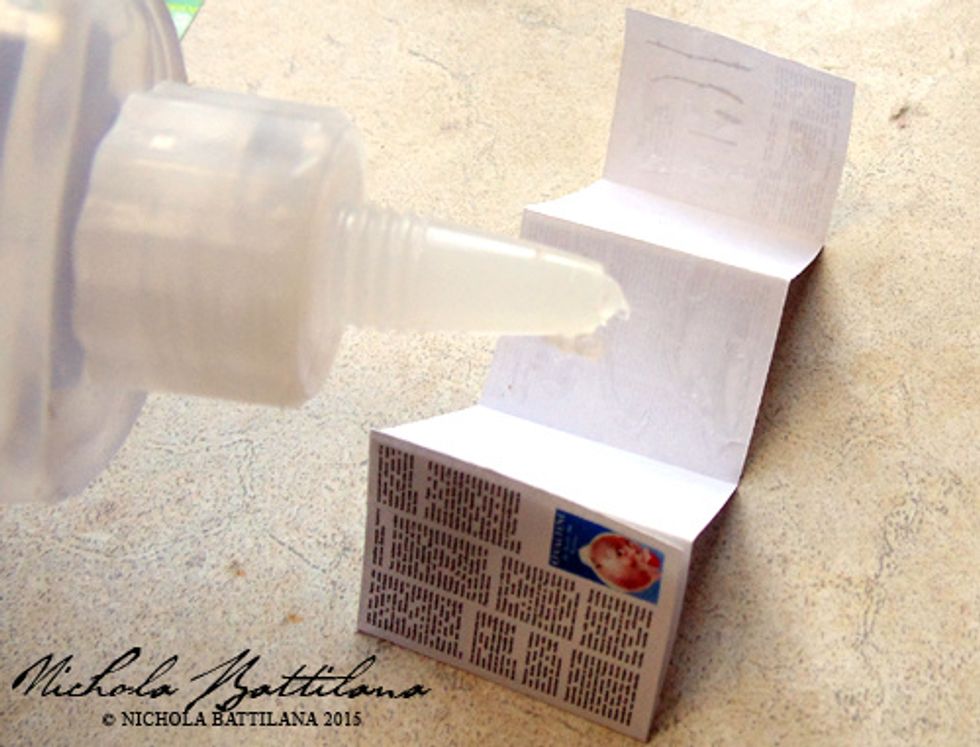
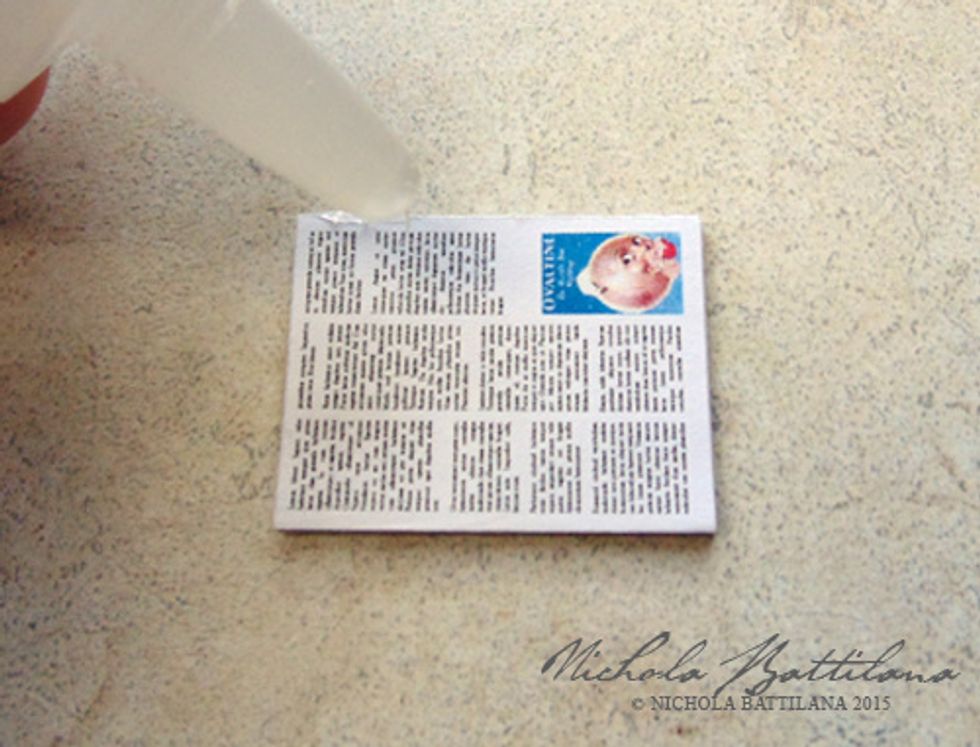
Glue the pages together so they appear to be printed on the front and back. I'm using a quick tack scrapbook adhesive, a glue stick would work well too. Avoid glue that will wrinkle the paper.
You should have a shape like this.
Take the cover and align the front cover to the inside pages.
Wrap the cover around, creasing along the spine. Notice that I'm using the edge of the back image to form the spine.
Apply a thin line of glue along the spine of the folded pages. If you get a bit messy the front and back pages will stick to the cover... no biggy, you'll still be able to open the inside pages.

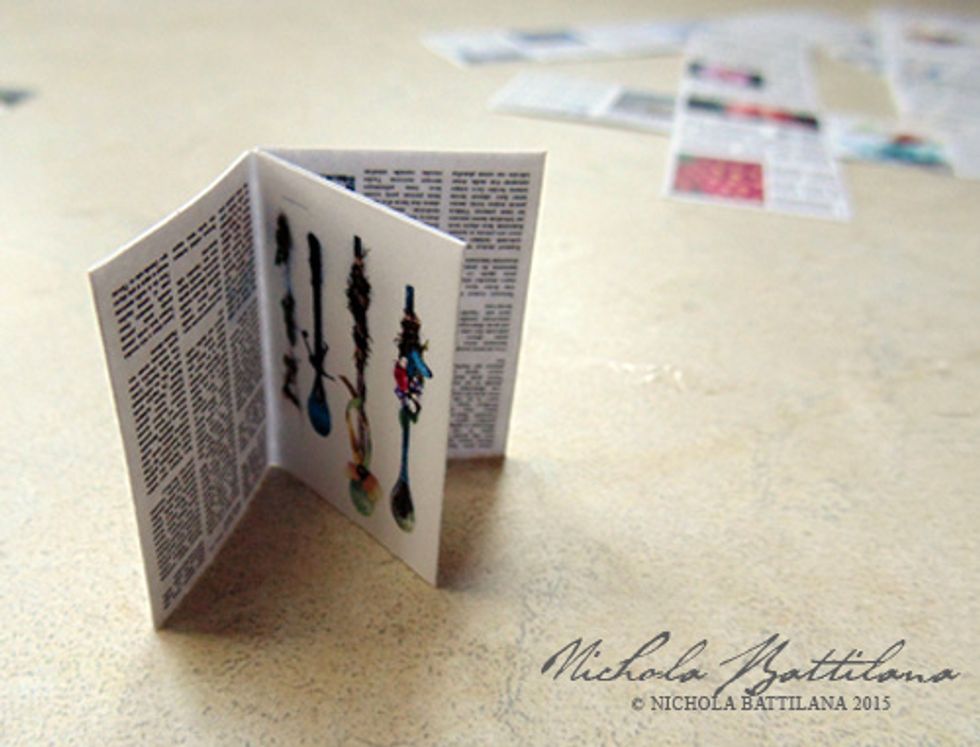
Place your pages in the crease you created in the cover.
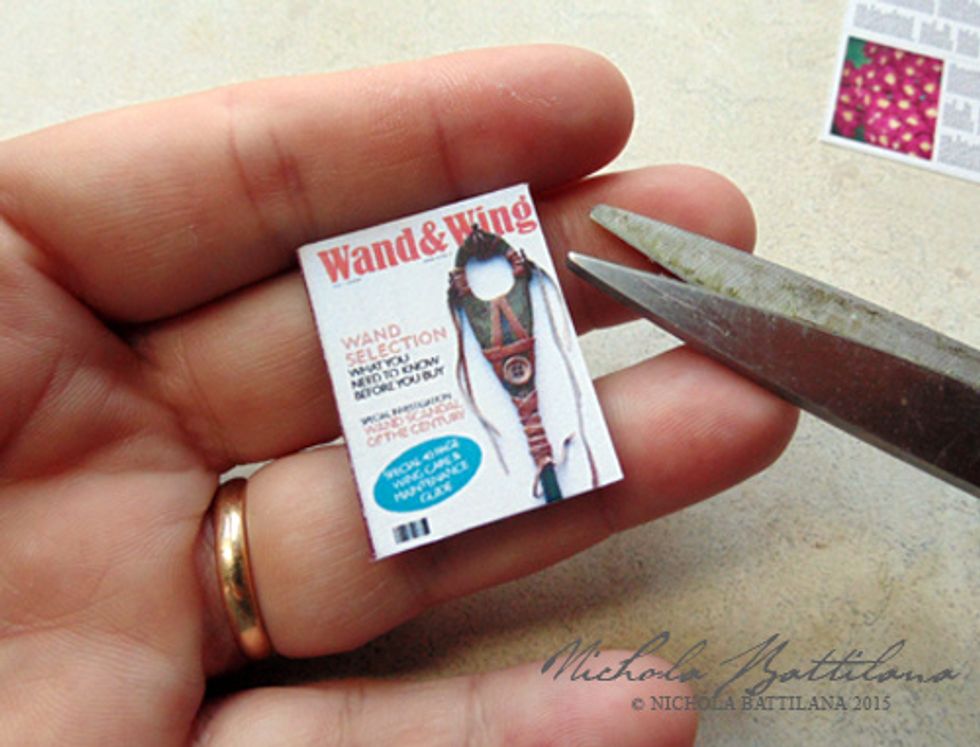
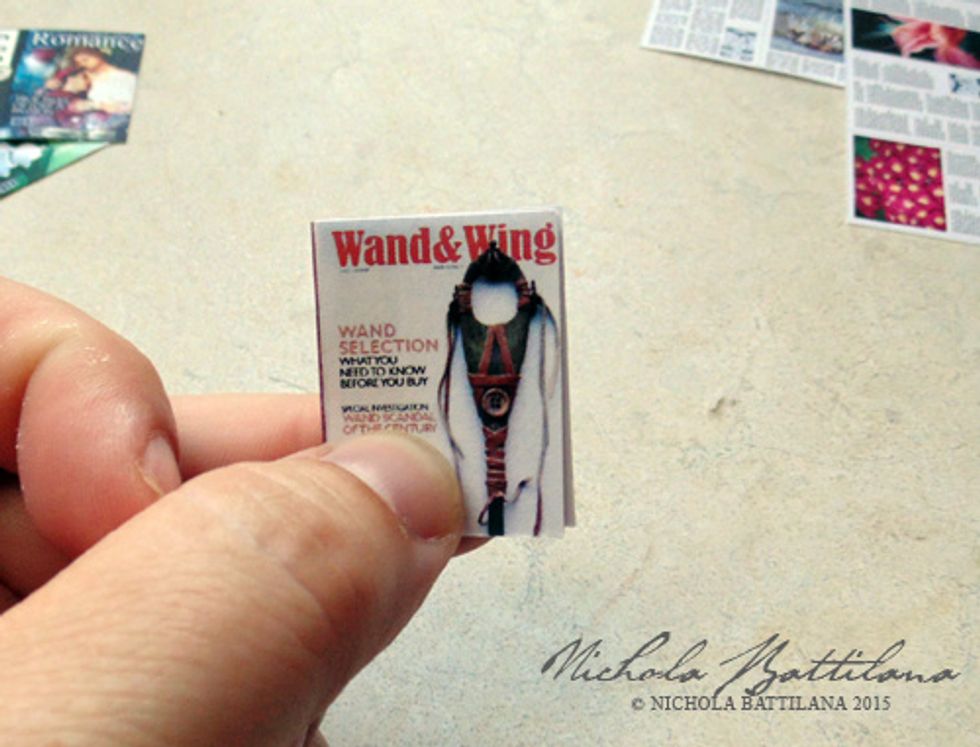
Carefully trim your edges and distribute to your fairy friends. NOTE: avoid cutting the folded edges.

Important: this project can be a bit fiddly. A sharp blade and a bit of practice helps a lot. Good luck!