The Conversation (0)
Sign Up

Let's start.
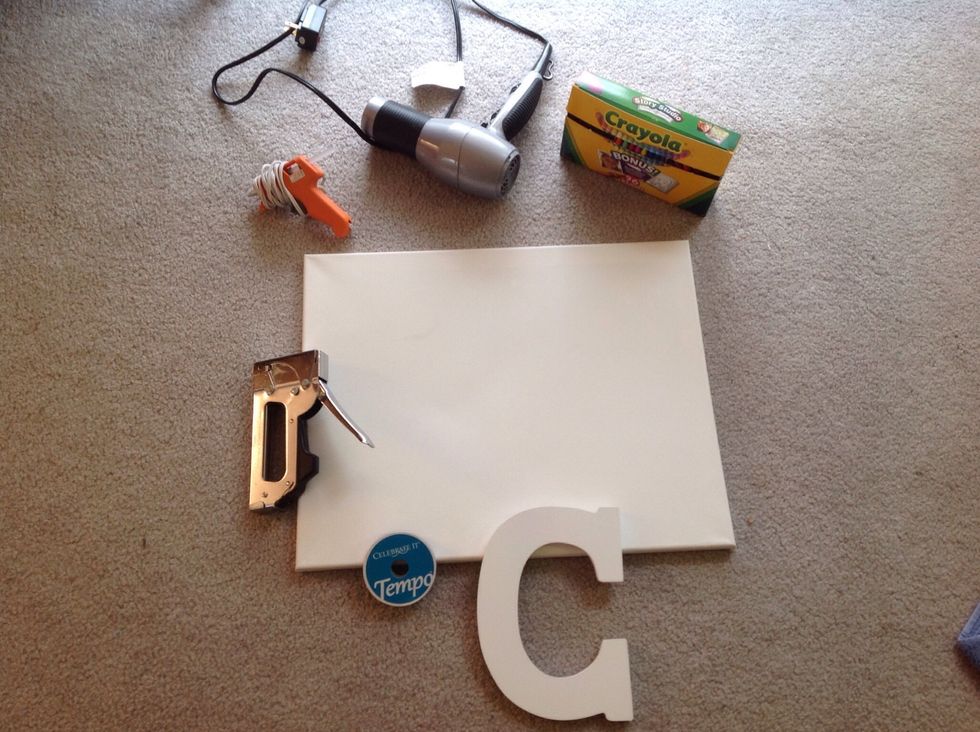
Get the supplies.
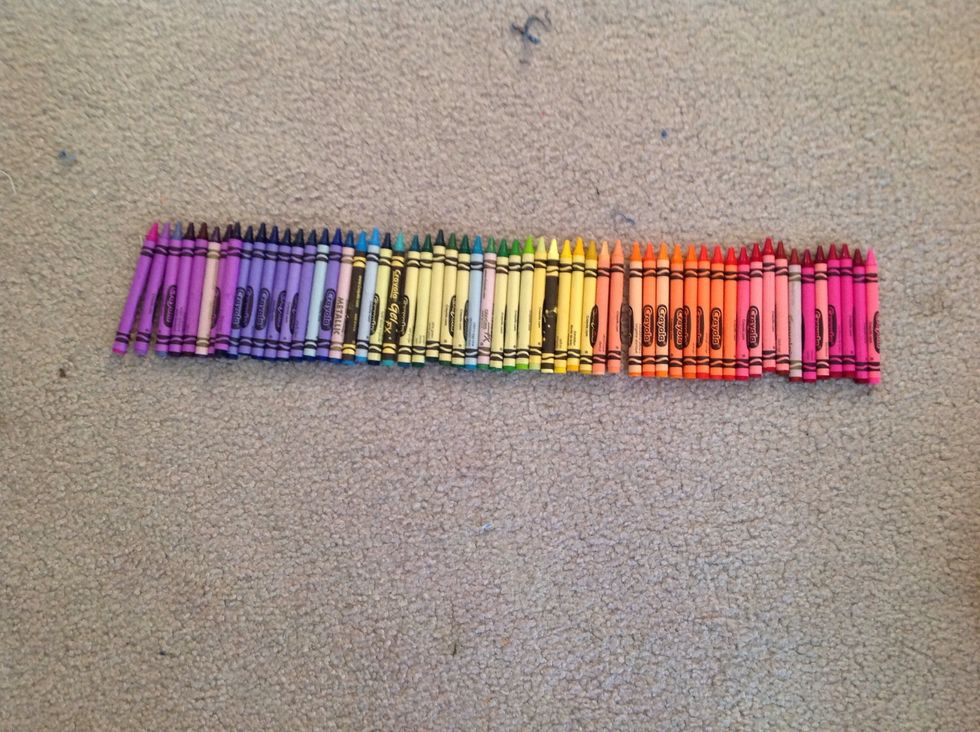
Decide how you want to order the crayons by color.
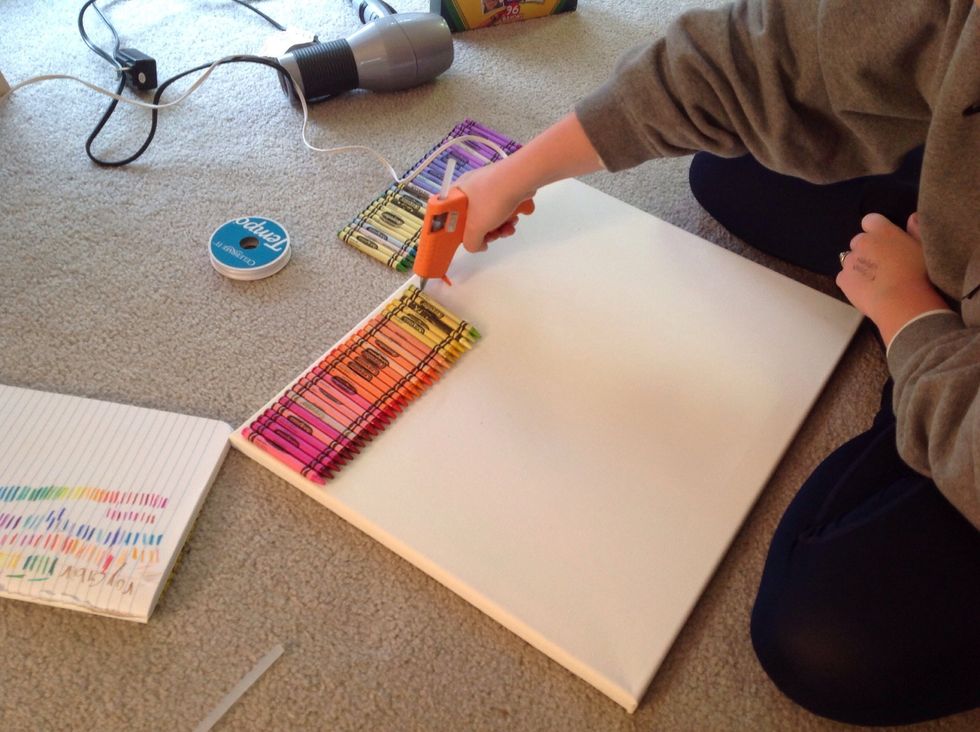
Glue the crayons on the canvas with your hot glue gun.
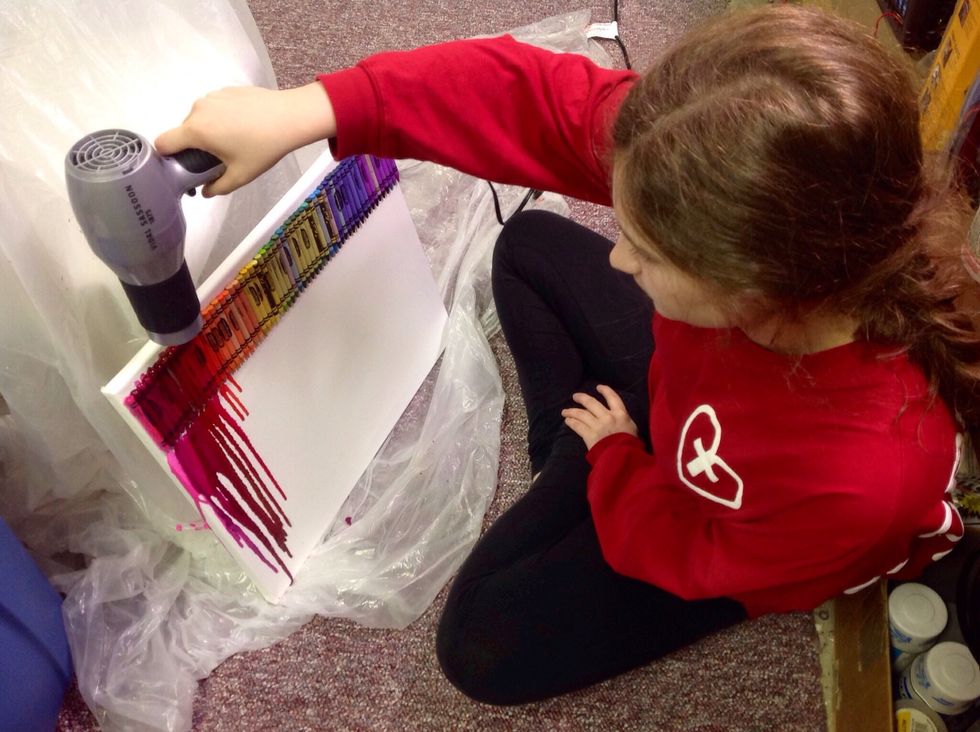
(Do this part in small sections) With the hair dryer melt the bottoms of the crayons at the top of the canvsas.
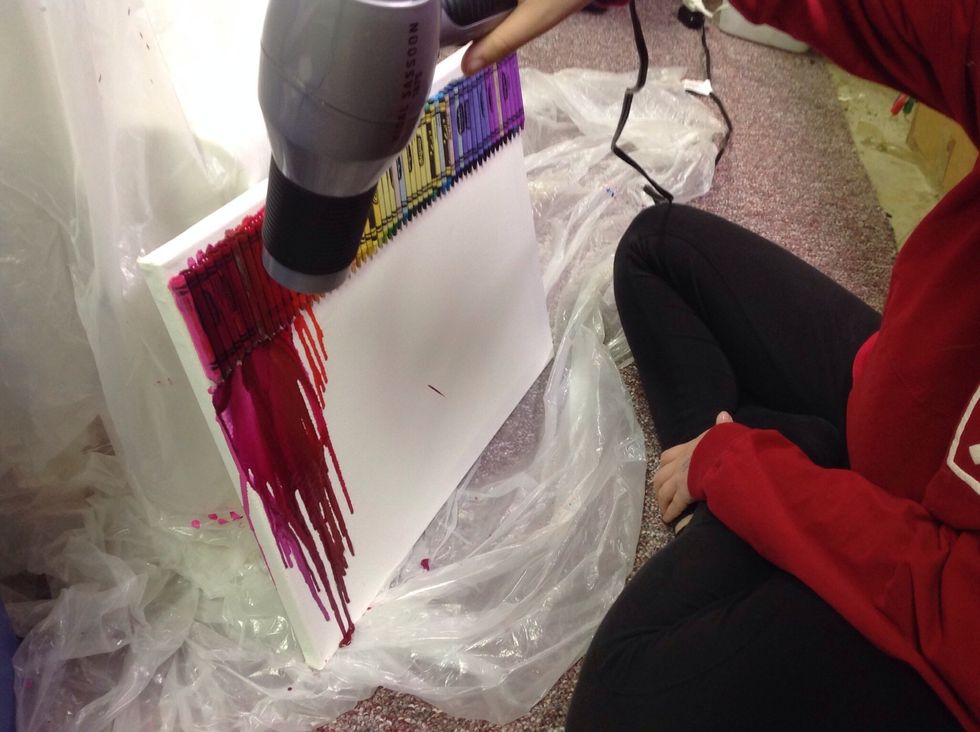
Melt the tips of the crayons so the wax melts down the canvas.
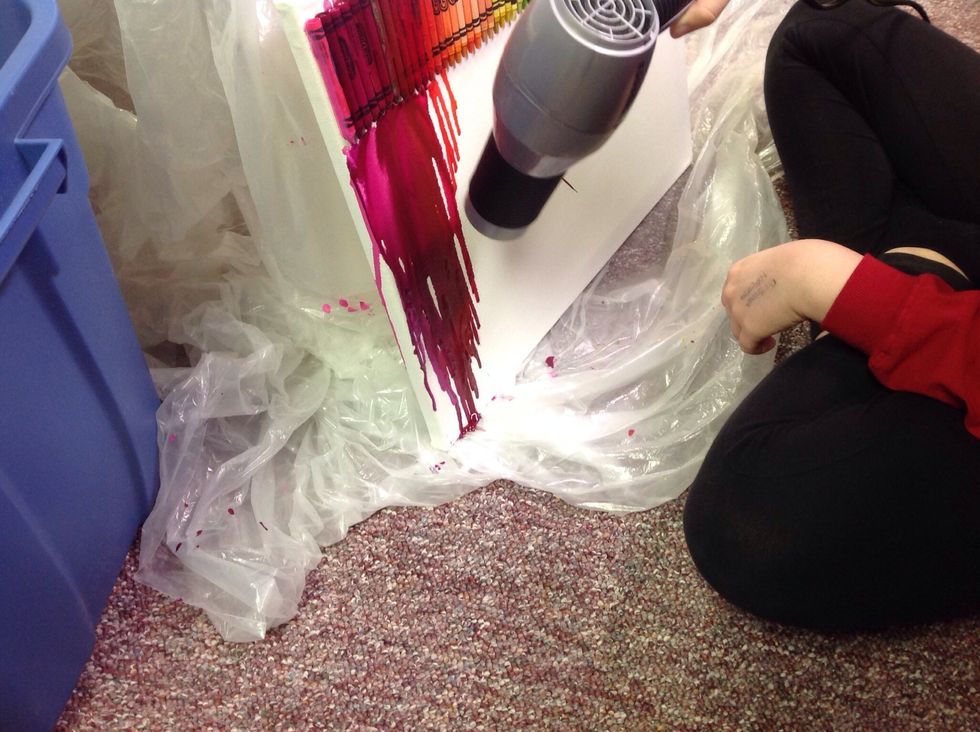
Blow the melted crayon to the bottom of the canvas.
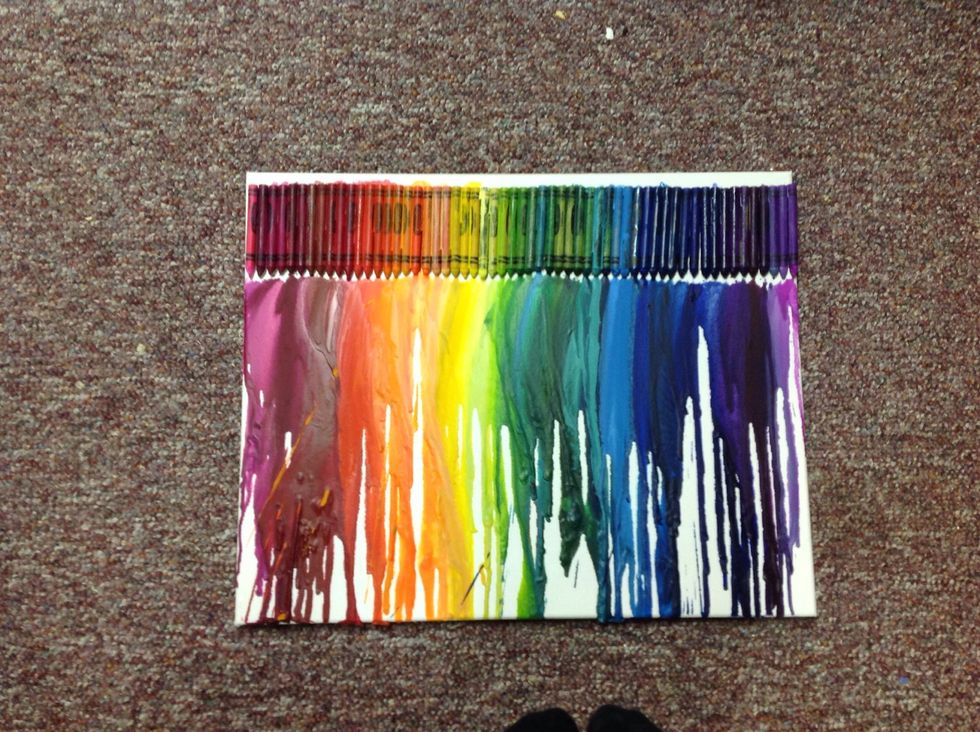
Continue until finished with all sections, then use the hair dryer to make it look more uniform.
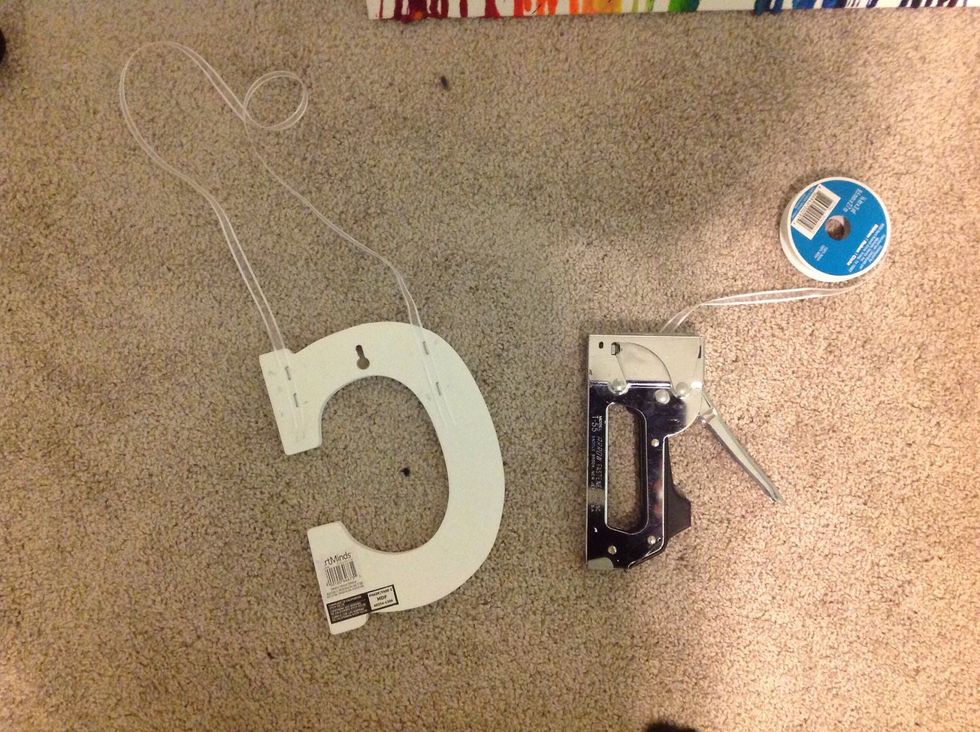
(Opitional) Take your wooden letter and staple the ribbon to two places on the back.
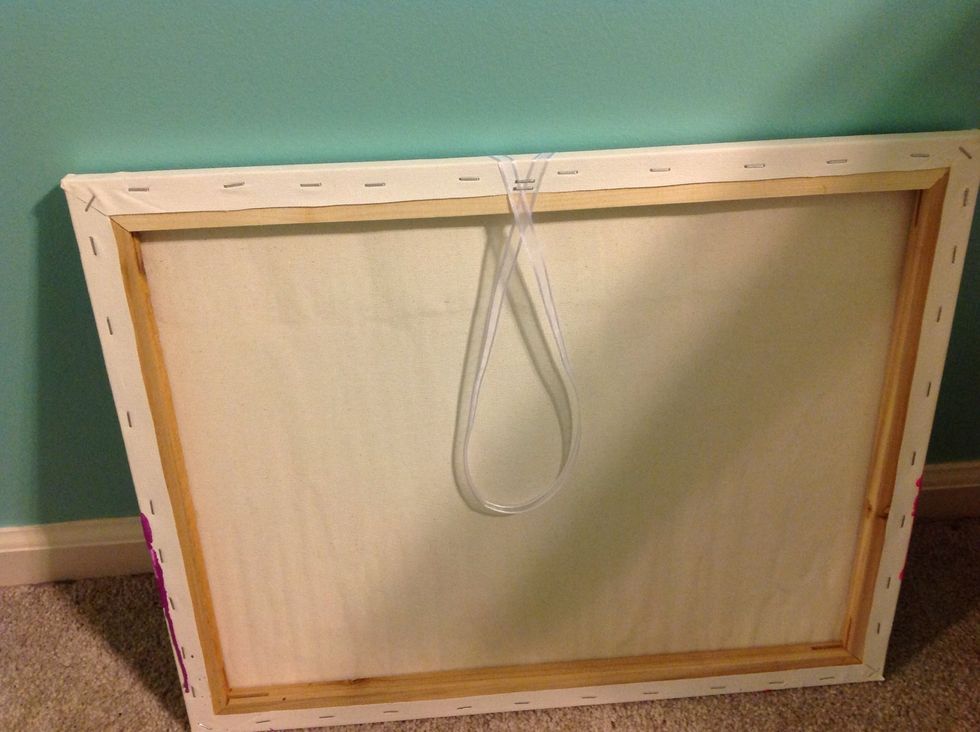
Staple the ribbon on the back of the canvas (wood part).
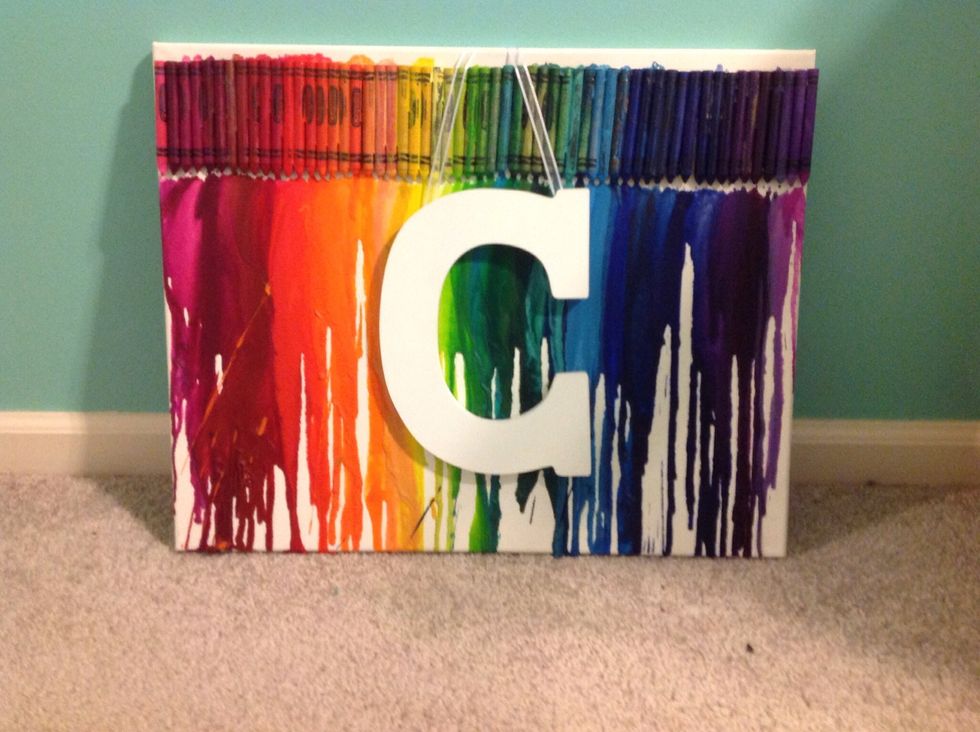
Now you're done!