The Conversation (0)
Sign Up
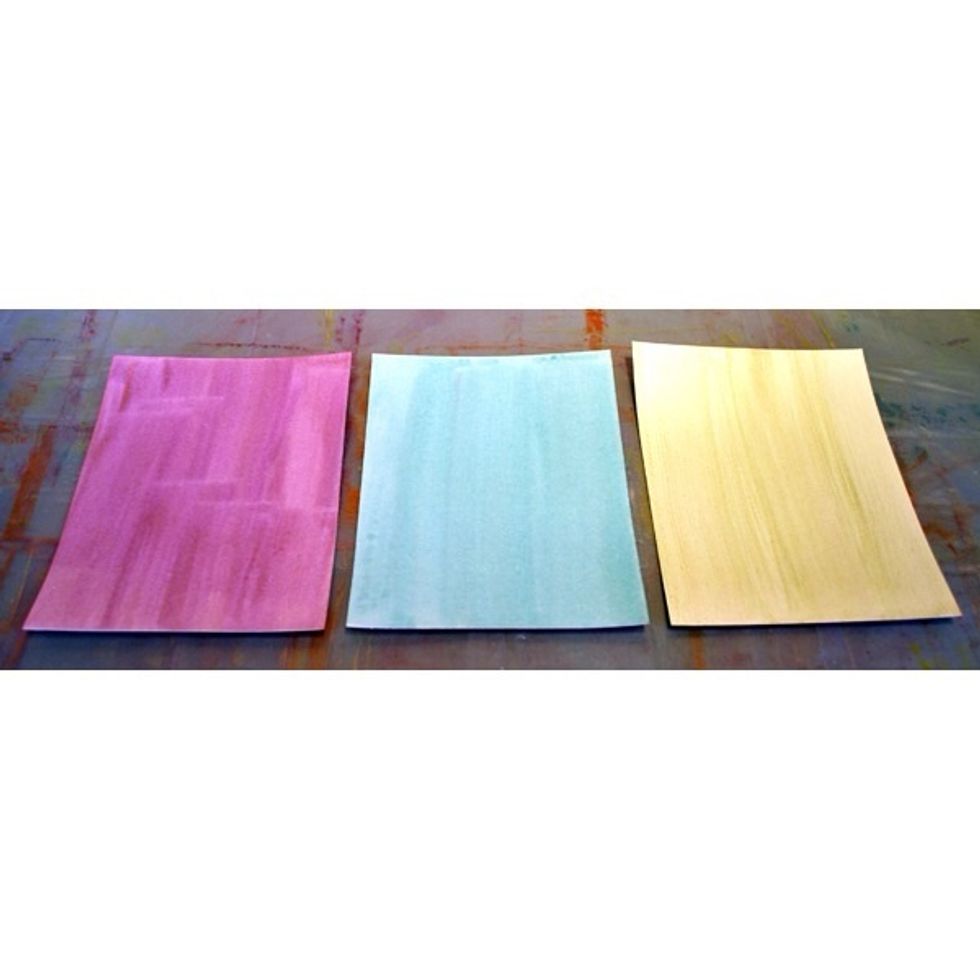
Dilute metallic acrylic paint with a small amount of water (about 3:1). Paint sheets of heavy paper with the diluted paint. Let dry.
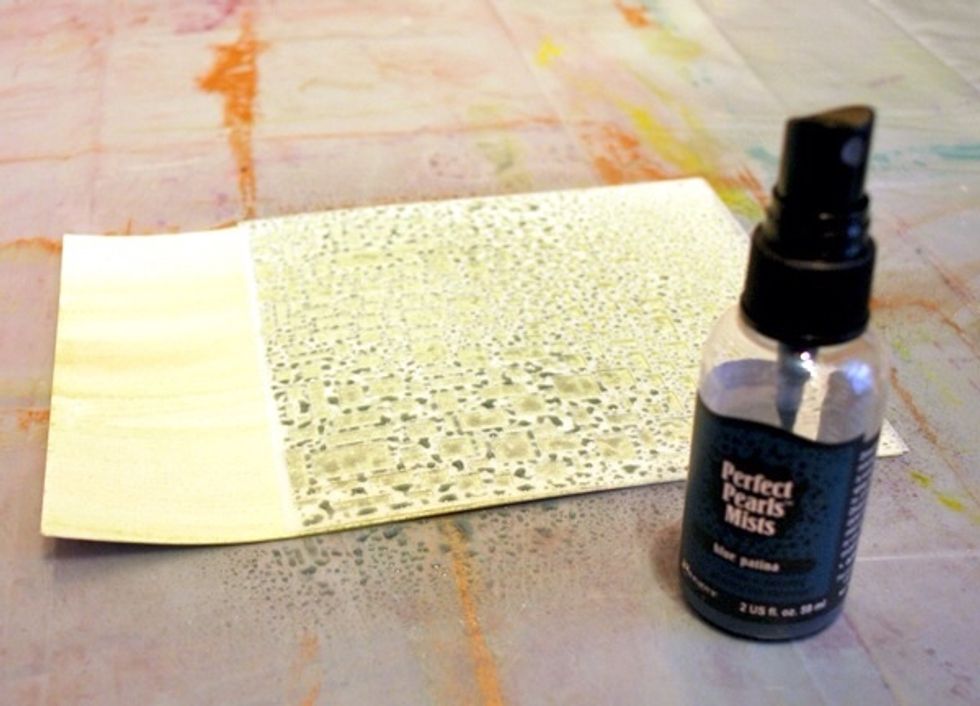
Place a stencil over the painted heavy paper and spray with Perfect Pearls Mist spray.
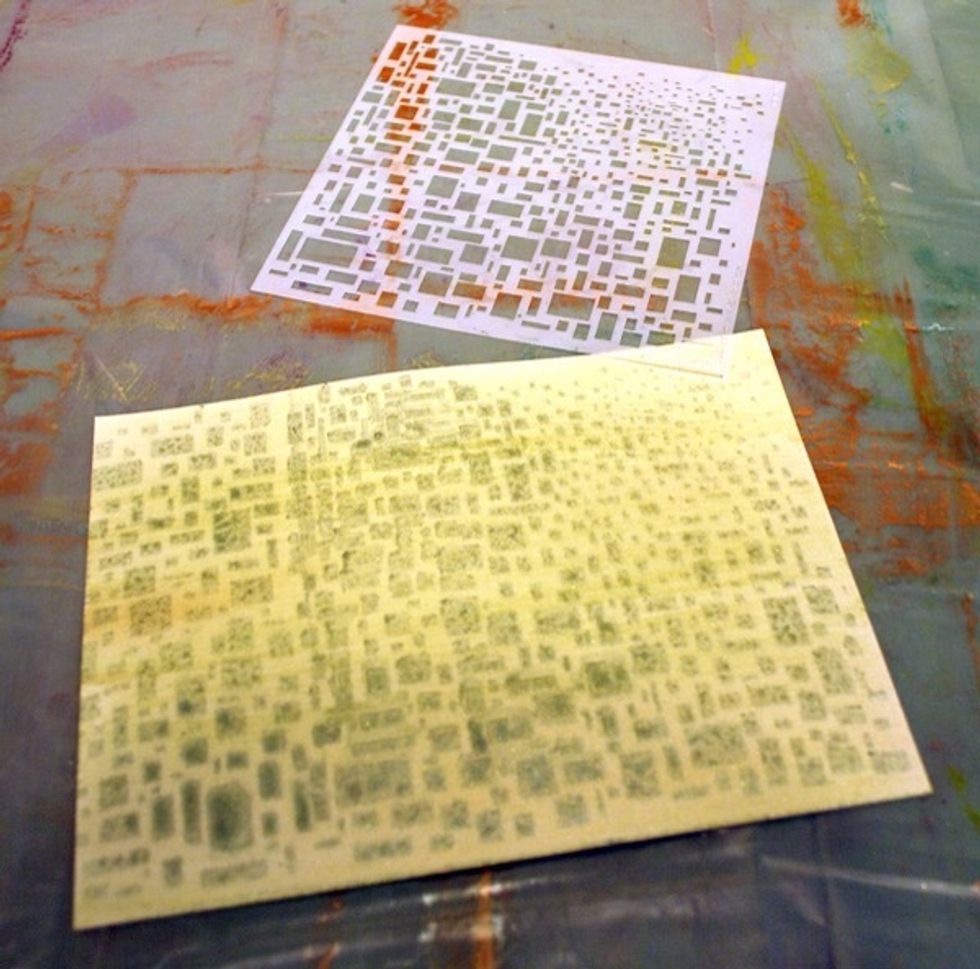
Remove stencil and allow to dry.
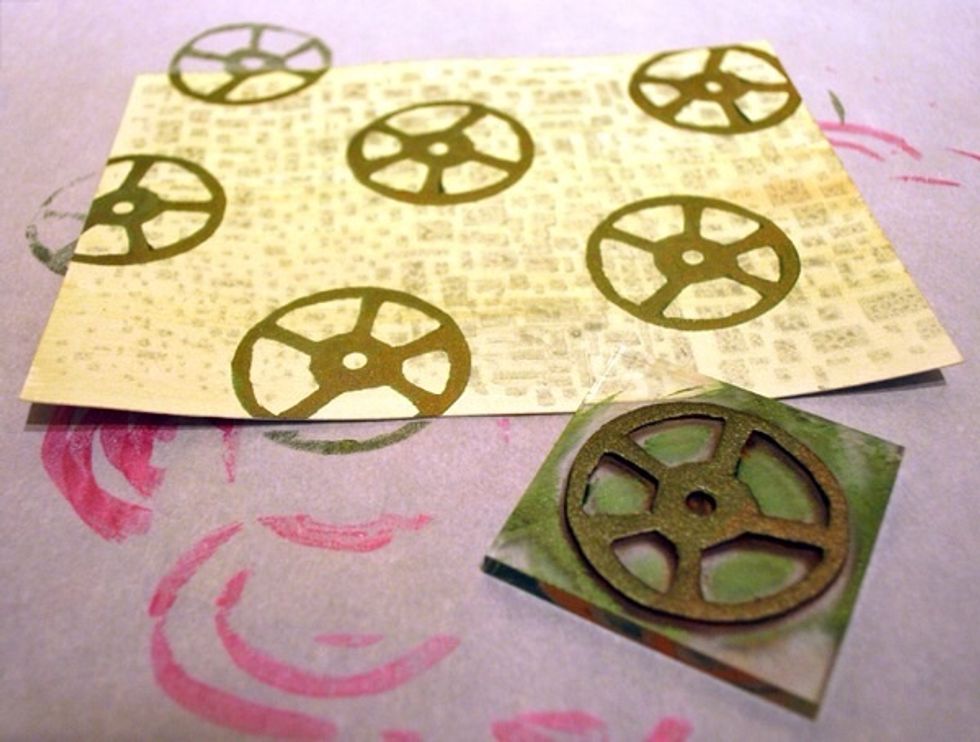
Use full strength metallic acrylic paint to apply a stamped image. Allow some of the stamped designs to run off the edge of the paper, protecting your work surface. Allow to dry.
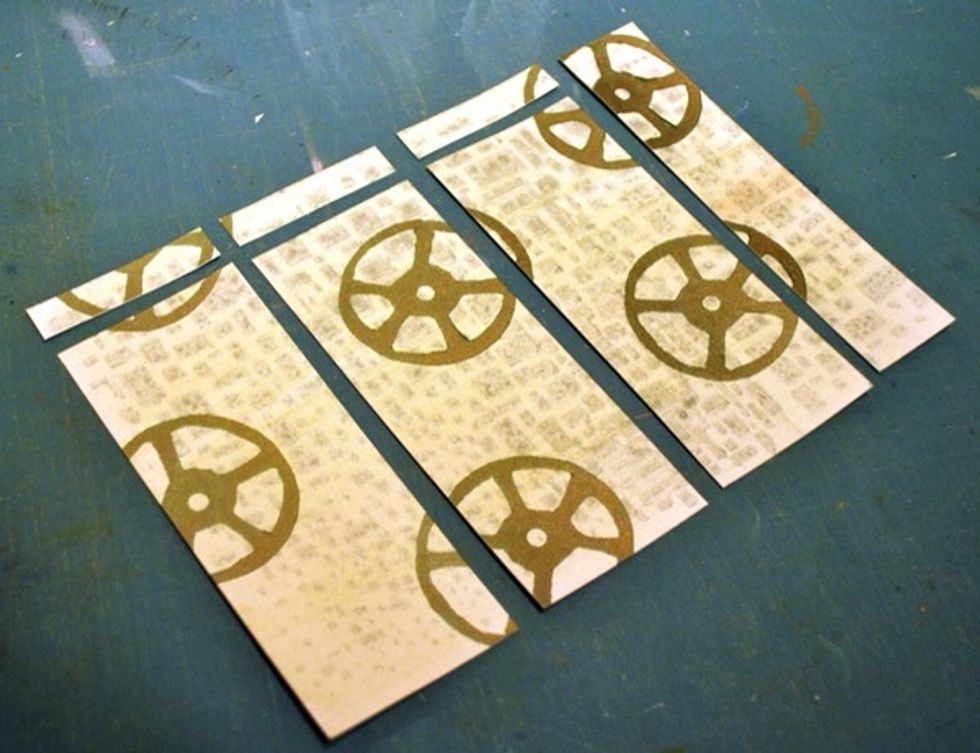
Trim the heavy paper into as many 2 1/4" x 5 1/2" pieces as you can get out of it. I was able to cut 3 of this size from my paper.
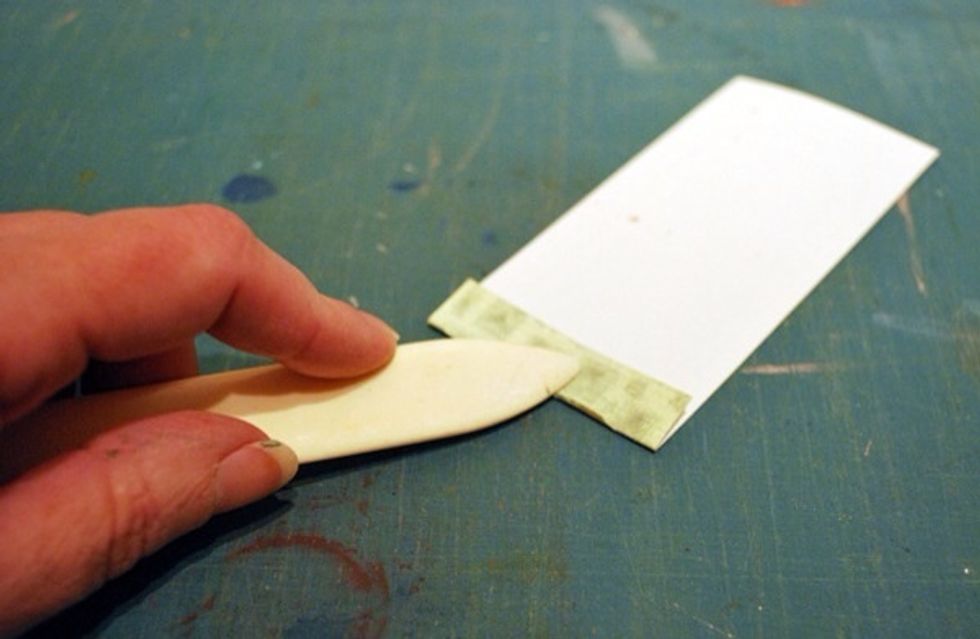
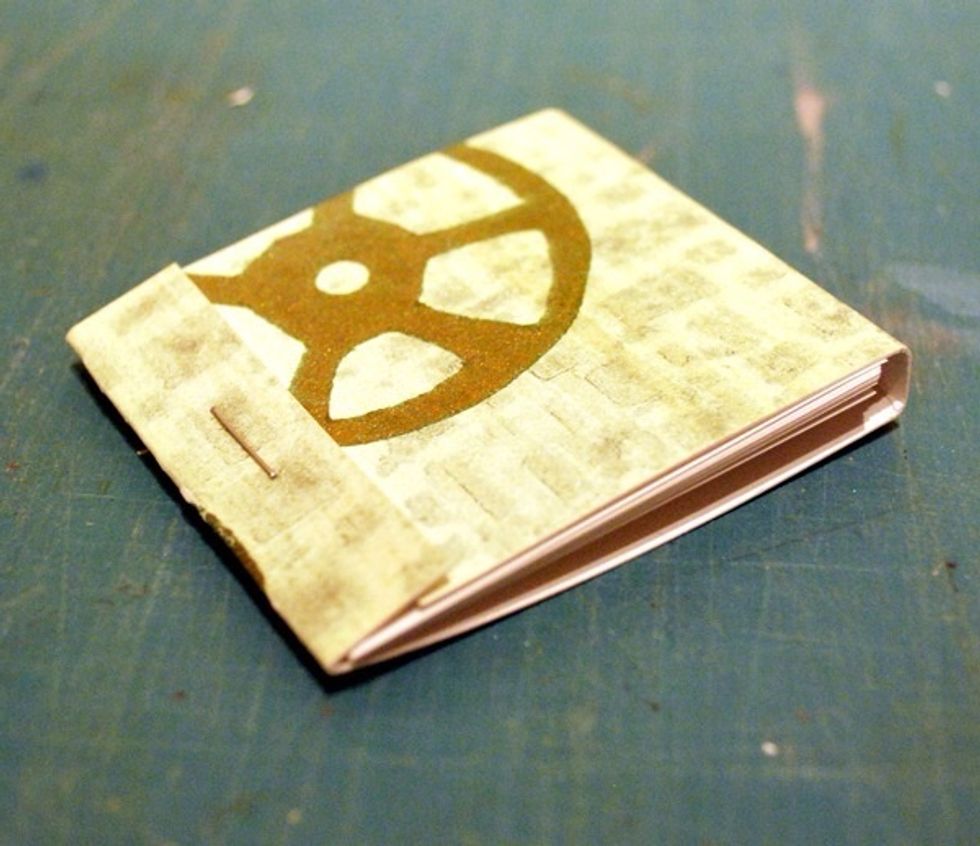
Measure 1/2" from one short edge and fold up. Crease the fold well, using a paper creaser or scorer if possible.
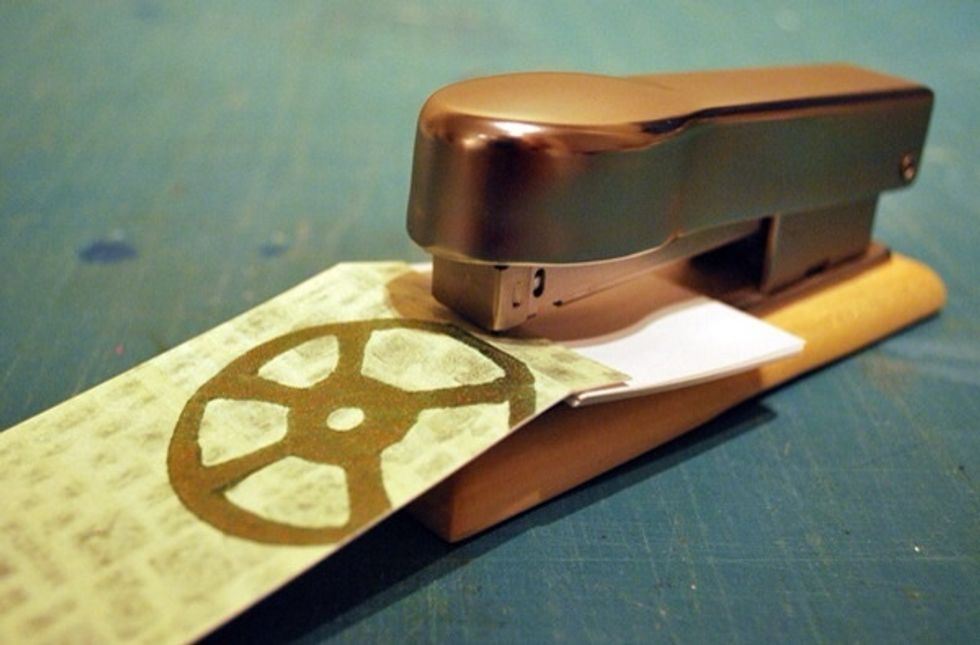
Place 15 sheets of thinner drawing paper (cut 2 1/4" x 2 1/4") under this fold and staple in place. Do not staple through two layers of the heavy paper, refer to the photograph for stapler placement.
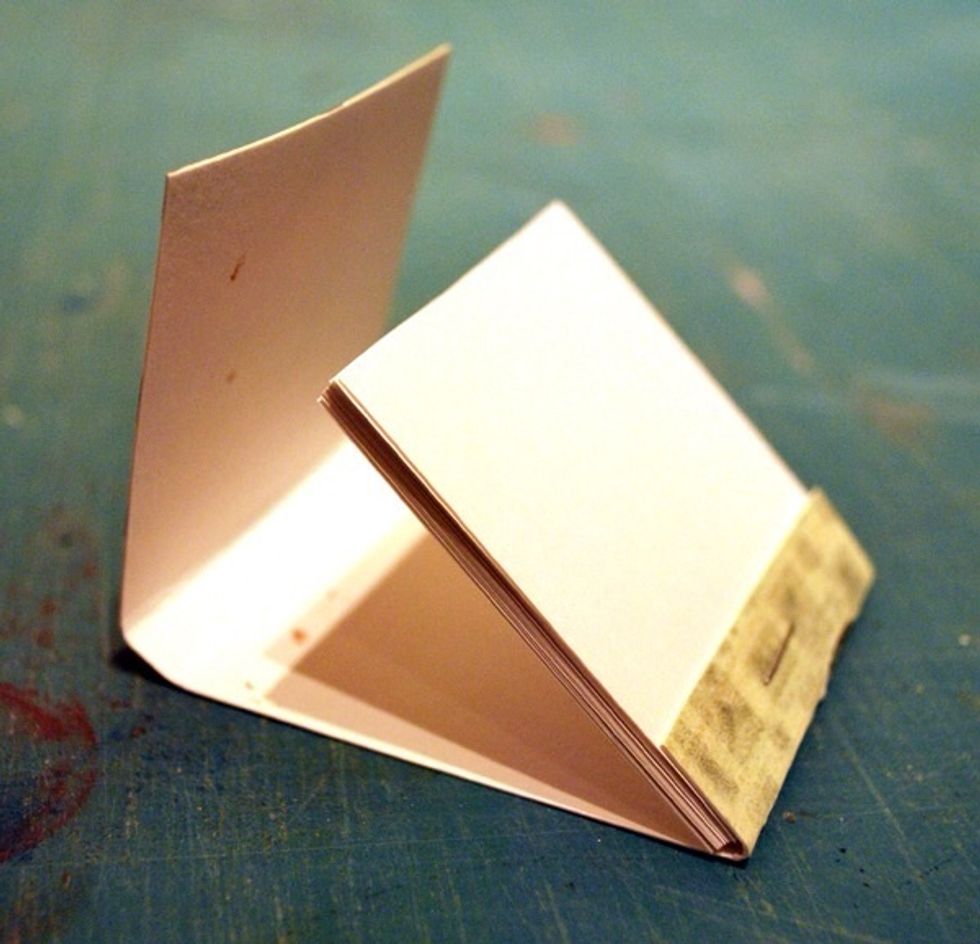
From the opposite short side, measure 2 1/8", fold and crease well. Measure 2 3/8" from the same edge, fold and crease well.
Fold one short side under the other short side. Use alphabet stamps and a stamp pad to add the message of your choice on the front of the notepad. If desired, stamp a small "chop" on the back.

Done! Gift these fabulous little notepads to all of your friends and tuck one into your pocket or purse too!