The Conversation (0)
Sign Up

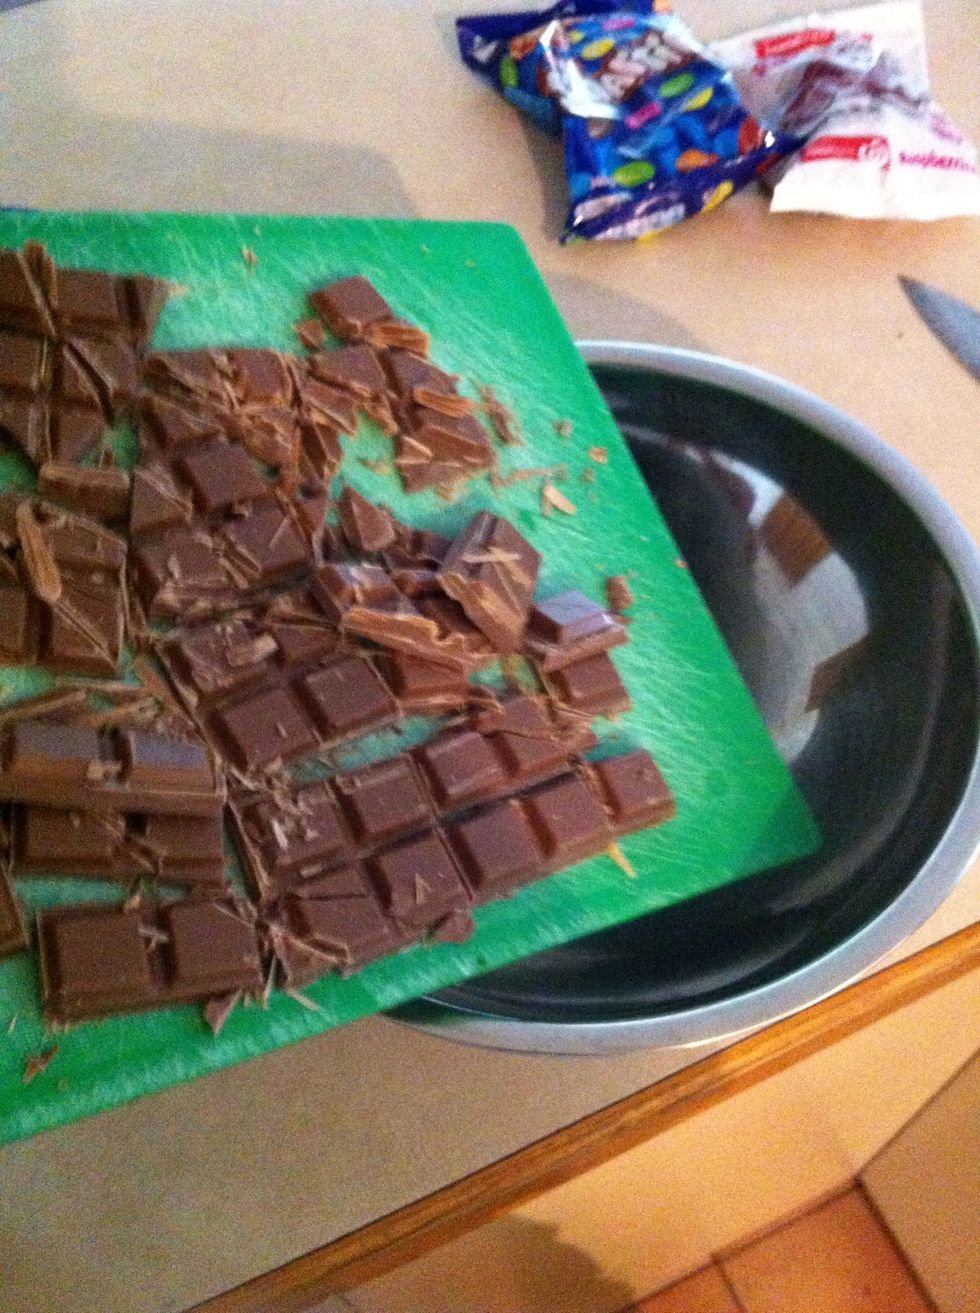
First cut open the chocolate
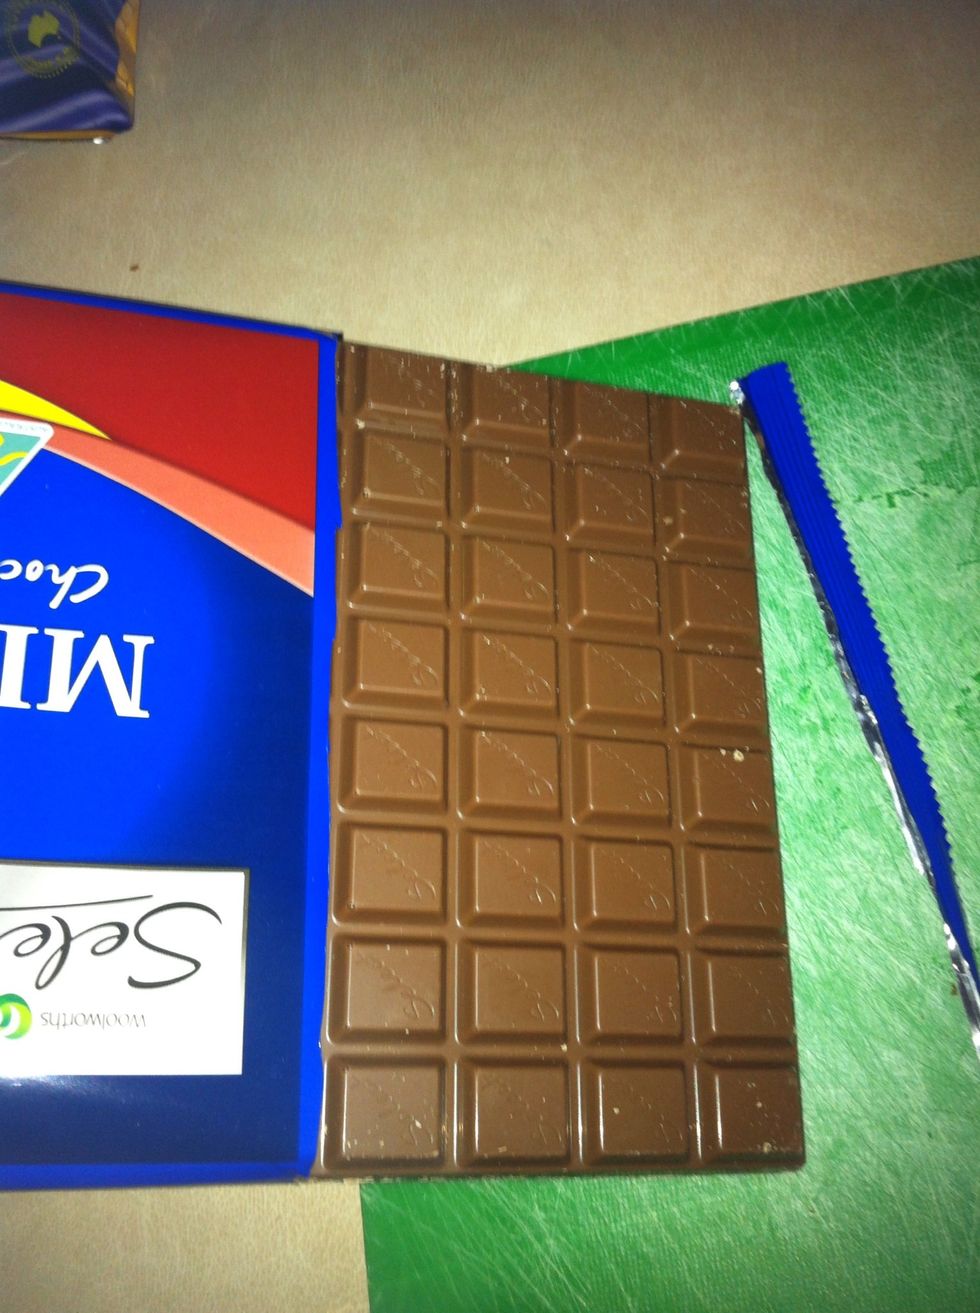
Put it on the chopping board
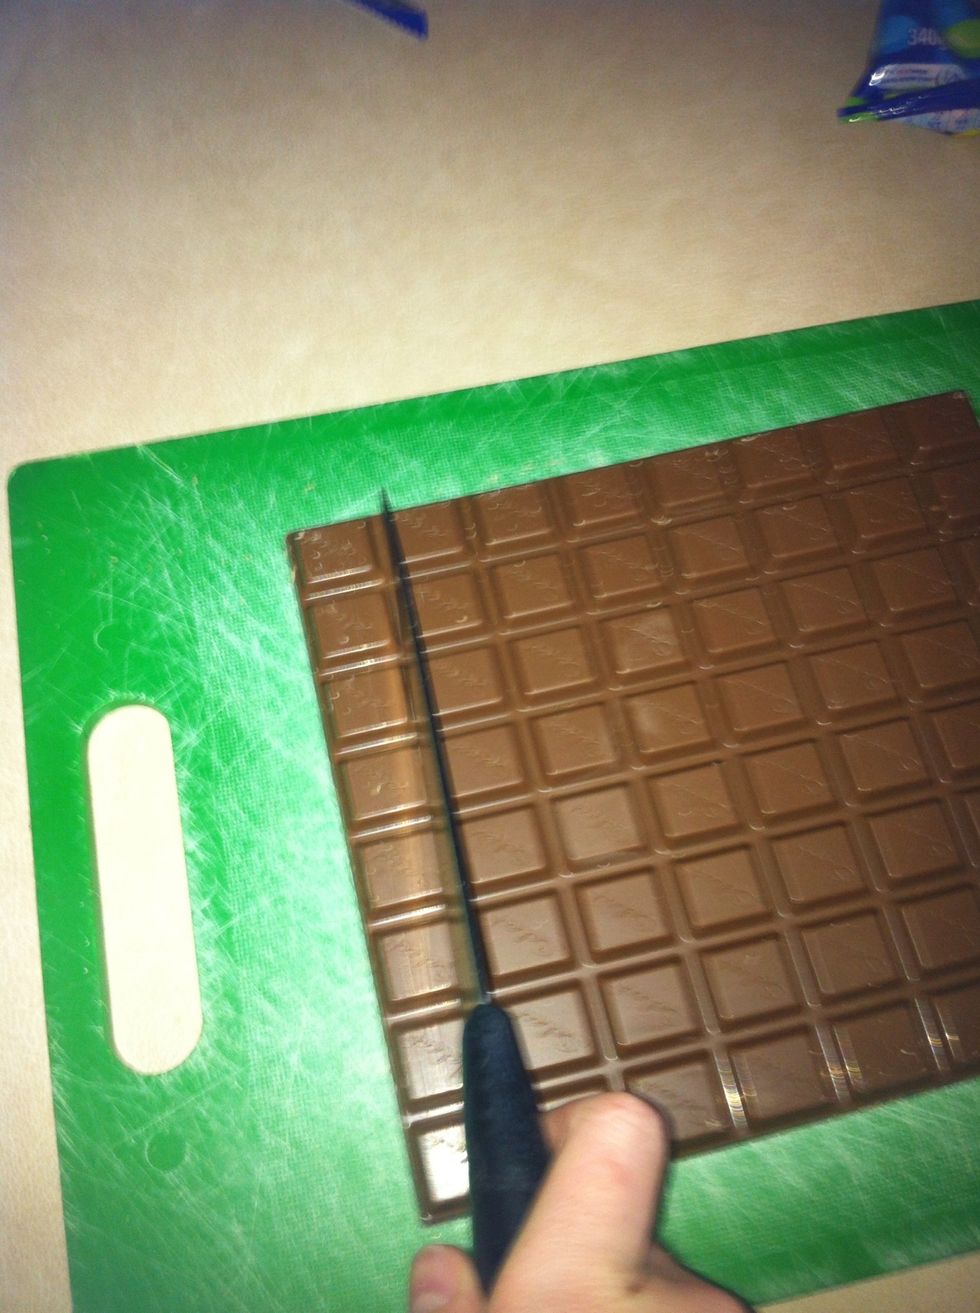
Now start chopping
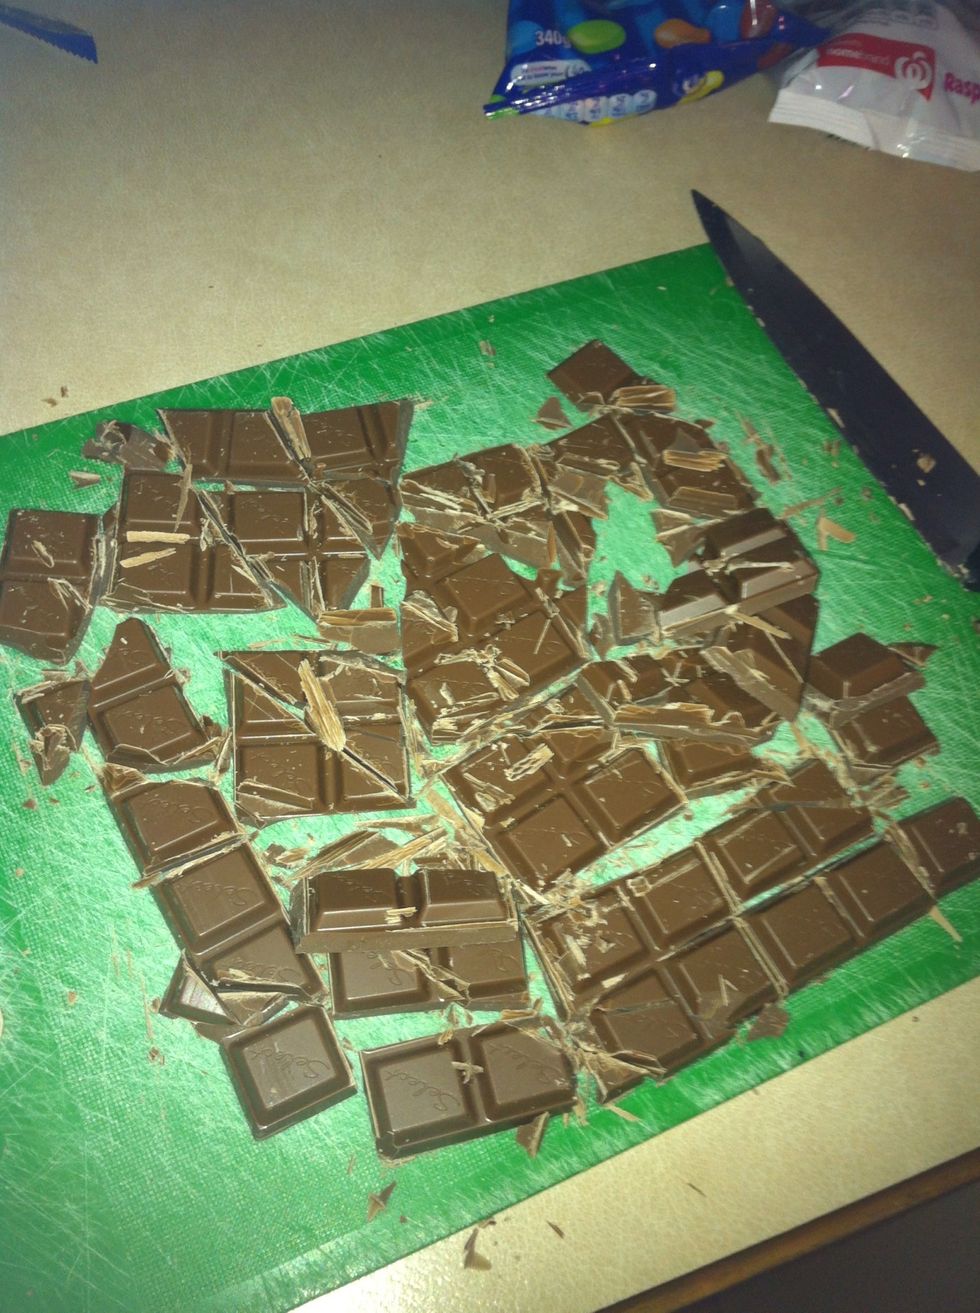
Doesnt matter what it looks like try not to get big chunks
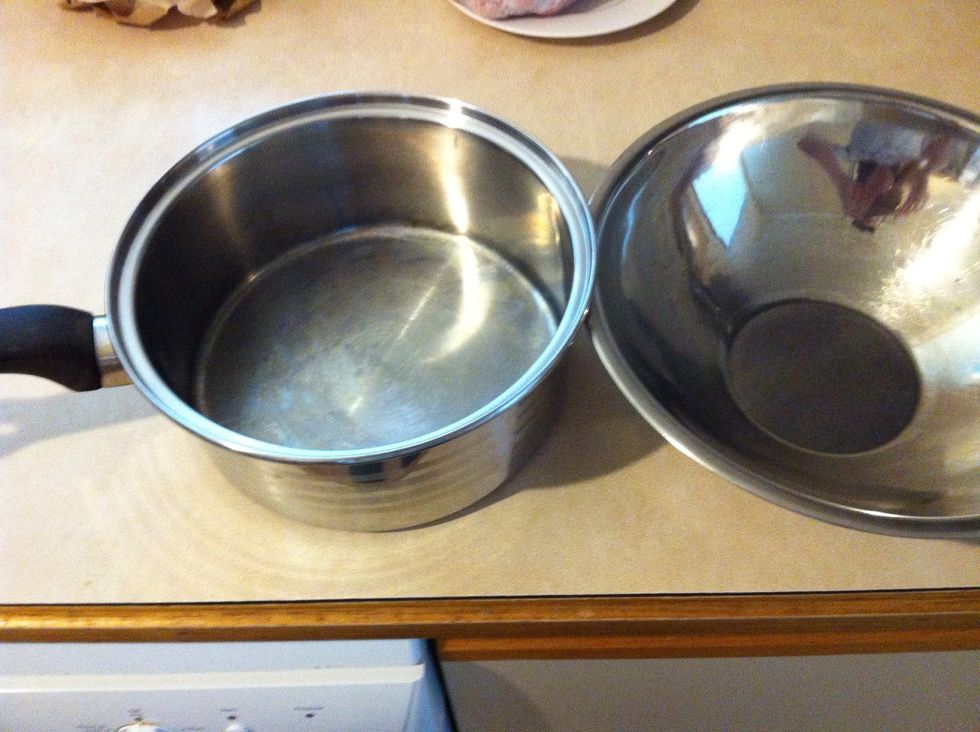
Now get a saucepan and a heat proof bowl
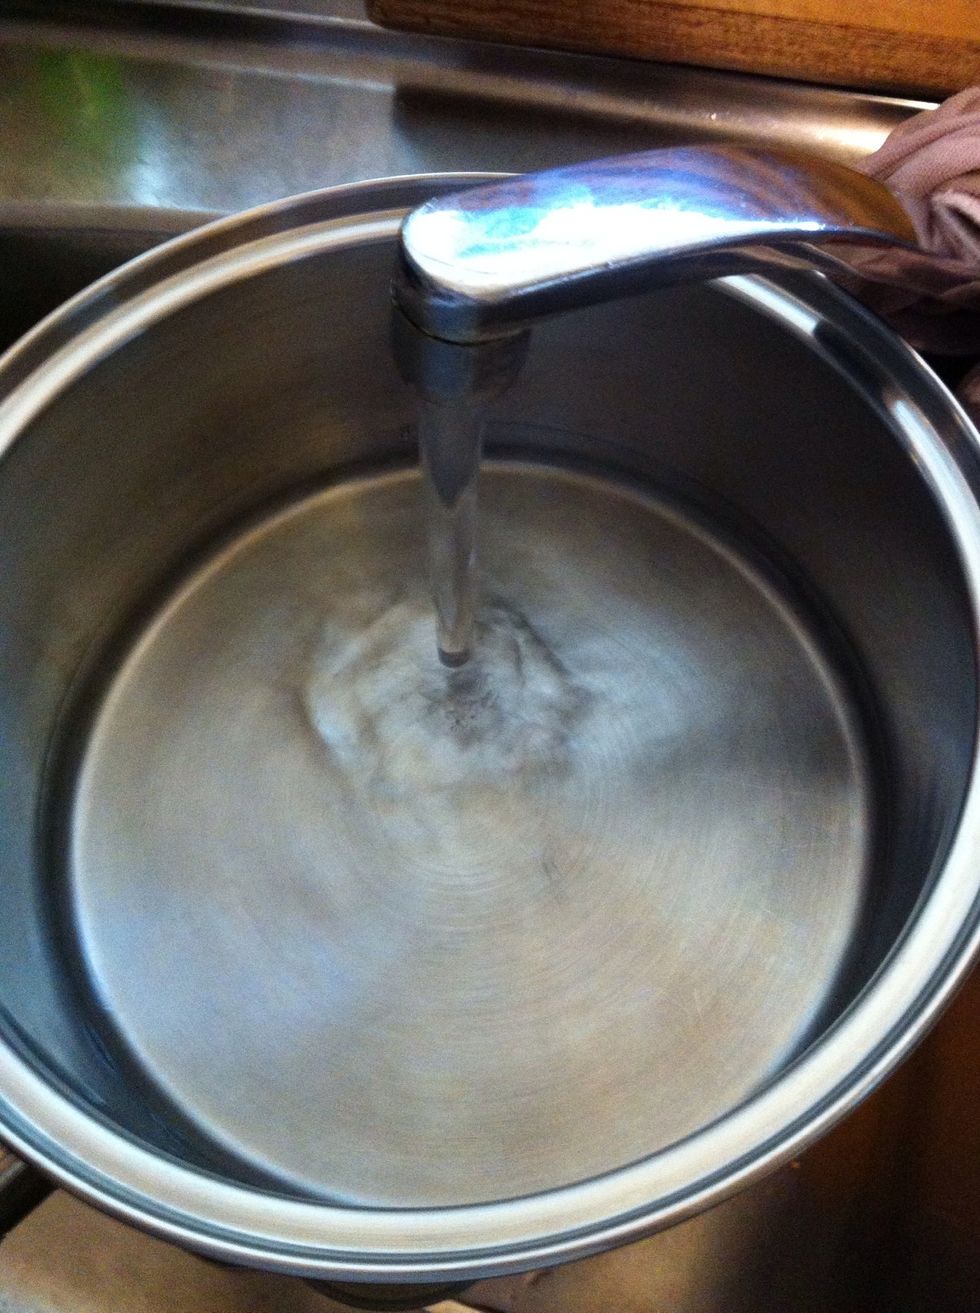
Fill this saucepan with water only a bit so when you sit the heat proof bowl it won't touch the water.
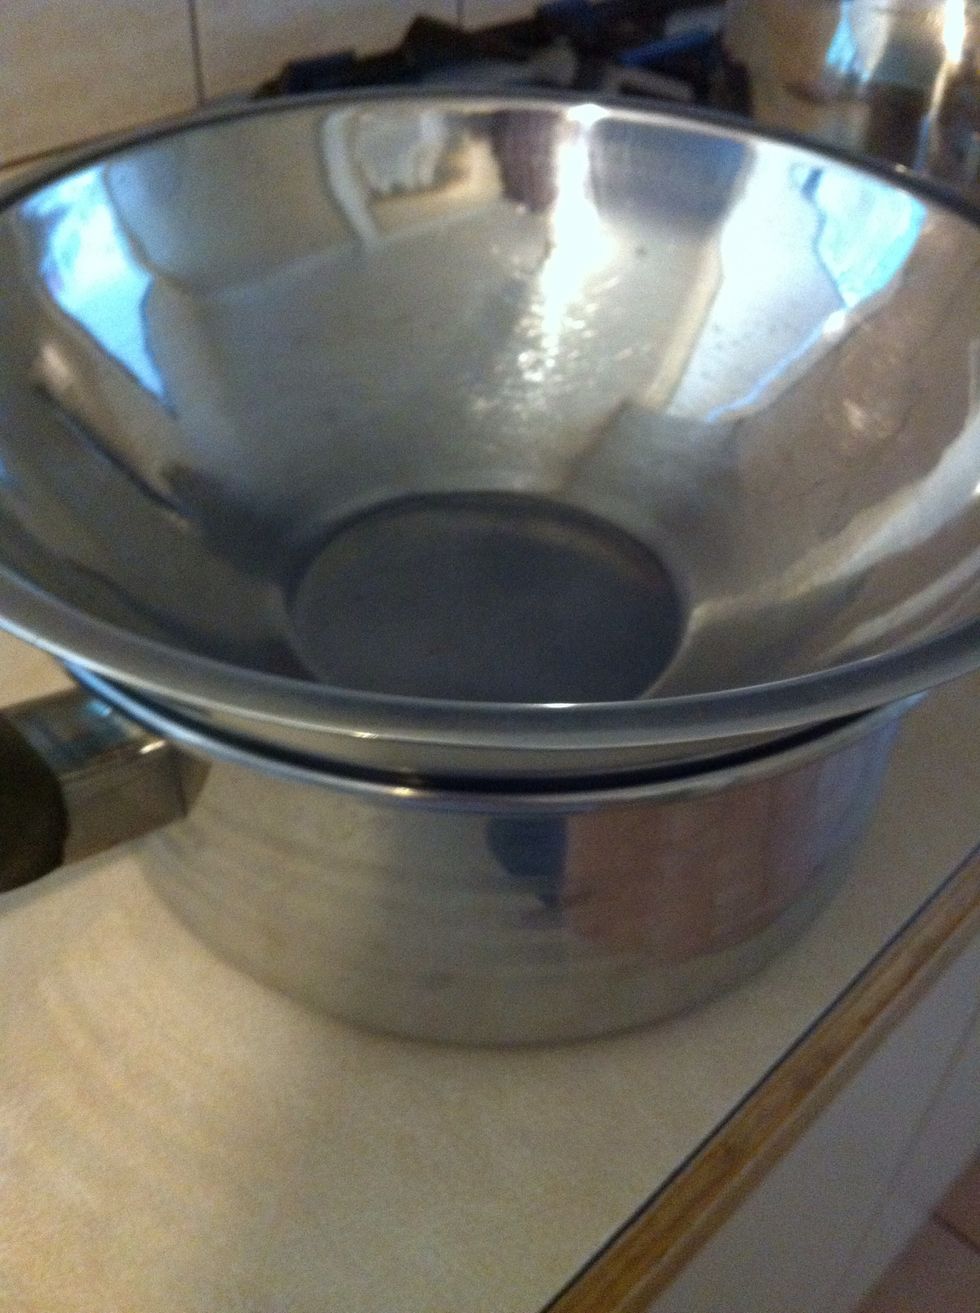
Like so if the bowl is very close to touching or touching tip some water out
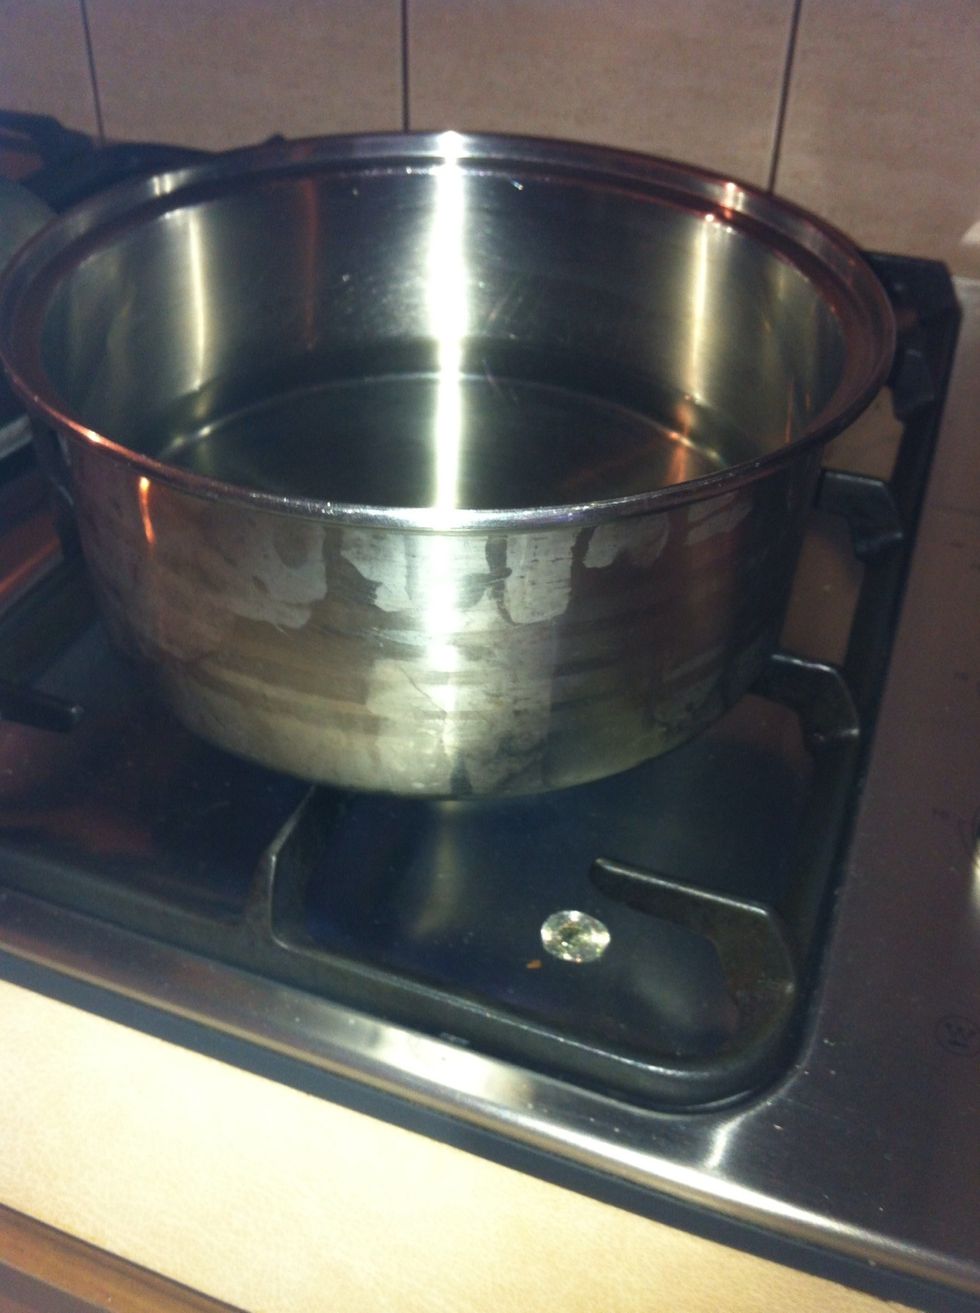
Now take the bowl off and heat the water on low heat
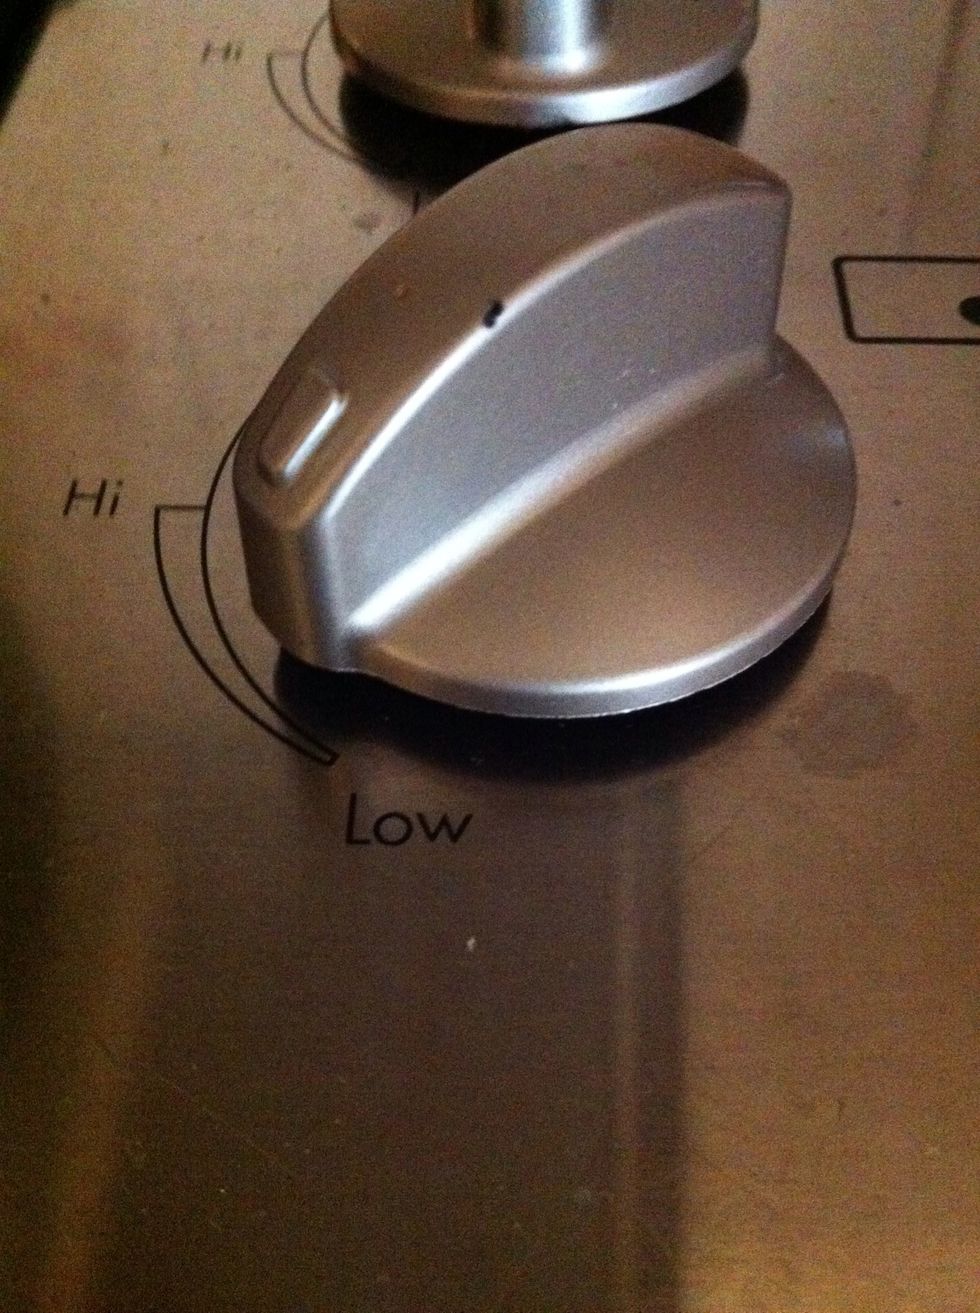
Low
While the water is heating up put the chopped chocolate into the heat proof bowl
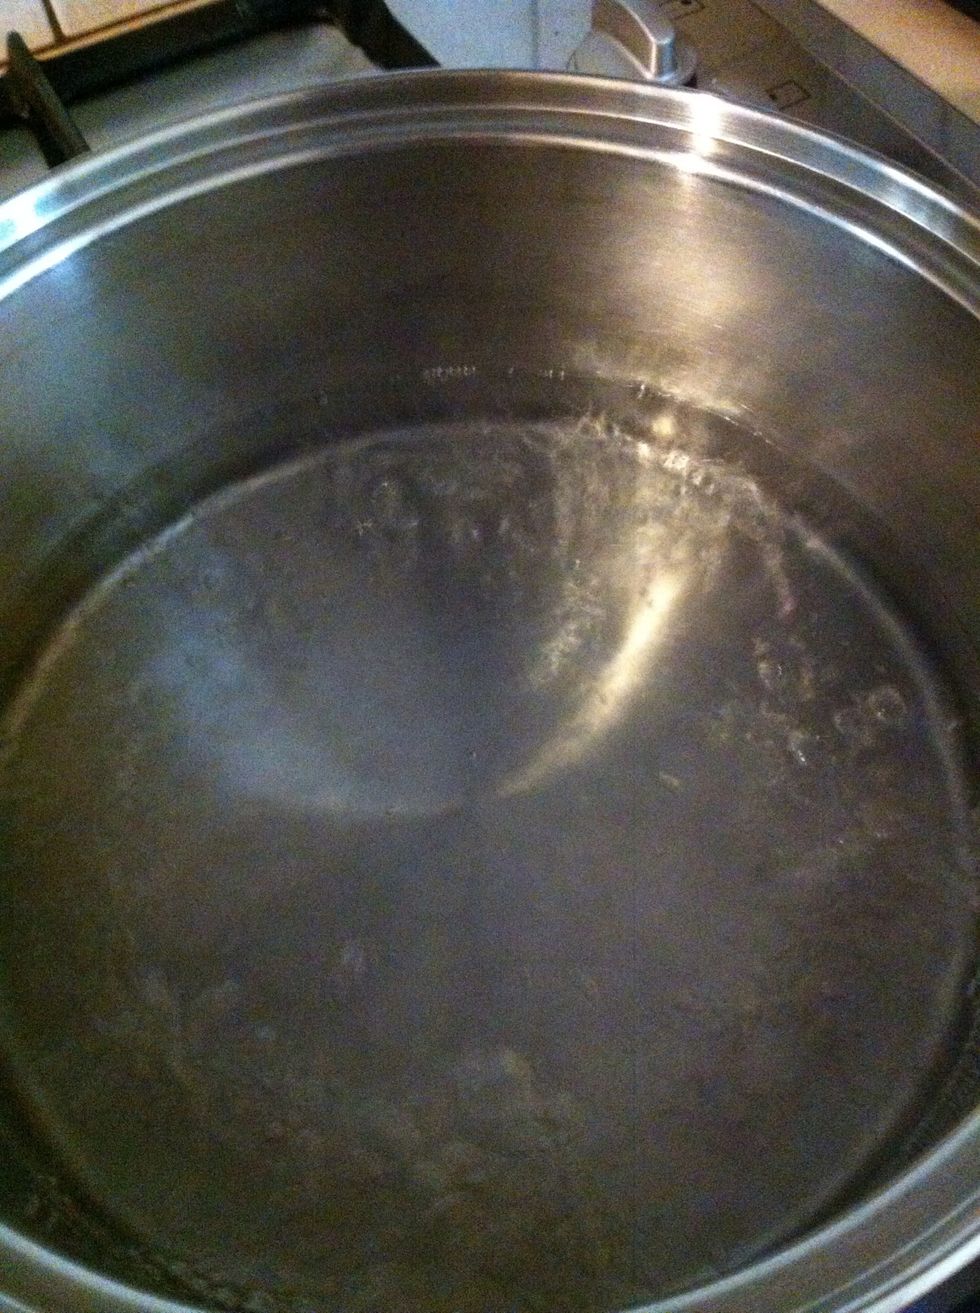
When the water is bubbly and boiling its done

Put the bowl on top! low heat all the time ok
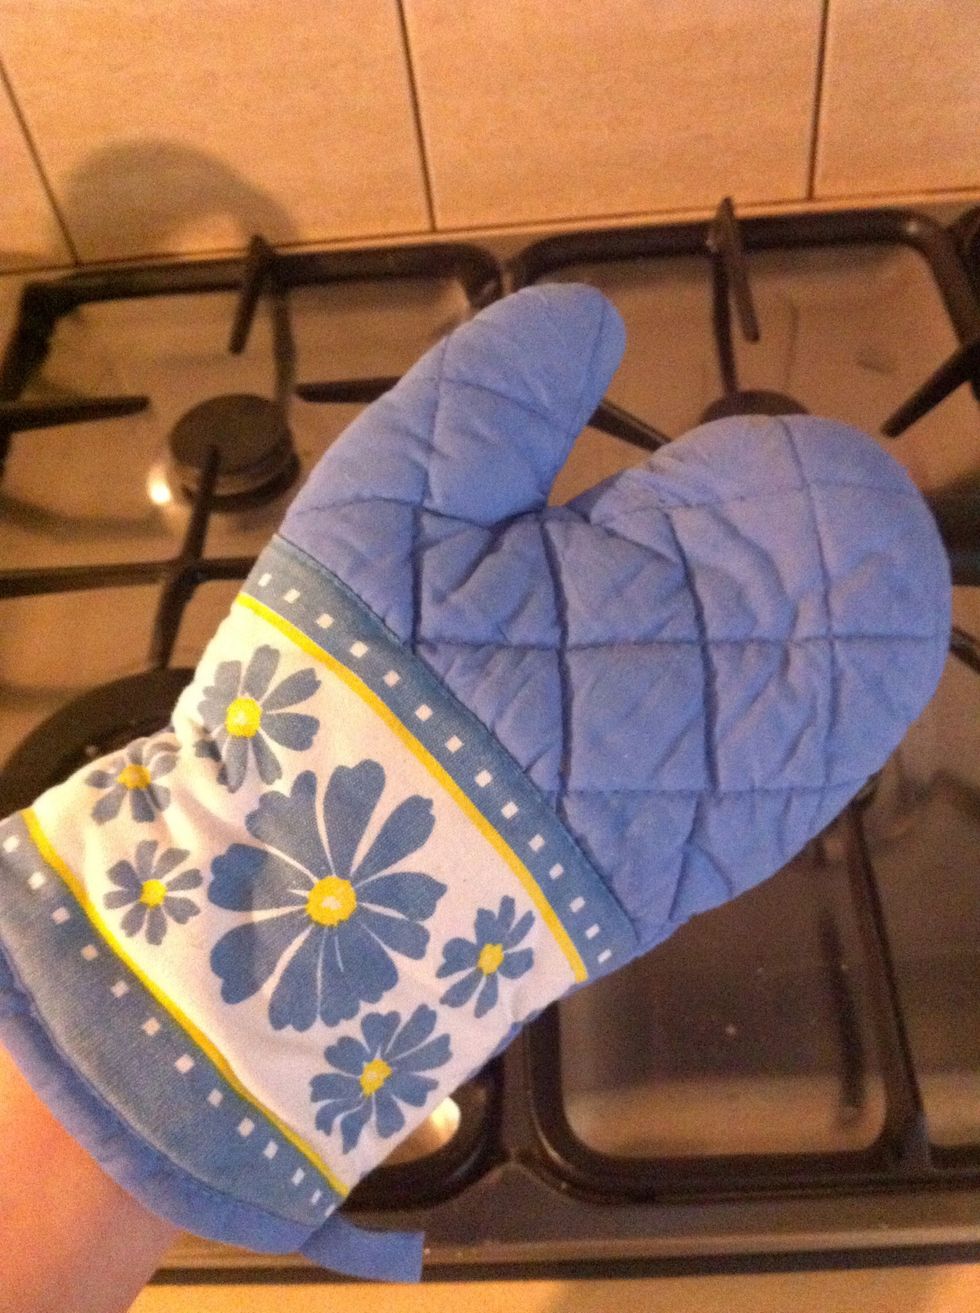
Get your oven mit because you wont be able to hold the bowl still when its hot
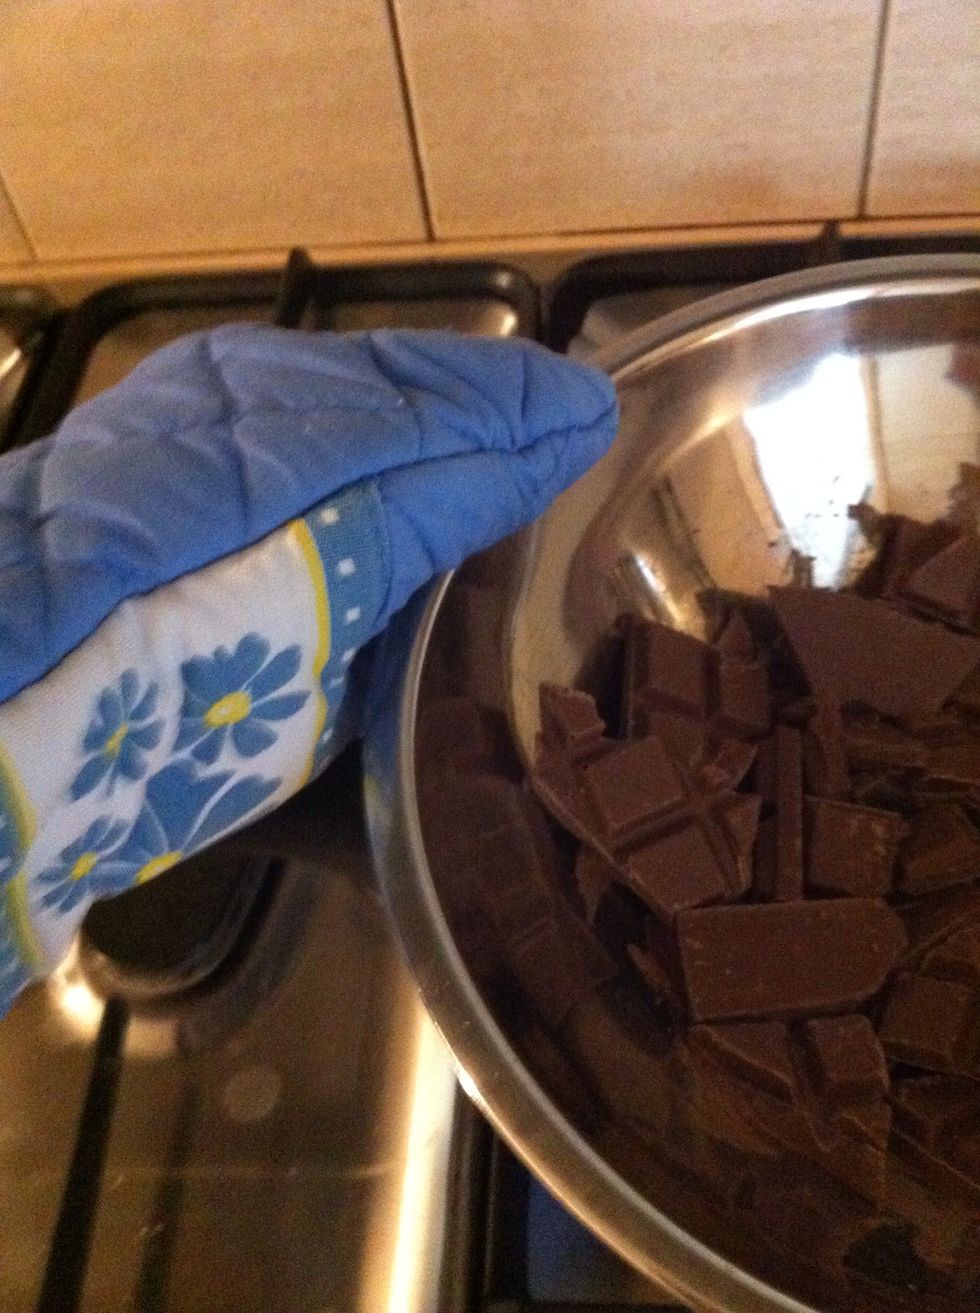
Hold the bowl like this
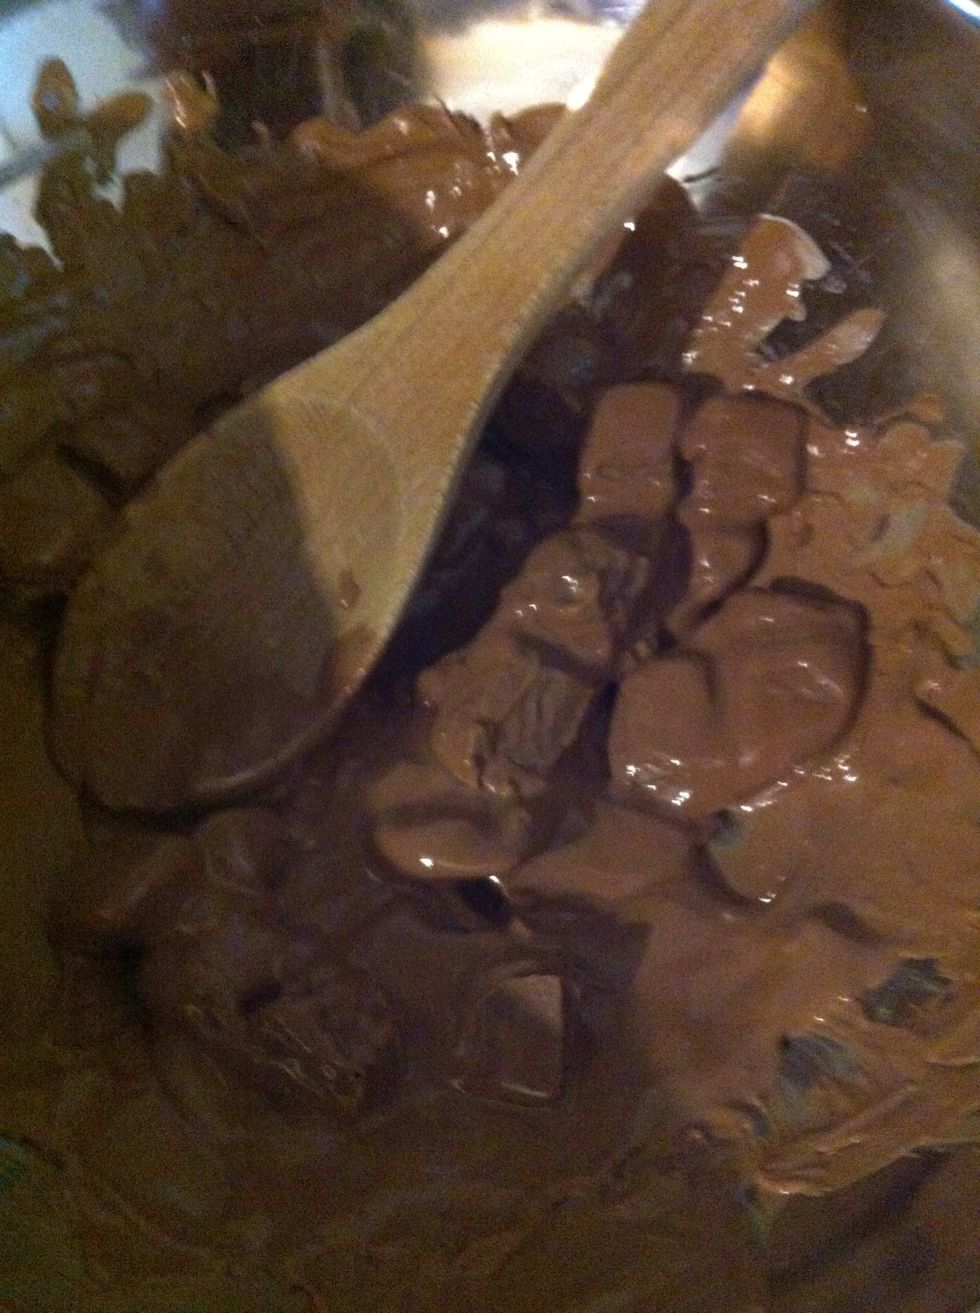
Contantly stir the chocolate

Nearly done!
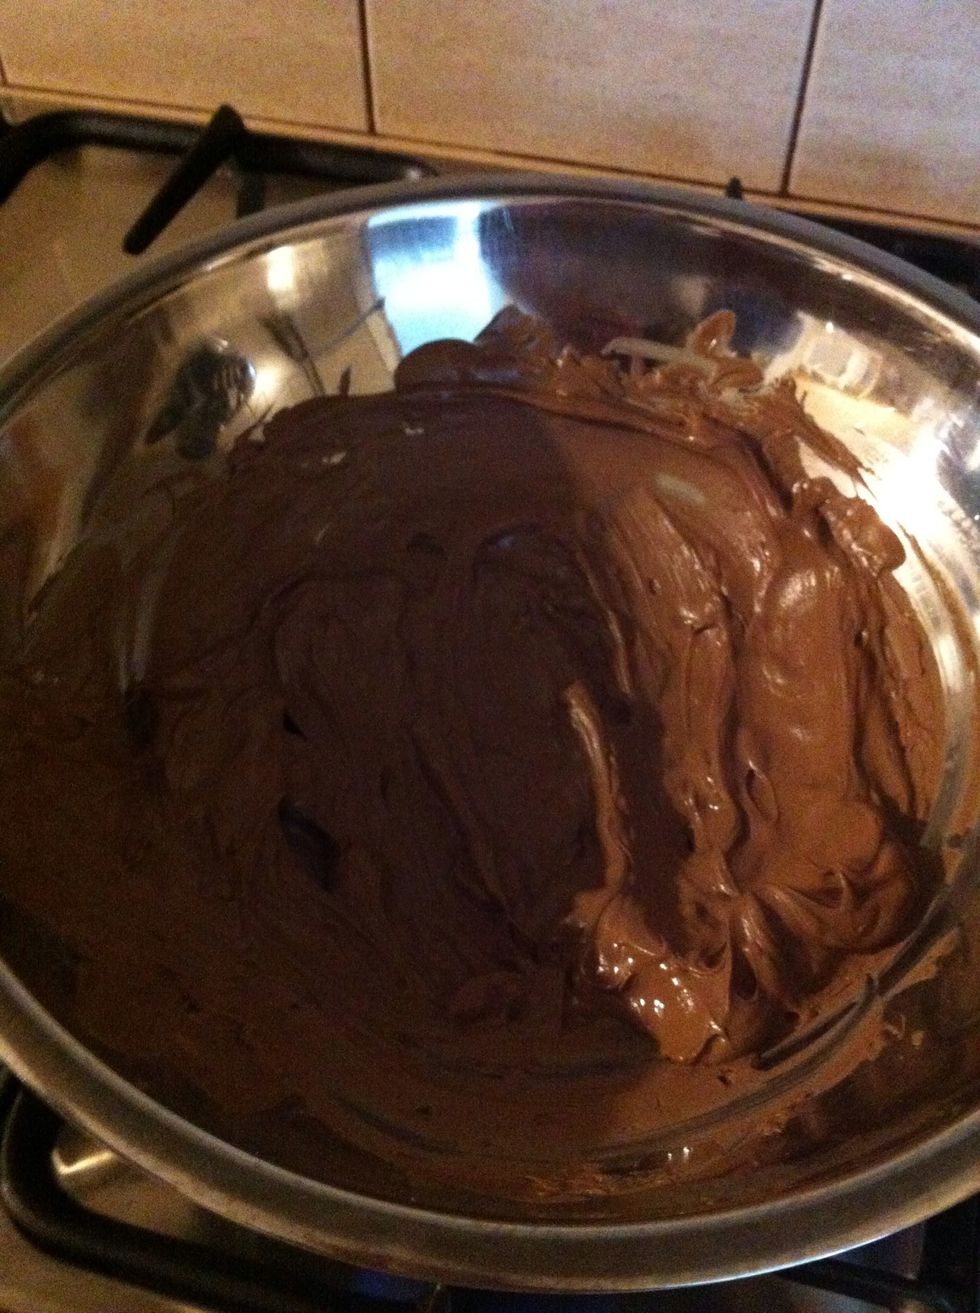
Straight after all the big lumps of chocolate have melted take off we dont want to burn it

Perfect
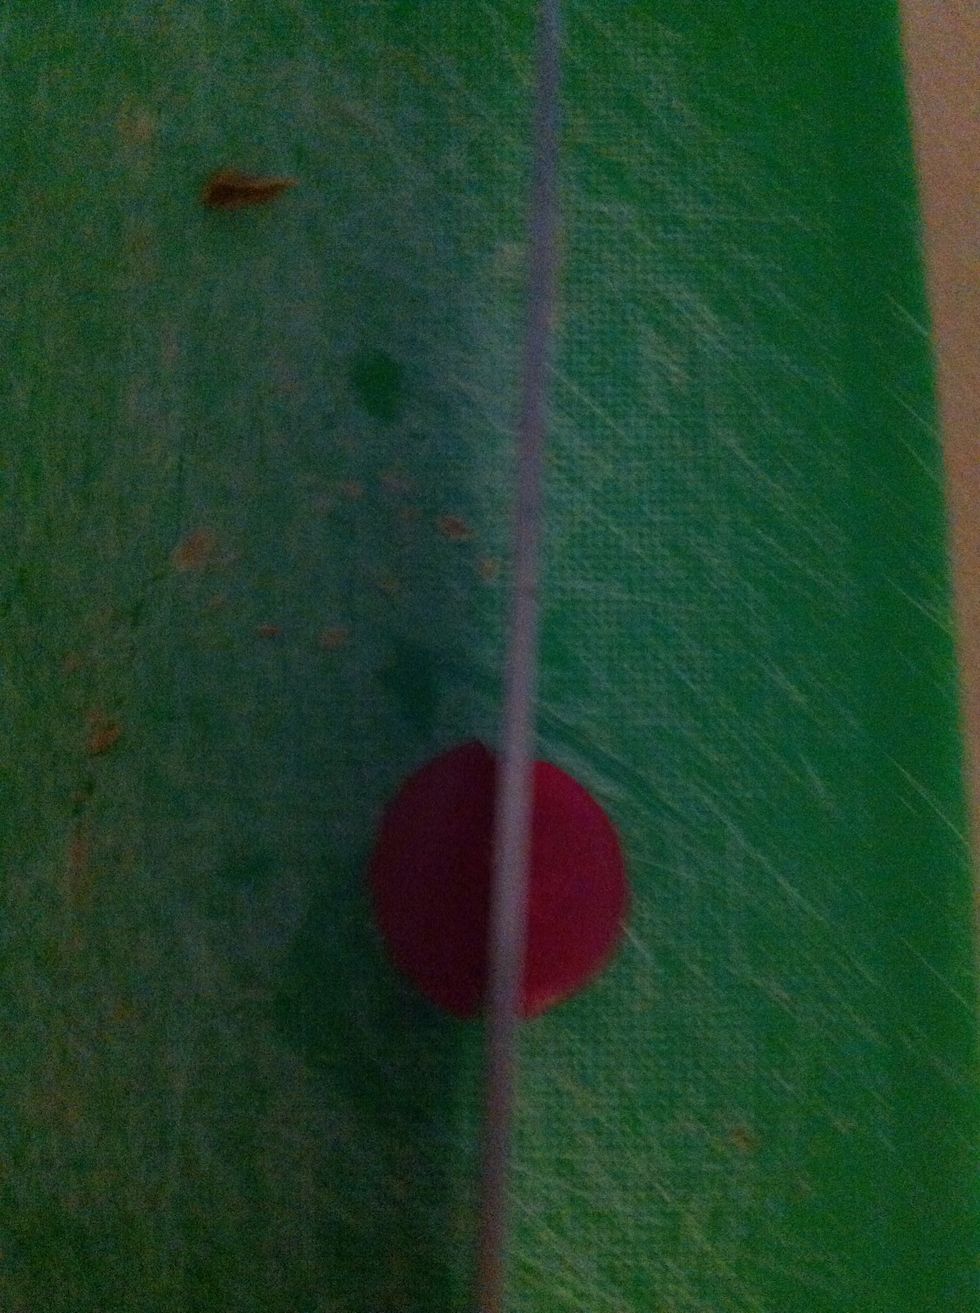
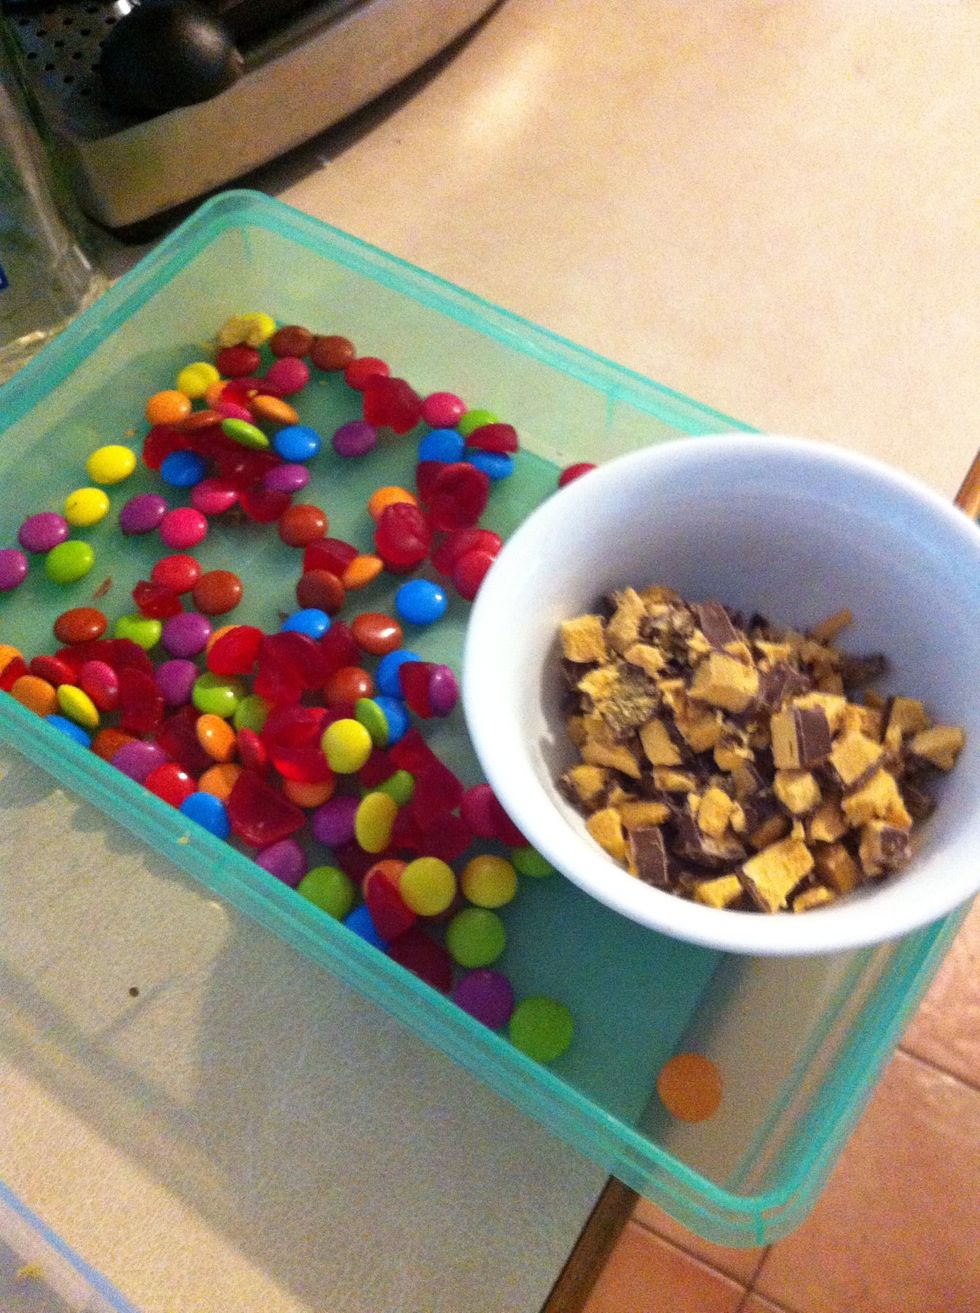
Sorry for bad quality photos but cut the rasberry jubes into quatres
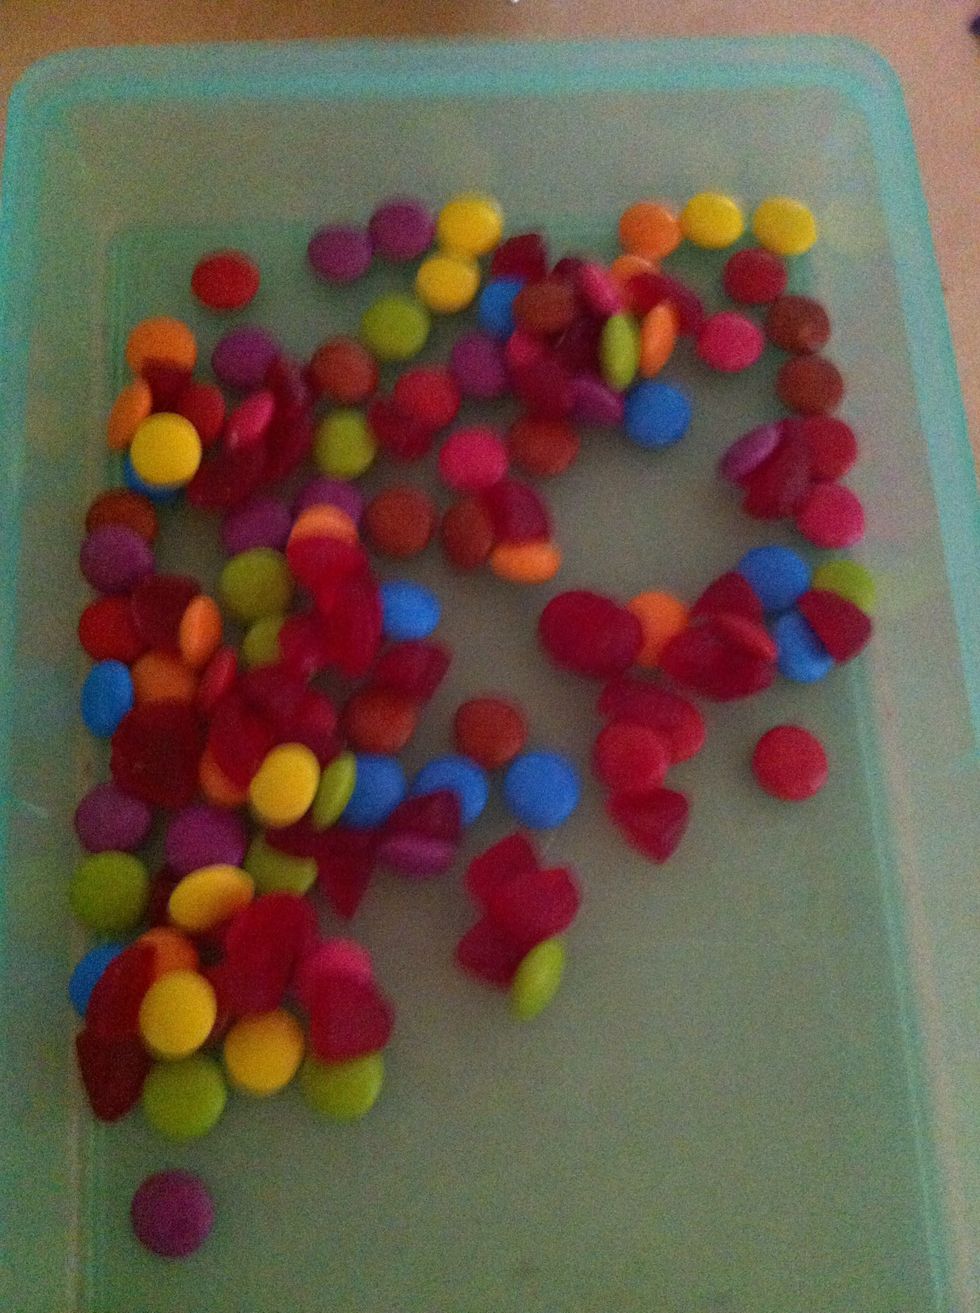
Put in a tray or bowl with some smarties
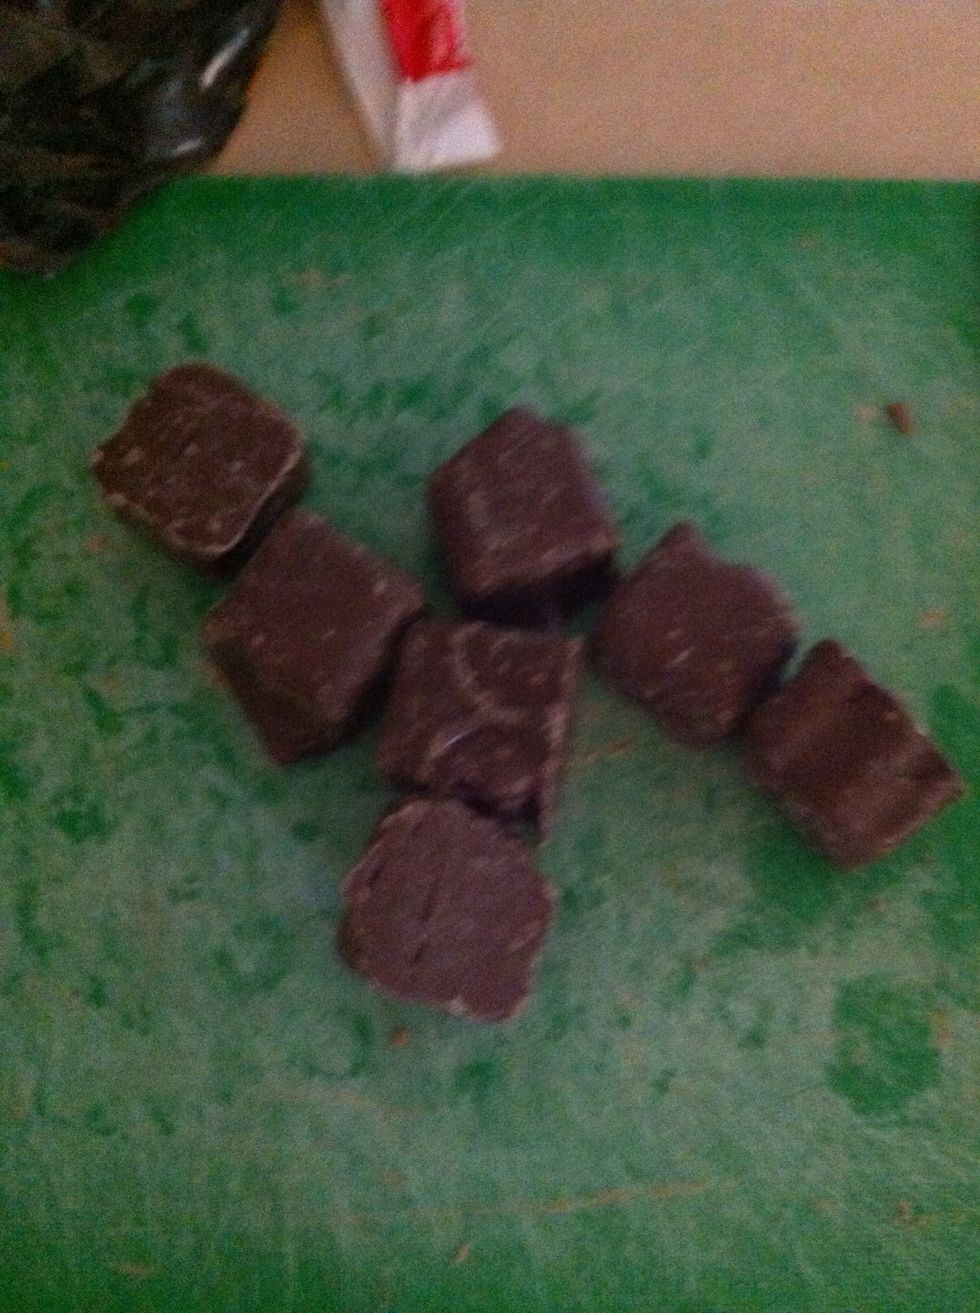
Now put some honey comb bricks on your chopping board
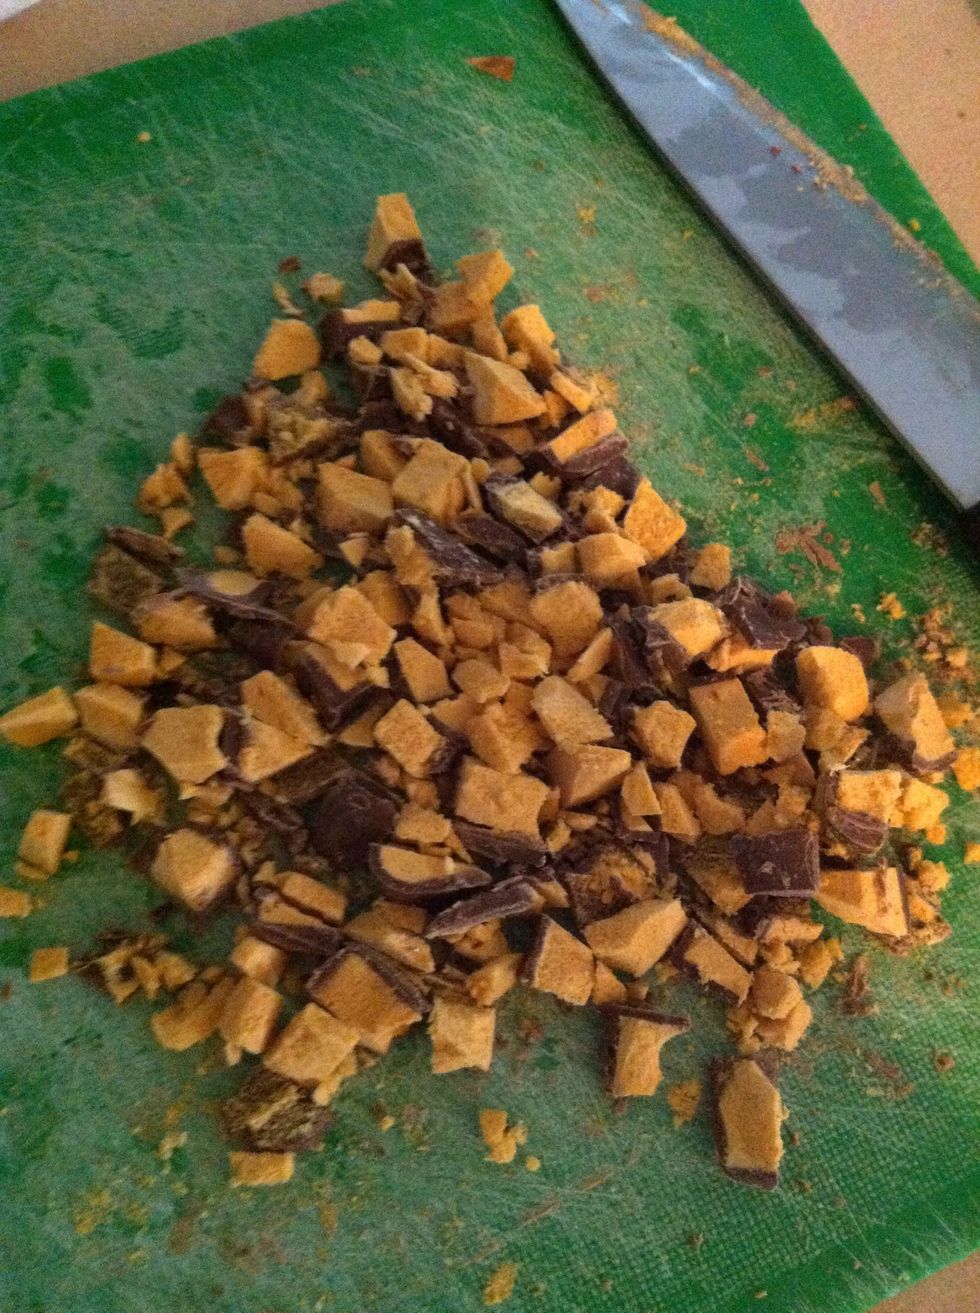
chop it up
There!
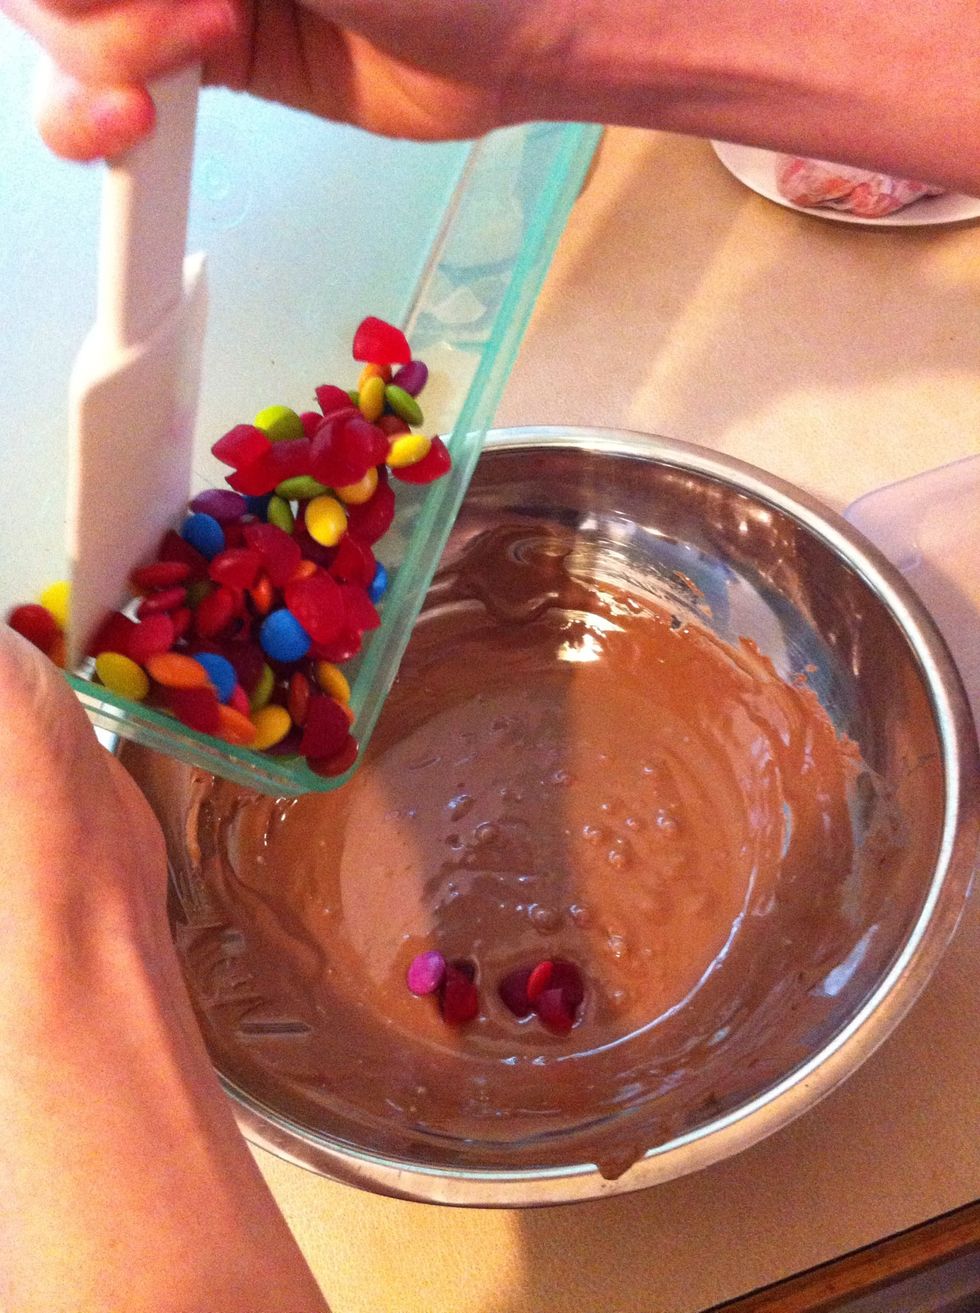
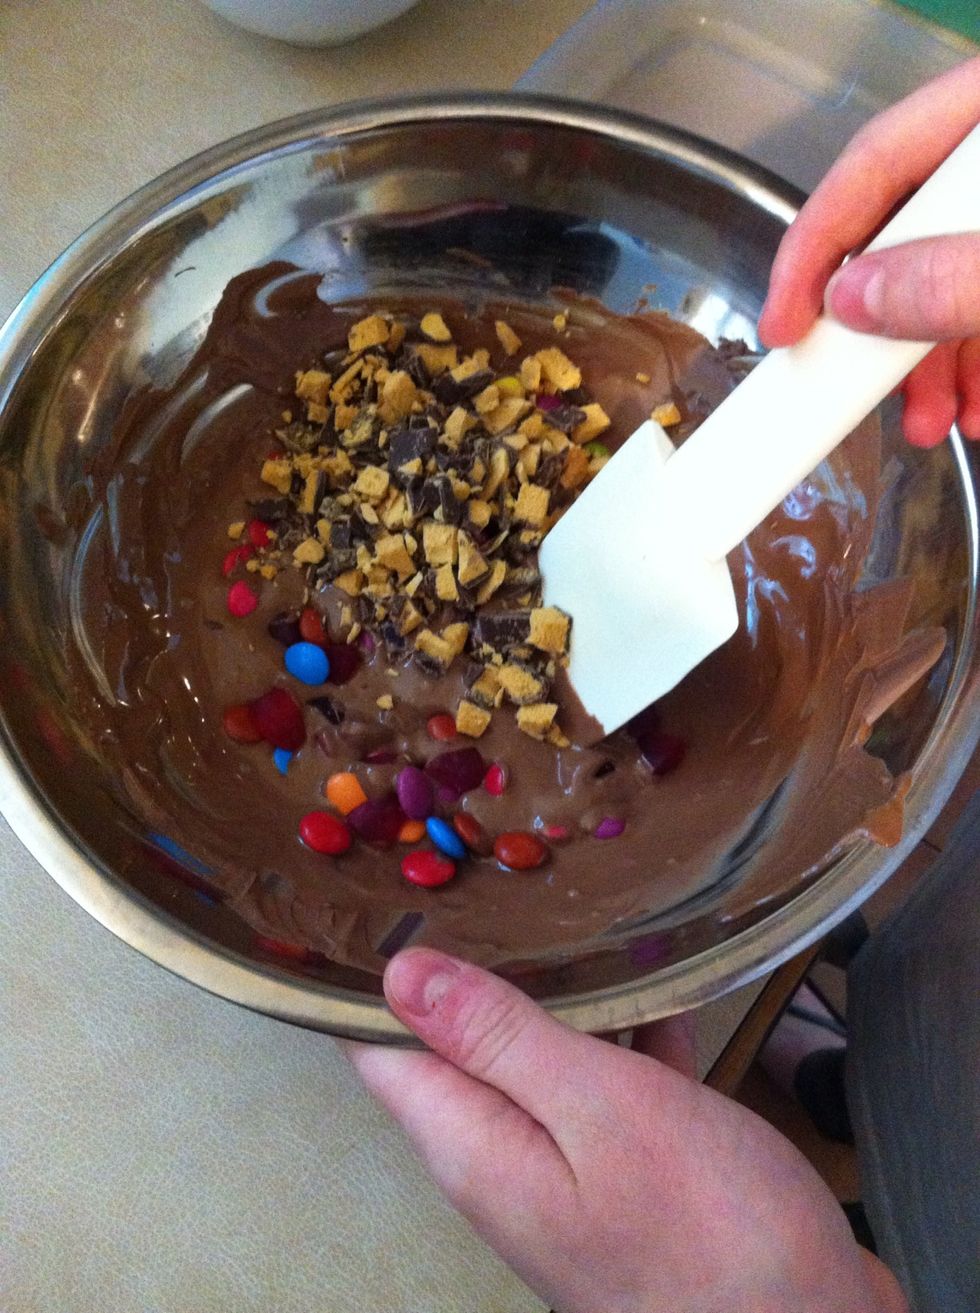
Now in the mildly warm chocolate pour the smarties, jubes and honey comb
Now mix it up with the spatular
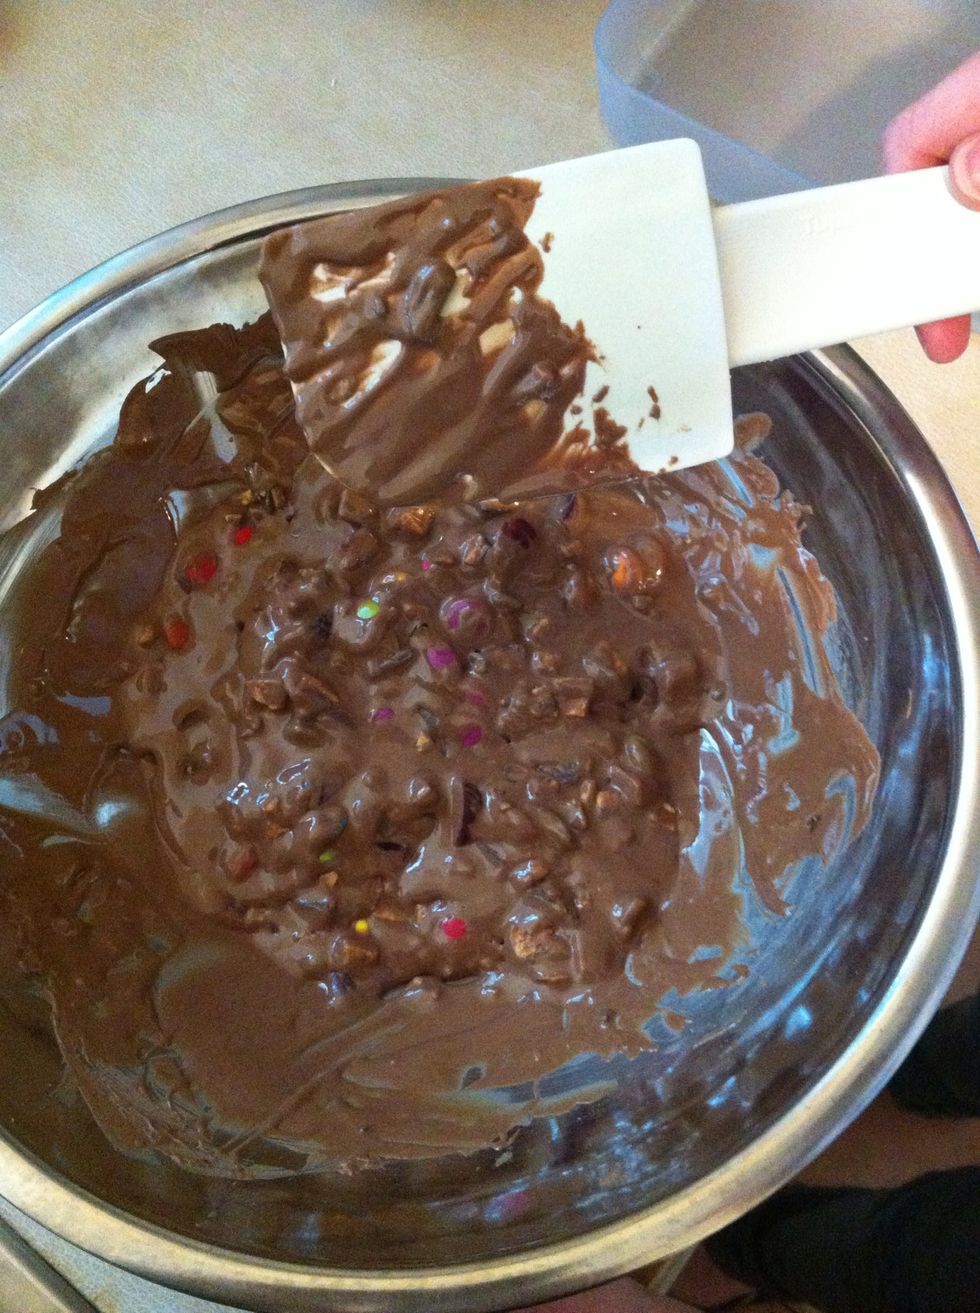
Done it looks gross😁

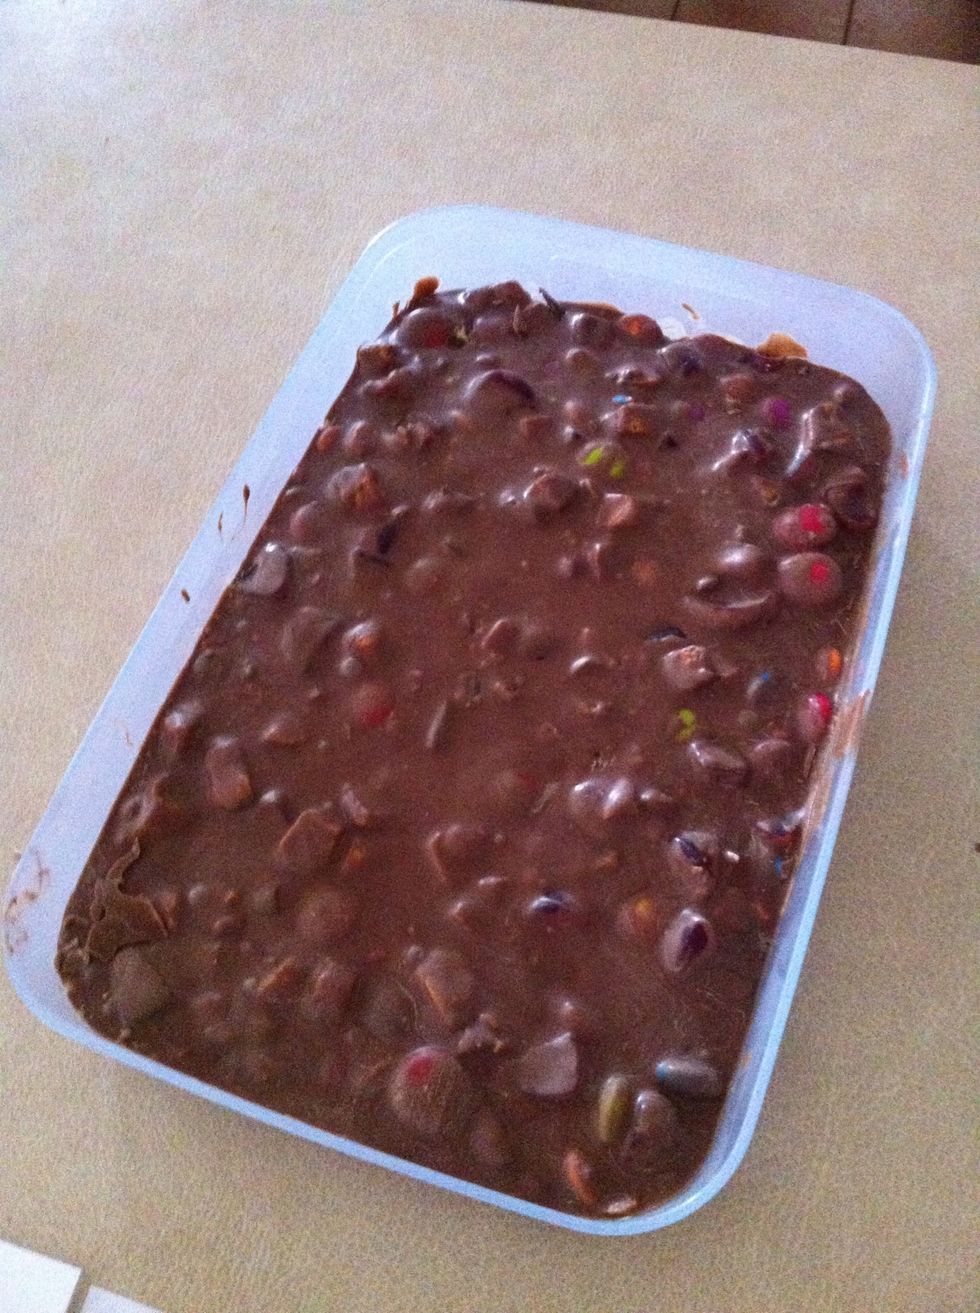
Now in a smaller container pour the mixture in
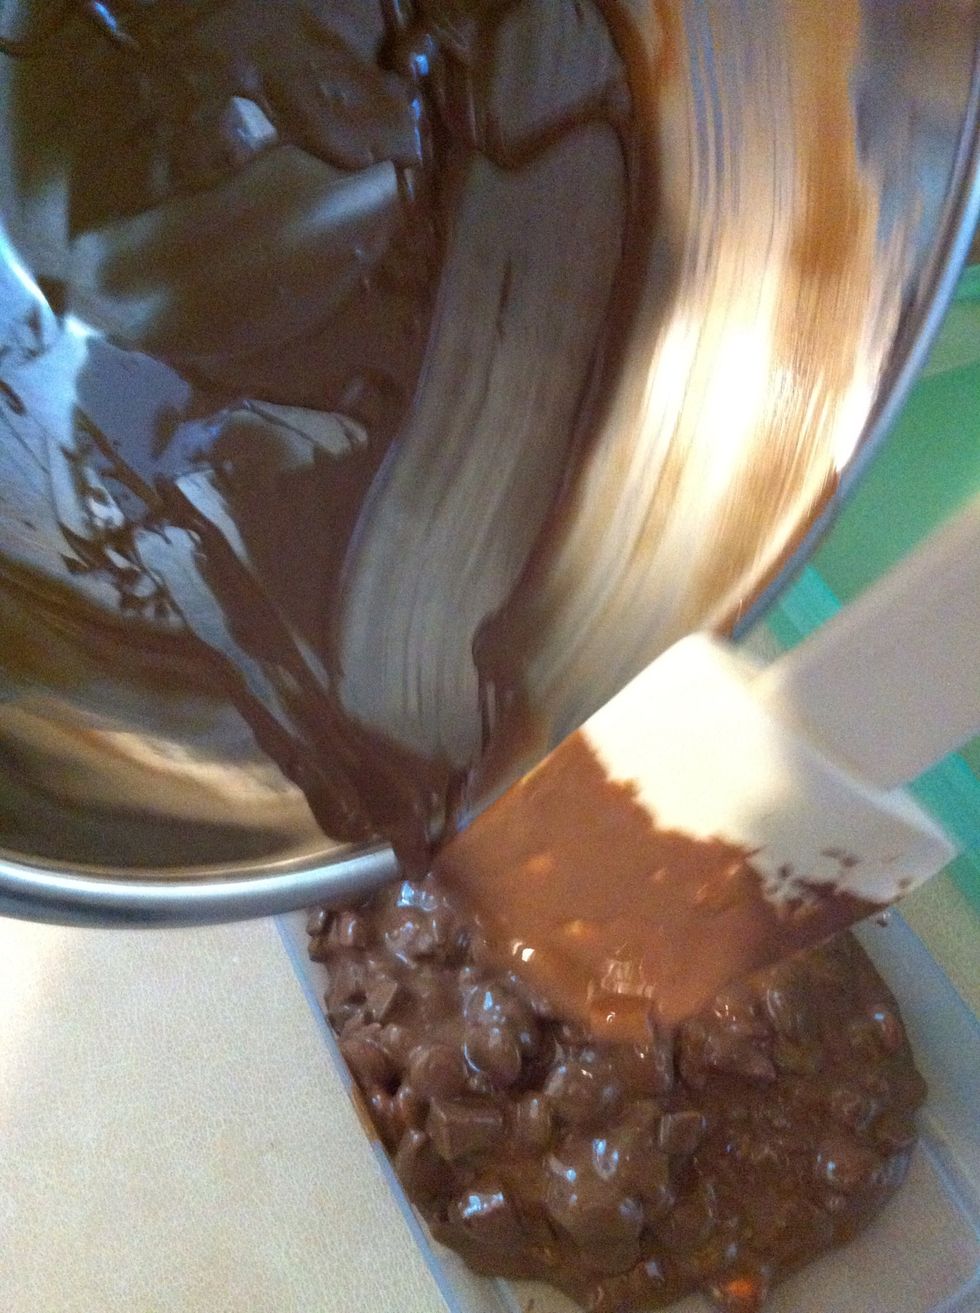
Make sure to scrape it all out

Flatten it down
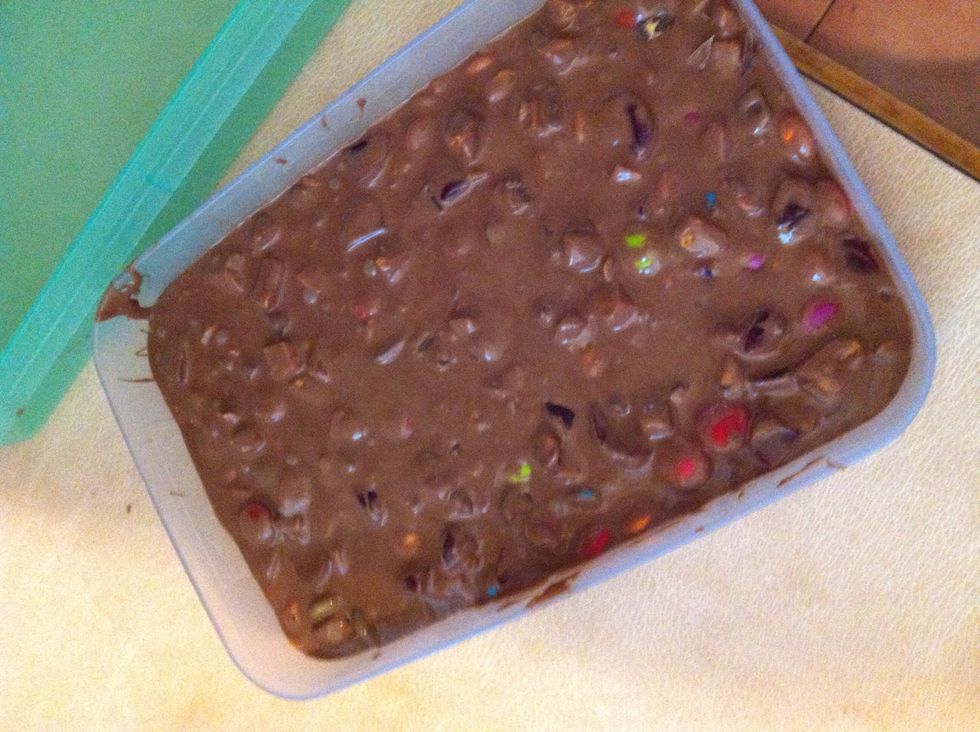
All done

Put bigger container and leave out do not put in the fridge as it ruins the texture and flavour and gets too hard.
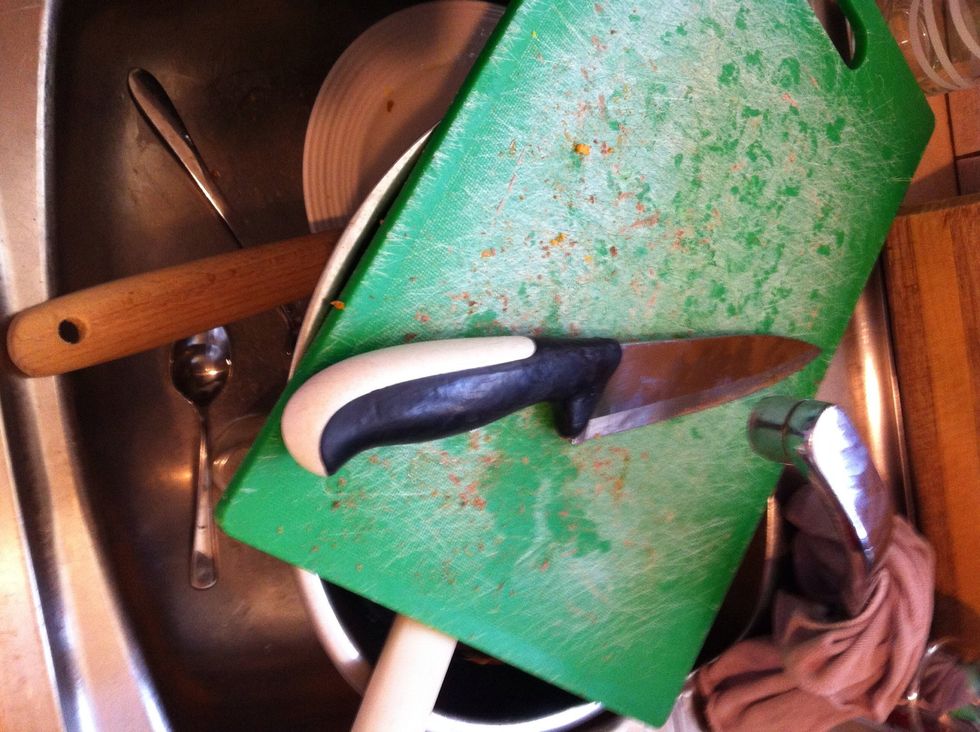
Now wash up😖
Its been 2 hours now so its done

Gentley push the chocolate from the bottom of the container

Yay
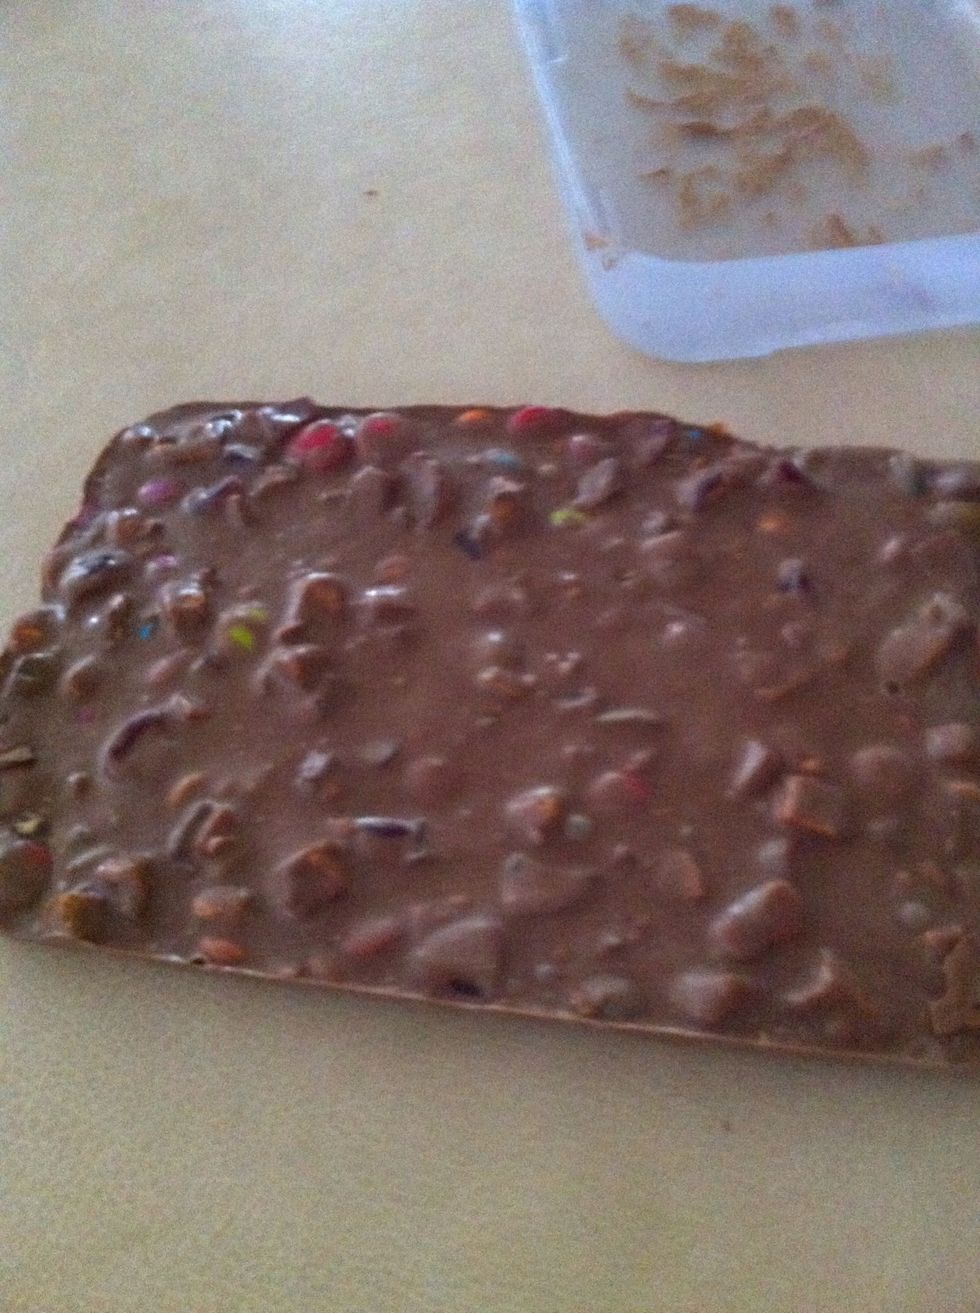
Put it on bench
This isn't nessasay but i thought it would be fun! continue looking though ➡➡➡ if you would like to see how to make the wrapper!
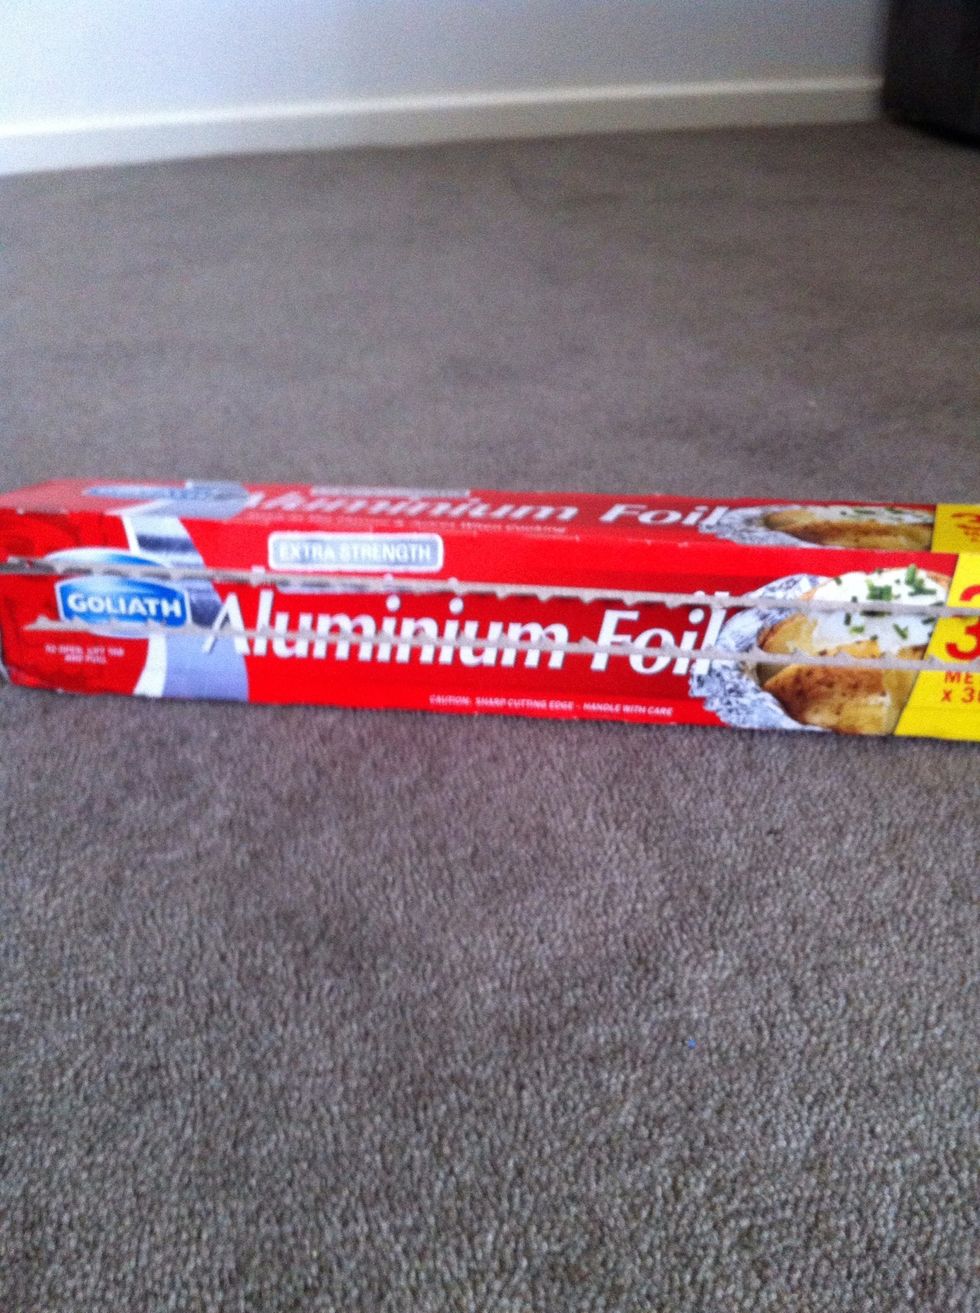
Get your foil
Lay a peice out
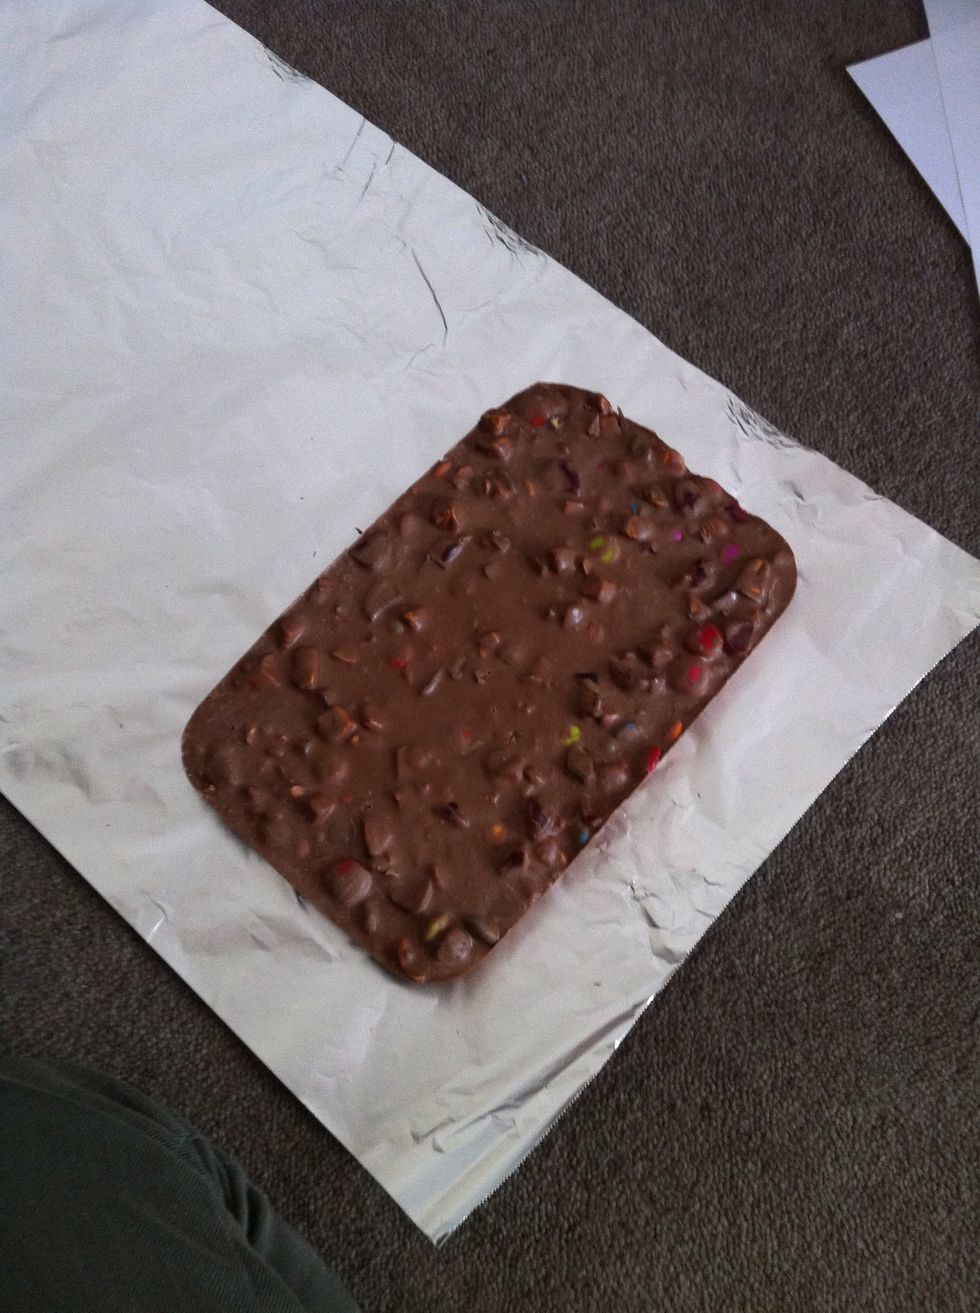
Put chocolate there and measure what size you will need to wrap it up
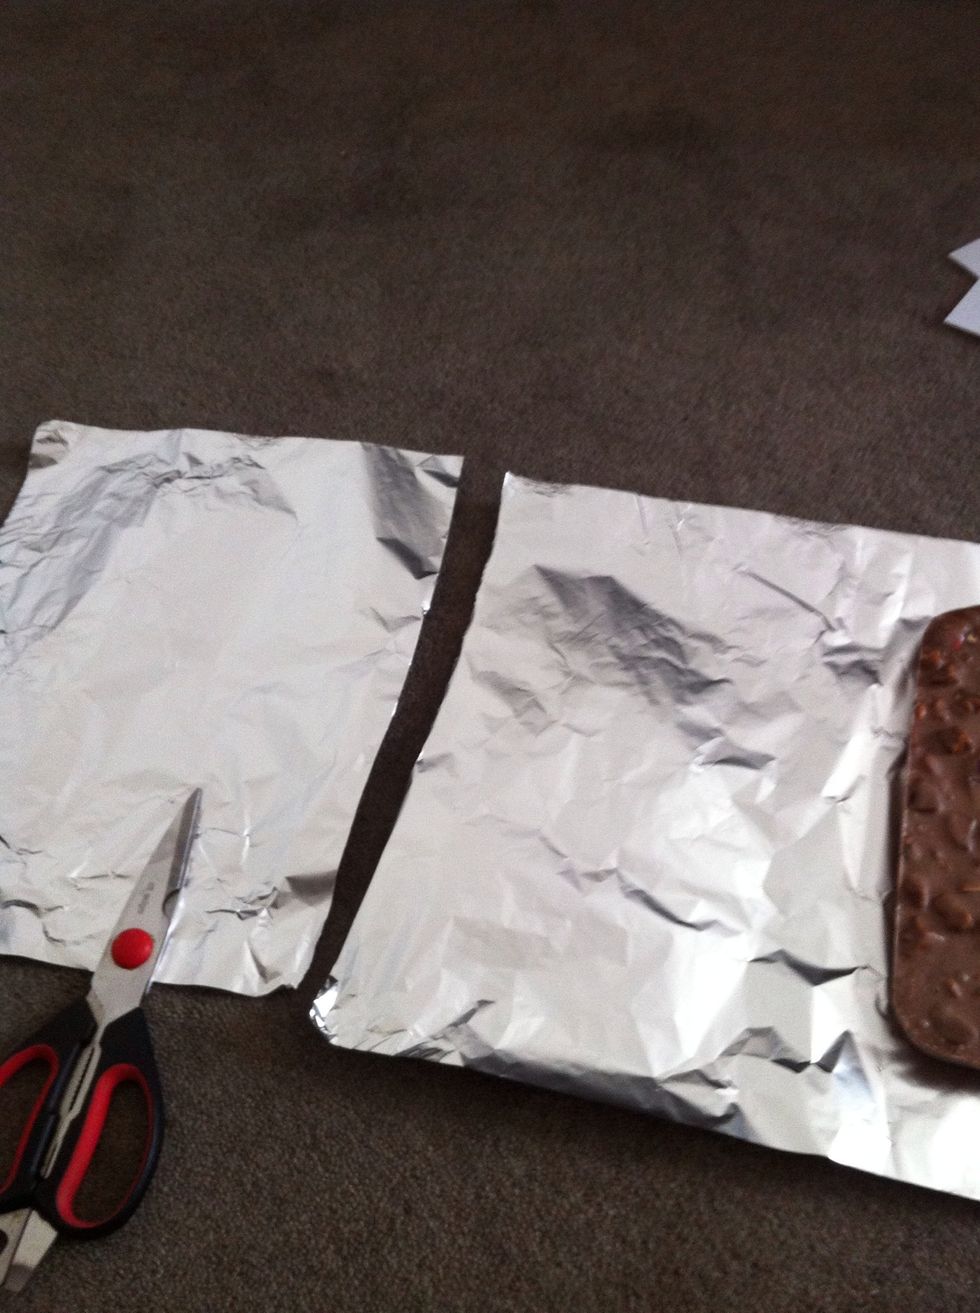
Cut if nessasary

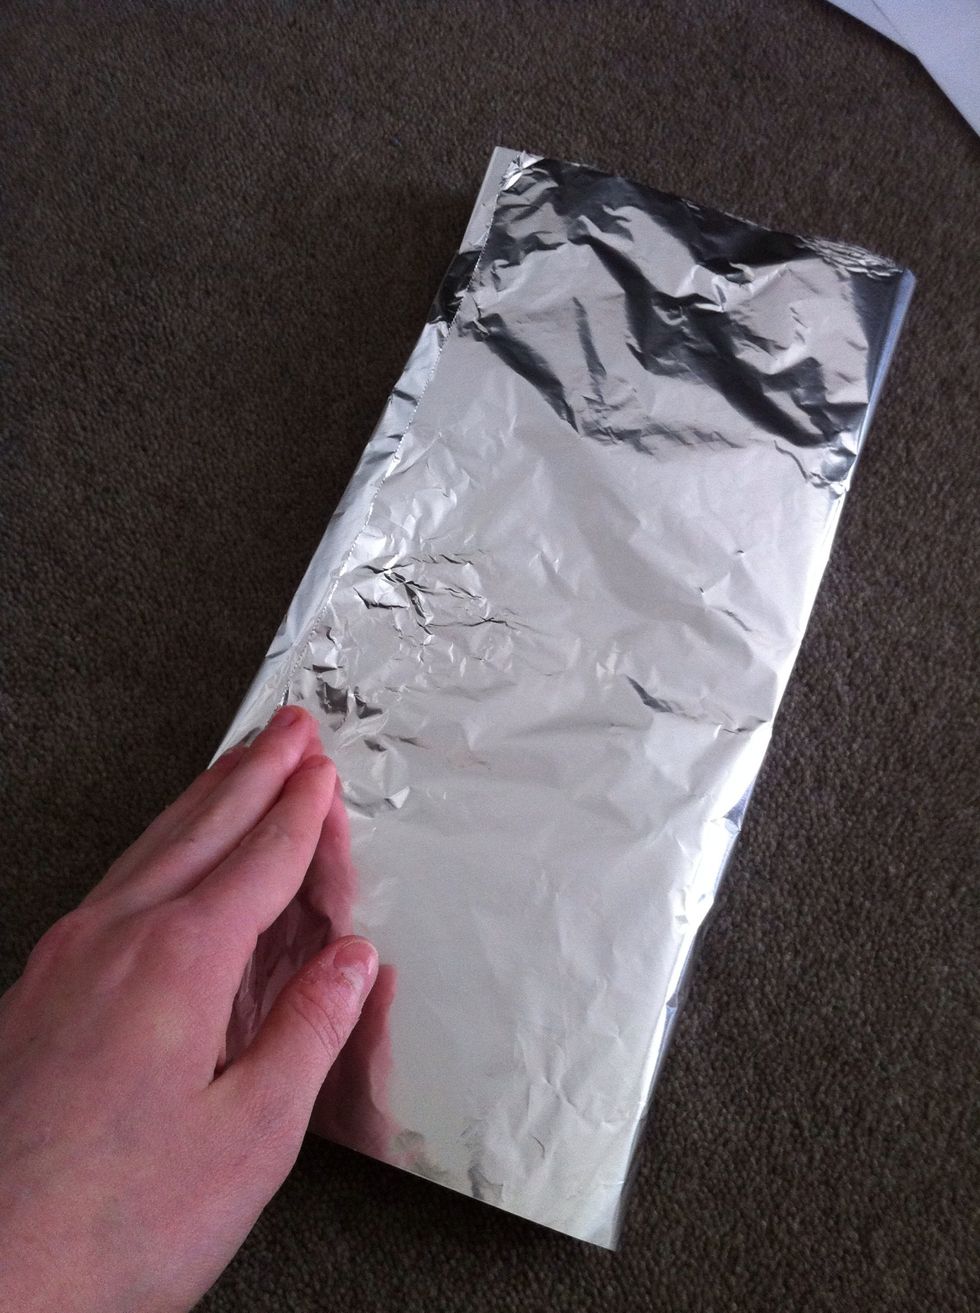
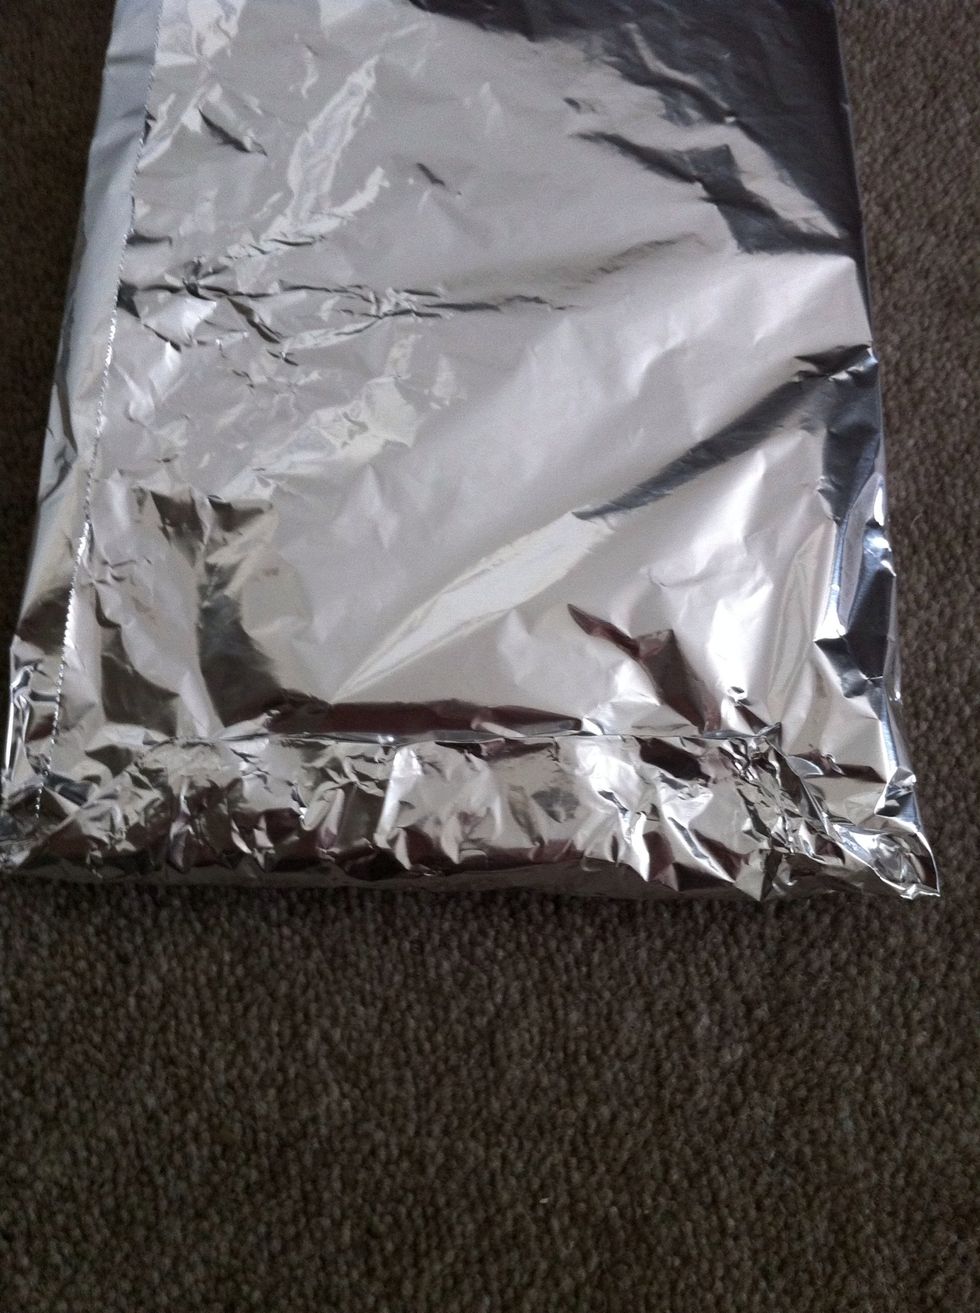
Lay chocolate in the middle
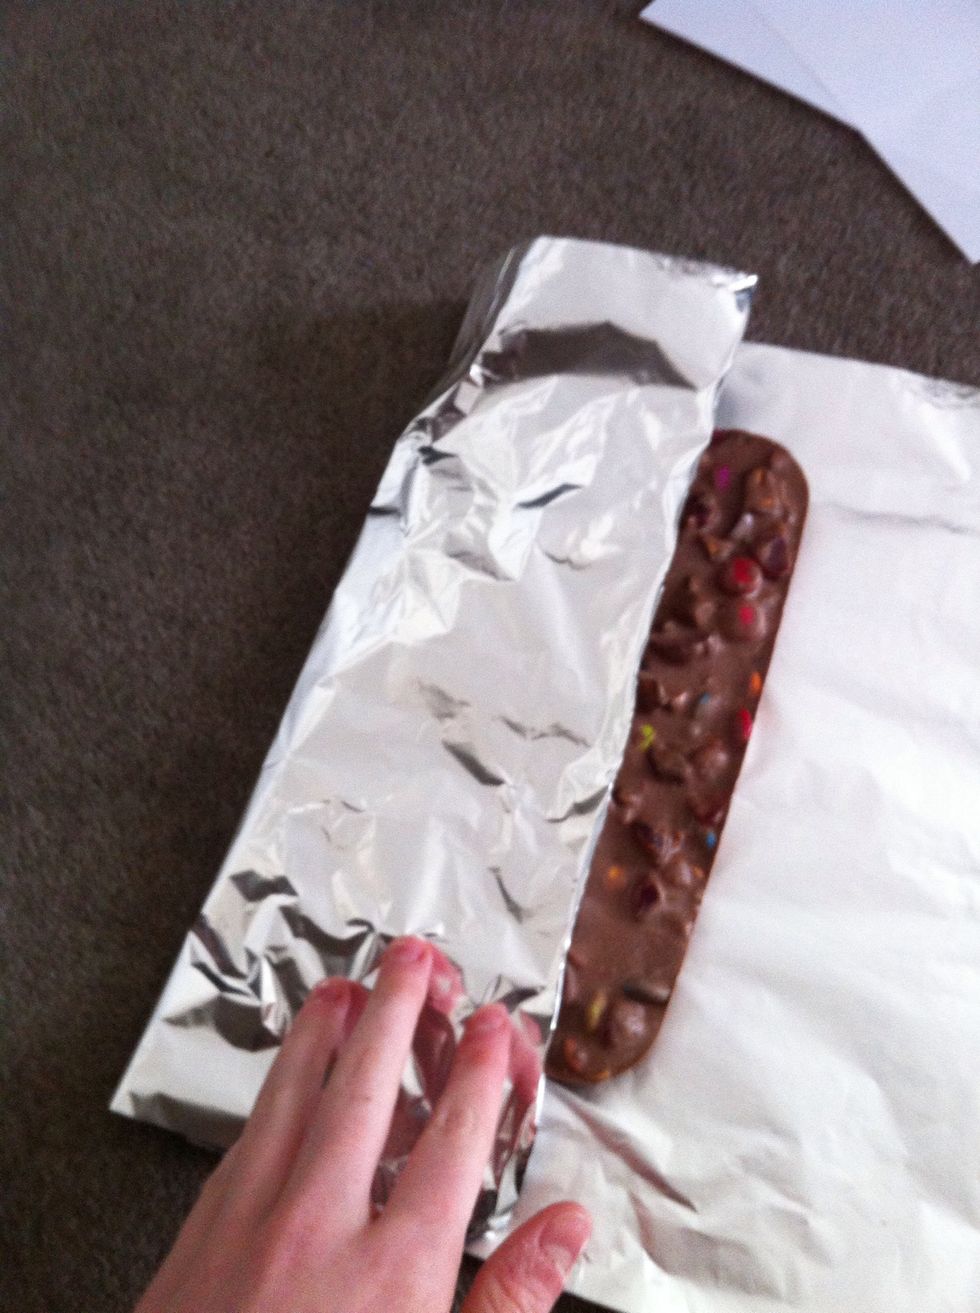
Fold on side over
Fold other side over
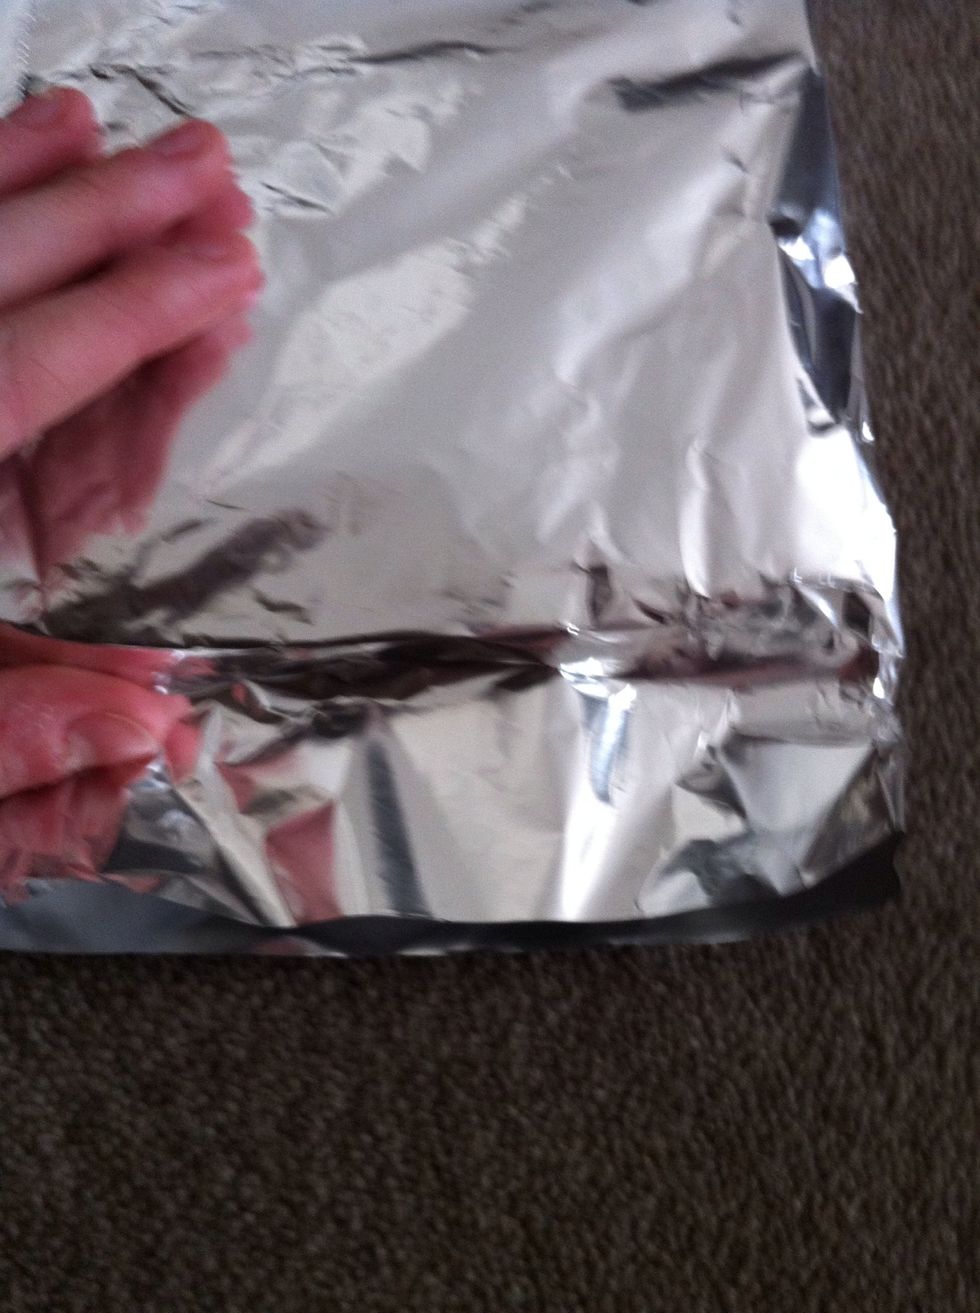
On one end push down where the chocolate ends
Fold the two corners in
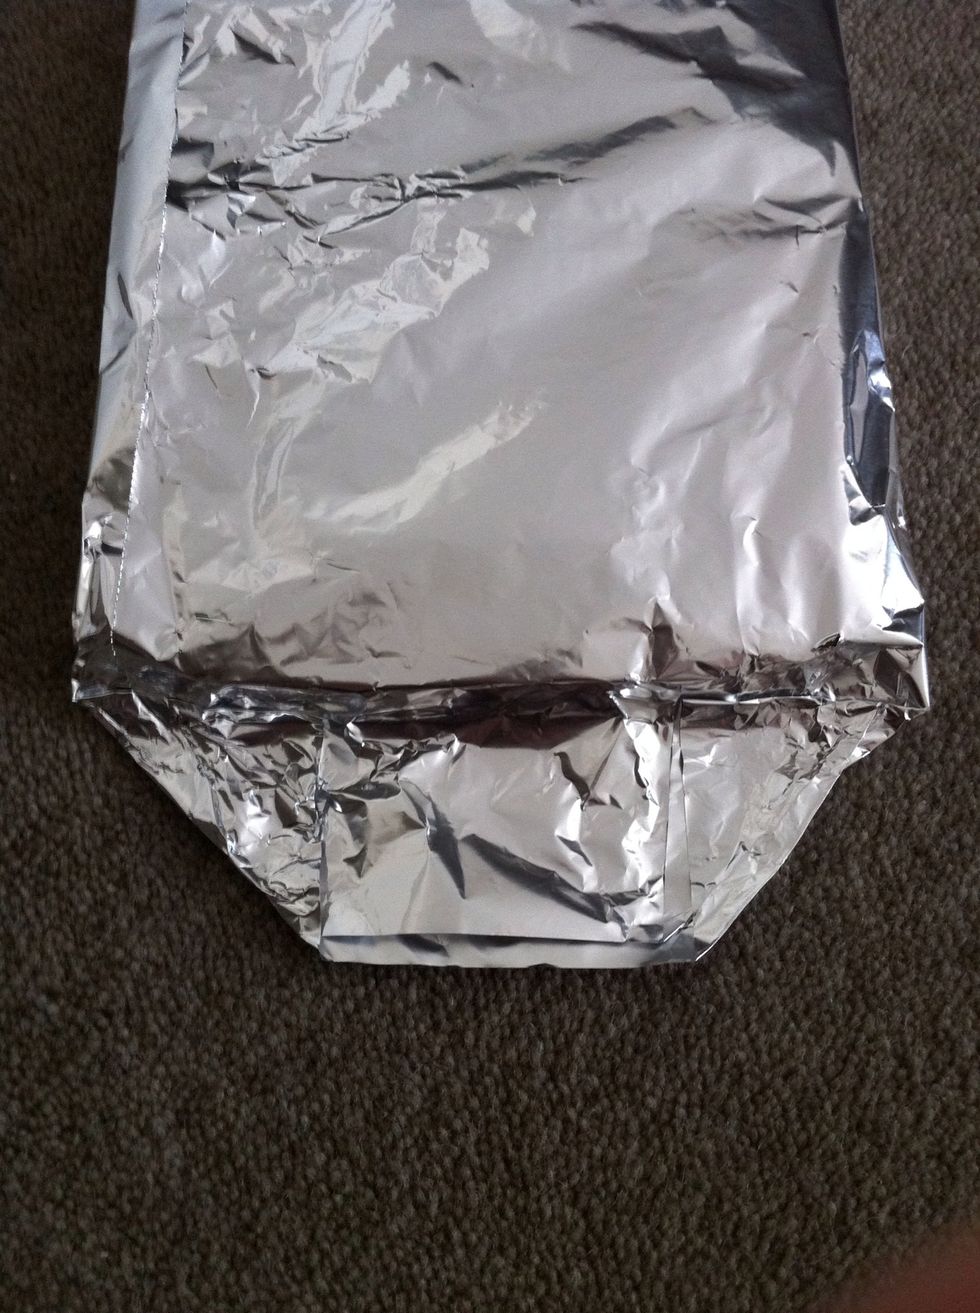
Fold the tip down a bit
Now fold the flap onto the chocolate
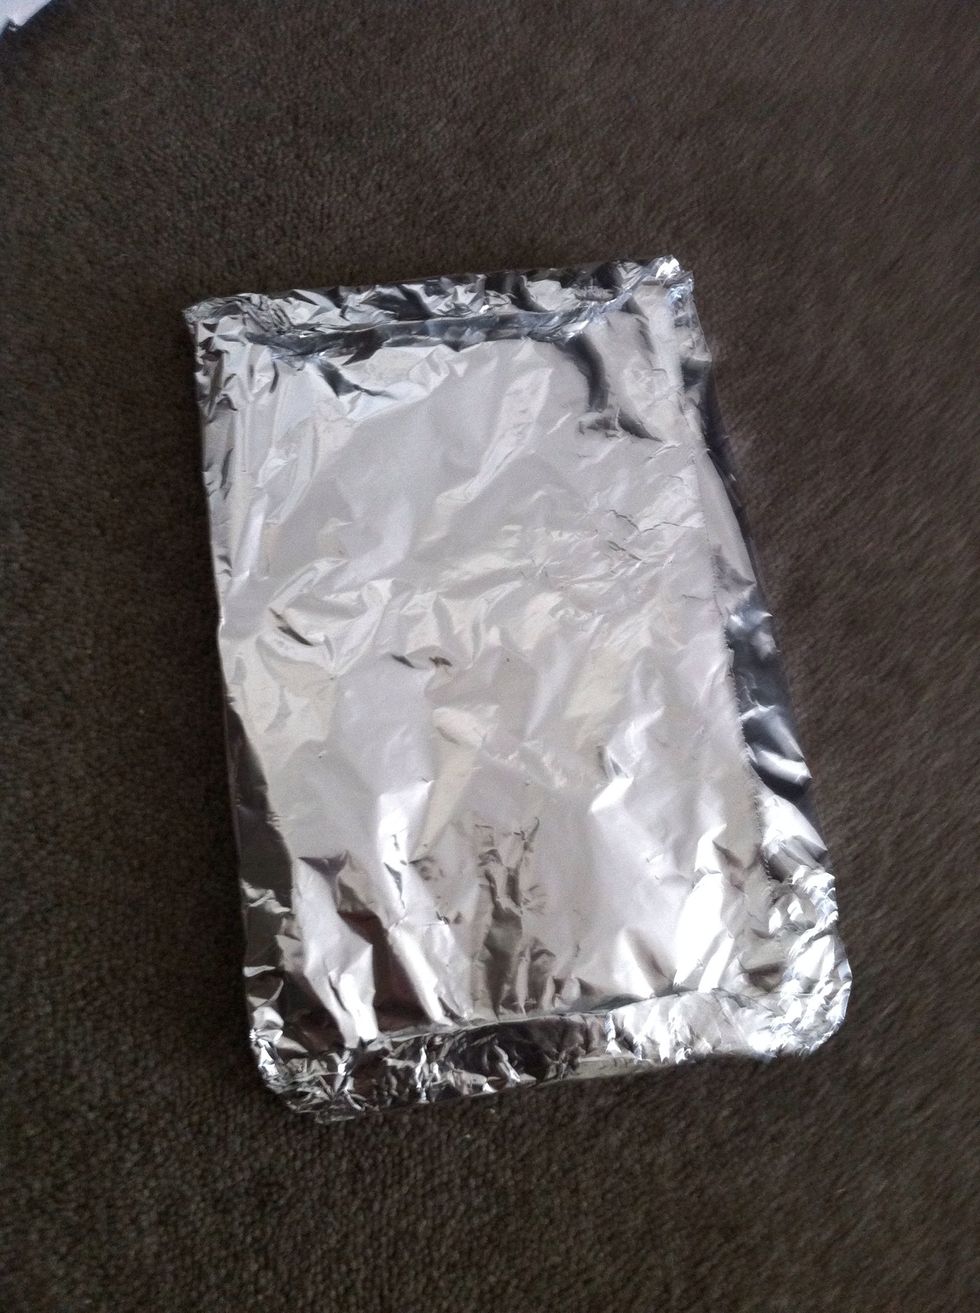
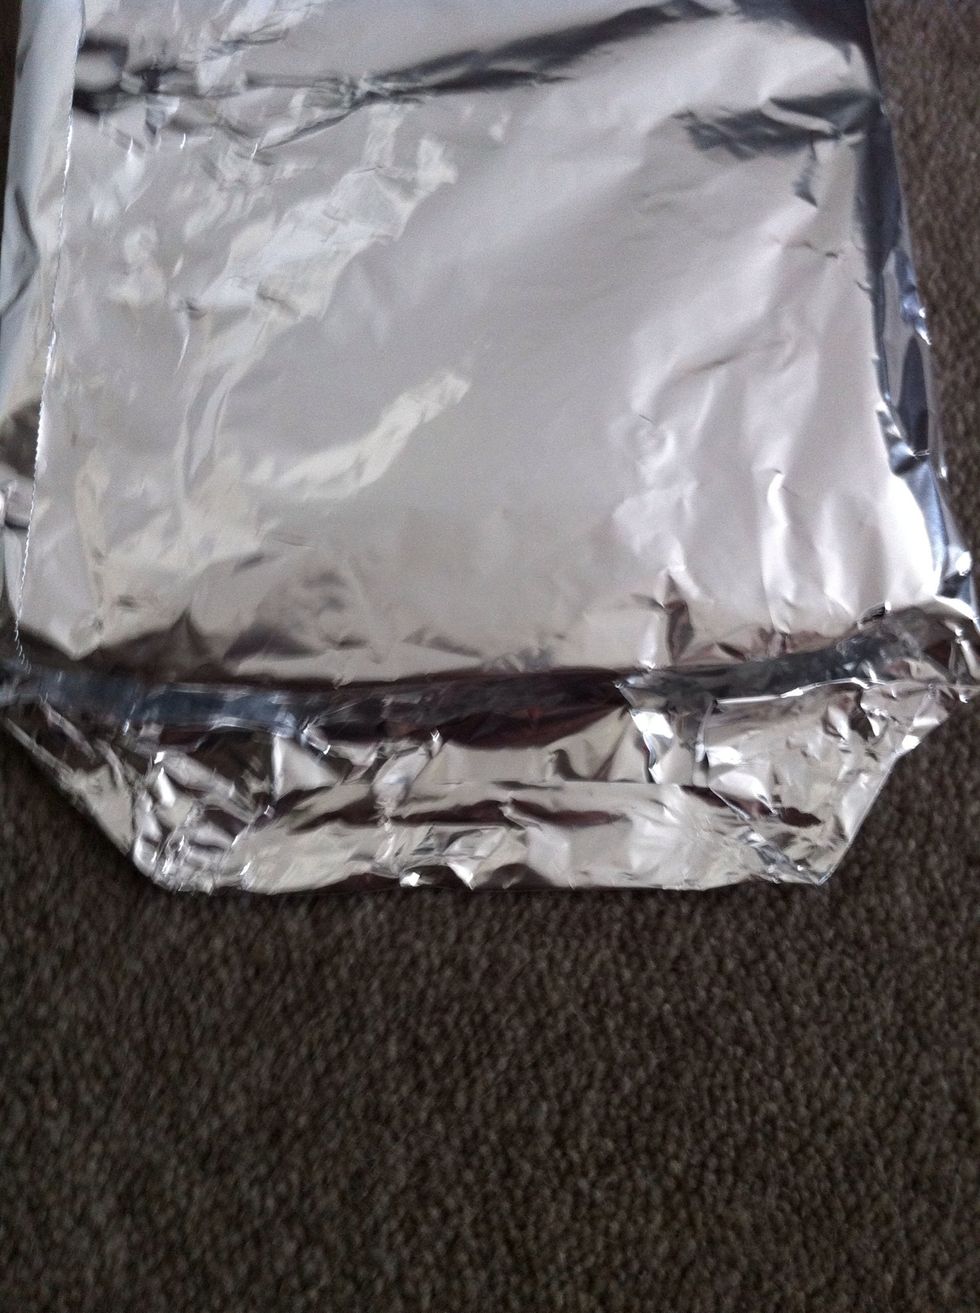
Do the same with the other end
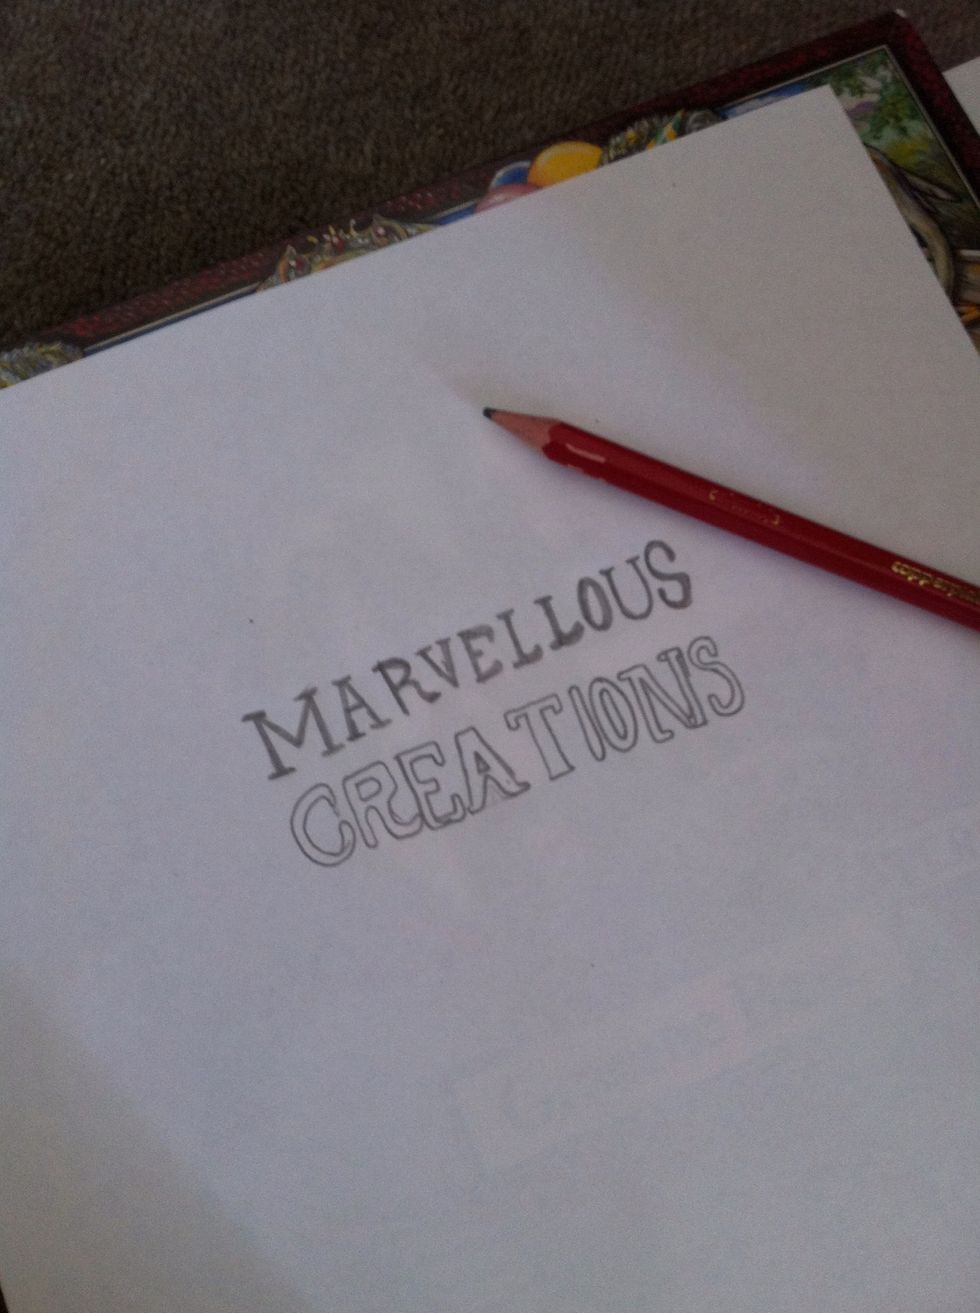
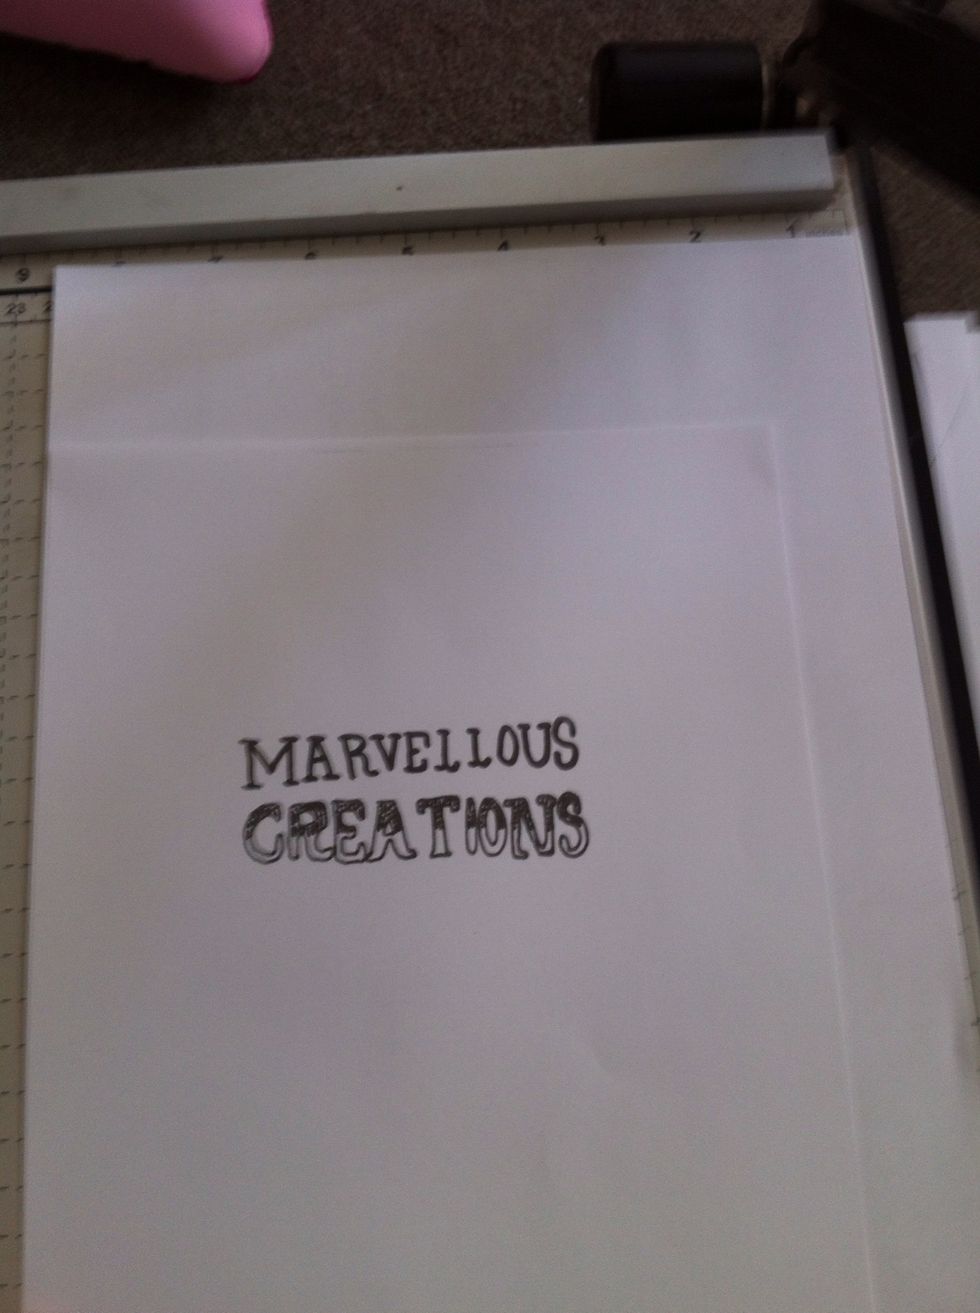
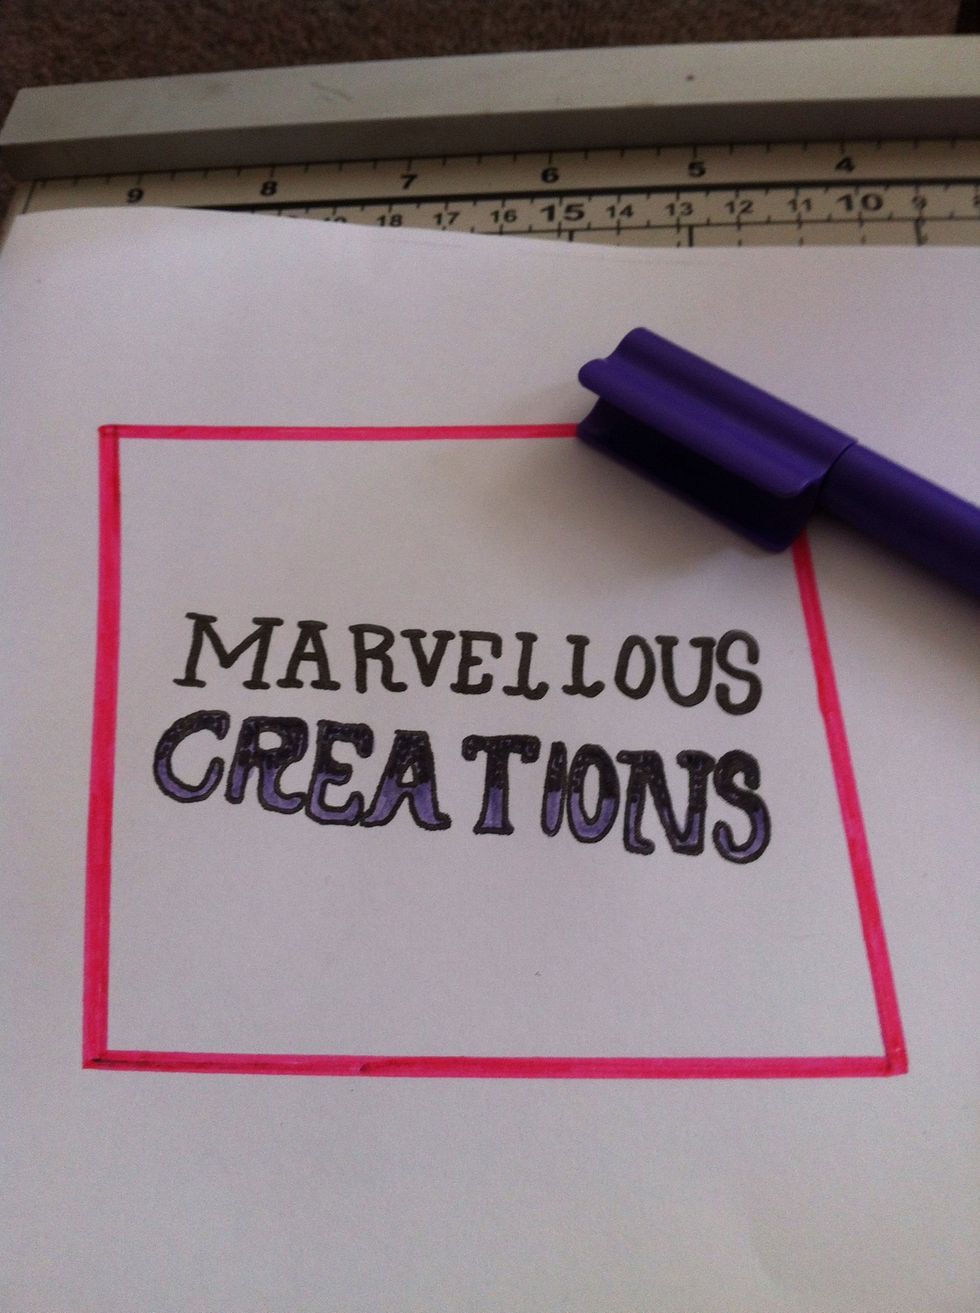
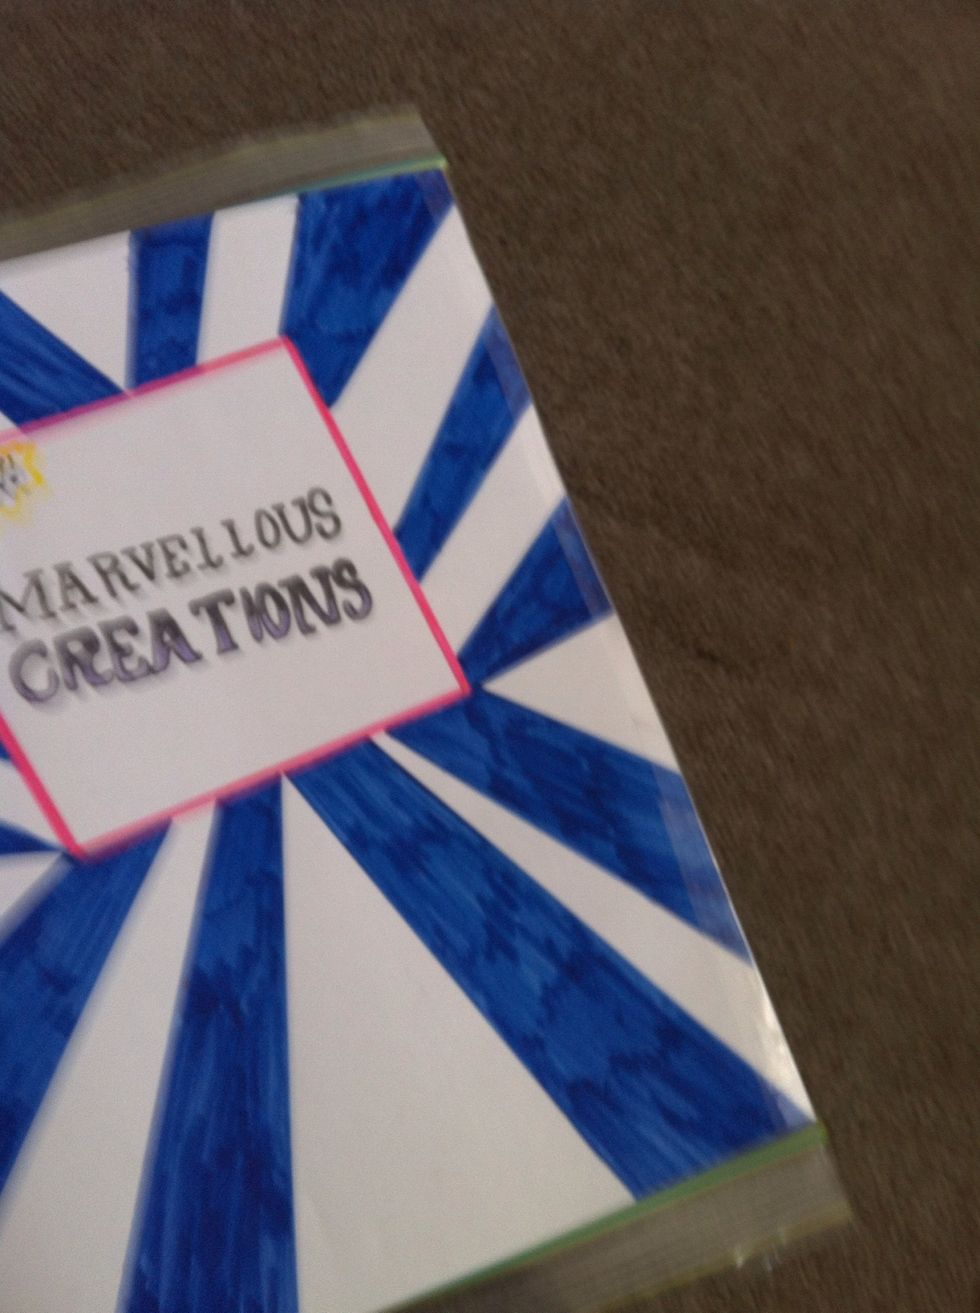
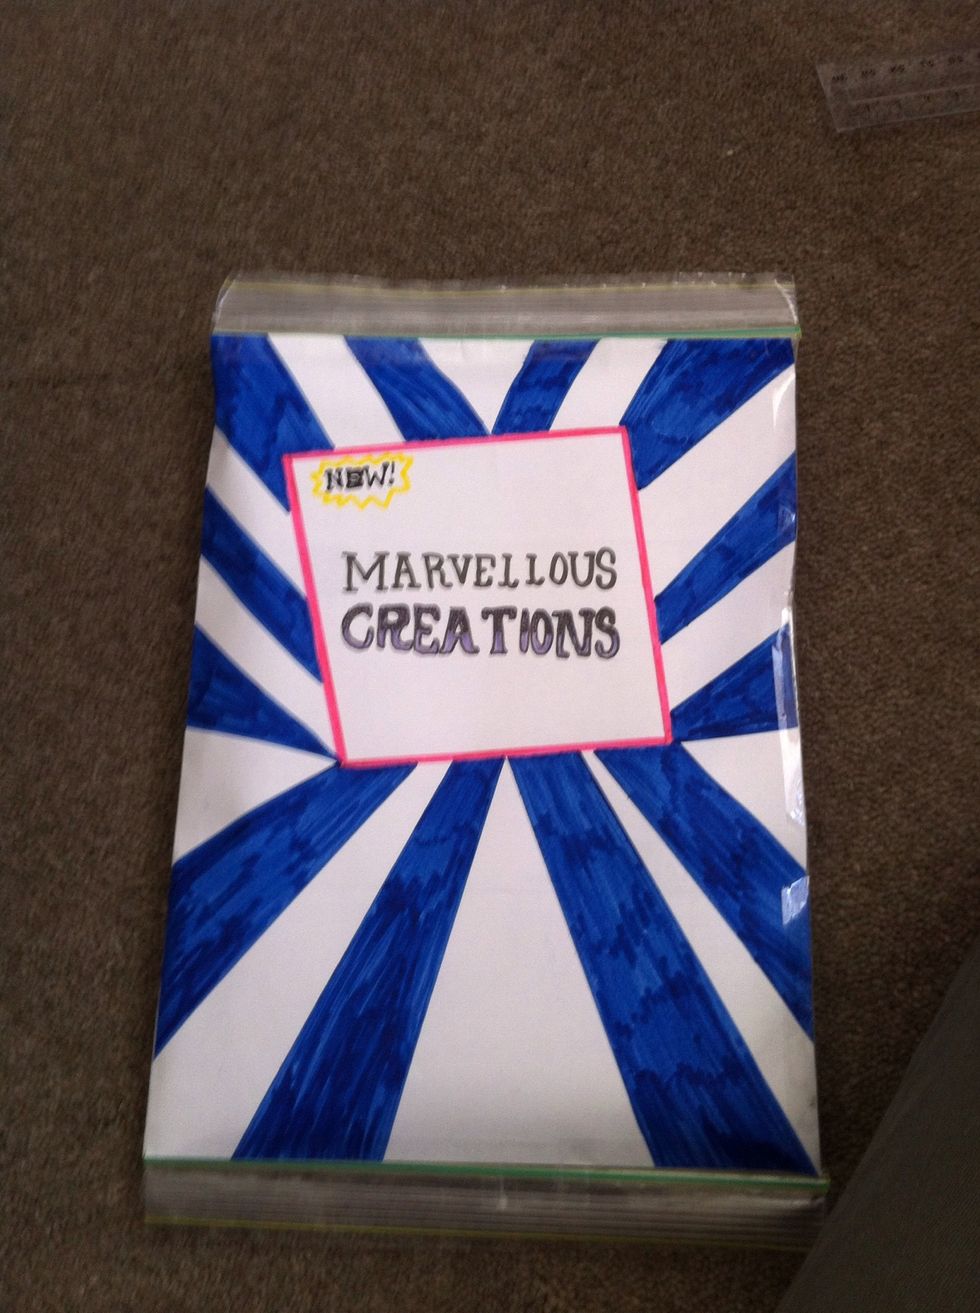
Now draw the heading: marvellous creations in this font
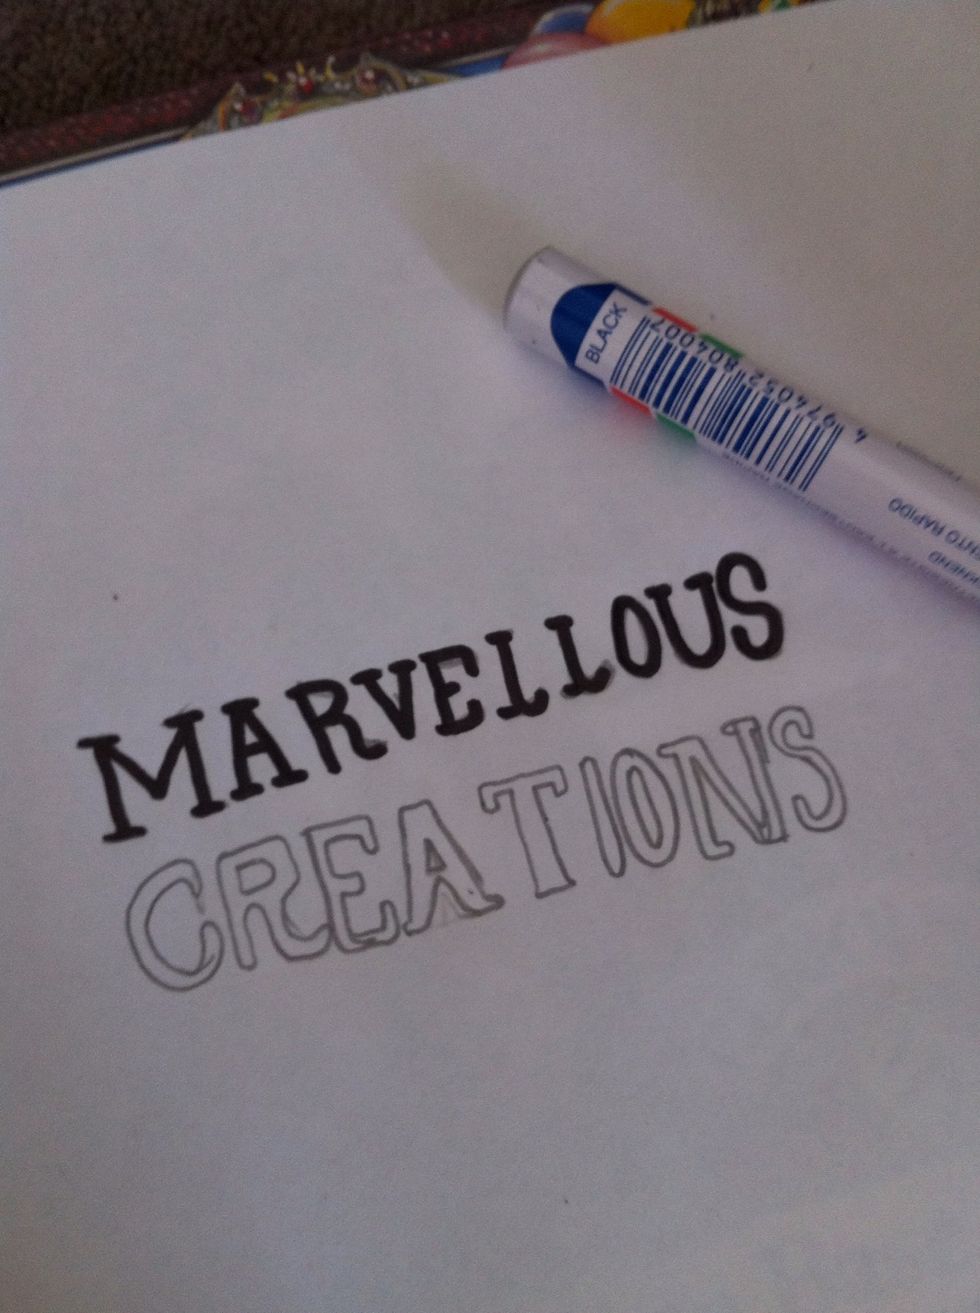
Now go over marvellous with a black permenent texta. I forgot to take a picture but out line the heading creations with a fine liner. Erase and grey led that is showing
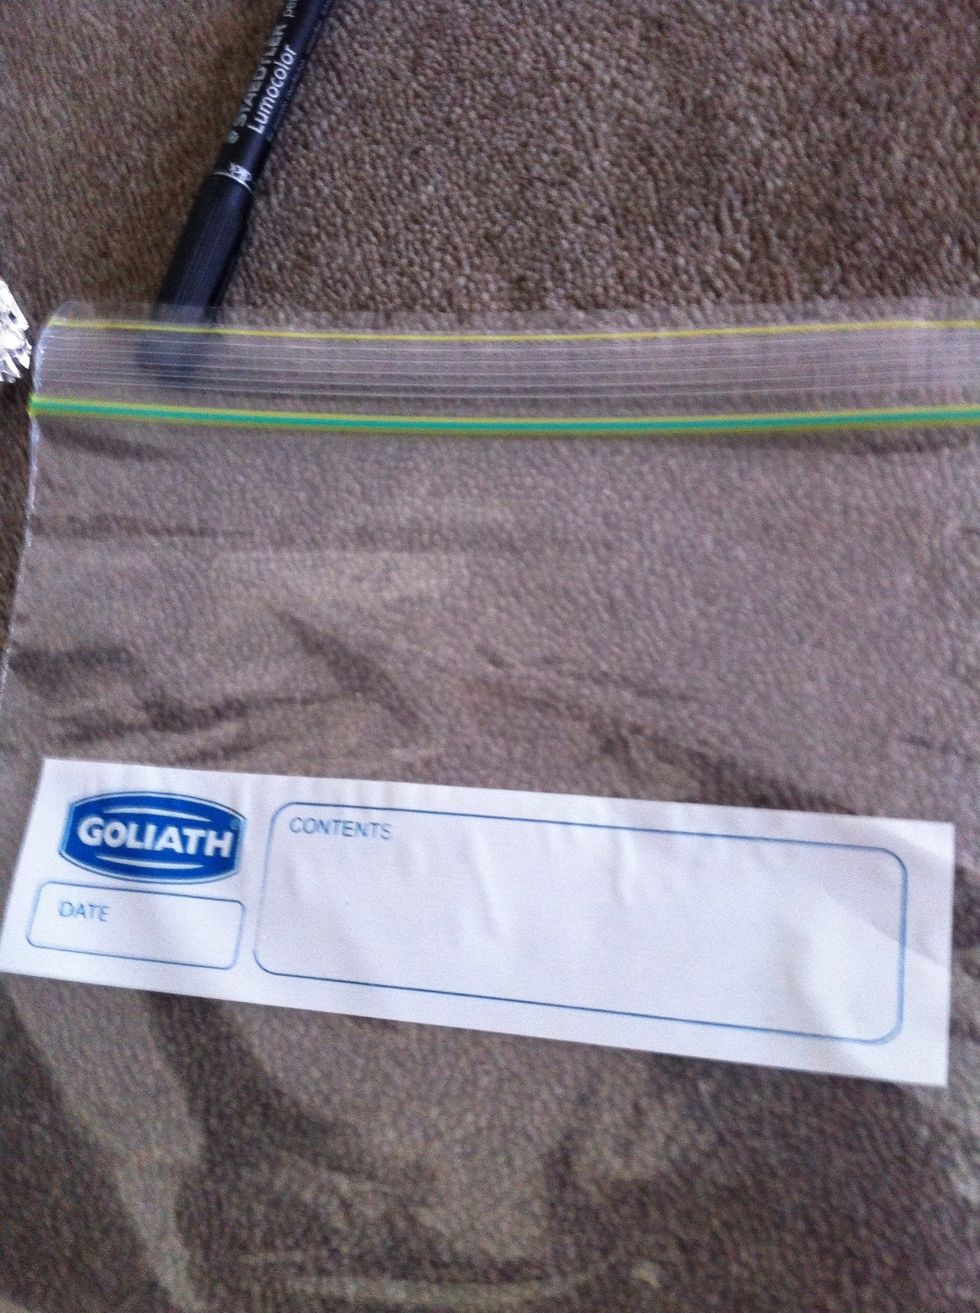
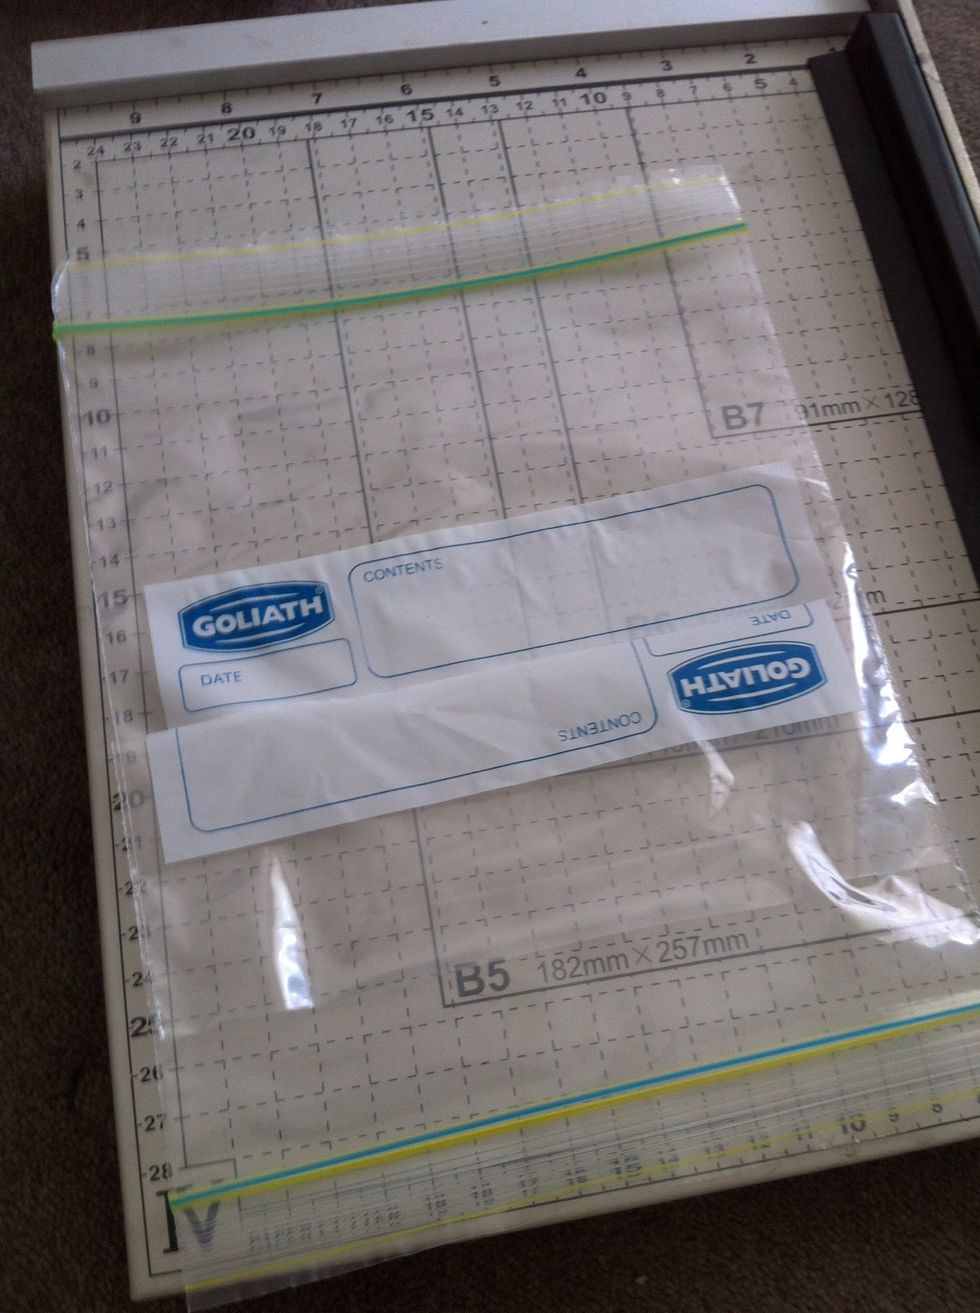
Now get two big size zip lock pockets
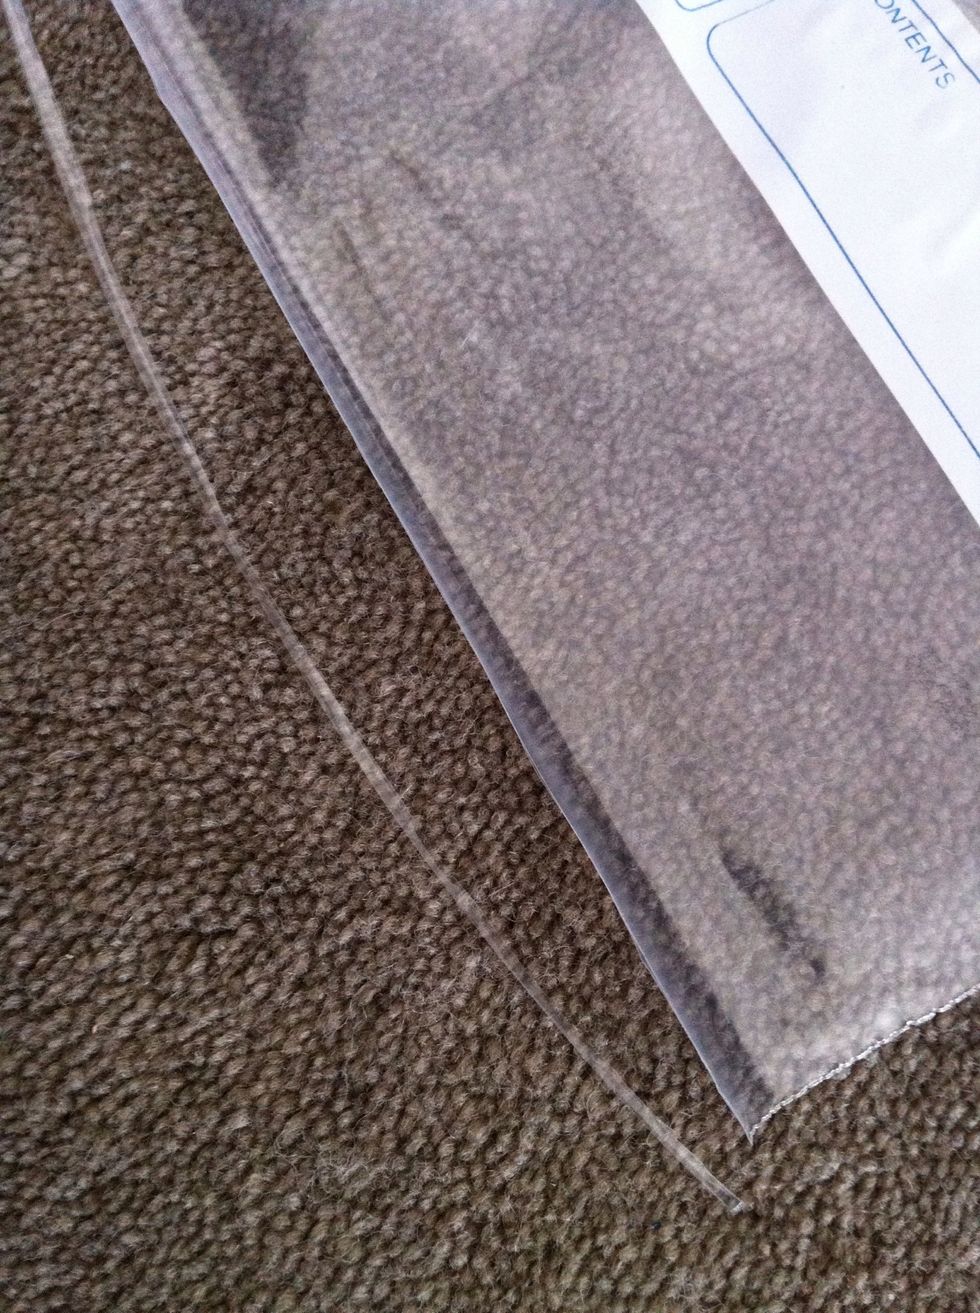
Cut the skinnest strip off the bottom on one
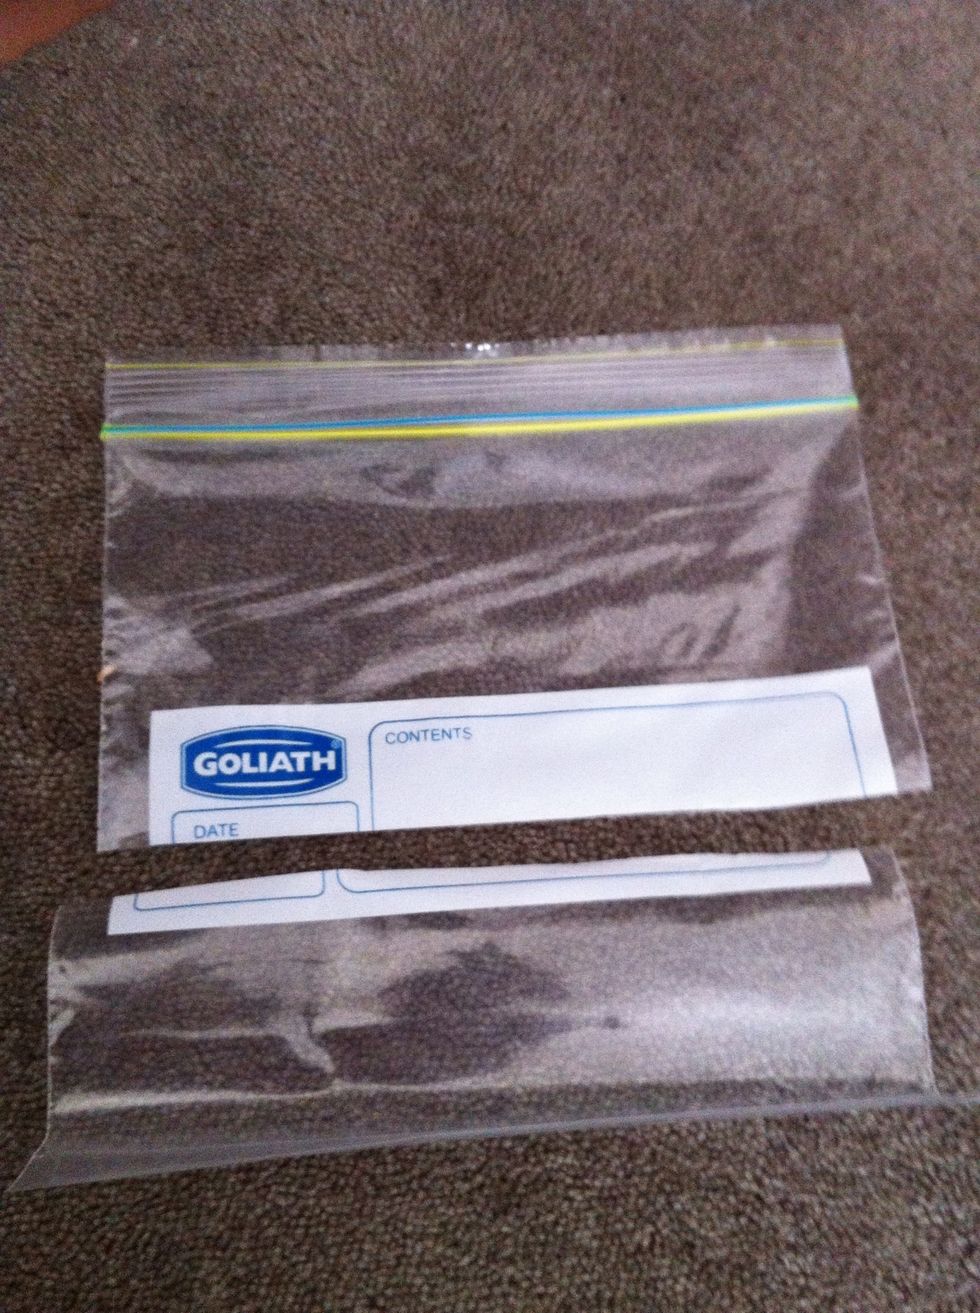
On the other cut it in half
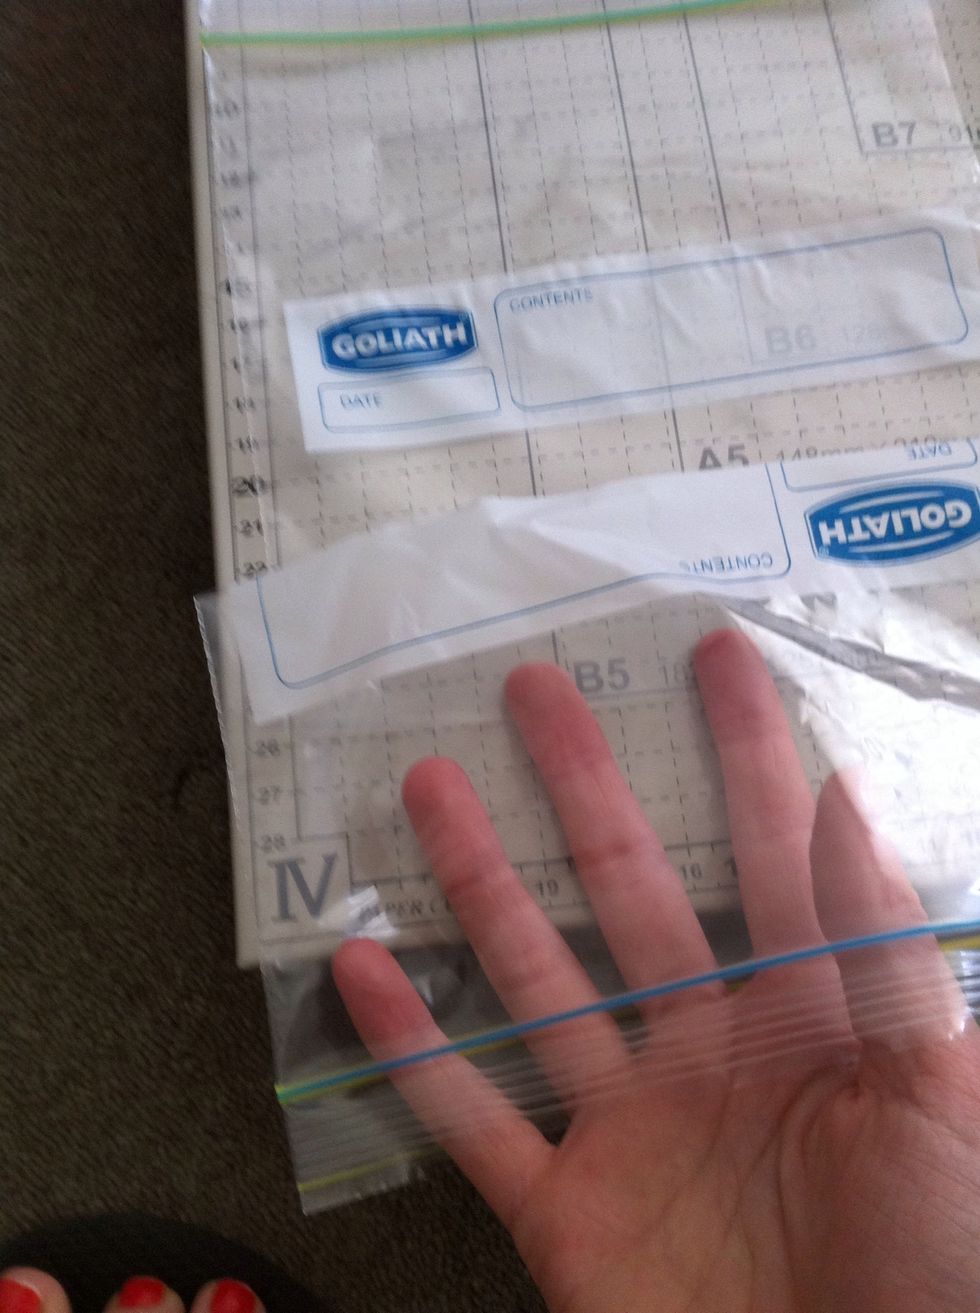
Now them inside each other overlapping a bit
All good
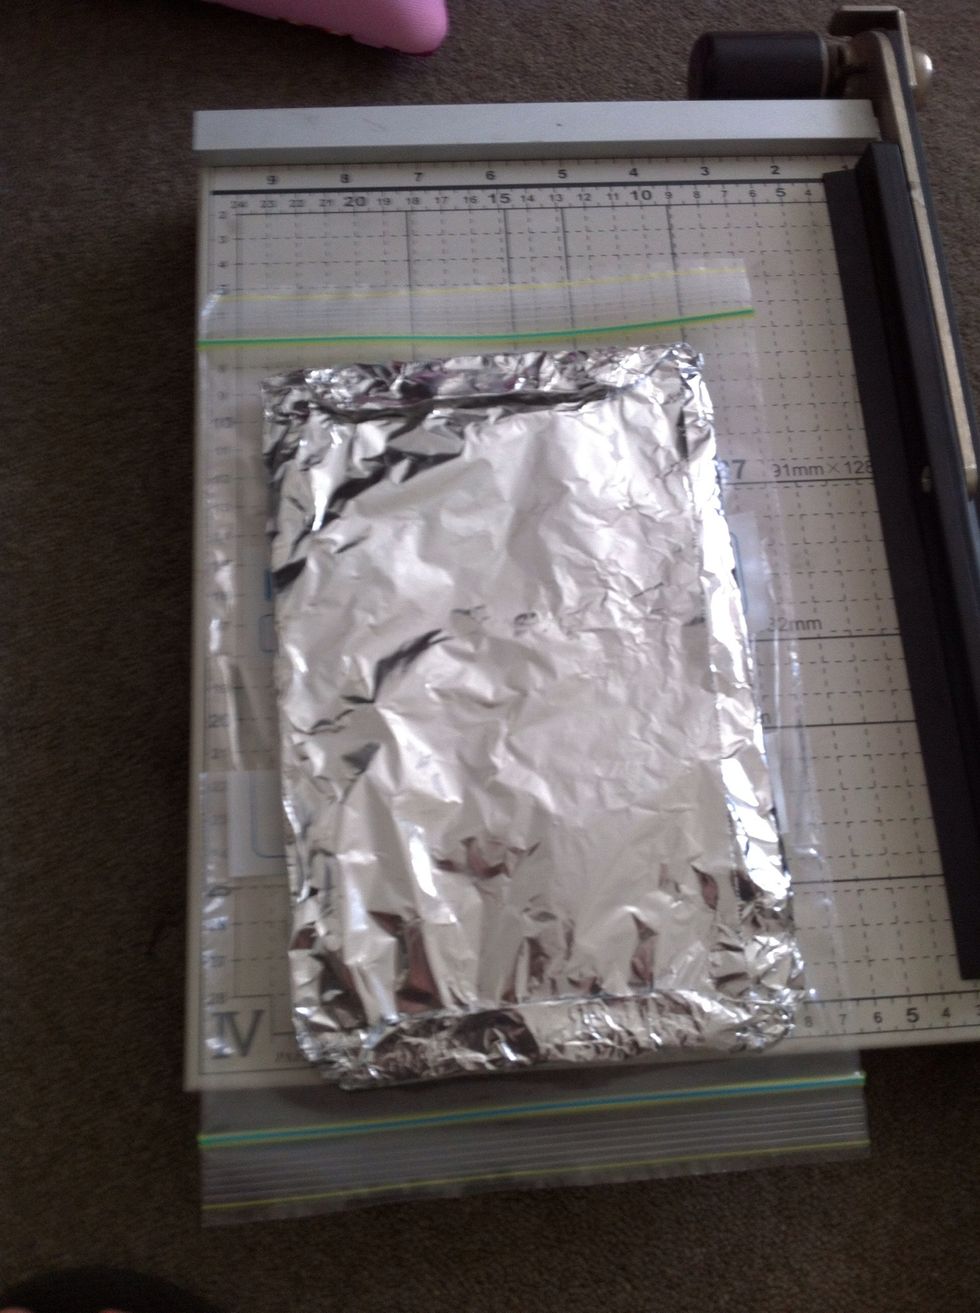
Now check if the chocolate fits in if not just ajust it a bit
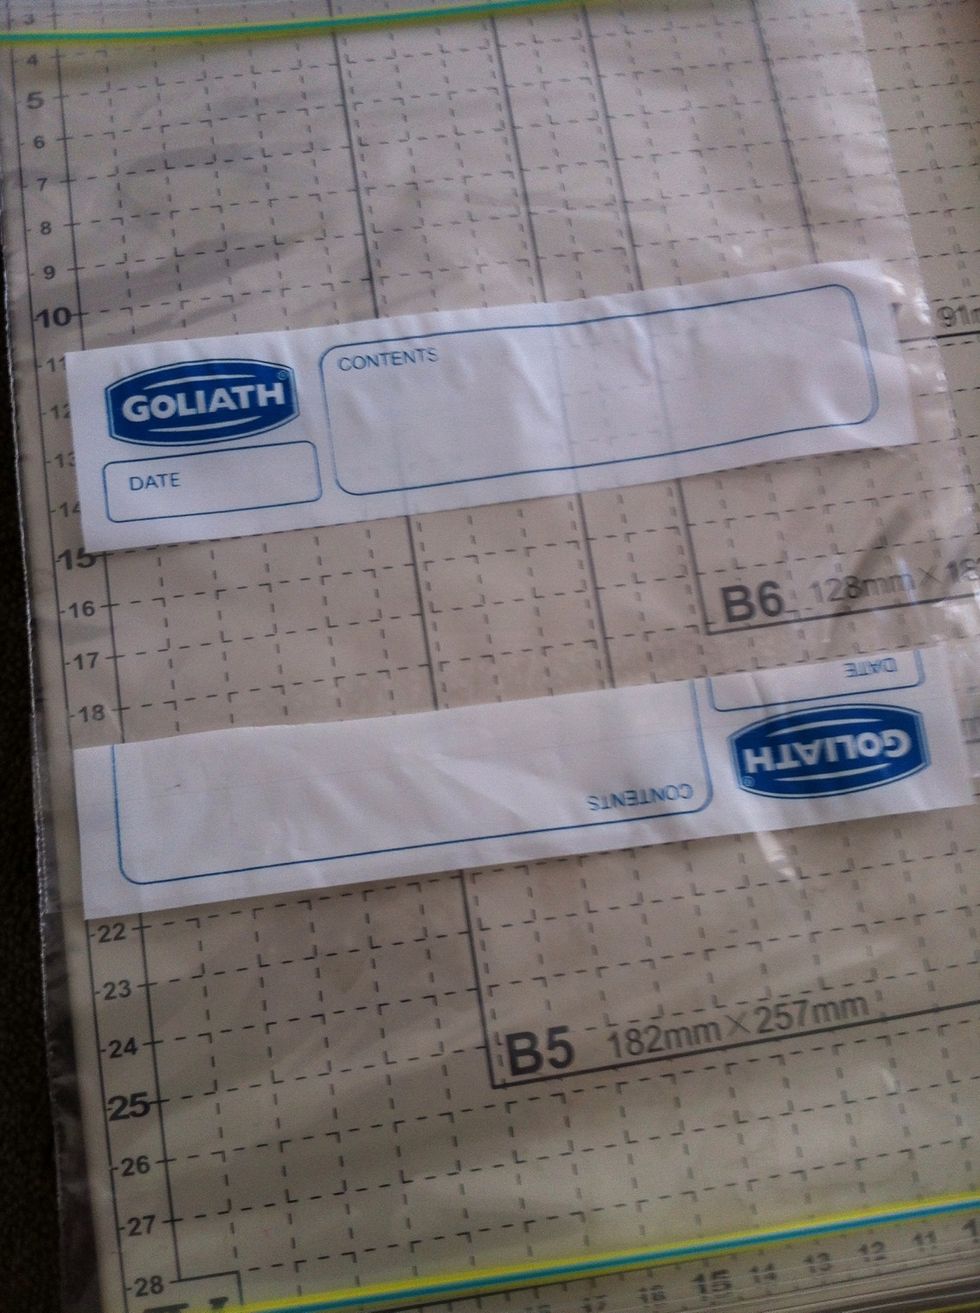
Now where it is joined sticky tape it front and back and the insides too so when you put the chocolate in it wont get caught
Perfect

Now measure the size of the front of the zip lock pocket and cut the paper to that size
Now cut another peice the same size to be the back
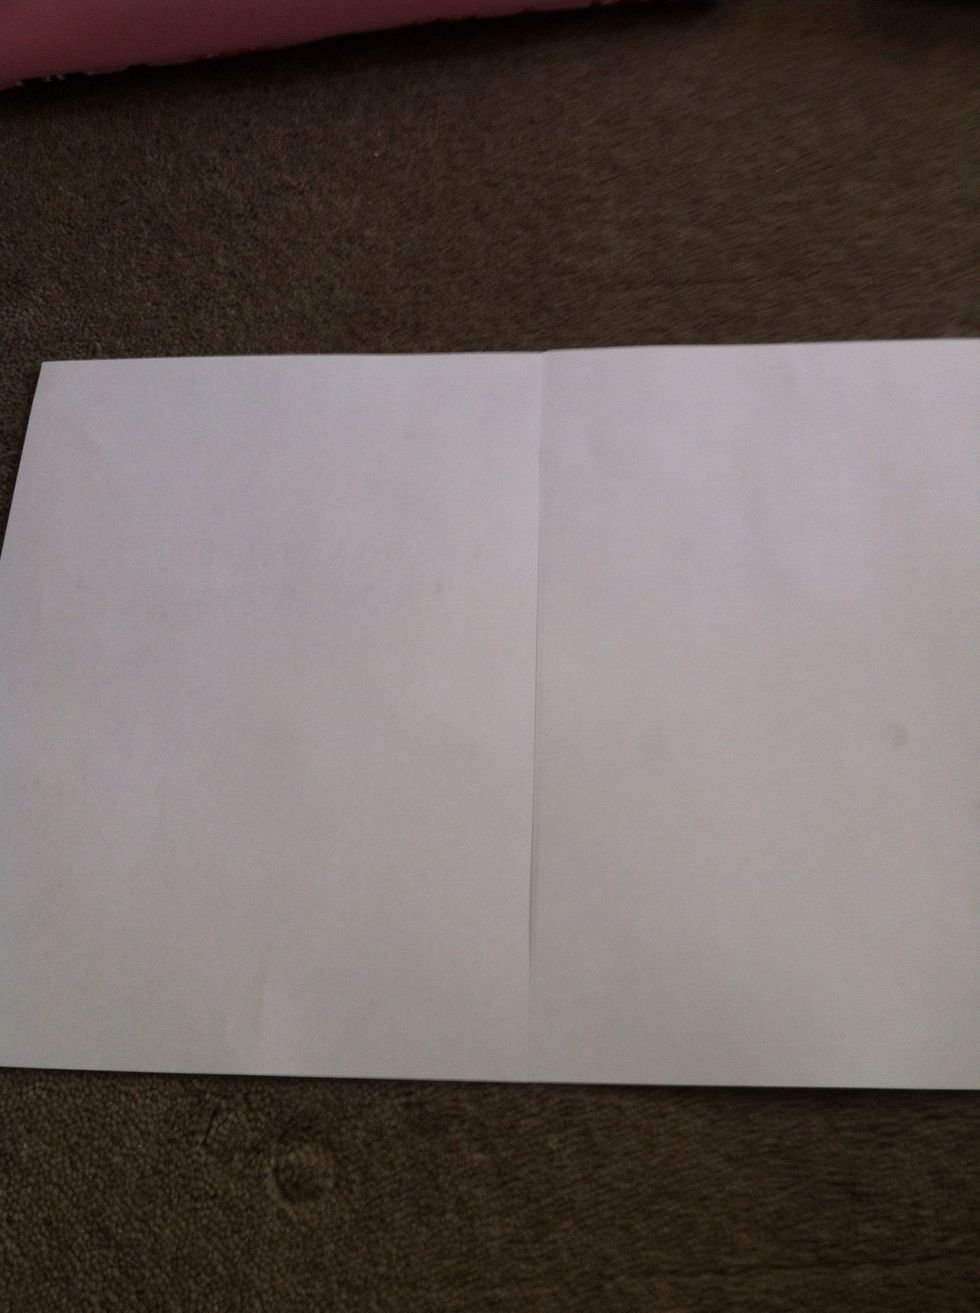
Now put them side by side facing down
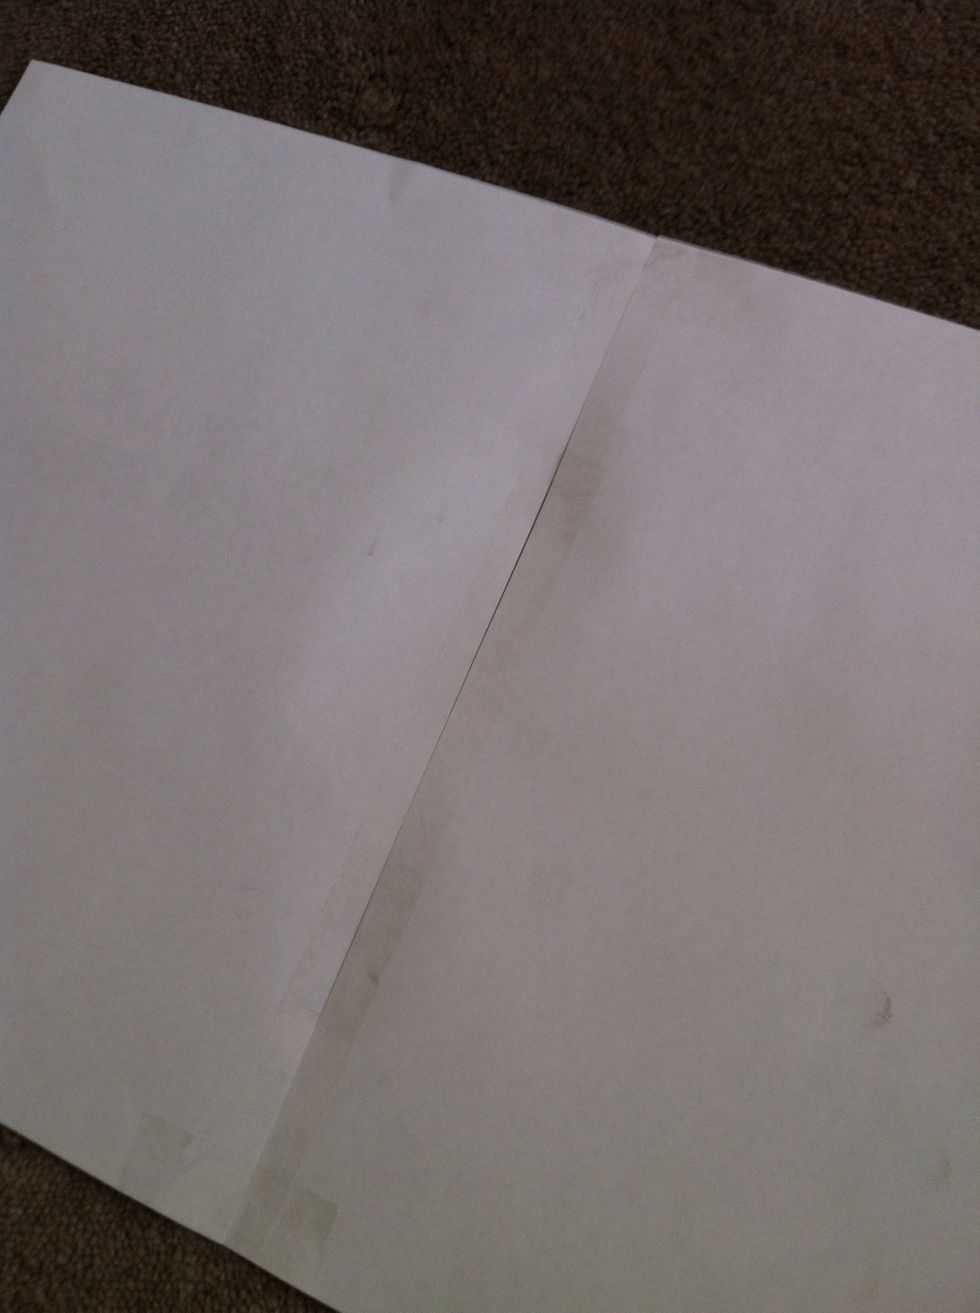
Now put tape all along
Fold it over

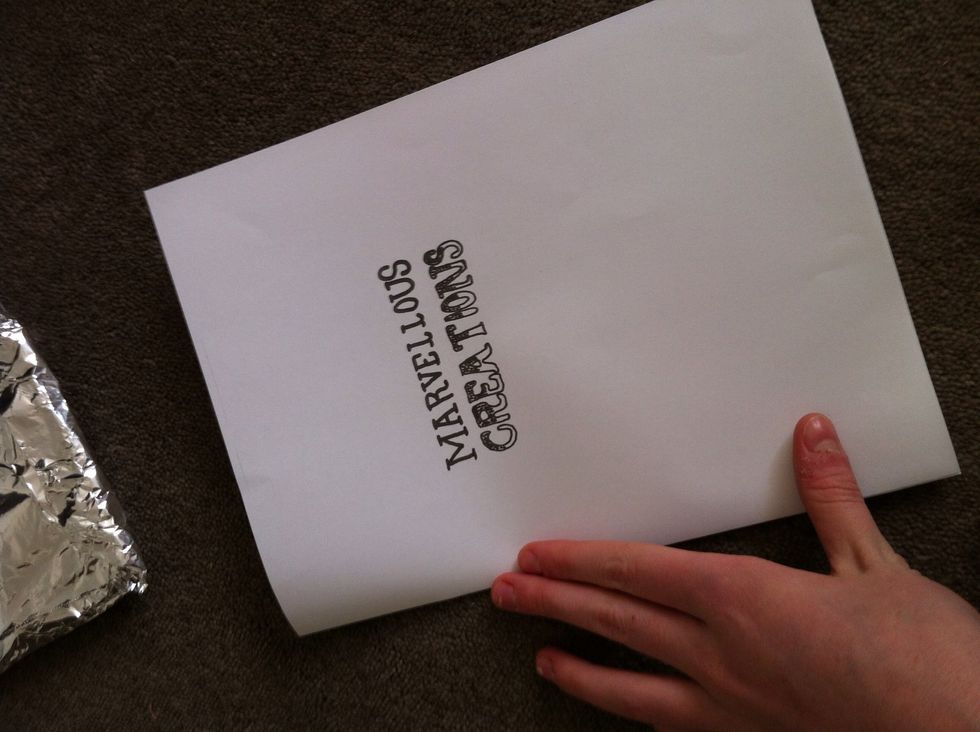
Draw a crooked box arouung the heading in pink texta
Now colour in the creations heading in in light purple texta
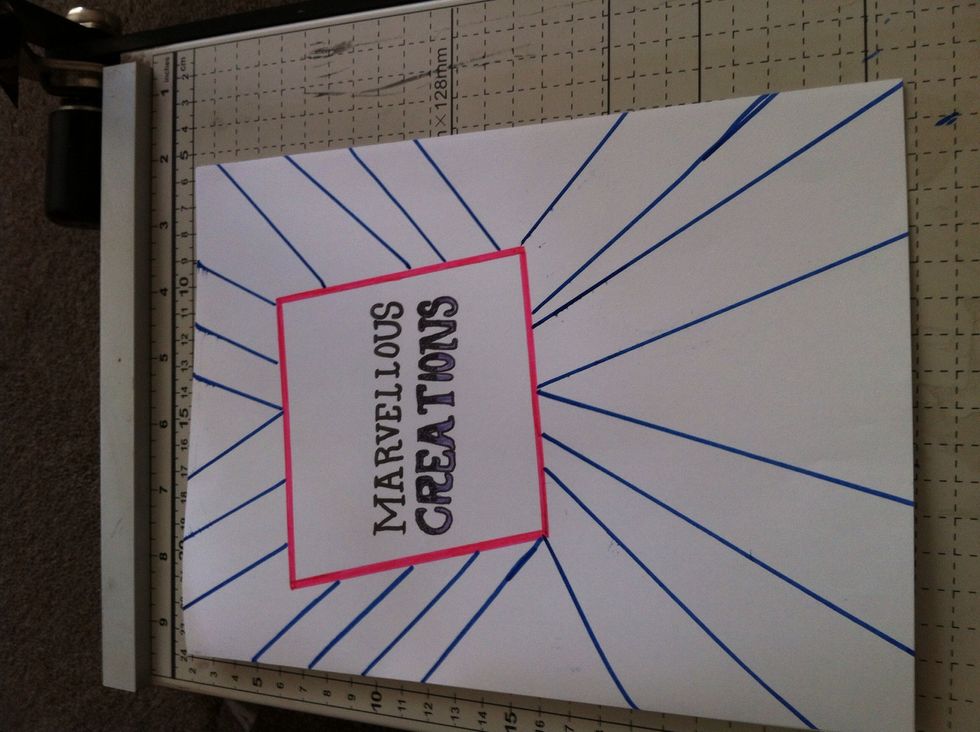
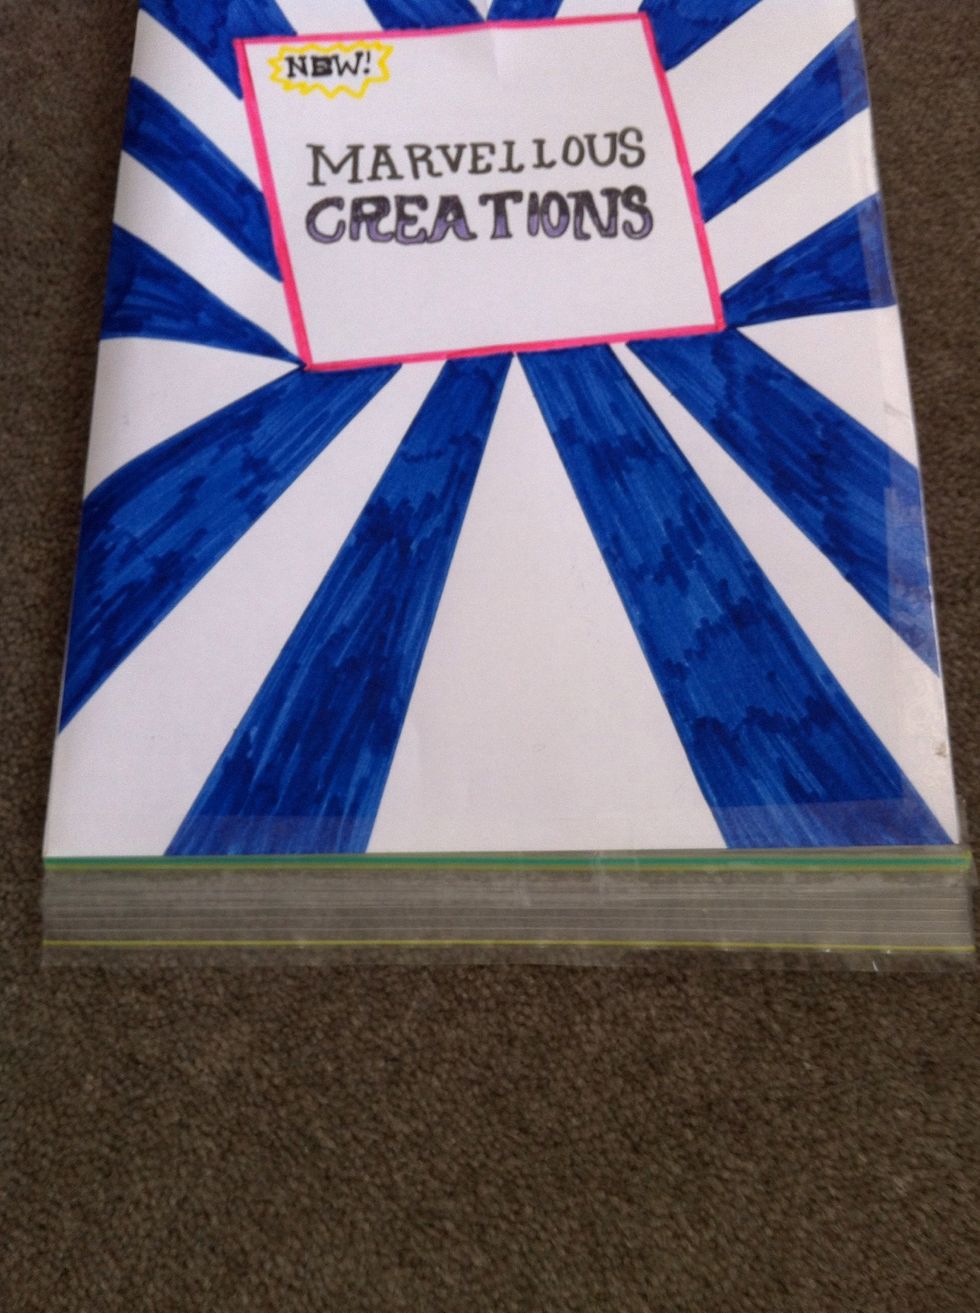
In blue texta draw diagnal lines
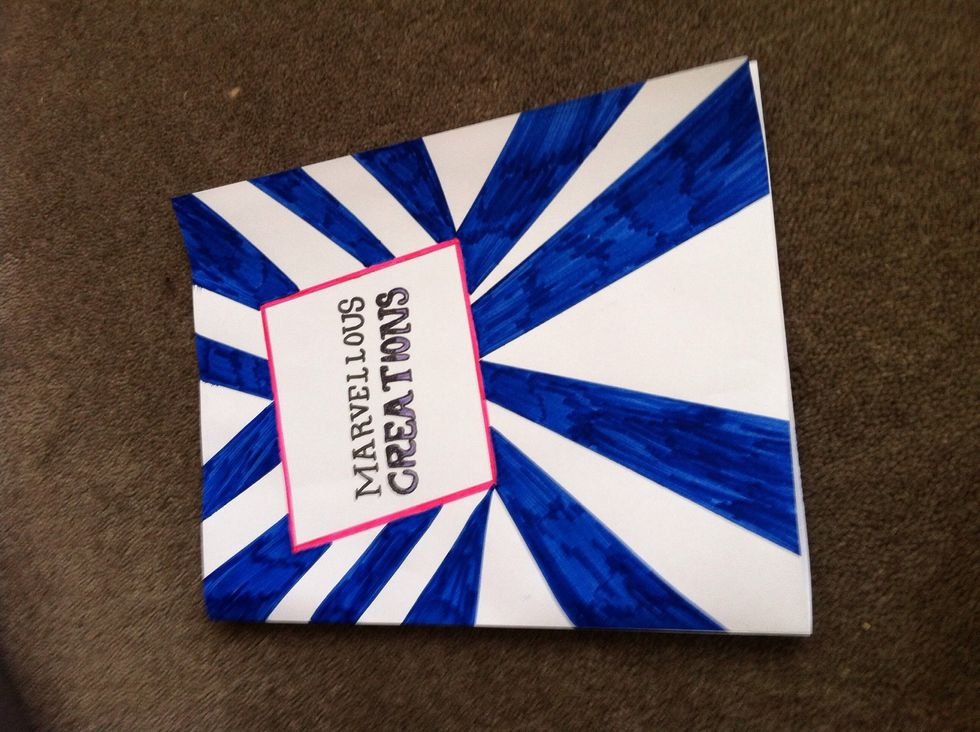
Now colour them in
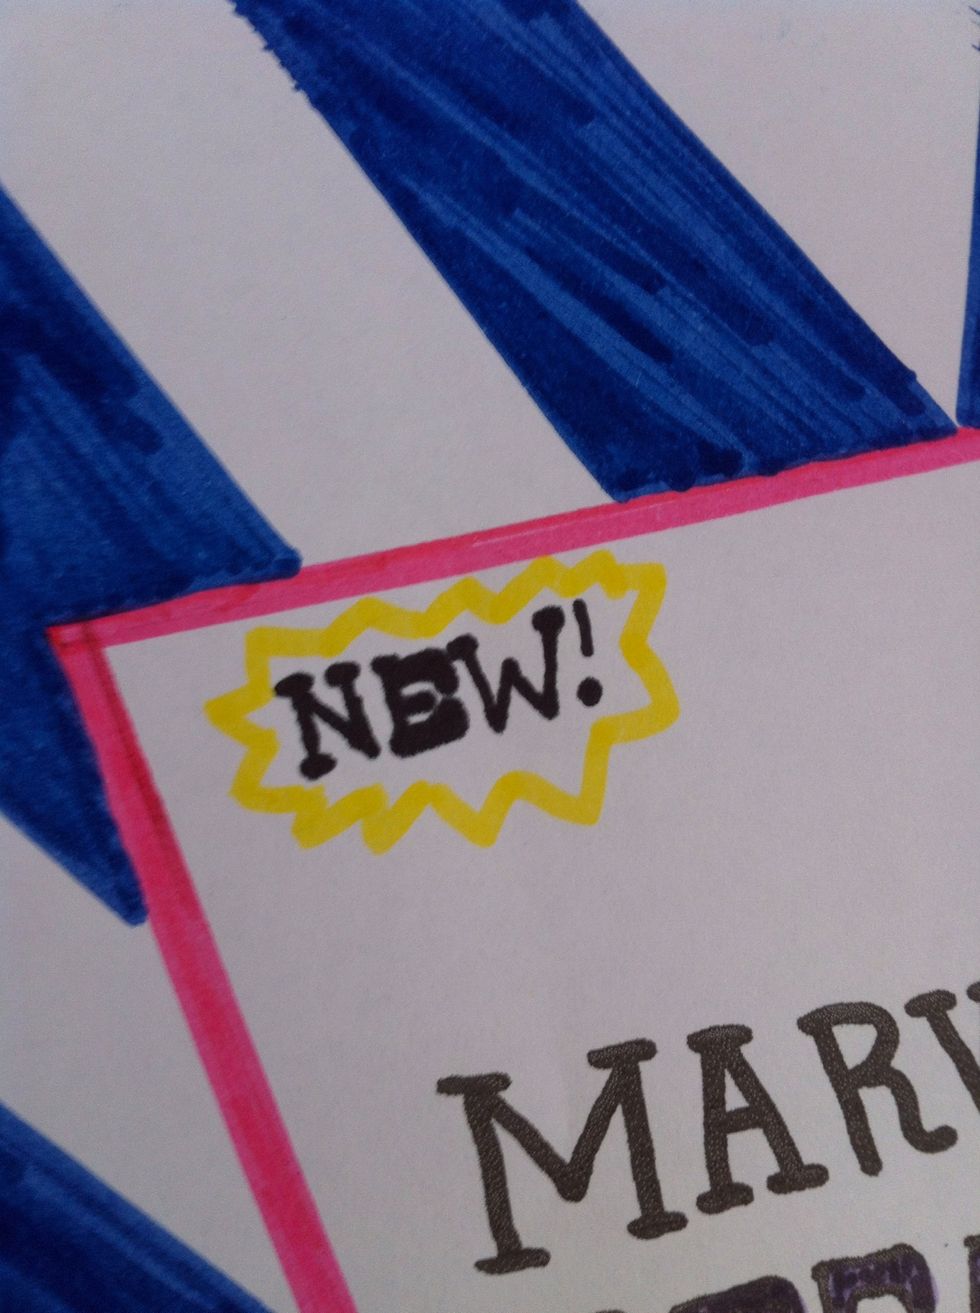
Now draw new! In fine liner and a star box around it
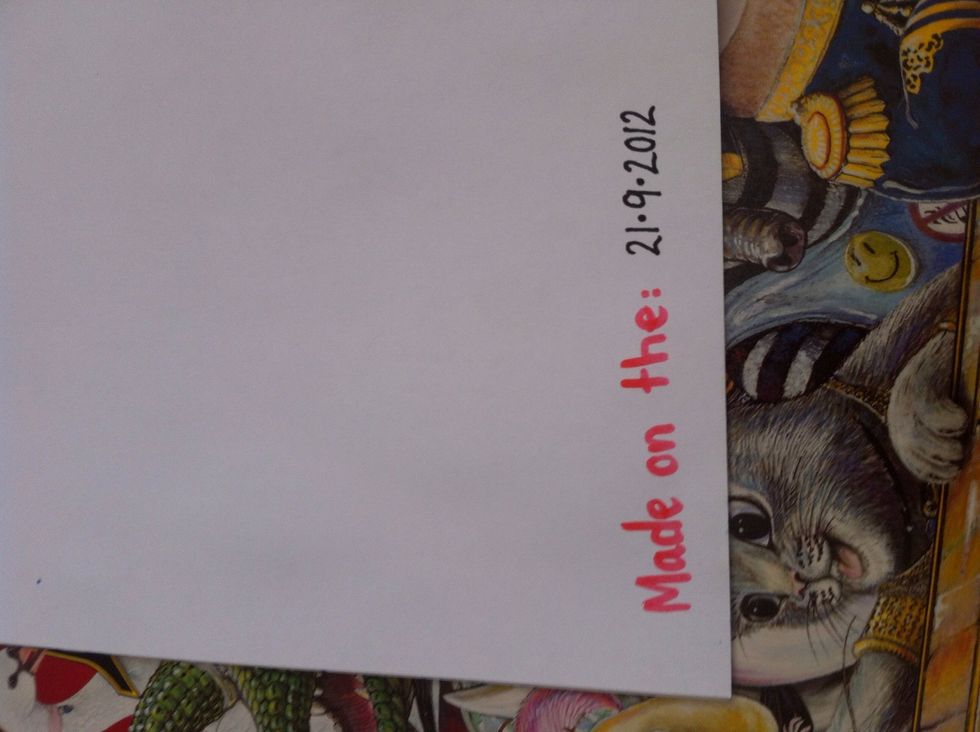
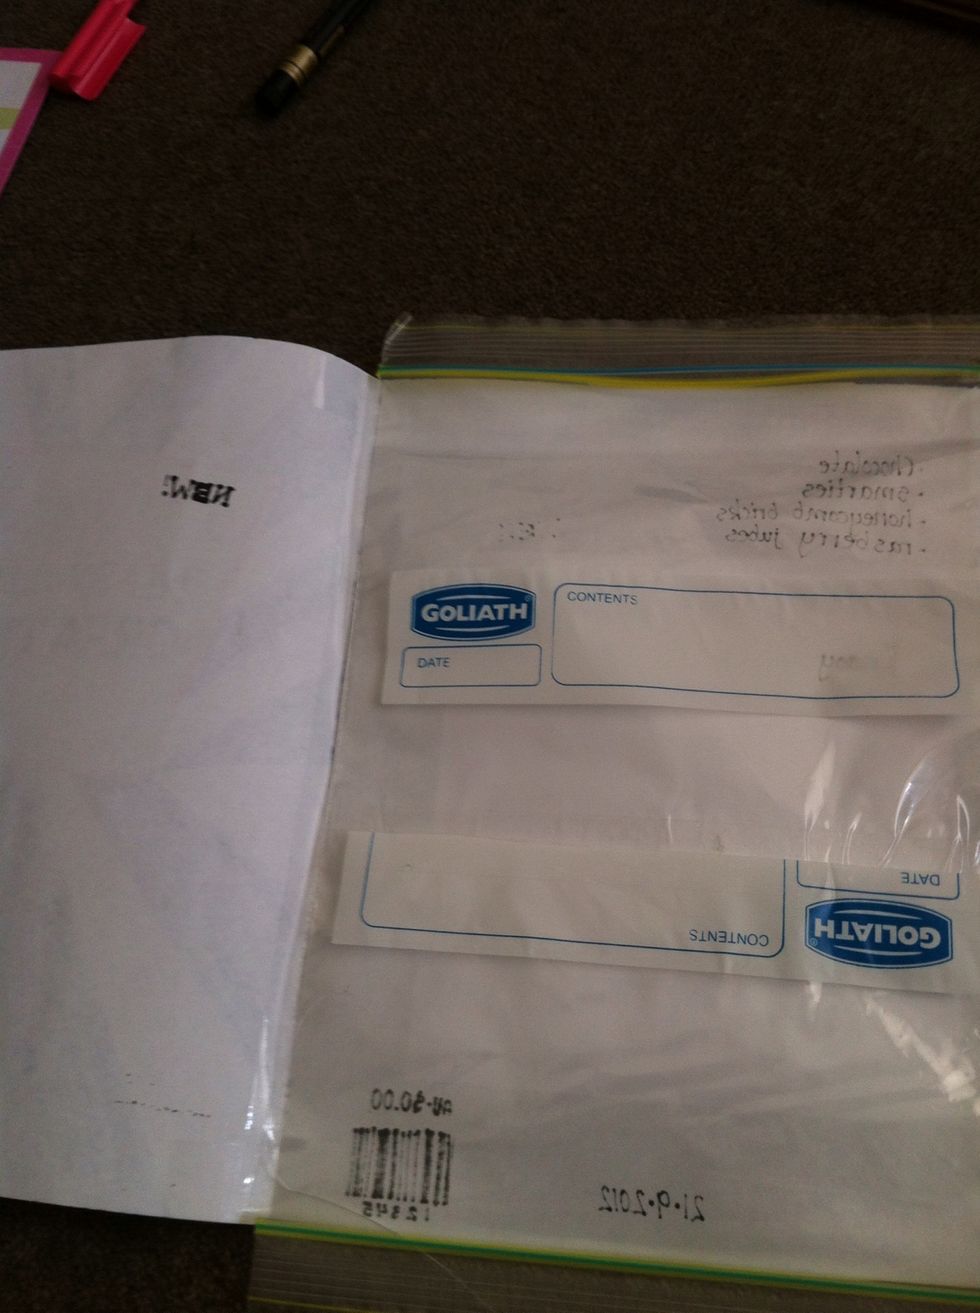
Turn over to the back and in the bottom left corner write ehen it was made
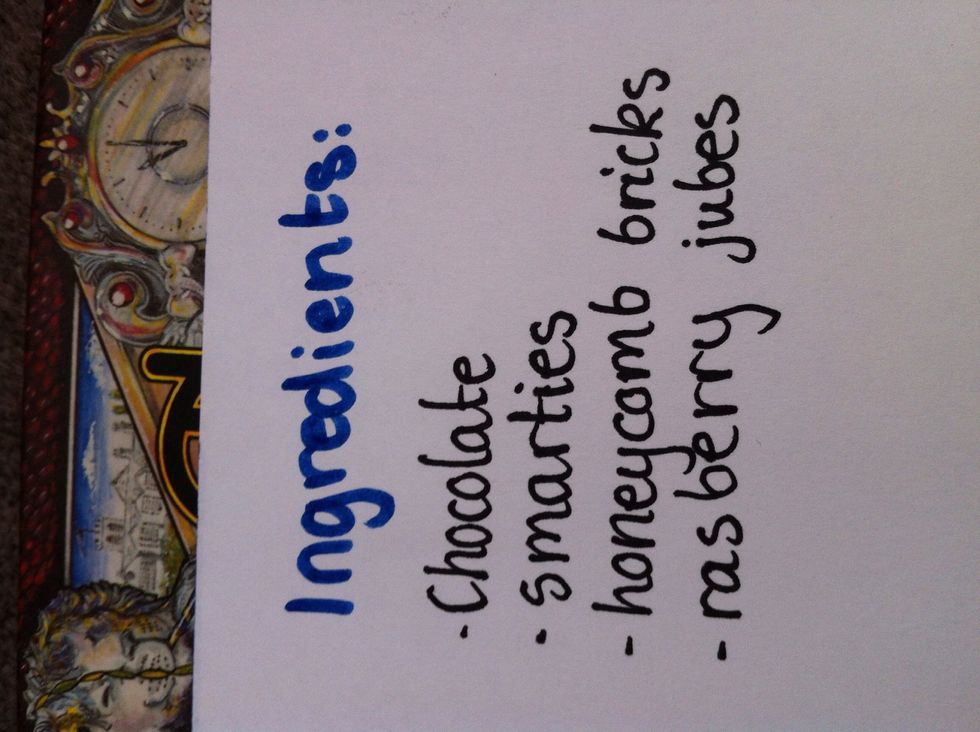
Now in the top left corner write what ingredients
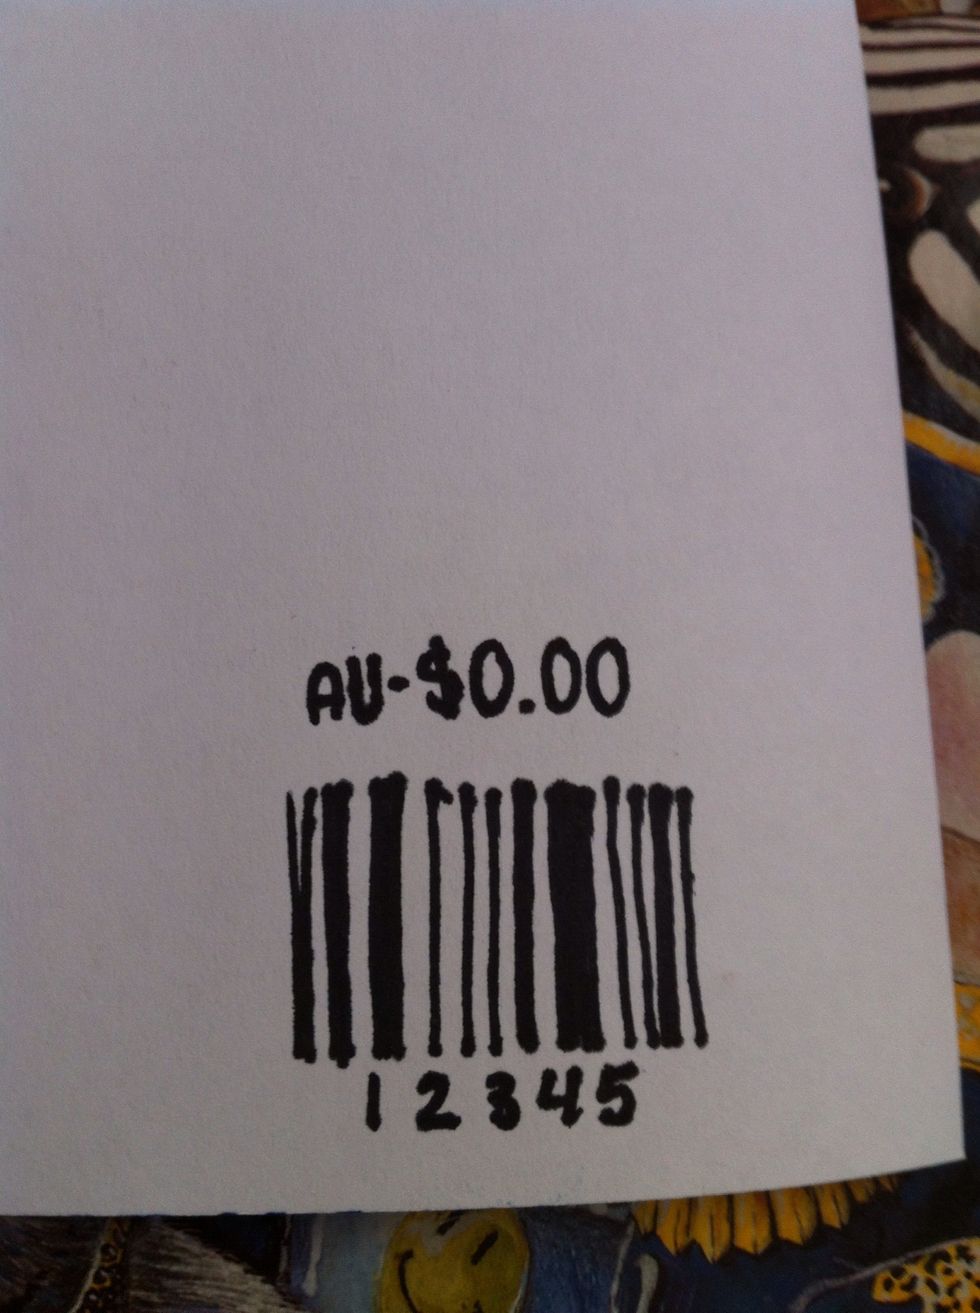
In the bottom right corner draw a barcode and the price on top😝

Get a peice of card stock

Cut it to size and stck down in the middle
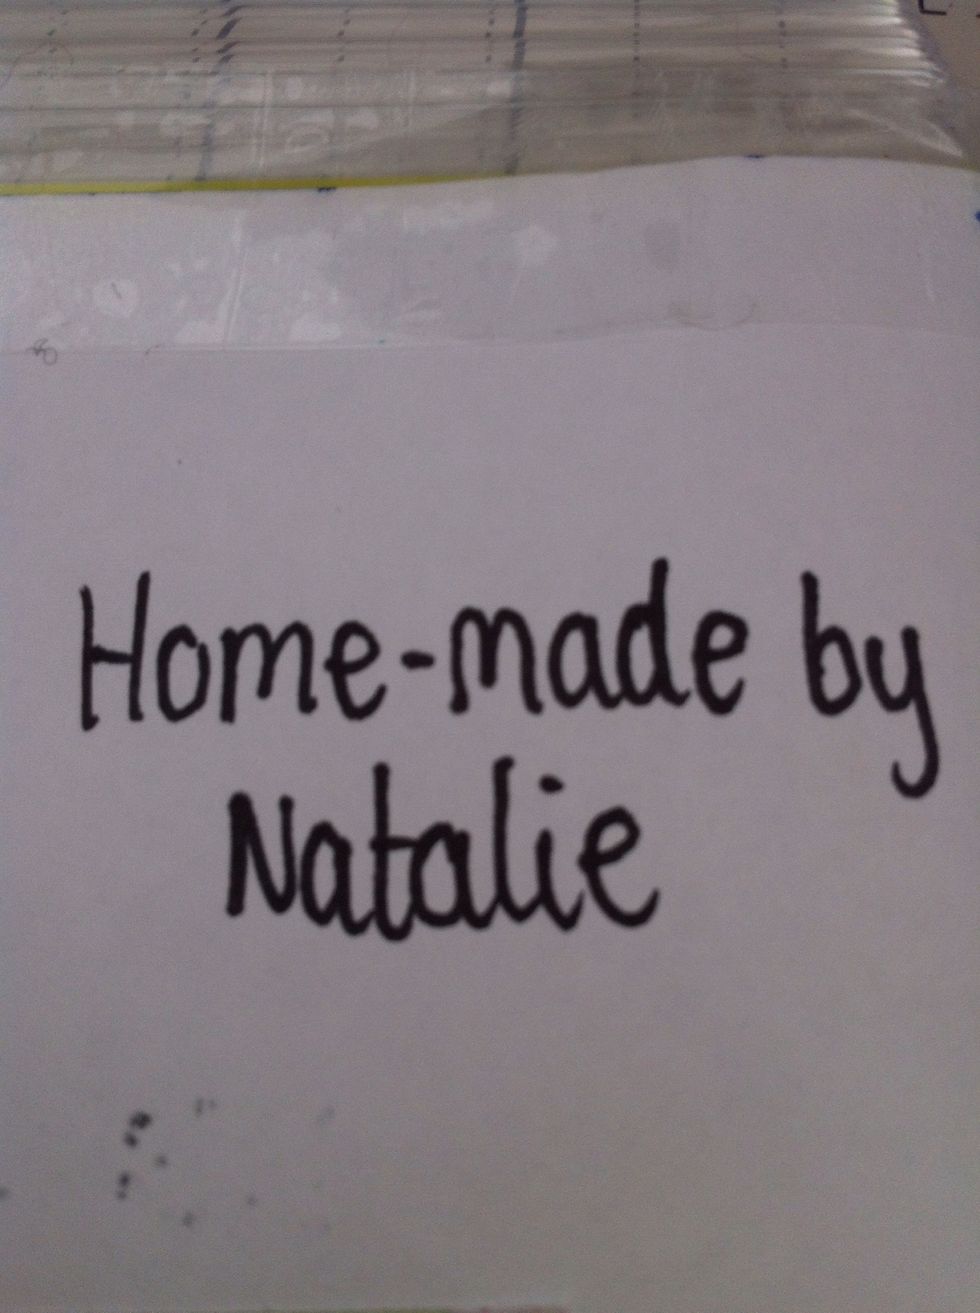
In the top right hand corner write home made by _____ you or whoever made it
Now open it up and put the zip lock pocket in and sticktape it to the fold
Now close the paper and sticky tape the other side shut
Next put stickytape around the front and back of the bottom
Same with the top

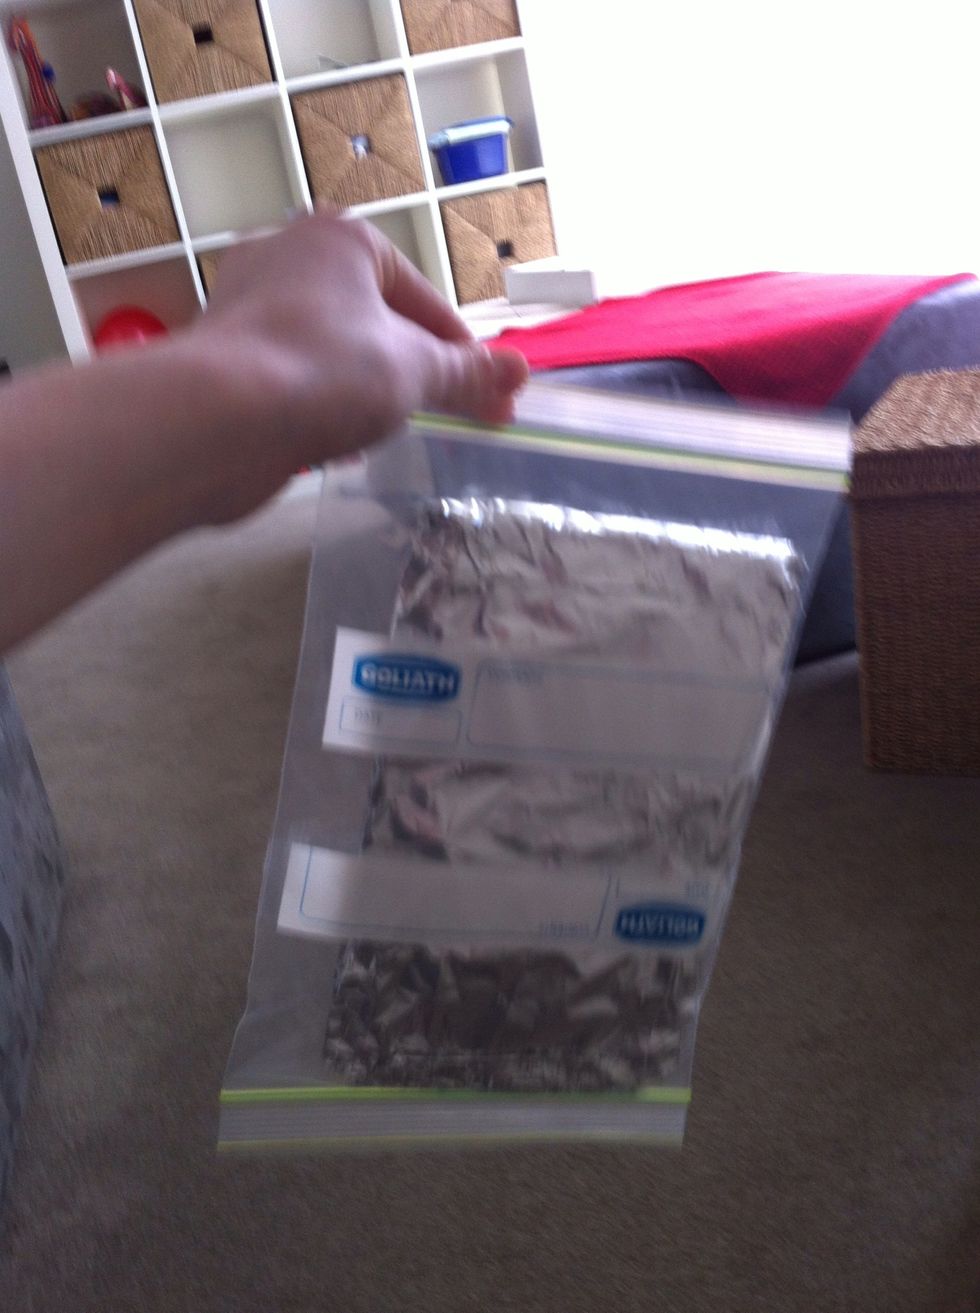
Now put the foil wrapped chocolate in and zip lock it shut. It can be opened from either end
You can take it out somewhere or give it as a gift! Who likes my idea? Comment below⬇