The Conversation (0)
Sign Up

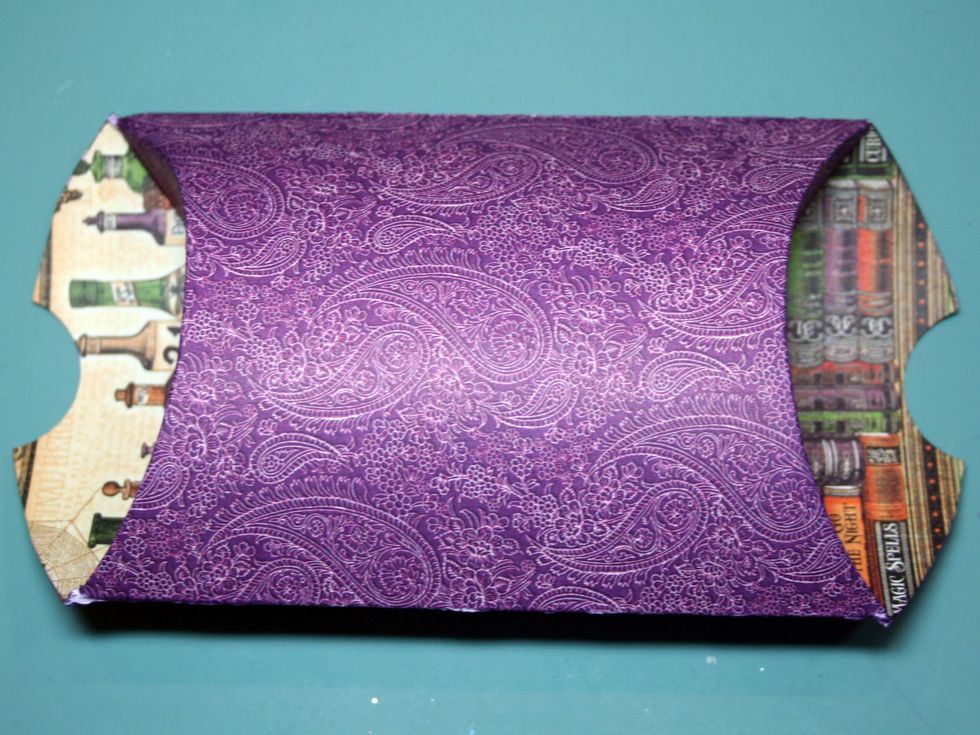
Cut out the pillow box template from the back of a Graphic 45 8 x 8 pad. Pillow box templates are also available for Silhouette cutting machines.
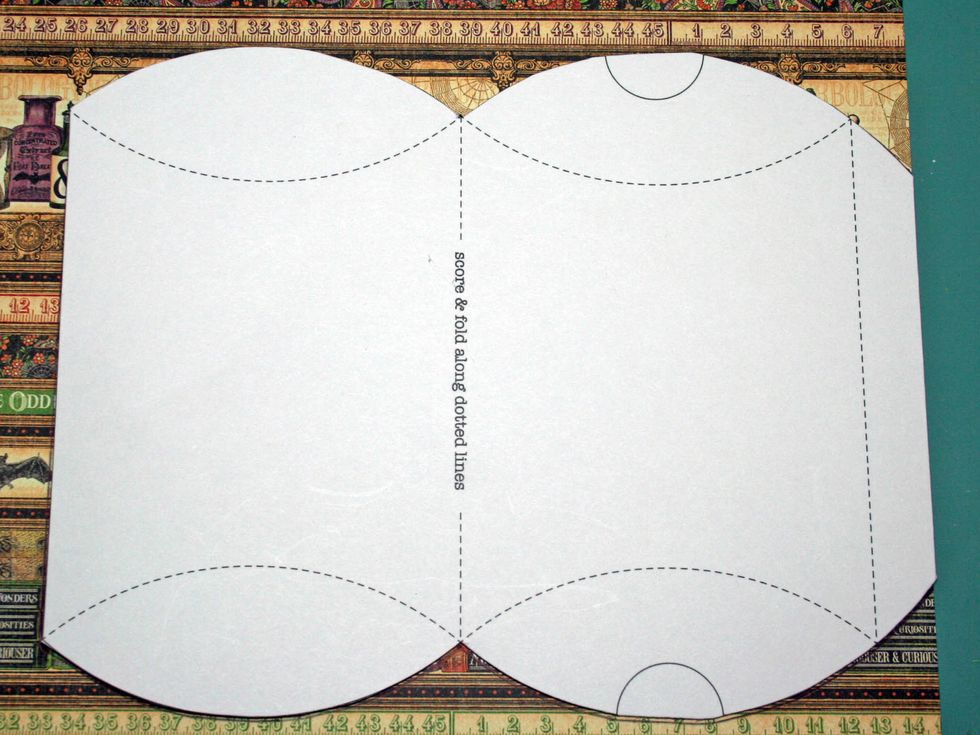
Trace the pillow box onto the back of your chosen design paper. Instead of cutting the thumb openings, I punched them w/ a circle punch. Easier than having to hand cut around those little curves!
Score in the middle where the pillow box will fold and also on the wider side at the 1/2" mark.

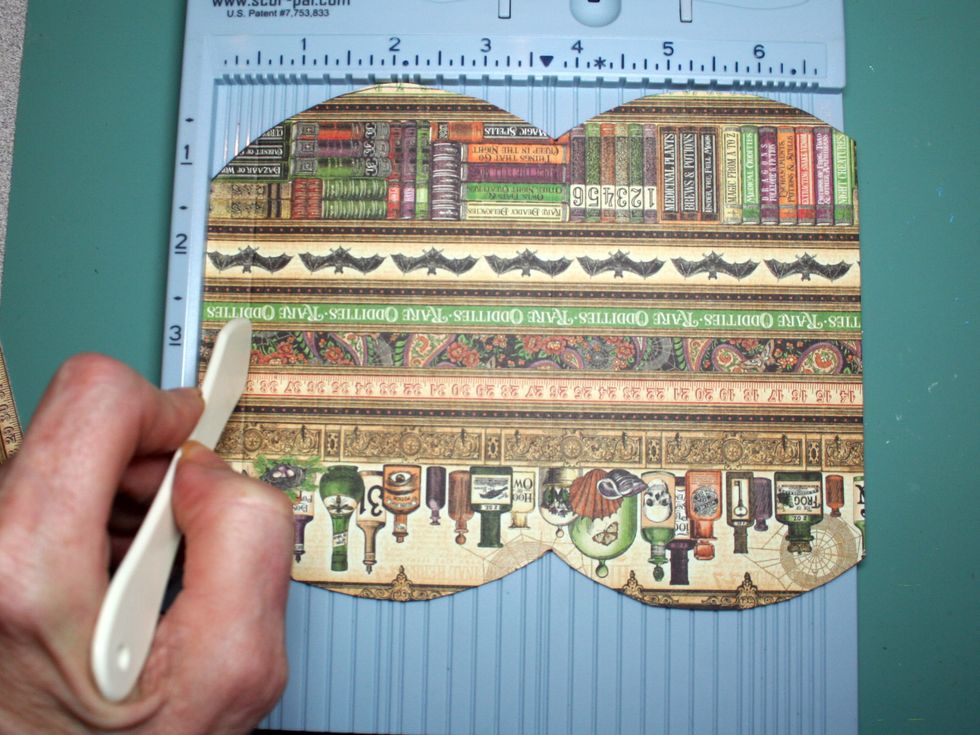
An easy way to get your marking for scoring the flap fold lines is to cut one of the flaps out as shown in the photo. Then trace the fold lines onto your paper.
After tracing the fold lines, take a stylus or score tool and carefully score the fold lines being careful not to puncture your paper. Ink all your edges.
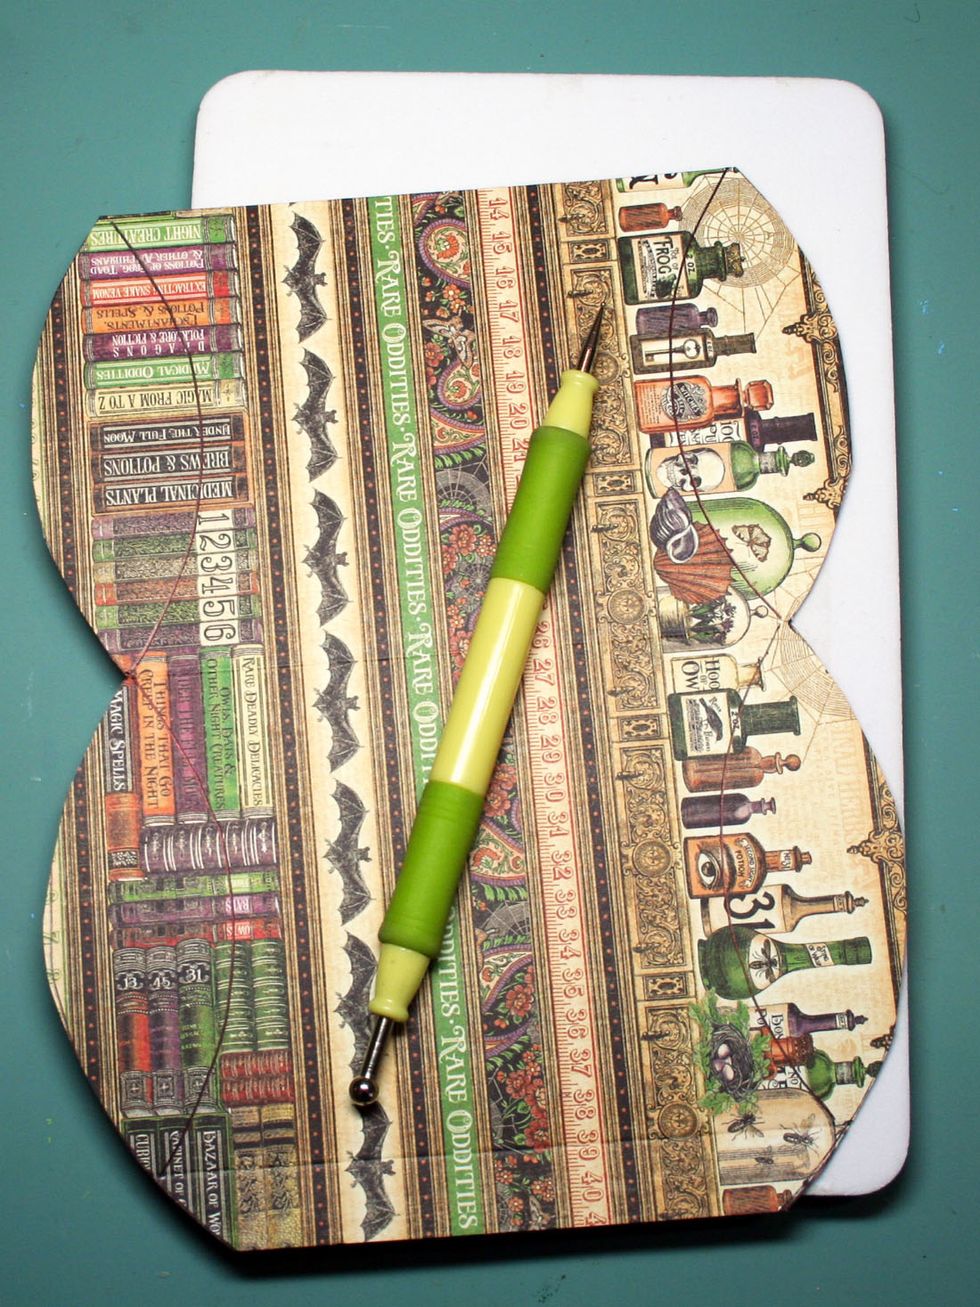
Fold on the score line and then adhere the two sides together with scor-tape or other adhesive. Here you can see where I punched the flaps with the thumb openings.
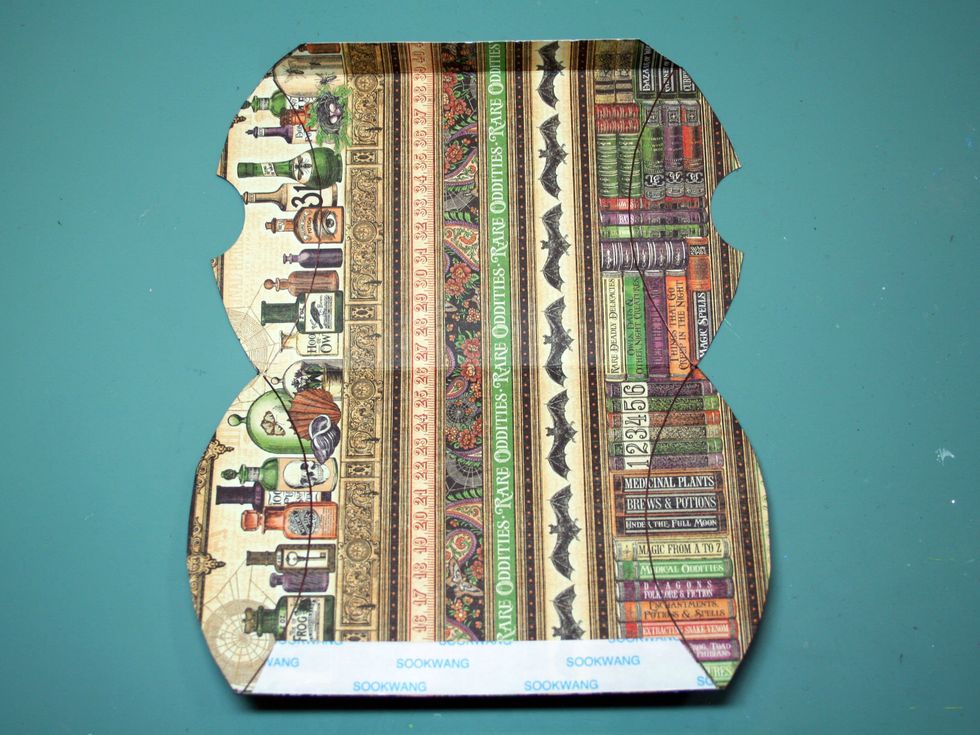
Carefully fold over the flaps along the score lines and then ink all your folded edges.
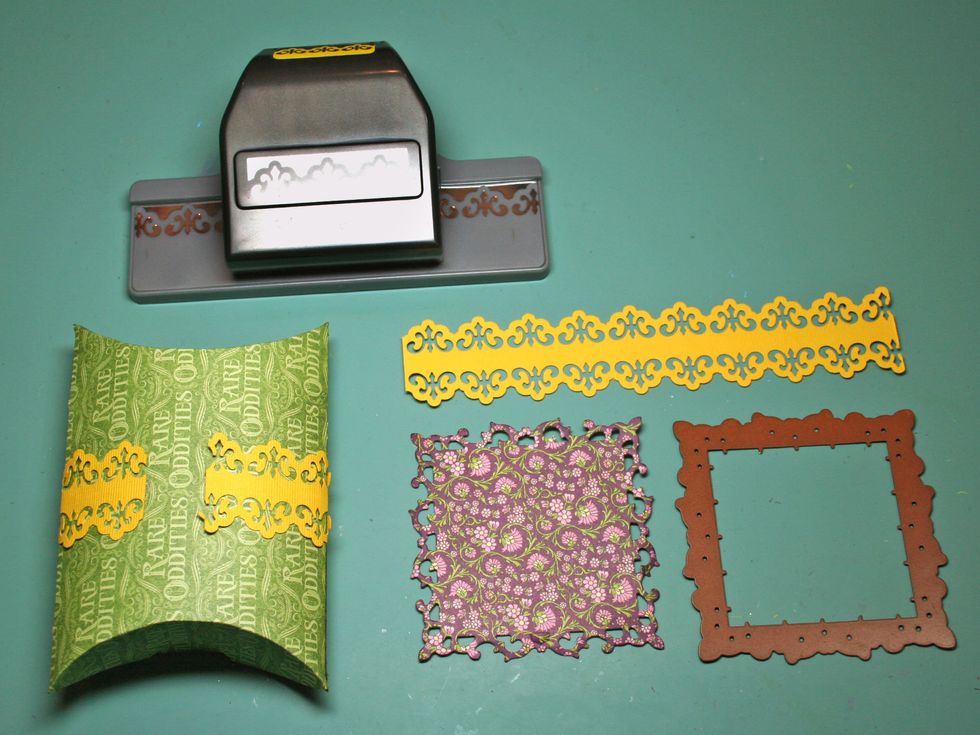
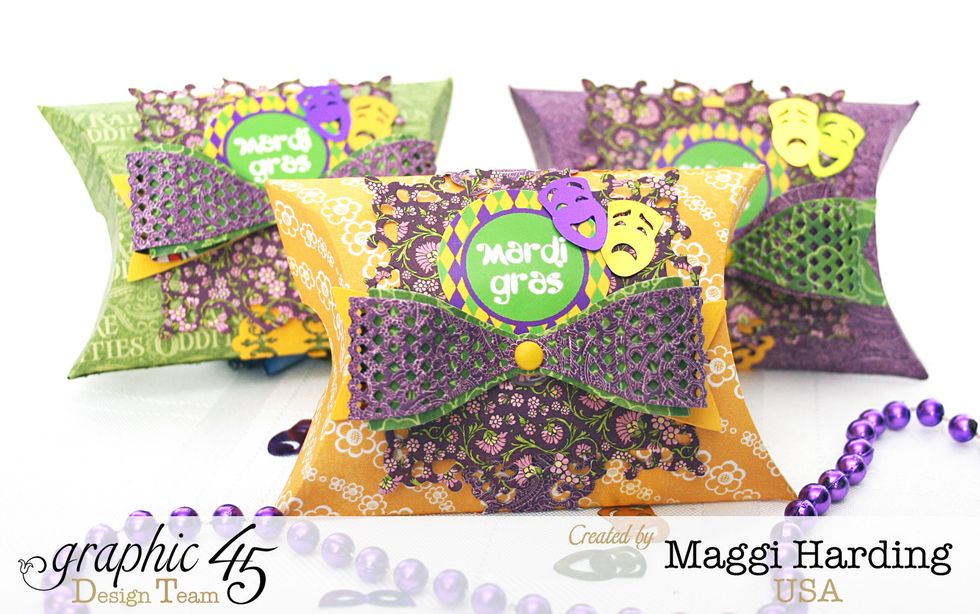
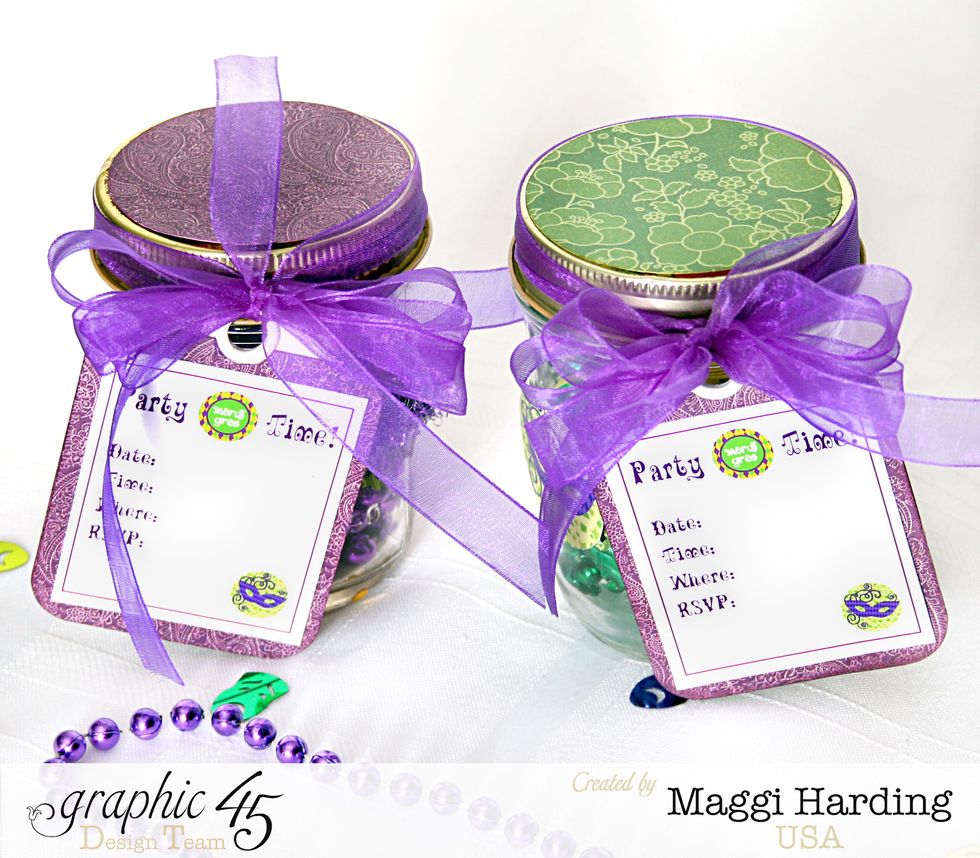
Cut a strip 1.25 x 6" & border punch both sides. Adhere to the box as shown. Adhere a 2.75" square in the center. I used a Spellbinders Fleur de Lis die for my square, anything similar will work.
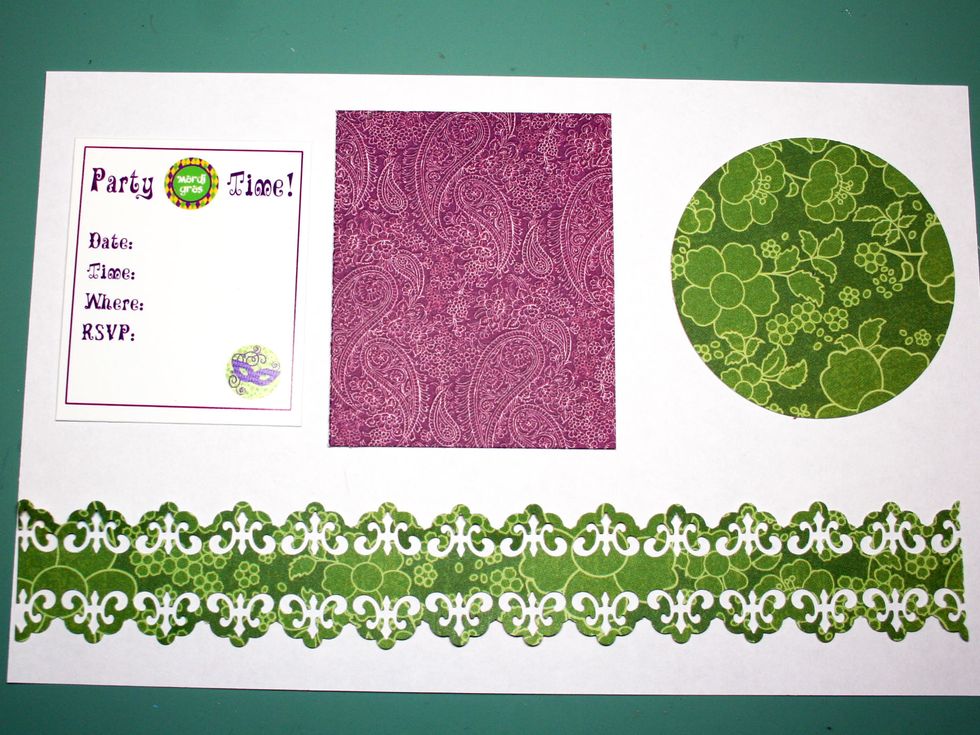
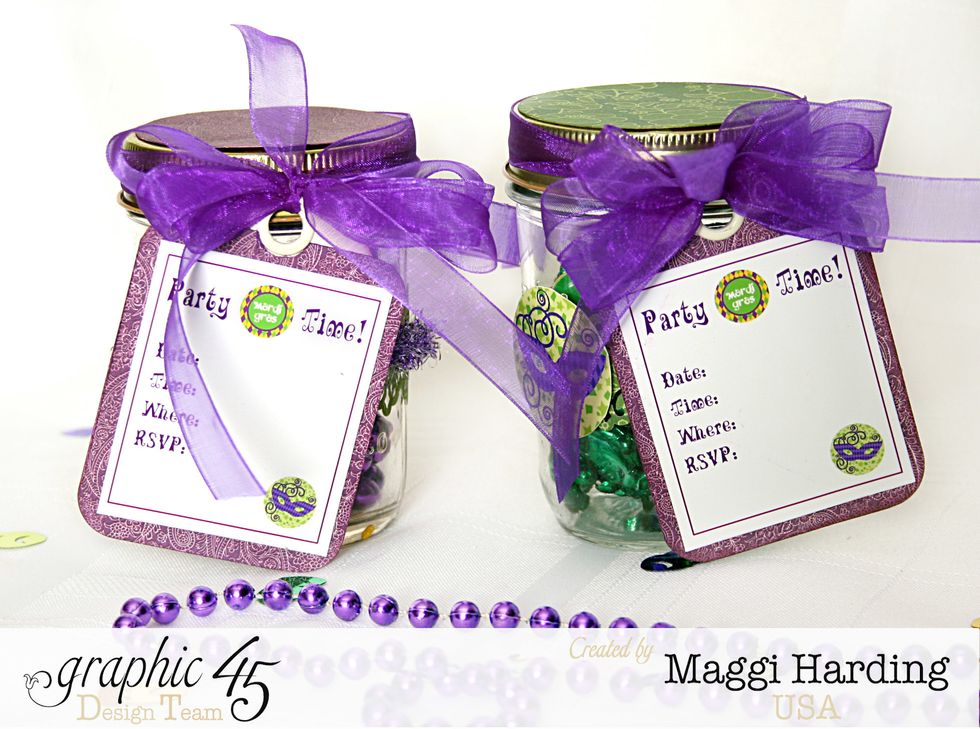
For the invitations cut a 2 1/2 x 3 1/16" rectangle and round the corners. Cut a 2 5/8" circle to fit the lid. If you want to use my invitation template, download here. http://bit.ly/1J28omU
The rounded edges of the rectangle & the tag are different, so I just corner punch the bottom corners of the tag to make them the same. Use a craft knife to trim around the grommet.
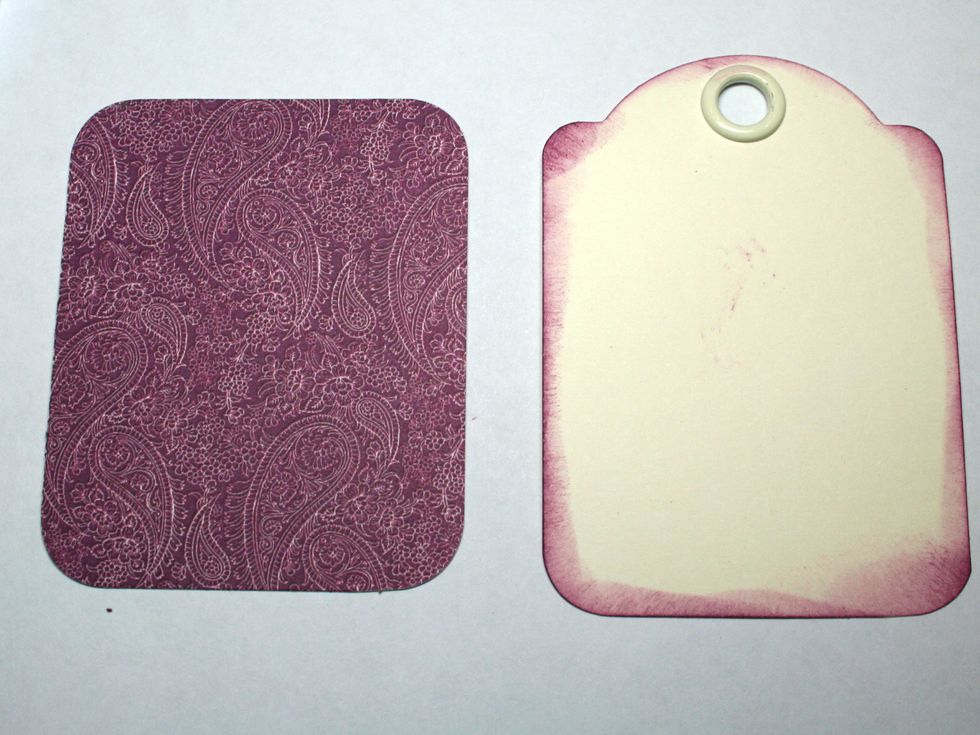
Ink the paper & tag. I find it easier to adhere just the bottom part of my tag, trim out around the grommet, & then finish gluing. Use scissors to trim away any exposed corners of the tag at the top.
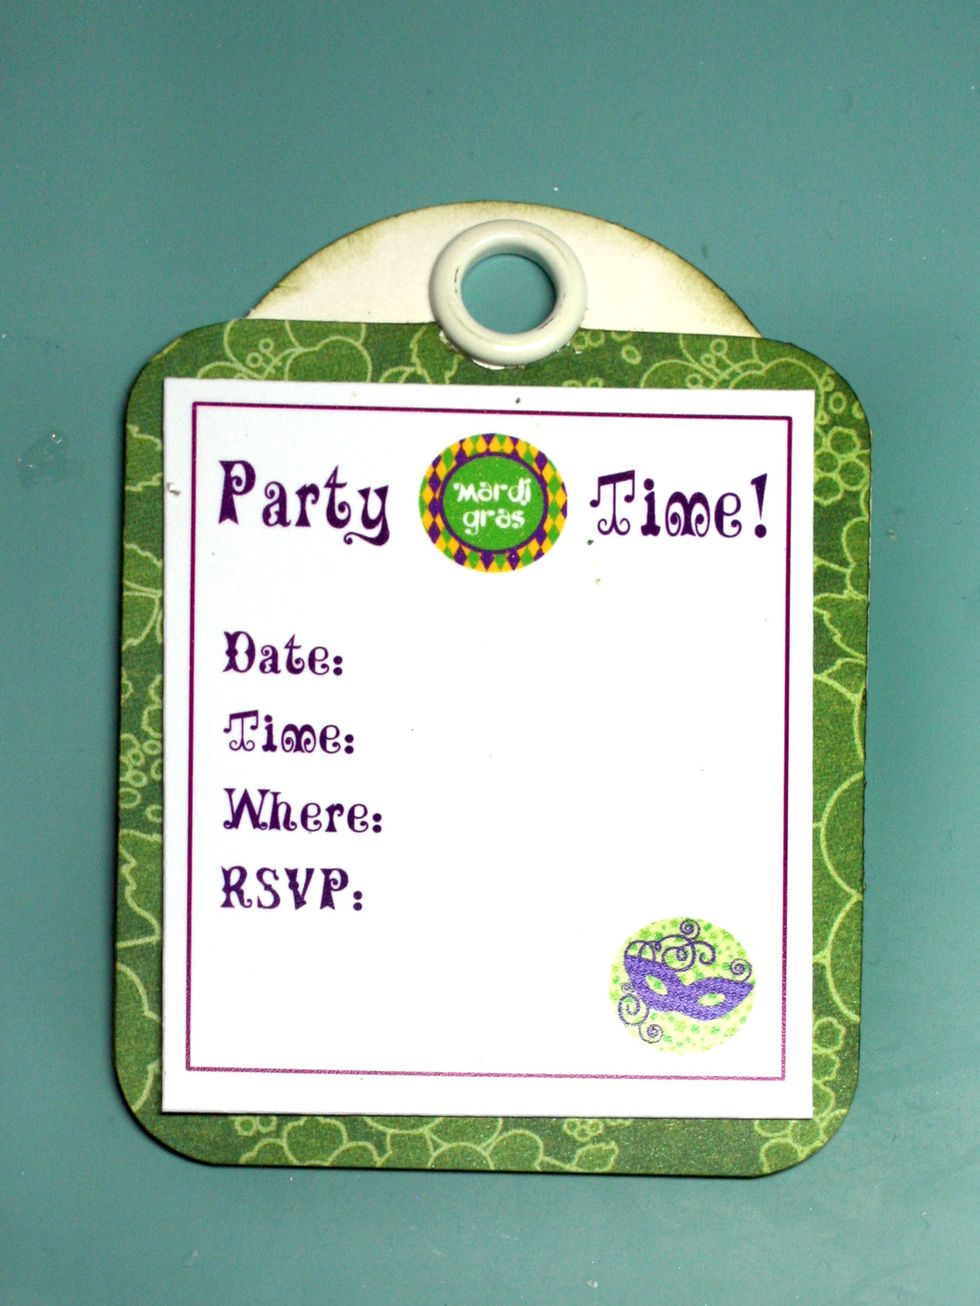
Cut & adhere the invite to the tag leaving a 1/8" border. If you want to use my template, downloaded here: http://bit.ly/1J28omU
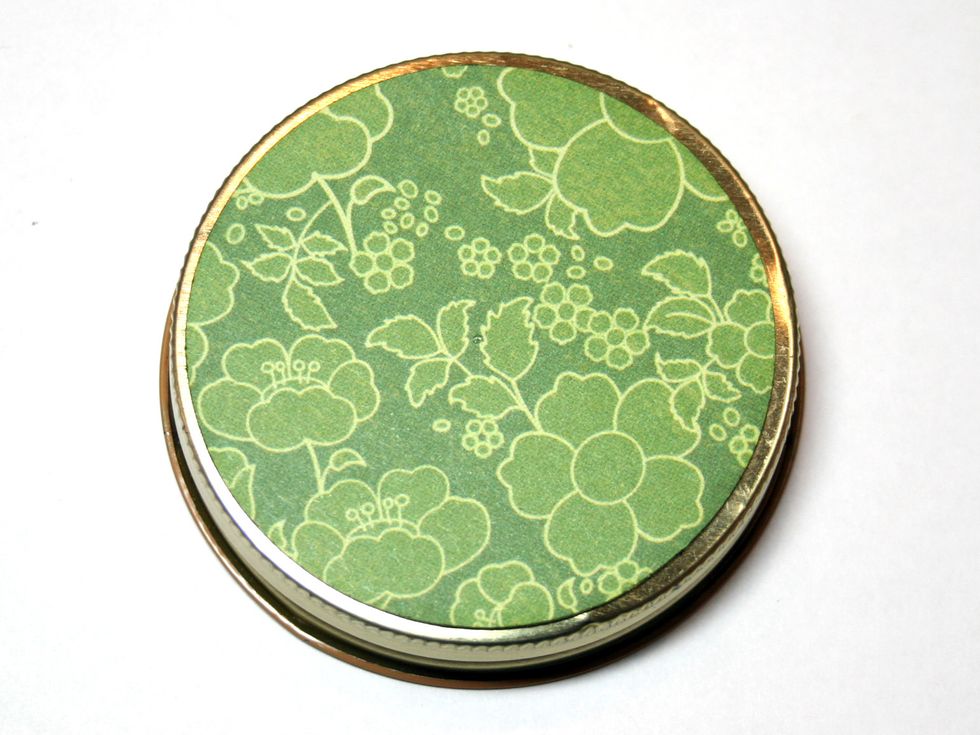
Ink and adhere the circle to the lid.
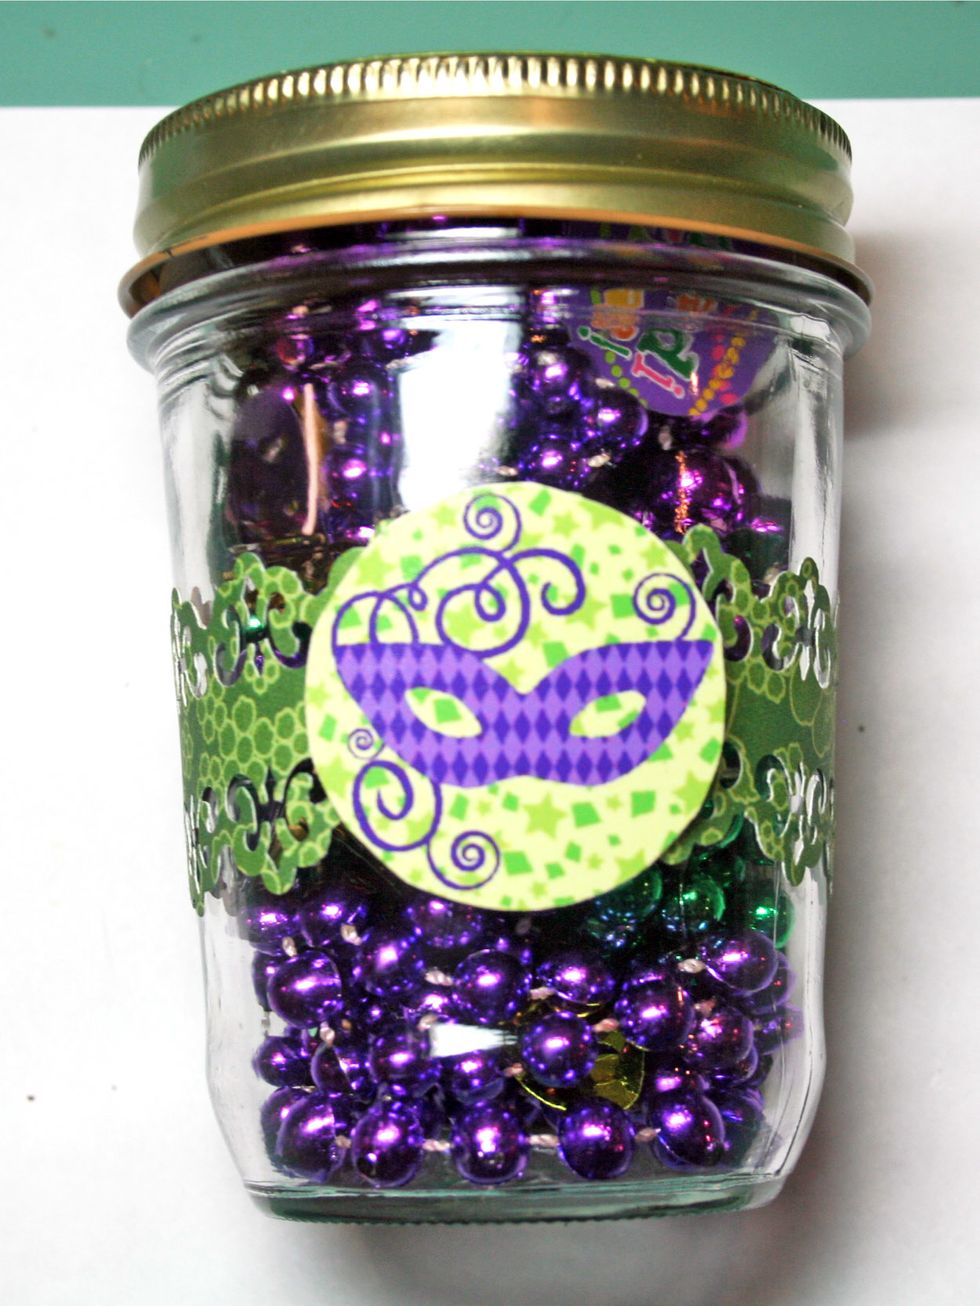
Adhere the border punched strip to the jar & then attach one of the graphic circles from the print out where the ends meet. Download the graphic here. http://bit.ly/1J28omU
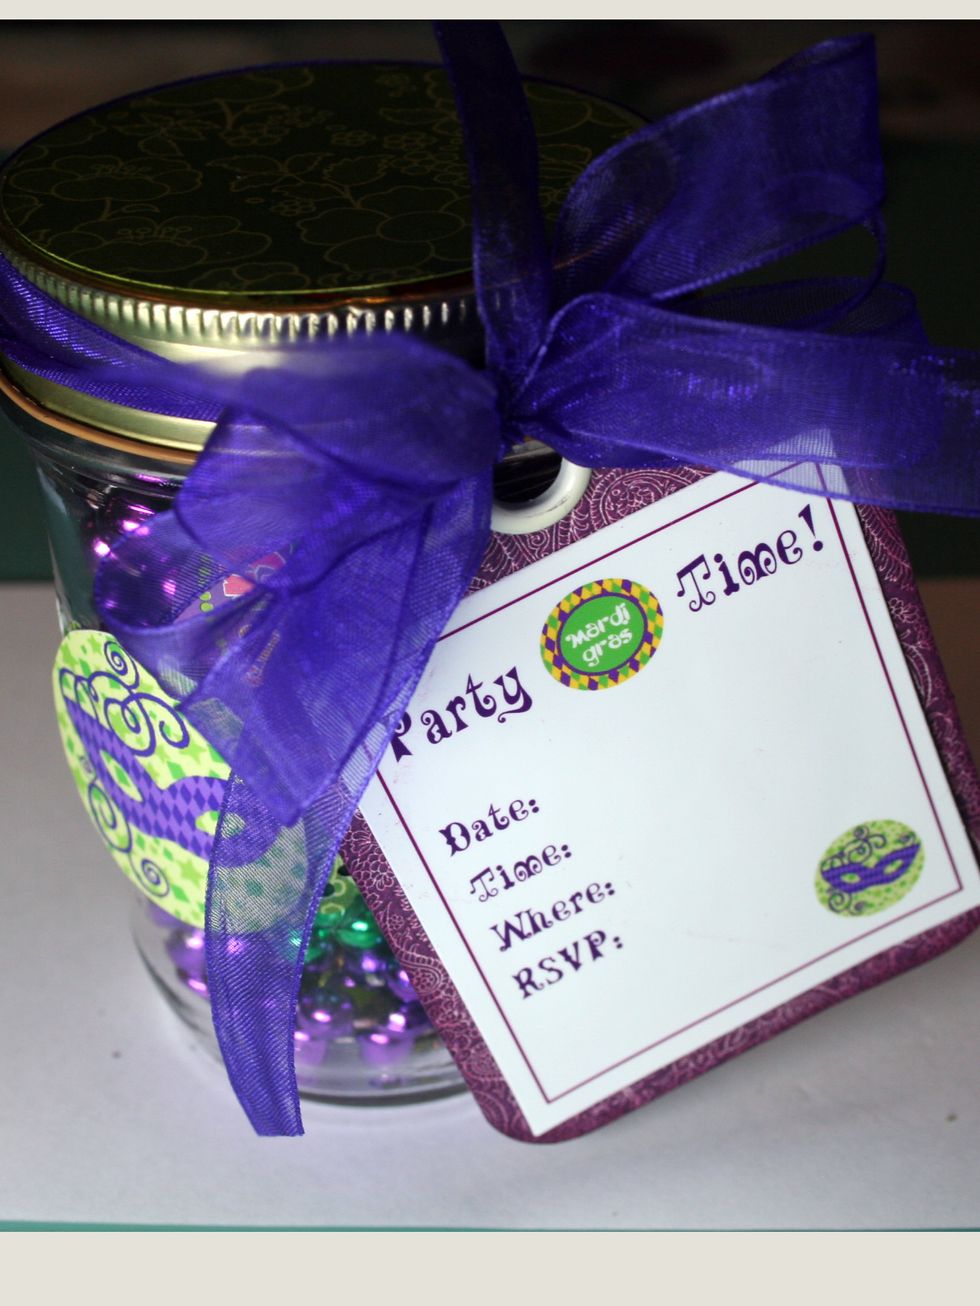
Tie a ribbon around the lid and tie the invitation tag into the bow. Fill the jar with beads, coins, confetti, etc.
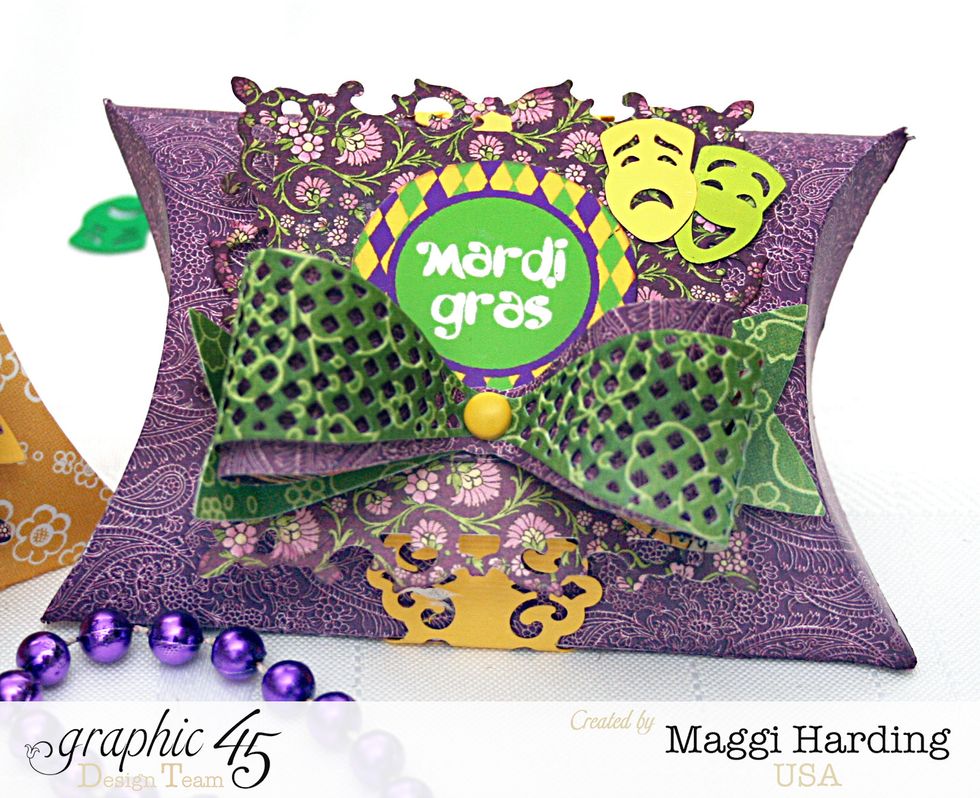
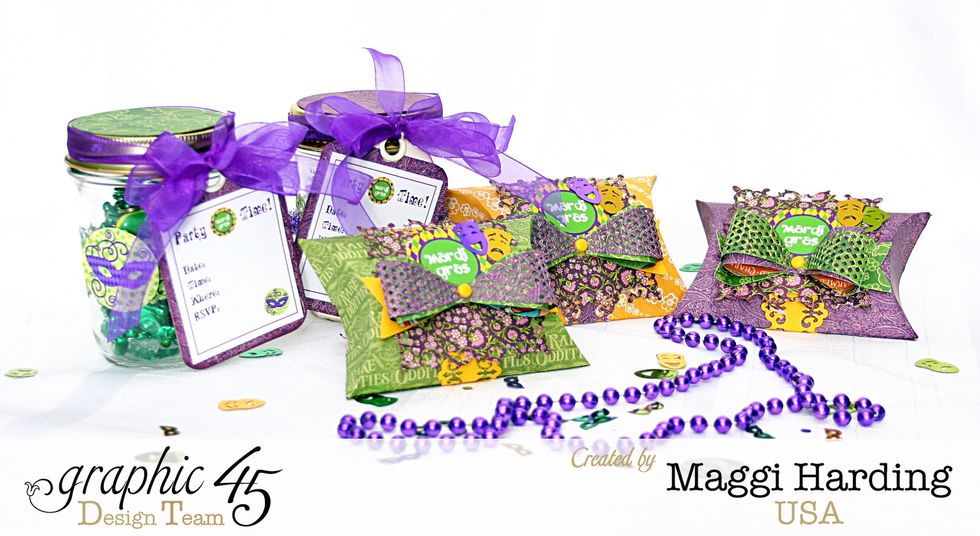
Embellish as you wish. I printed the graphics and invites on photo paper so they'd really look great & fussy cut one of the circle images. Then I added a couple confetti masks.
I currently design for Graphic 45, Creative Embellishments, Fabscraps, & Flying Unicorn. Tutorials on my blog: bit.ly/1Sem2J0. Follow me on Pinterest:bit.ly/1HhWvOx Thanks so much for your time!