The Conversation (0)
Sign Up
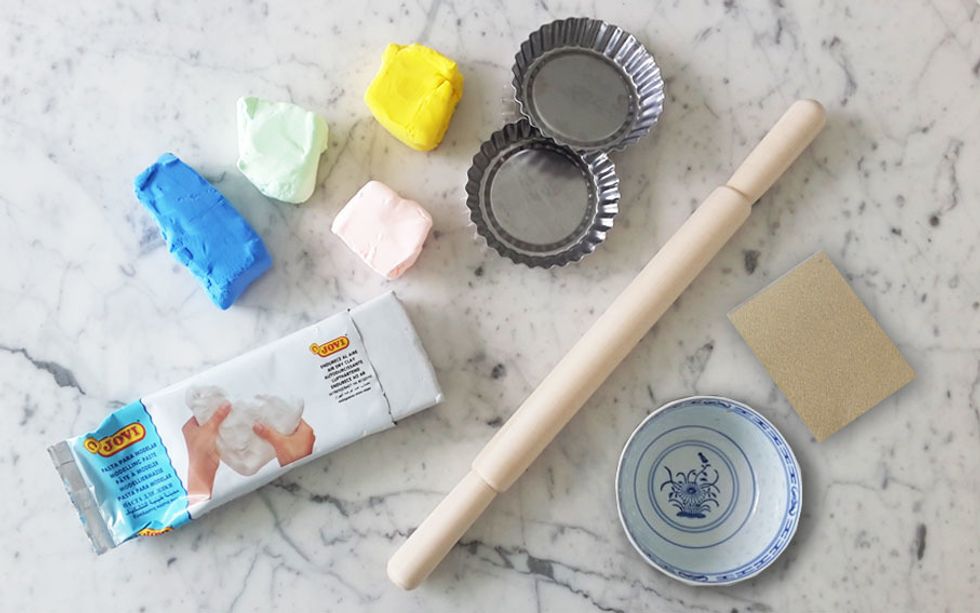
What You Need

Use your hands to knead small cubes of each coloured clay into long and thin, snake-like pieces. Twine the pieces of clay together until they appear completely interwoven.
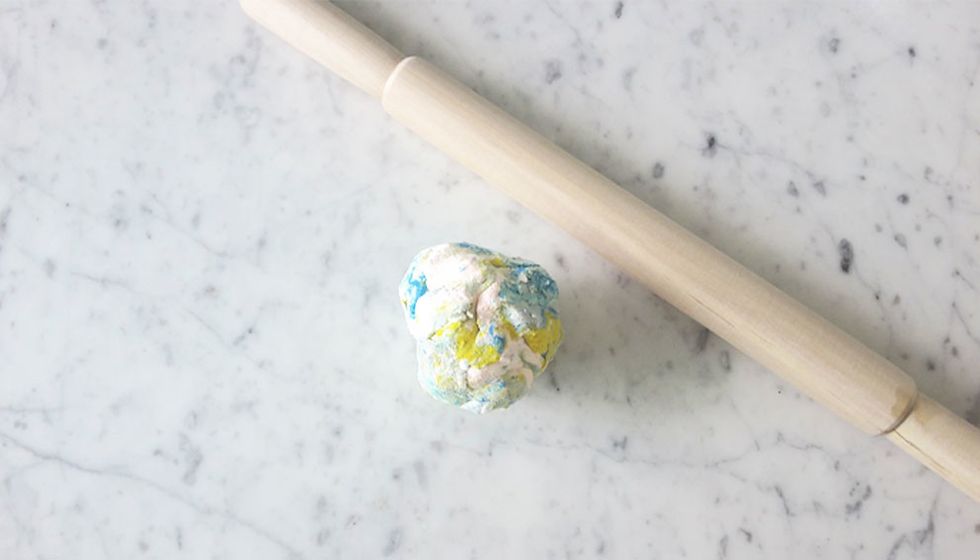
Work the clay in your hands and mix all together into a ball.
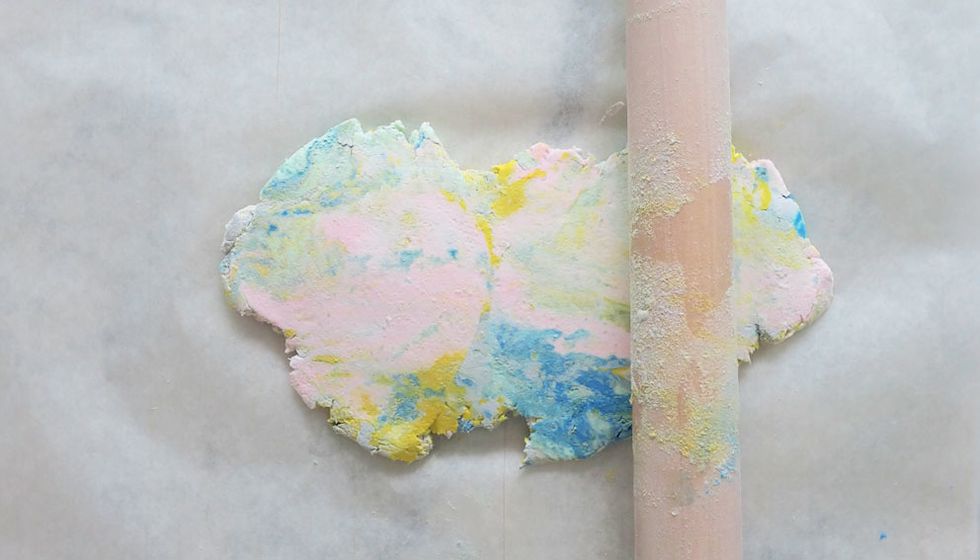
With a rolling pin, flatten out the dough. If you feel that areas look a little bland, you can always add in more coloured clay.
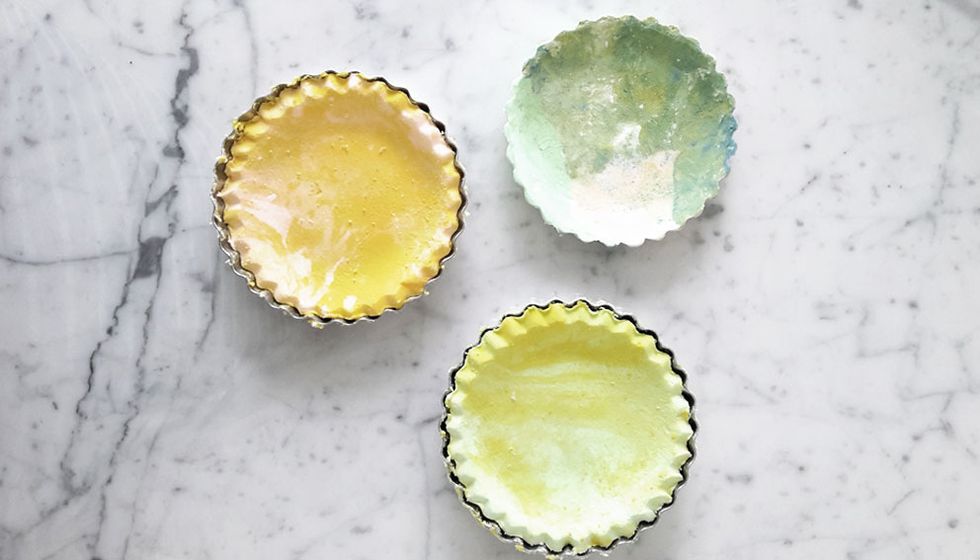
Once the dough is smooth, use the pie mould to cut and shape the clay. Use a dab of water to fill up any small cracks if necessary. Put aside to dry.
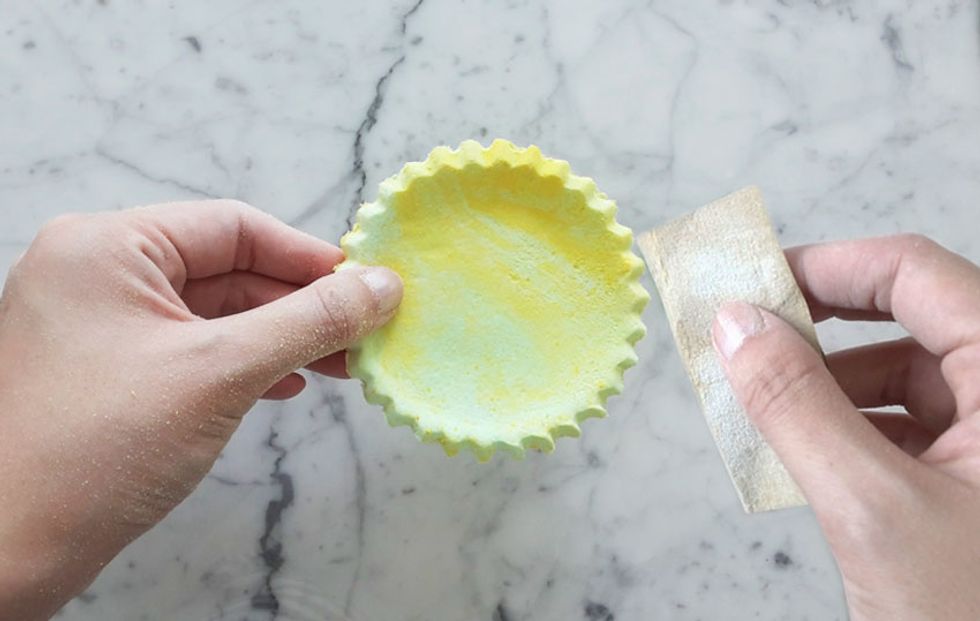
Once the clay is dried, run the sandpaper over to smooth down rough edges and to get rid of any small loose clay particles.
Spray a coat of water-based sealant to protect the clay from any moisture.

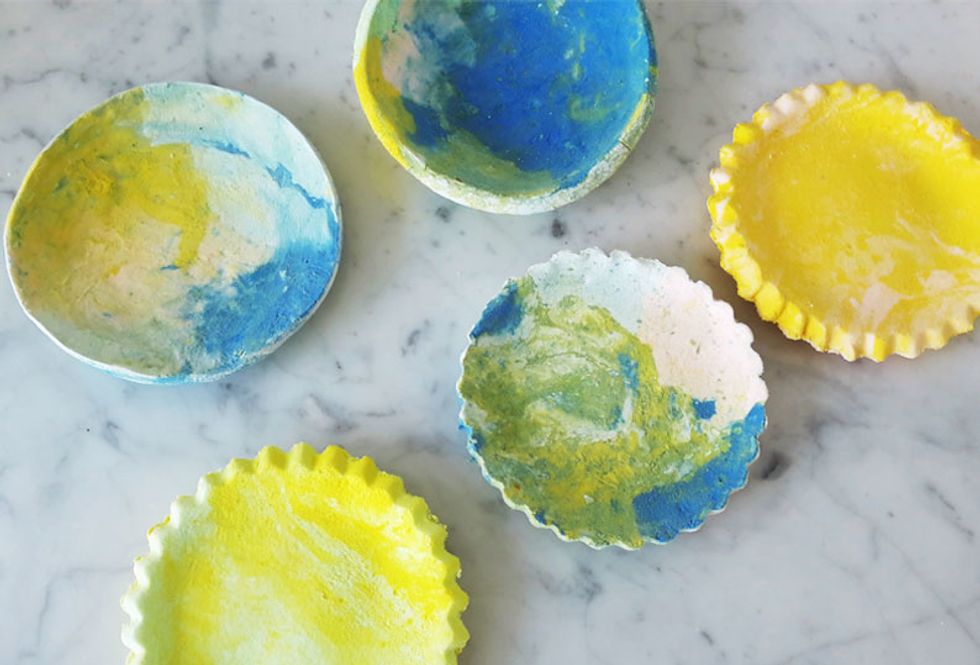
Done! Funky new marbleised clay dishes for your knick knacks.