The Conversation (0)
Sign Up
Supply note (Jan. 19, 2017): I have changed my number of black tea bags from 4 to 8 because I've learned it makes for a healthier scoby and a less vinegary taste.
Here is a recipe I've developed over several years of experimentation. My goal has been to simplify the process as much as possible. This easy method works well and makes light, delicious kombucha.
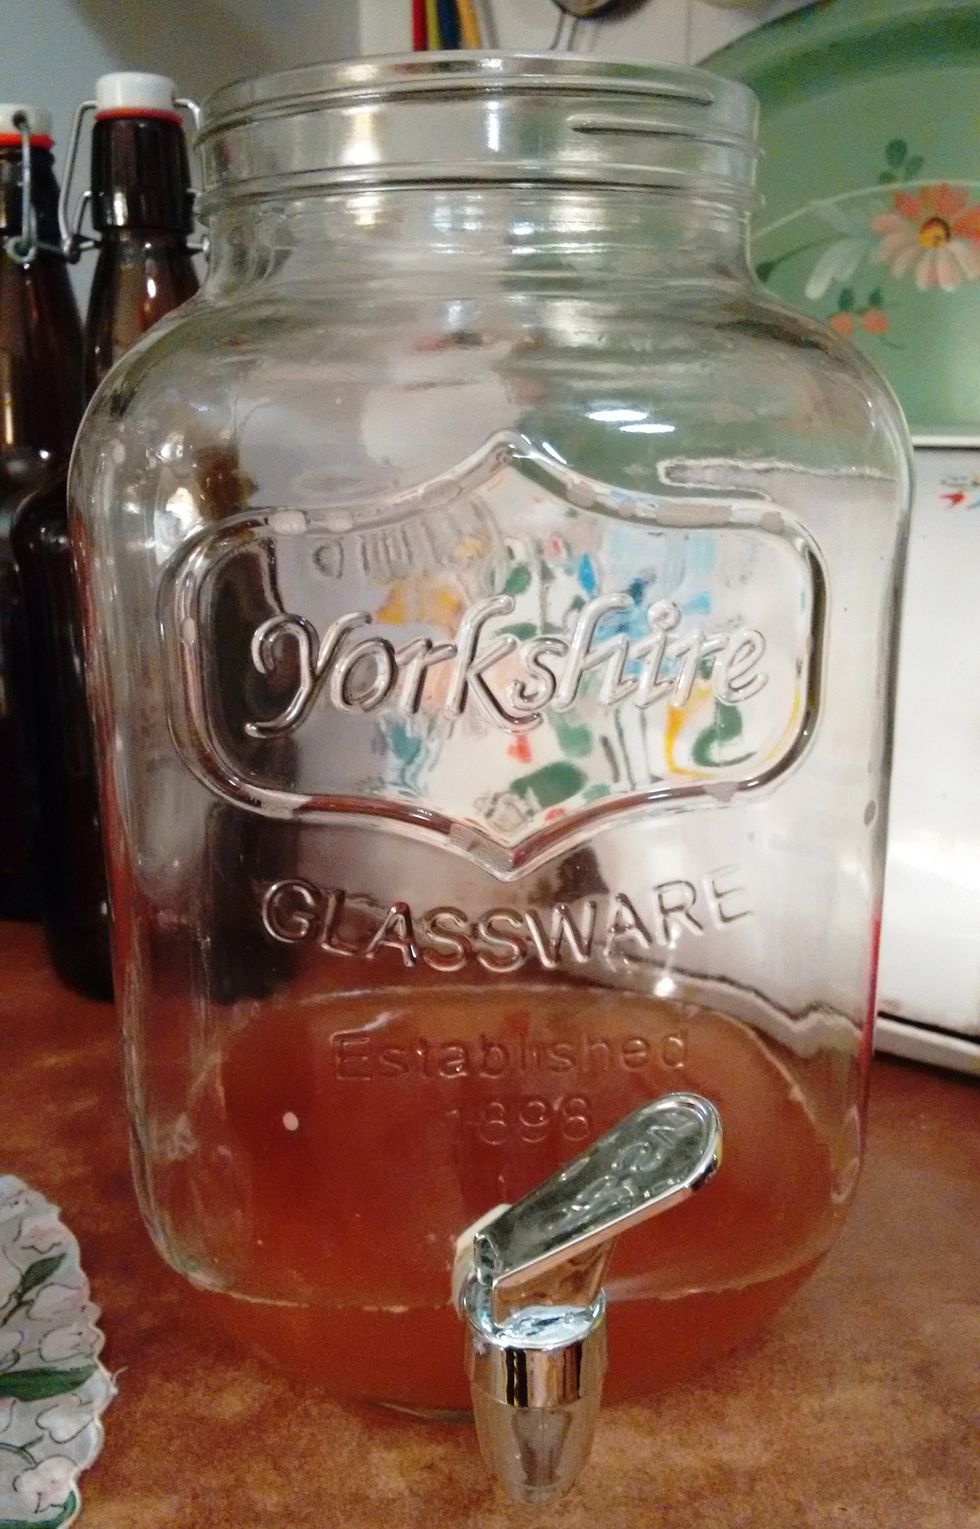
You will need a 1-gallon jar with a wide mouth for brewing. Instead of a lid, you will cover the jar with a handkerchief. I like having a spigot to make bottling easier, but you can do without it.
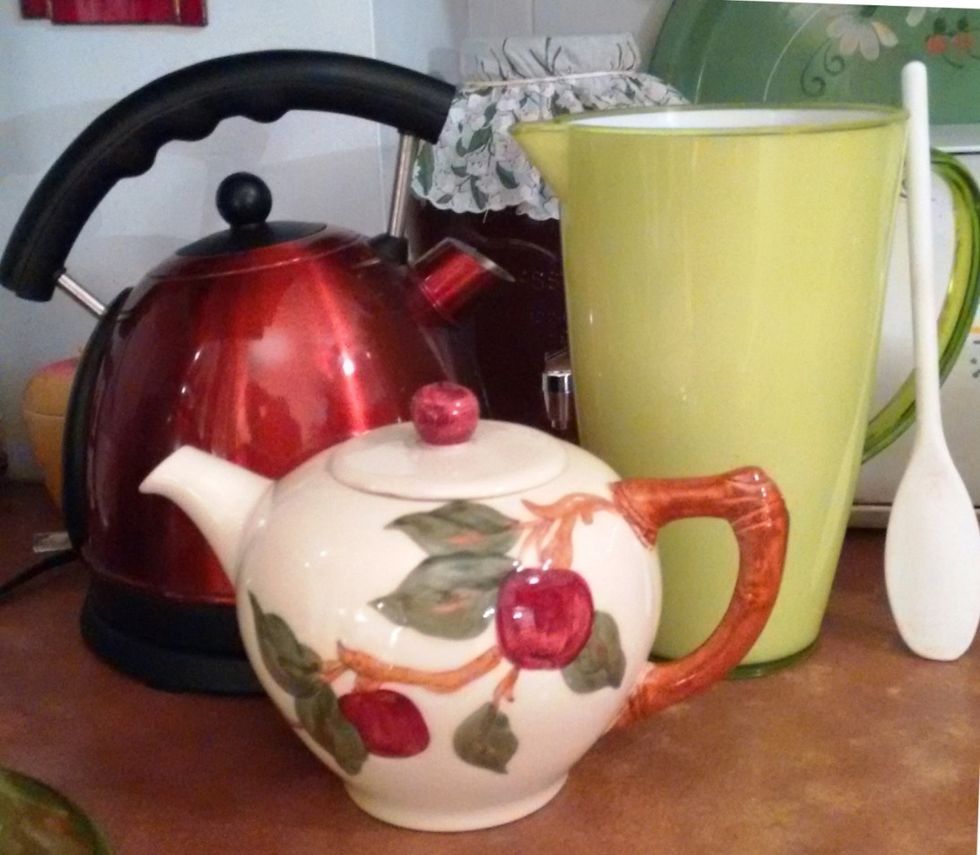
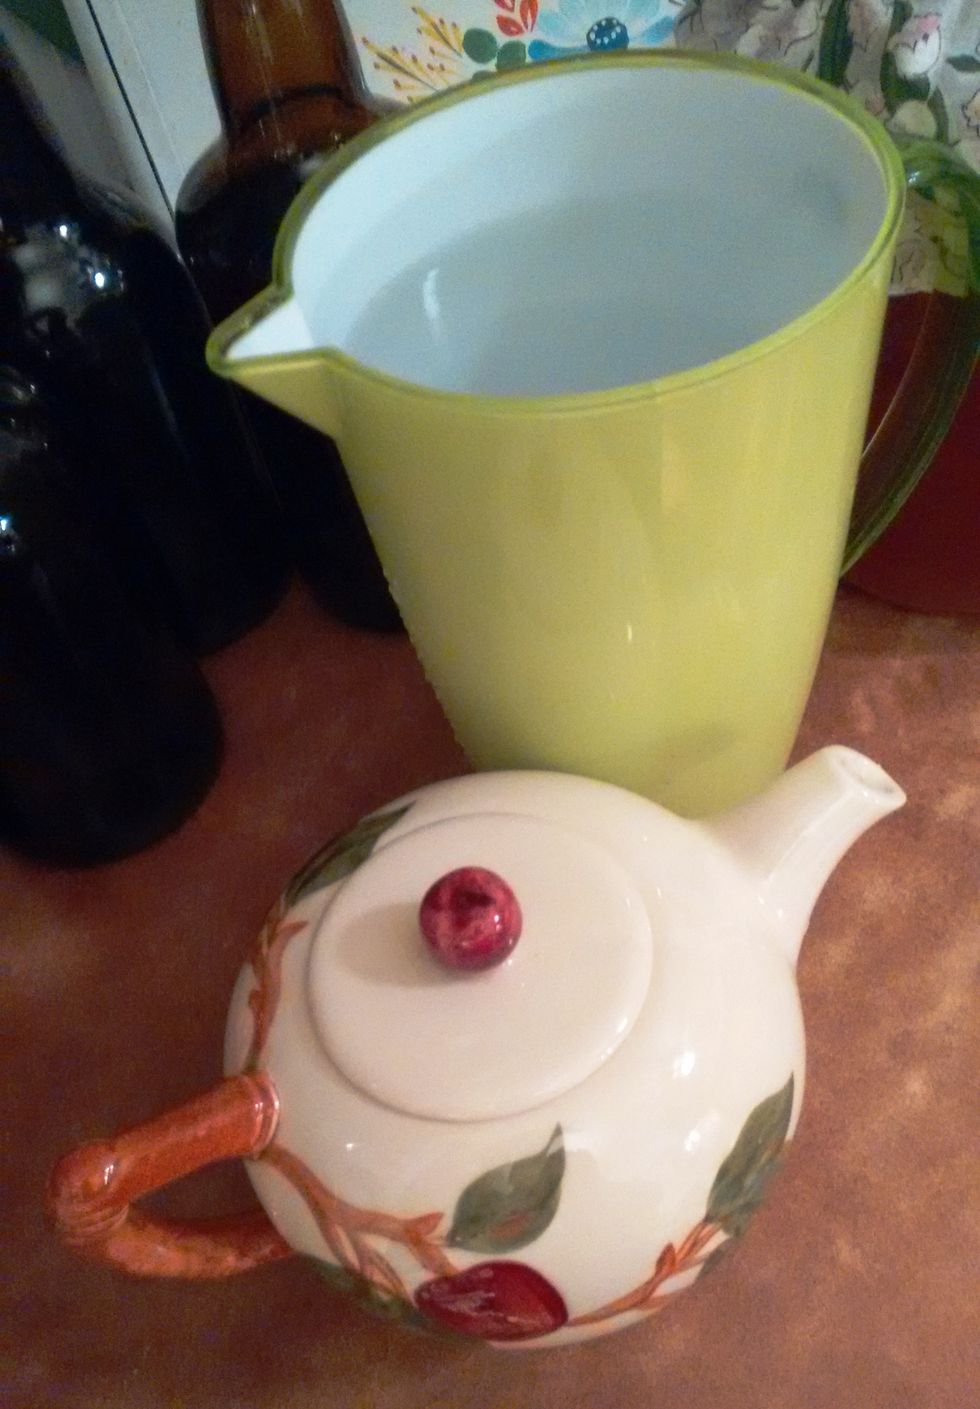
You'll need a tea kettle for boiling water, a pitcher for holding more water, a teapot for brewing your tea bags, and a long wooden or plastic spoon for stirring.
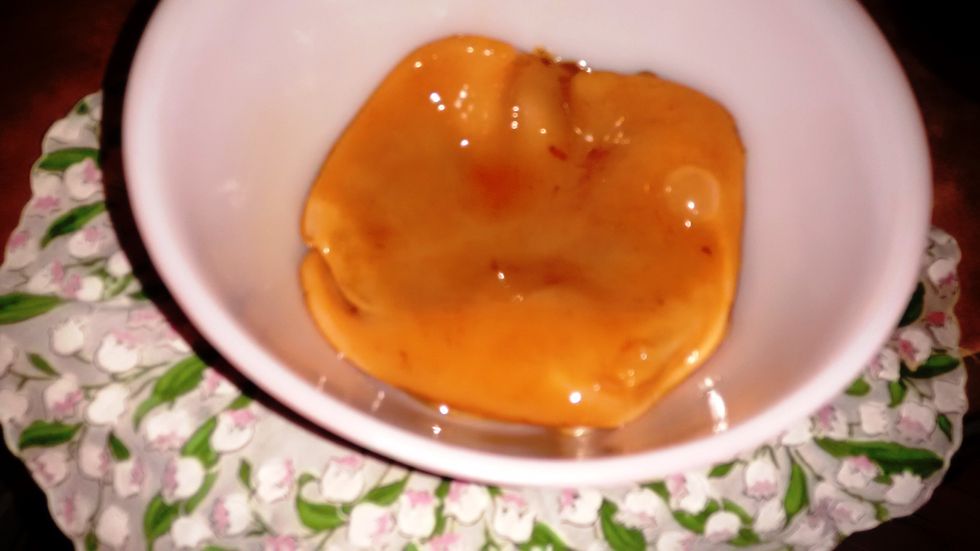
You need one of these: this is the scoby, which stands for Symbiotic Colony of Bacteria and Yeast. It is this culture that makes kombucha possible. It looks like a rubber pancake and smells sour.
Your scoby should have a pinkish-brown color. The tea may add powdery brown deposits, and that's okay. But if you see strange colors or fuzz, that might be mold and you should throw it away.
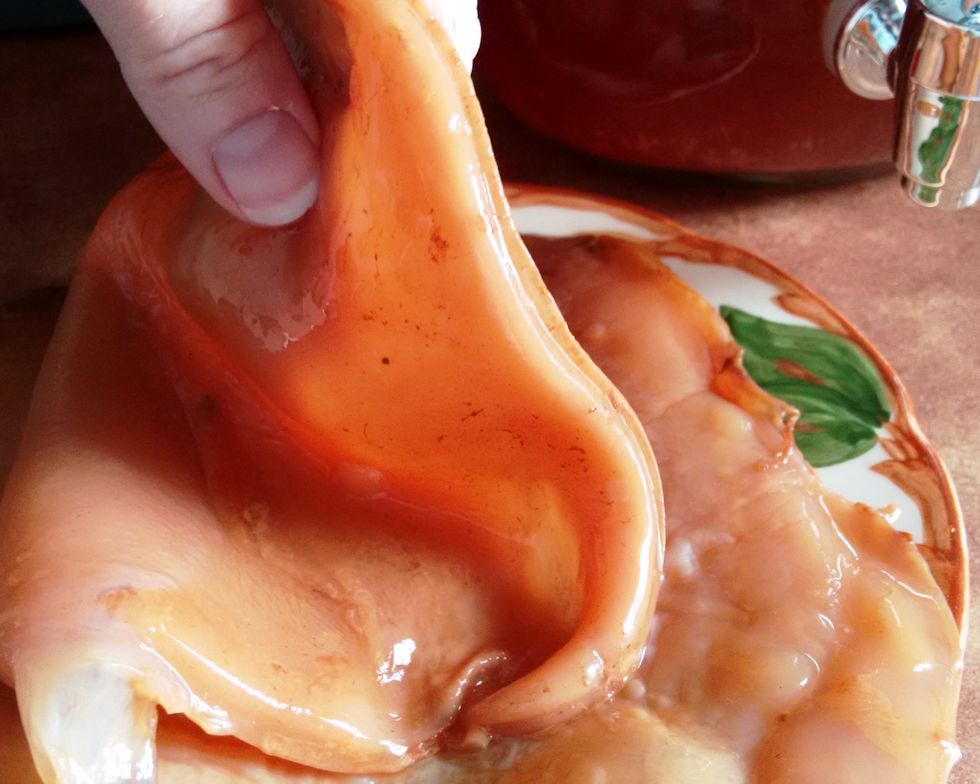
Your scoby is alive! It will grow a little thicker every week. Once it's over a half-inch thick, you can peel off a layer (or two or 3) from the bottom and give it to an aspiring brewer.
If you don't have a friend who can give you a scoby, there are lots of sites online that sell them. Many of those sites also give helpful information about making kombucha. Just google "kombucha."
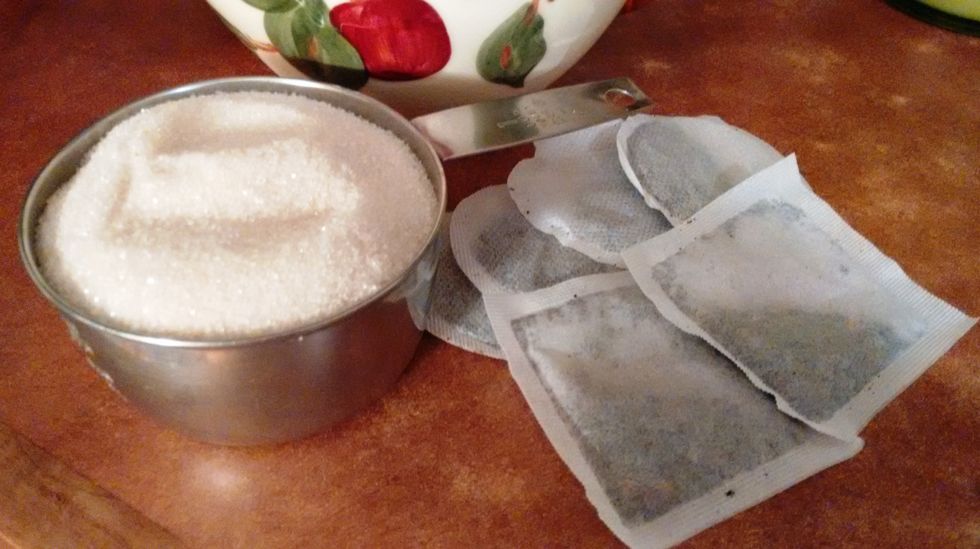
To prepare your brew you need a cup of sugar, 8 black tea bags (I like Irish breakfast), and 2 herbal berry tea bags for flavor: blueberry, black currant, etc. Not cherry, it doesn't turn out well.
Kombucha needs caffeine (and sugar) to ferment. That's why you can't just make it with herbal or green tea. You can add green tea for health or herbal tea for flavor, but never leave out the black.

If you change your recipe and add another kind of tea, take notes, because you won't taste the results for 2 weeks. Check out other kombucha guides online for ideas.
You'll also need one cup of starter kombucha. Either you'll have to buy this or get it from a brewing friend; you must have starter in order to make kombucha. You can find it online or in some stores.
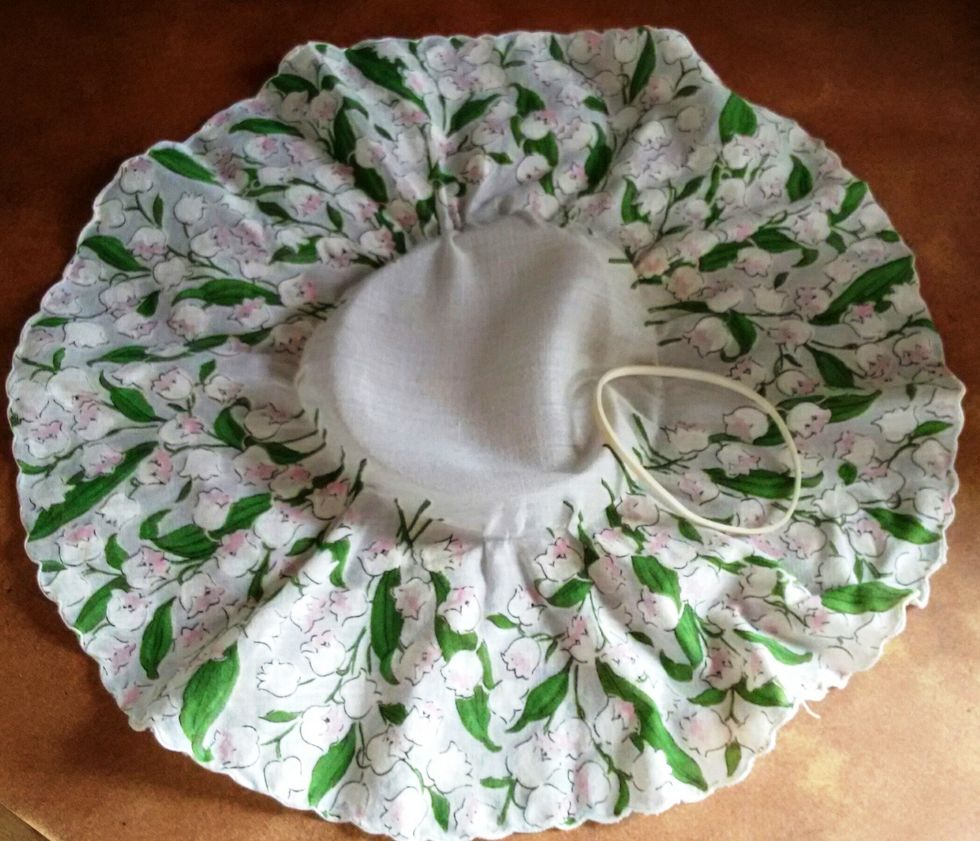
Finally, get yourself a pretty hankie and a rubber band for a cover. (Well okay, pretty is not required.)
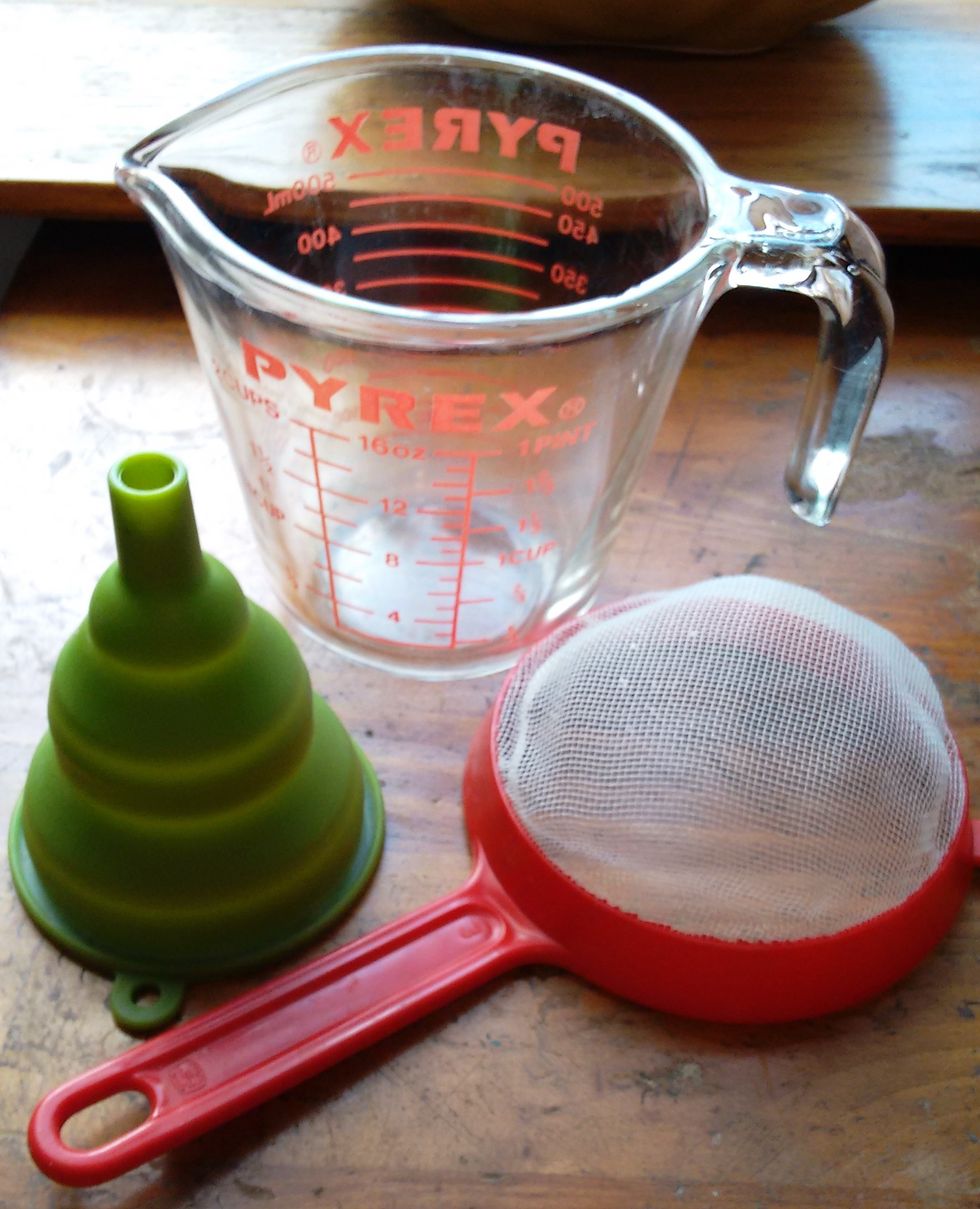
When your brew is ready to bottle, you'll need a strainer, a funnel, and a pitcher or liquid measuring cup. Kombucha doesn't like metal, so find plastic and glass utensils if possible.

Invest in 6-9 sturdy 33-oz (1 liter) bottles with swing tops. I recommend buying from a home-brew supplier. Flimsy bottles can burst from the pressure of carbon dioxide produced in fermentation.
In theory you'll only have 6 bottles in use at once: 3 resting, 3 to drink. But it's good to have extras in case you are slow to drink it all or someone you share with is slow to give a bottle back.
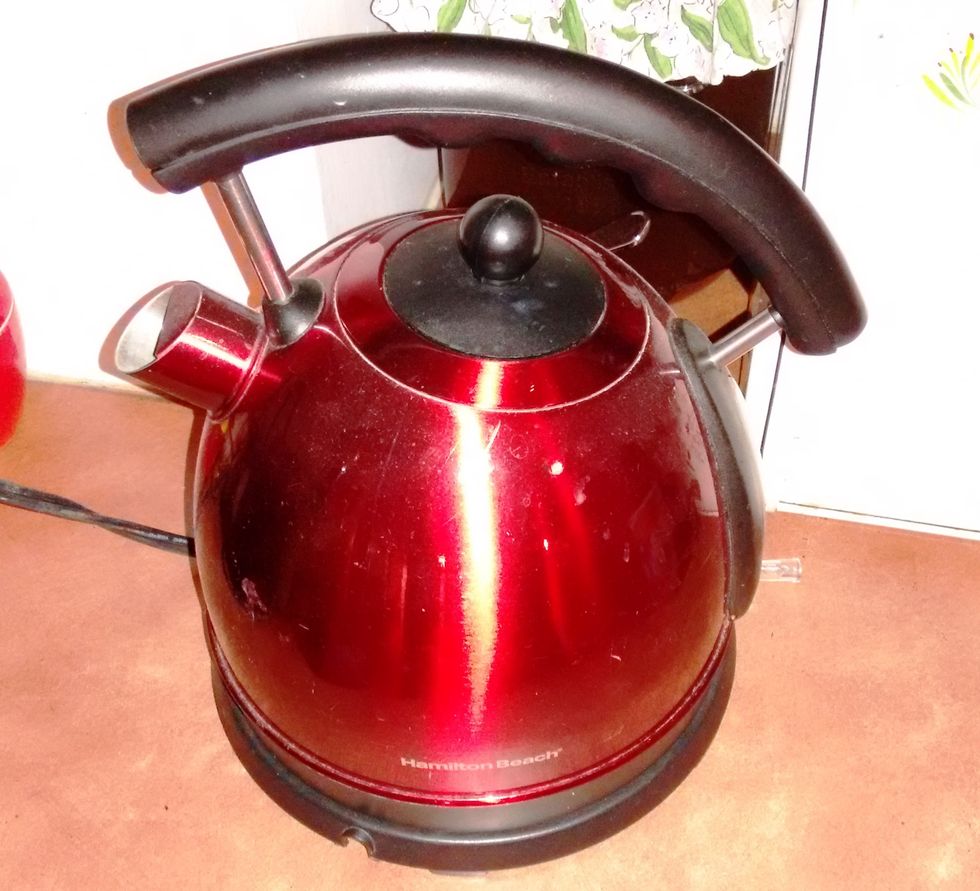
Now that you have everything you need, you can get started. First, fill that tea kettle with water and bring it to a boil.
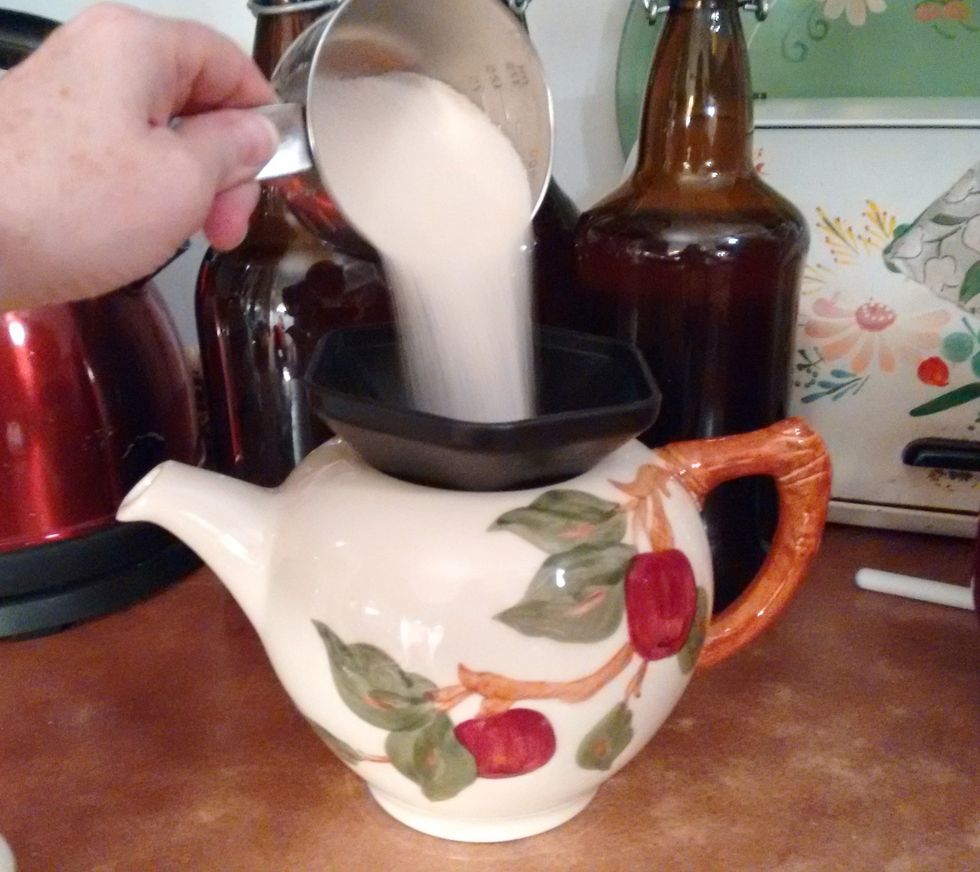
Pour your sugar into the teapot.
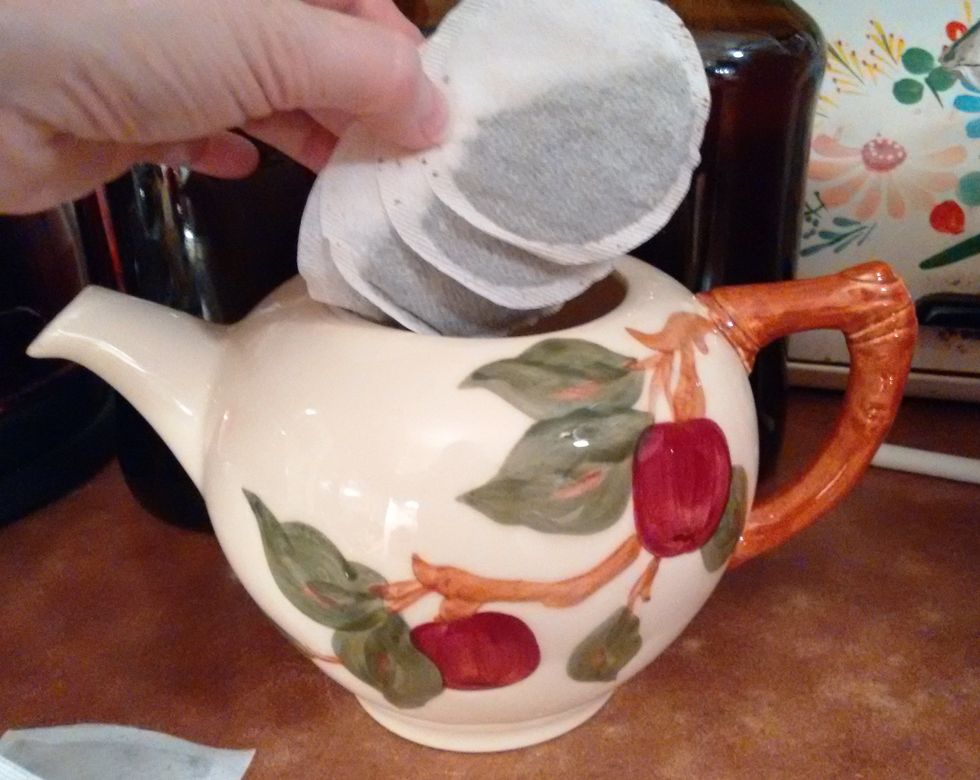
Put in your black tea bags... (Note, I've changed the amount from 4 to 8 because it makes for a healthier scoby.)
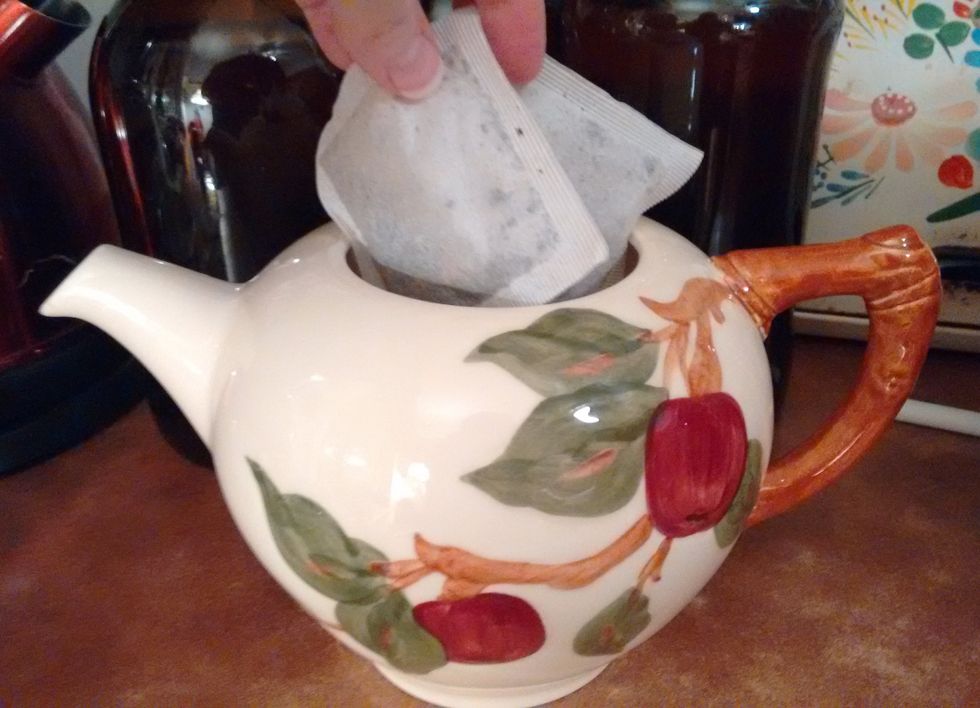
...and your herbal tea bags.
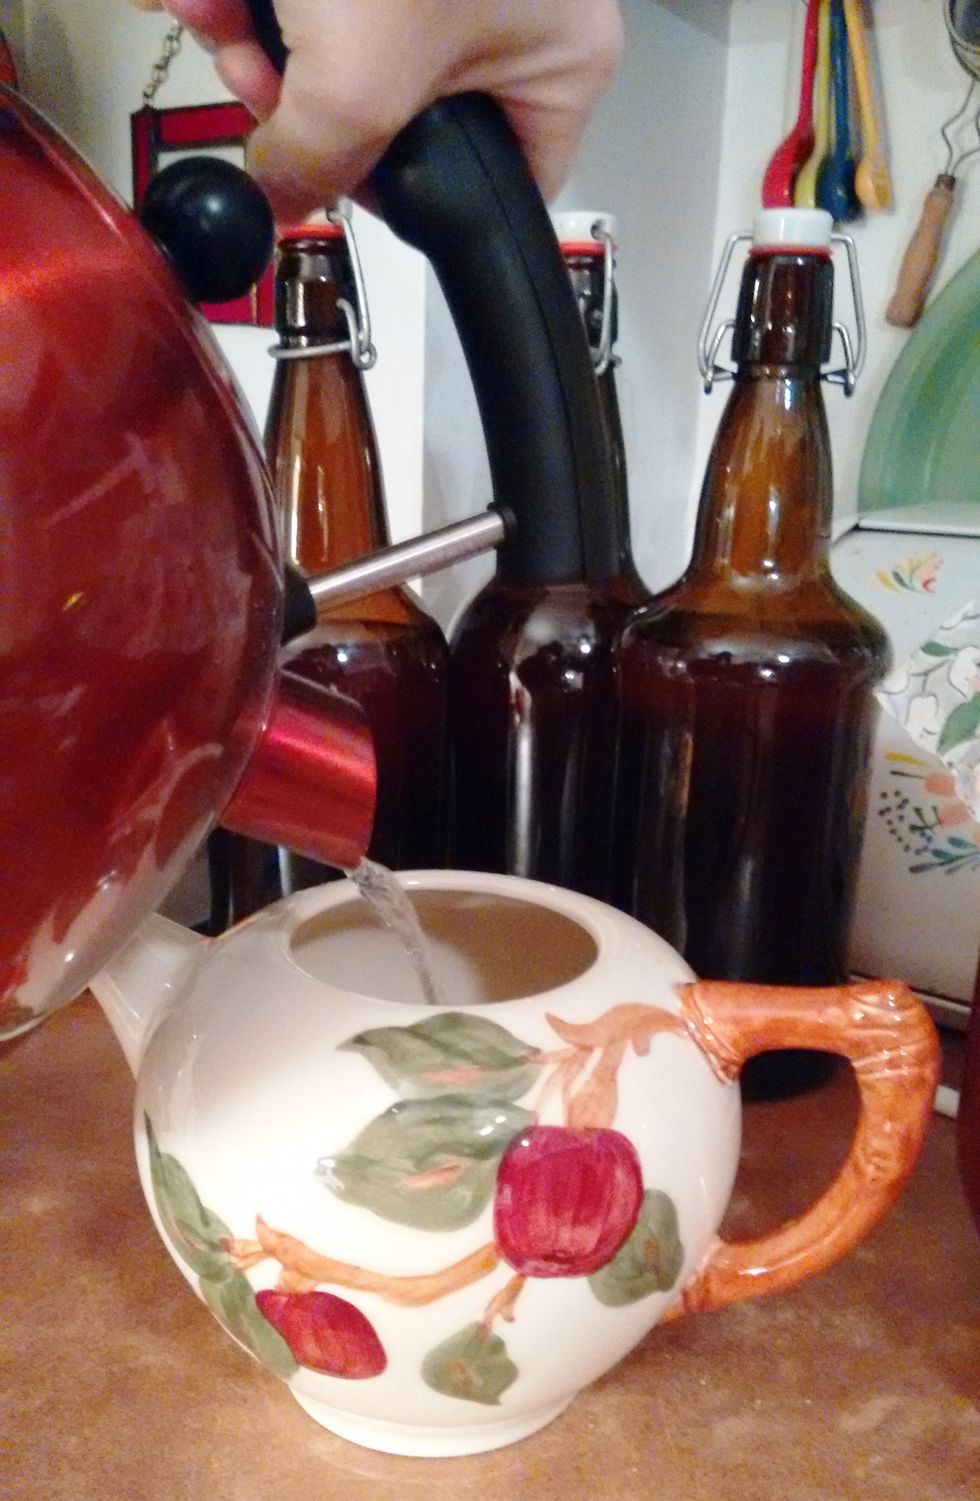
Add 3-4 cups boiling water to the teapot. Stir till sugar dissolves. Put on the lid, set it aside. I like to steep it overnight, or for about 5-8 hours, or at least till it has cooled to room temp.
Also set out 5-6 cups of water in a pitcher, to "age" and remove some of the chlorine. I have used water fresh from the tap too. Many brewers recommend aging, but I'm not sure it makes a difference.
Now you wait. When the tea has steeped and cooled, you can prepare your first brew. (Never add hot tea to your scoby; it can kill it.)
(Once you have established your weekly brewing/bottling rhythm, you can bottle while your tea is steeping.)

Now, to prepare your brew. First, put your cup of starter kombucha in the one-gallon jar.
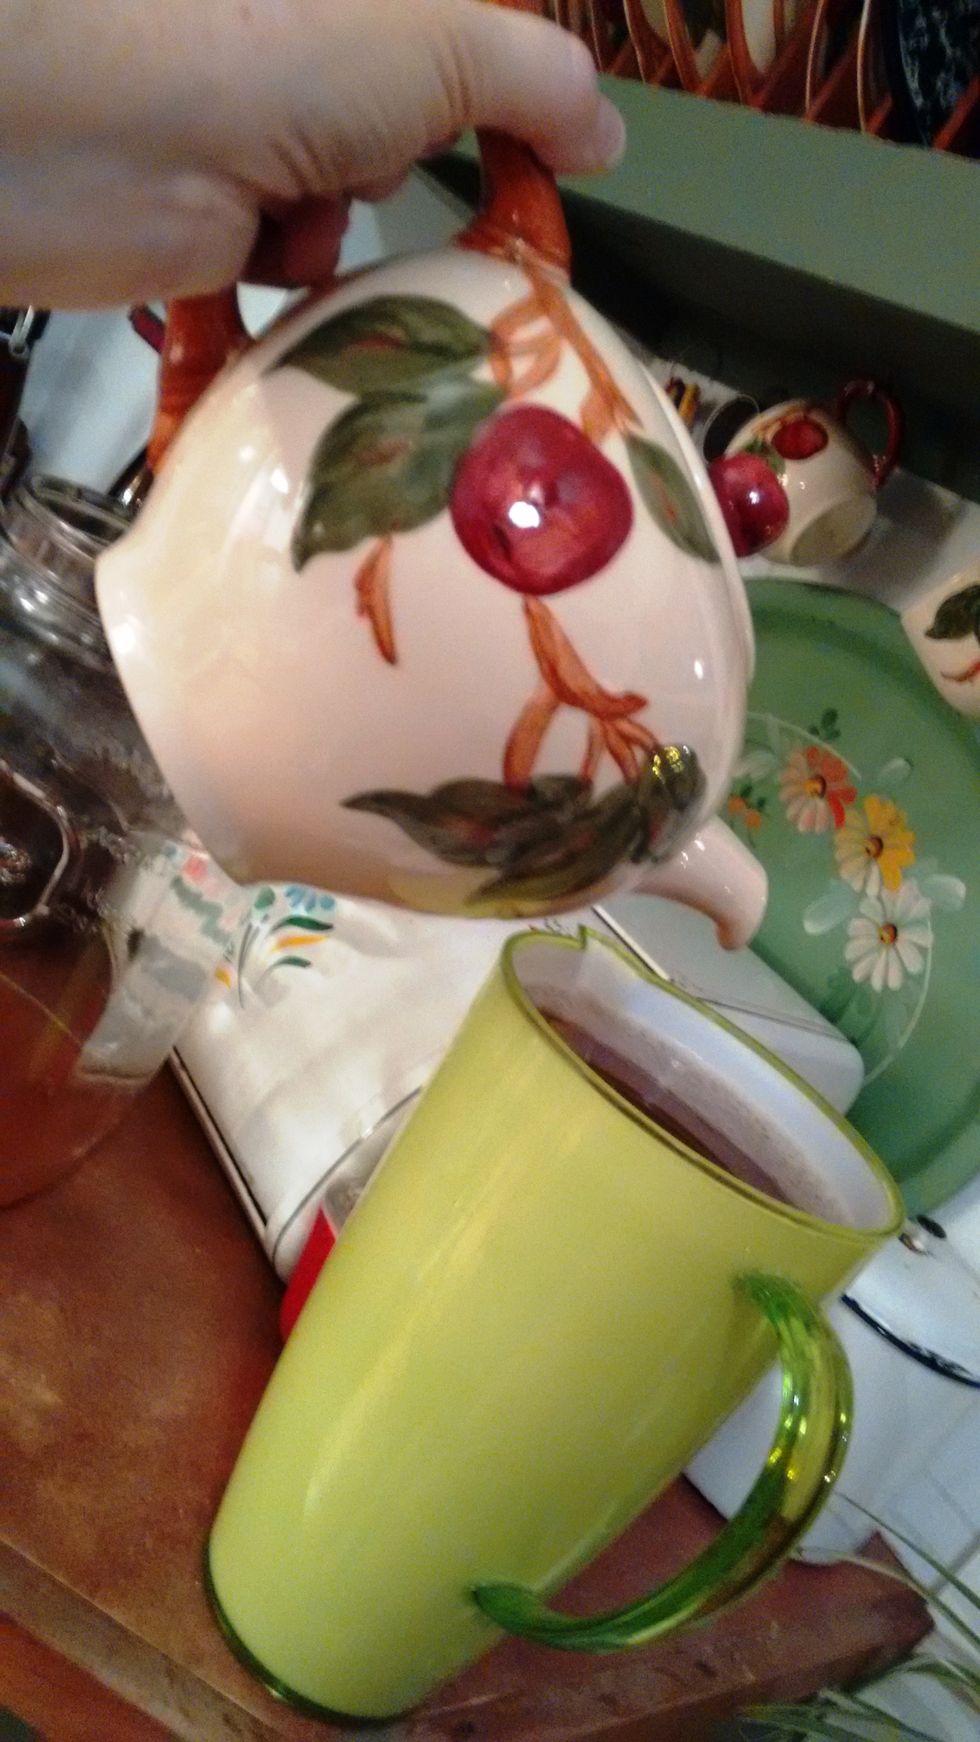
Pour the tea-sugar-water mixture into your pitcher of "aged" water. (If there's not enough space for the tea, dump out some of the water first.)
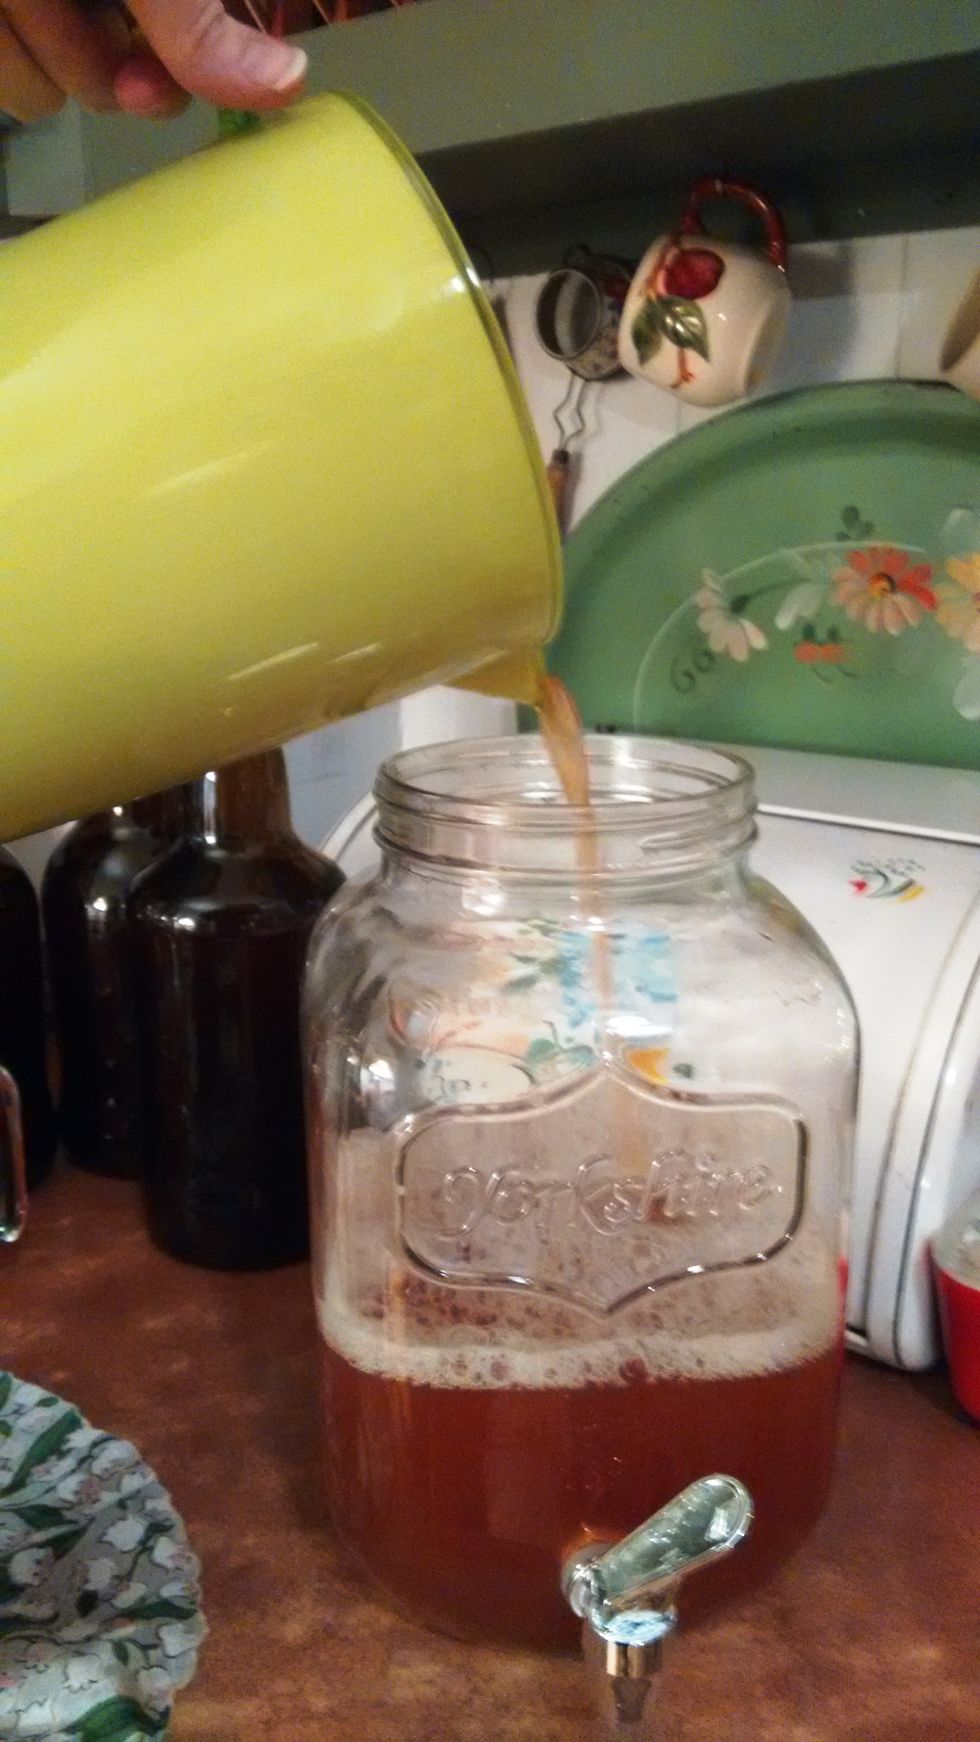
Then pour the contents of your pitcher into the gallon jar.
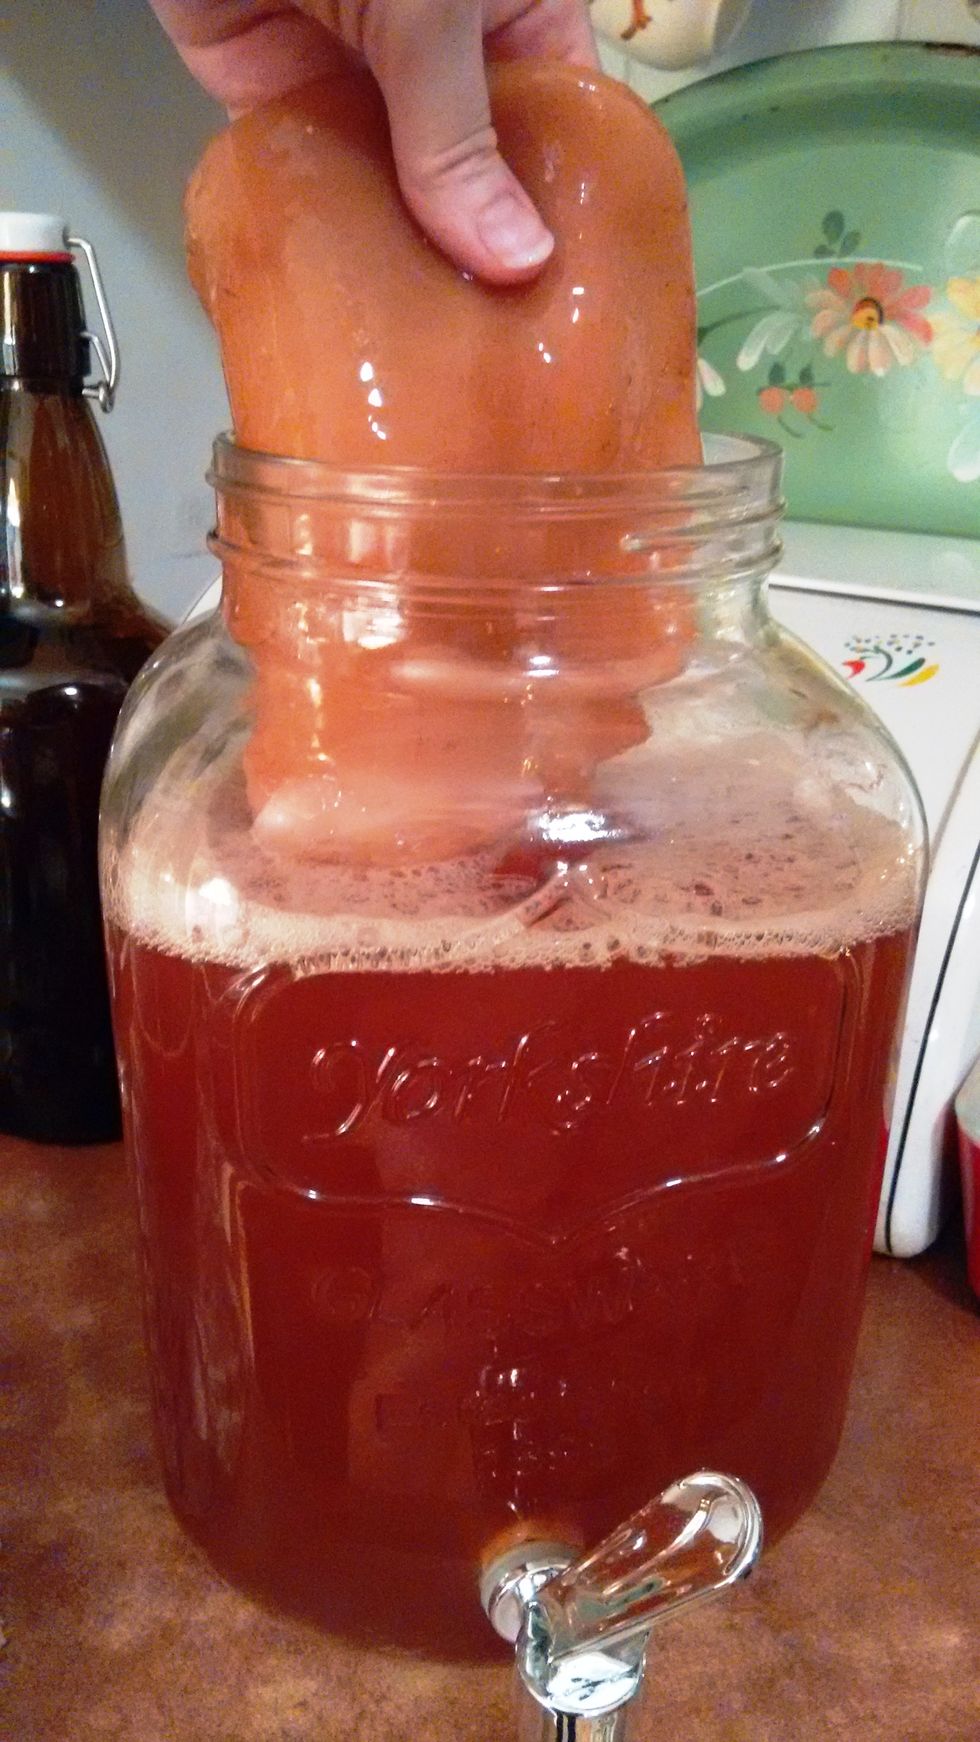
Put your scoby in.
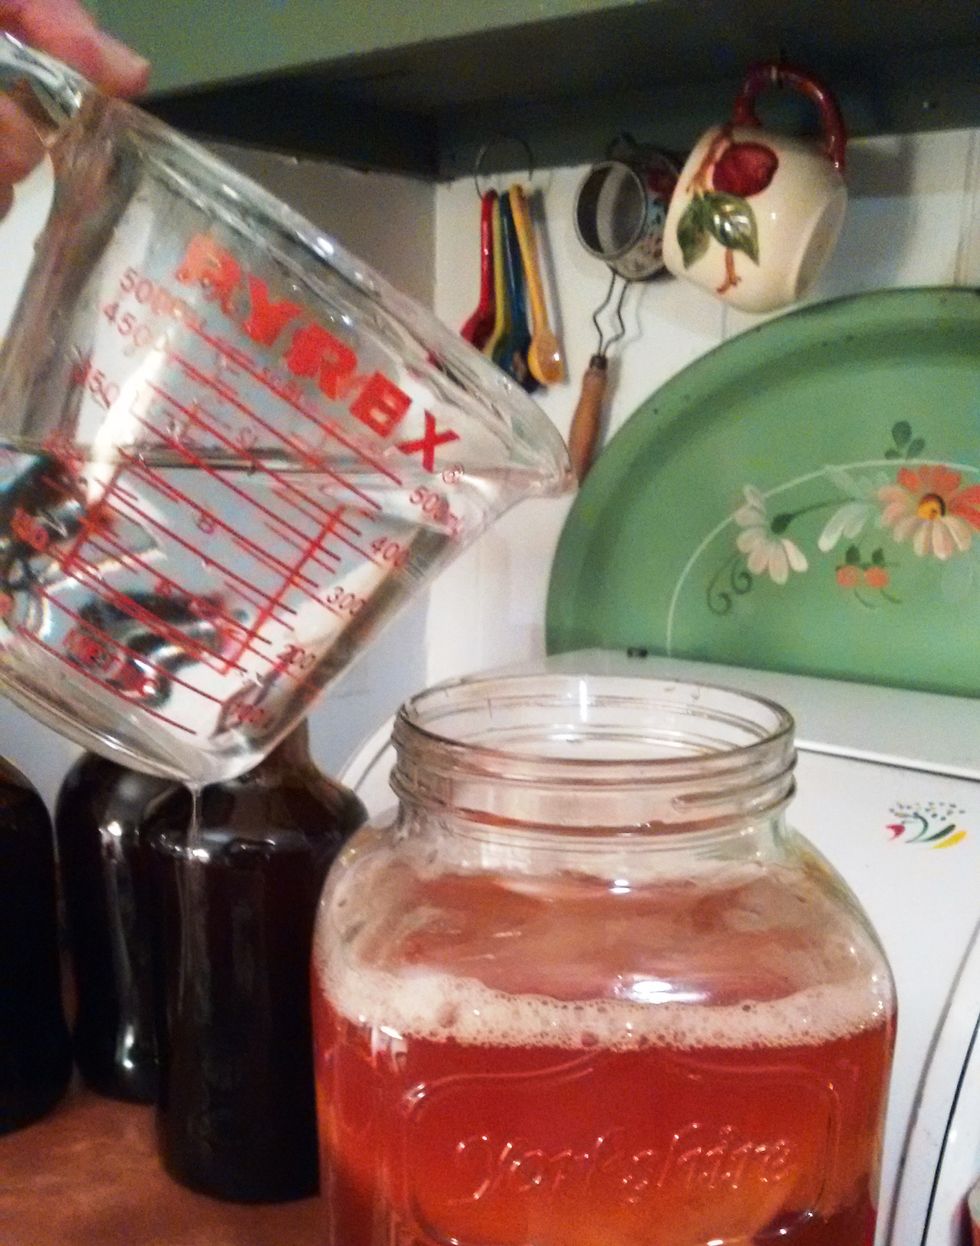
Top the pitcher off with a little more water (from the tap is fine). Avoid pouring liquids directly onto the scoby by holding it aside with the spoon.
The liquid should not quite reach the top of the jar. The scoby needs a little air space above it. I fill it to halfway up the "shoulder."
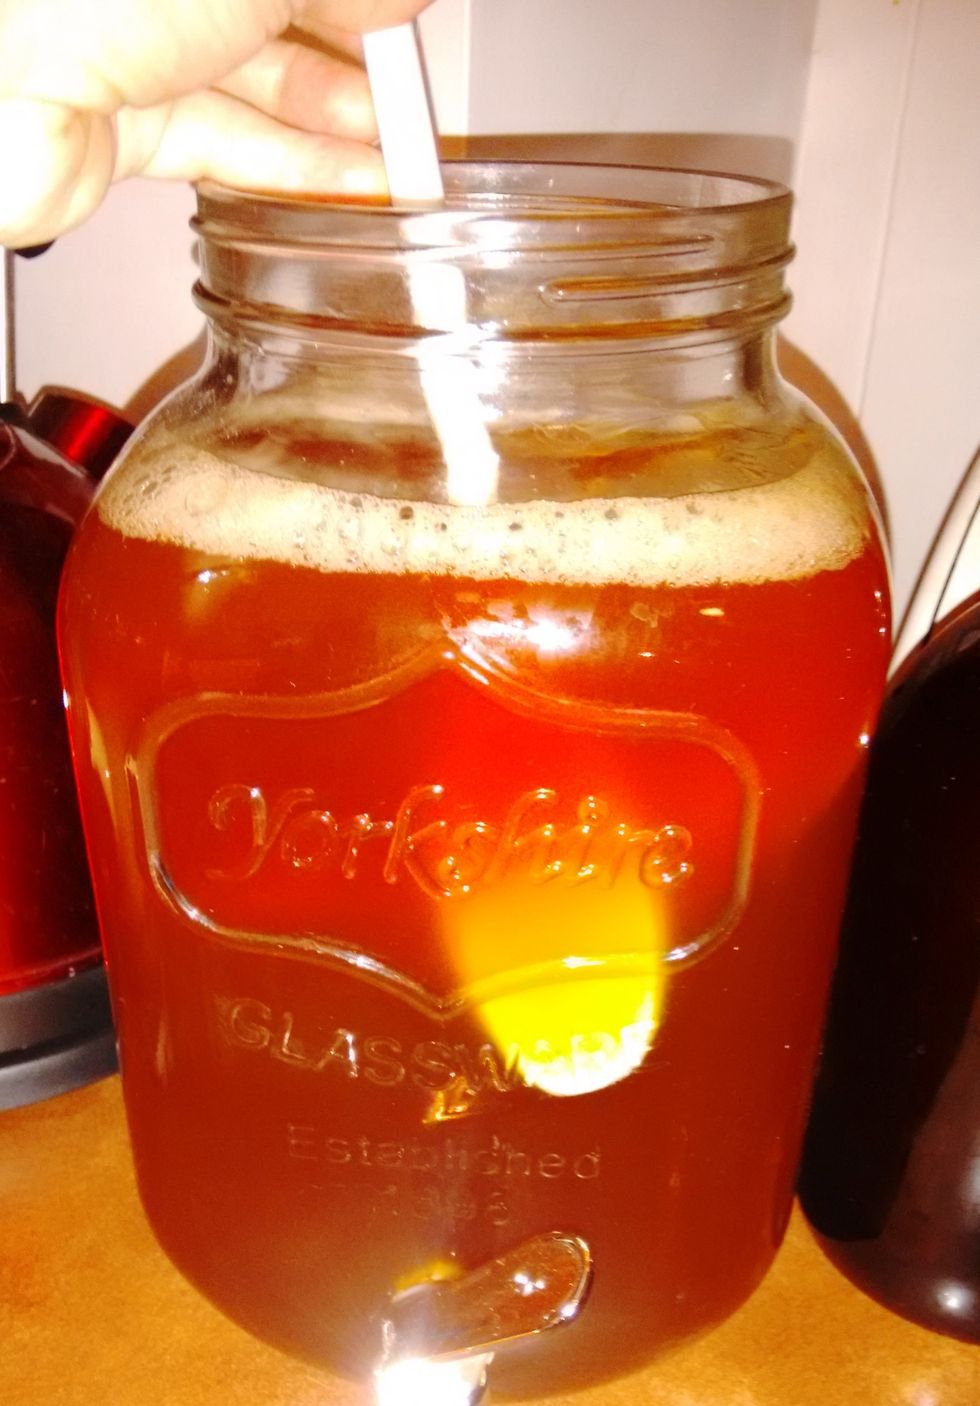
Gently stir the contents of the jar.

Cover the mouth of the jar with the handkerchief and secure it with a rubber band. Kombucha needs to breathe as it ferments. We want to let air in but keep the fruit flies out!
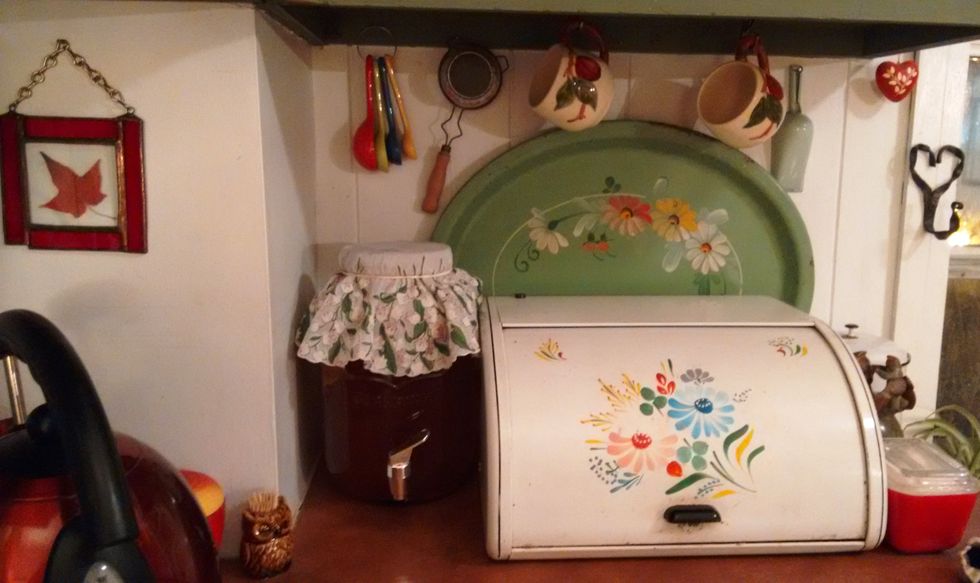
Put your jar in a quiet corner away from sunlight and leave it for a week.
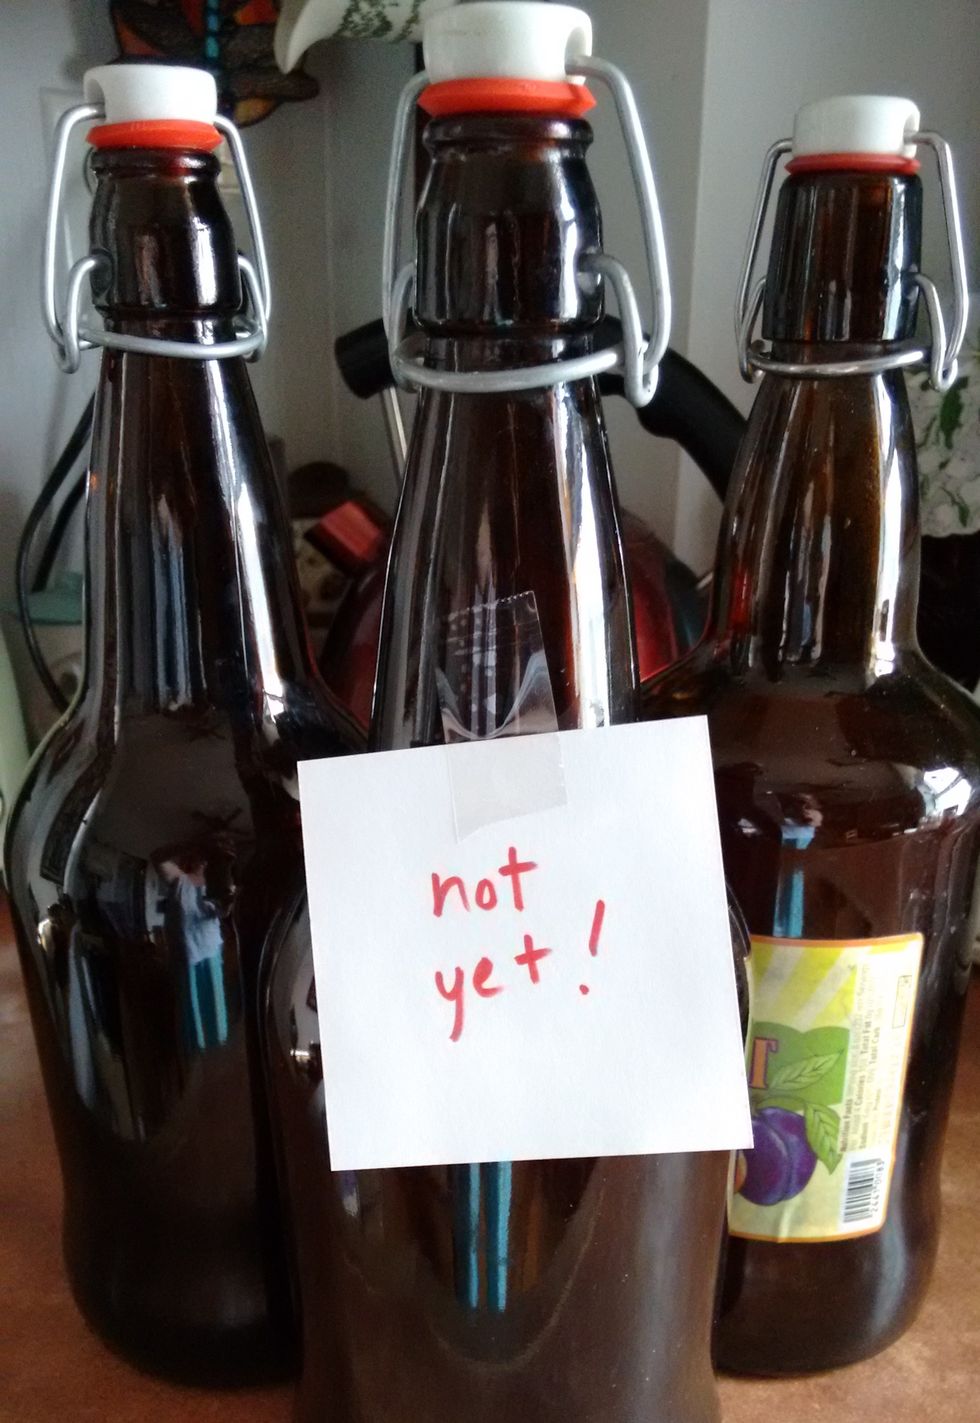
Once your kombucha has fermented for a week, it should be ready to bottle. But it's still not ready to drink; it will need another week to rest and develop some fizz.
About that week: The number of days your kombucha takes to ferment may vary because of factors like room temperature and light.
You can tell if it's ready to bottle: Have a little taste of it. It should be a bit sour and a bit fizzy. If it still tastes like a batch of sweet iced tea, give it another day or two.
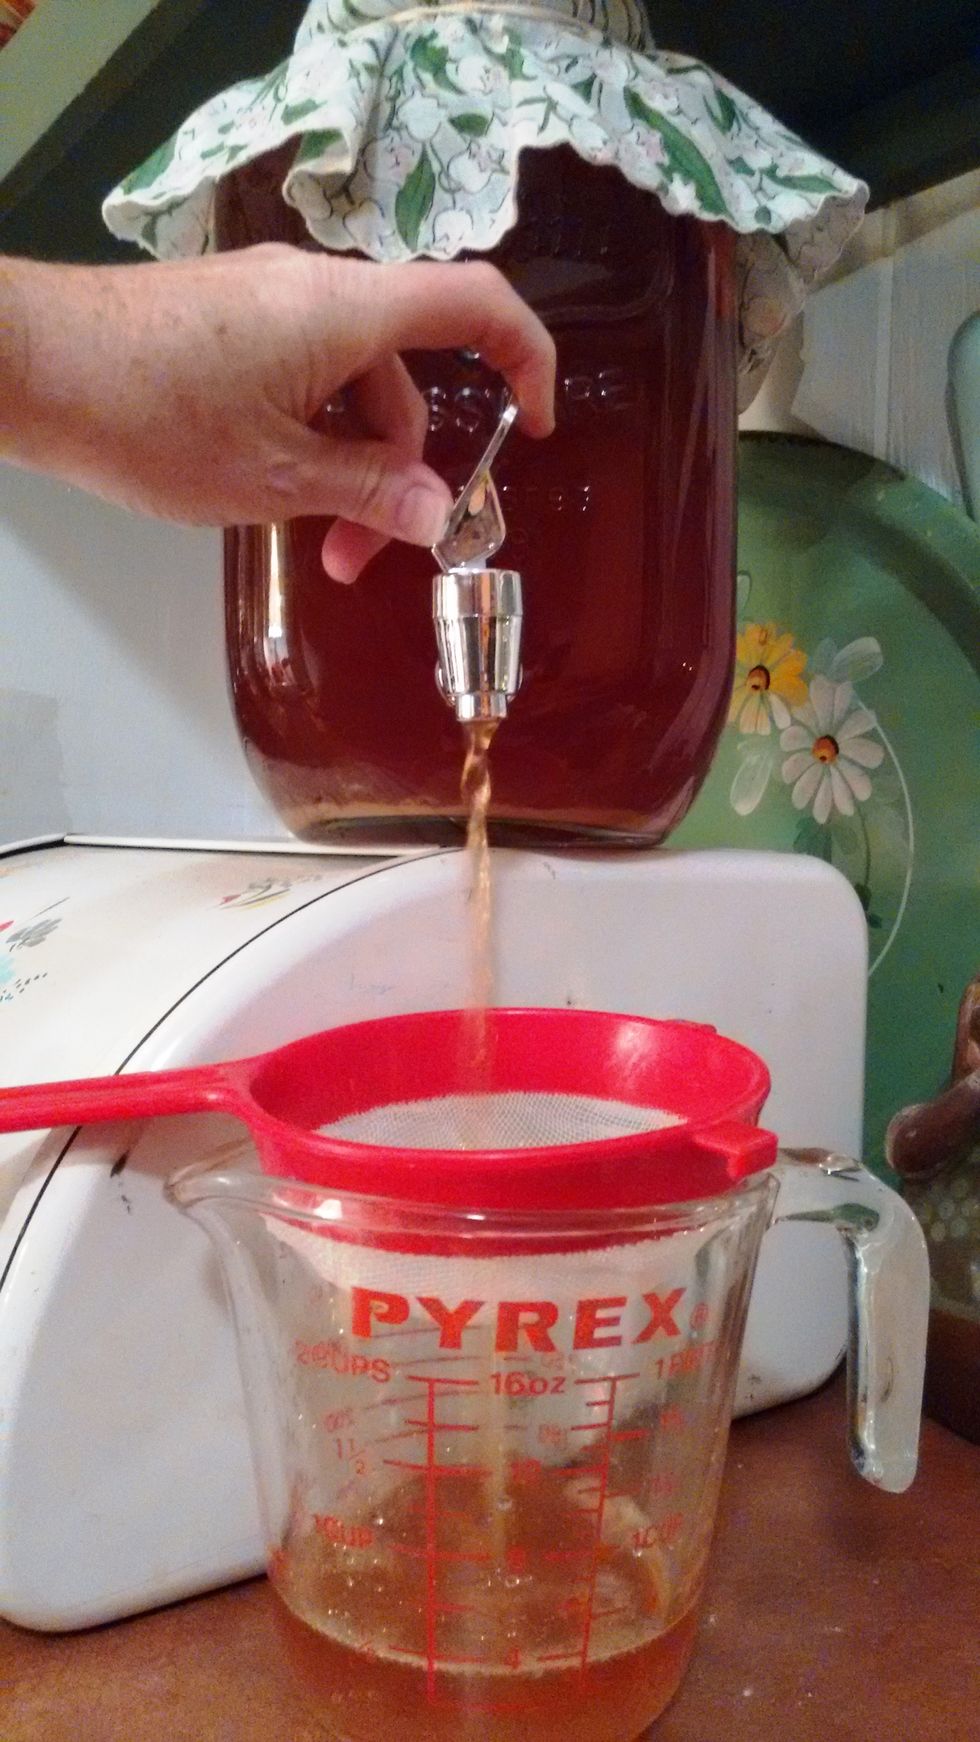
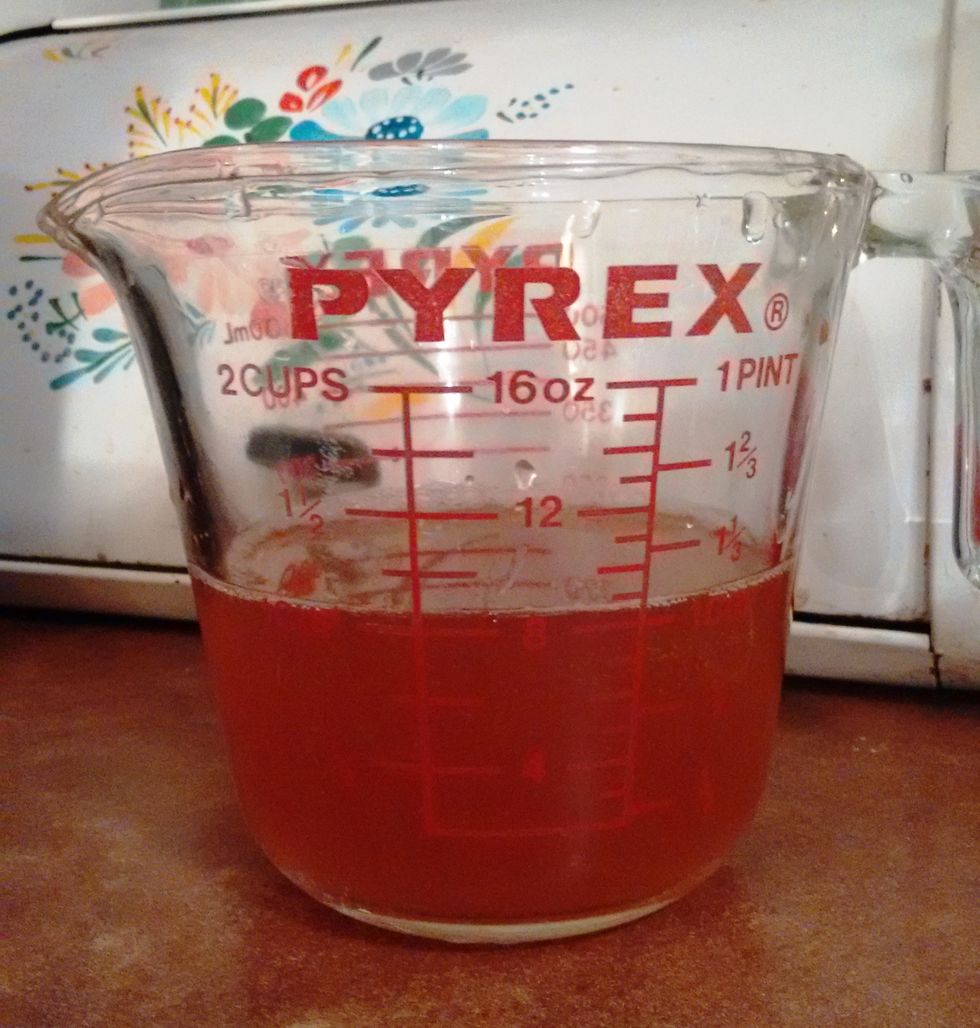
Now, bottle your kombucha! I run it through a strainer into a 16-oz liquid measuring cup, twice for each bottle (4 cups kombucha per bottle). With 4 cups, you have room left for carbon dioxide.
If your jar doesn't have a spigot, you can ladle or pour it out carefully. But first wash your hands, reach in the jar, and pull out the scoby. Keep it out of the way in a bowl while you're bottling.
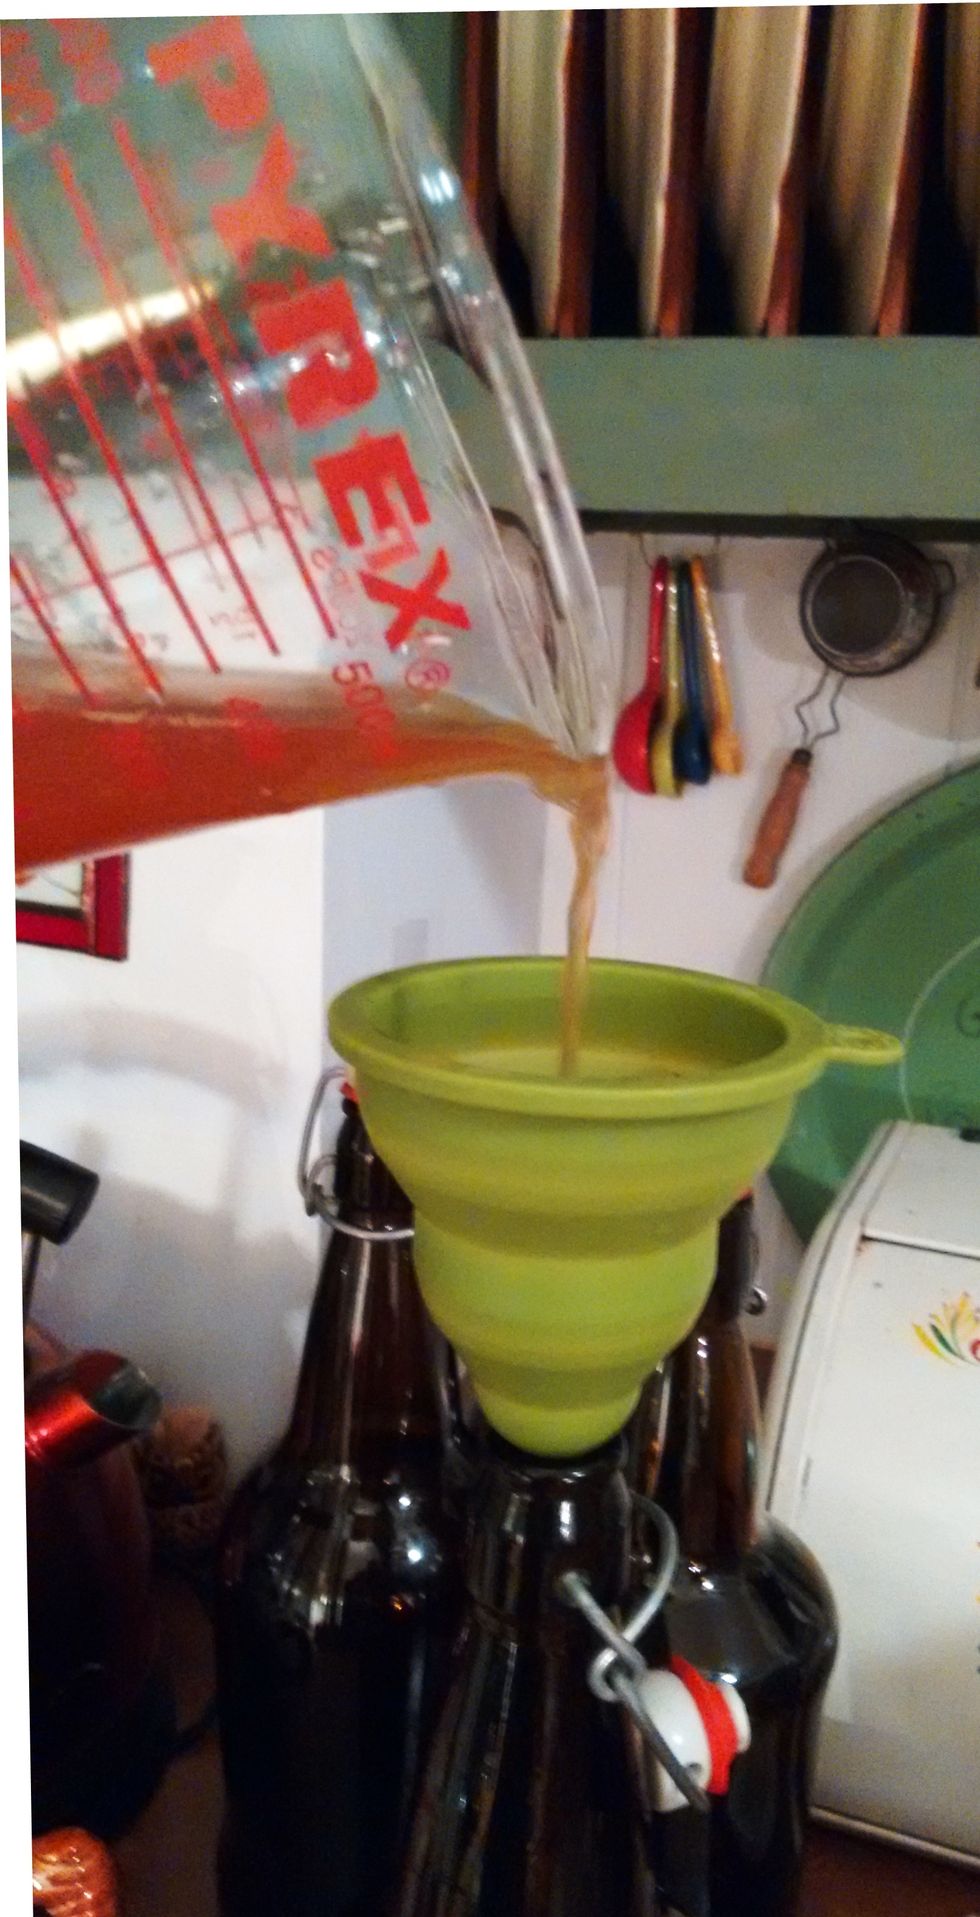
I use a funnel so I can get more kombucha on the inside than on the outside of the bottles.
There should be enough kombucha to fill 3 bottles with 4 cups apiece. But make sure you hold back a cup of starter kombucha no matter what!
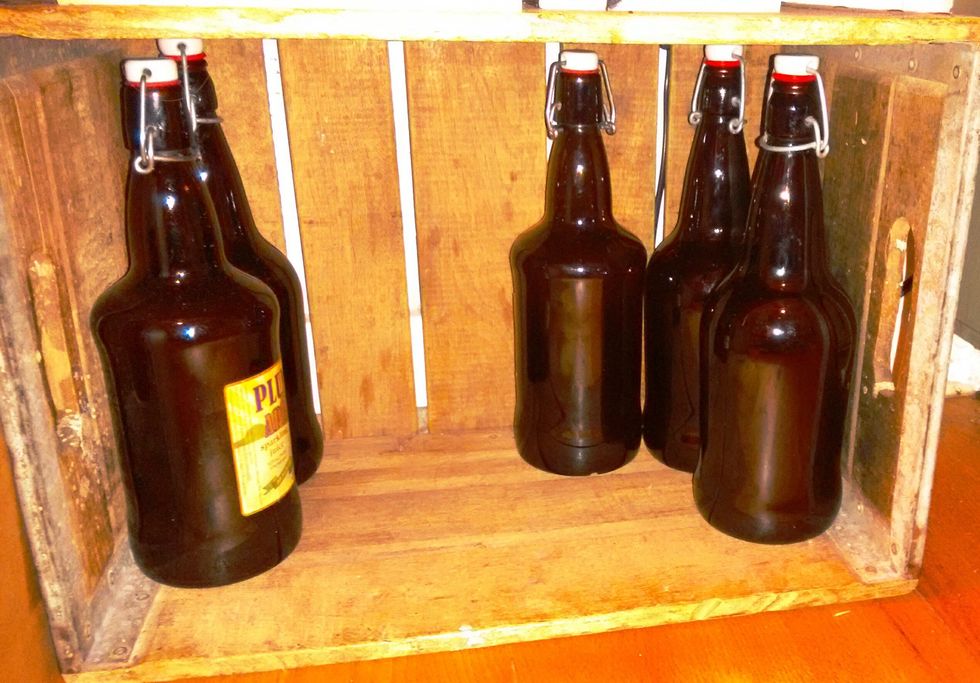
I let bottled kombucha rest for 7 days in a sheltered spot. I keep the newer bottles on the right side; the ones on the left have rested a week and are ready to go into the fridge for drinking.
See the rhythm? Every week, you fill 3 fresh bottles and start drinking last week's bottles. (If you keep the drinkable kombucha in the fridge, it will slow further fermentation so it'll stay sweet.)
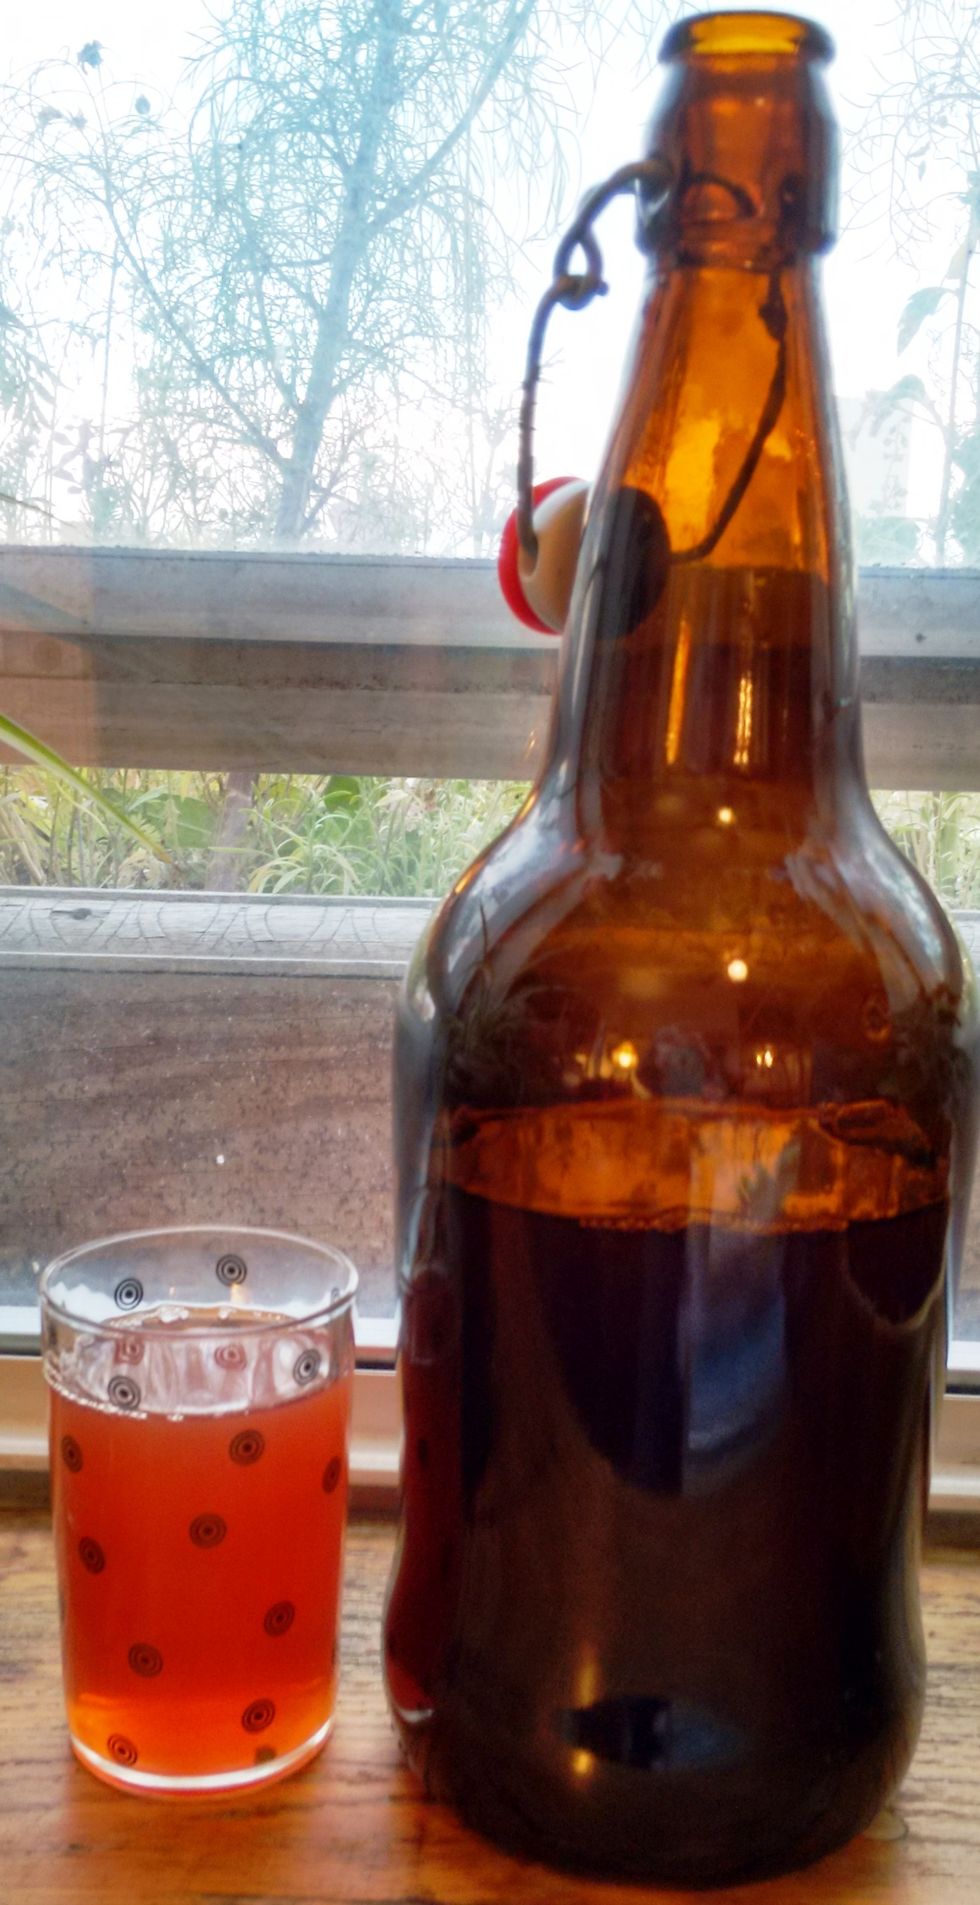
Cold kombucha tastes better, and is less likely to bubble over when you open the lid for the first time. (Sometimes it gets very fizzy, so open it carefully in a place where spatters won't do damage.)
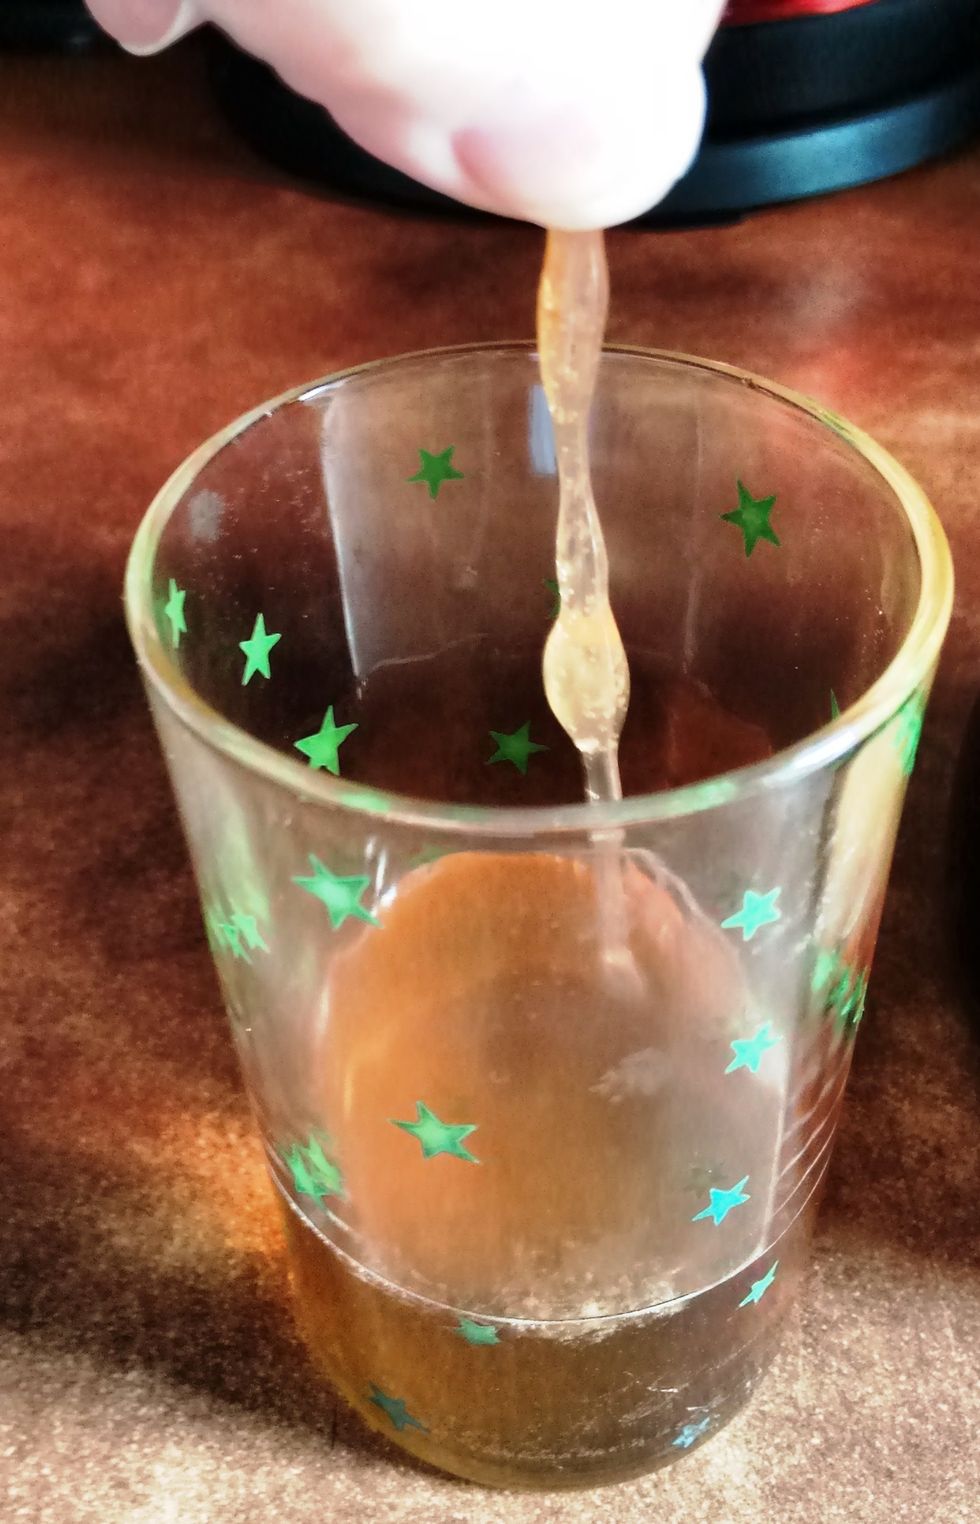
Beware the blop!
Small "baby" scobys will form in each bottle and can pour out into your glass unseen. (My kids call them the "blop.") Watch out for the blop, because it's not very pleasant to find as you're drinking.
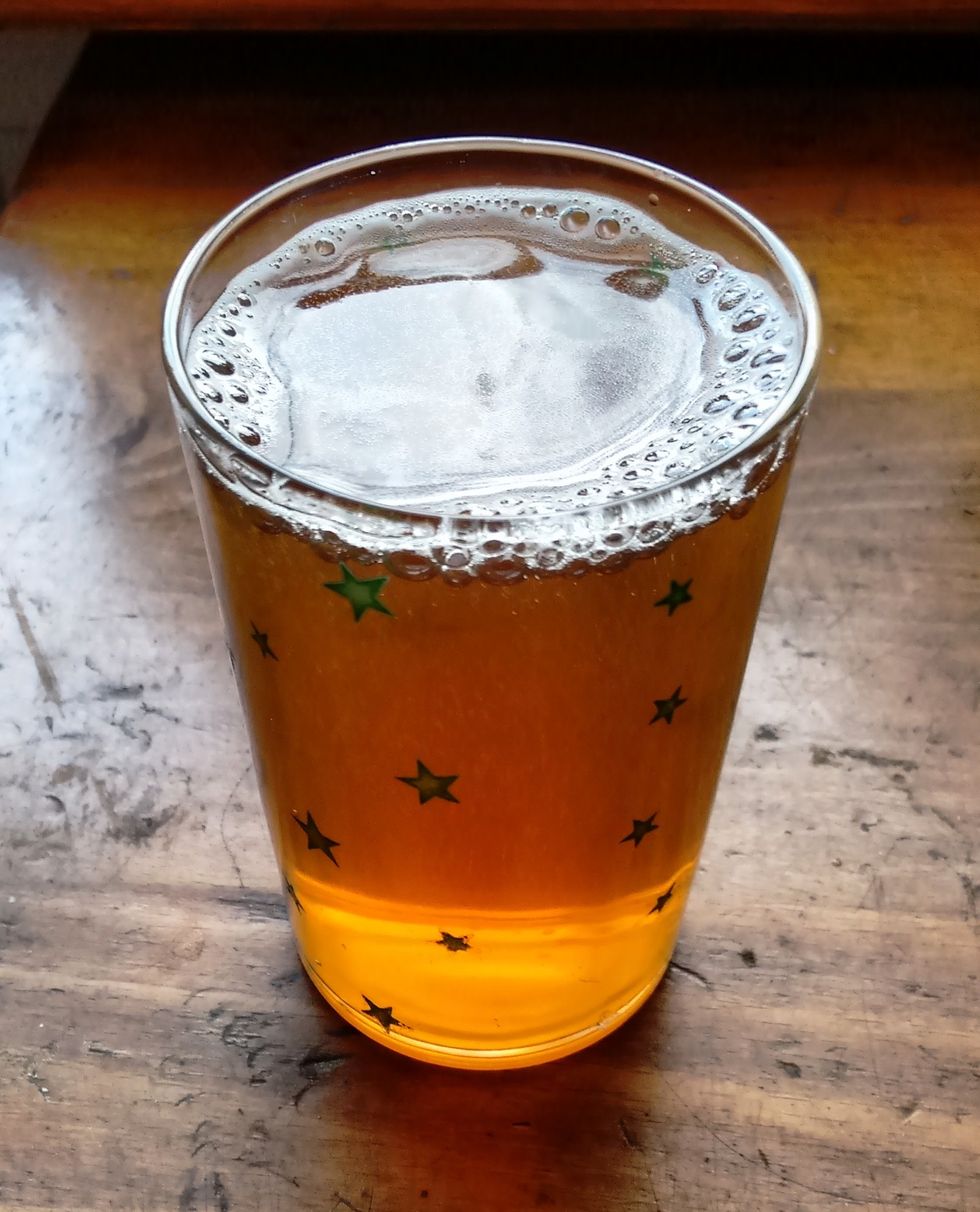
Cheers!
Here are some of the web pages I've been influenced by: www.culturesforhealth.com/learn/category/kombucha/ www.getkombucha.com www.happyherbalist.com/how-to-continuous-brew-kombucha-tea-1/