How to make jump rings & chain
Make your own jump rings and link them together to make a simple chain.
457
STEPS
TOOLS

Gather your tools together.
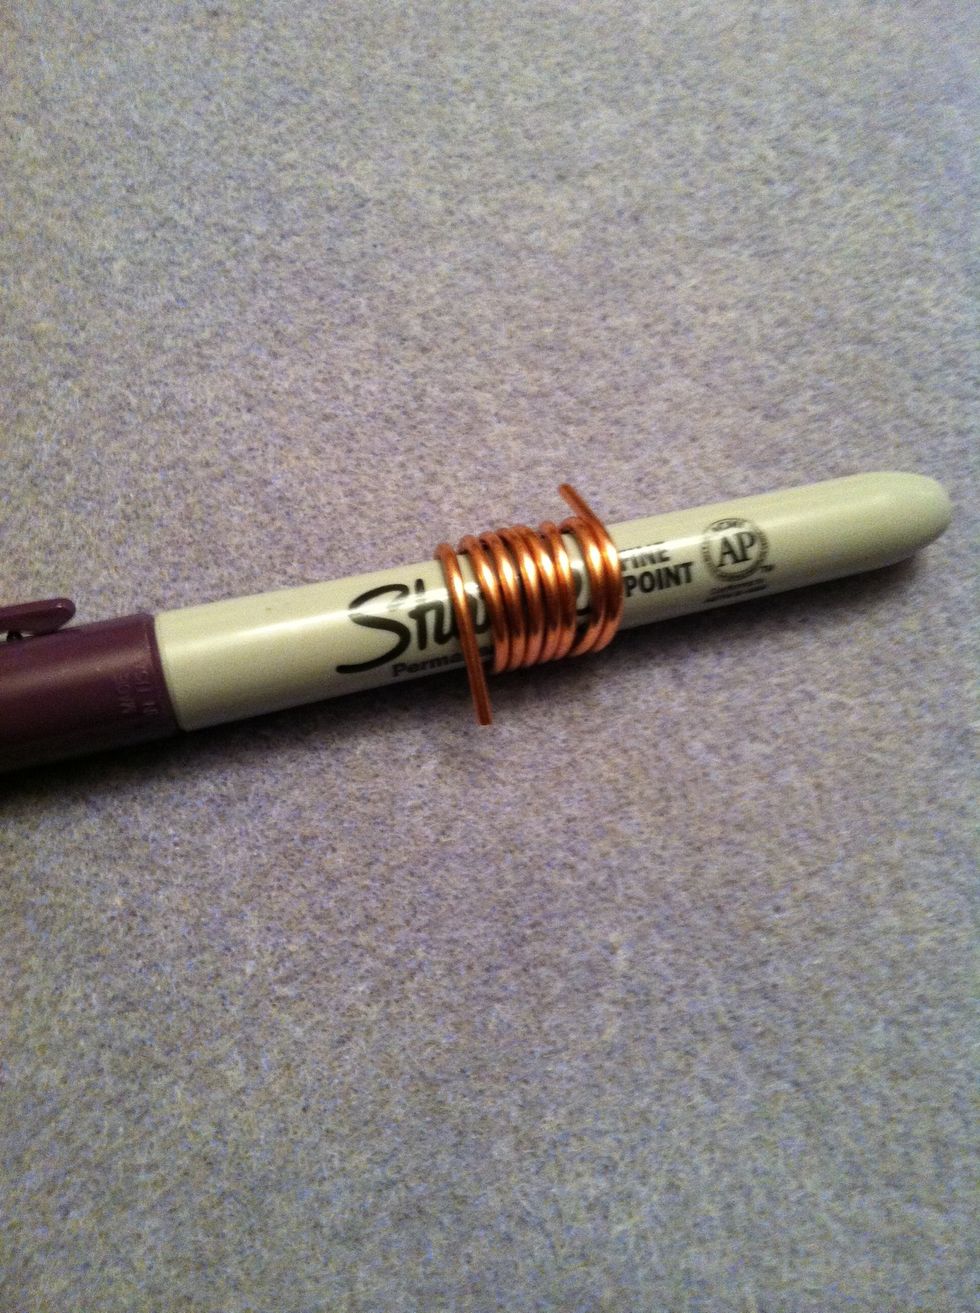
Wind wire around Sharpie. This combination gives you a larger ring. For a smaller link, try 16 or 18 gauge wire and a smaller dowel.
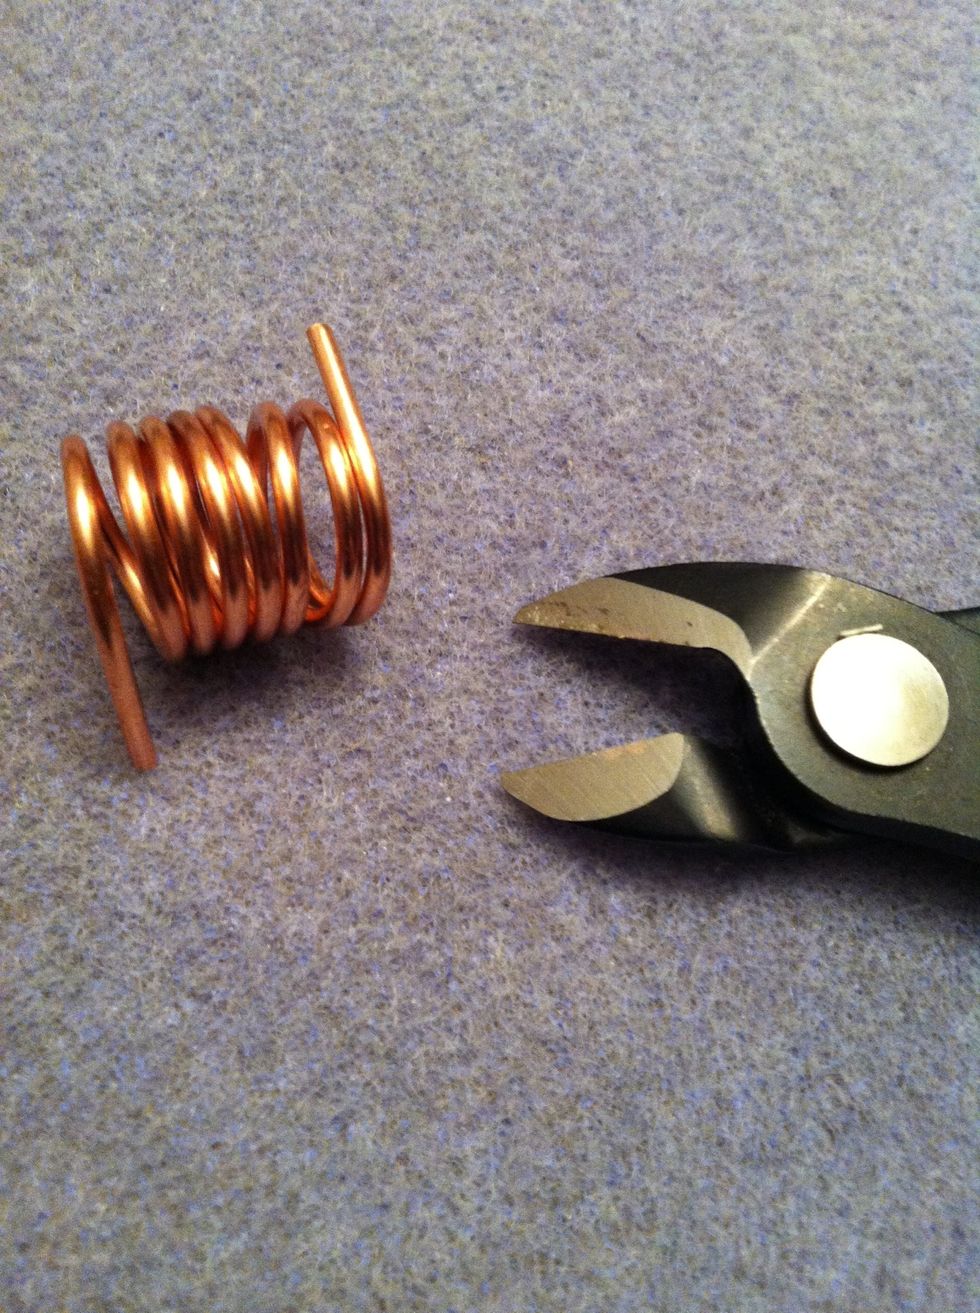
Remove coil. Use the flush side of the cutter (pictured above) to cut the rings.
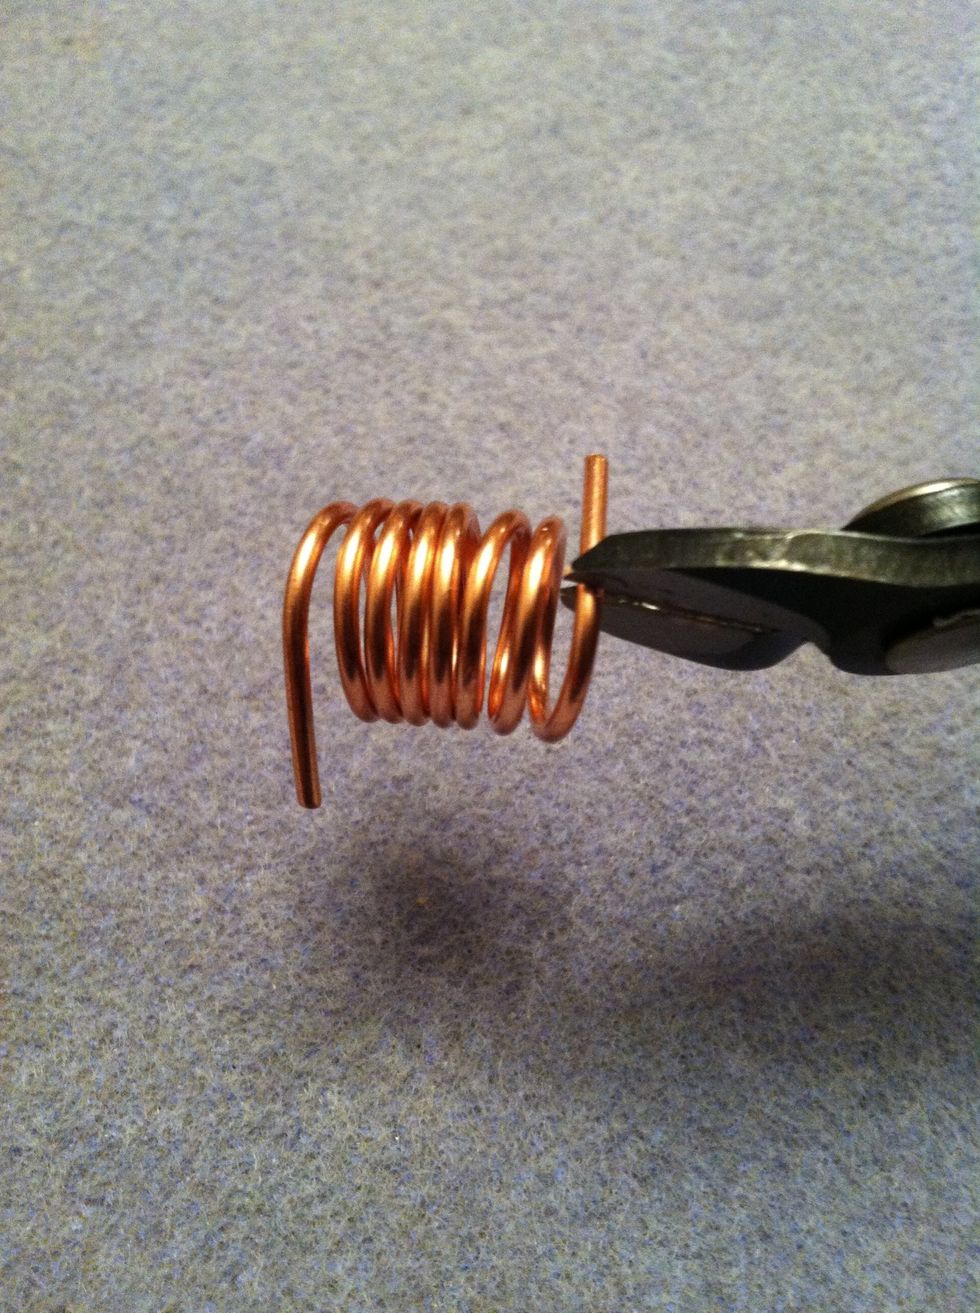
With the flush side of the cutter facing the coil, clip away the excess wire.
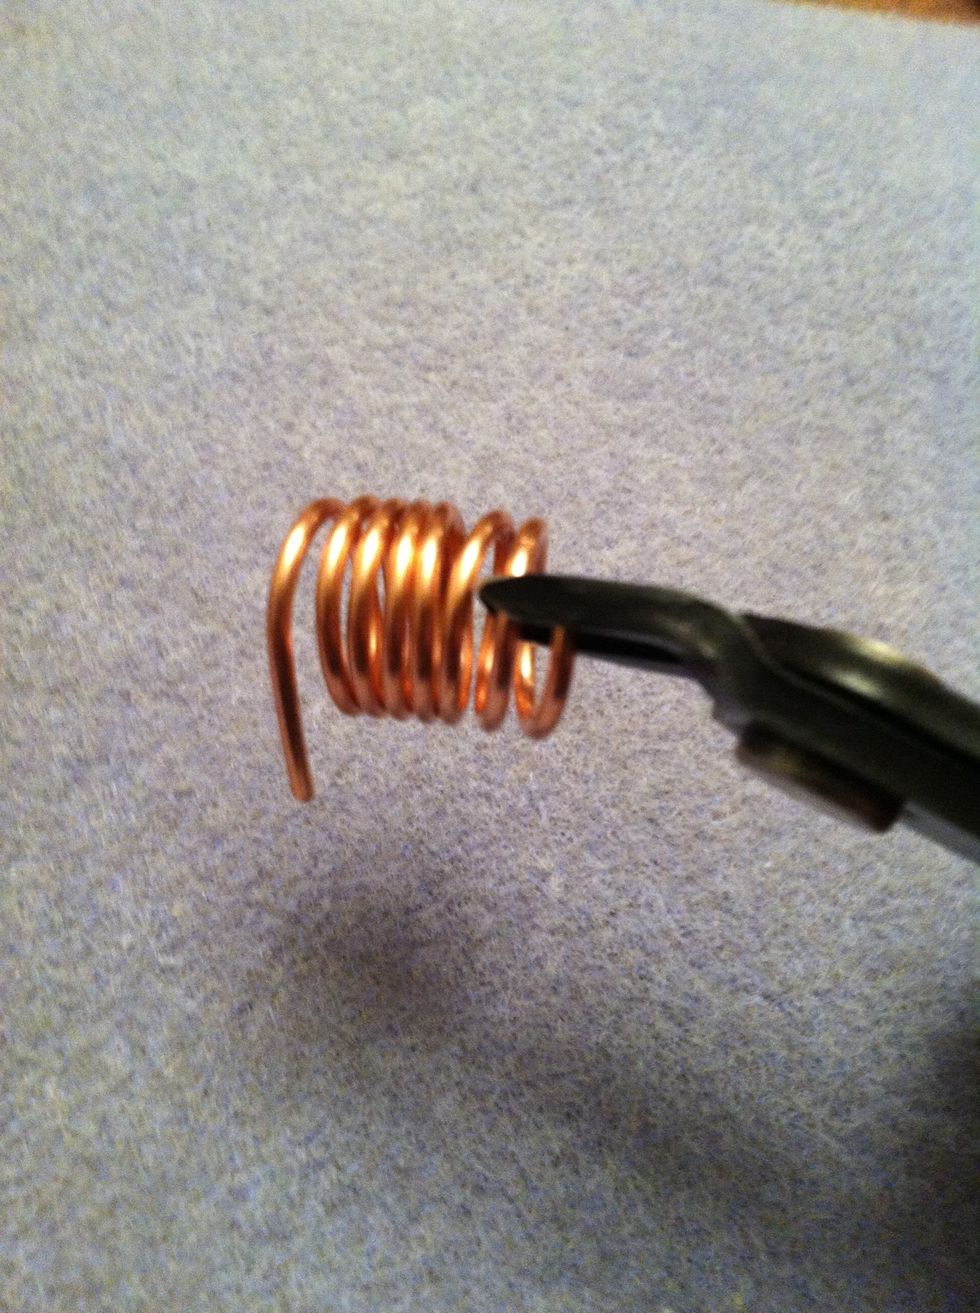
Flip the cutter over and clip the coil a second time to free the ring.
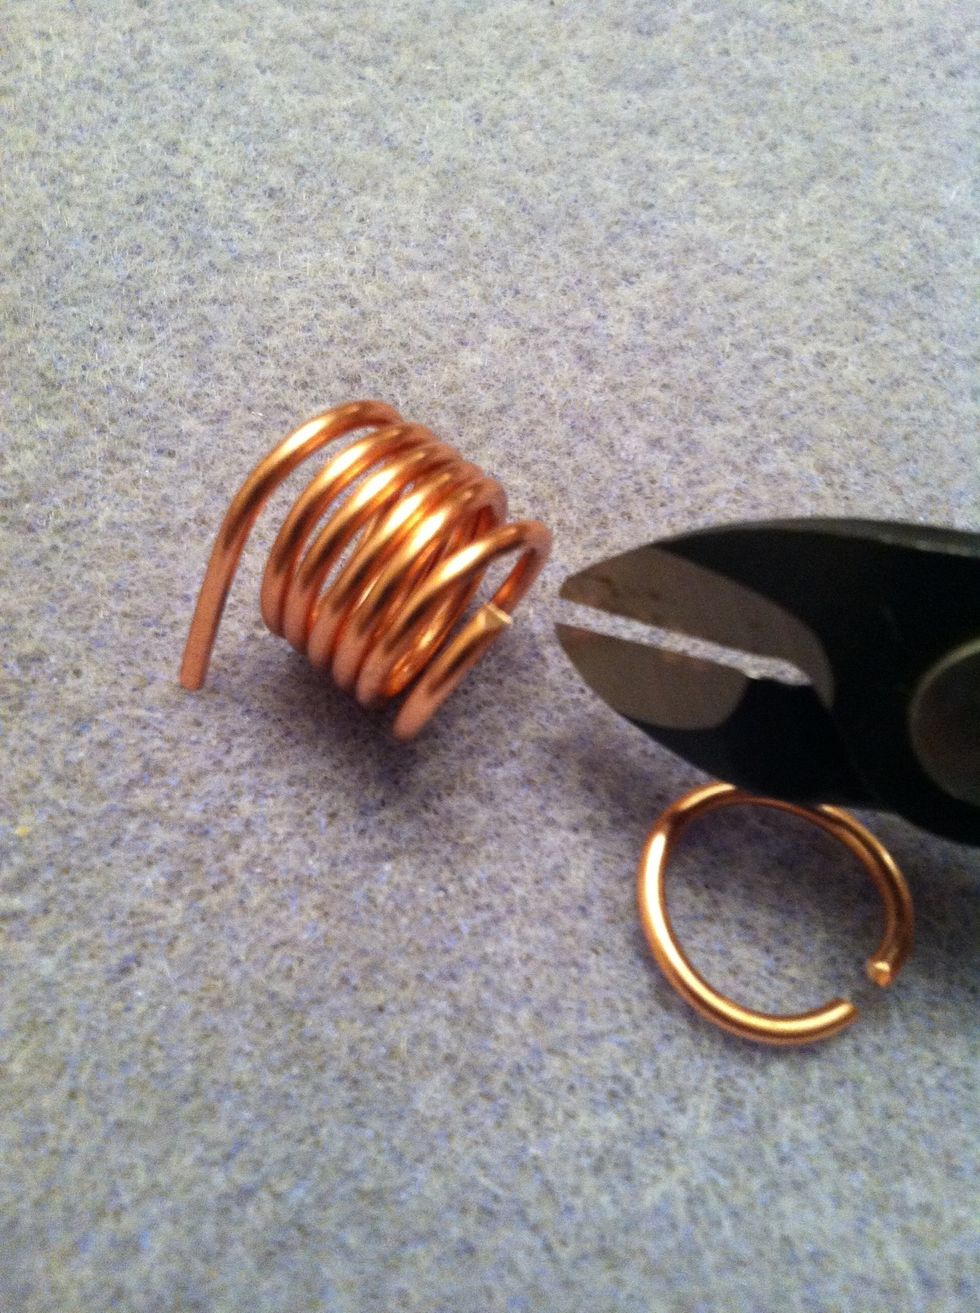
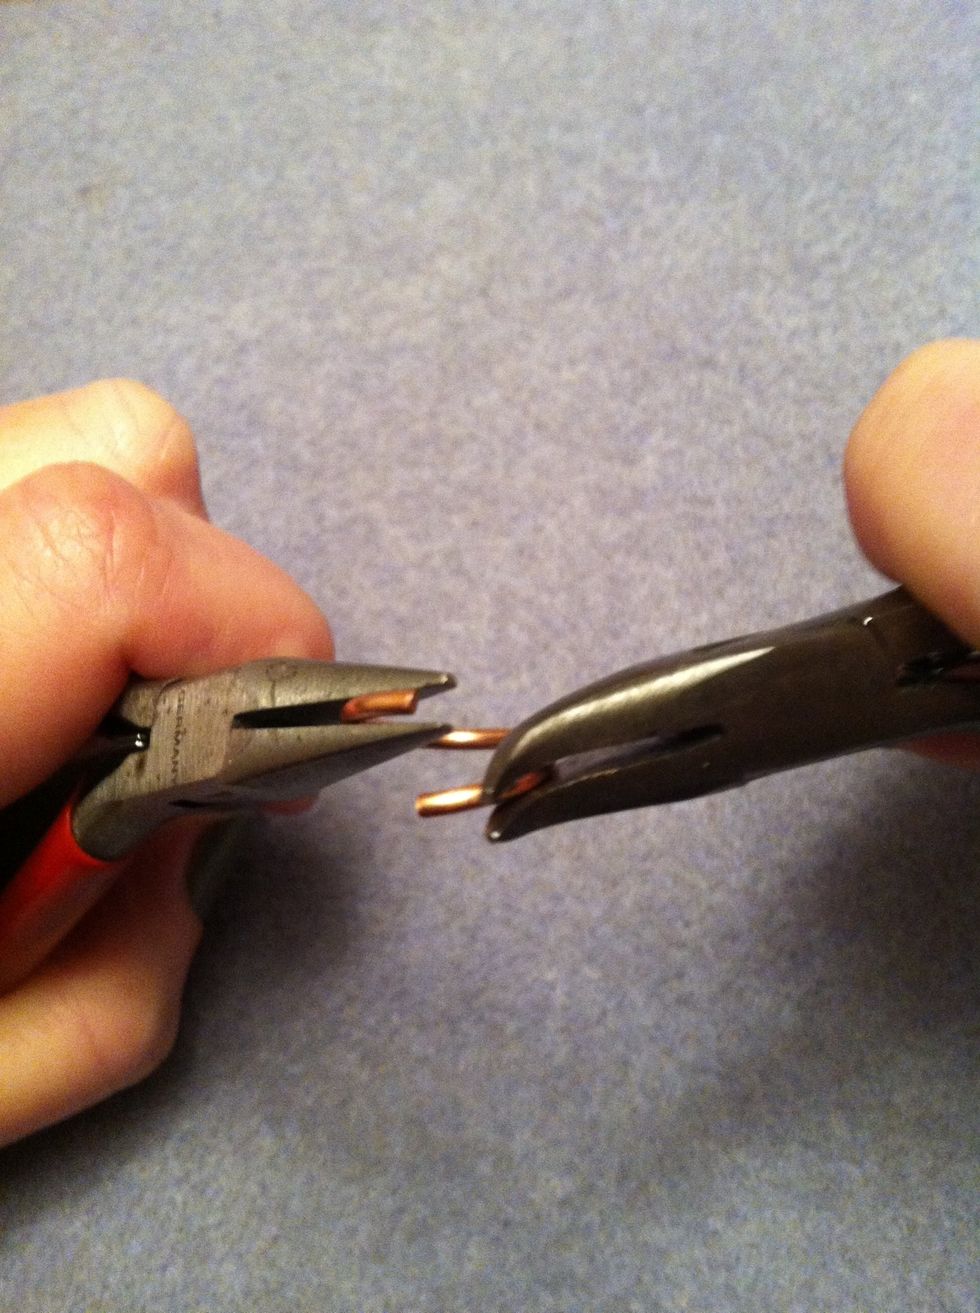
The cut end of the coil will have a pinched end.
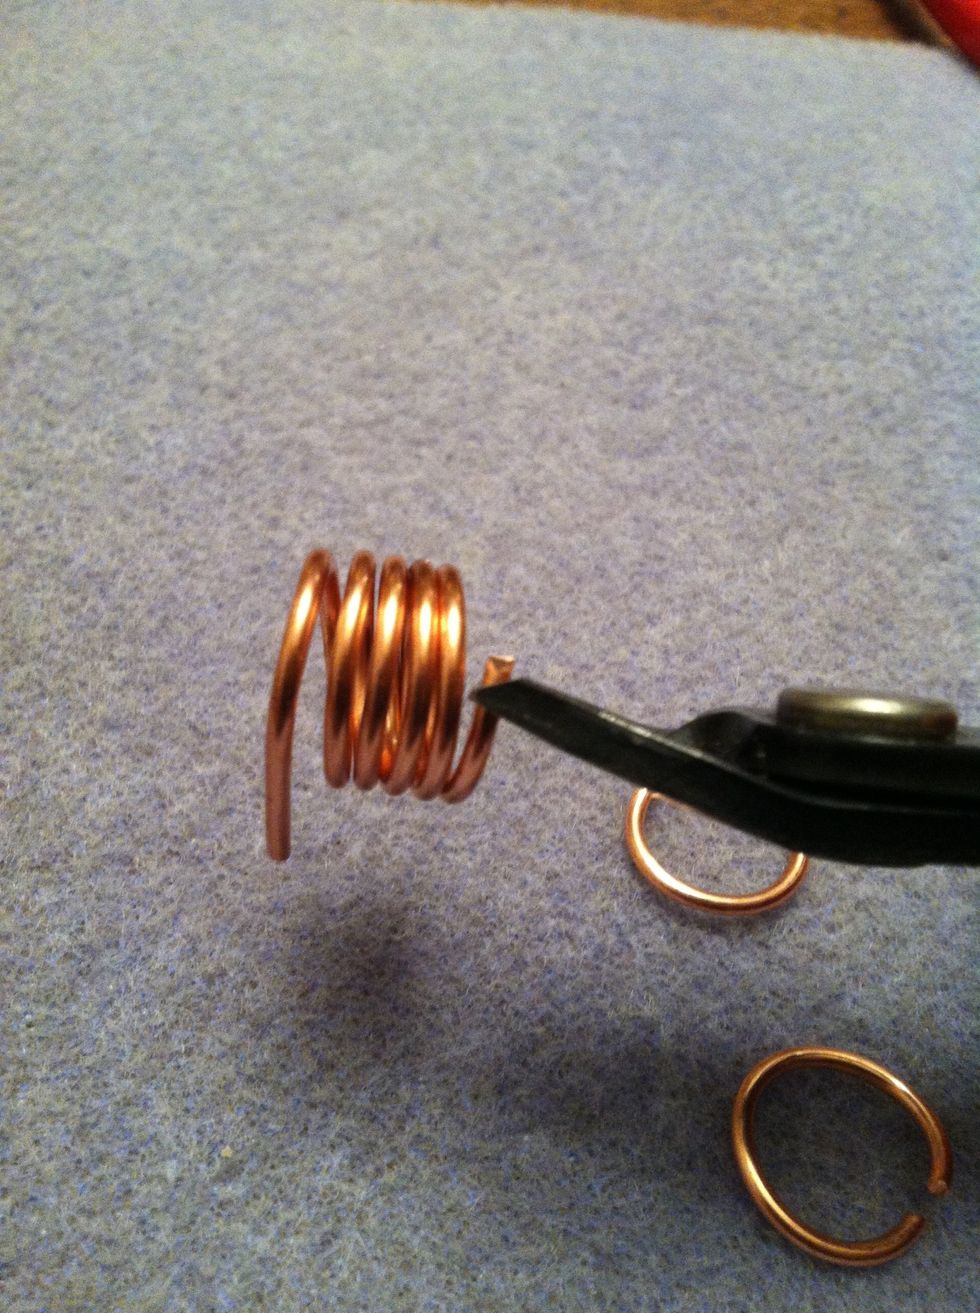
Clip it away. Make sure that the flush side of the cutter is towards the coil.
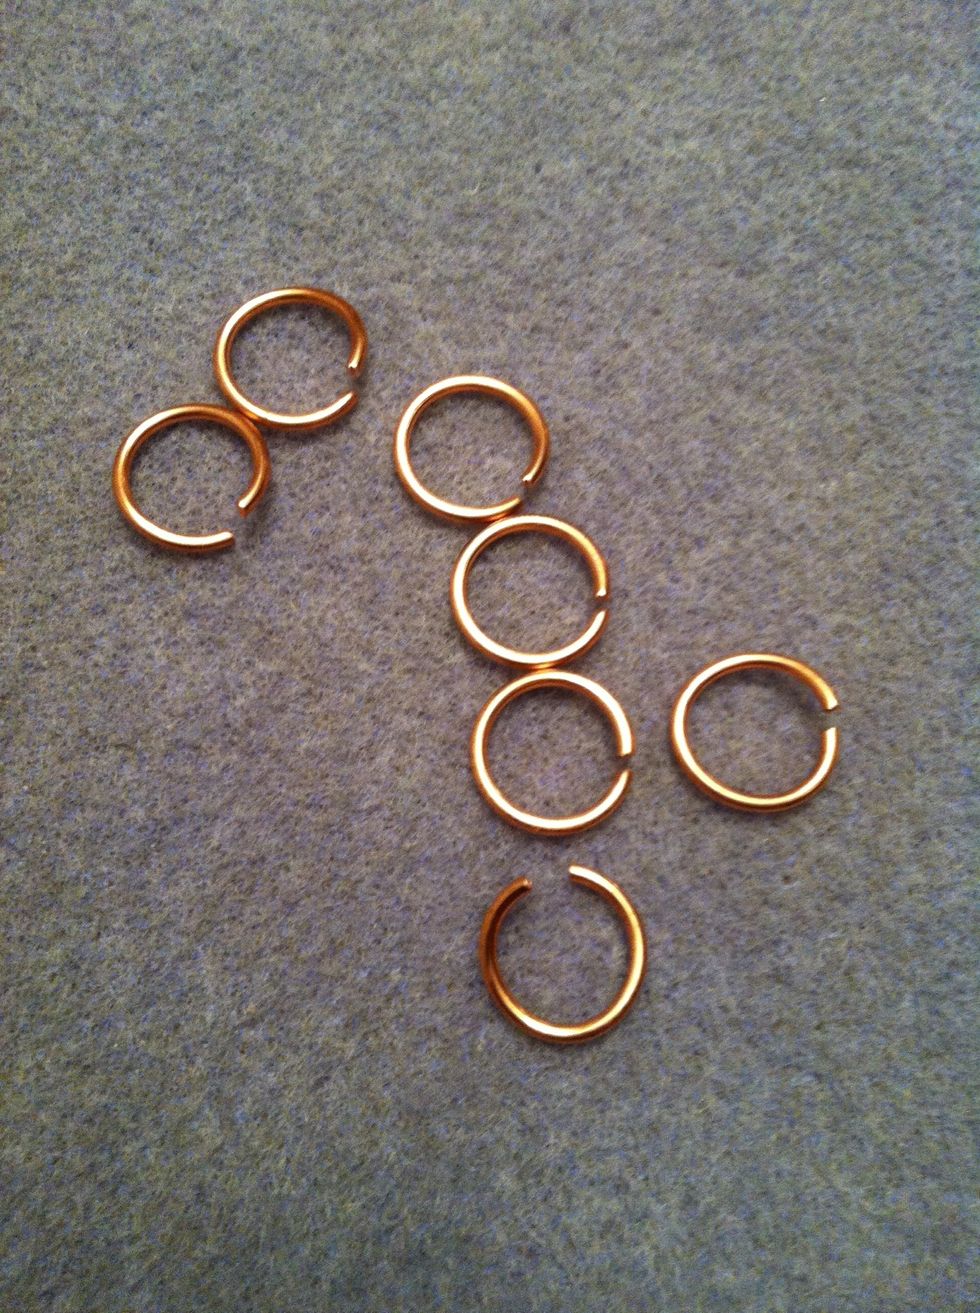
Repeat until the remaining coil is cut into rings. You should have about 7 rings from the 1 ft of wire.
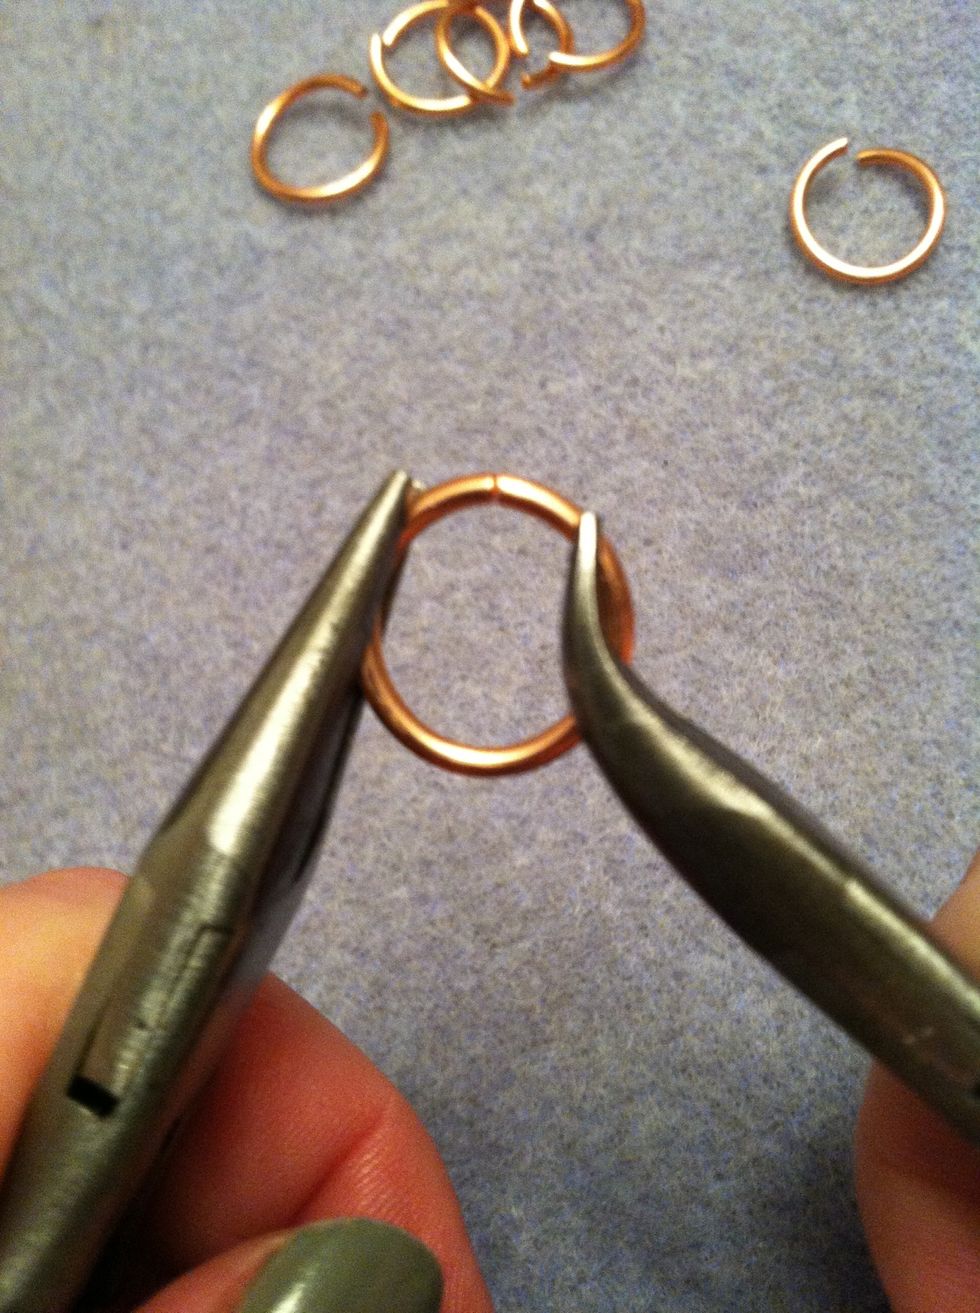
To link the rings together, close one ring.
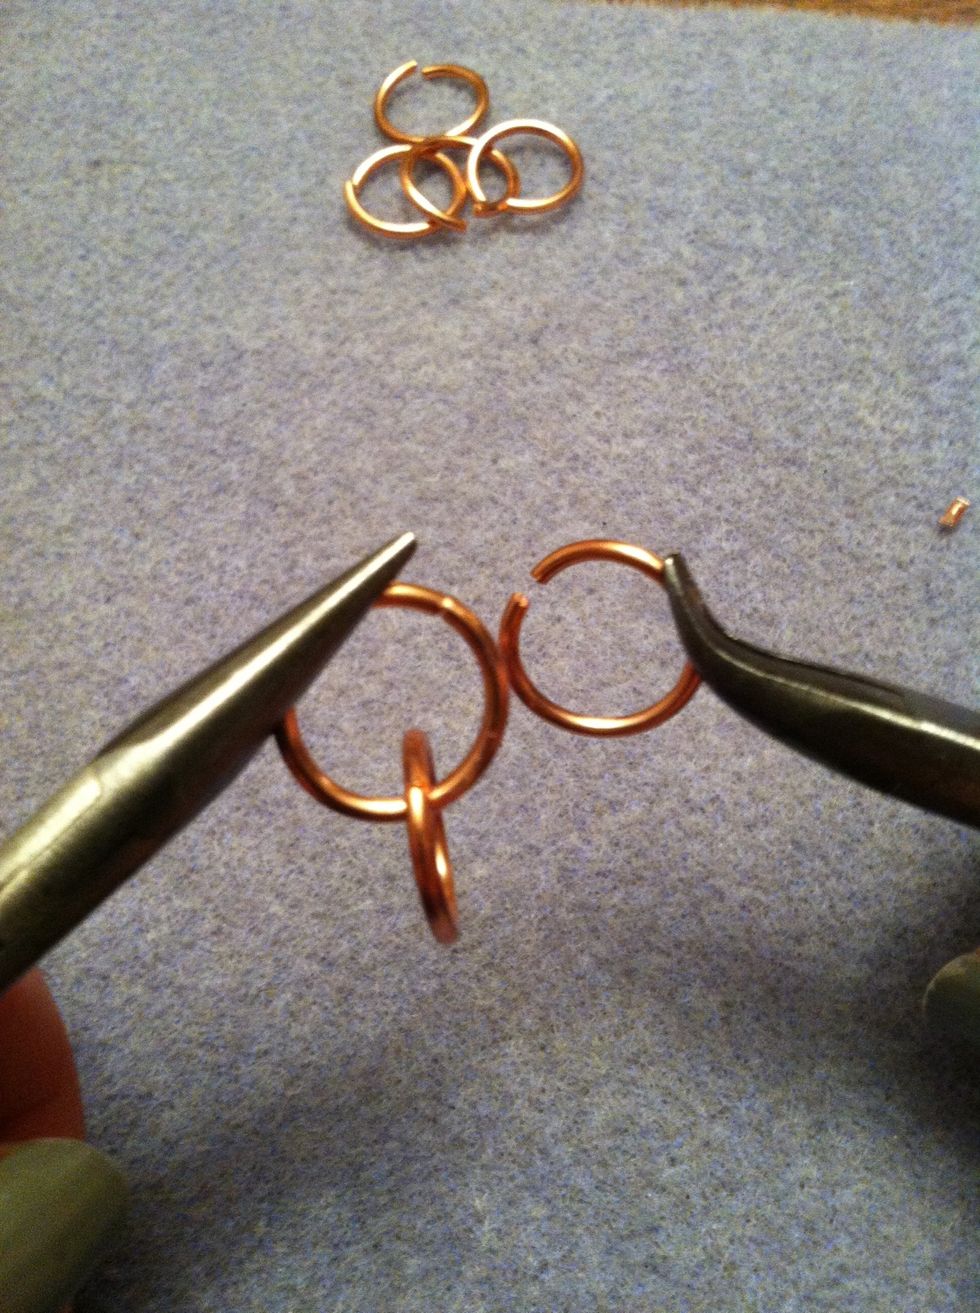
Open a second ring. Note how the ring swings open to the side maintaining the round shape of the ring. Add the first closed ring and then close this ring.
Continue to add rings to make a chain.
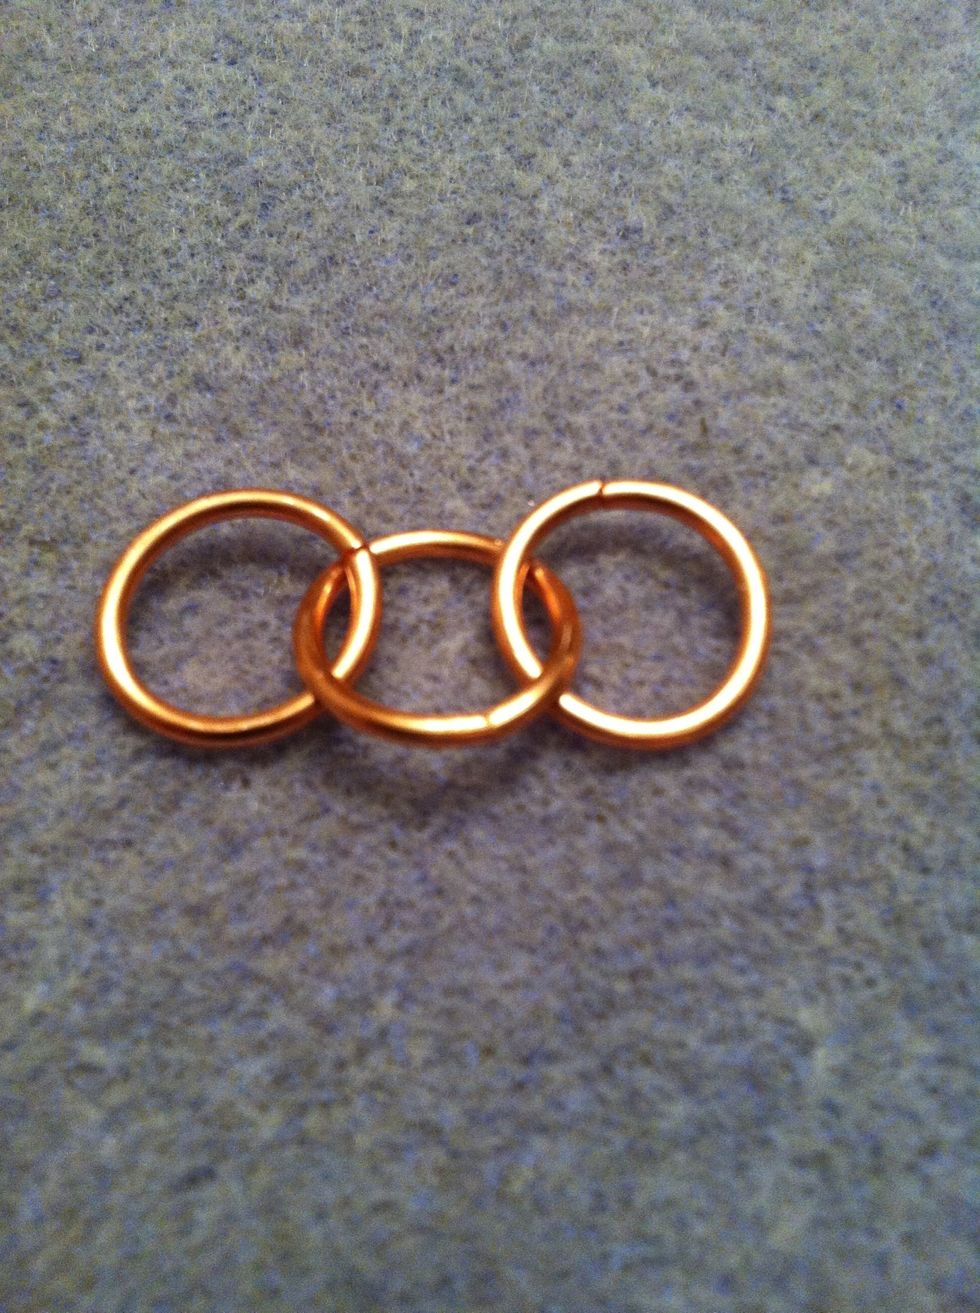
Here are the first three rings linked together.
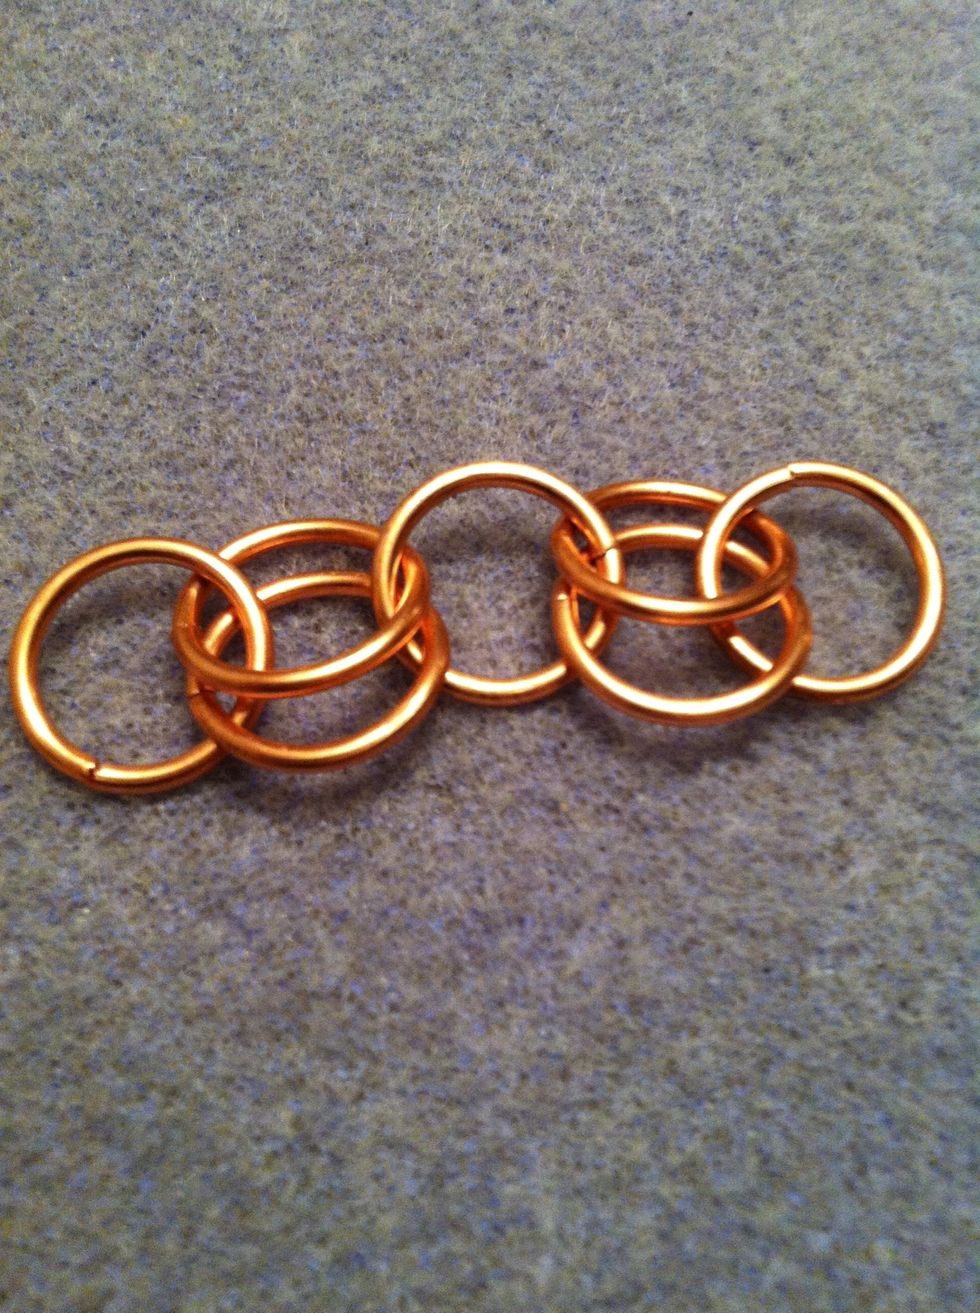
You can make variations in the design. Here is a two and one link.
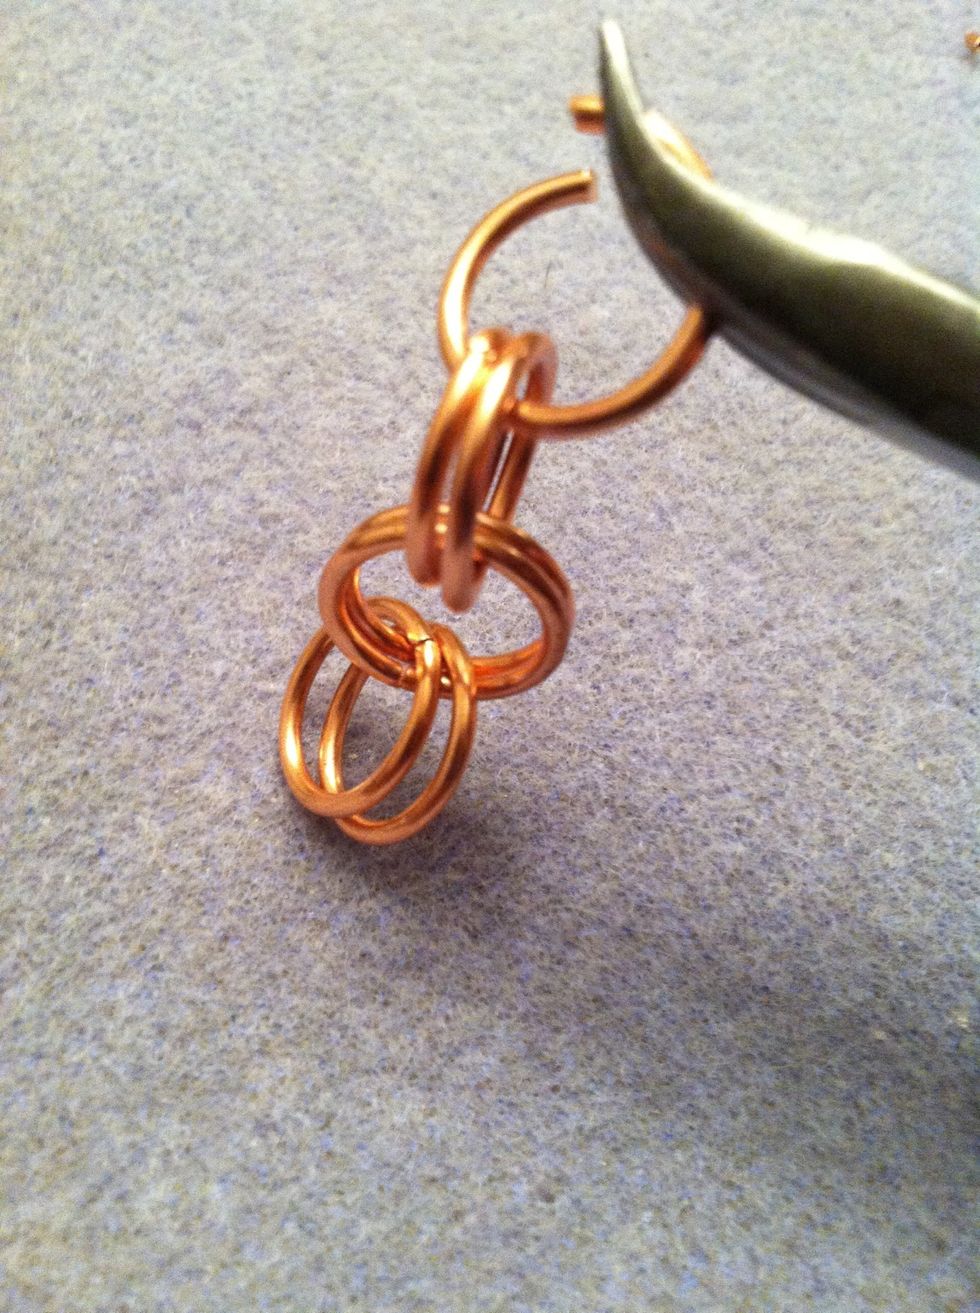
Or two by two links.
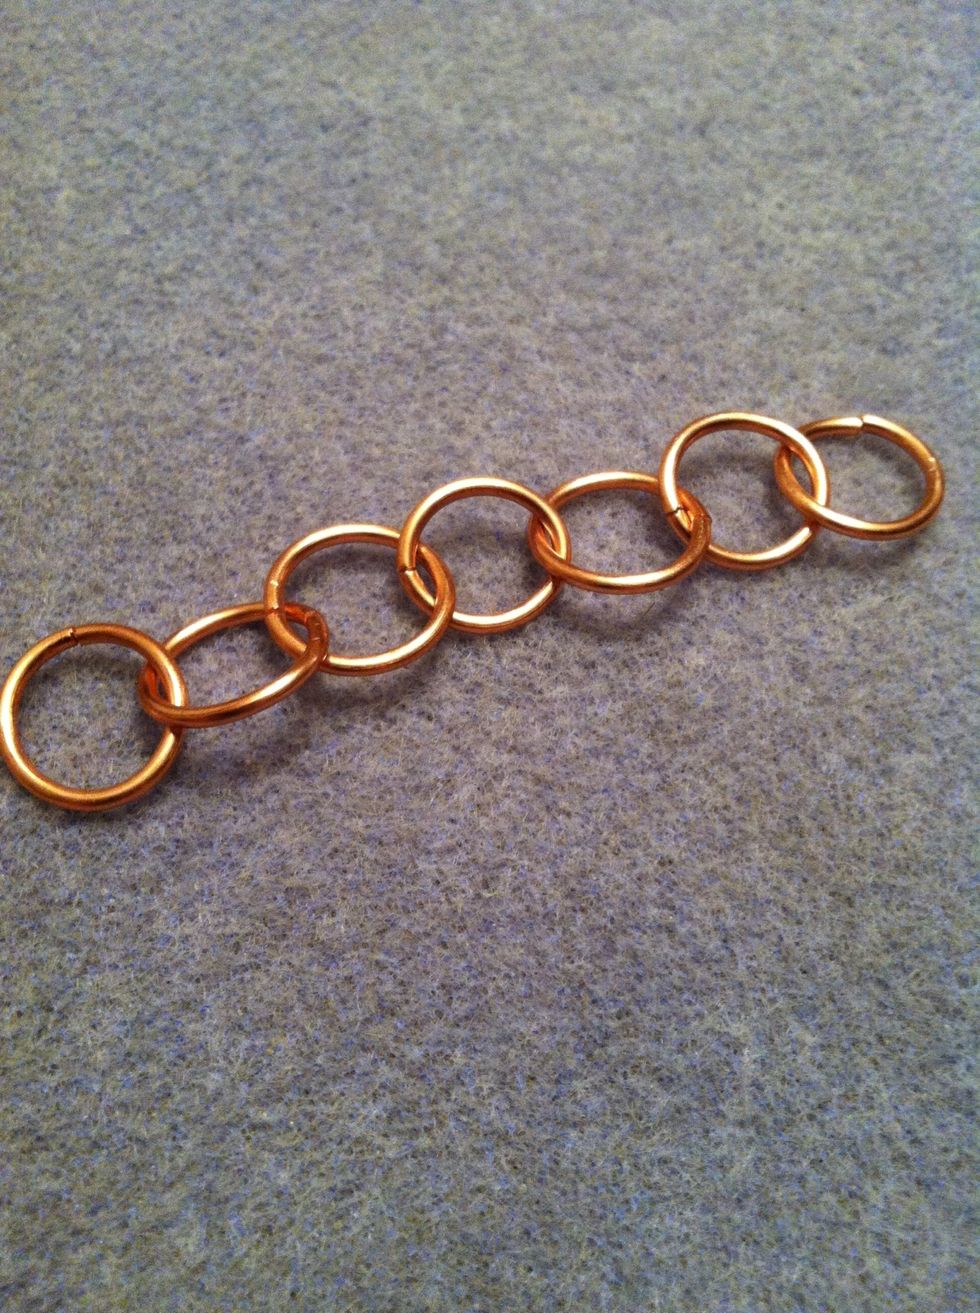
Or just keep it simple. The seven original rings yield about 3" of chain. Make more coils and rings until your chain reaches the desired length. Add a clasp to finish. Clasp tutorial to follow soon.
- 1.0ft 14 gauge wire (or gauge of choice)
- Sharpie marker or other 11mm mandrel
- Flush wire cutter
- Chain nose pliers
- Bent chain nose pliers
Kate Richbourg
I'll teach you to make stuff with metal, wire and beads. Professional jewelry educator since 1992.
San Mateo CA
The Conversation (0)
Sign Up