How to make jewelry or decorations out of tin can lids
Earrings, necklaces, ornaments, home and garden decor - the possibilities of what you can make just depends on your own imagination!
91293
STEPS
TOOLS
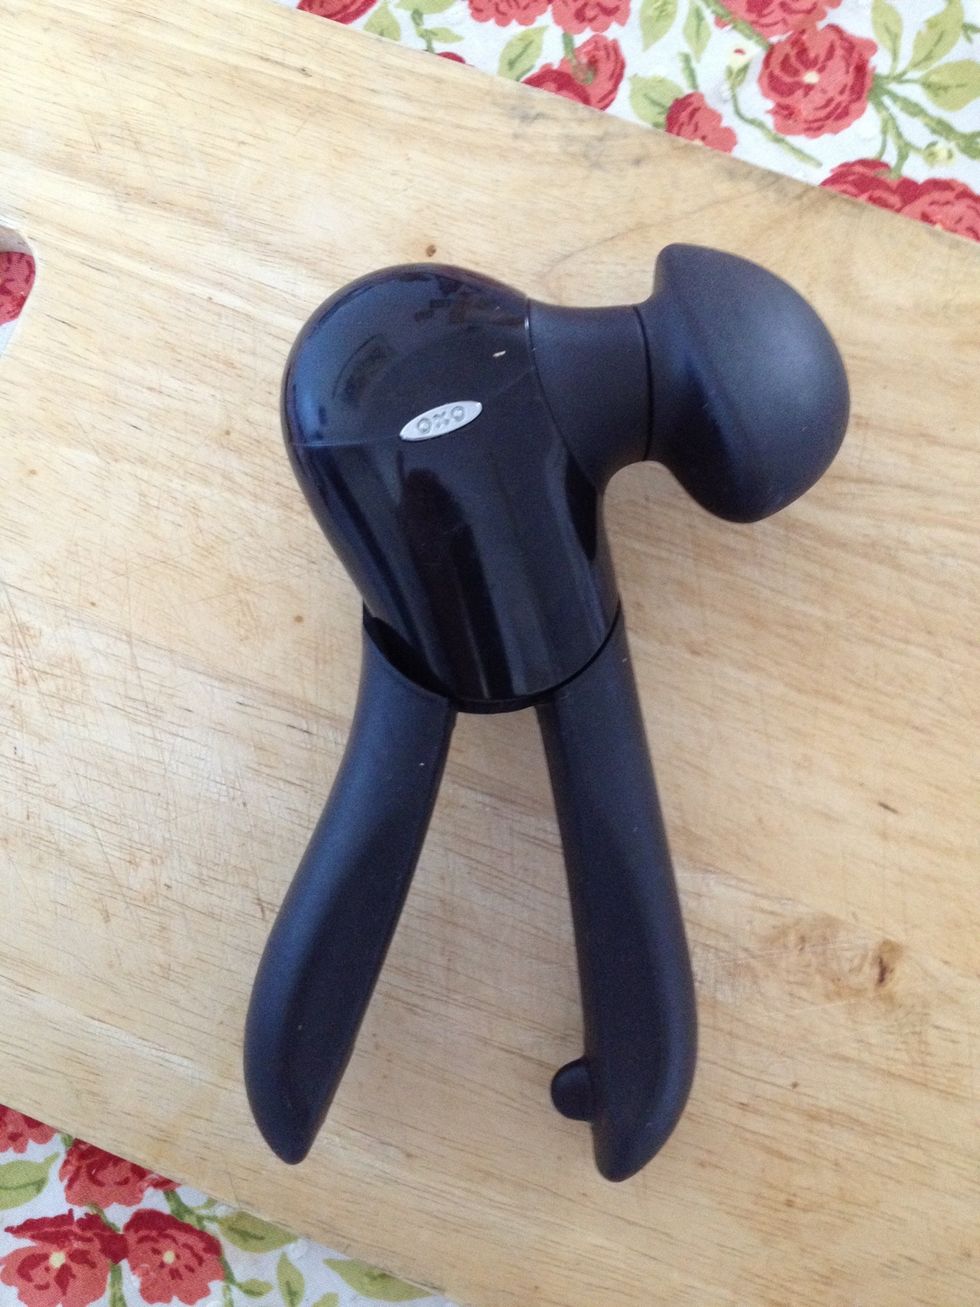
You'll need a special can opener that doesn't leave sharp edges. I use the Good Grips Smooth Edge Can Opener from Oxo which makes a smooth cut below the can edge.
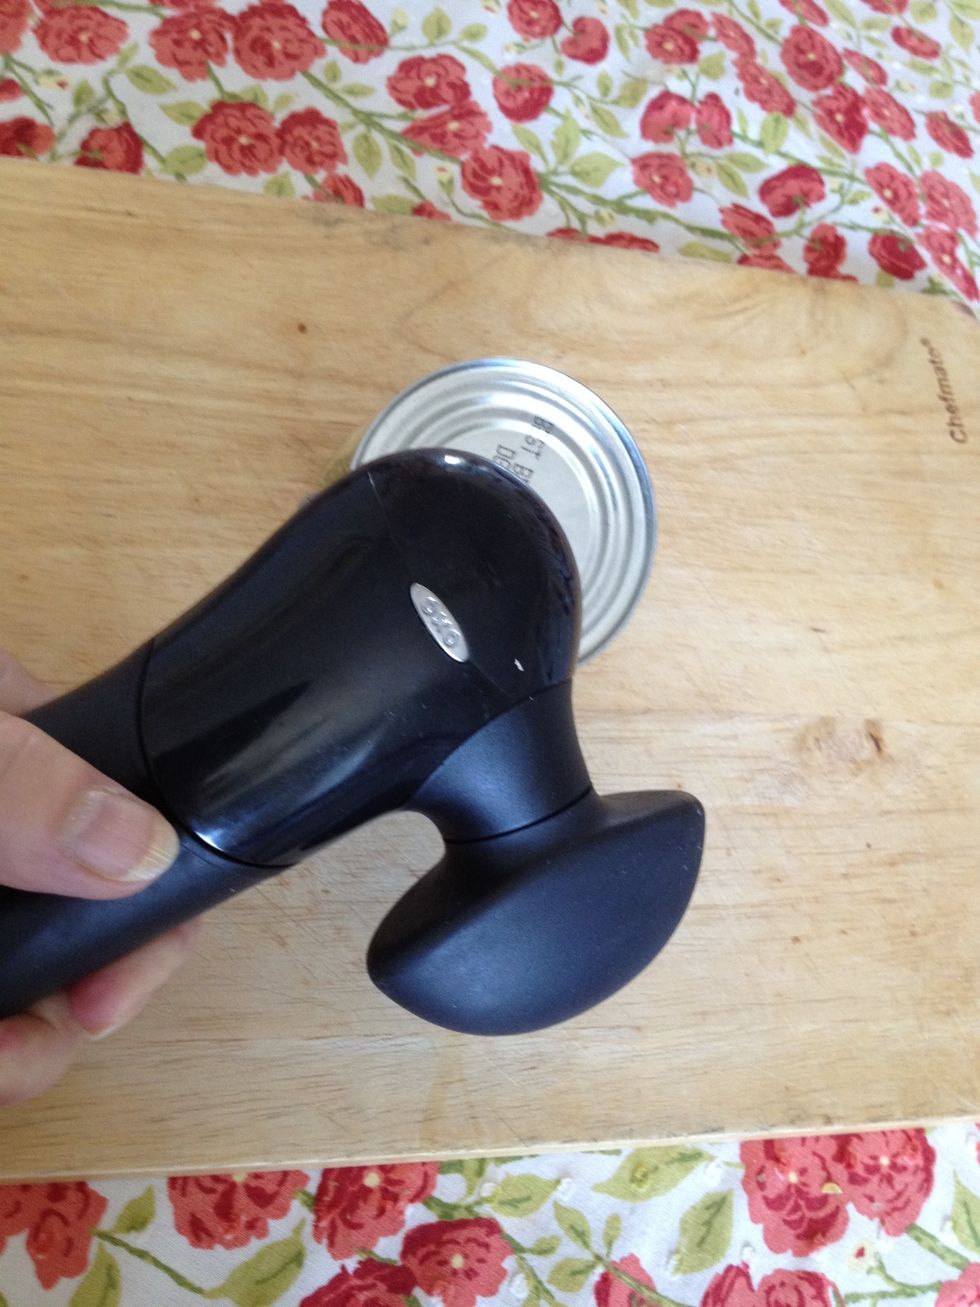
So using this can opener, remove the lid from any size can.

It pops right off - there are no sharp edges!
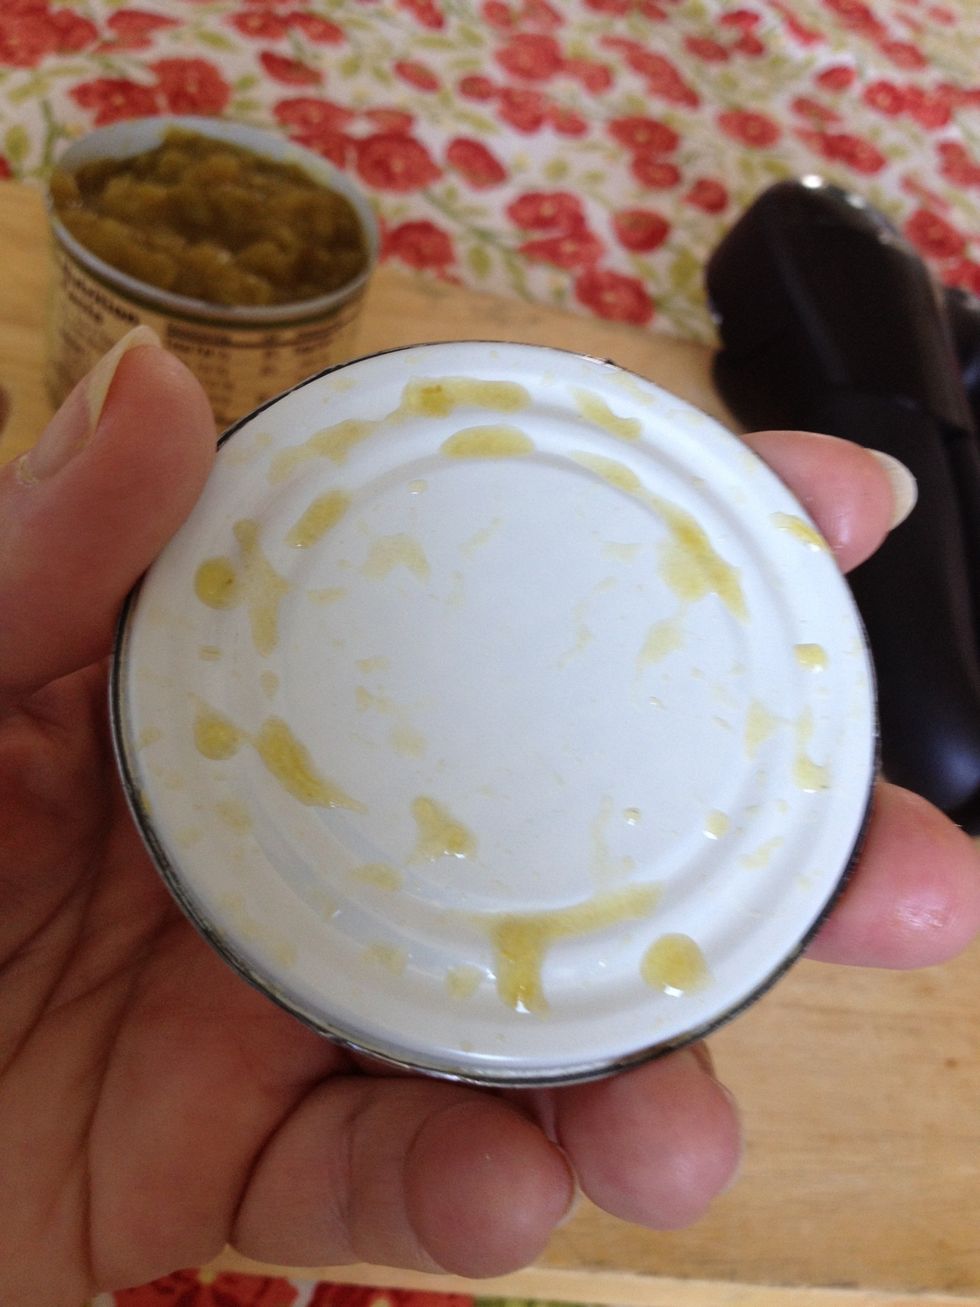
See?!
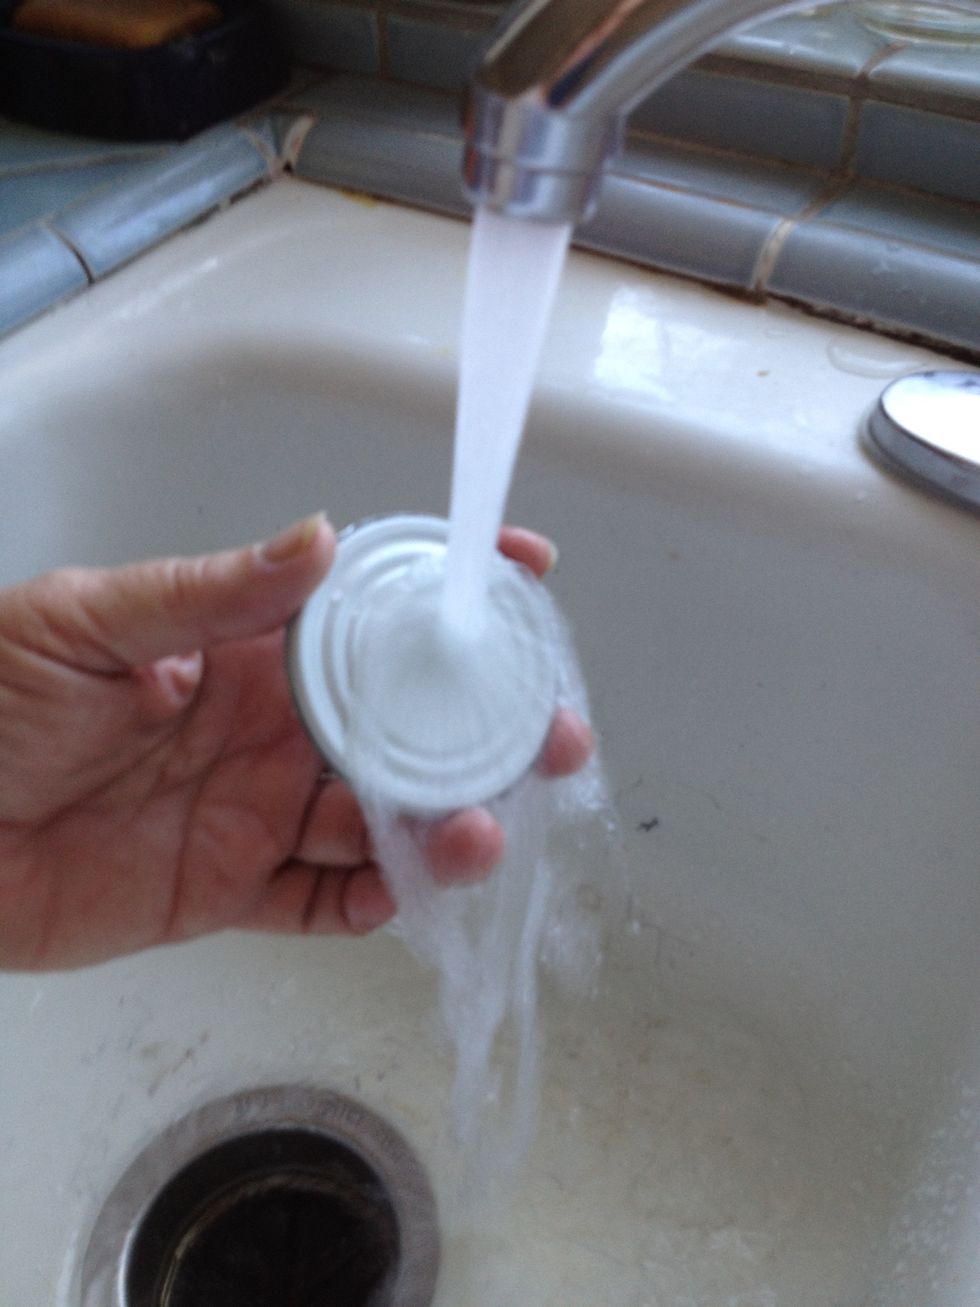
Next rinse off the lid from your can and dry.
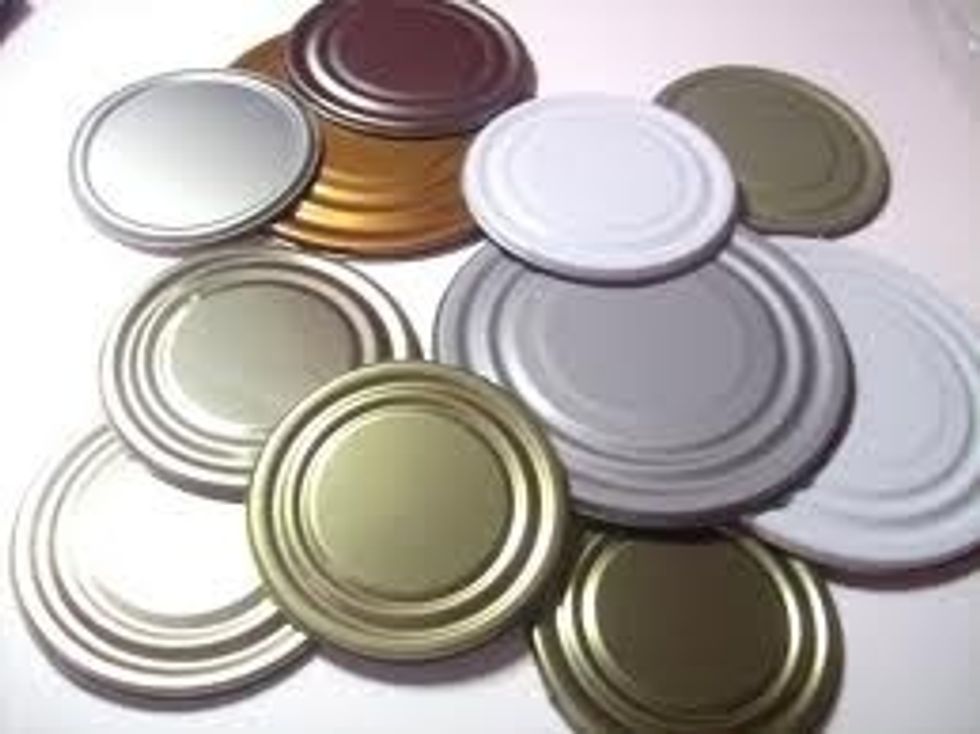
I save all my lids until I am ready to turn them into earrings, necklaces, ornaments or decorations for the home or garden. I often personalize them when I make gifts for friends or family.
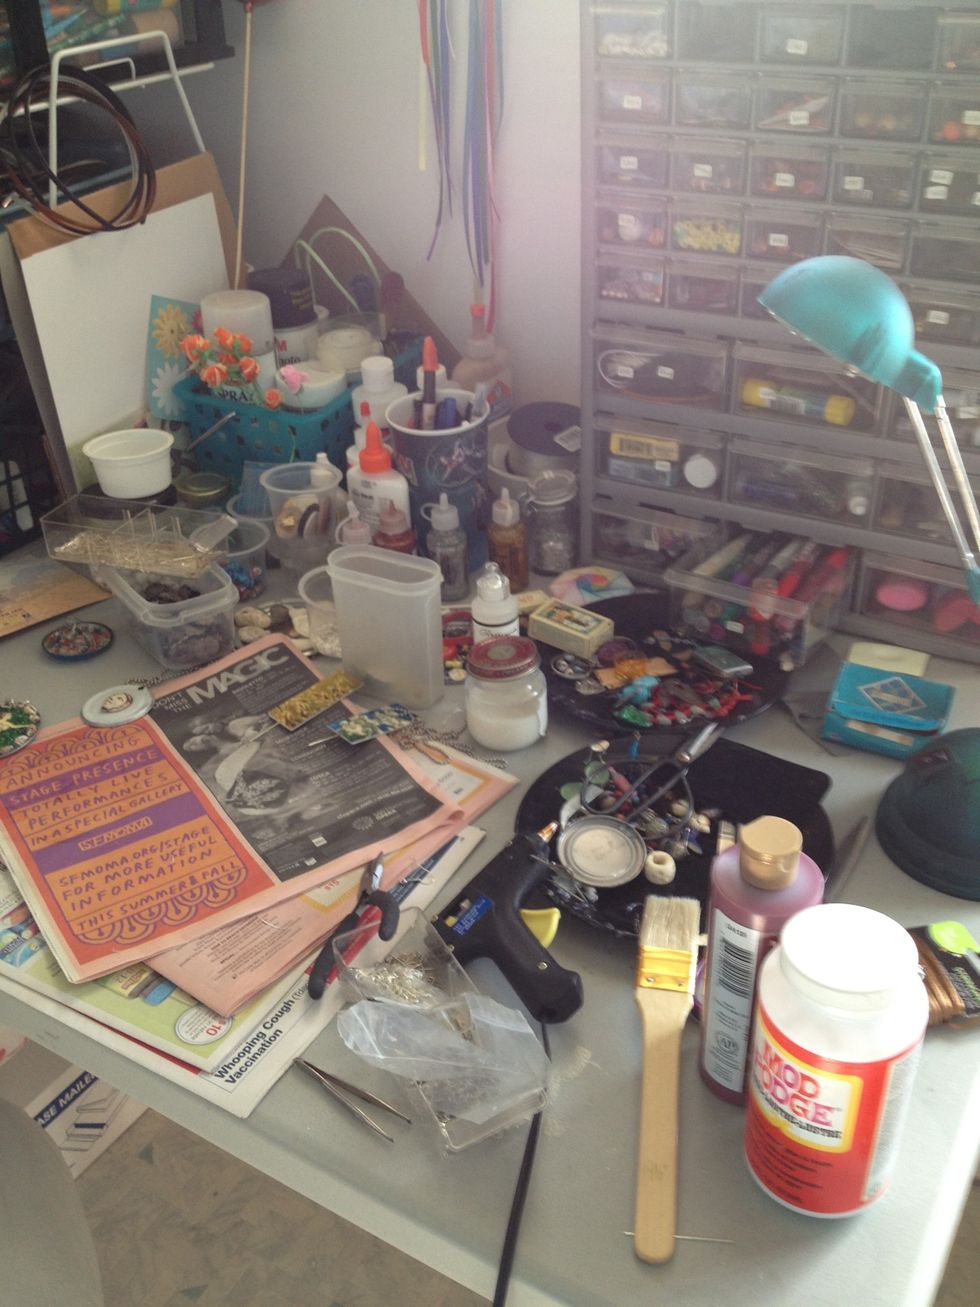
There are endless things you can now do with the can lids! Use your imagination and basically anything you find in an arts and crafts store. Different lid sizes lend themselves to different projects.
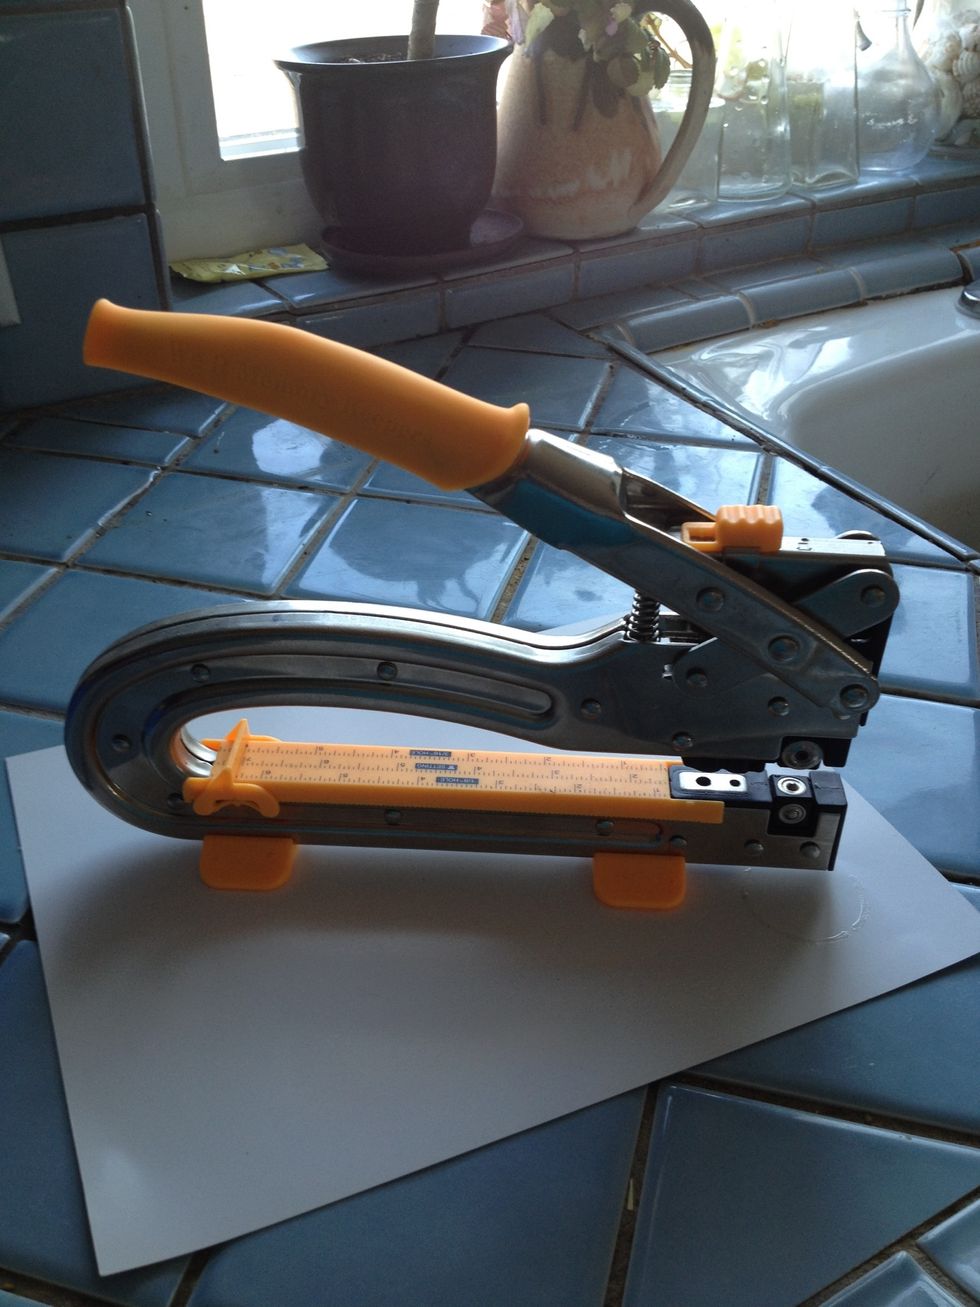
A note about hole punching… I finally invested in this metal hole puncher (it cost about $30) because I got tired of using a hammer and nail plus the hole is so much cleaner.
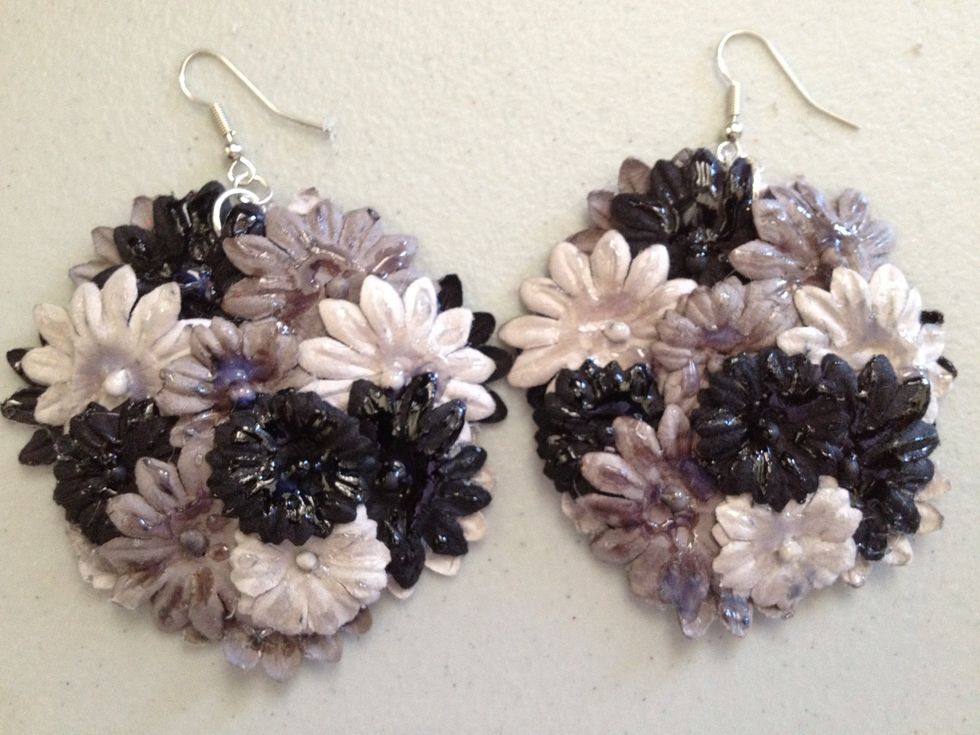
So here is an example of earrings I made from tomato paste can lids. I used a glue gun to attach small fabric flowers found in scrapbooking supplies. "Glossy Accents" adds a shimmery finish.
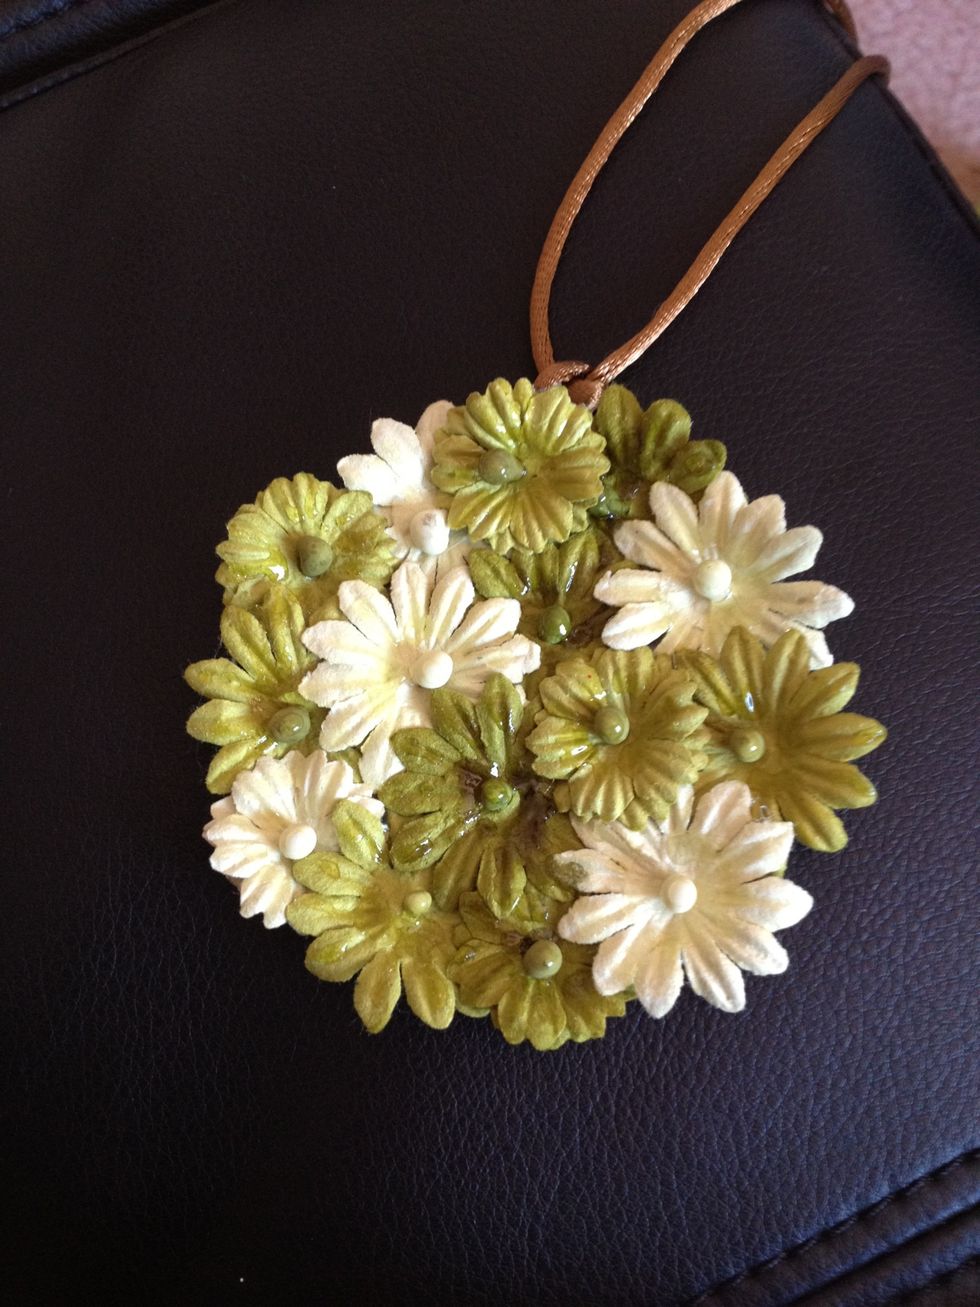
Same materials here but on a larger lid to make this necklace. I used a piece of leather cord as well.
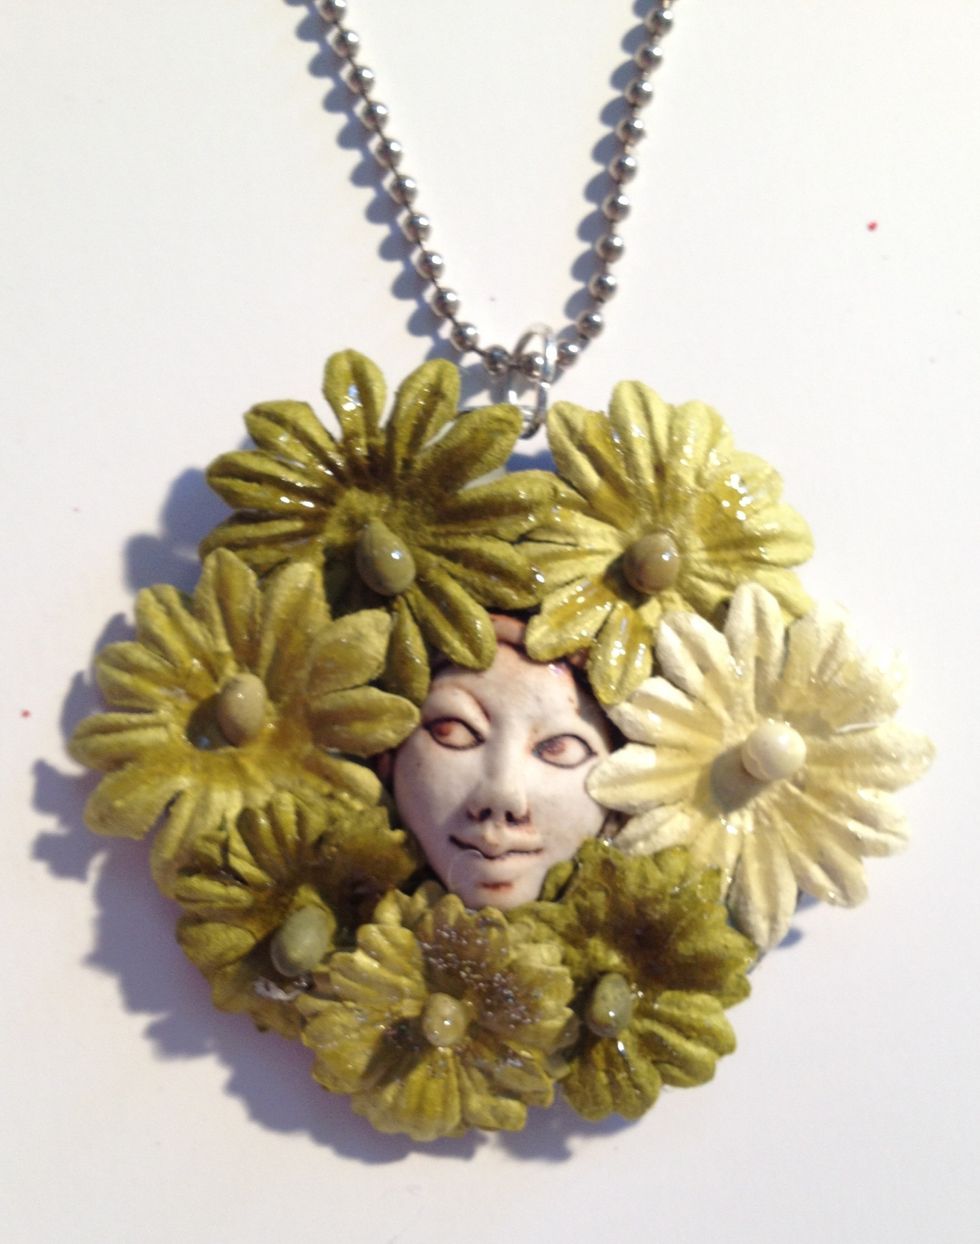
I found this unusual button a long time ago and decided to incorporate it into this necklace.
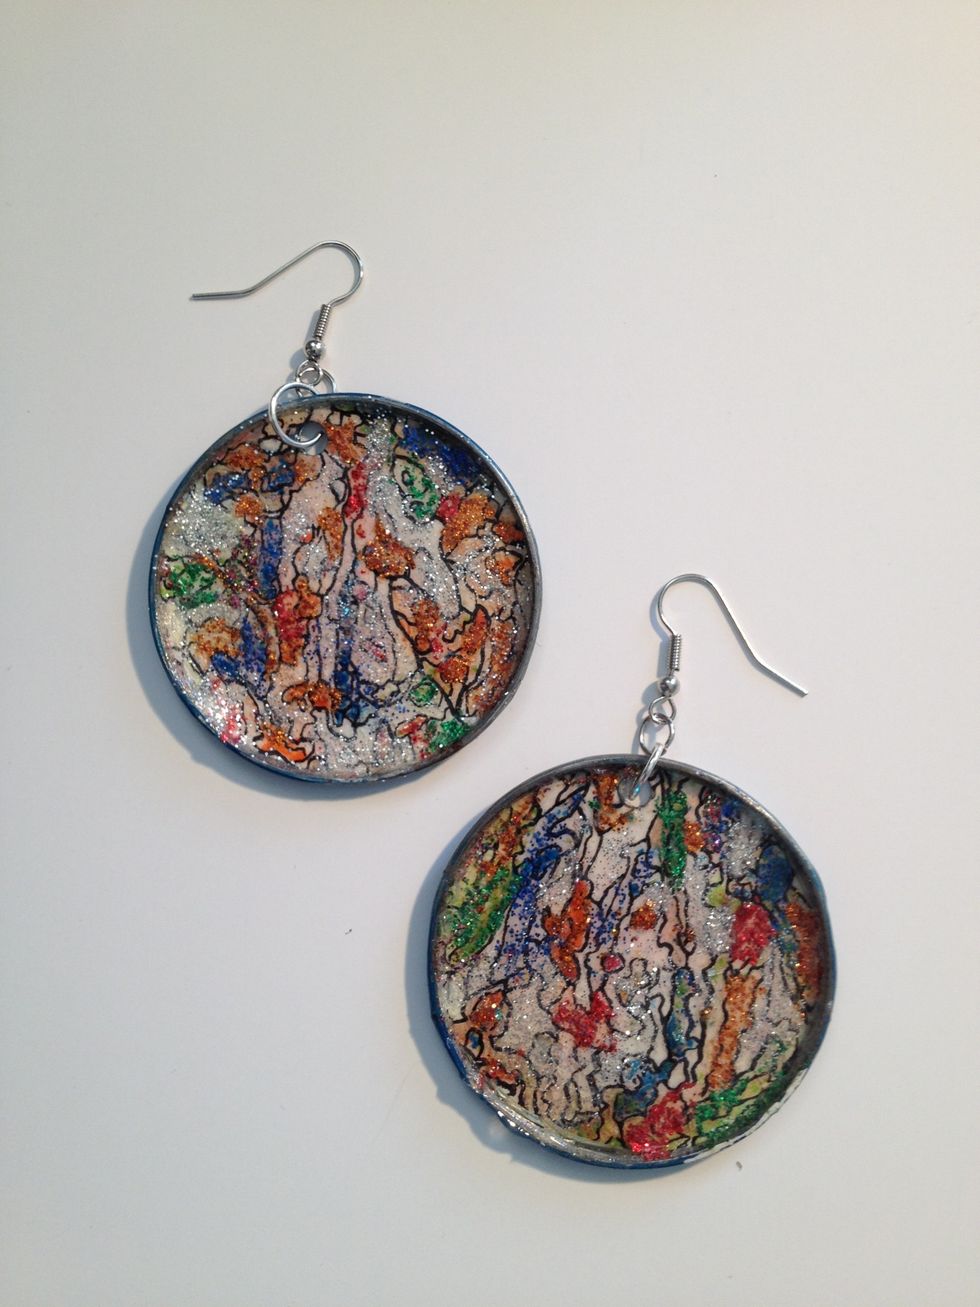
Water colors and ink on water color paper accented with glitter come together on these earrings.
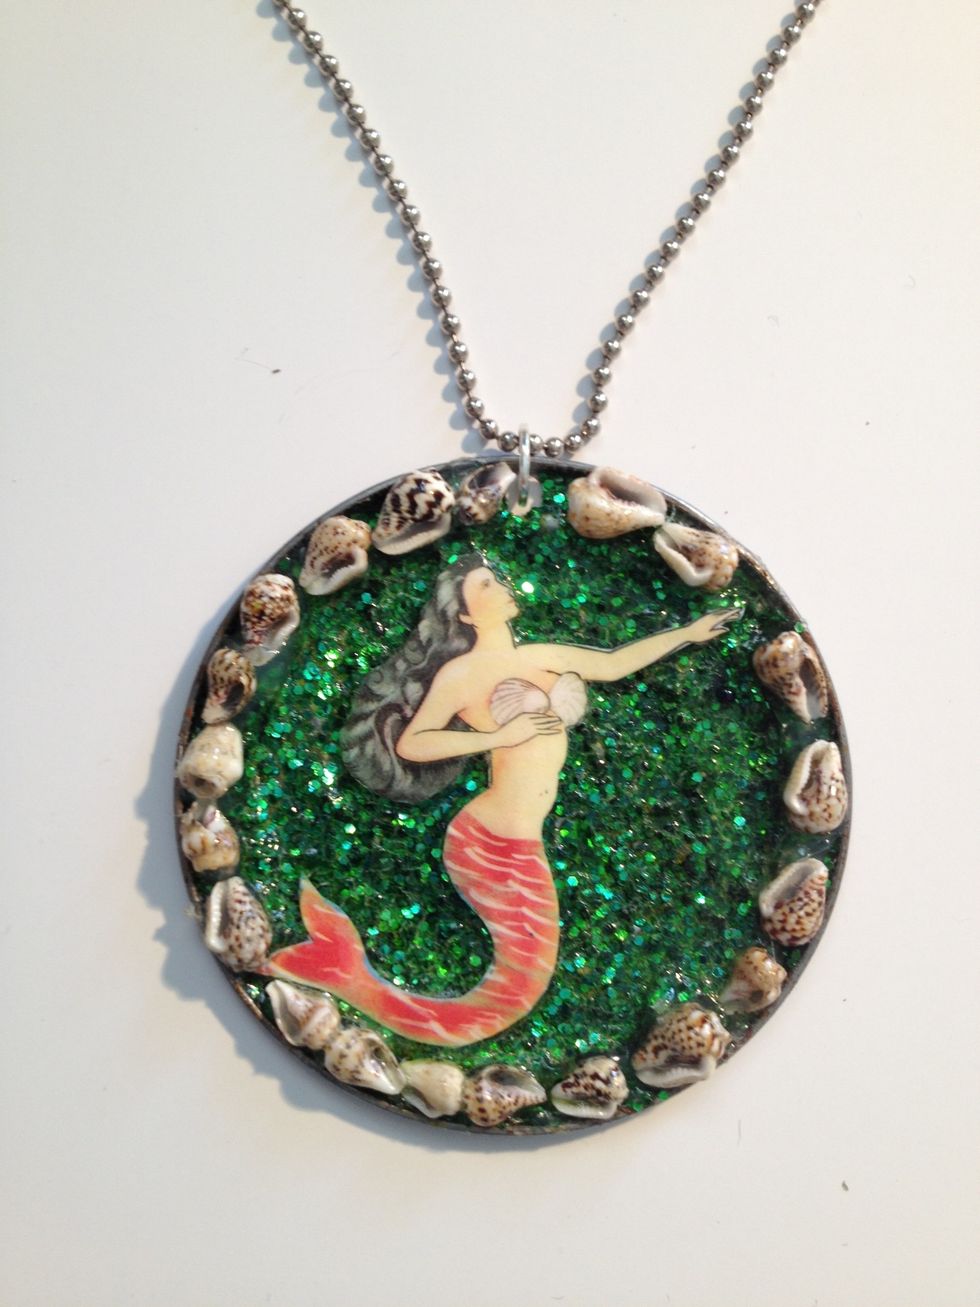
To make this pendant, I cut out the mermaid from a Loteria card (Mexican card game), then glued her on a "sea" of glitter surrounded by tiny shells.
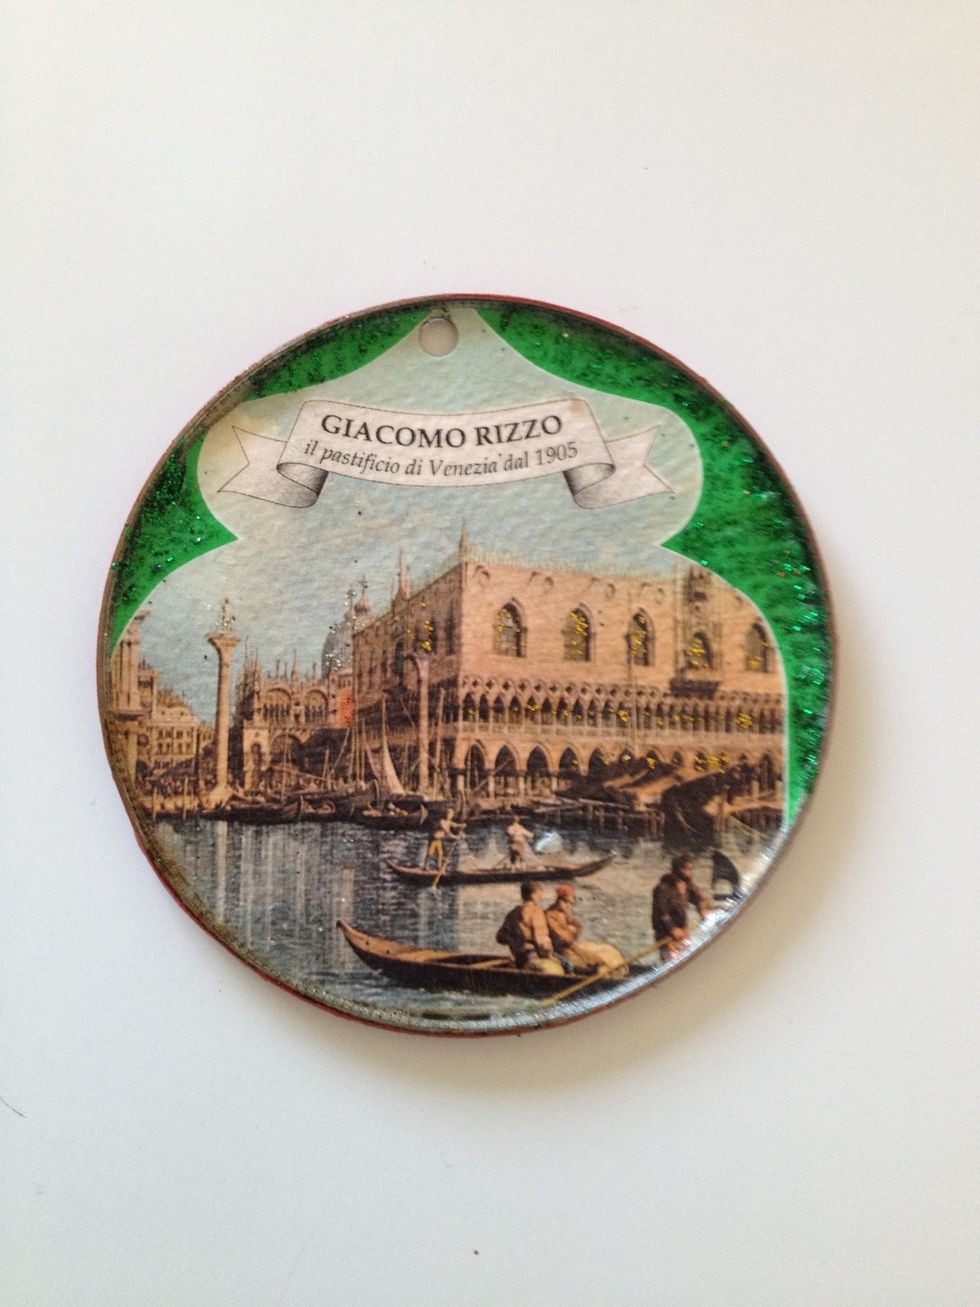
I loved this image on a package of Italian pasta so I used it with glitter accents and then coated it with Mod Podge craft glue to give it a nice finish.
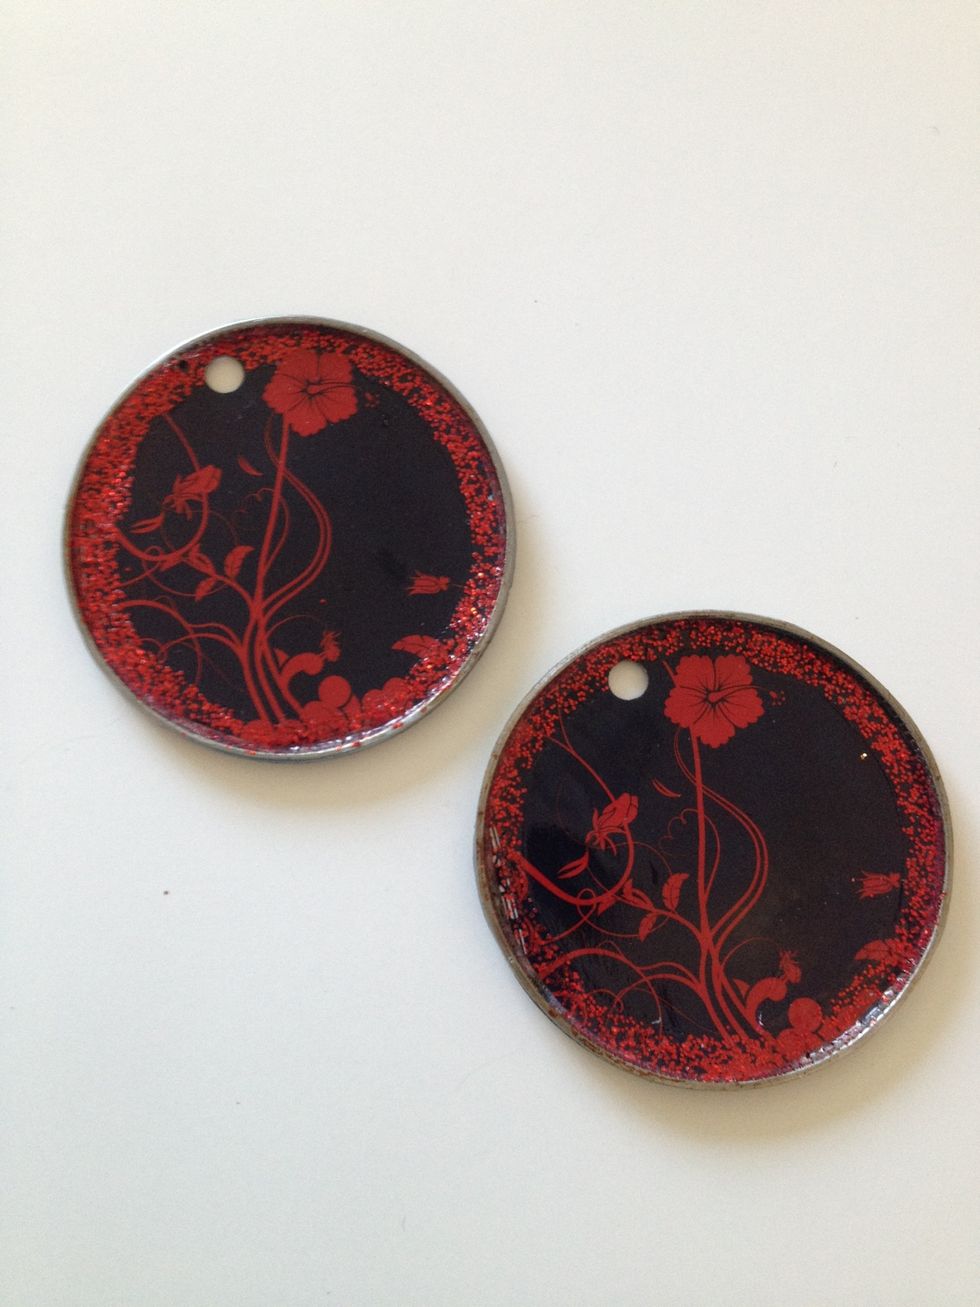
Picked up two postcards announcing a local event because I liked the images. Cut them out and attached them with glue gun. Topped it off with Mod Podge craft glue.
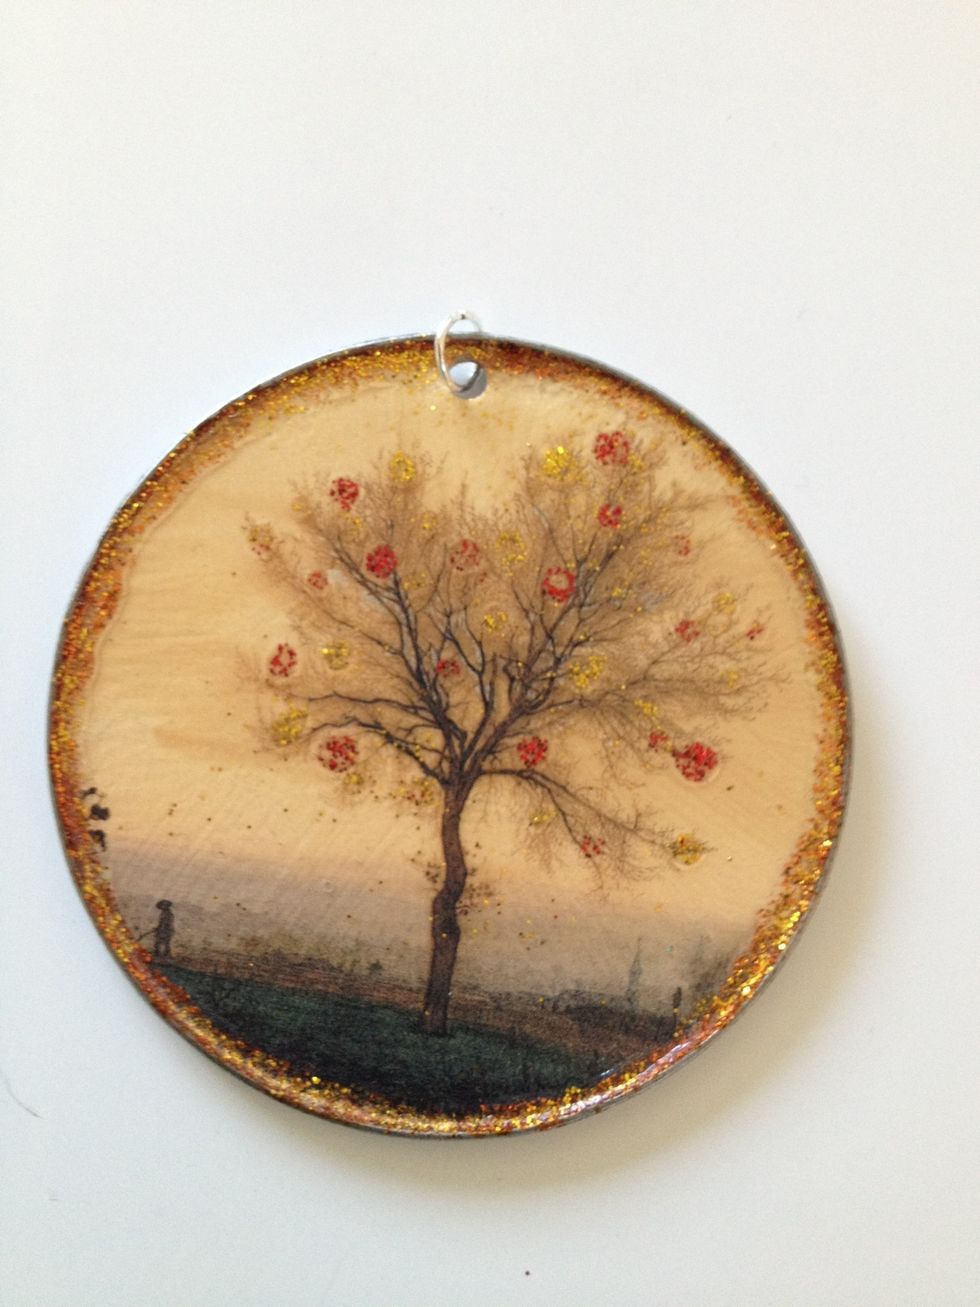
This image came from a greeting card. I accented it with some glitter and coated it with Mod Podge.
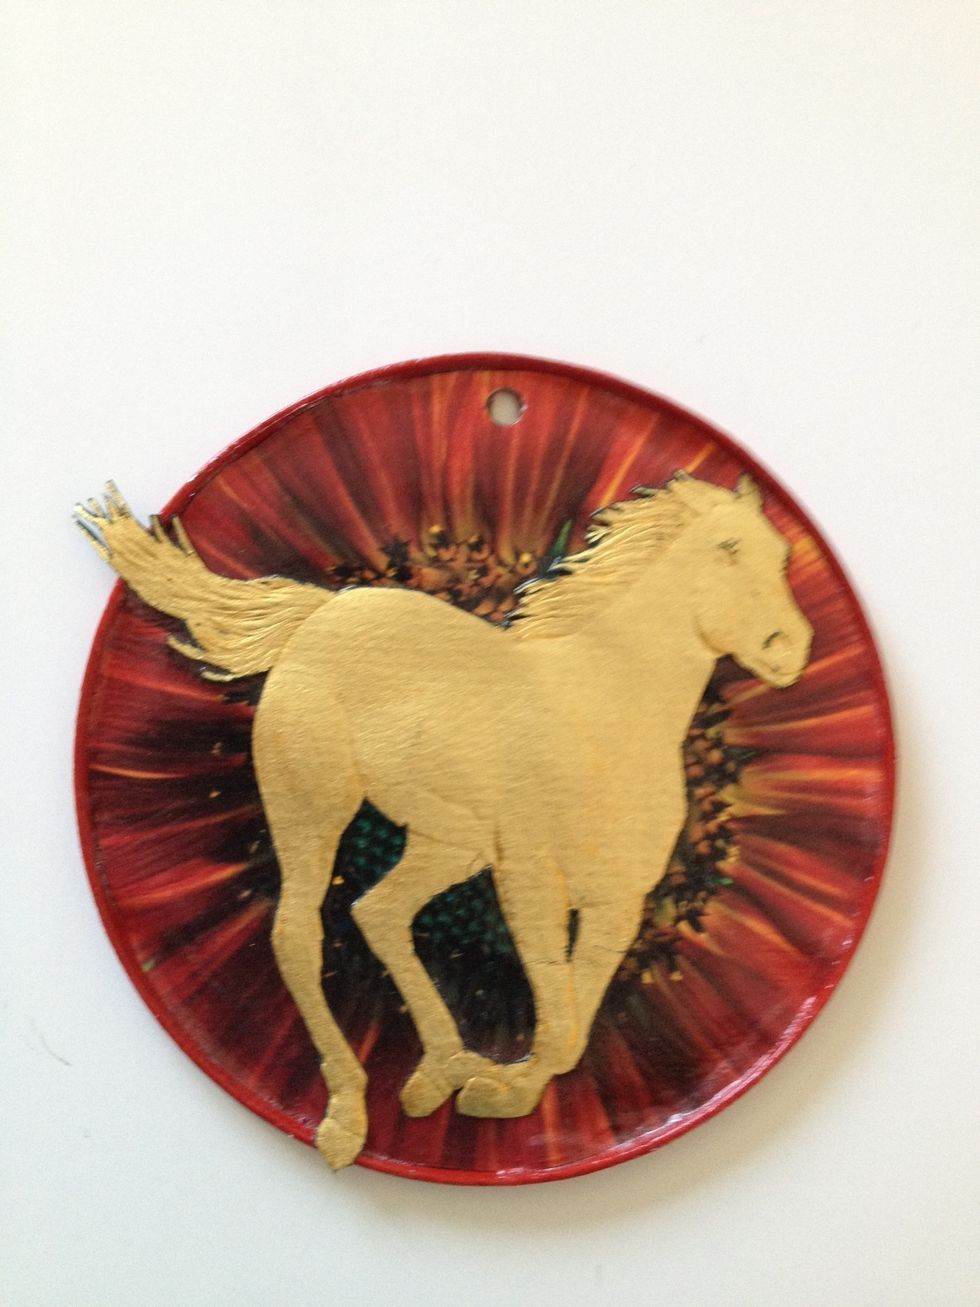
This is a big lid (from a can of Goya guava (guayaba) paste). The background is from a wall calendar of sunflower images and the horse is from a birthday card.
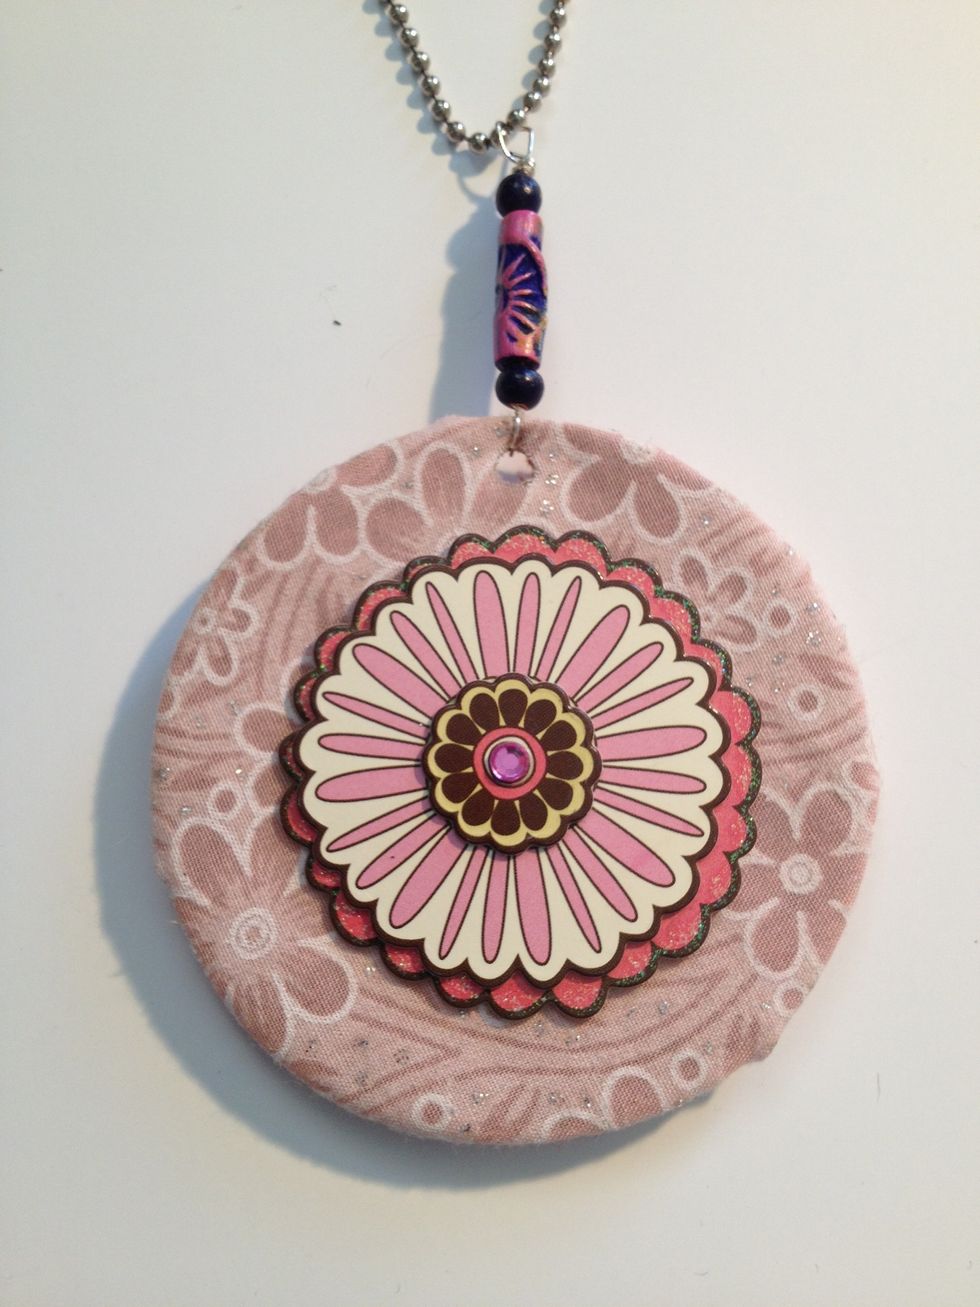
I covered the lid with fabric and then attached a cardboard flower that I found in scrapbooking supplies.
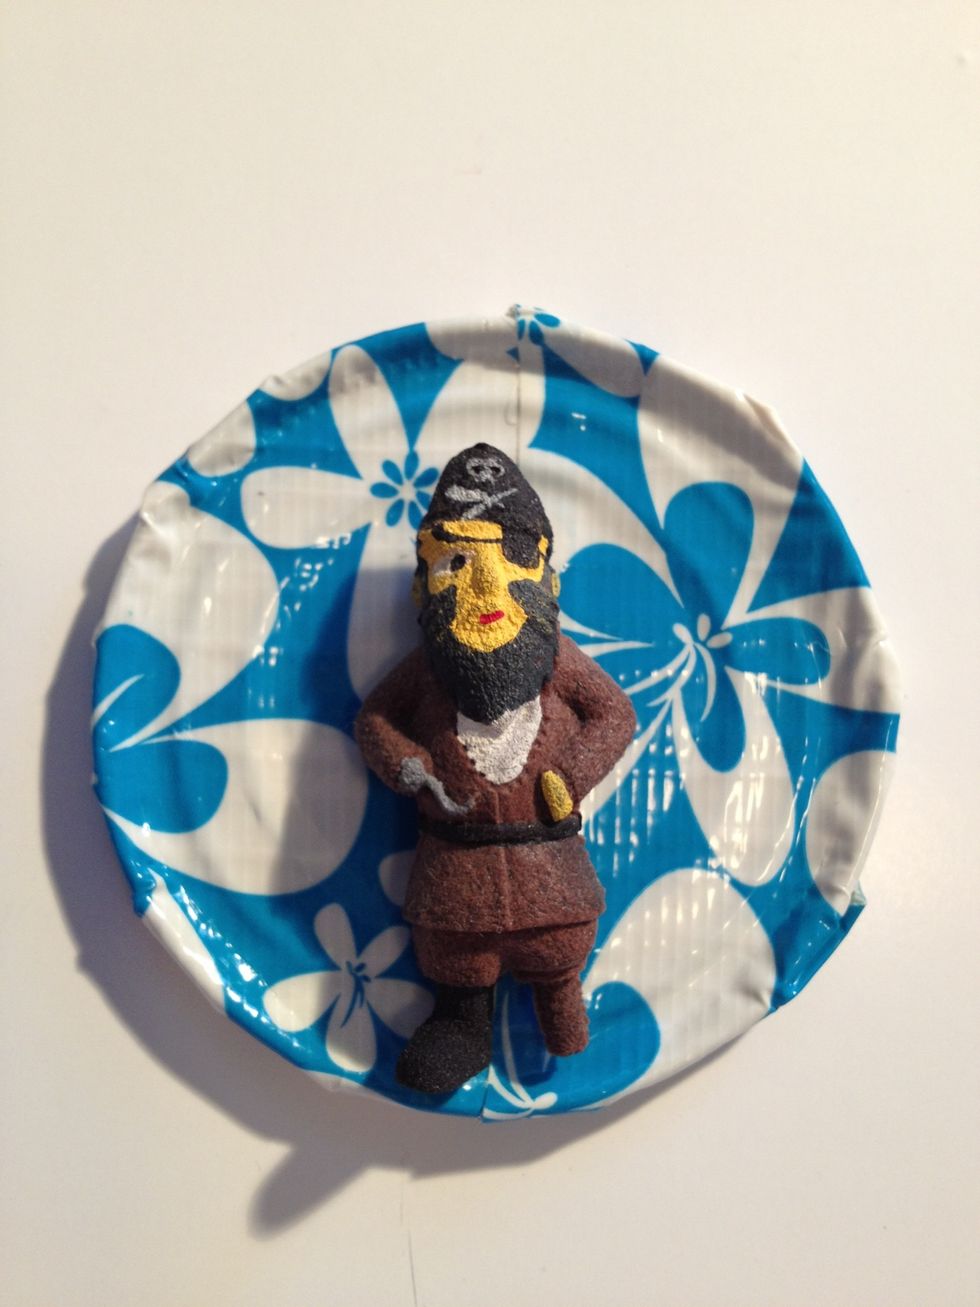
Yo ho! A pirate attached to a lid covered with duct tape!
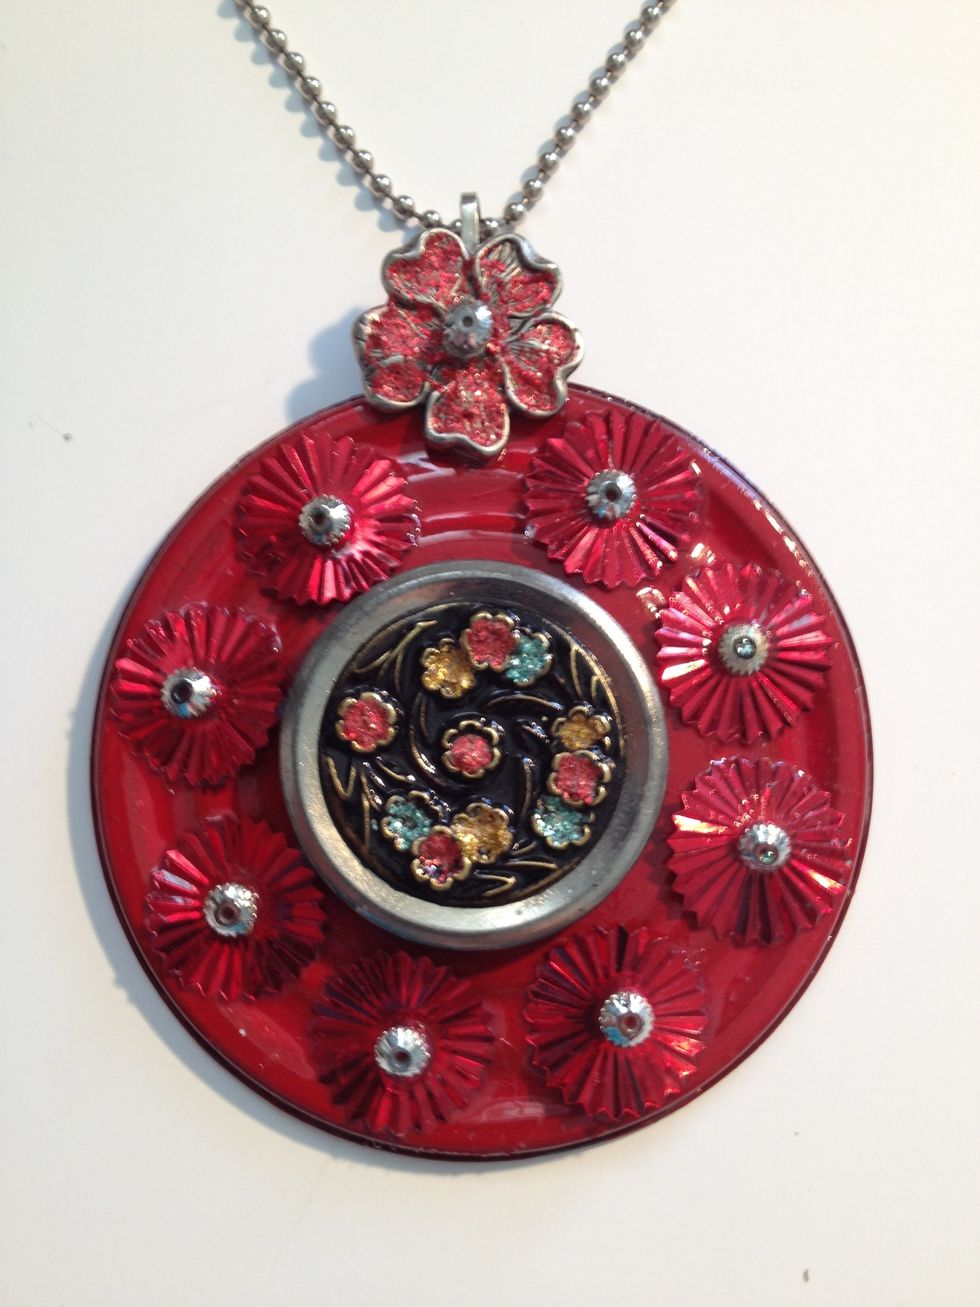
An old button centers this pendant. I used spray paint for the background.
Here are some other people's examples of things you can make using can lids that you can swipe through. ------->
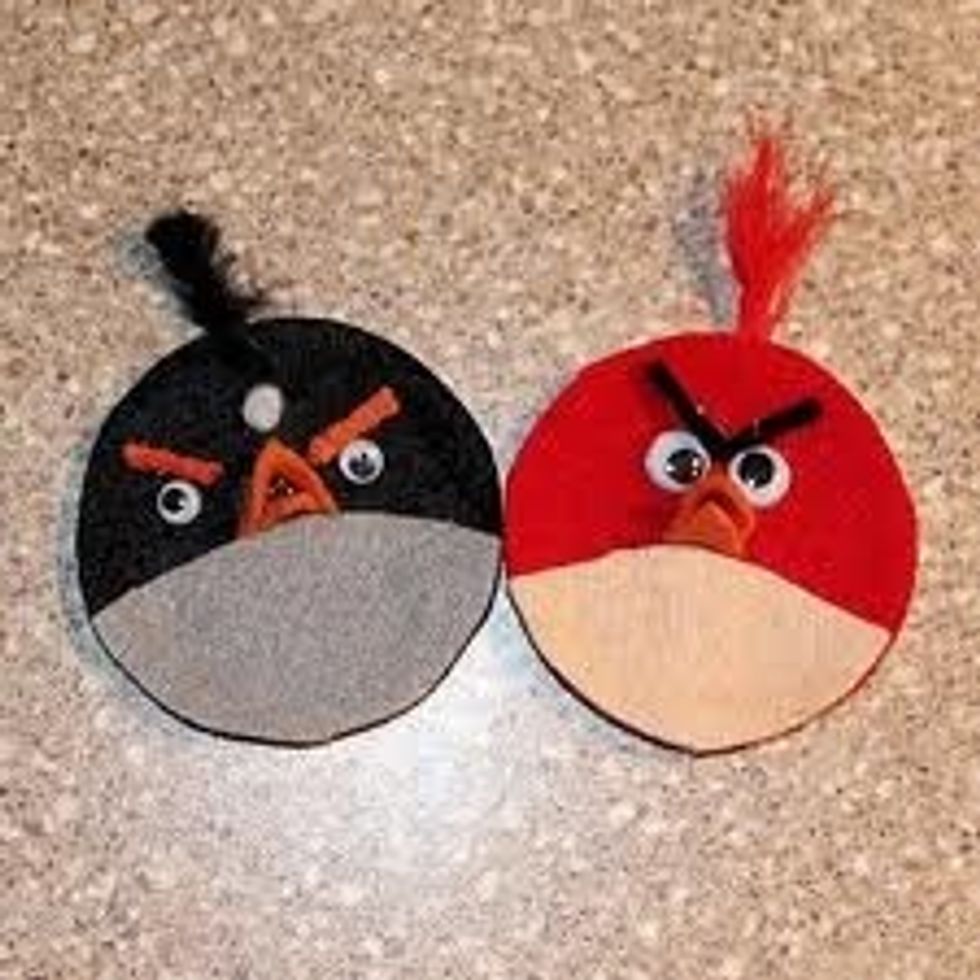
Felt, feathers, pipe cleaners and plastic eyes = angry birds!
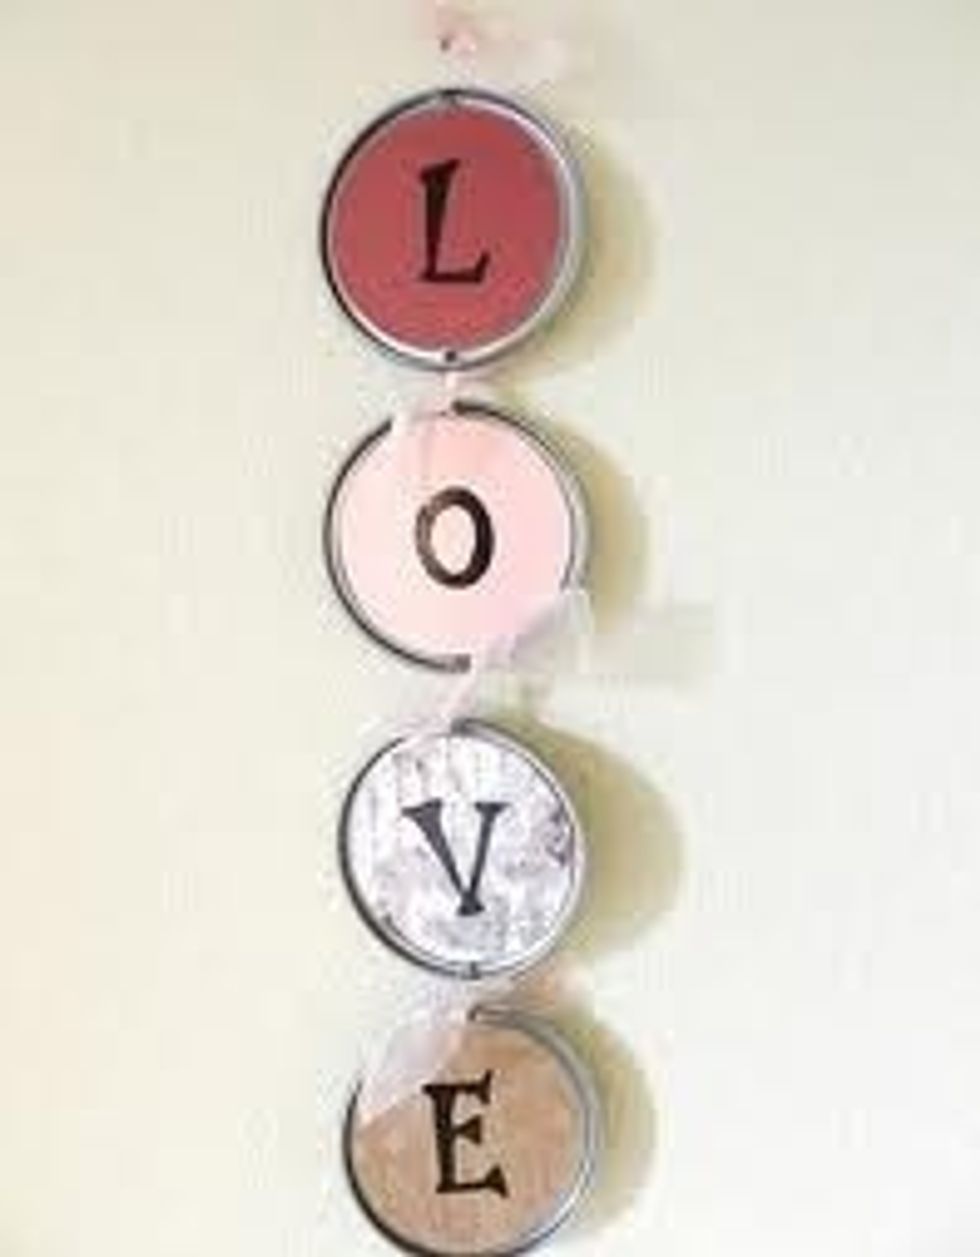
A wall hanging!
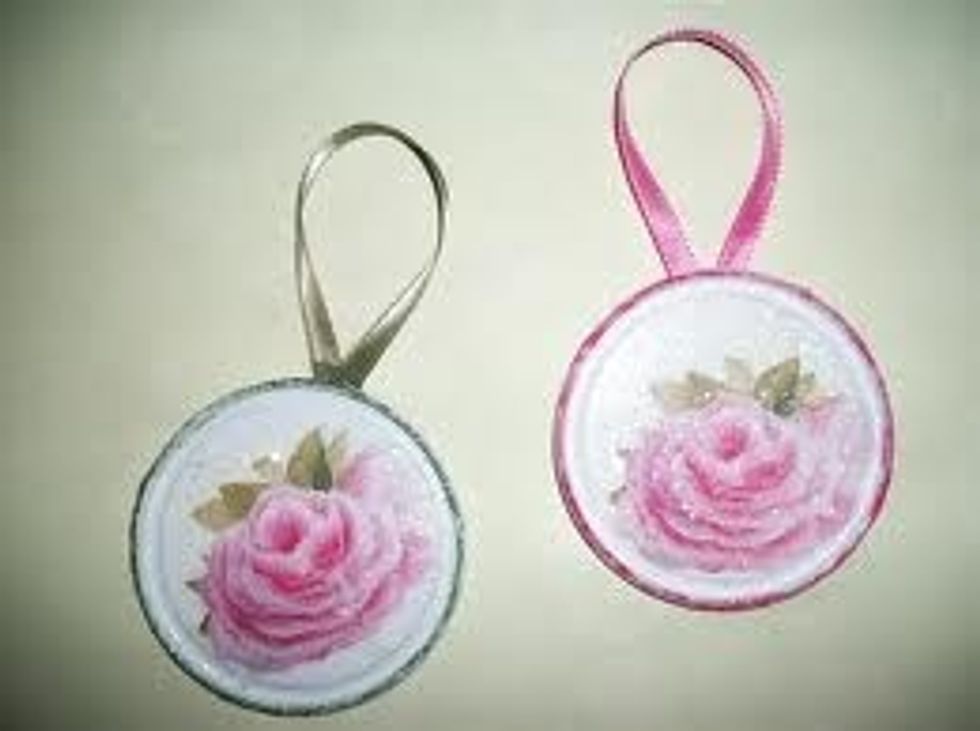
Gift tags.

Holiday ornaments!
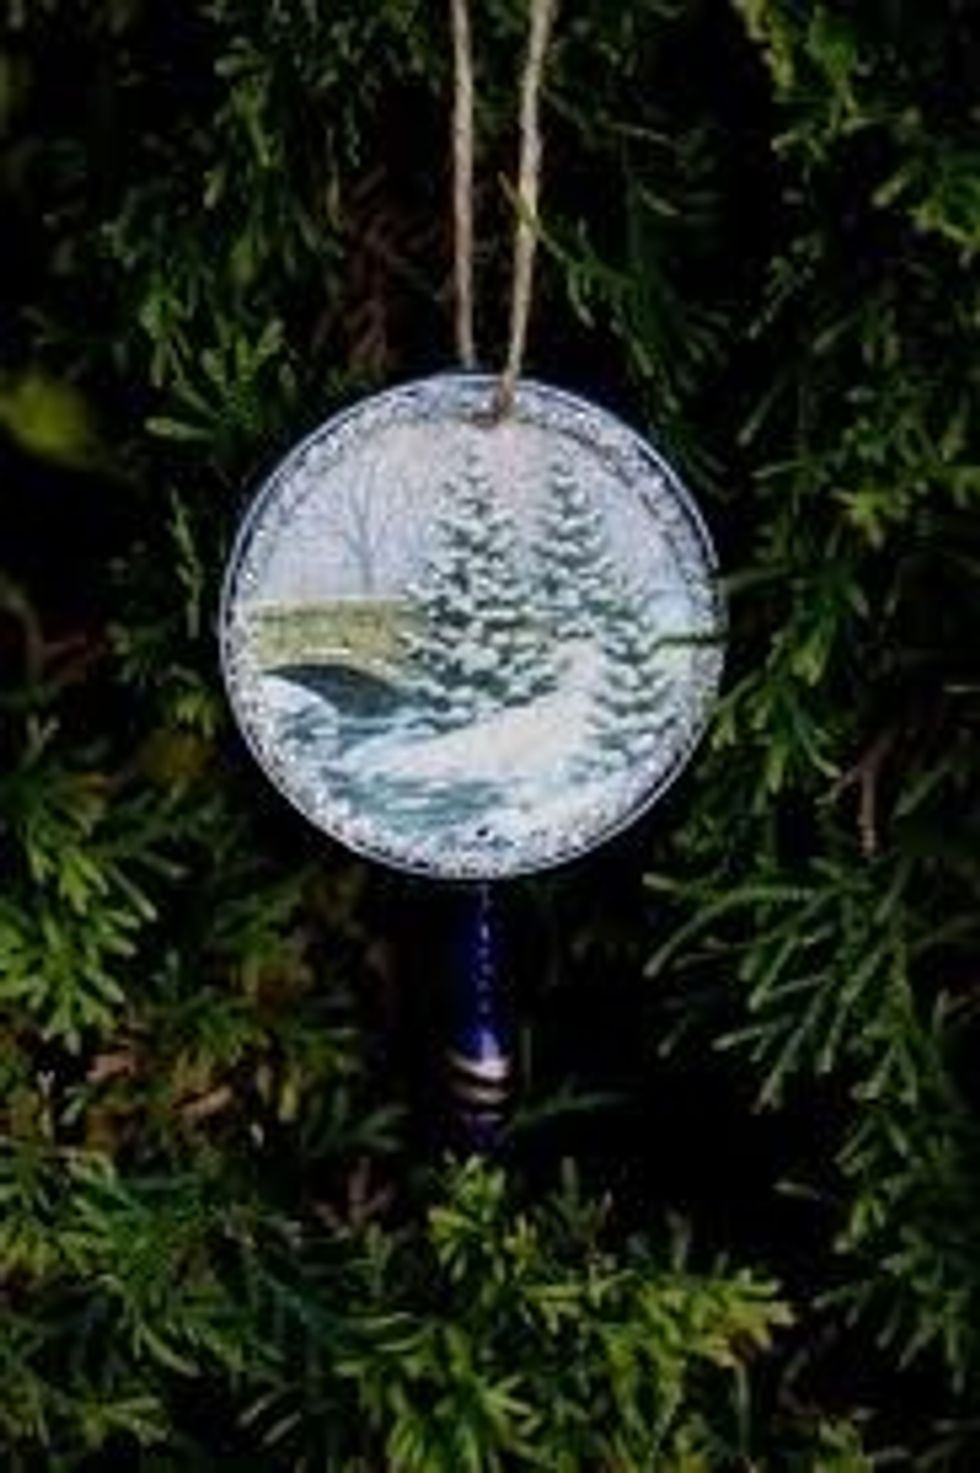
Another tree ornament.
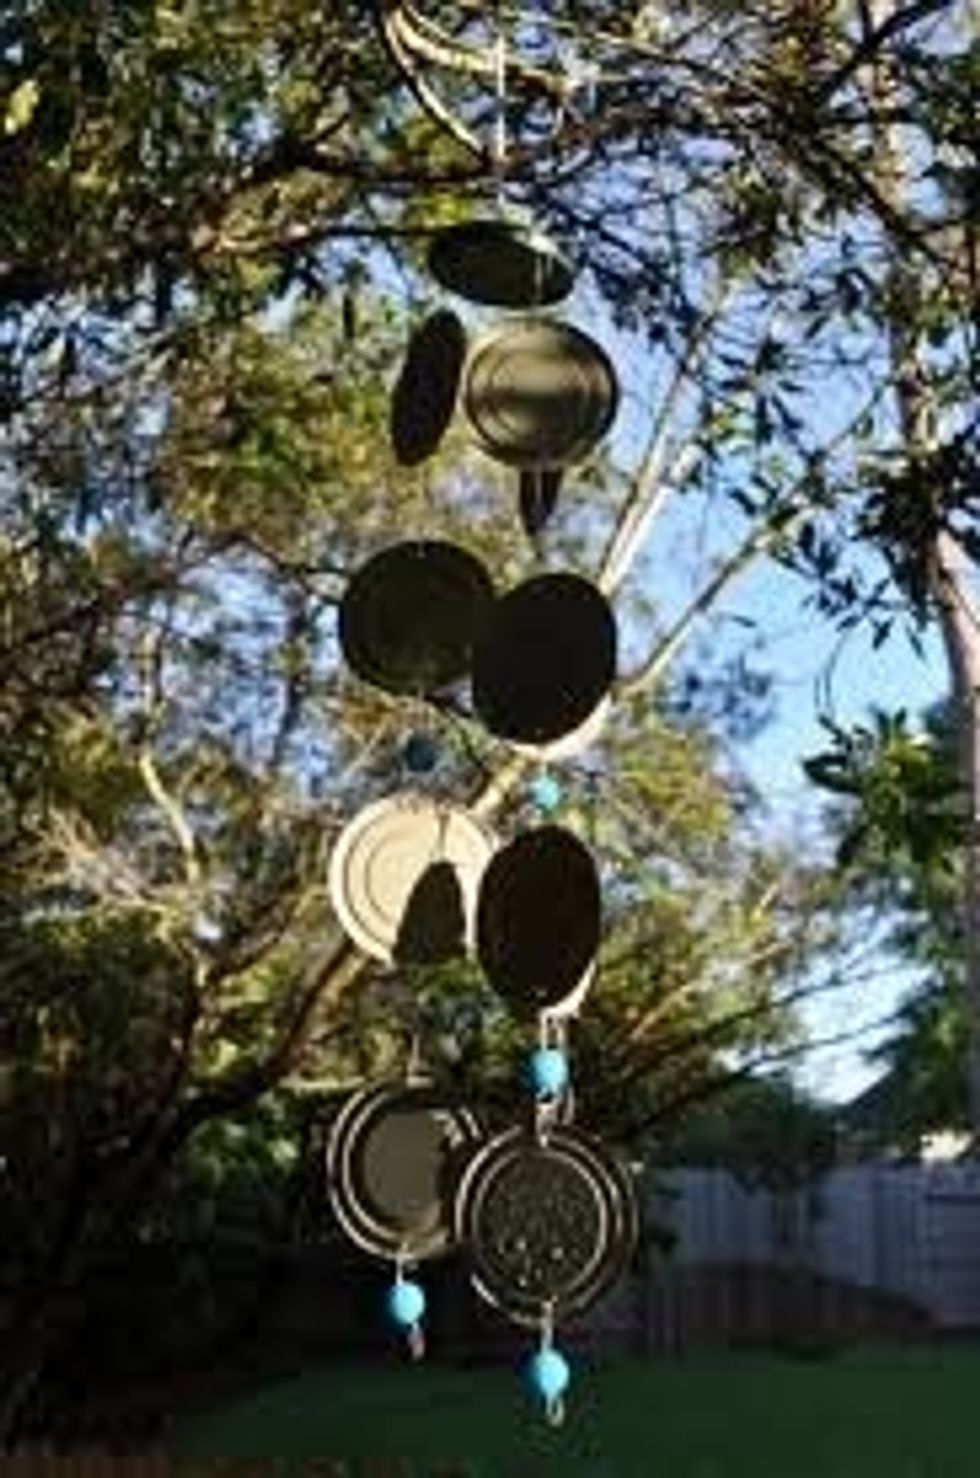
A mobile - this one uses plain lids but think of how it might look if the lids were embellished!
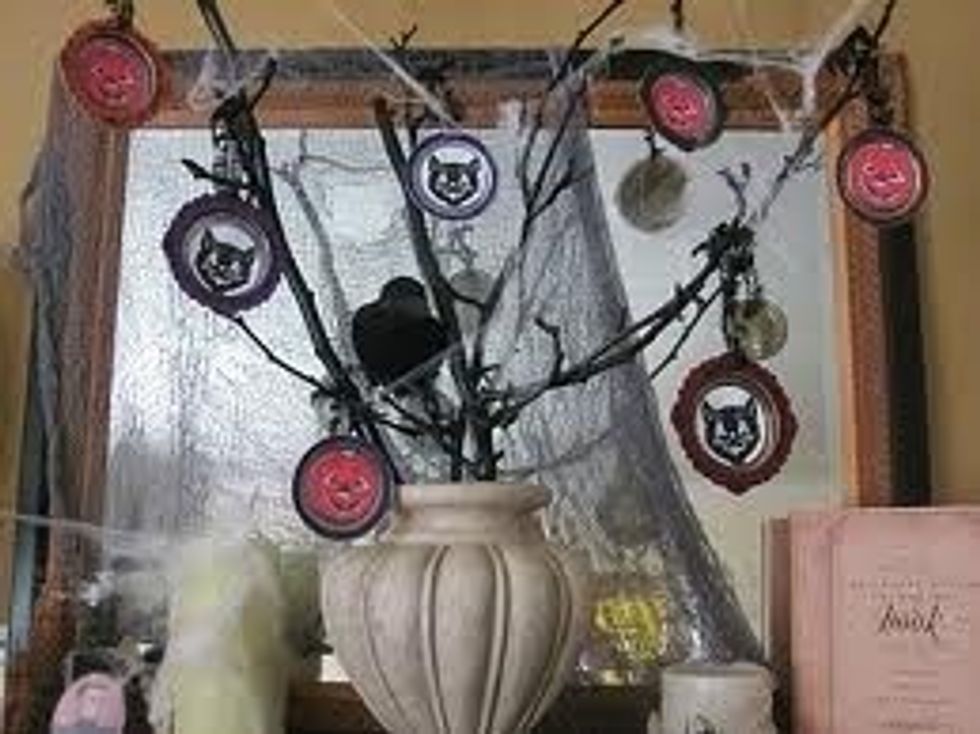
Halloween decorations. If you live in a country that doesn't celebrate Halloween, just adapt these to whatever holidays you might celebrate.
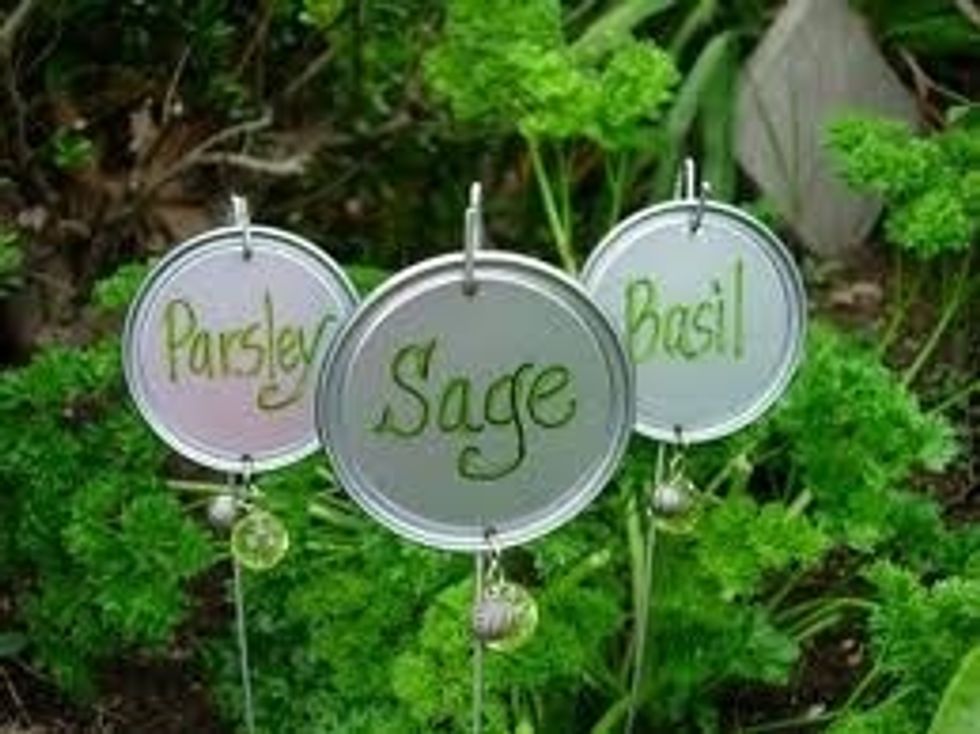
Garden markers.
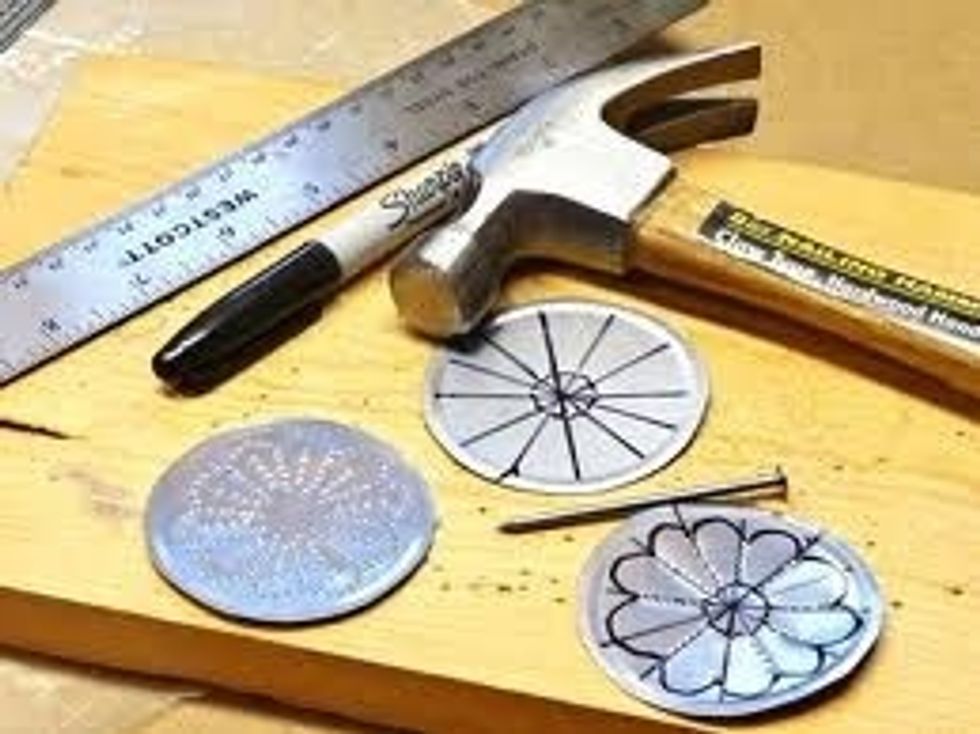
Add a hammer and a nail to the mix and the possibilities expand even more.
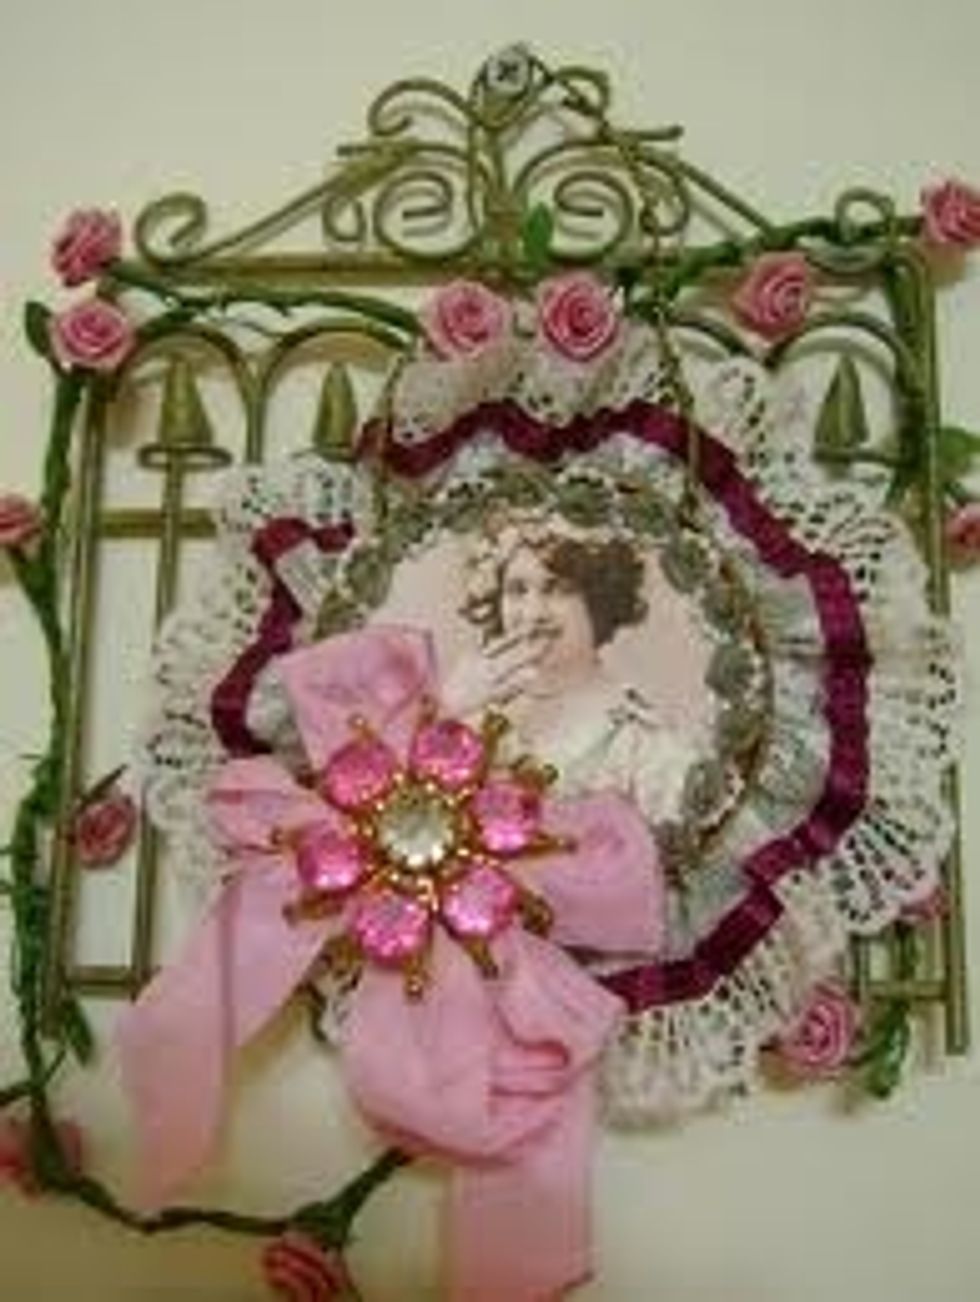
Another wall hanging.
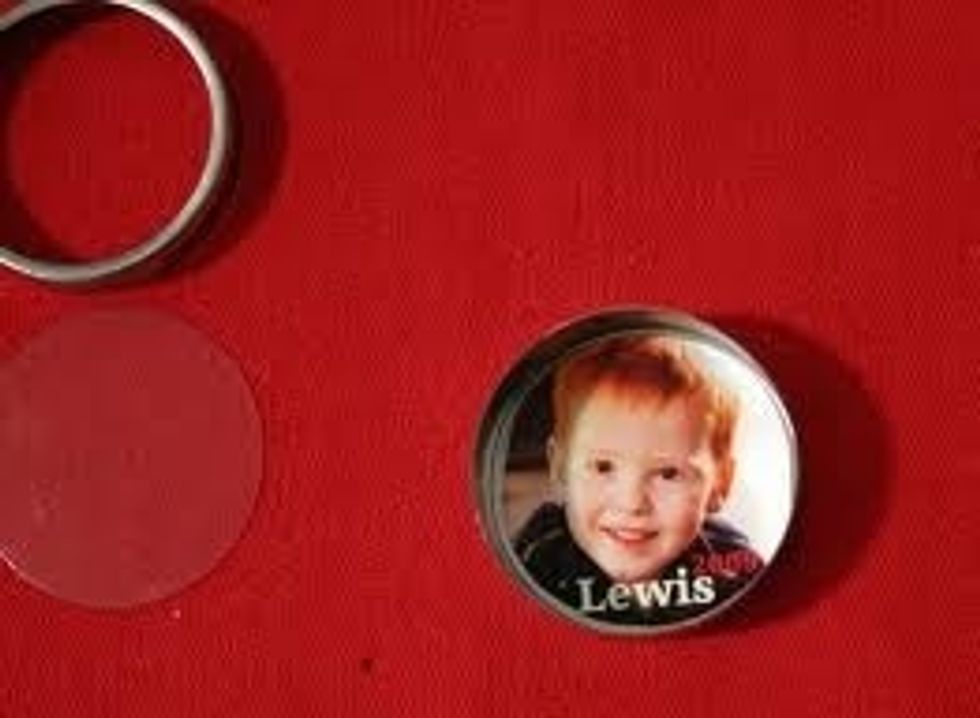
Attach felt to the backside of your lid and you have coasters.

Attach a magnet to the back and you have a lovely gift for friends or family.
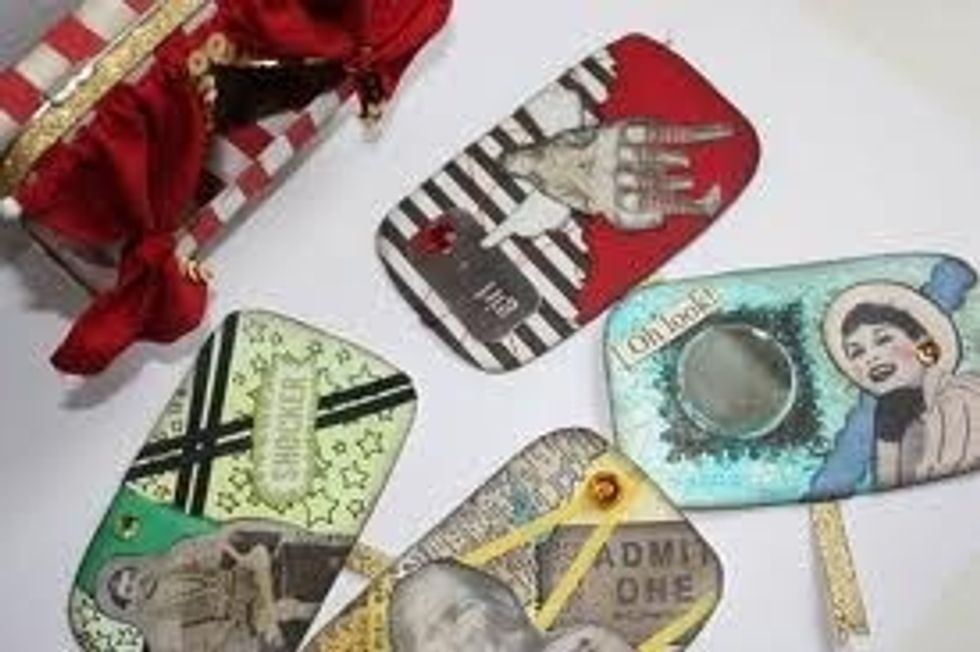
Sardine, anchovy or mint can lids can be used too.
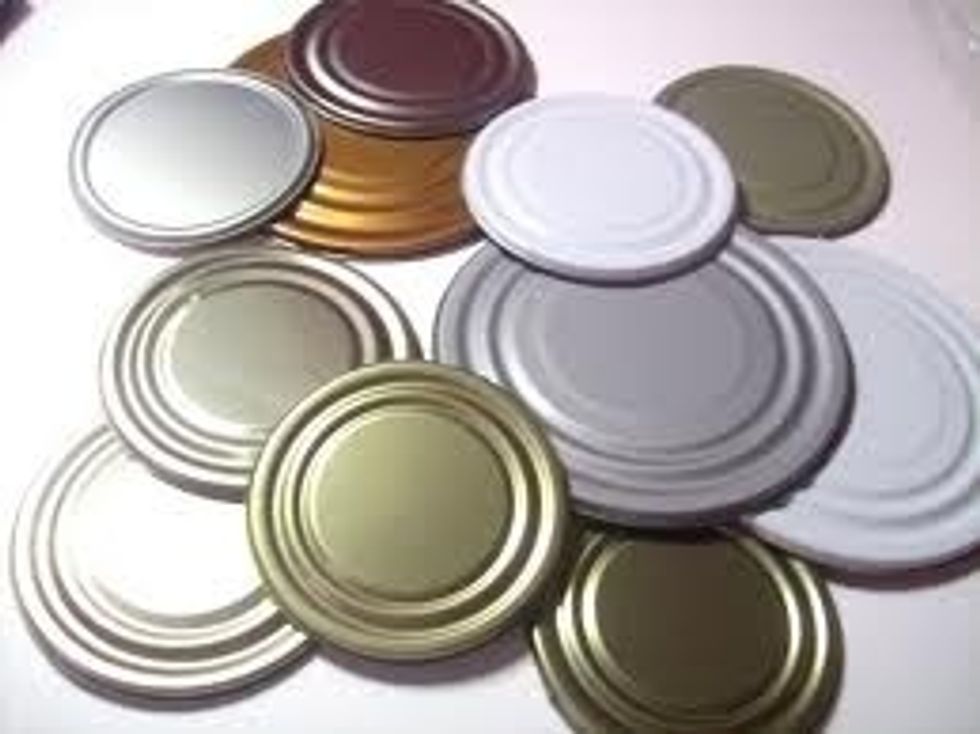
So there you have it. From these…
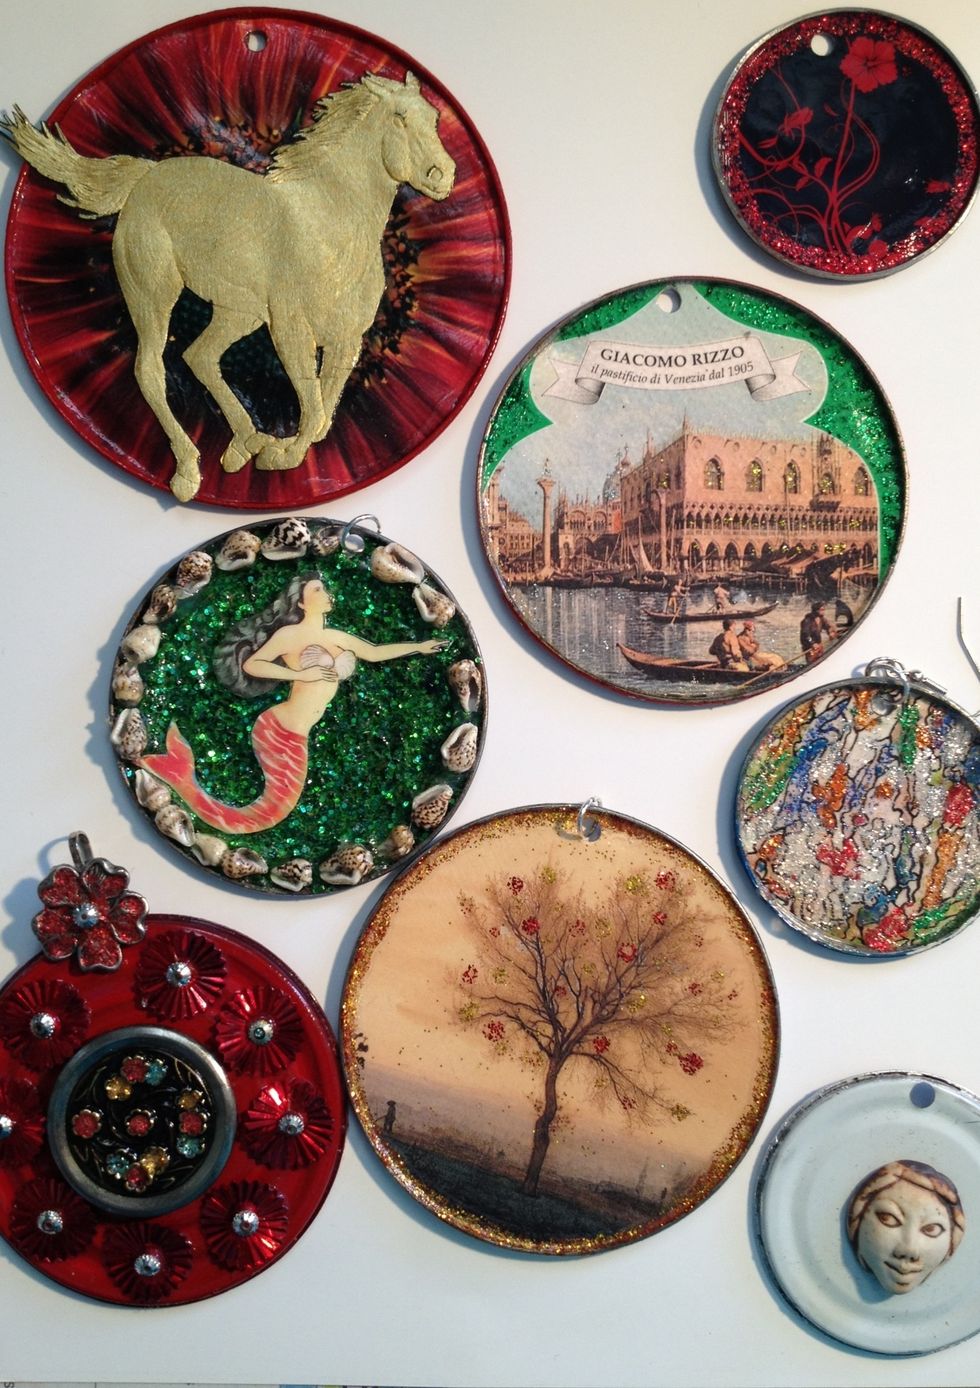
...to these! Be sure to share any additional ideas you might have. The possibilities are truly endless - have fun!
- Smooth edge can opener
- Metal Hole Puncher (or hammer & nail)
- Can lids
- Craft supplies
- Glue gun
- Imagination!
Felicia Gustin
I love to create! All kinds of things. Food, crafts, jewelry, art, photos, theater, events, history, social justice. My proudest creation is my daughter!
Bay Area, California USA
The Conversation (0)
Sign Up