The Conversation (0)
Sign Up
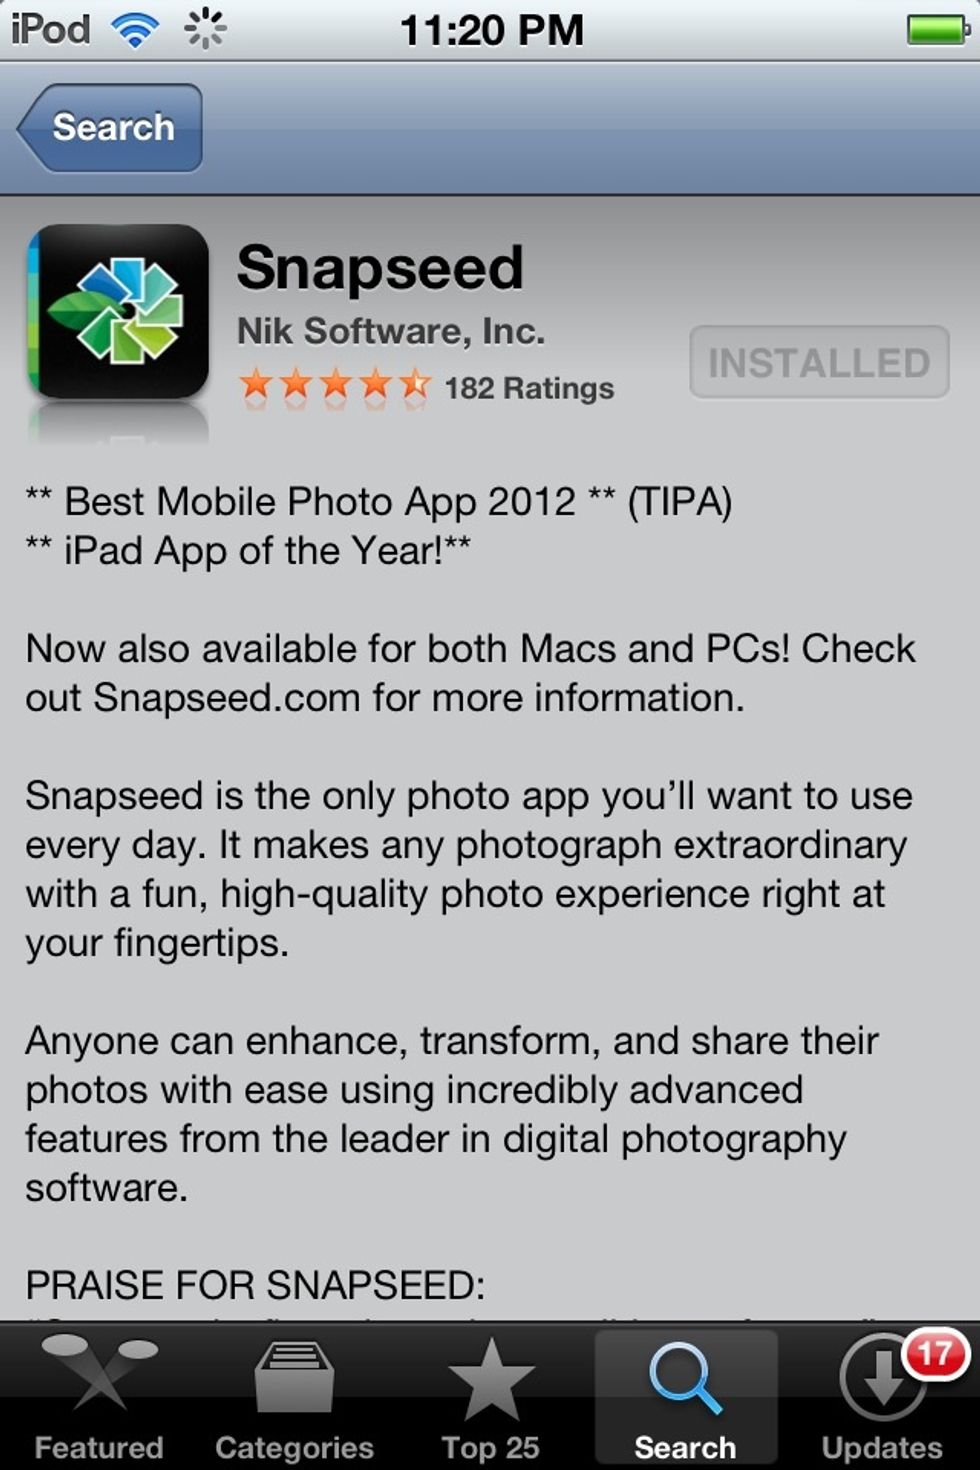
Download the SNAPSEED app by NIK SOFTWARE INC. from the app store. Price: ($5))
Open SNAPSEED.
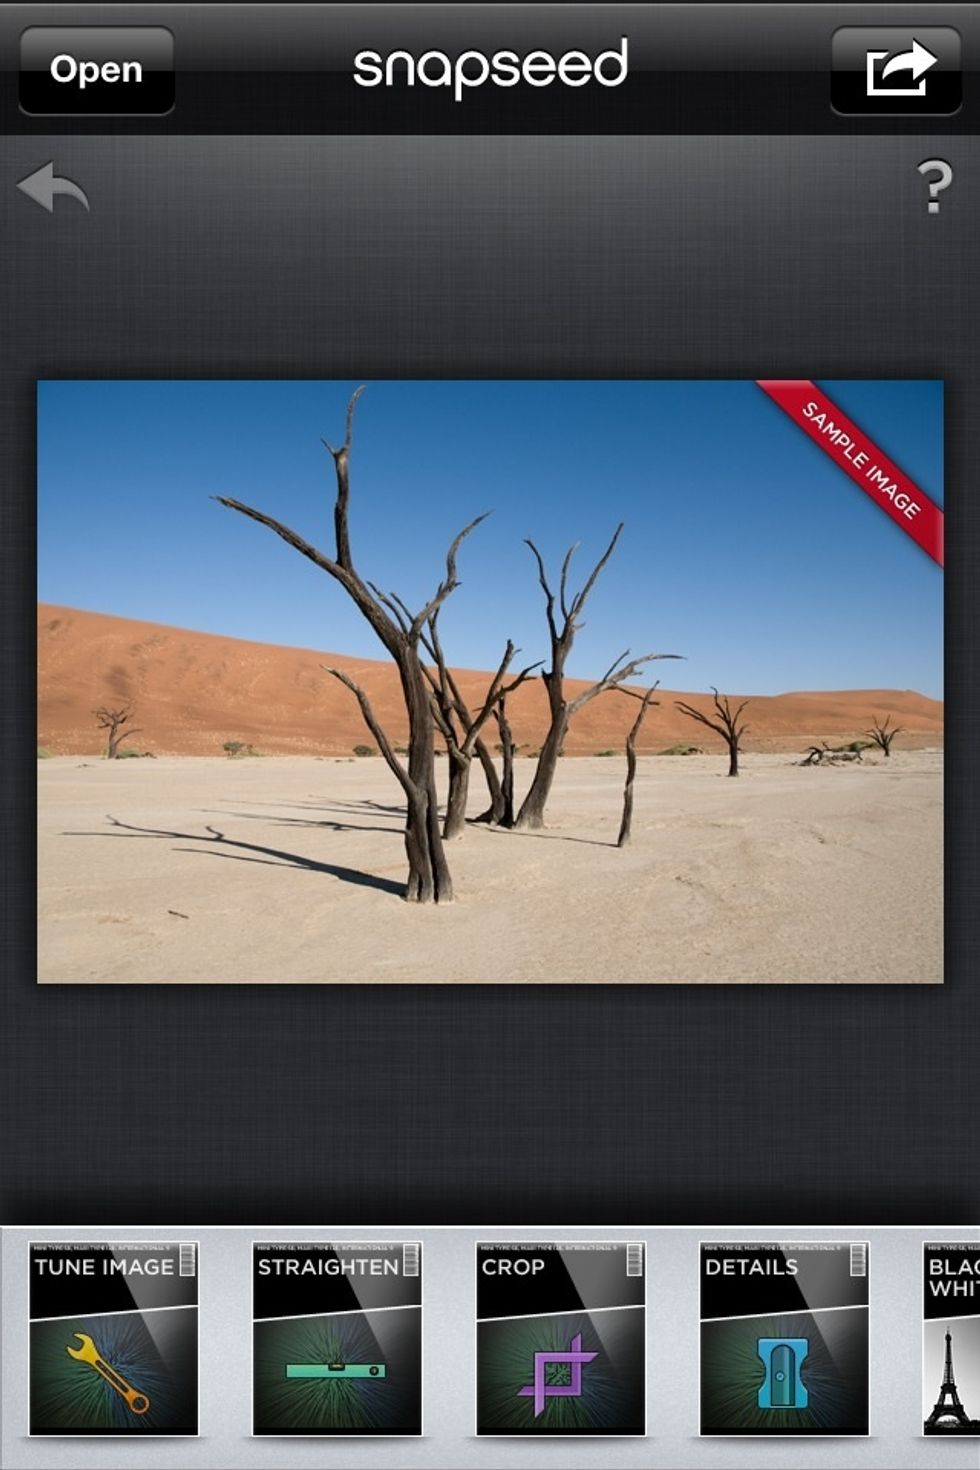
This is the main screen. Tap OPEN at the top right to import your BAD QUALITY 4th Gen IPod Photo.
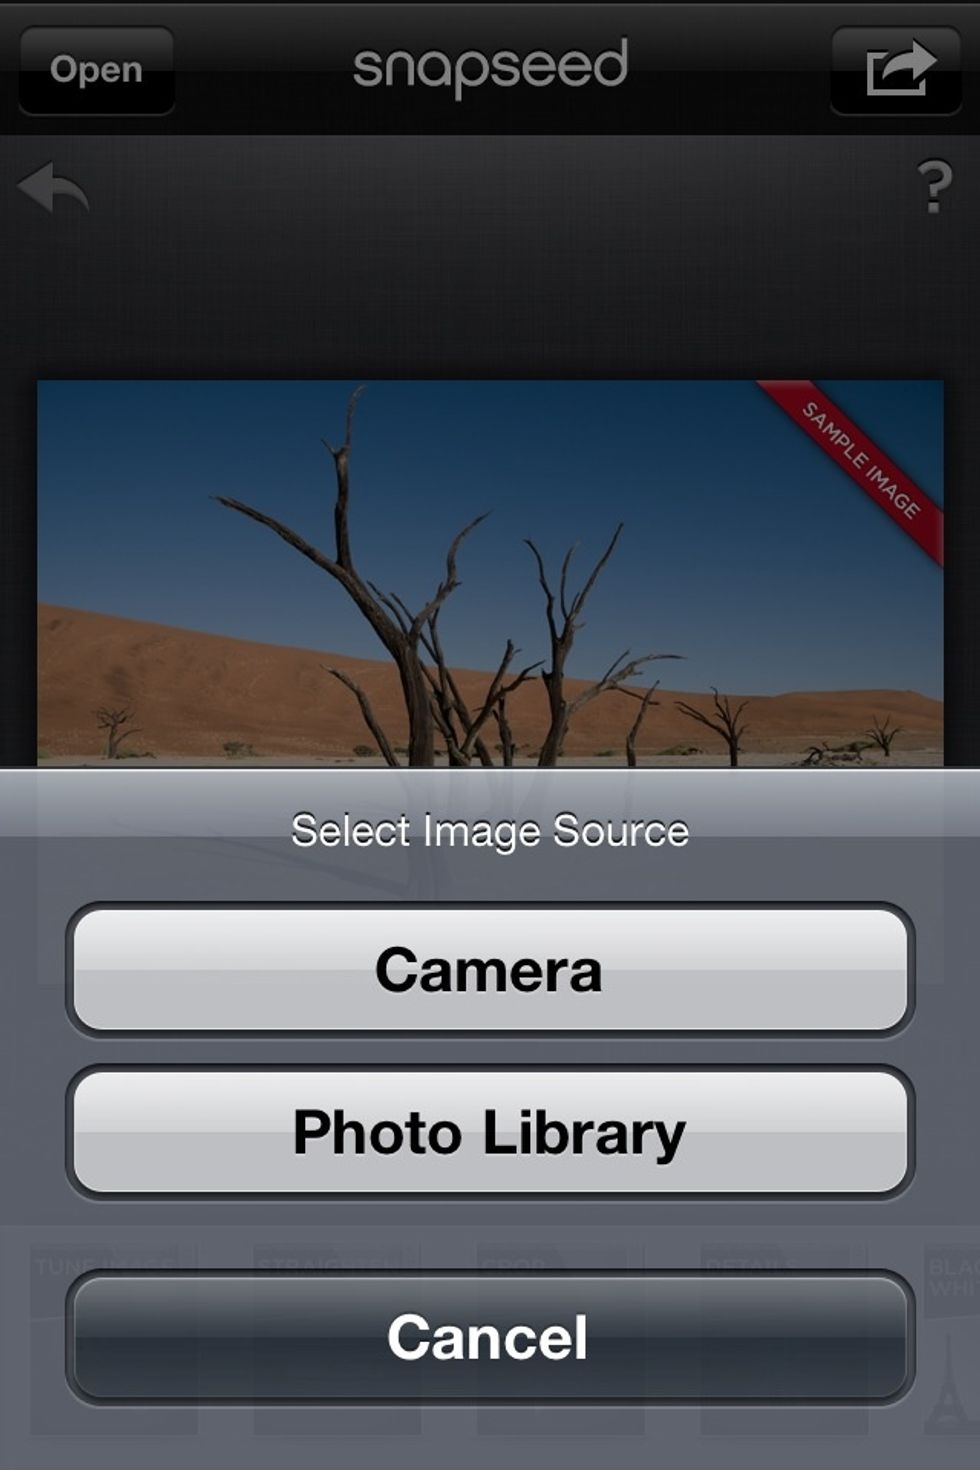
This will come up. Choose PHOTO LIBRARY, then select your photo from your CAMERA ROLL. You can also take a photo in the app by tapping CAMERA.
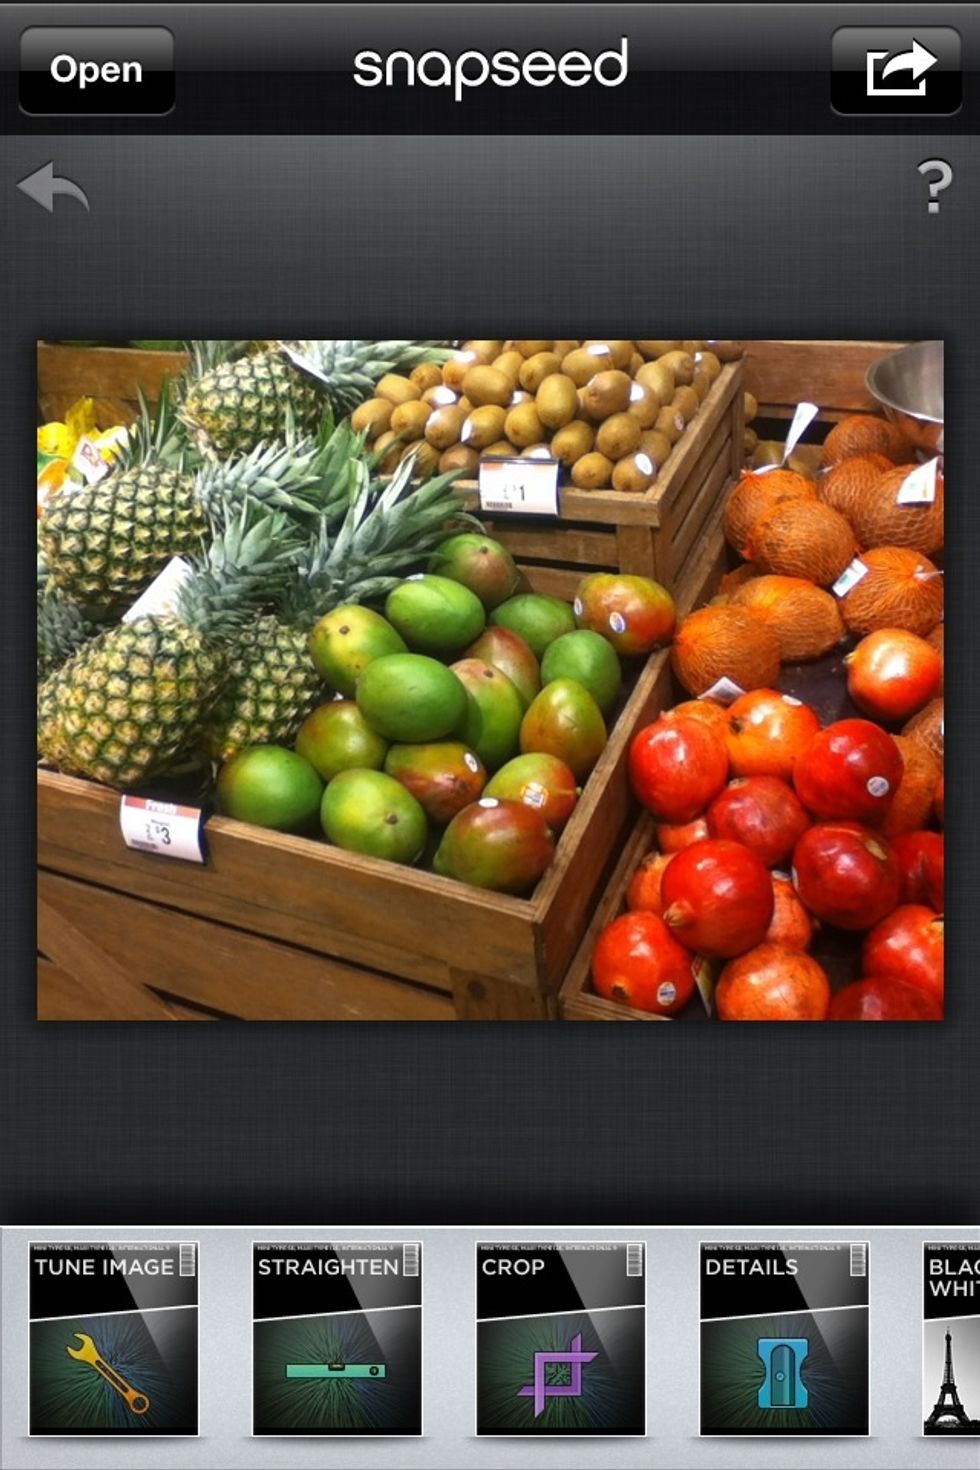
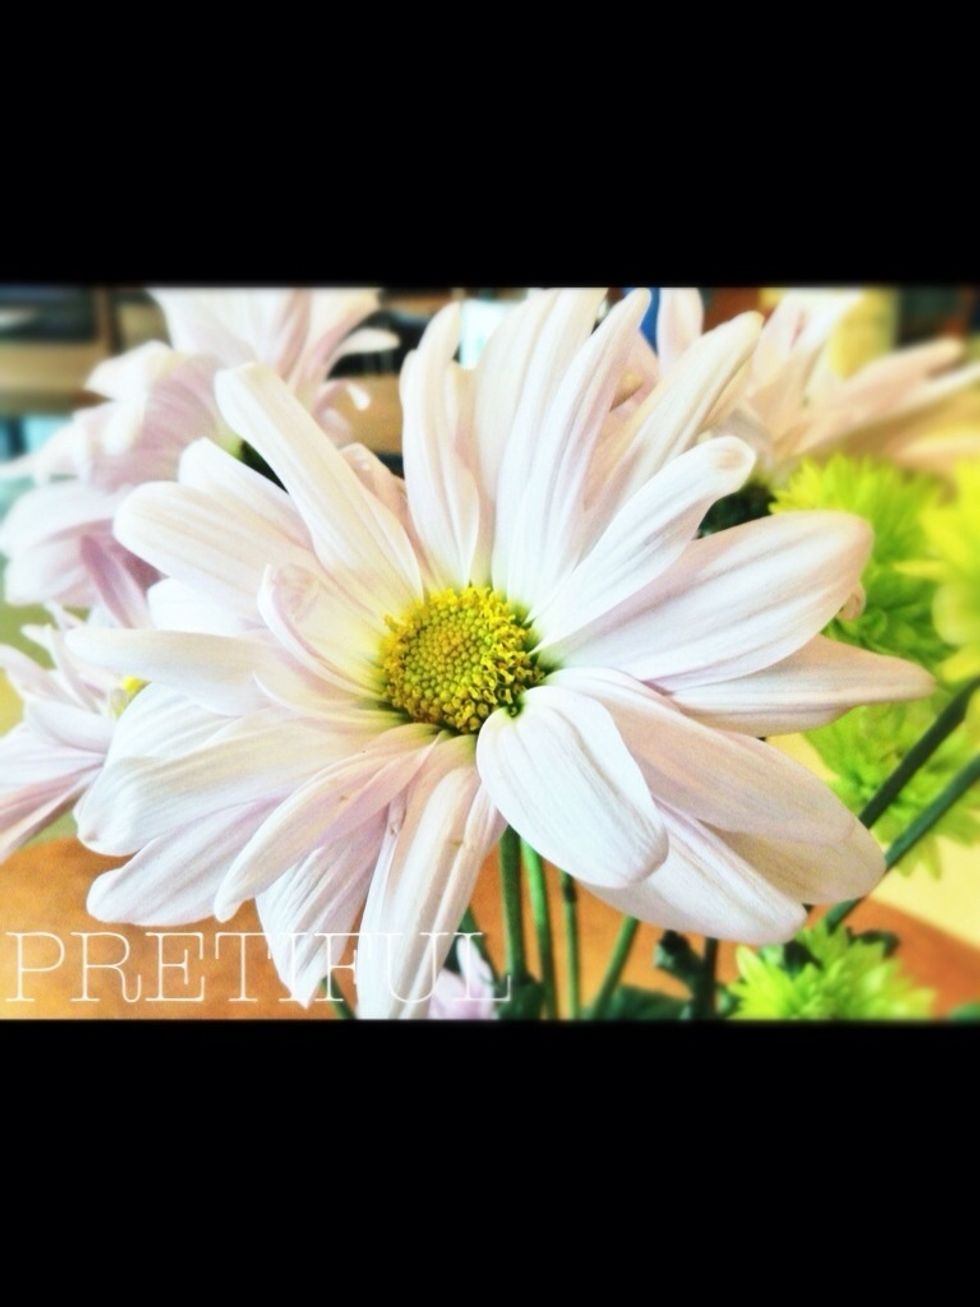
This is the picture I took with my 4th Gen. IPod. At the bottom of the main screen, you will see different effects. Choose DETAILS.
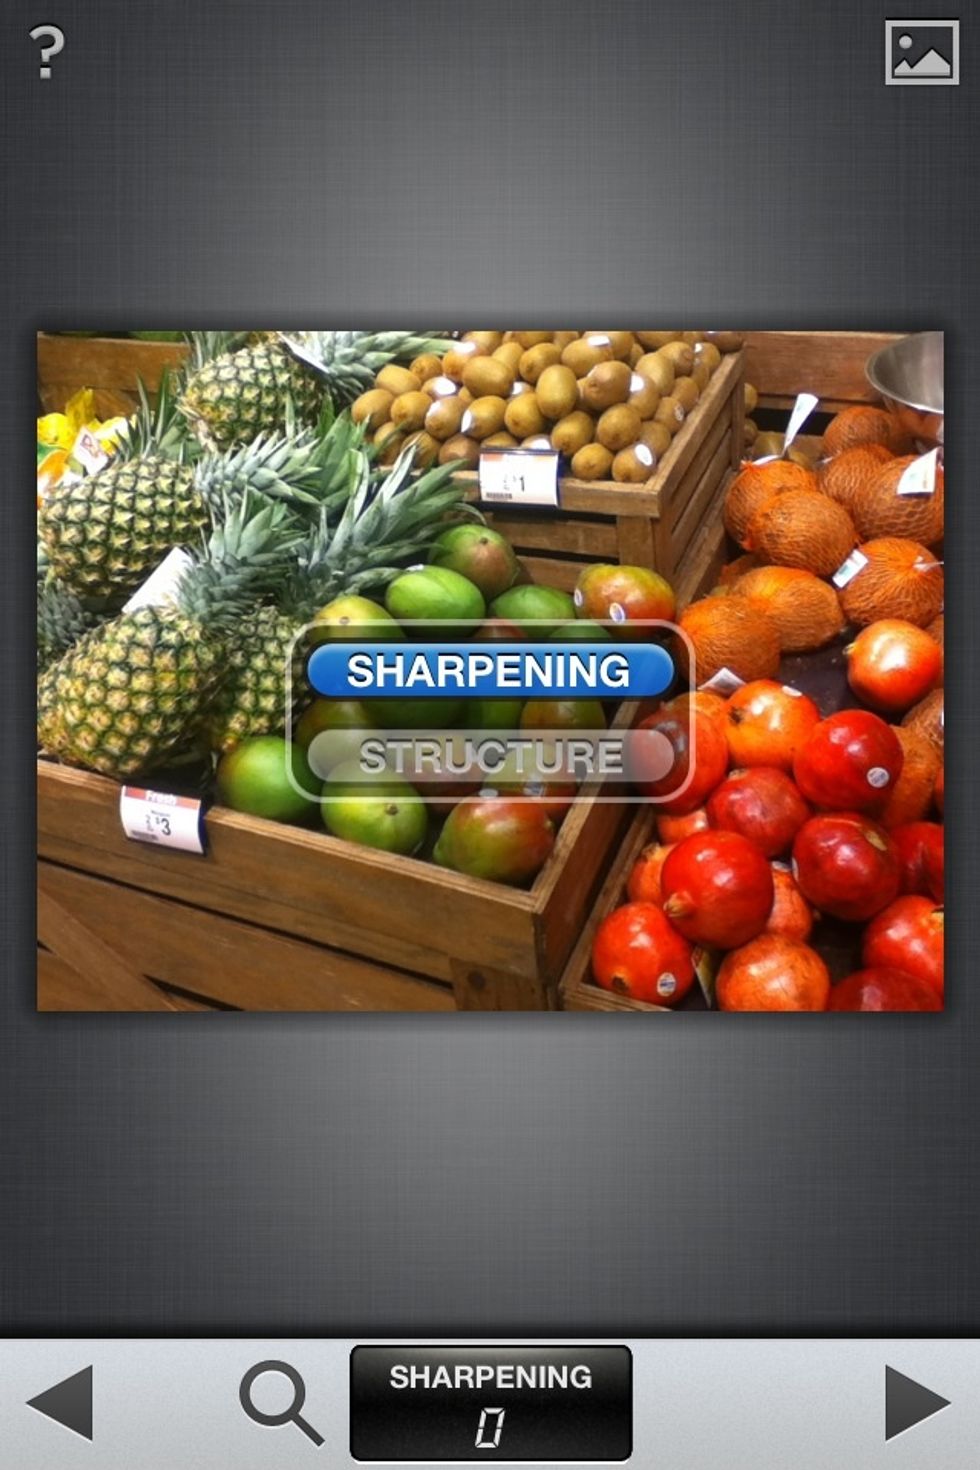
Hold a finger on the photo and move it UP a little. A small menu will be up so long as your finger is down. Moving your finger up and down will allow you to select from the menu. Choose SHARPENING.
Changing the SHARPENING of the photo will make the edges of the objects in the photo look more crisp. But be careful, because it will also make already blurry edges look more grainy.

To adjust the sharpening, hold you finger on the photo and move it Left/Right to Decrease/Increase the sharpening. I chose 55. Tap the GREY ARROW on the RIGHT to commit the changes. It will PROCESS.
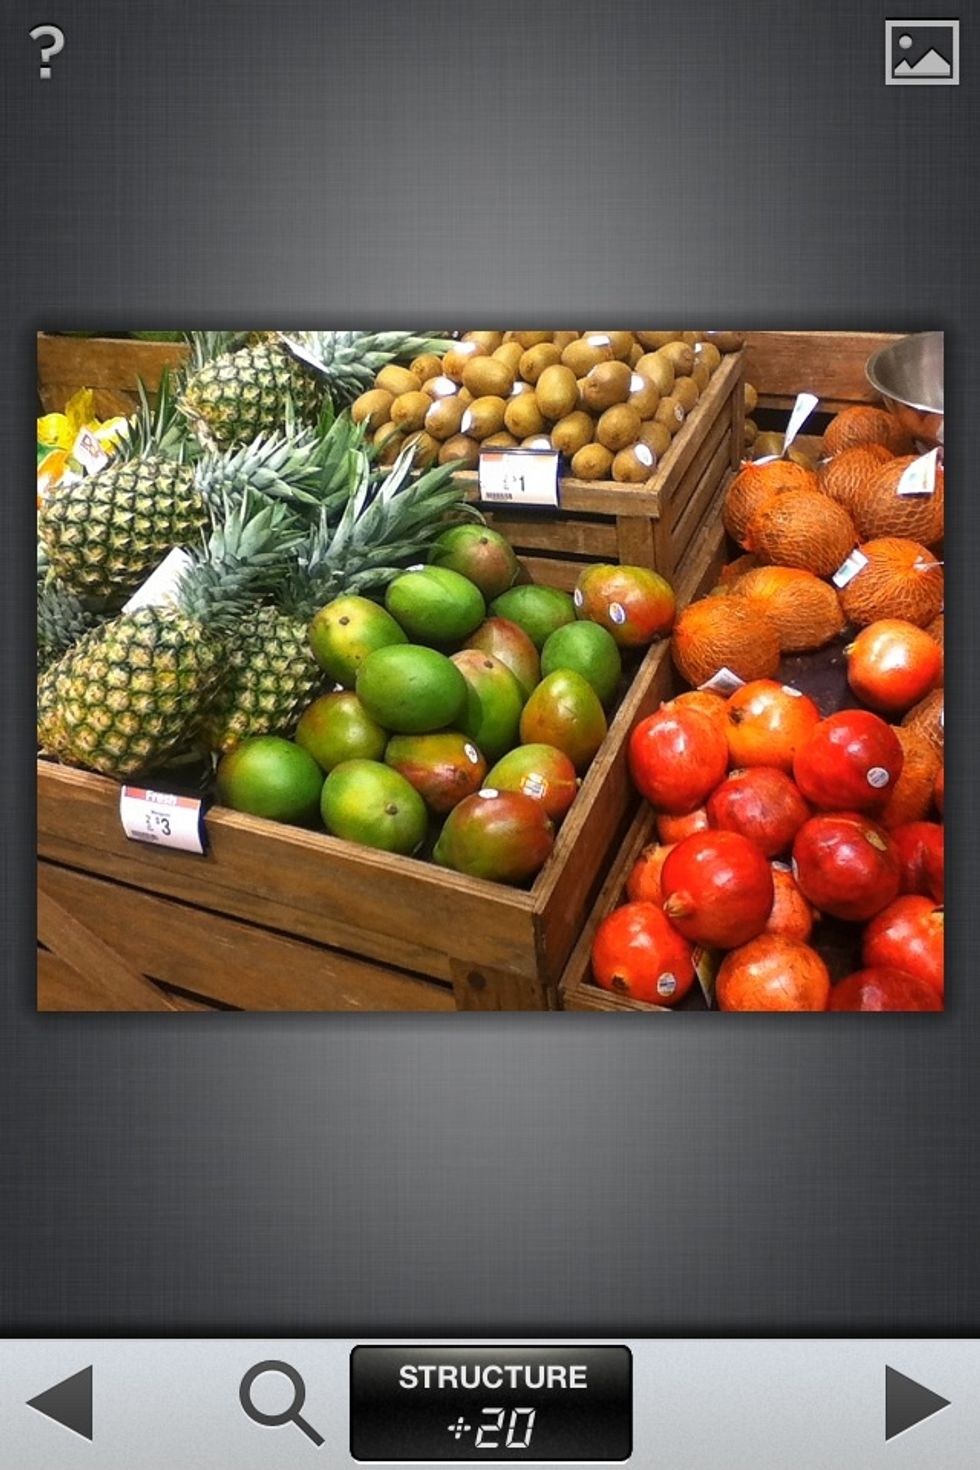
Choose DETAILS again to adjust the STRUCTURE of the photo. Do the same as you did for the sharpening. I set mine to 20.
Changing the structure of the photo will amplify the FORM of the objects in the photo, making them look more pronounced and independent.
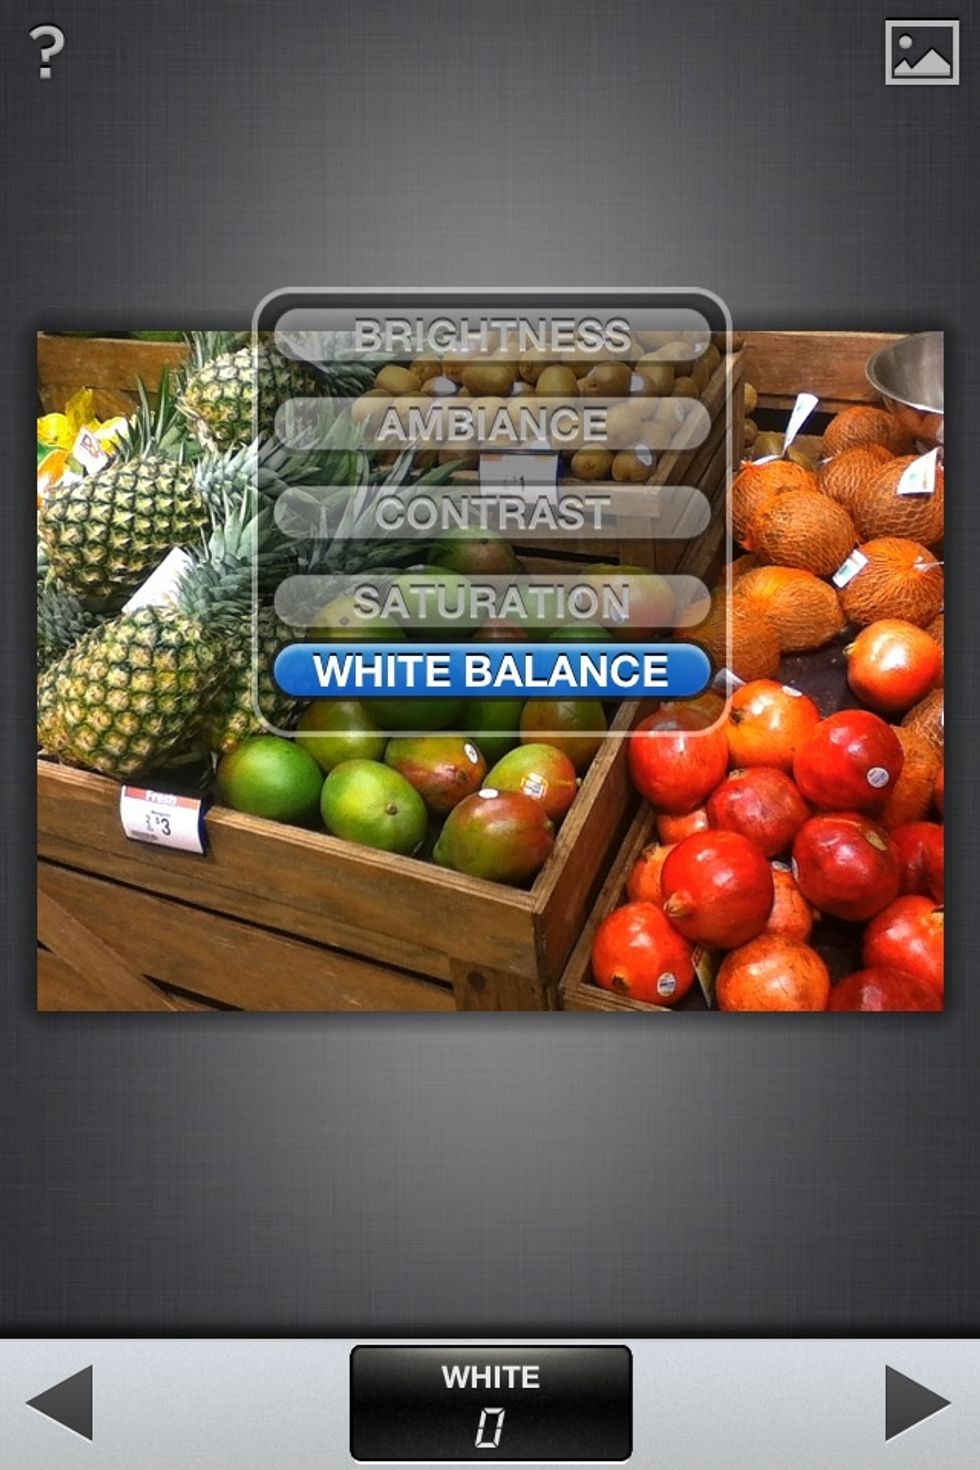
Now choose the TUNE IMAGE effect and from the menu choose WHITE BALANCE. I did not change my white balance much since the colors were fairly accurate.
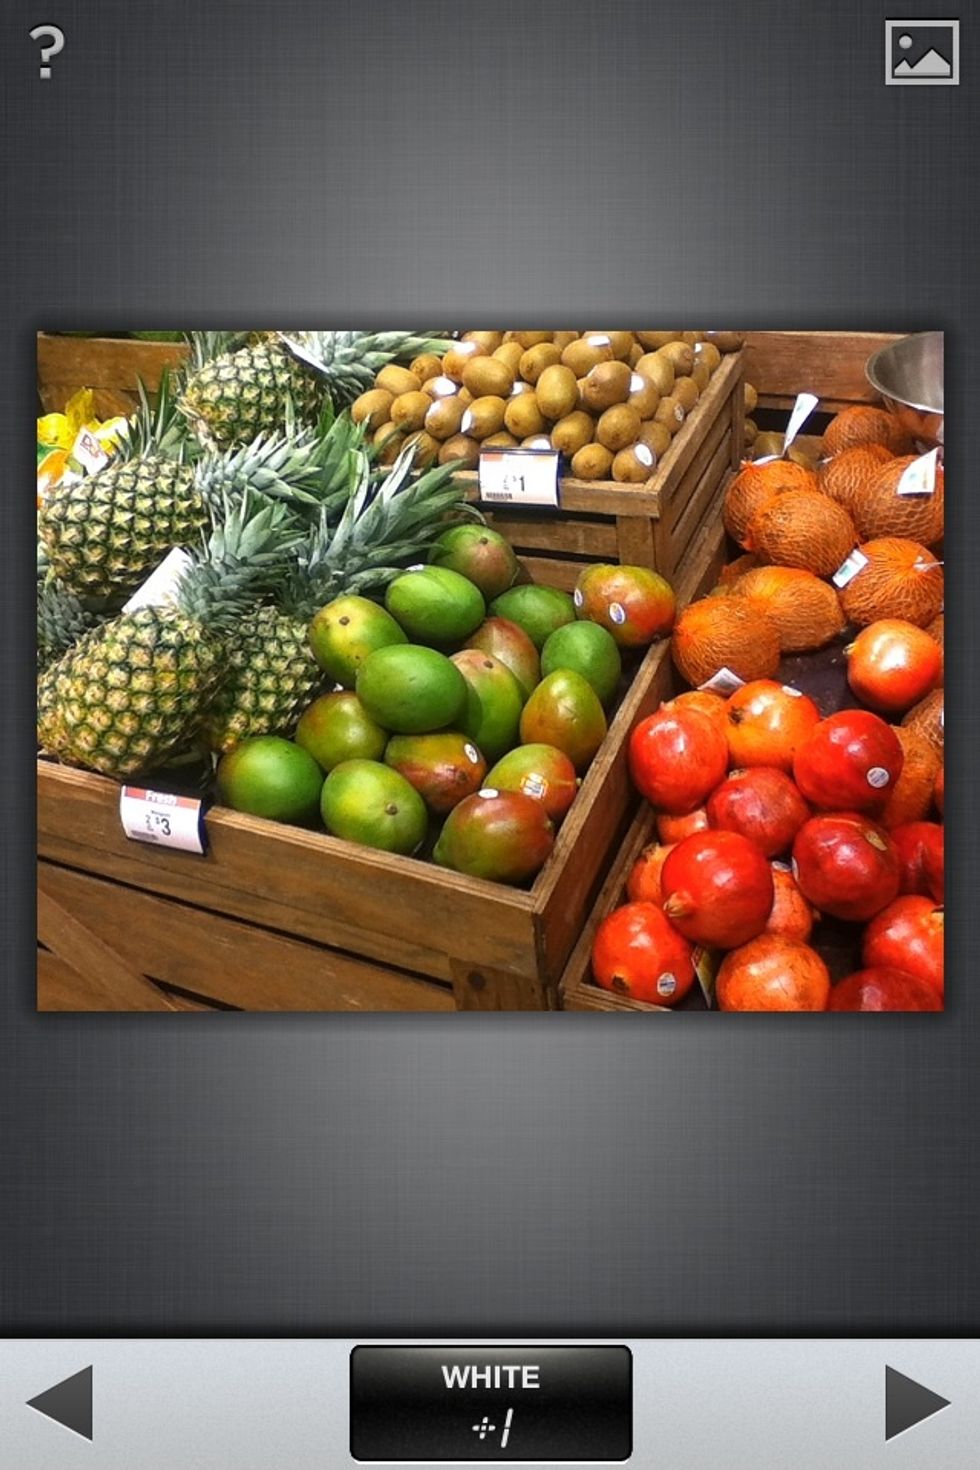
This is with the white balance. Not much to see here.
WHITE BALANCE is a way of telling a camera what is white and what is an off-white. Sometimes cameras think what is OFF-WHITE is white, and that what is WHITE is a blue- white. If yellow looks white...
THEN WHAT DOES WHITE LOOK LIKE?
Tap the SEND icon at the top right (the one that looks like a rectangle with an arrow on it) to save the picture to the camera roll.
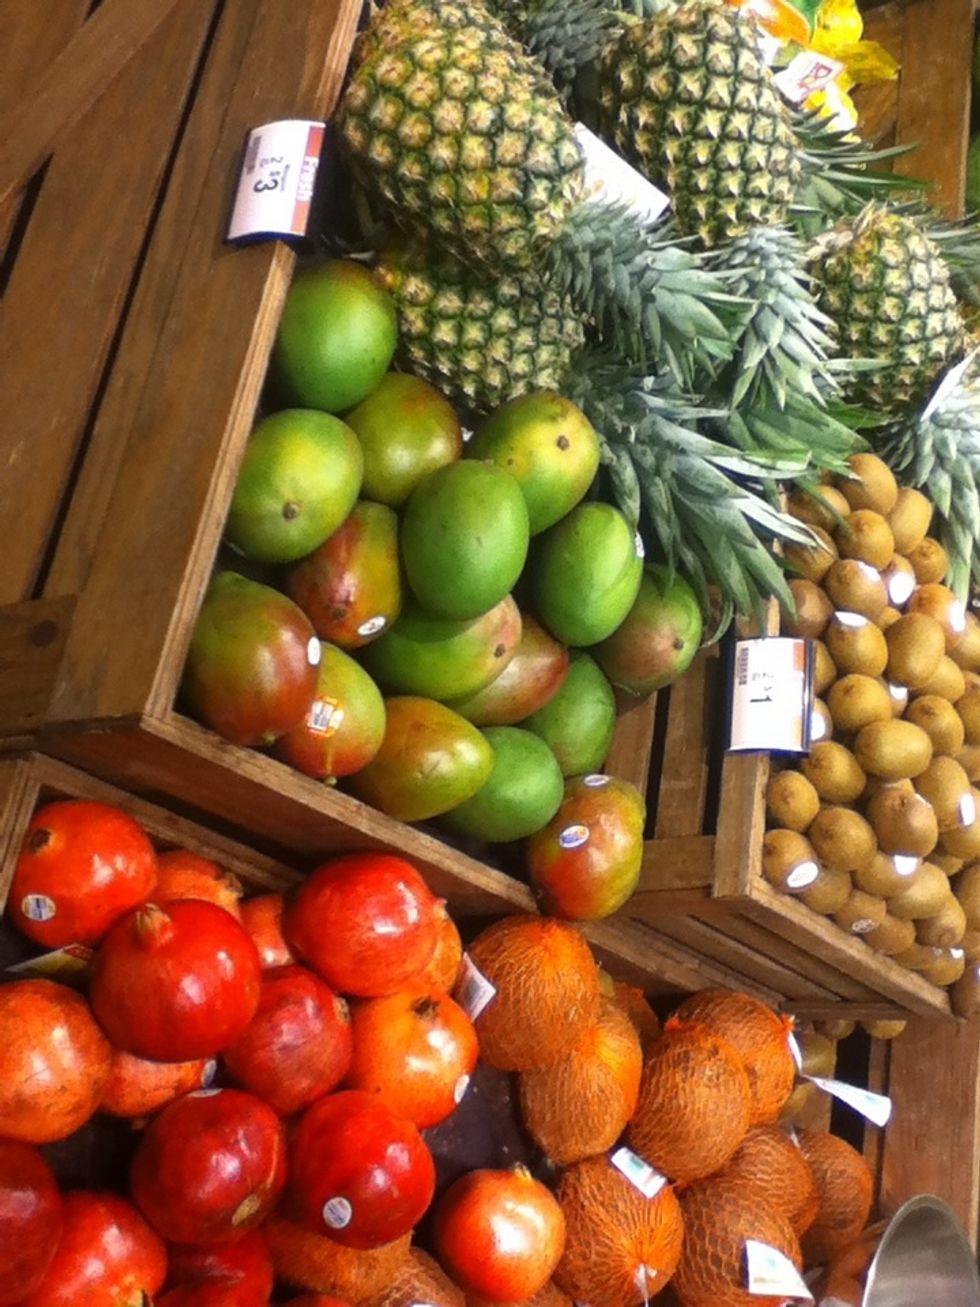
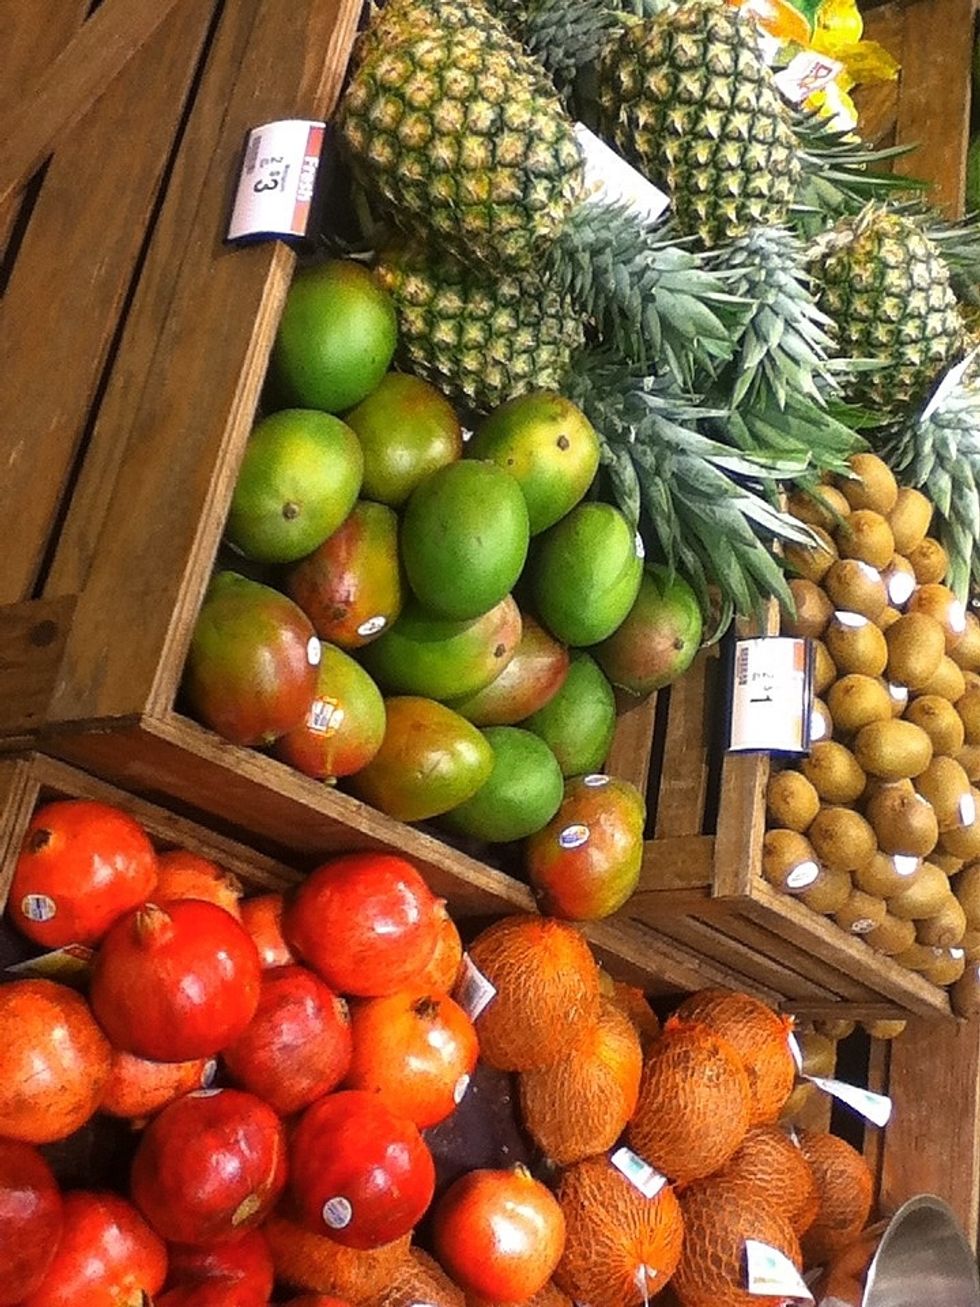
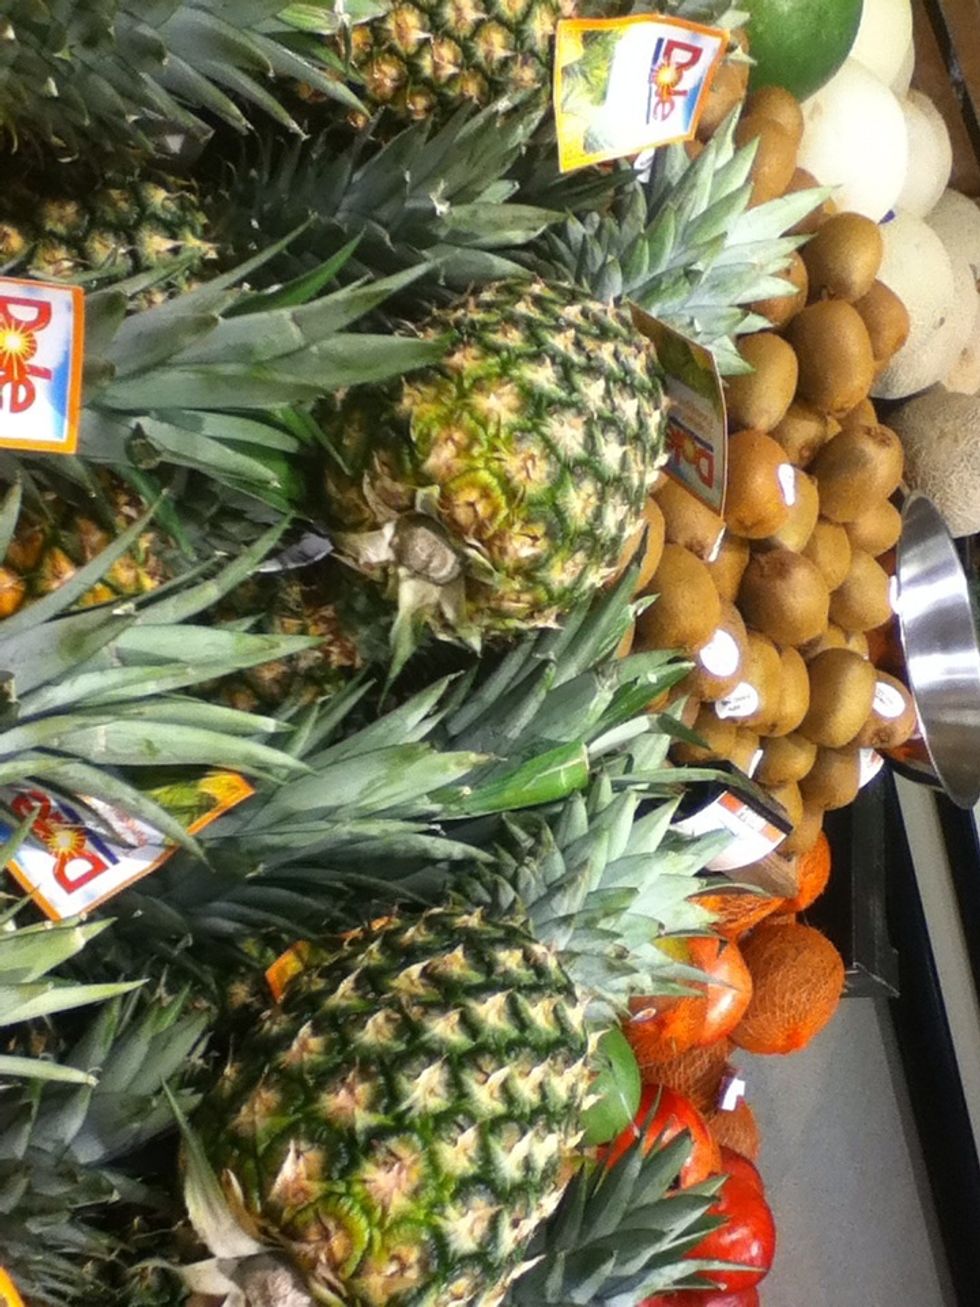
This is the ORIGINAL.
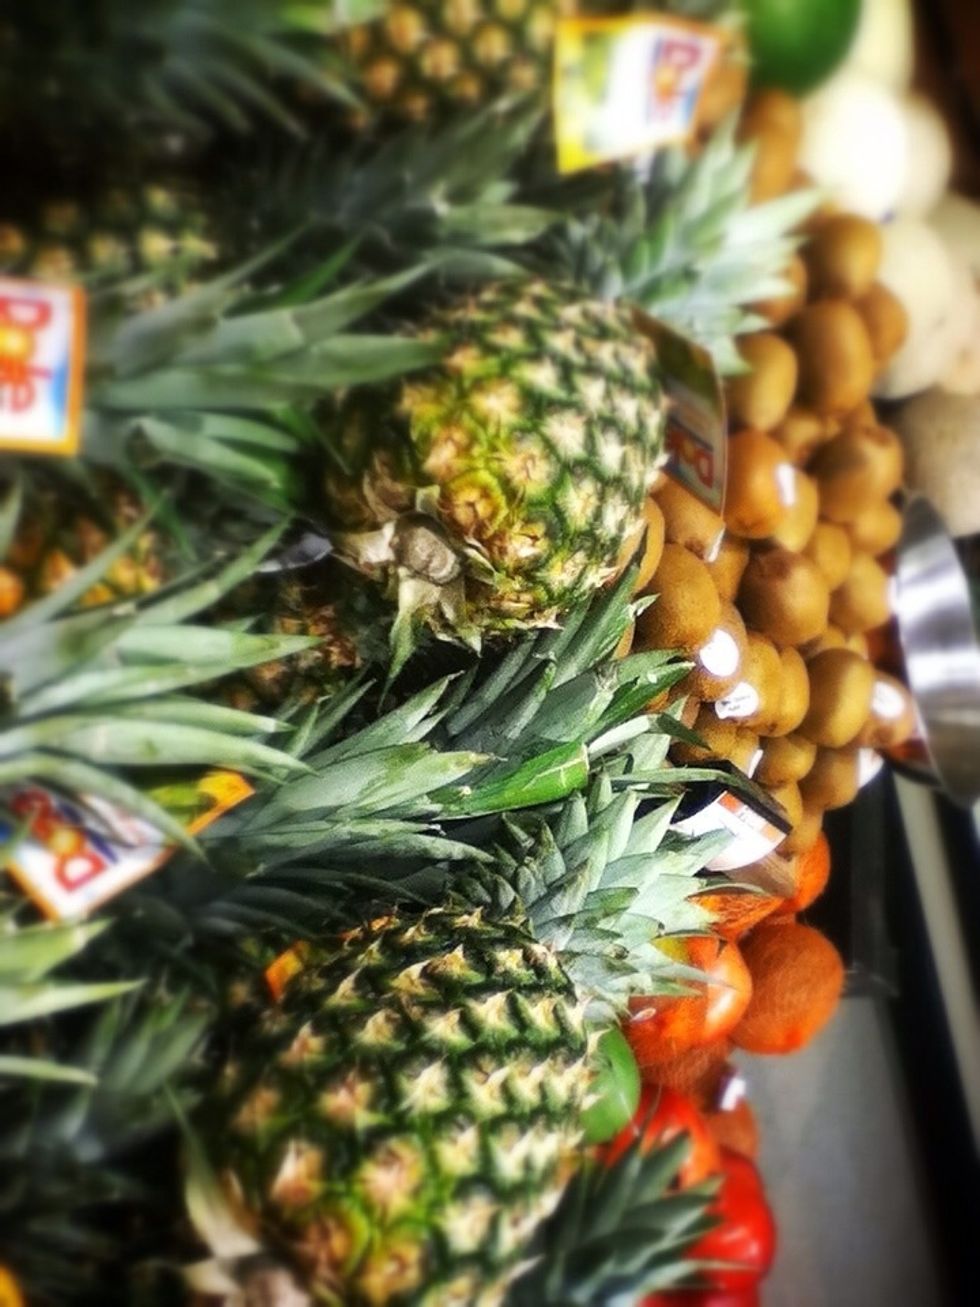
This is the RESULT.
BONUS TIPS:
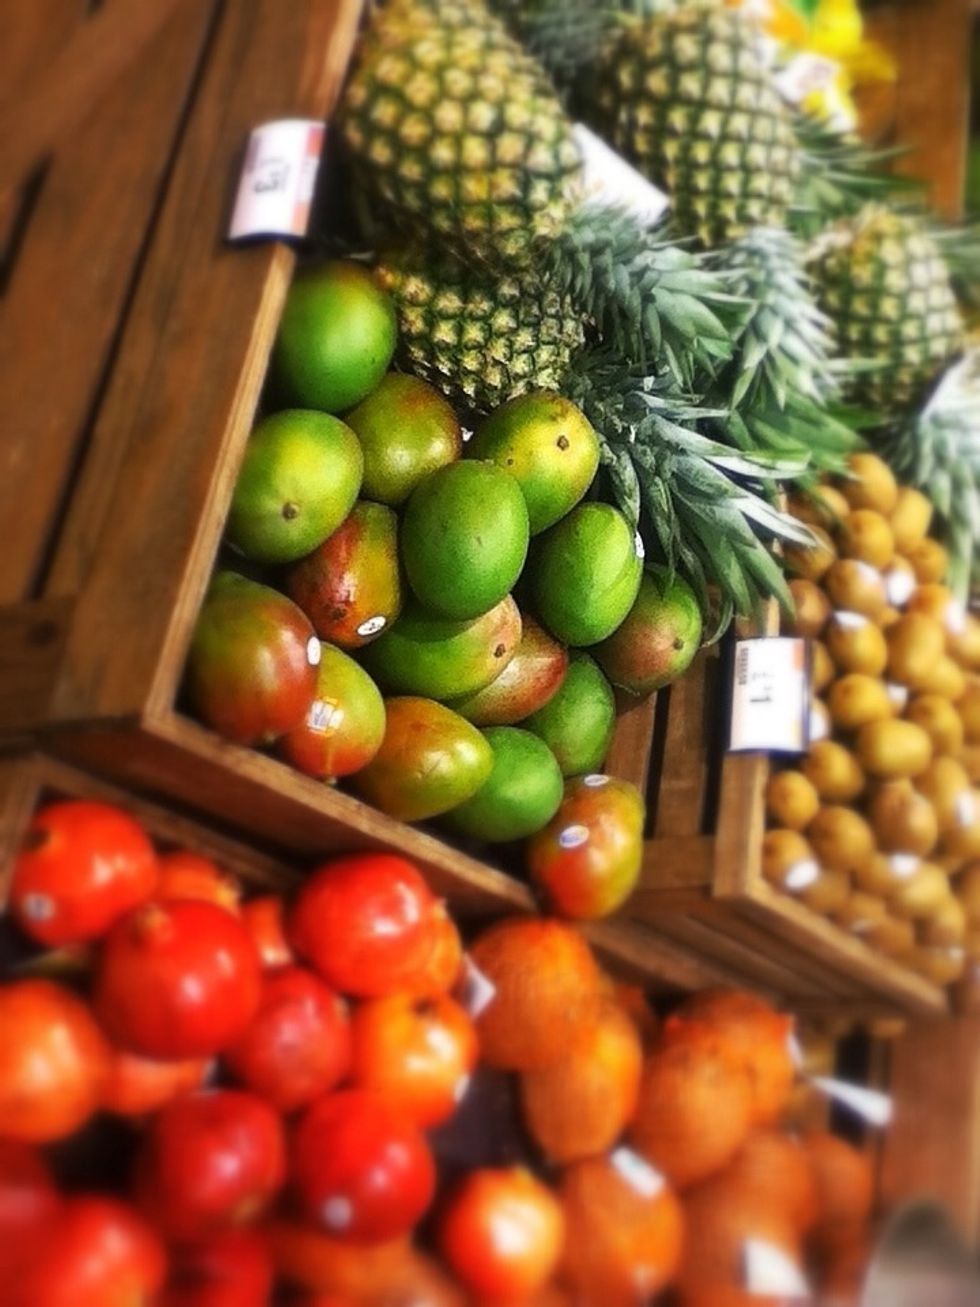
I added a TILT SHIFT effect with a CIRCULAR pattern. The trick is to blur out less detailed part of photo so that the most detailed part looks even more detailed. hehe.
I then added a VIGNETTE effect to make the photo look like it was taken with a camera with a lens on it. Vignette is under CENTER FOCUS.
NOW YOUR SNAPGUIDE PHOTOS WILL LOOK LIKE THEY WERE TAKEN WITH DSLR CAMERAS!!
Note: I am going to check out some of these MACRO LENS snapguides to see if I can adapt them to an IPod touch. I will update if I can, unless someone wants to make one for me!!
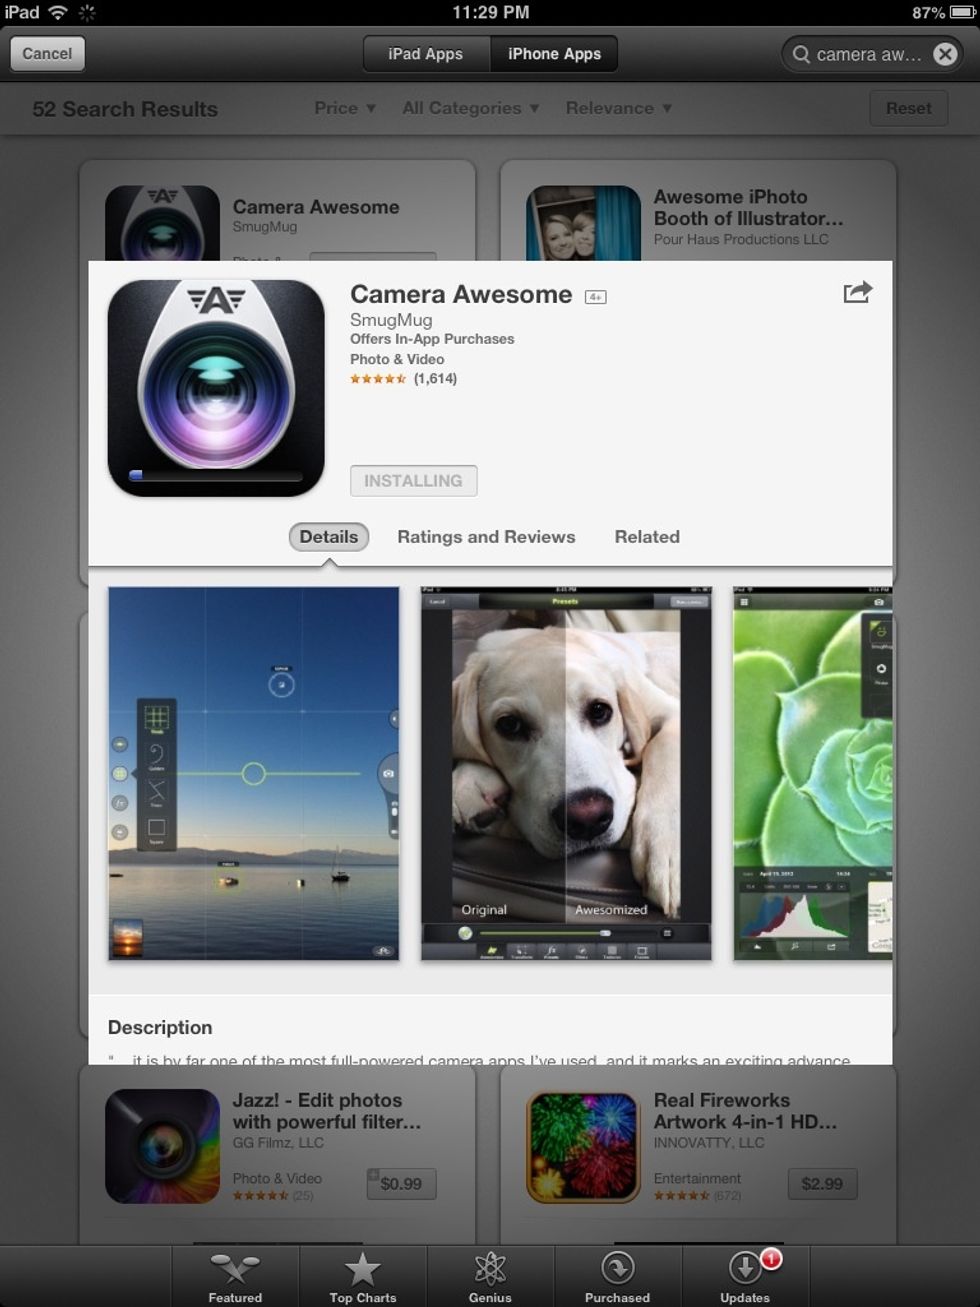
The CAMERA AWESOME app is almost a must have. For whatever reason, my photos come out better using this.
EXAMPLES:
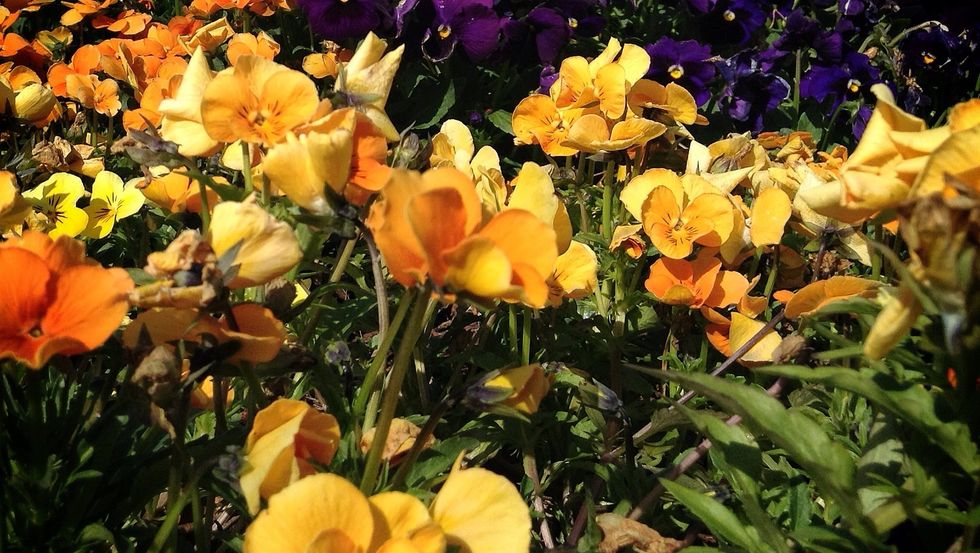
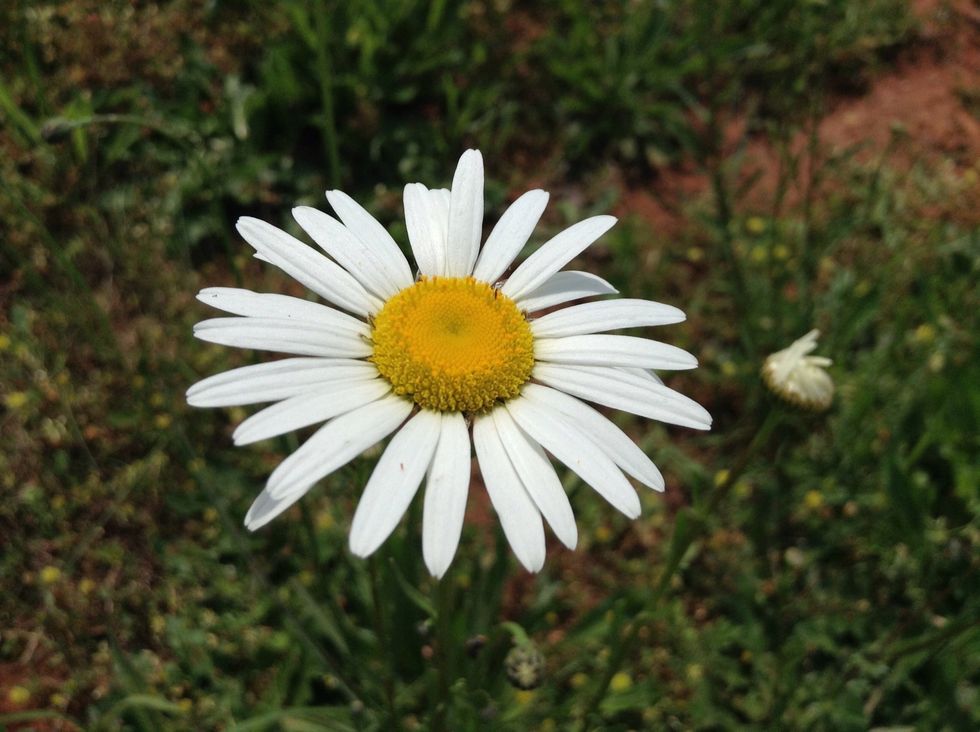
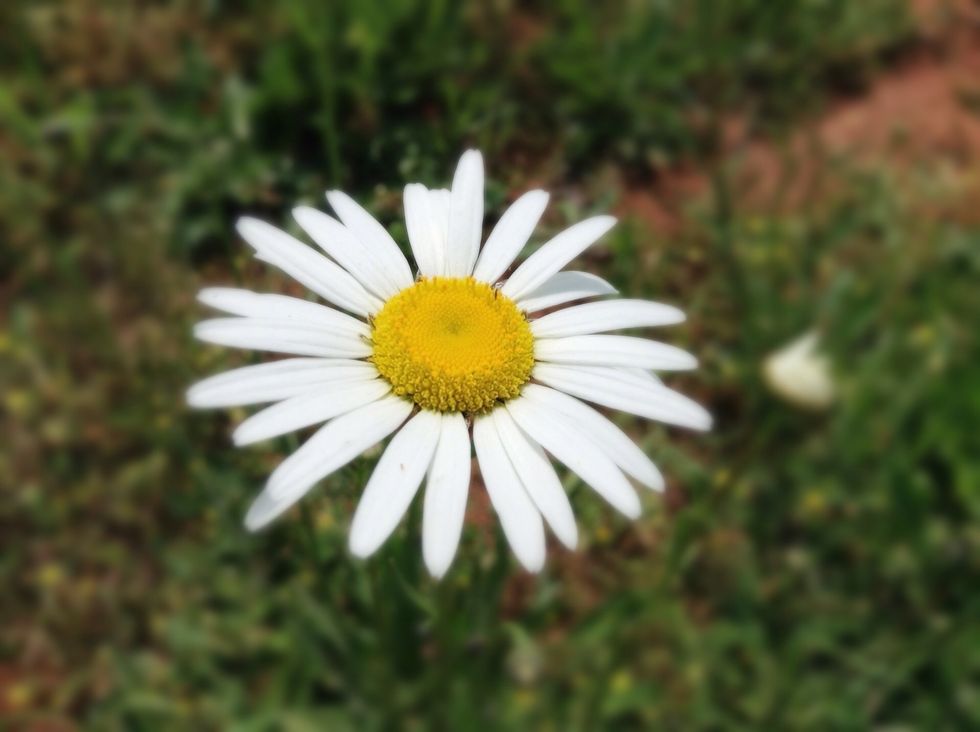
Before
After
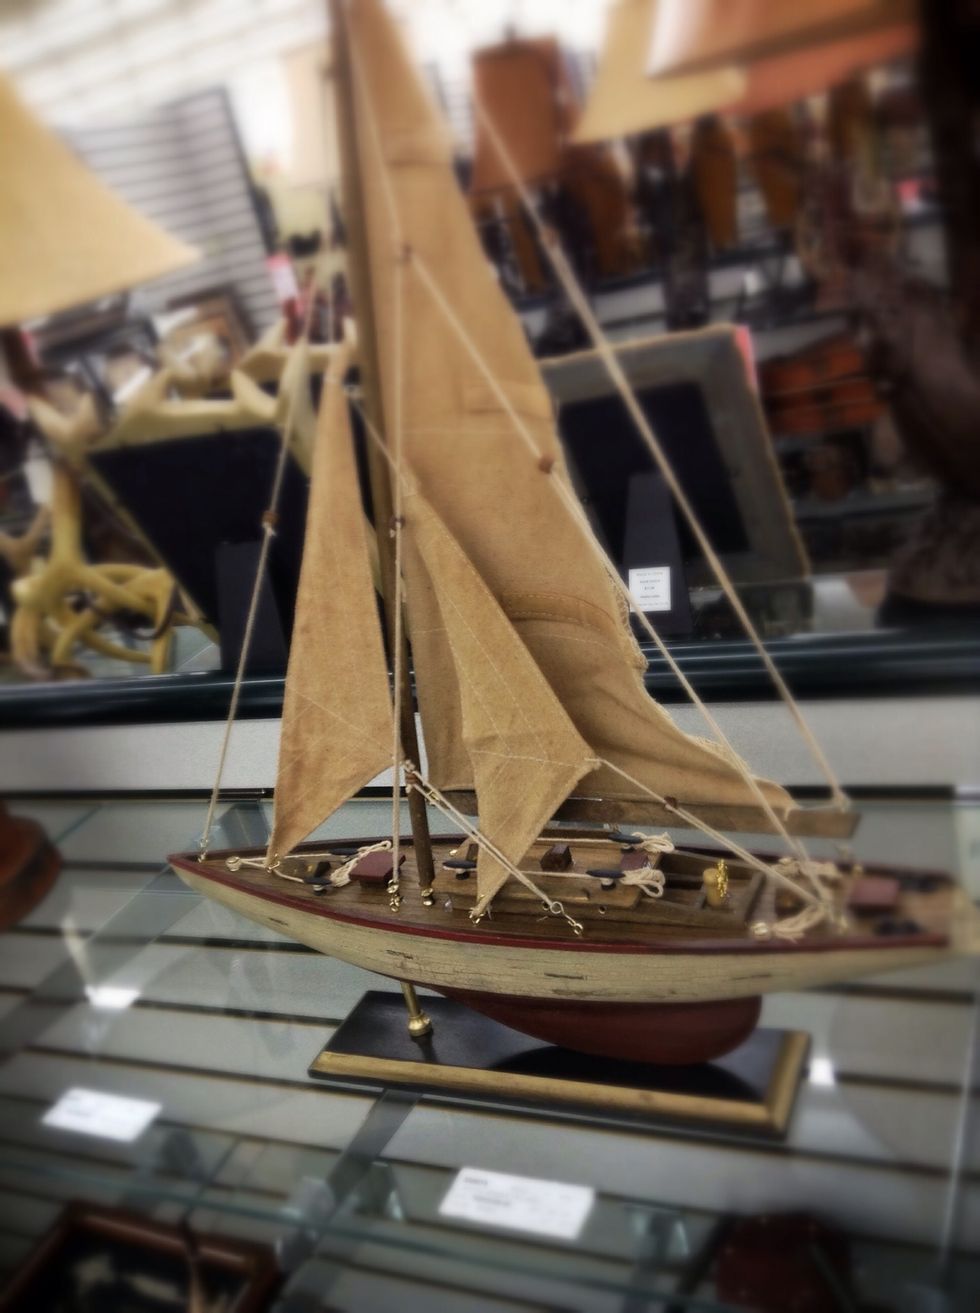
Before
After
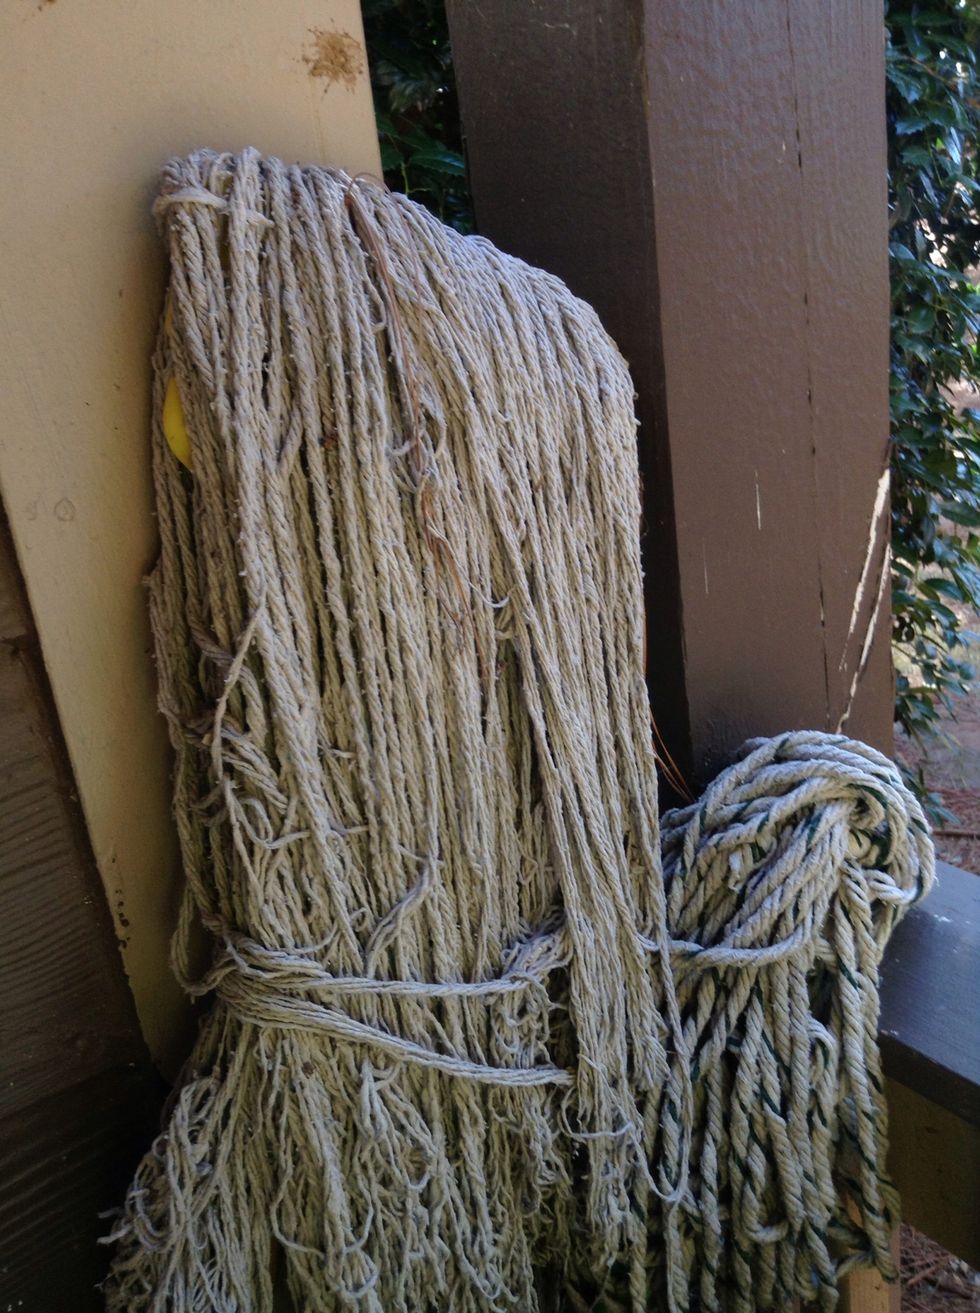
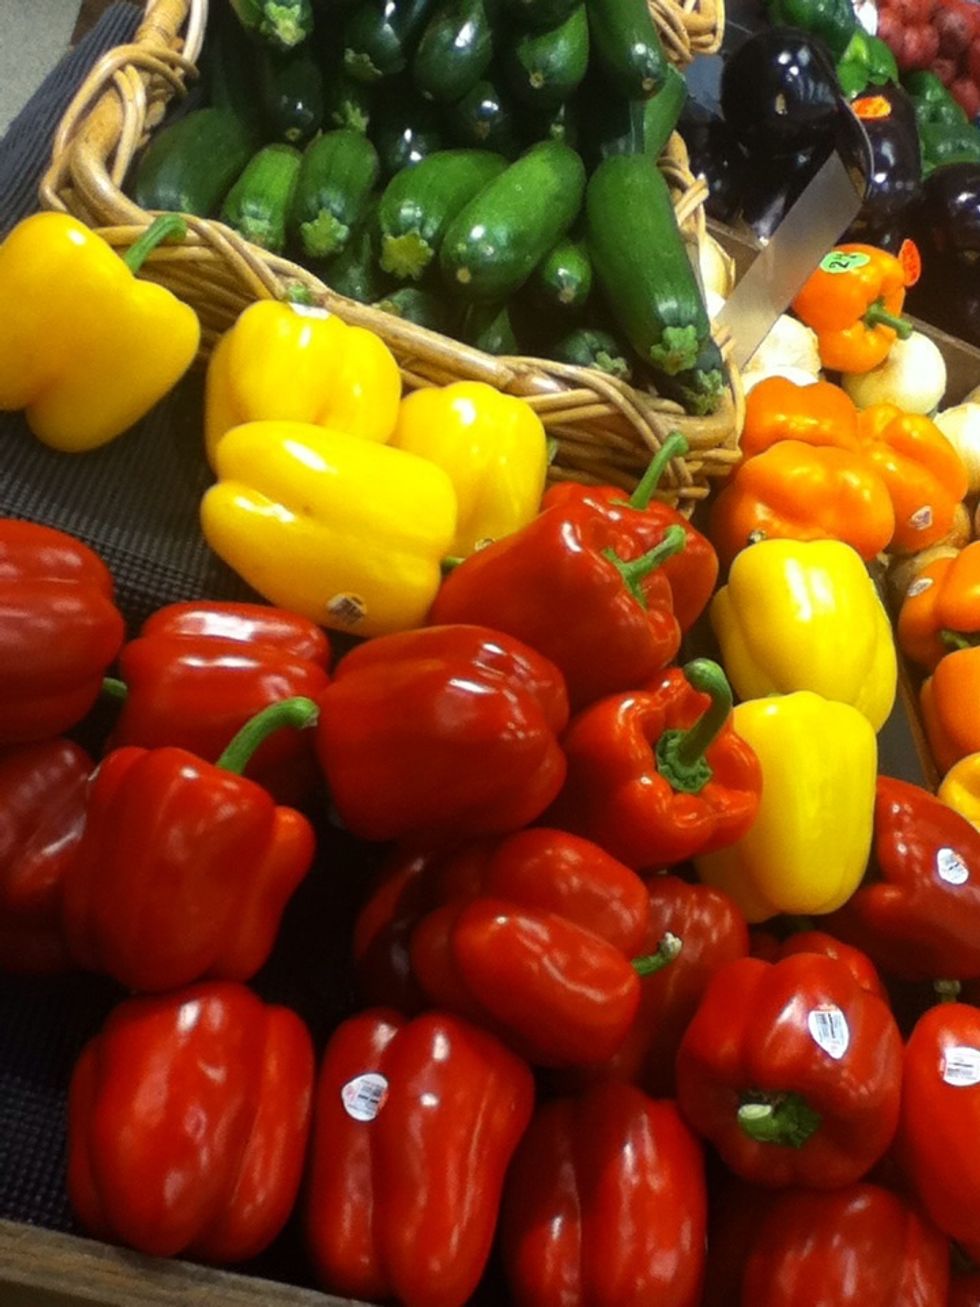
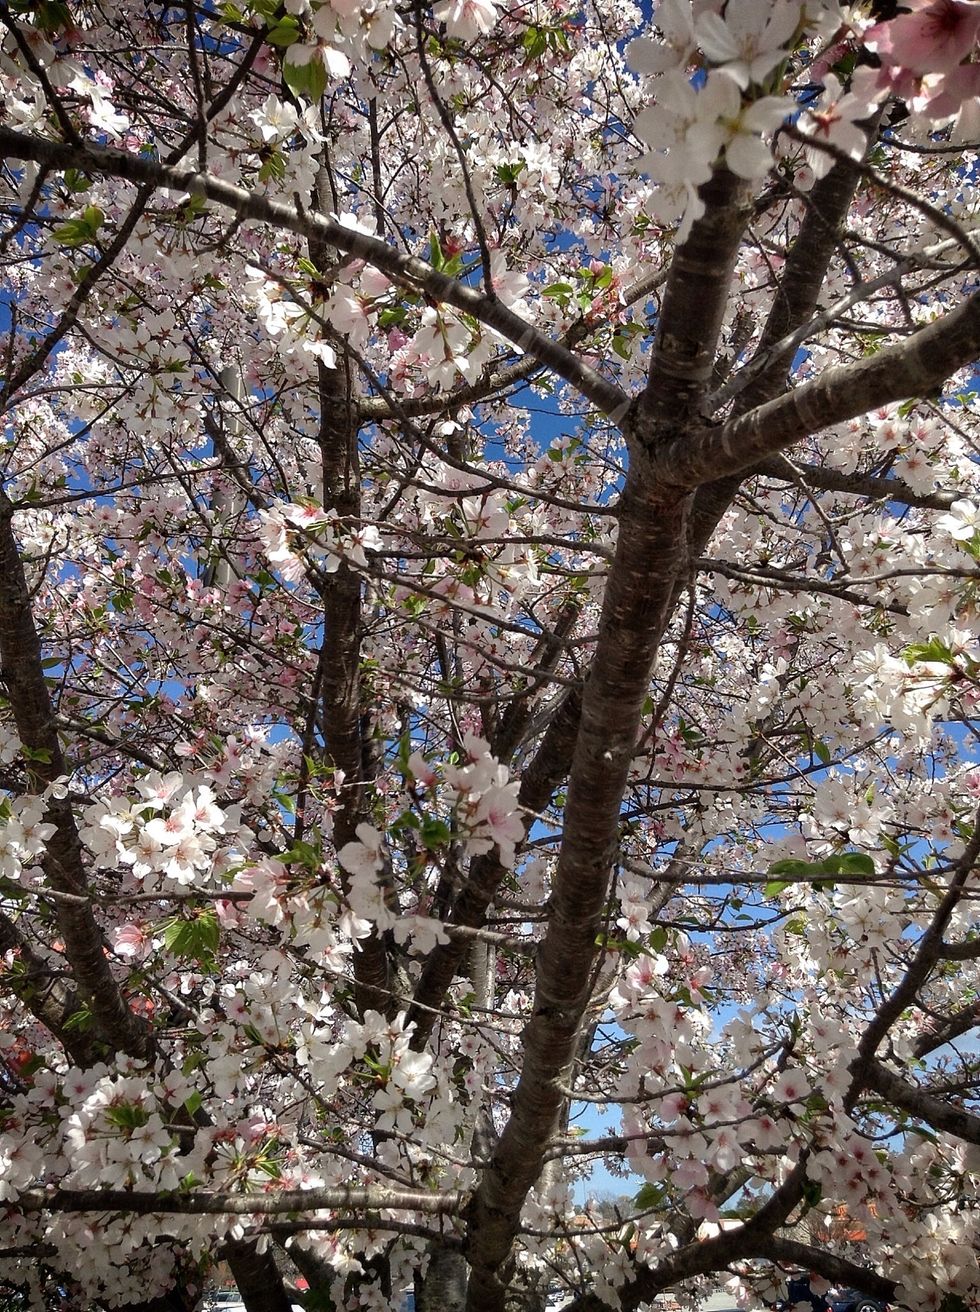
Before
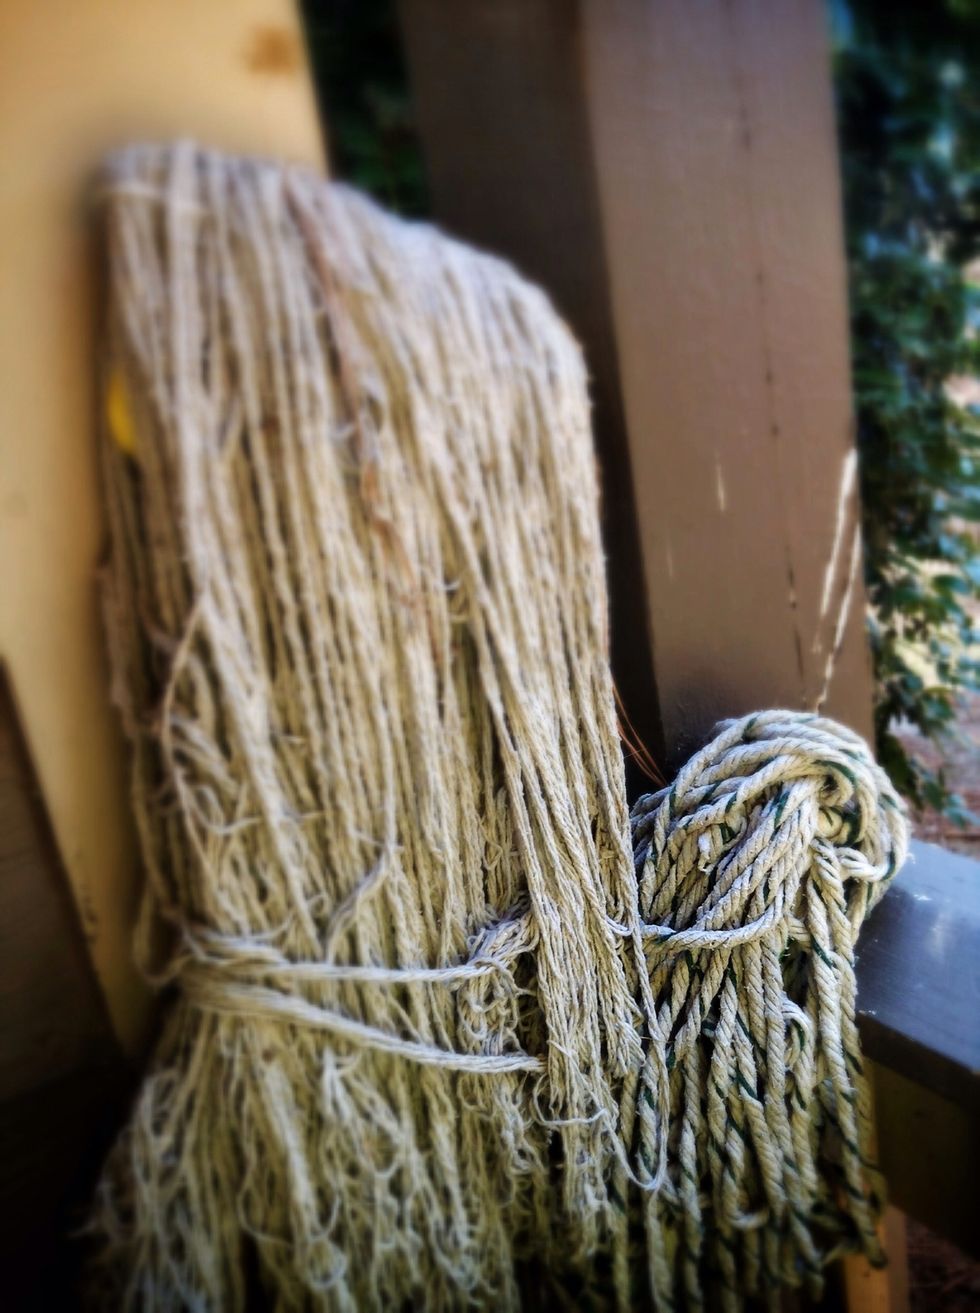
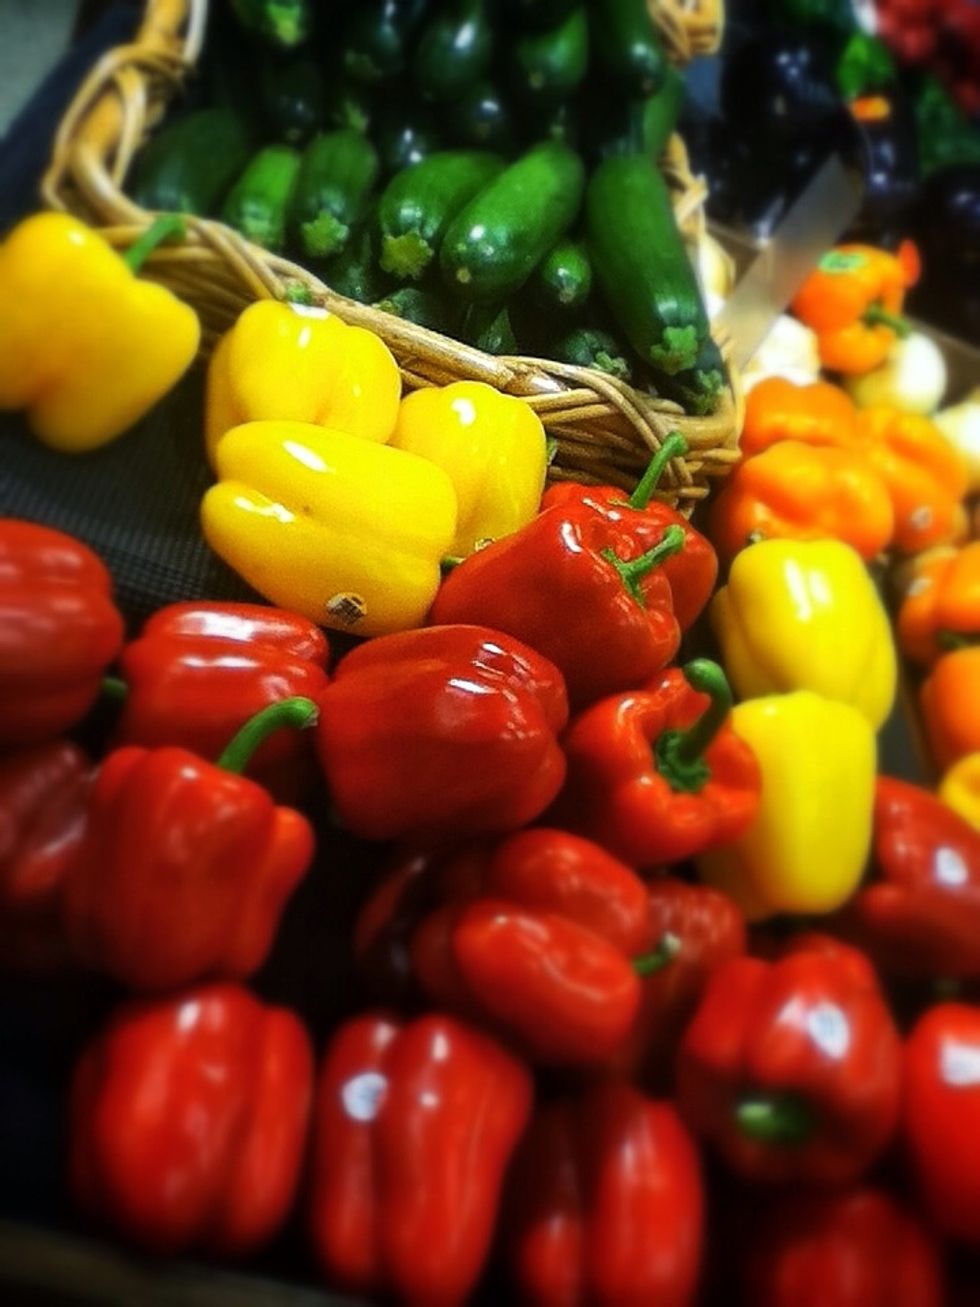
After

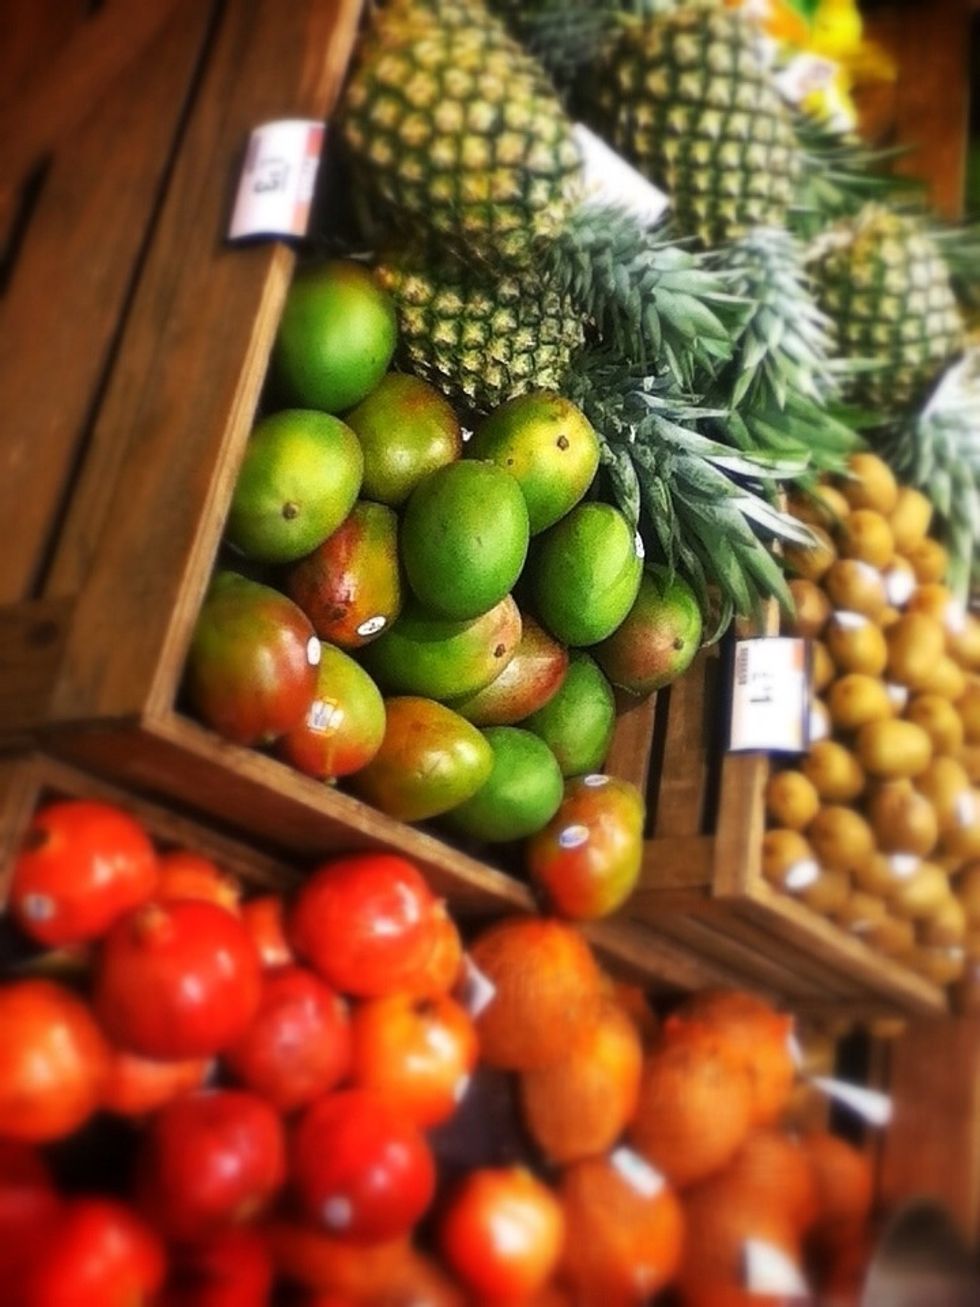
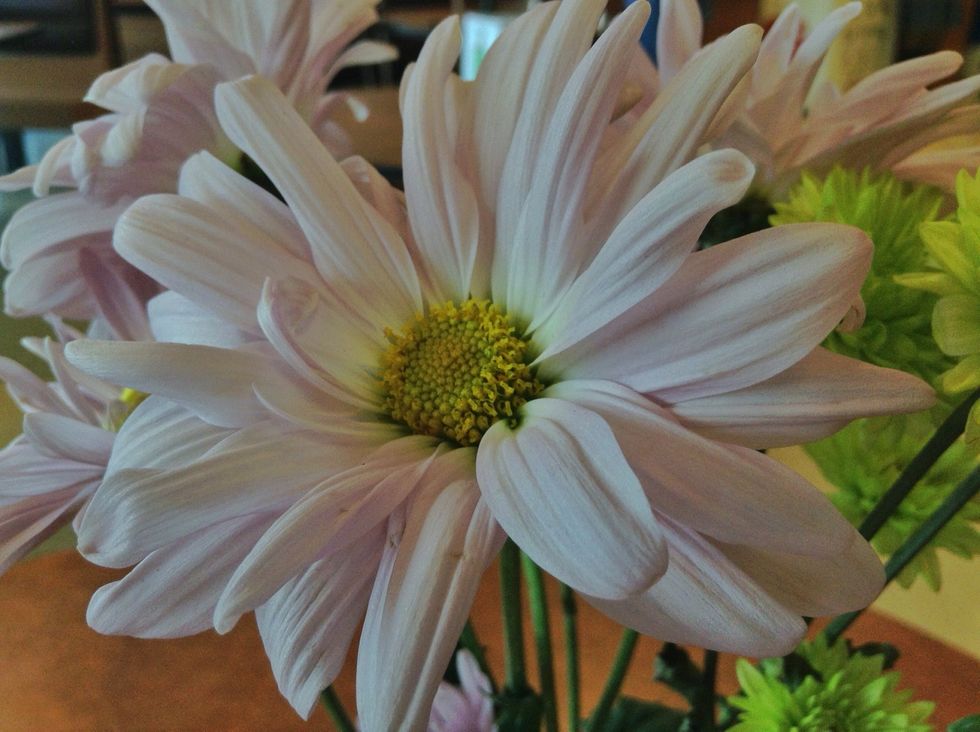
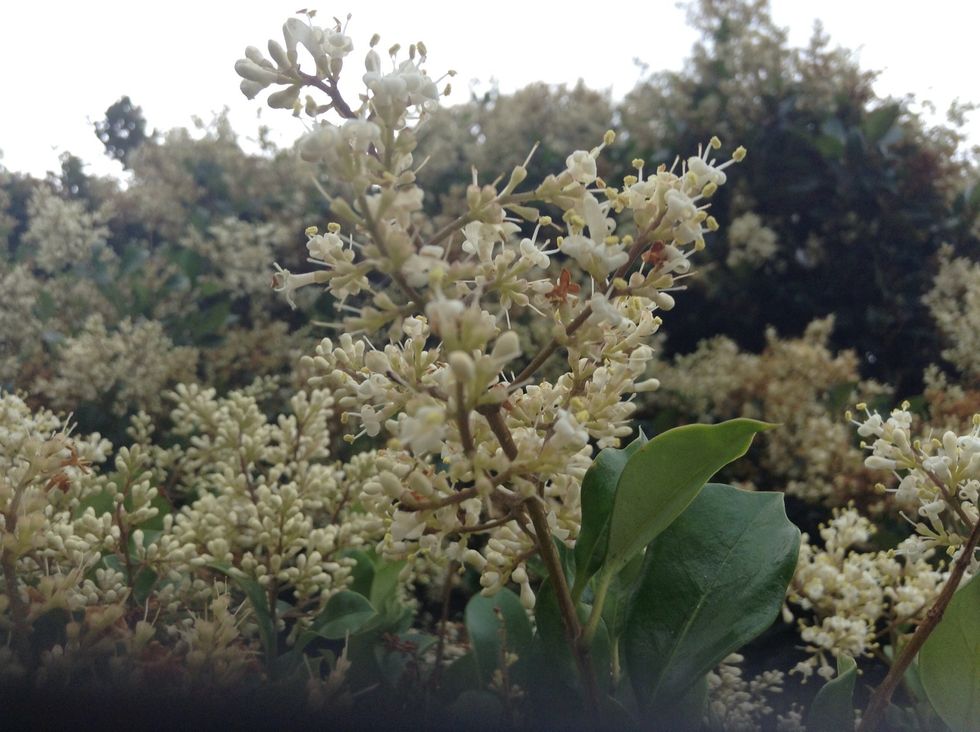
I didn't use blur on this one. It is too pretty.
Taken with the CAMERA AWESOME app.
After (Added accurate depth of field with the FINGER FOCUS app by BBCDDC.
Taken with the CAMERA AWESOME app
Same photo but used the FINGER FOCUS app to give the DEPTH OF FIELD look.
Note: The more light you have, the better the photo will look and the less grain you will get. But too much light will bleach out the image. Even light is best.