How to make household bills organizer graphic 45 city scapes
Make Household Bills Organizer Graphic 45 City Scapes
618
STEPS
TOOLS
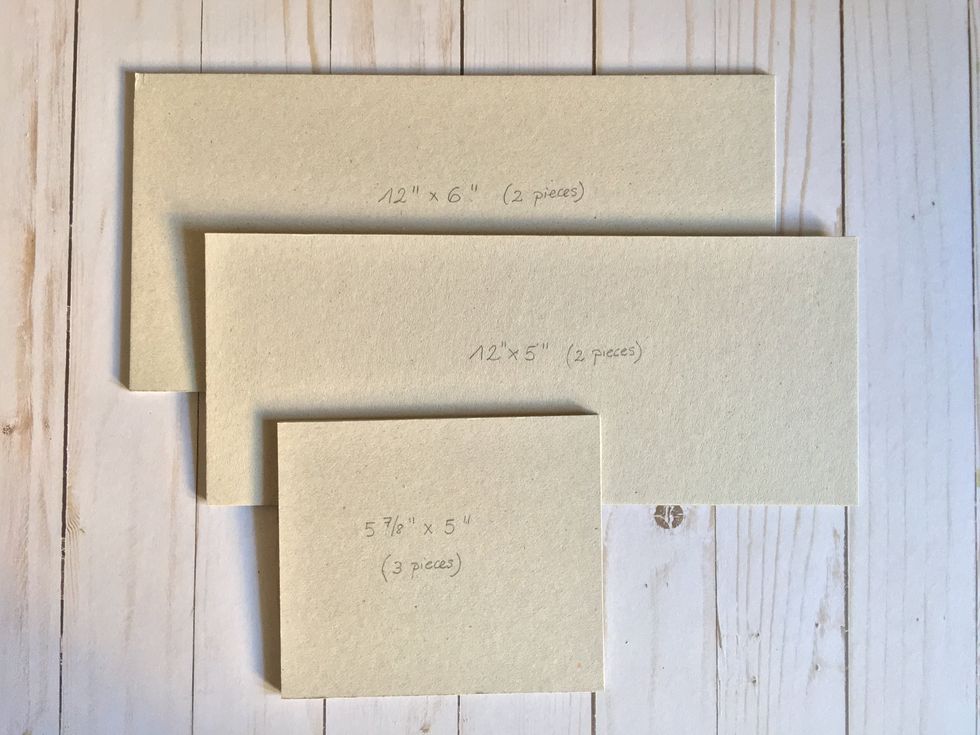
Cut 2 pieces 12"x6", 2 pieces 12"x5" and 3 pieces 5 7/8"x5" of cardboard.
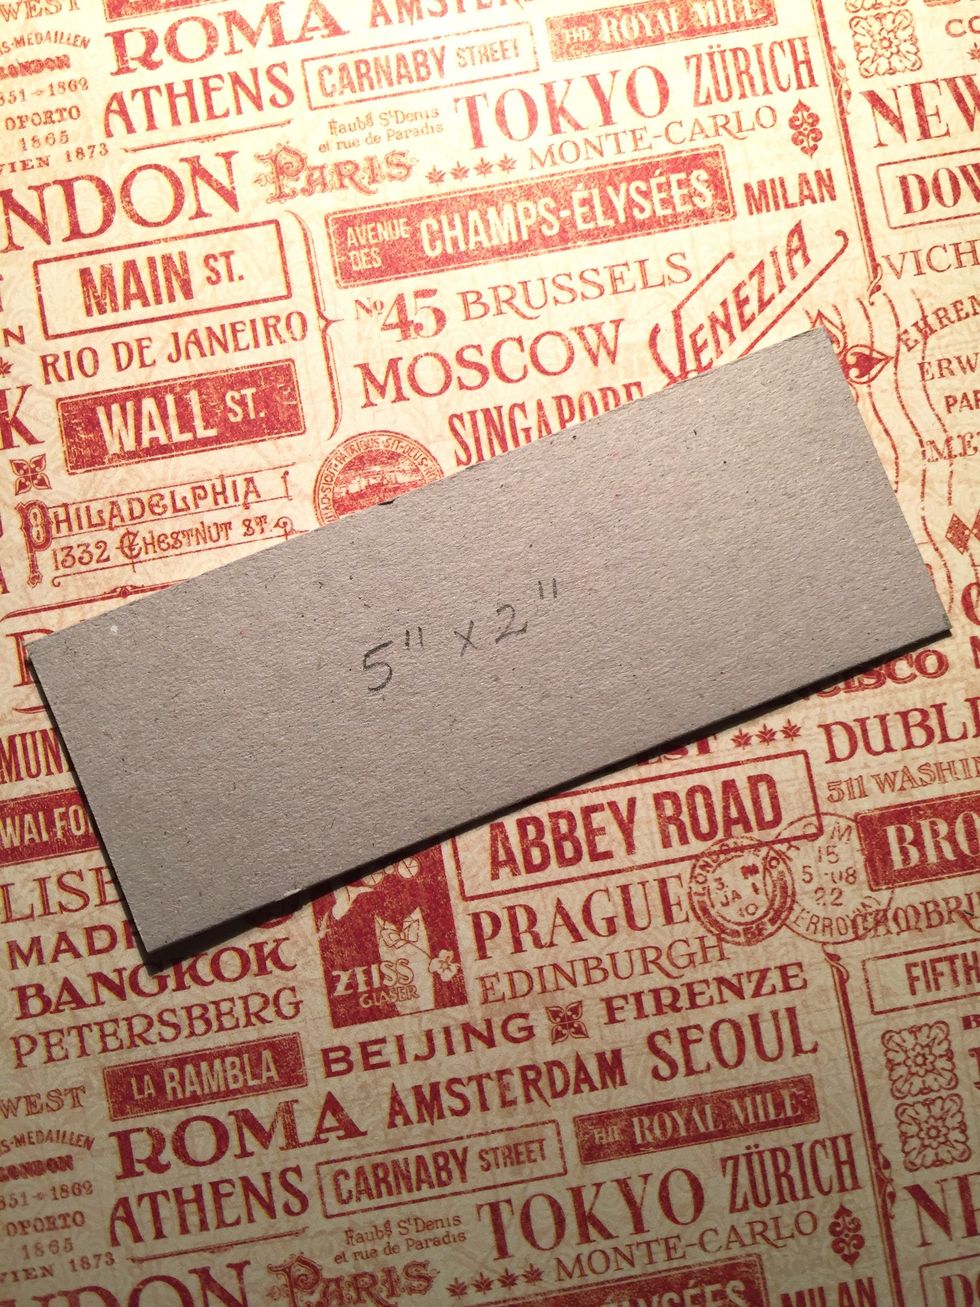
Cut a piece of 5"x2" and cover with paper using double-sided tape.
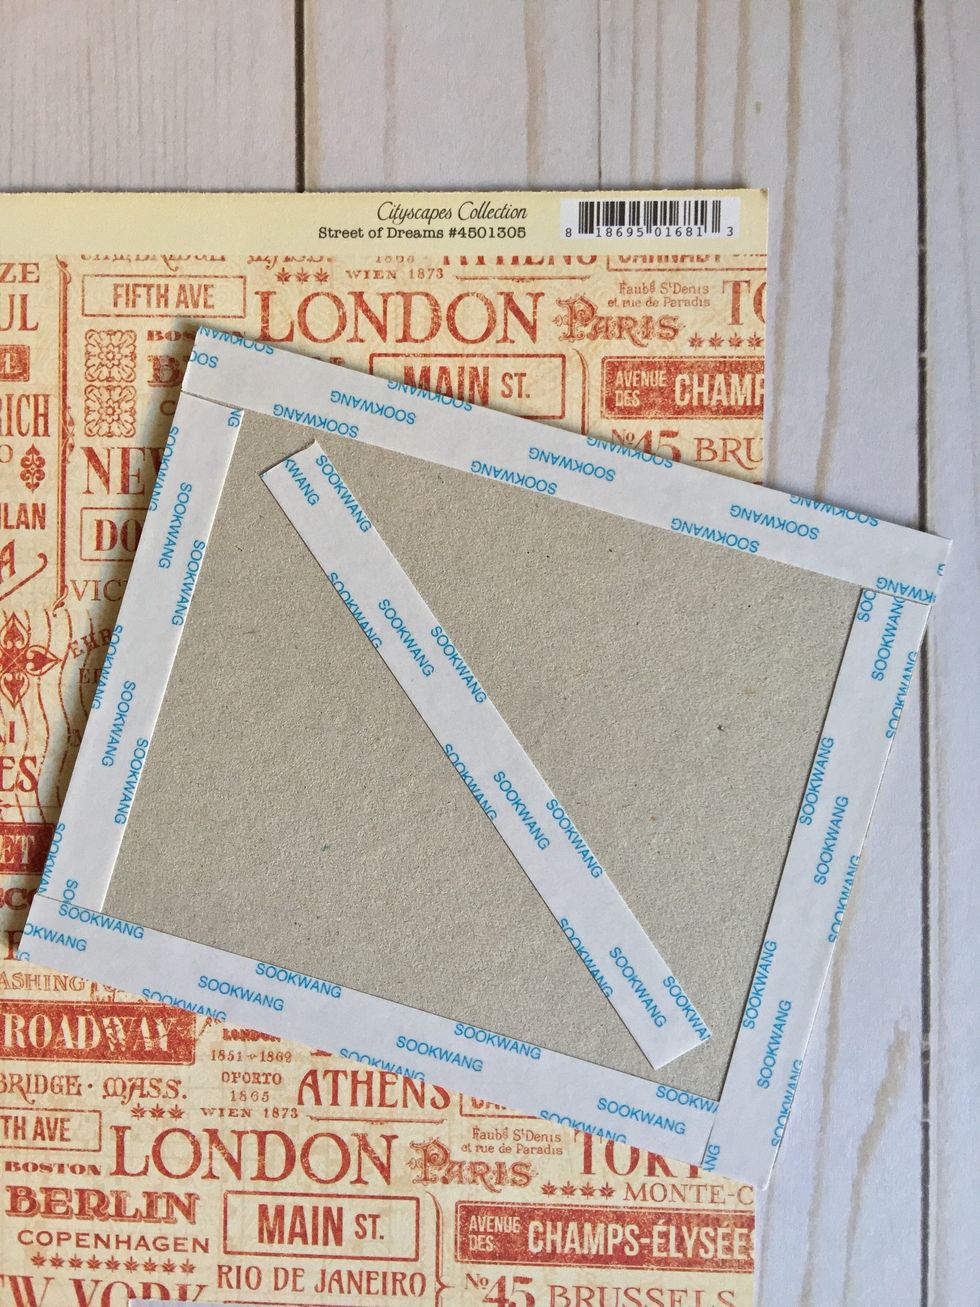
Use double-sided tape to cover this 5 7/8"x5" piece both sides.
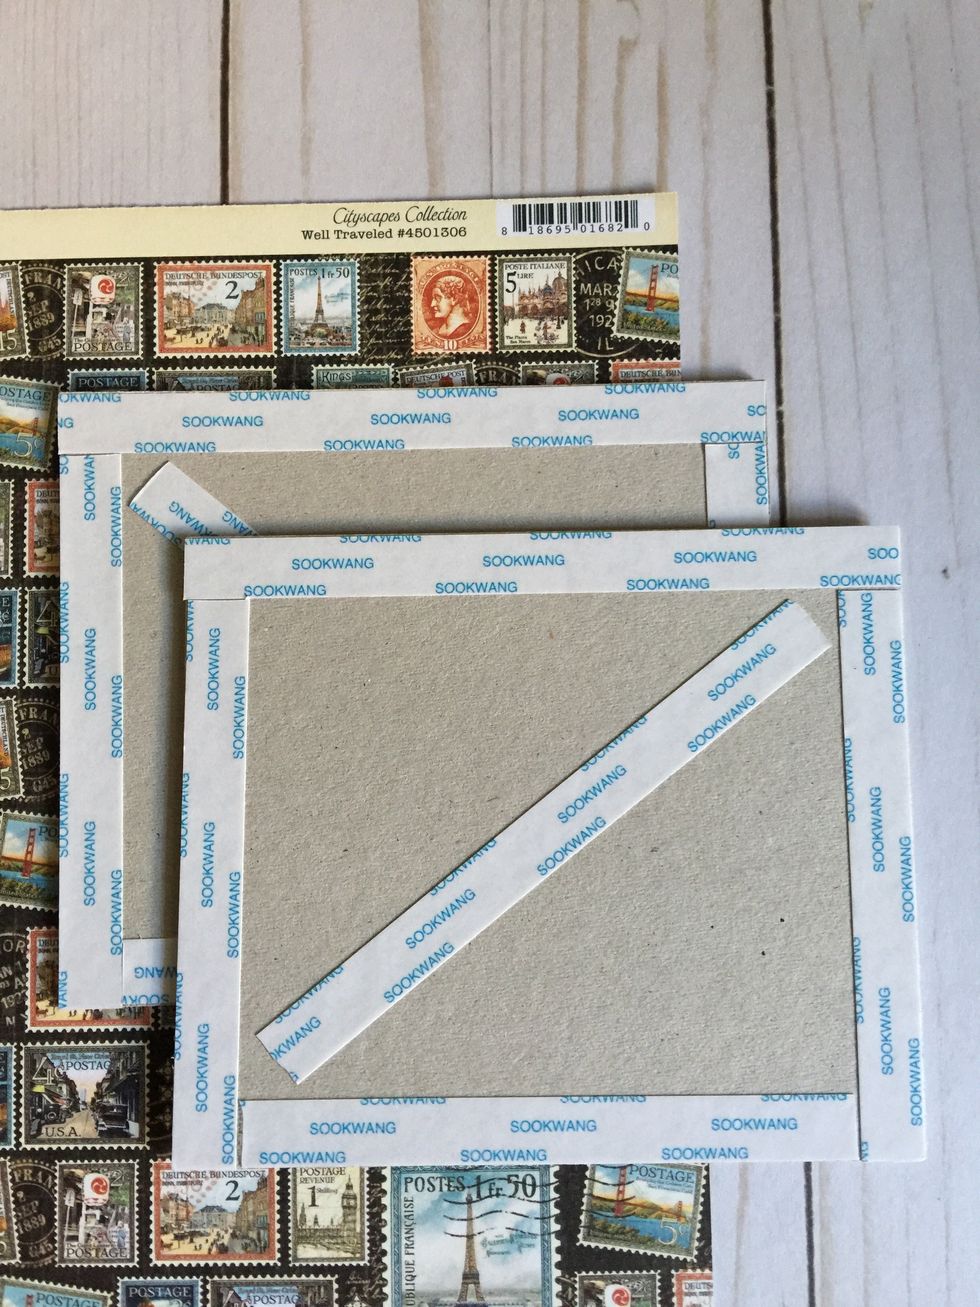
Cover the other two pieces of 5 7/8"x5" with this paper, both sides.
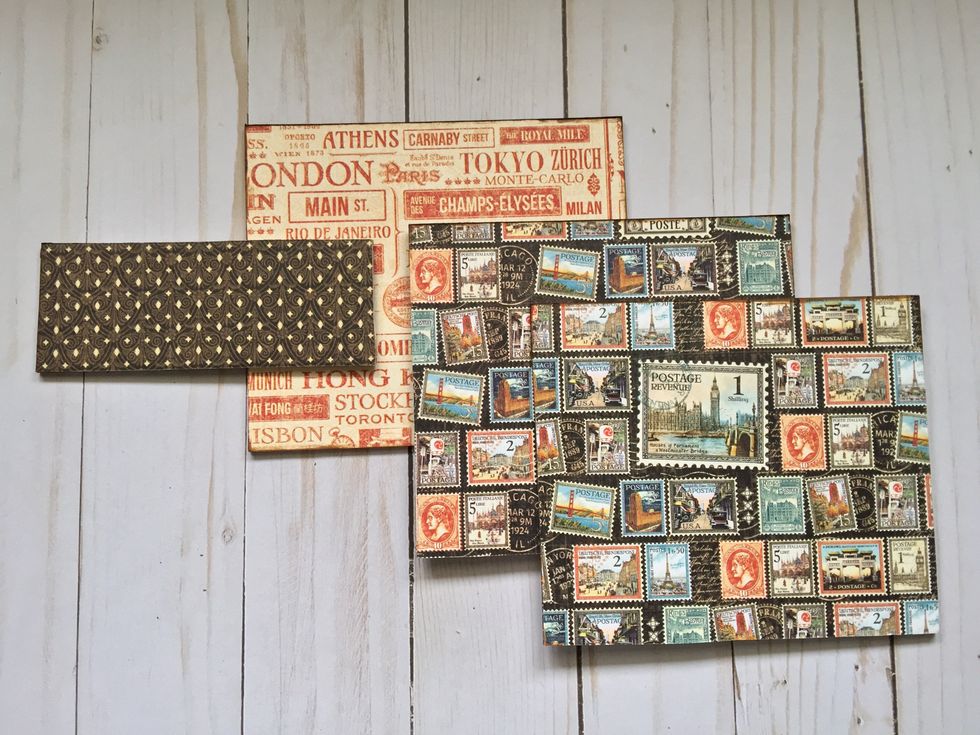
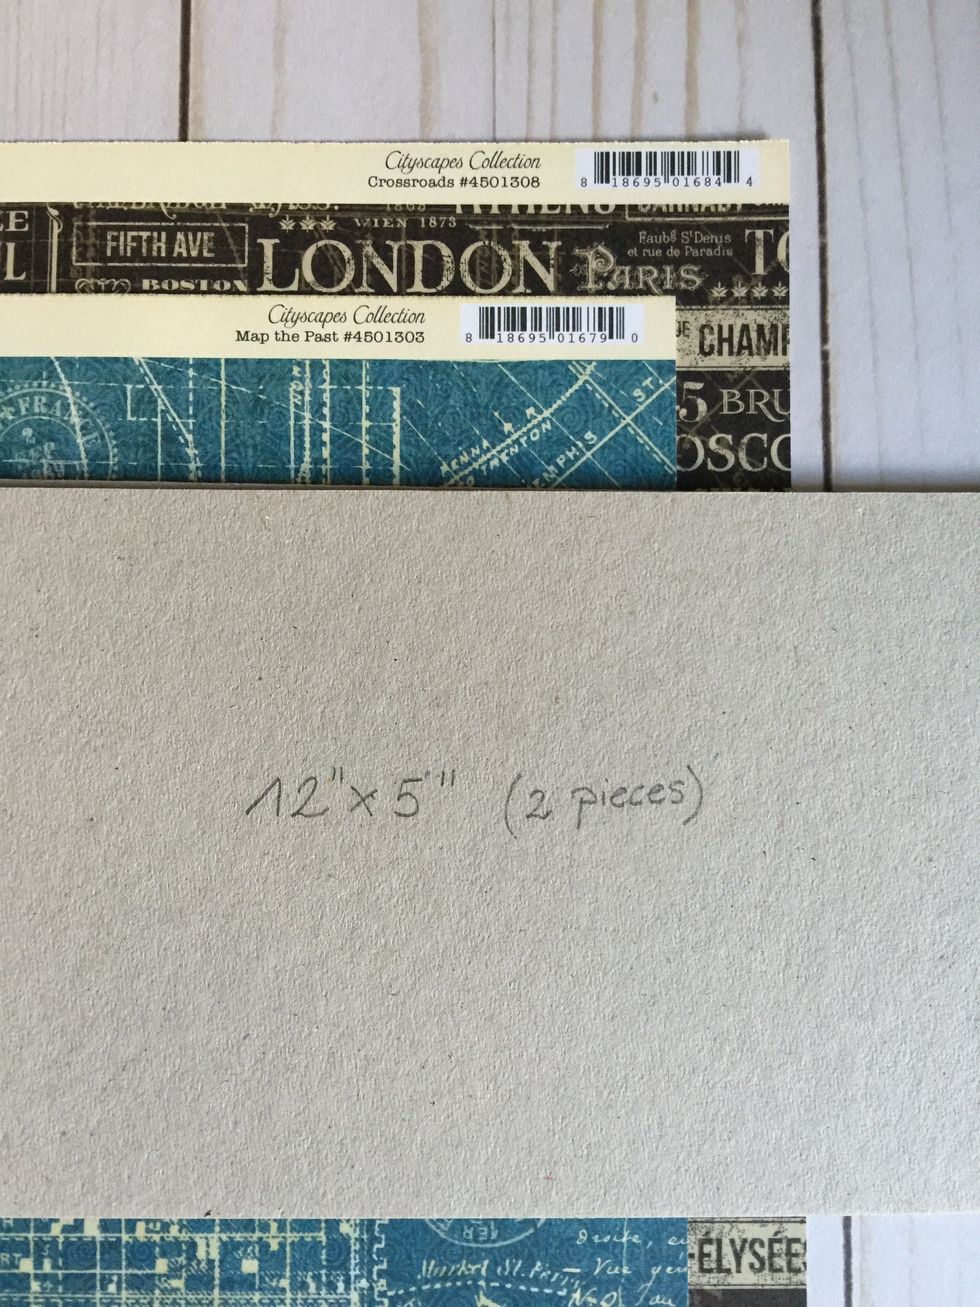
Cover these ones with these papers.
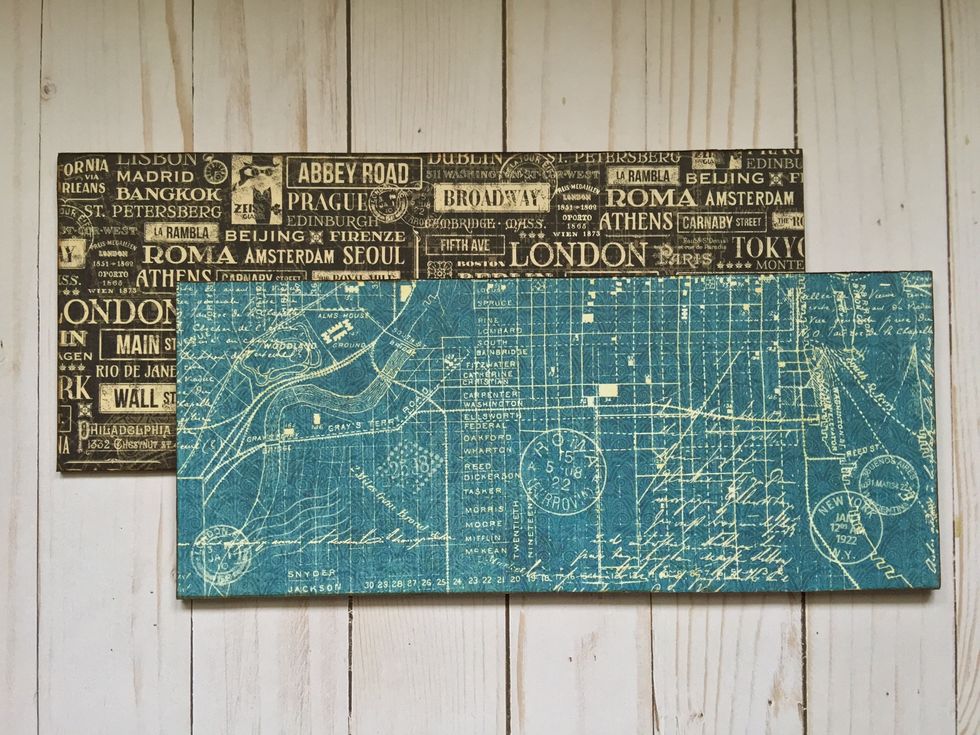
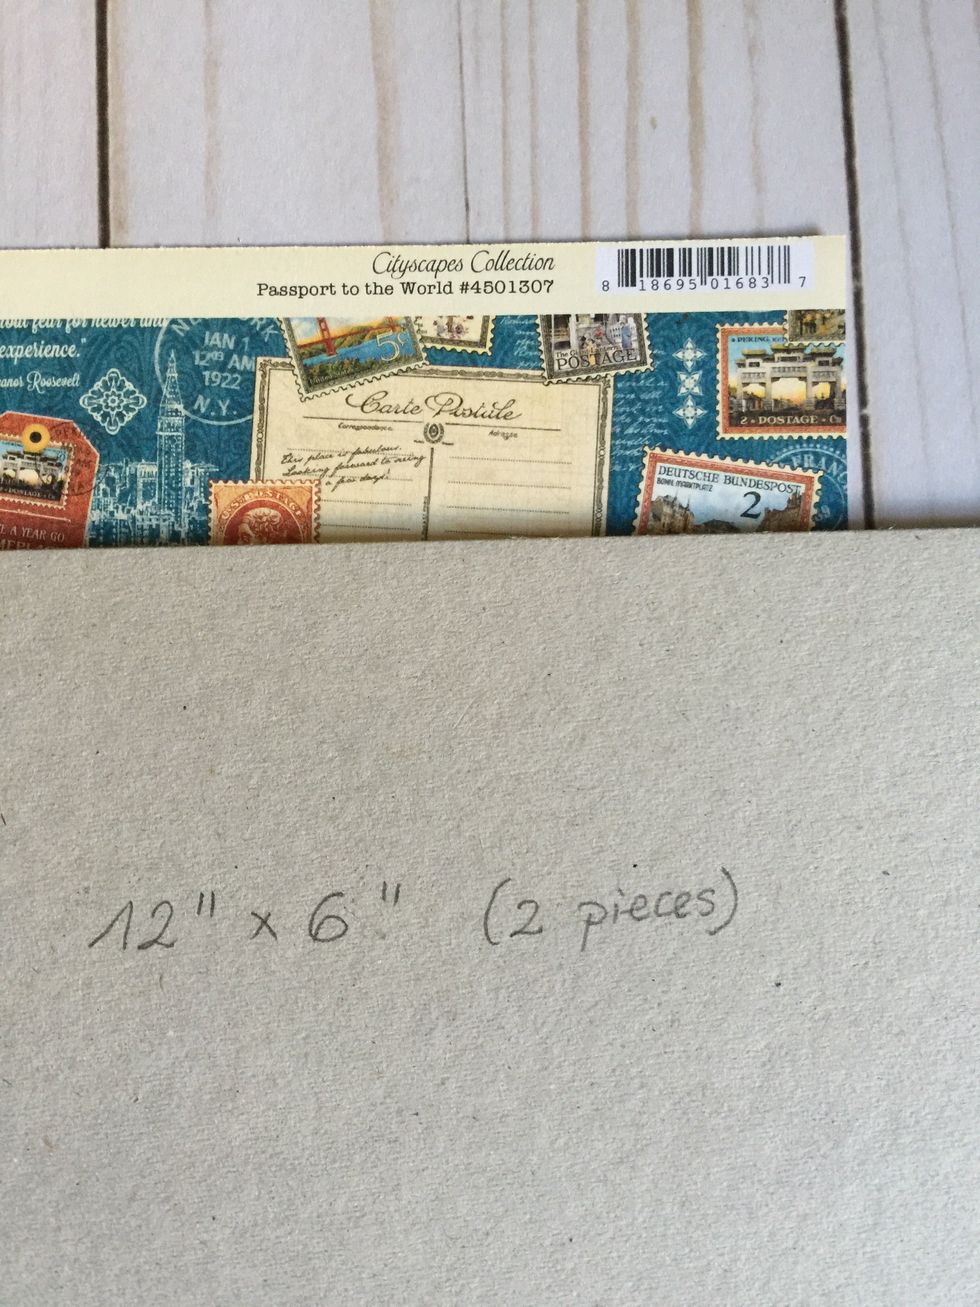
Glue the 12"x6" pieces against each other So the basis will be more consistent. Then cover with this paper both sides using double-sided tape.
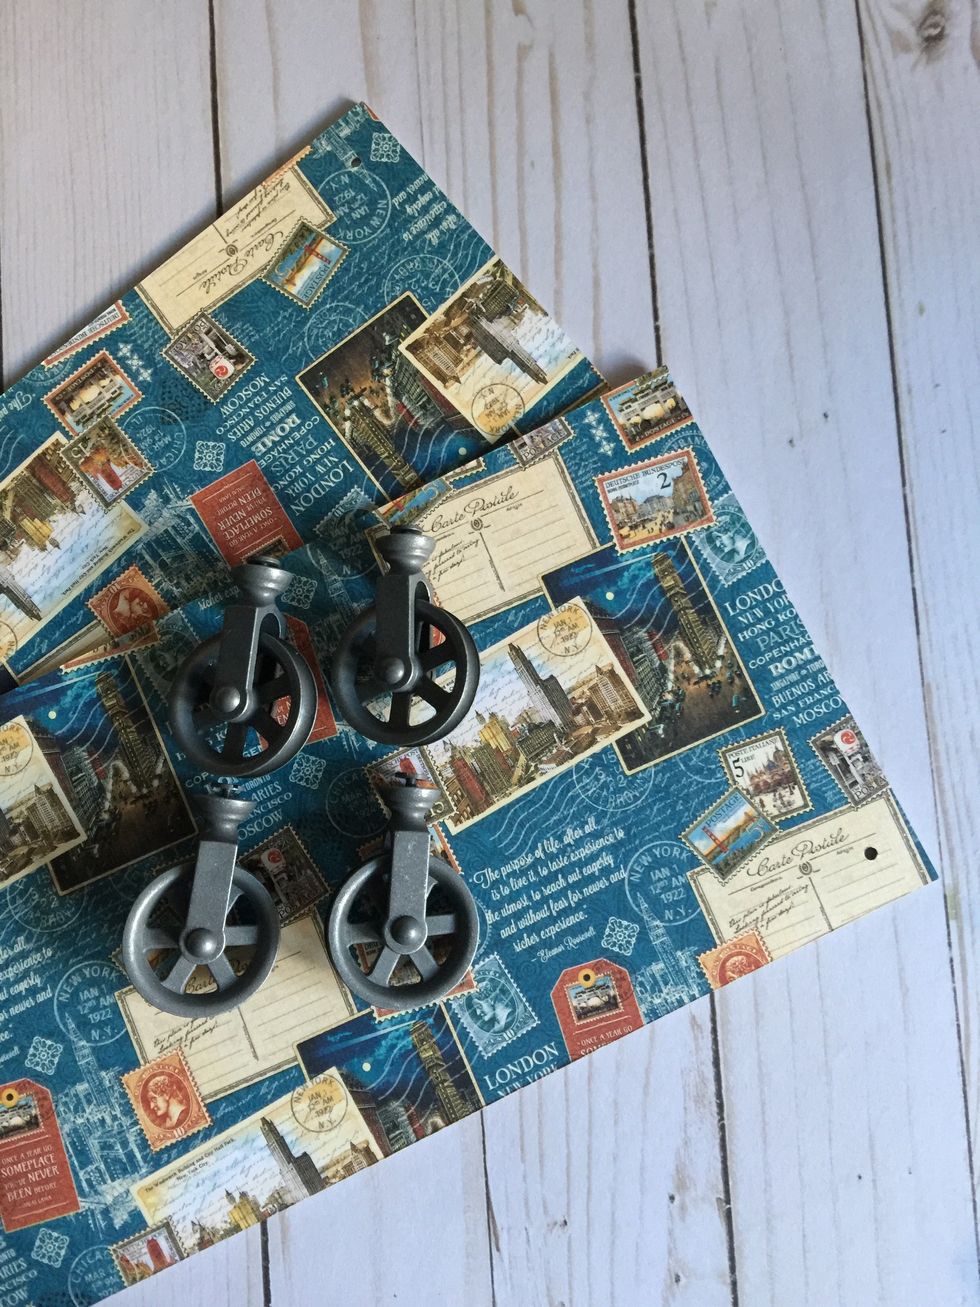
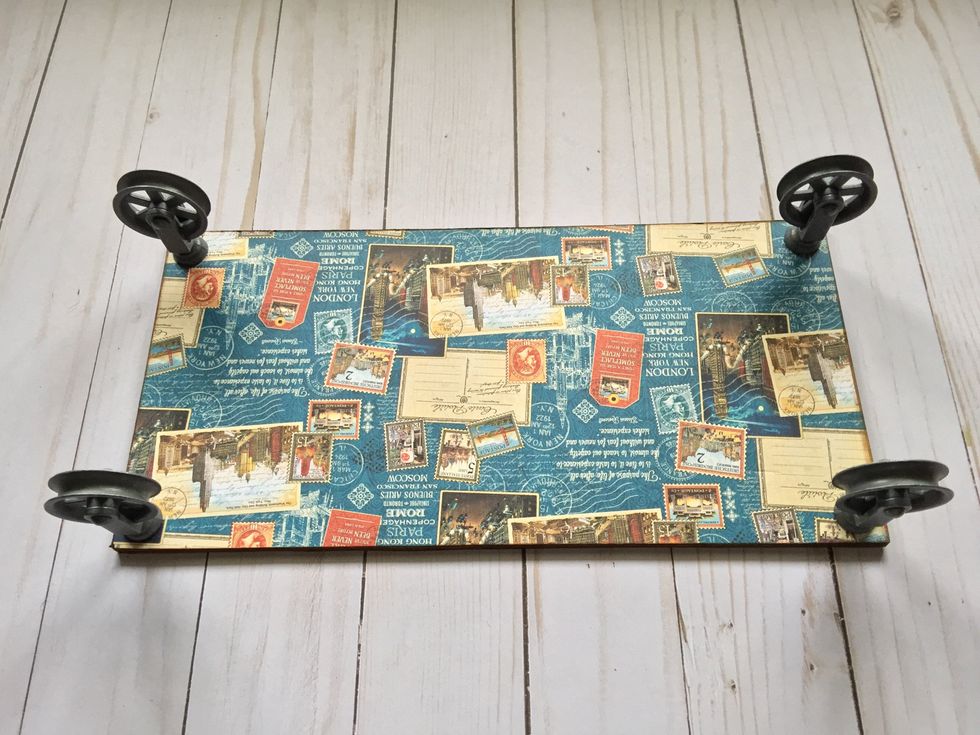
Put the wheels on the base.

Once we have the basis, we will start glueing the organizer sides.
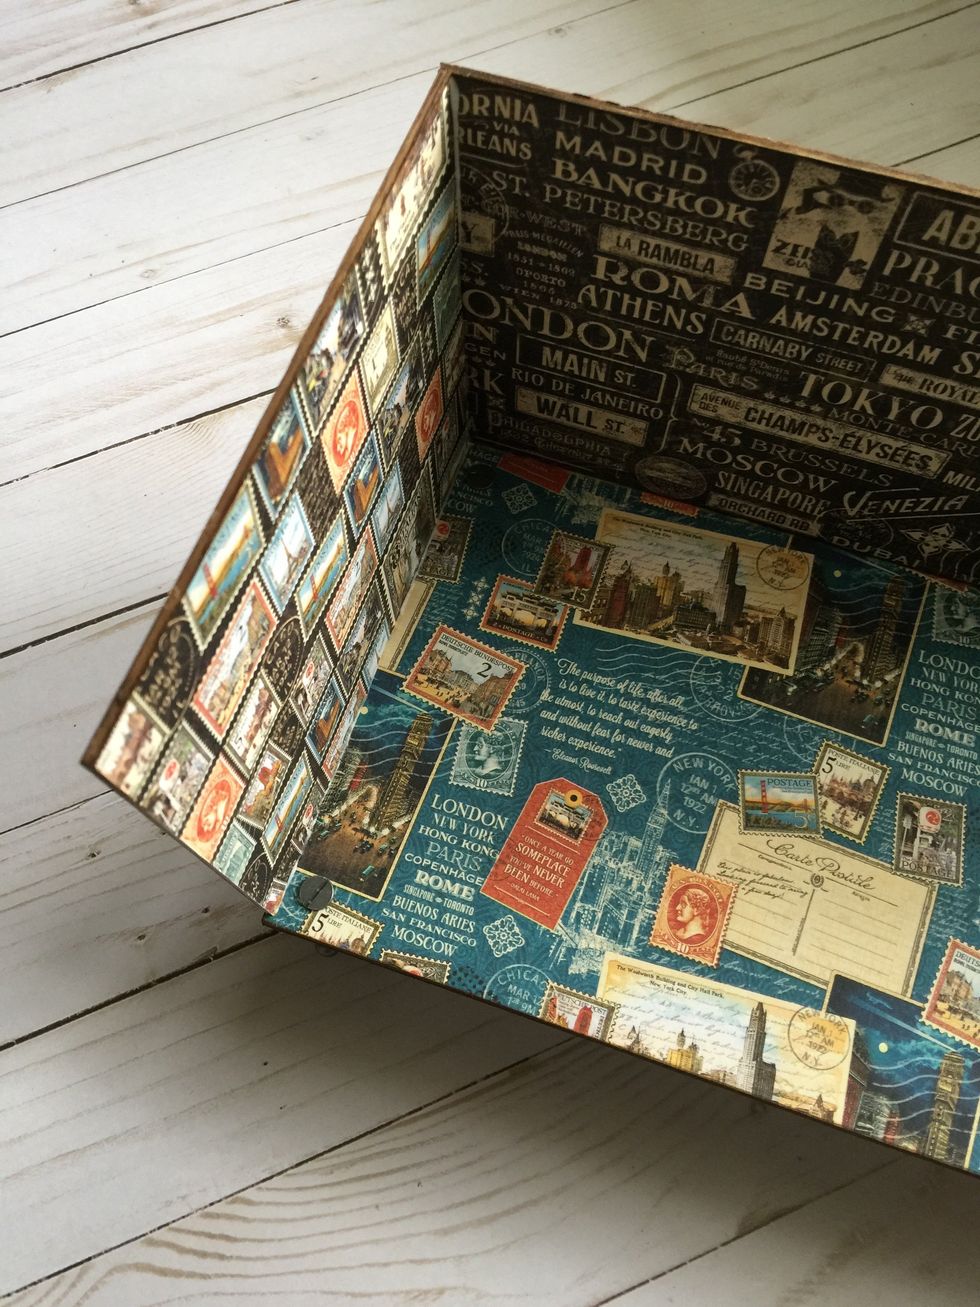
Glue the back piece first and then one of the sides.
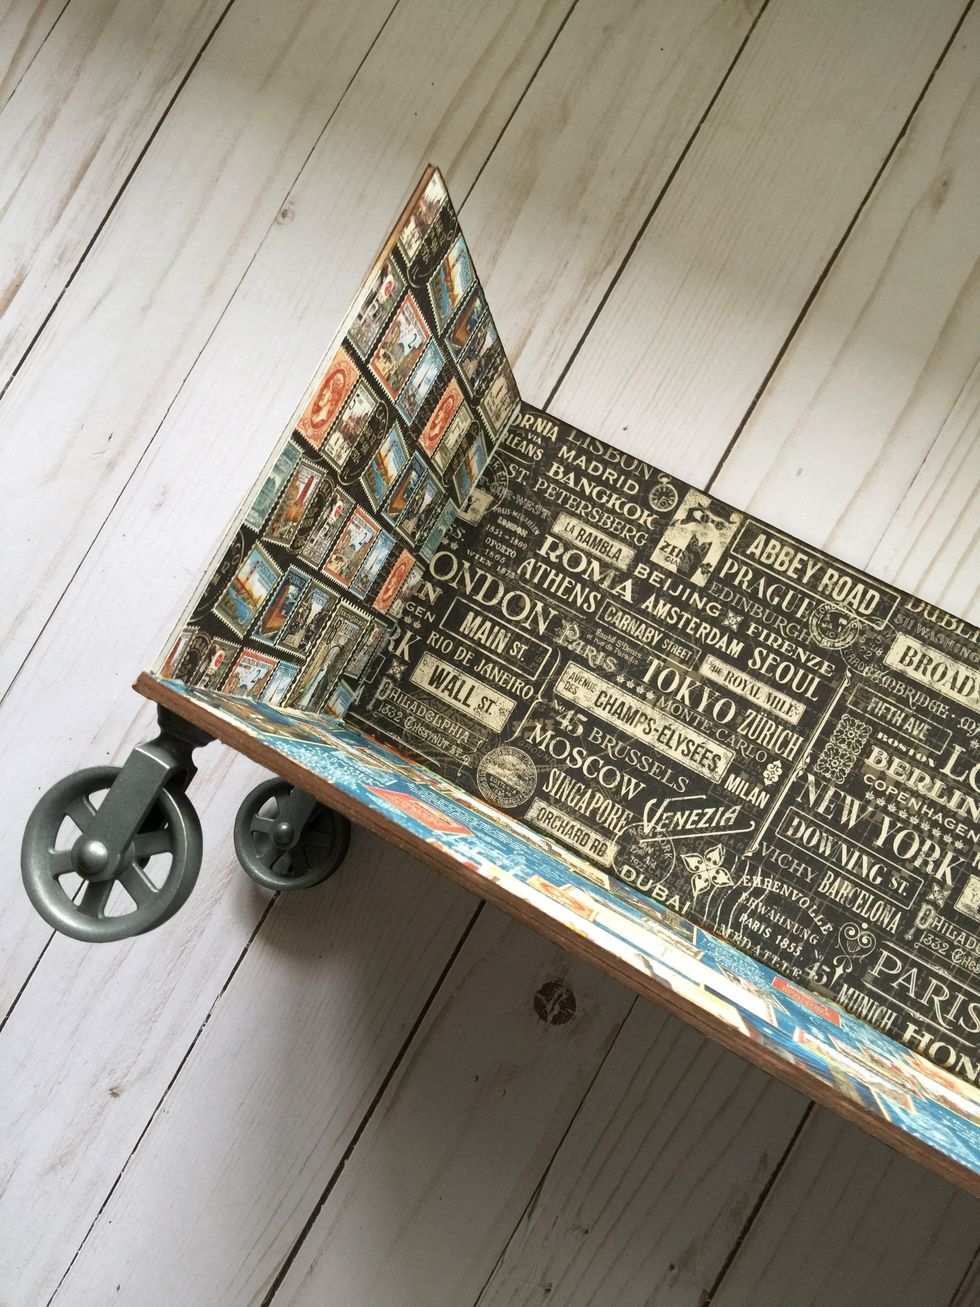
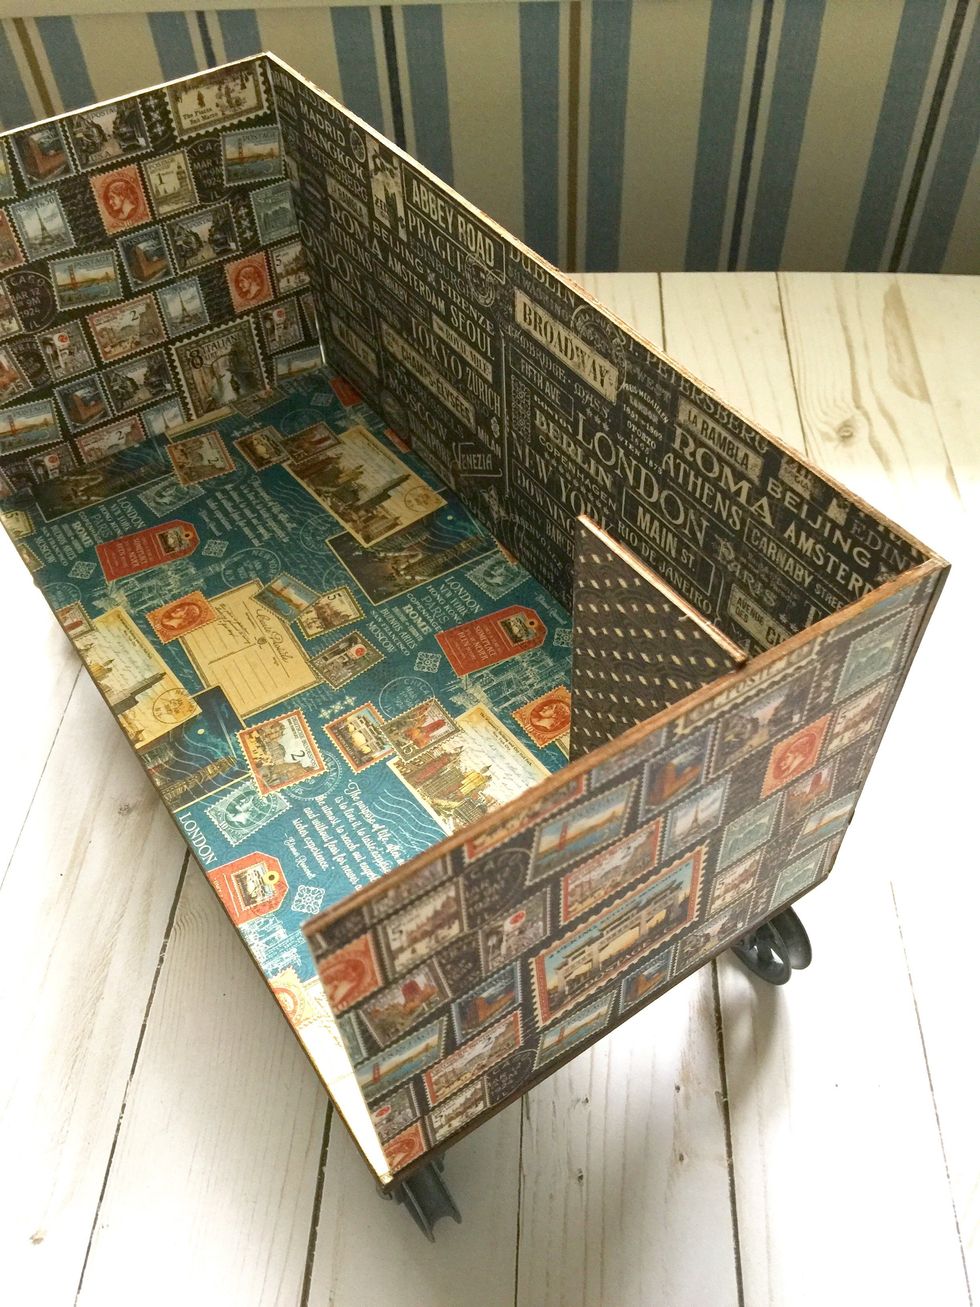
Glue the other side and the 5"x2" piece as shown.
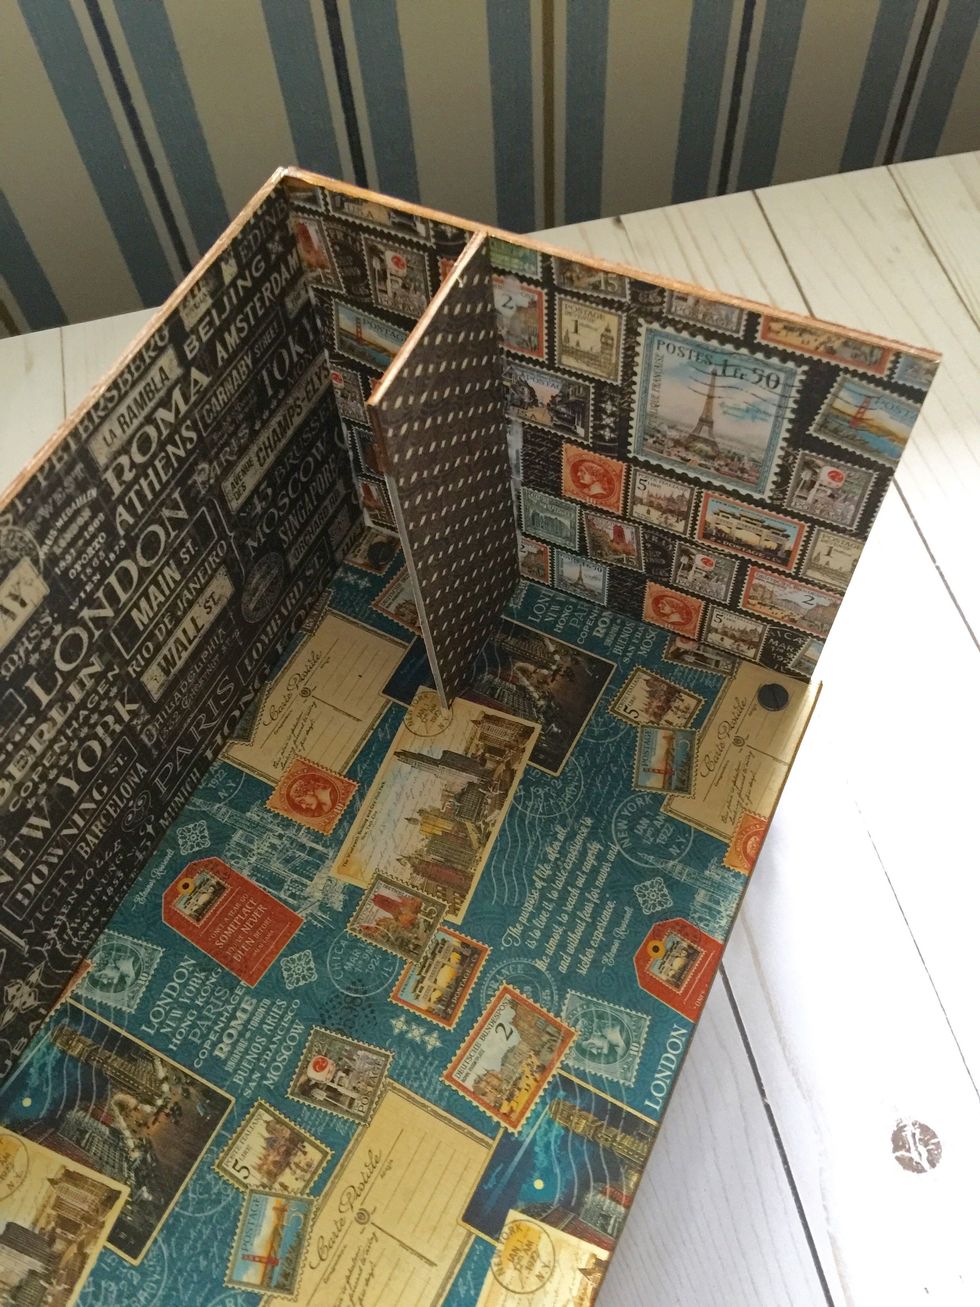
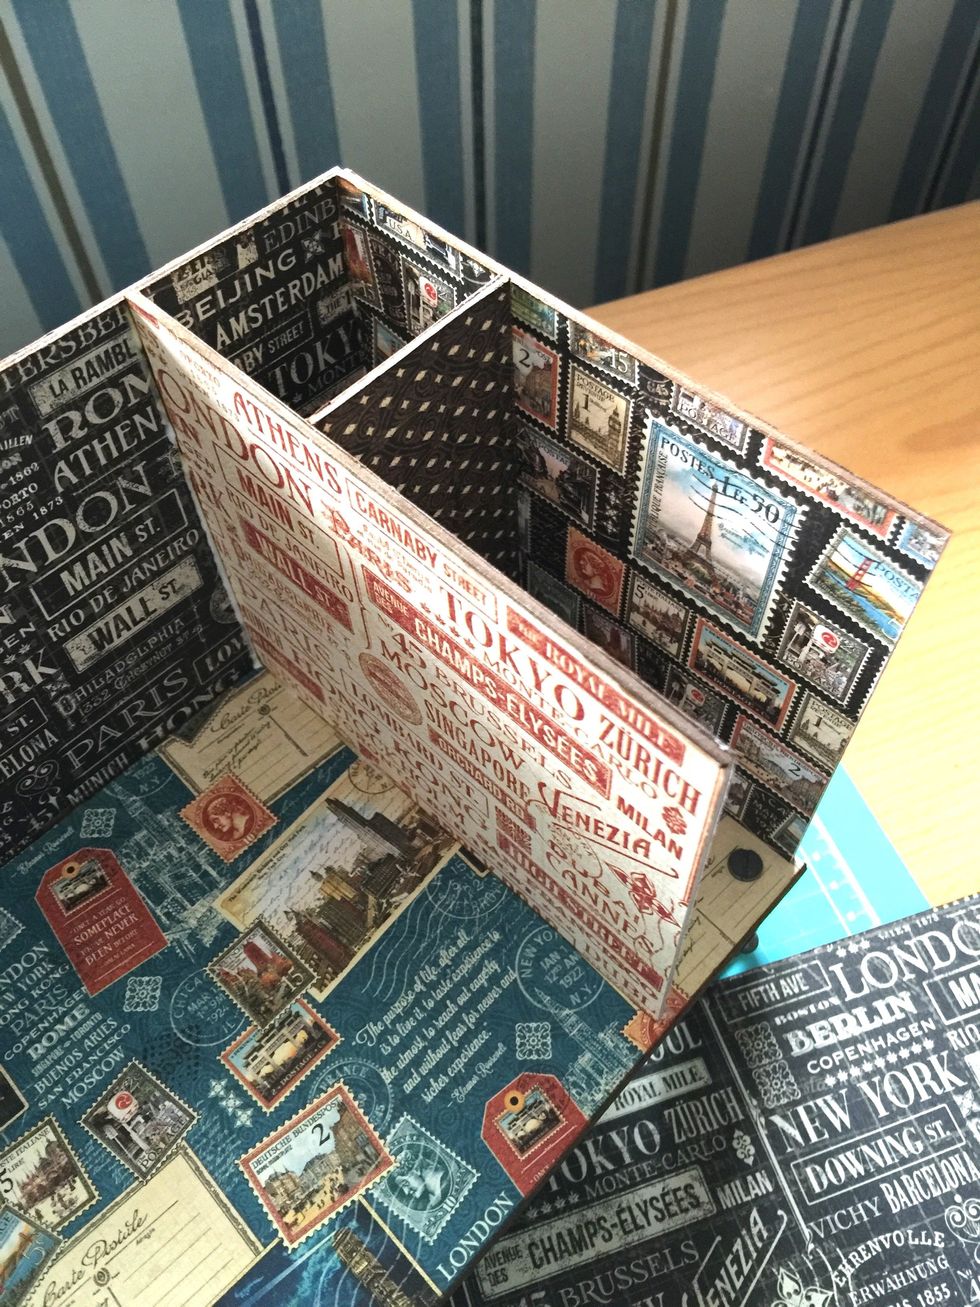
Glue this piece to close this part. It will be a place for pencils and other objects.
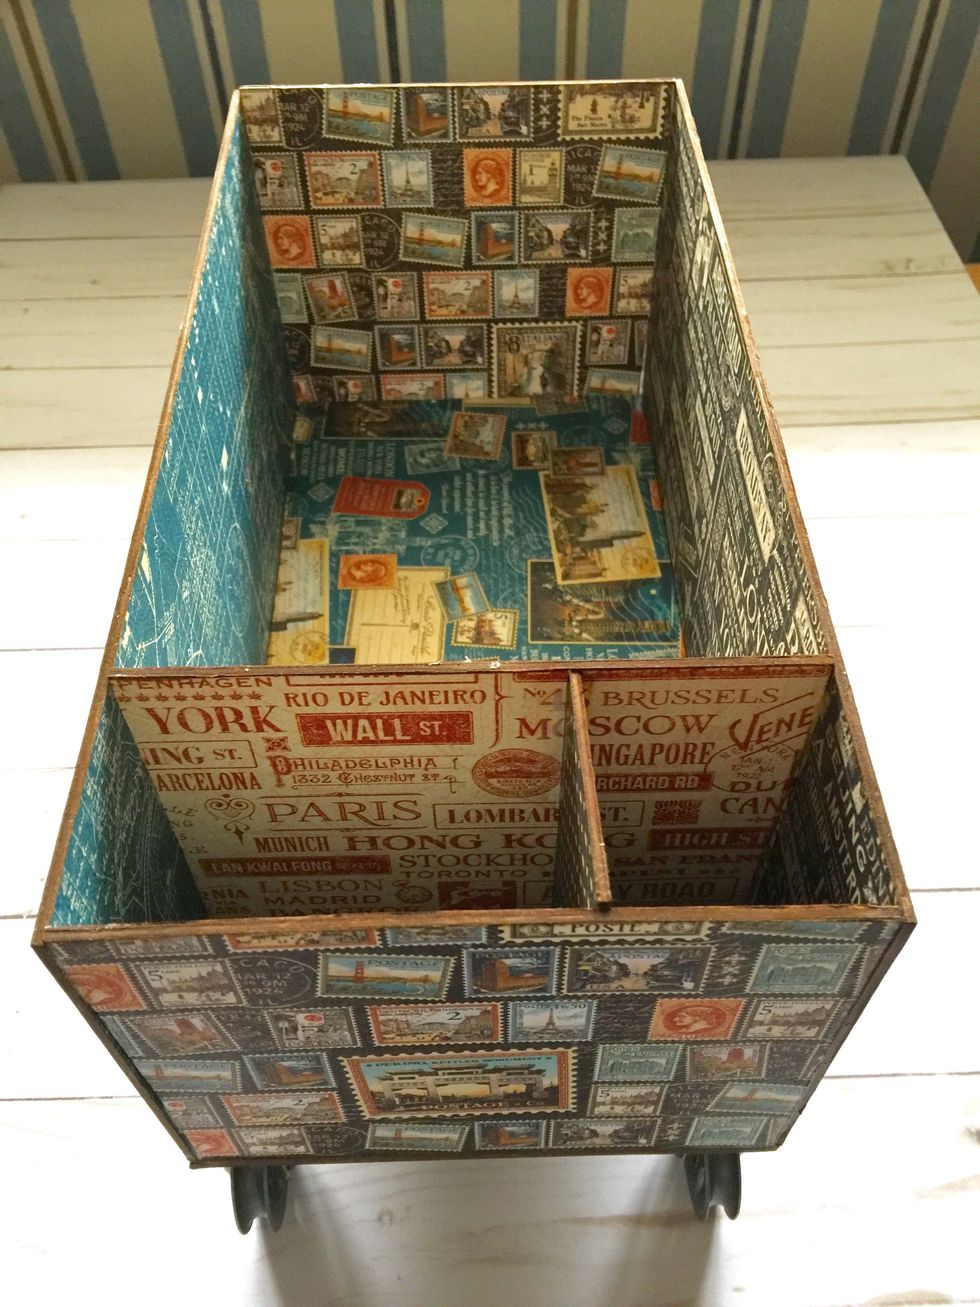
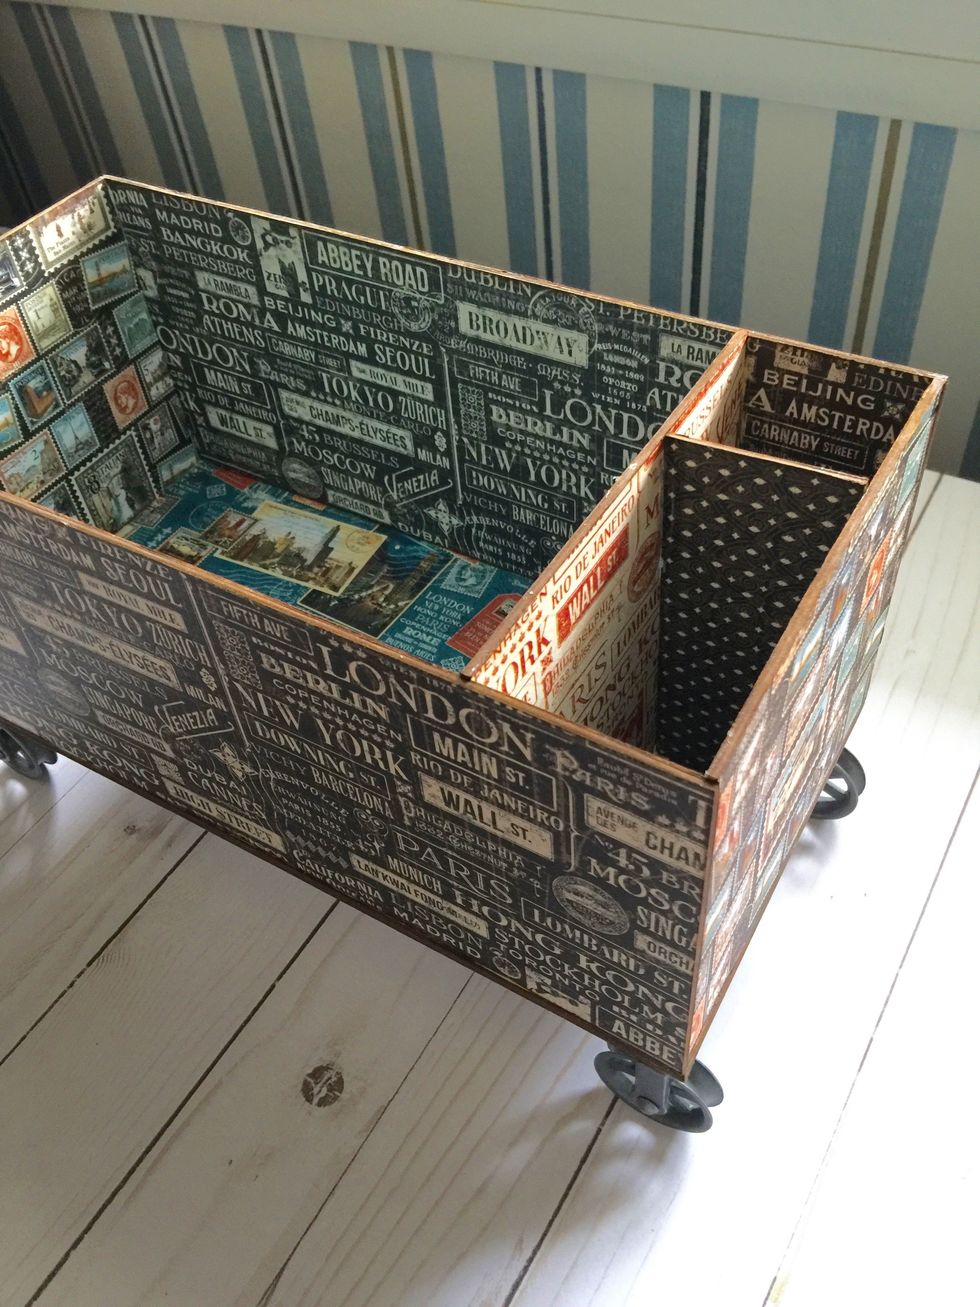
Glue the last big piece to finish the box.
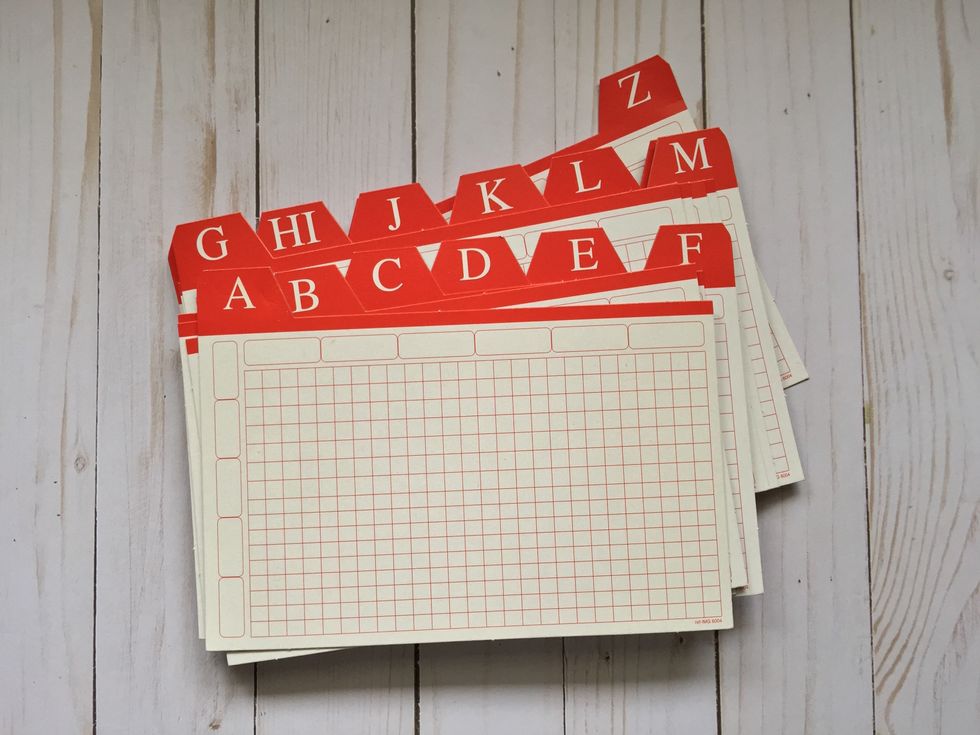
Get some tabs with alphabet.

Make to more tabs and cover with paper. This is one side.
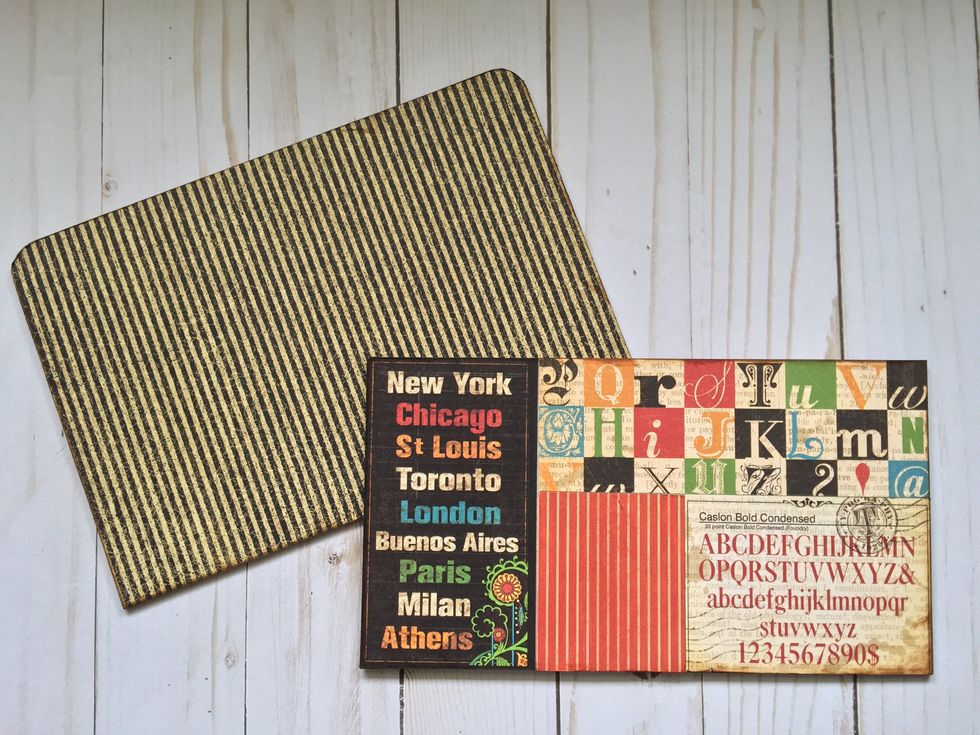
The other side.
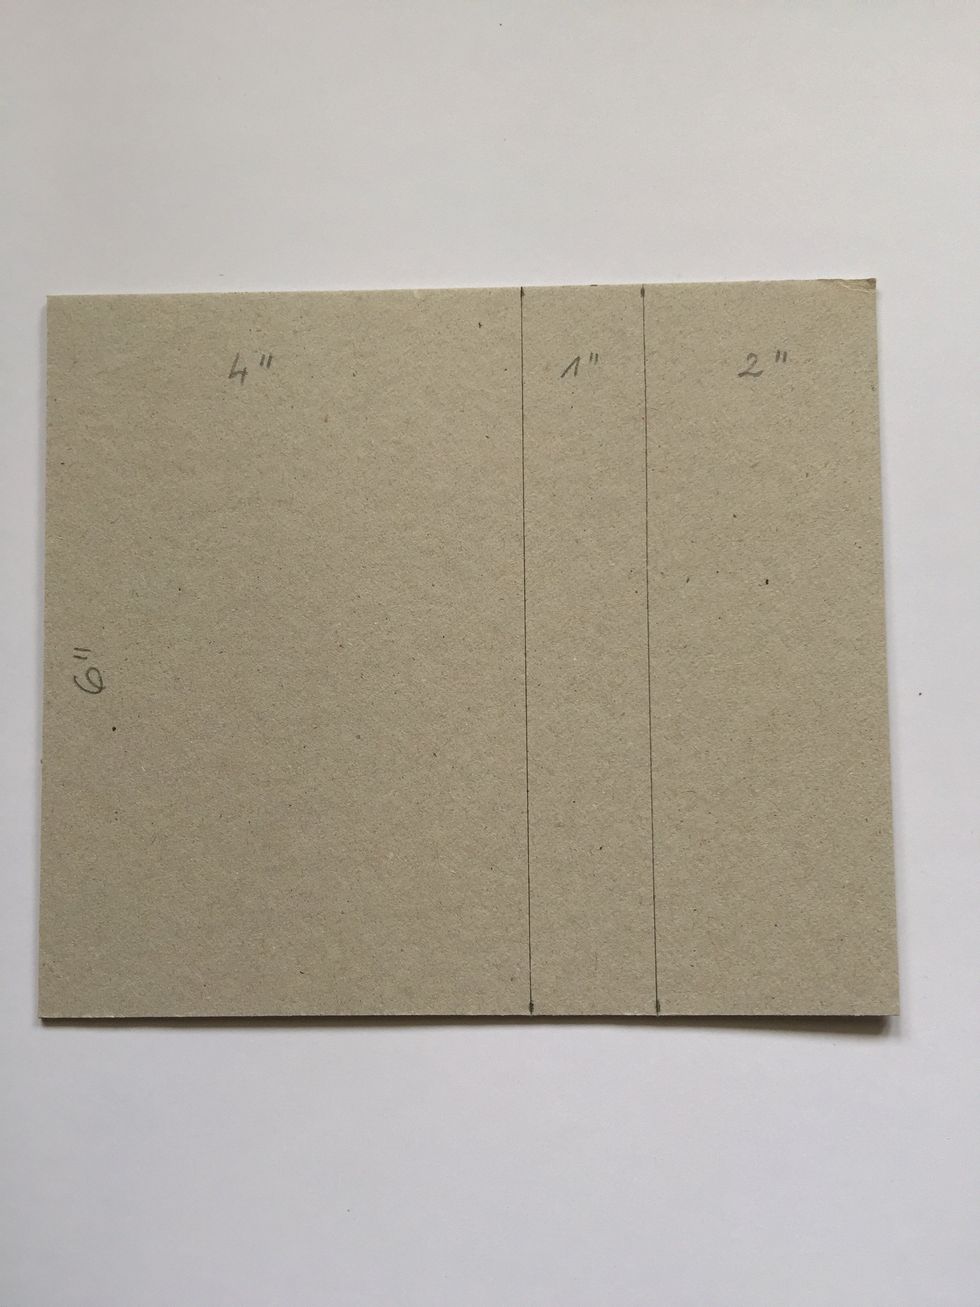
Now we are going to make a pocket for the front of the cover. Score with a cutter making three zones, one of 4", one of 1" and another one of 2".
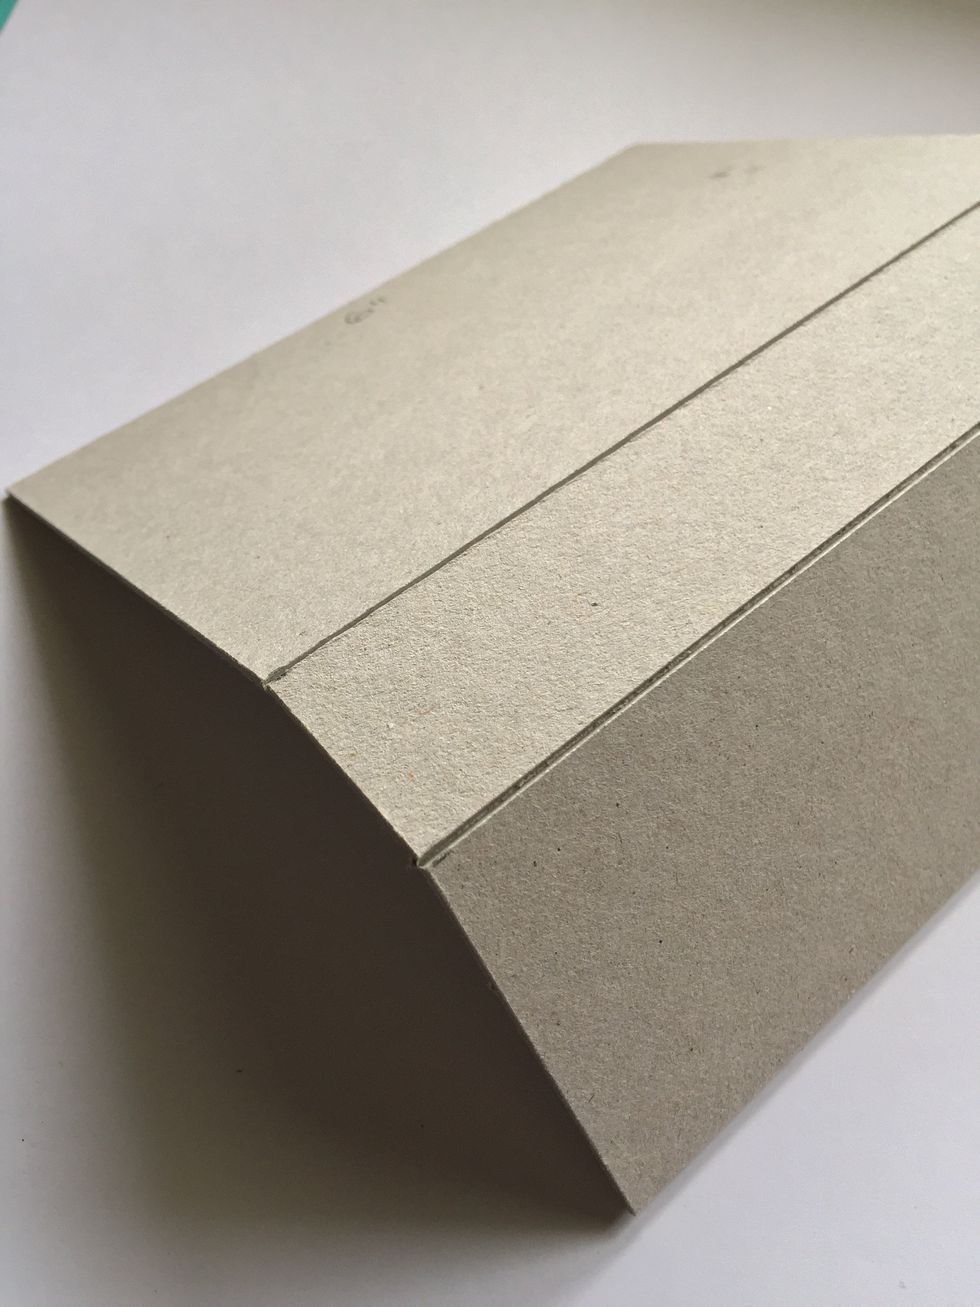
Fold carefully.

Cut two cardboard little pieces of 1"x2"
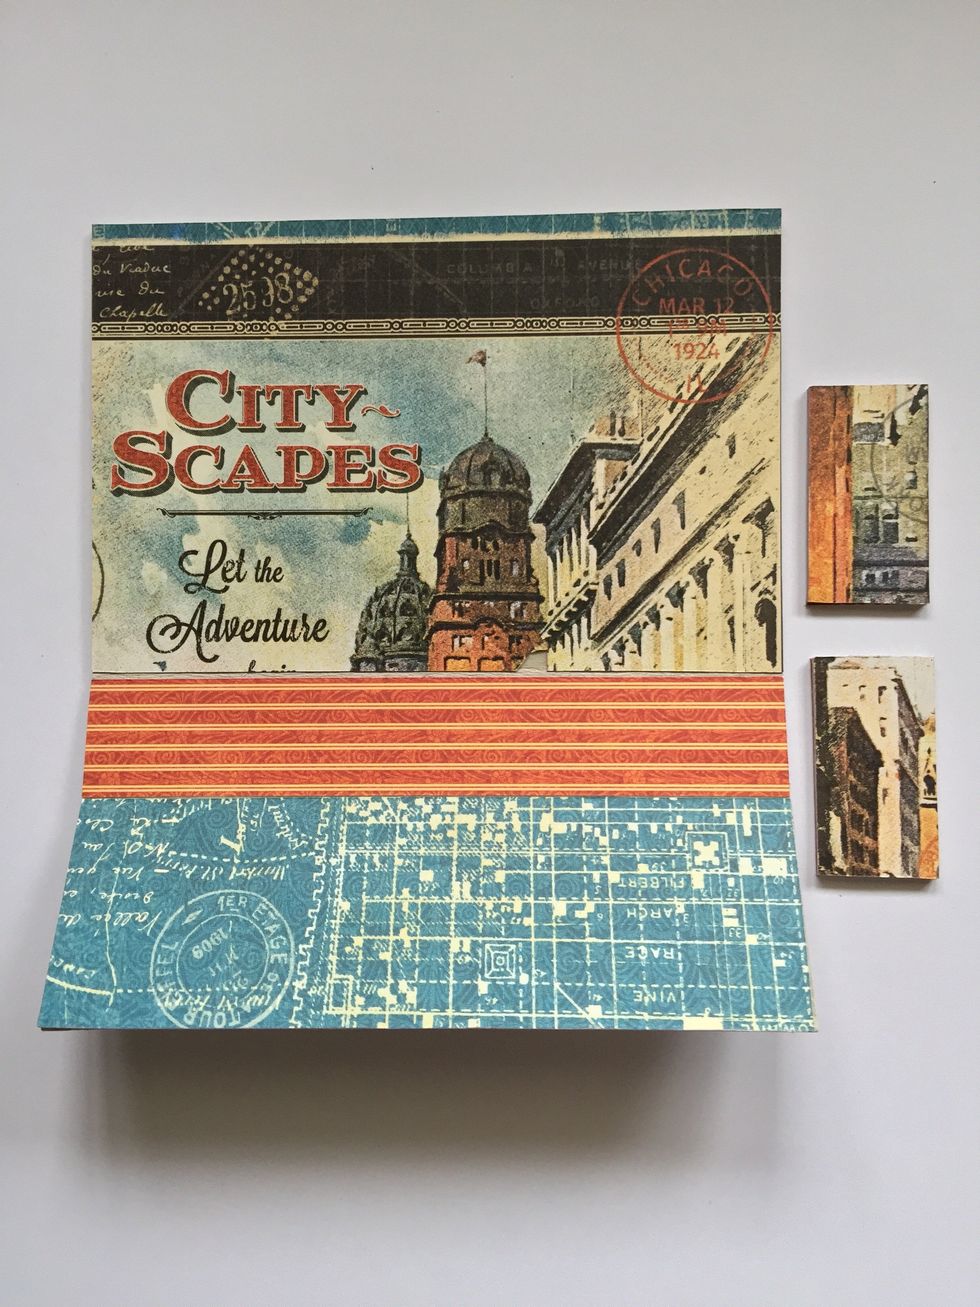
Glue paper inside and cover little pieces too.
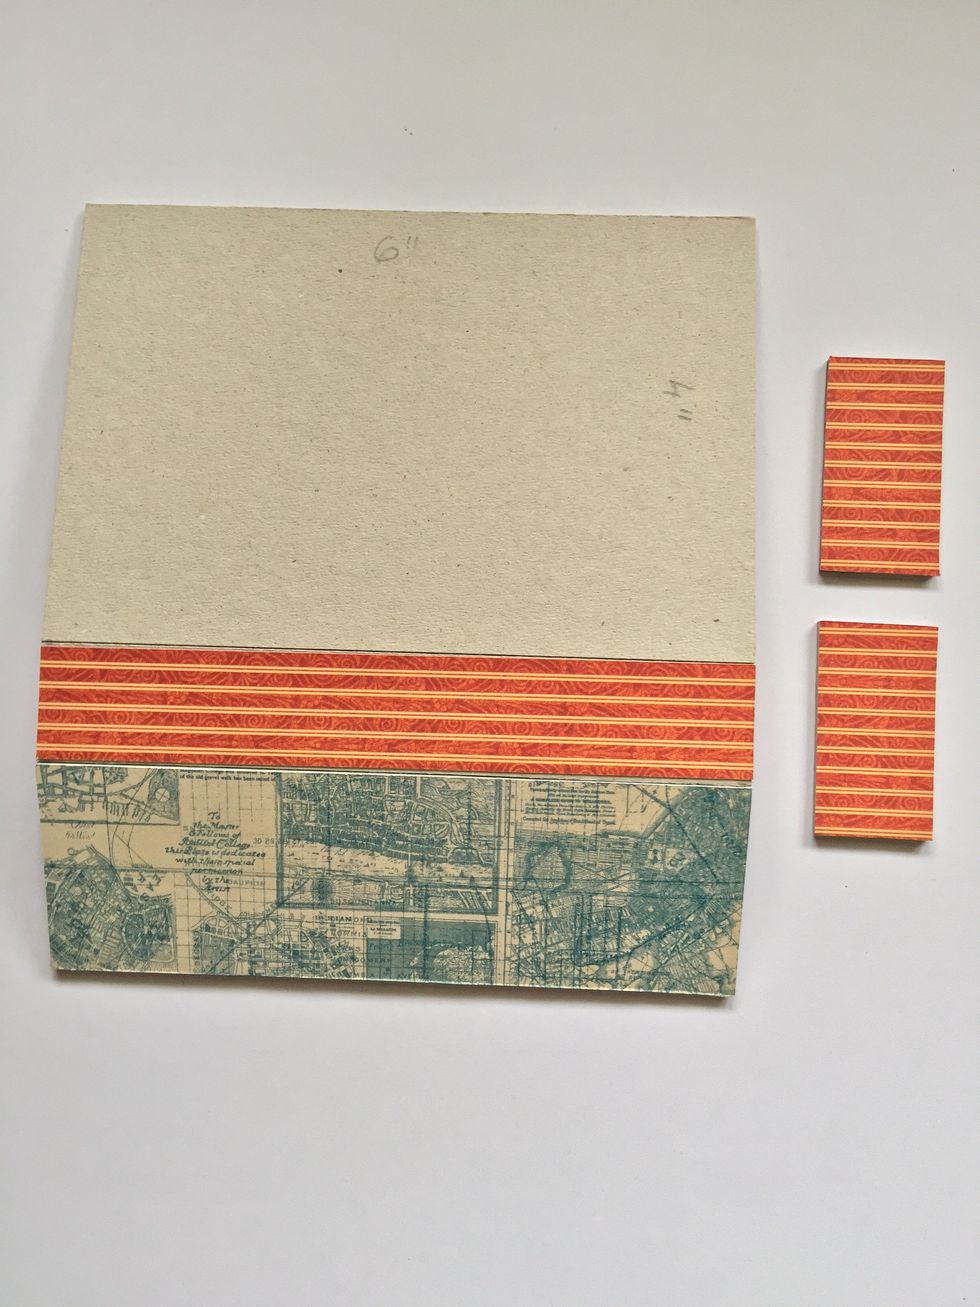
Glue paper only on these two parts.
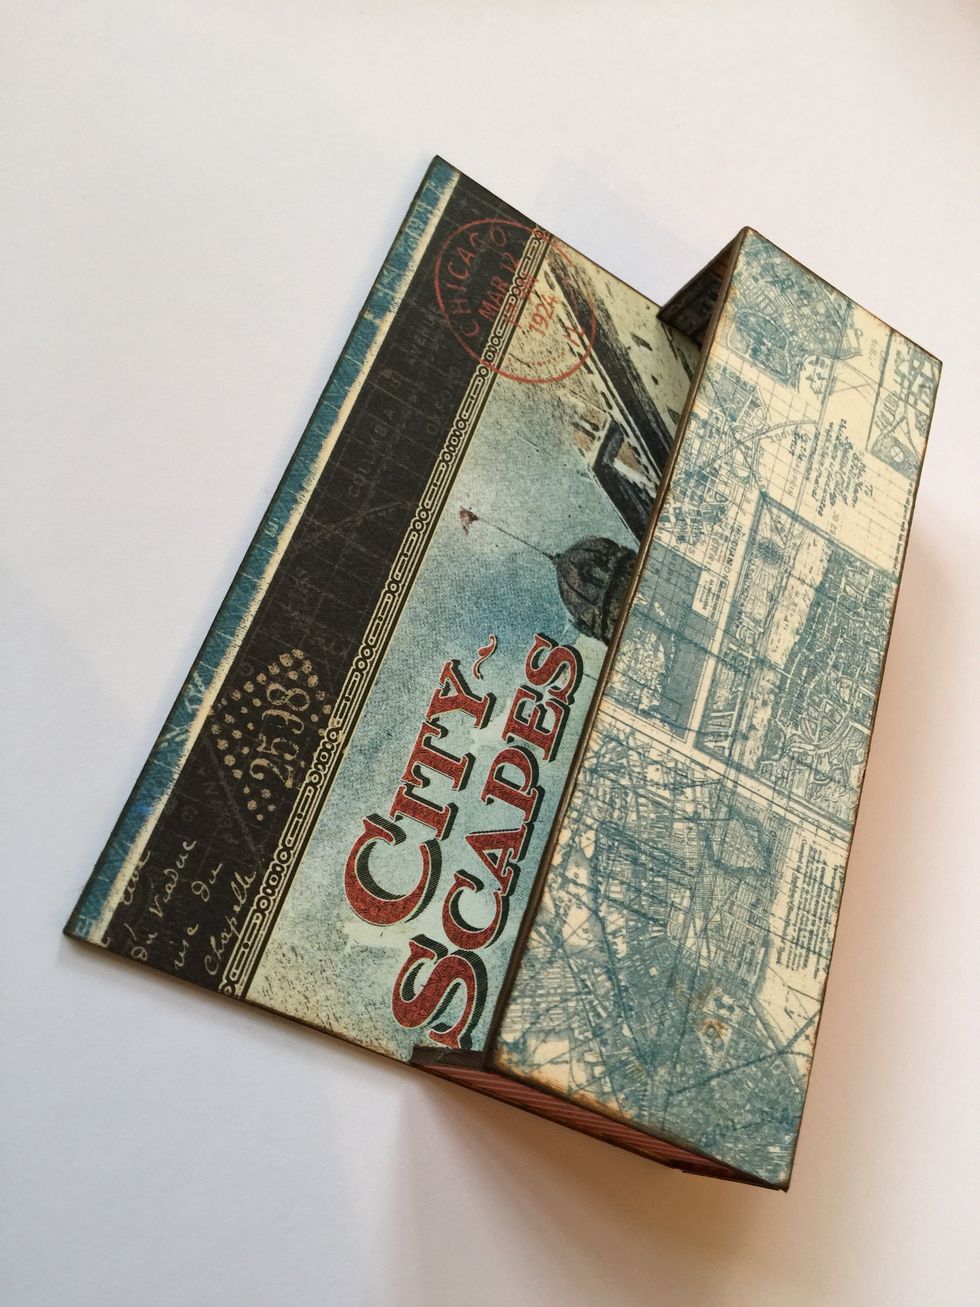
Glue the little pieces to form the pocket.
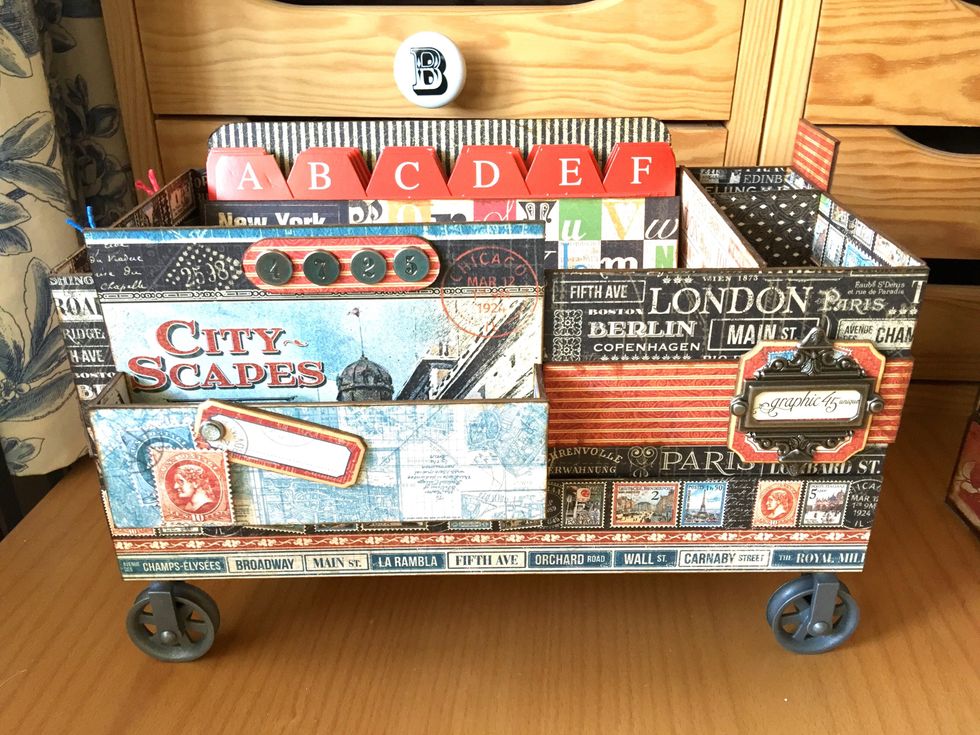
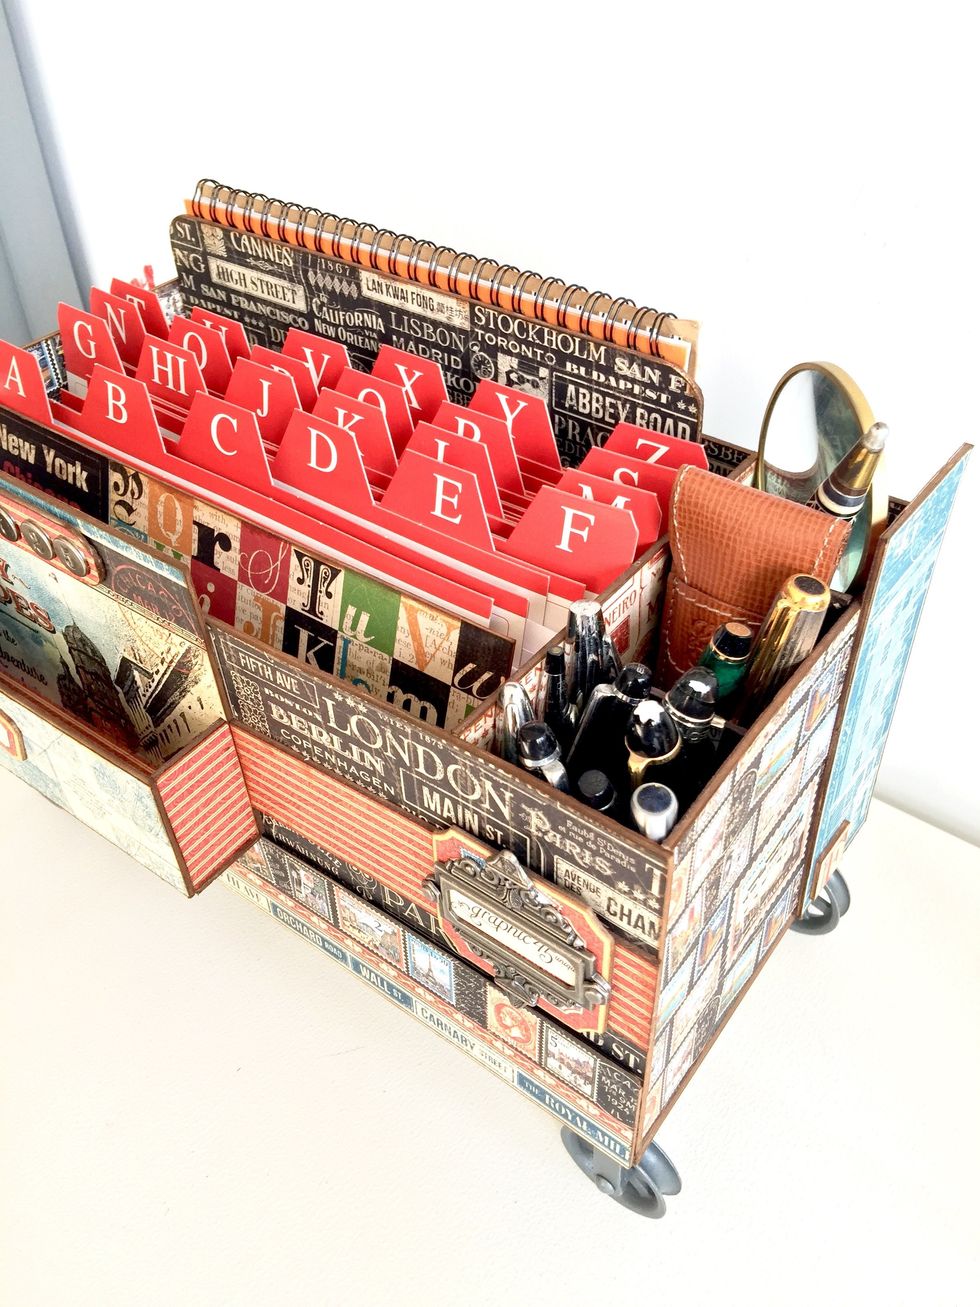
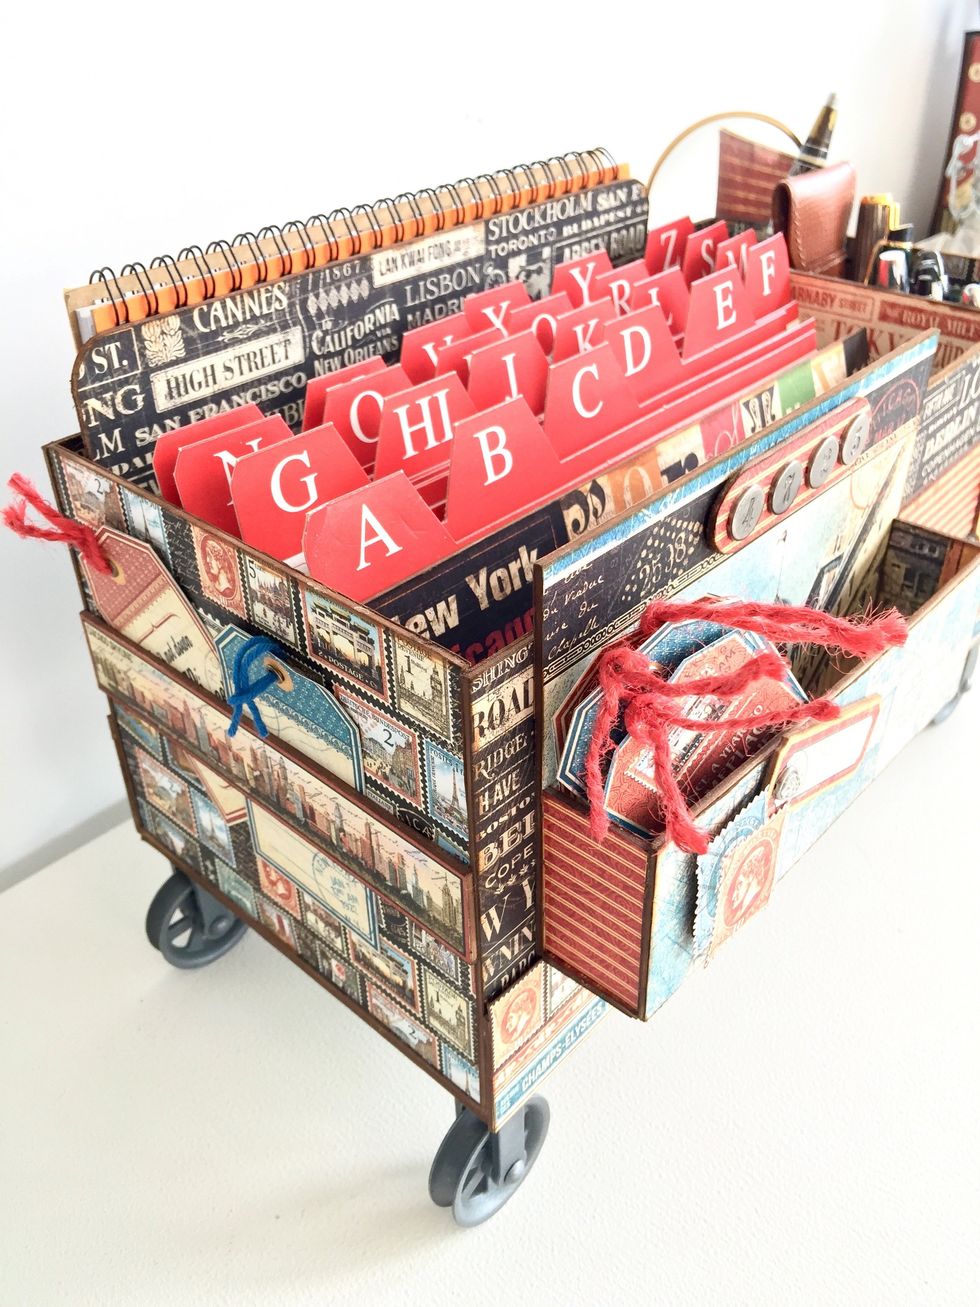
Adhere the pocket on the front of the organizer and decorate.
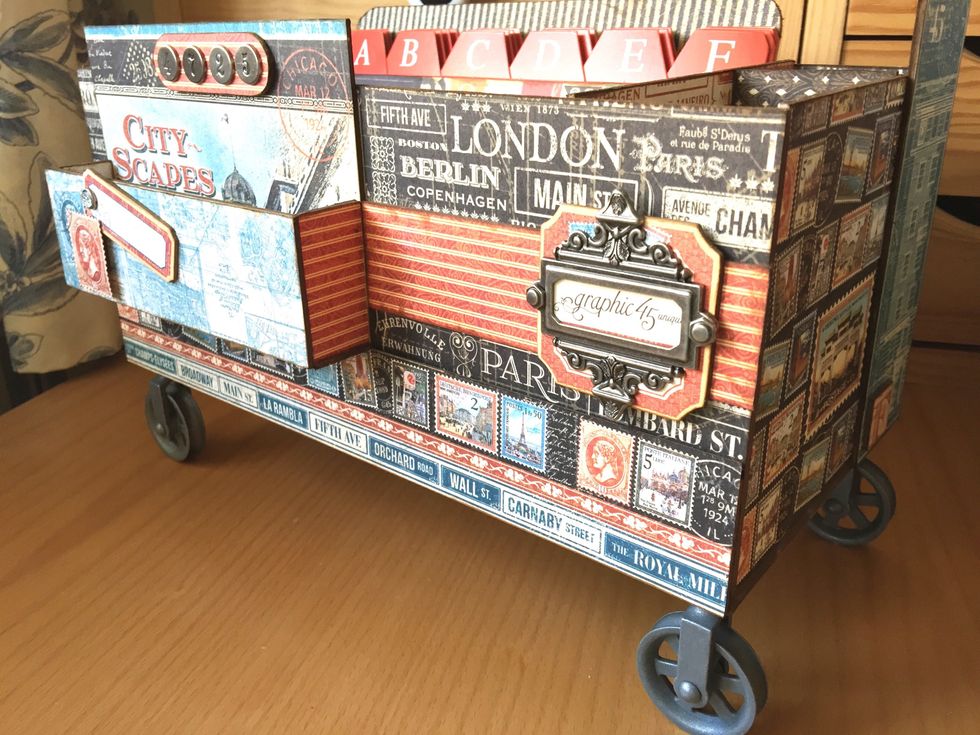
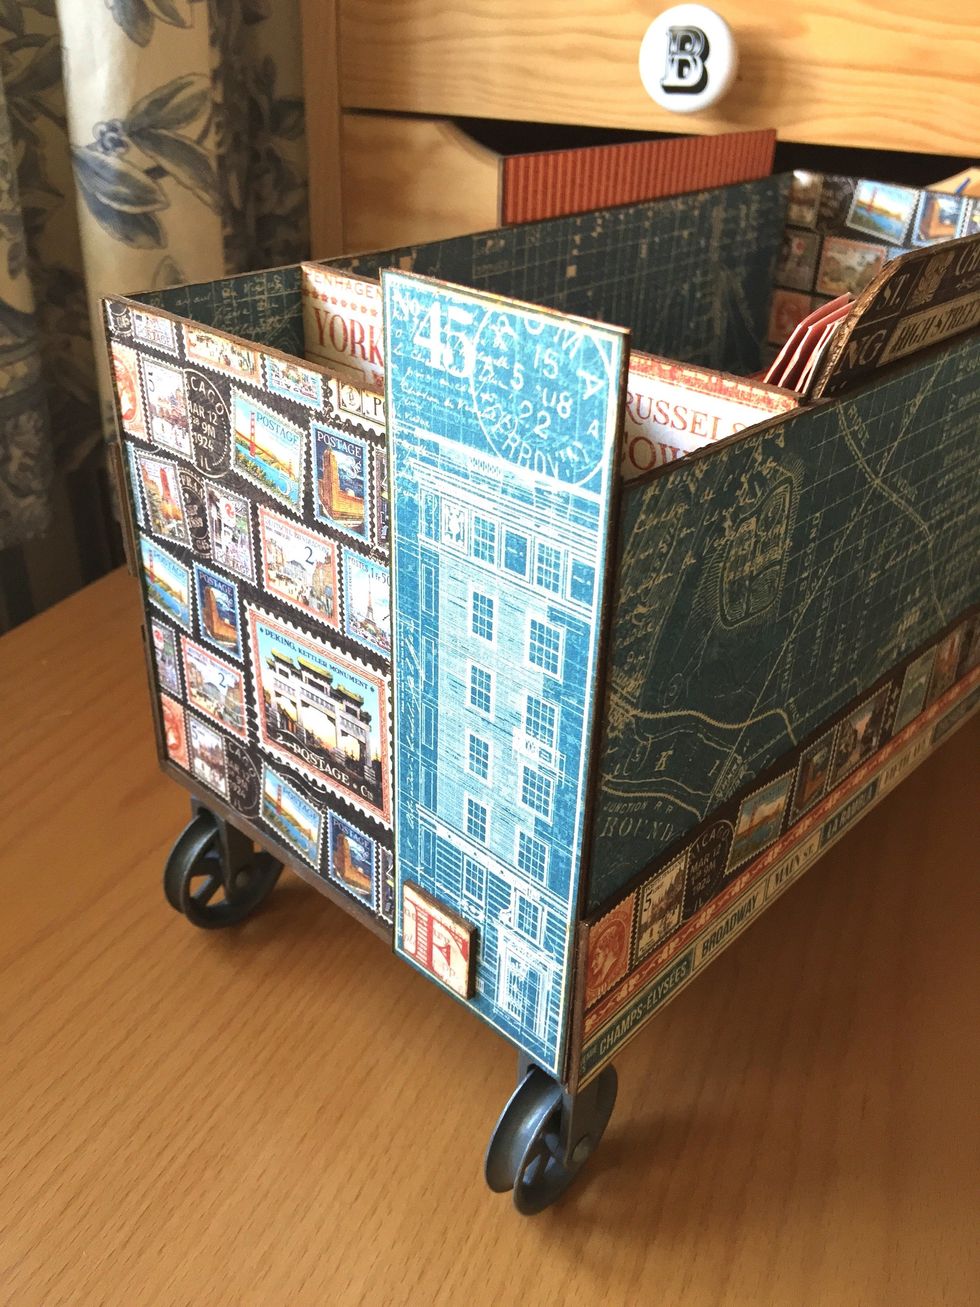
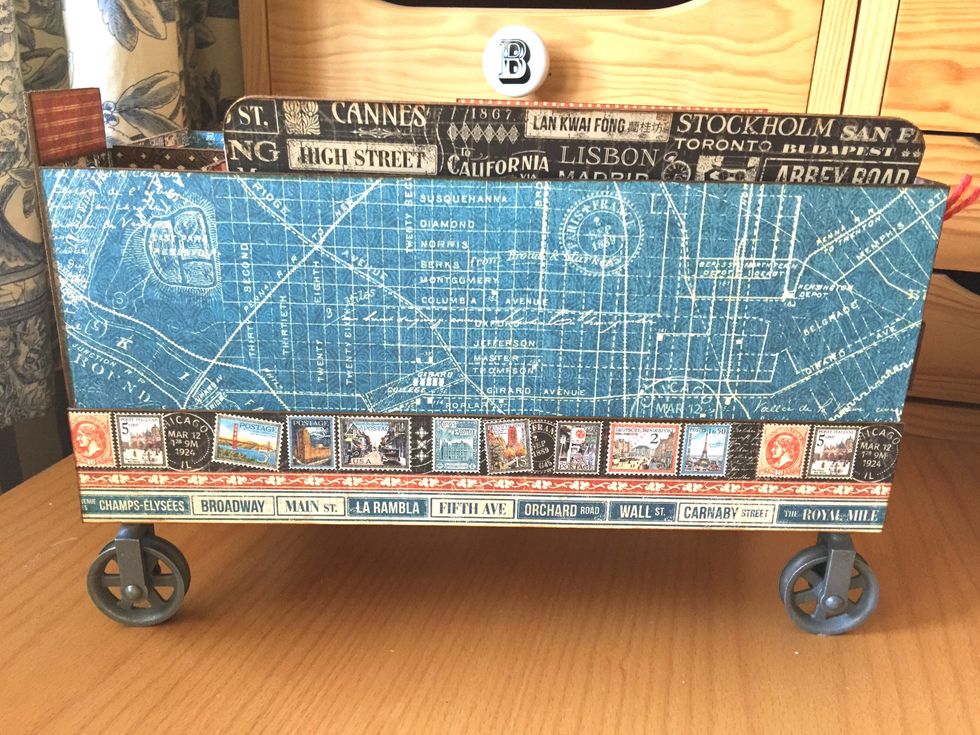
Add decorations on all sides.
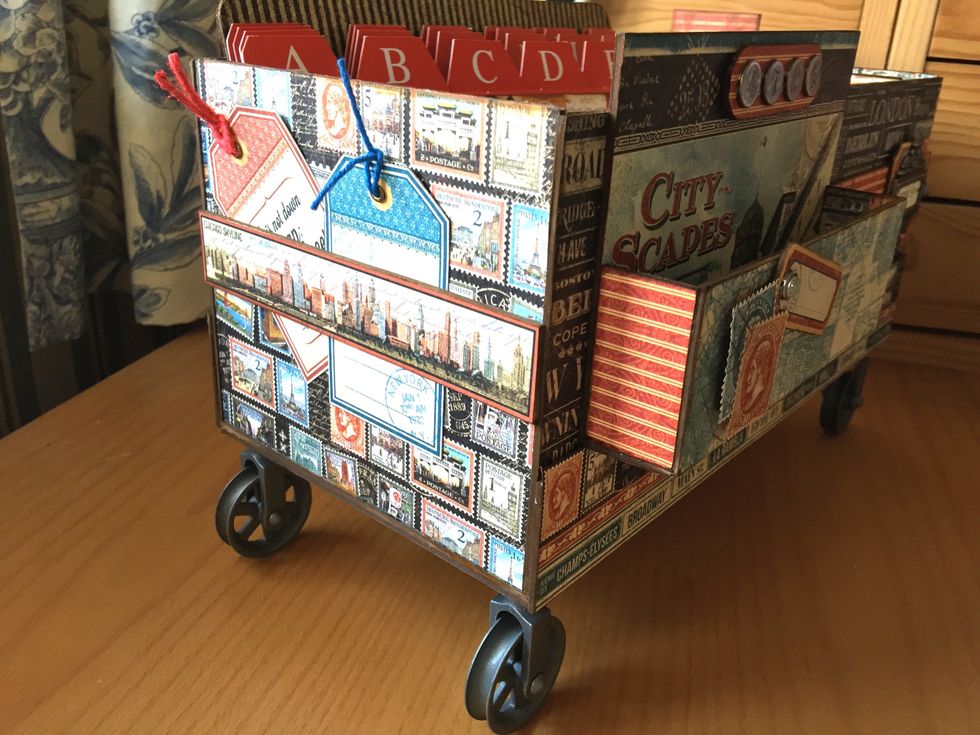
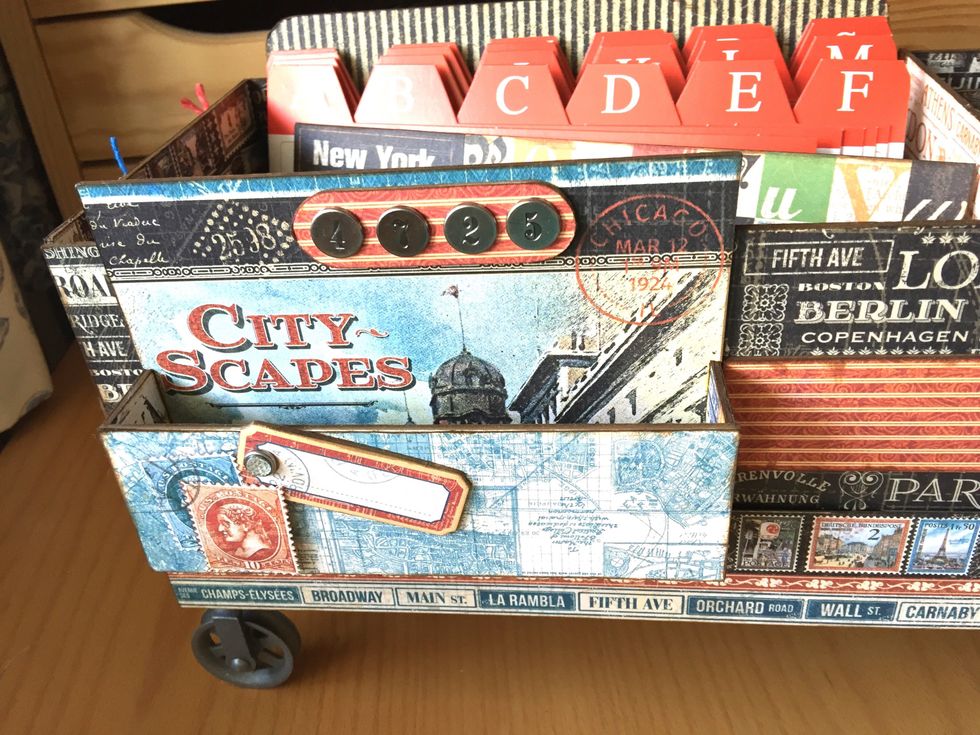
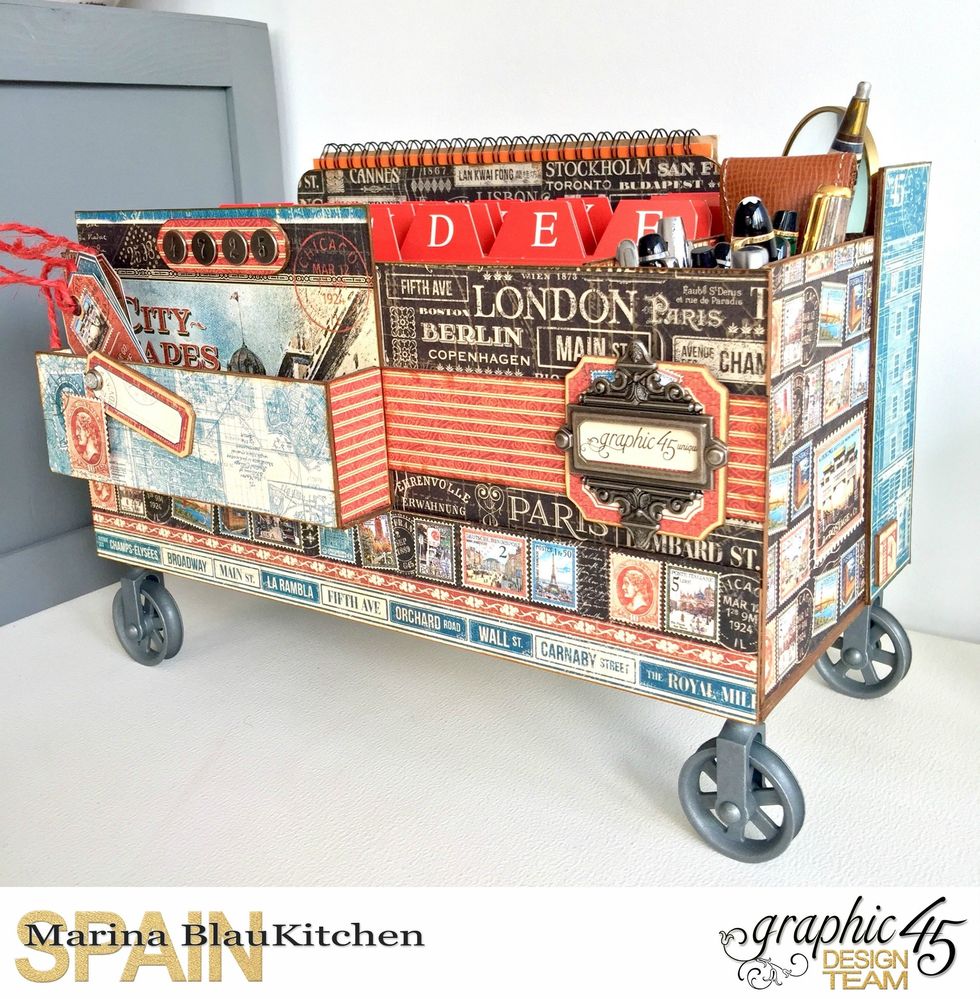
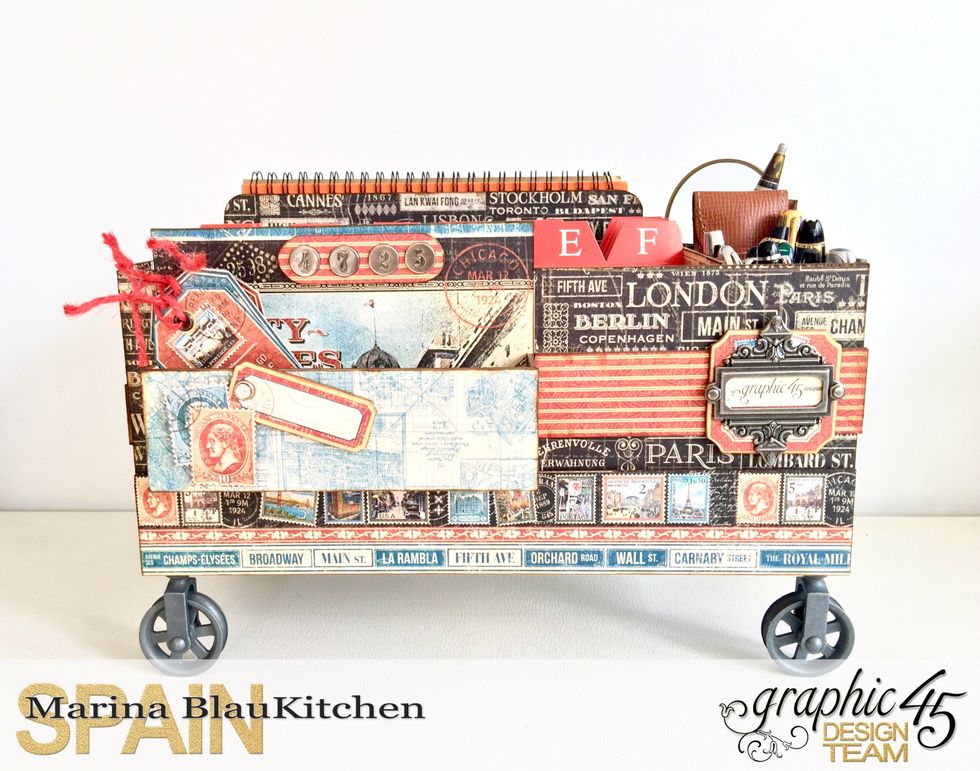
- 1.0 #4501302 City Scapes
- 1.0 #4501303 City Scapes Map the Past
- 1.0 #4501304 City Scapes Global Odyssey
- 1.0 #4501305 City Scapes Street of Dreams
- 1.0 #4501306 City Scapes Well Traveled
- 1.0 #4501307 City Scapes Passport to the World
- 1.0 #4501308 City Scapes Crossroads
- 1.0 #4501315 City Scapes Chipboard 1
- 1.0 #4501253 Communique Shutter Speed
- 1.0 #4500766 Typography
- 1.0 #4500769 Typography Create
- 3.0 Cardboard 12x12
- 1.0 #TH93008 Pulley Wheels
Marina Blaukitchen
Scrapbooking lover. \nGraphic 45 Design Team Member 2016-2017\nGraphic 45 Brand Ambassador 2017-2018
Valencia (Spain)
The Conversation (0)
Sign Up