The Conversation (0)
Sign Up
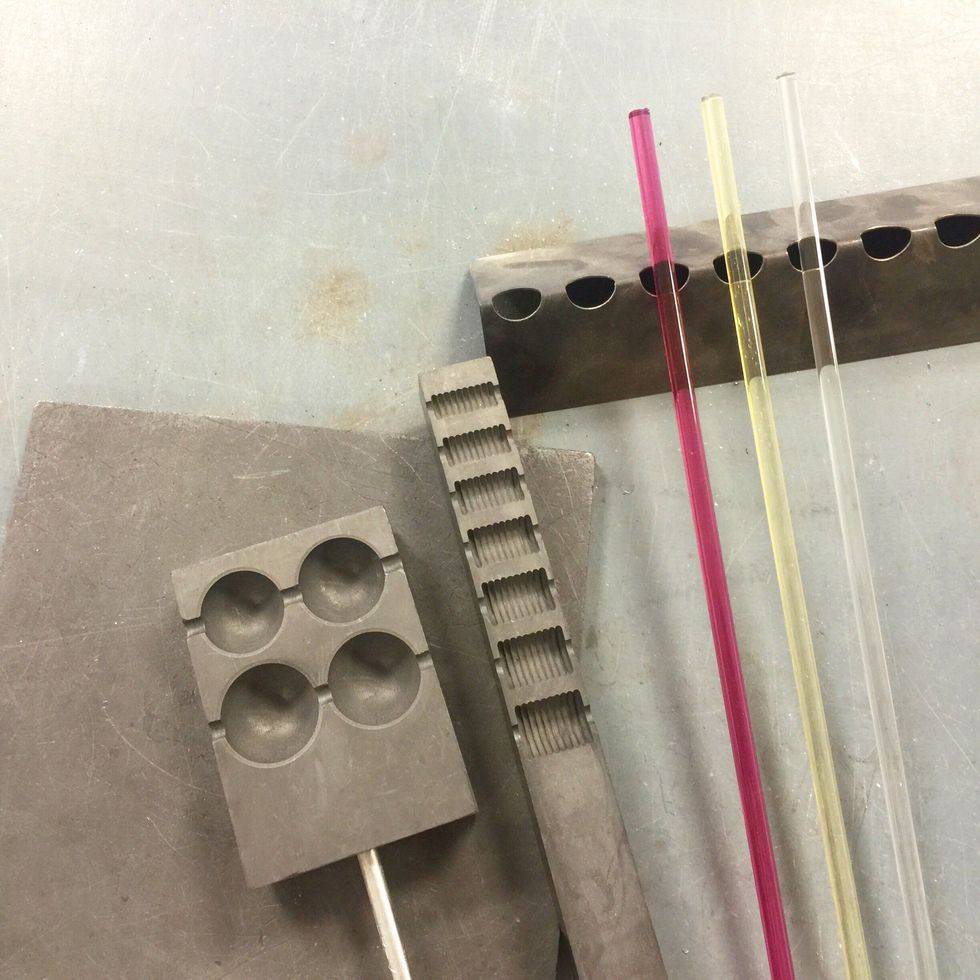
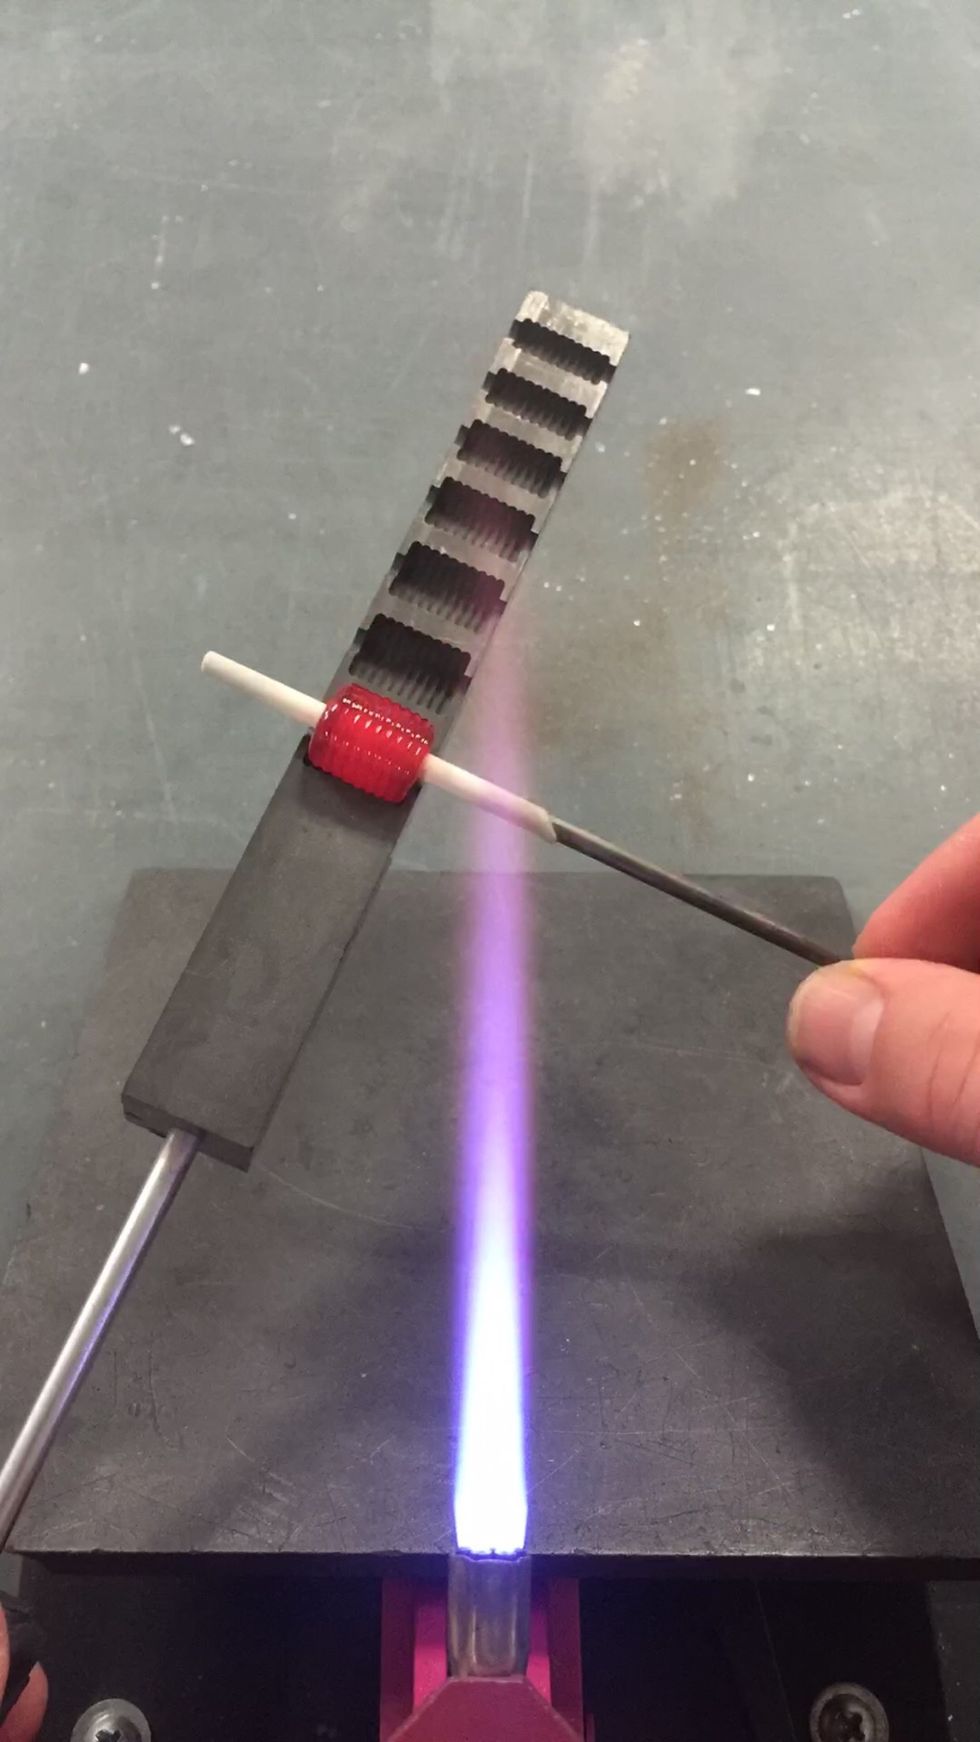
For this bead we will use graphite Beadrollers. These molds are available at http://www.cgbeads.com
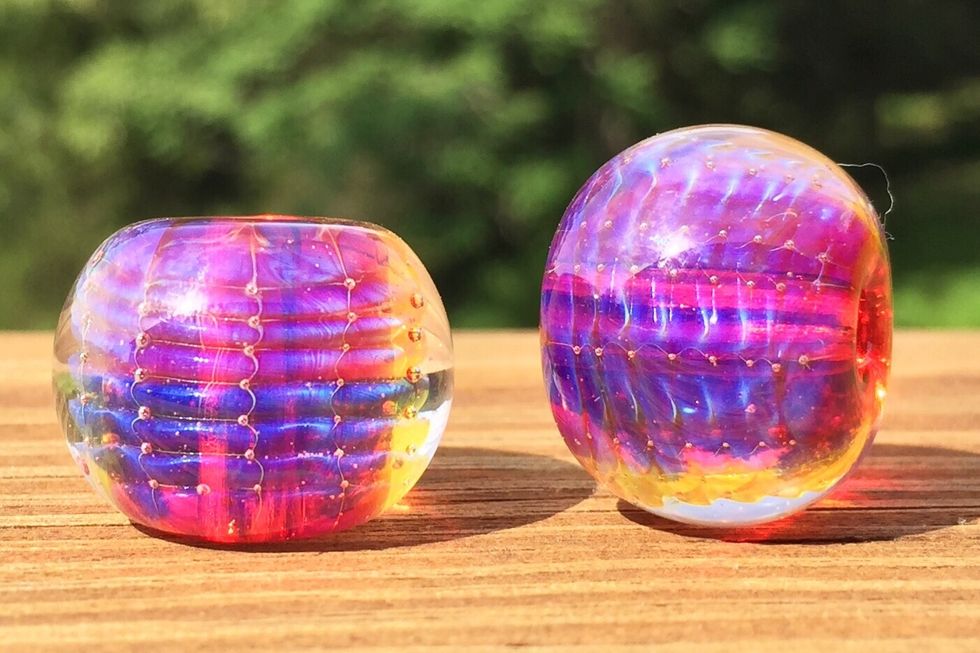
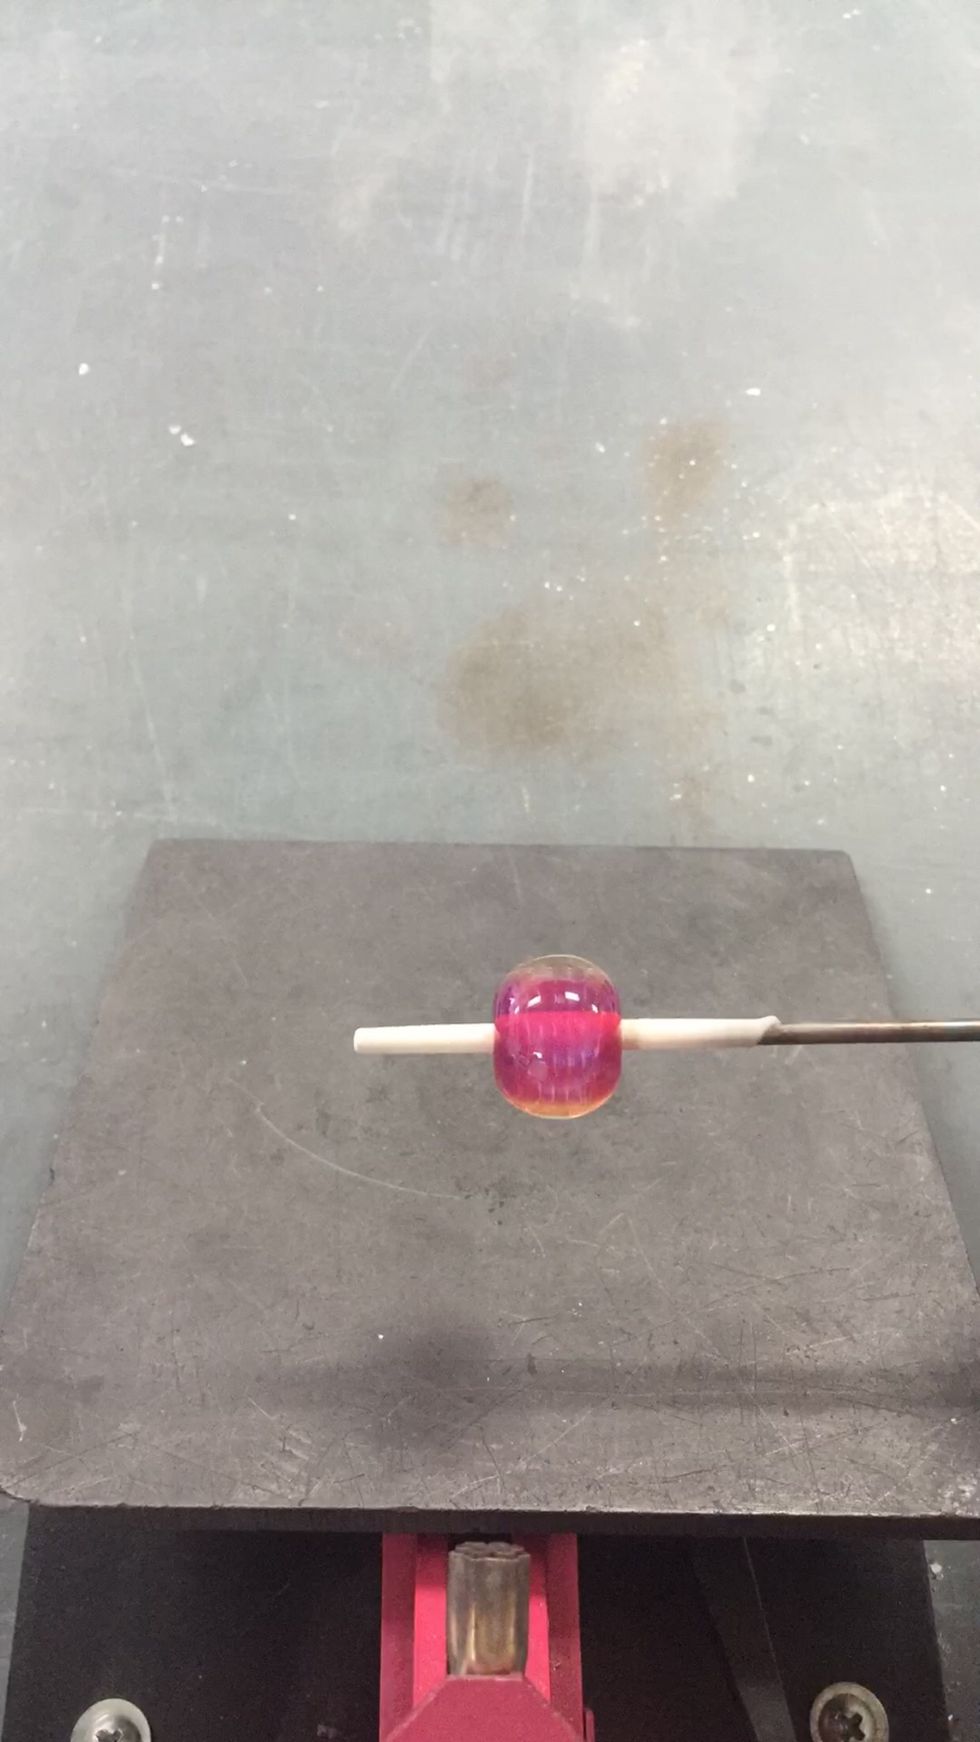
Layering Rhea, lightly reduced Phoebe, and encasing with Zephyr can produce a hot pink.
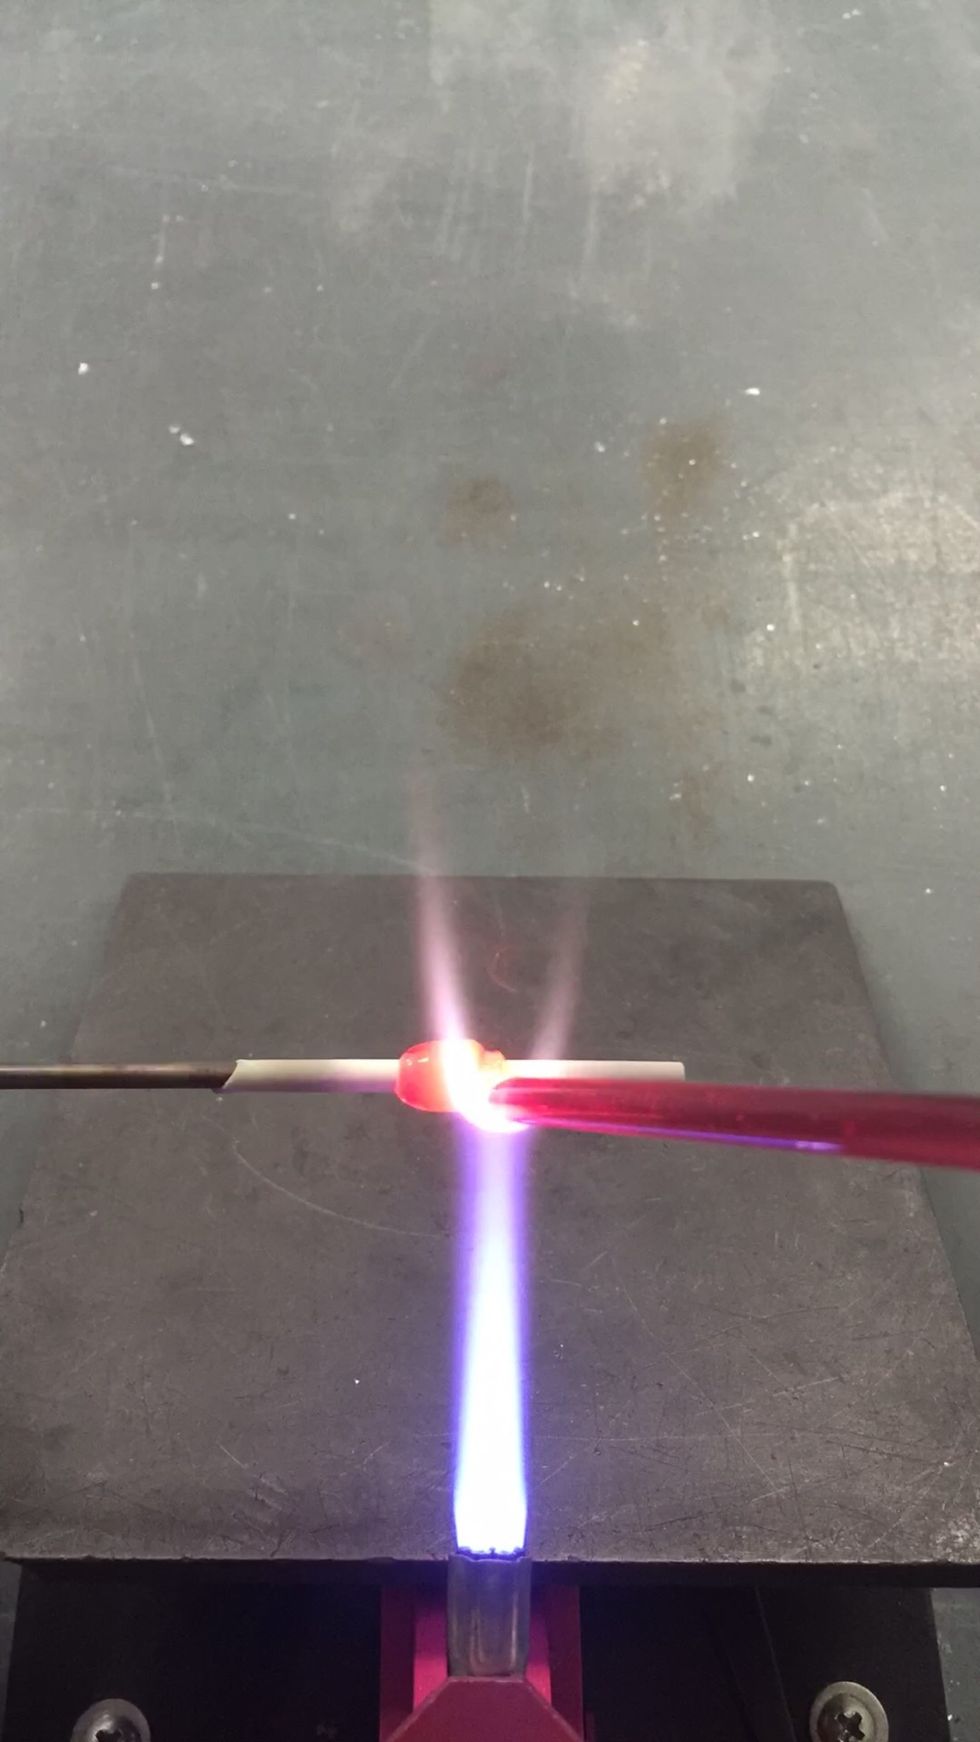
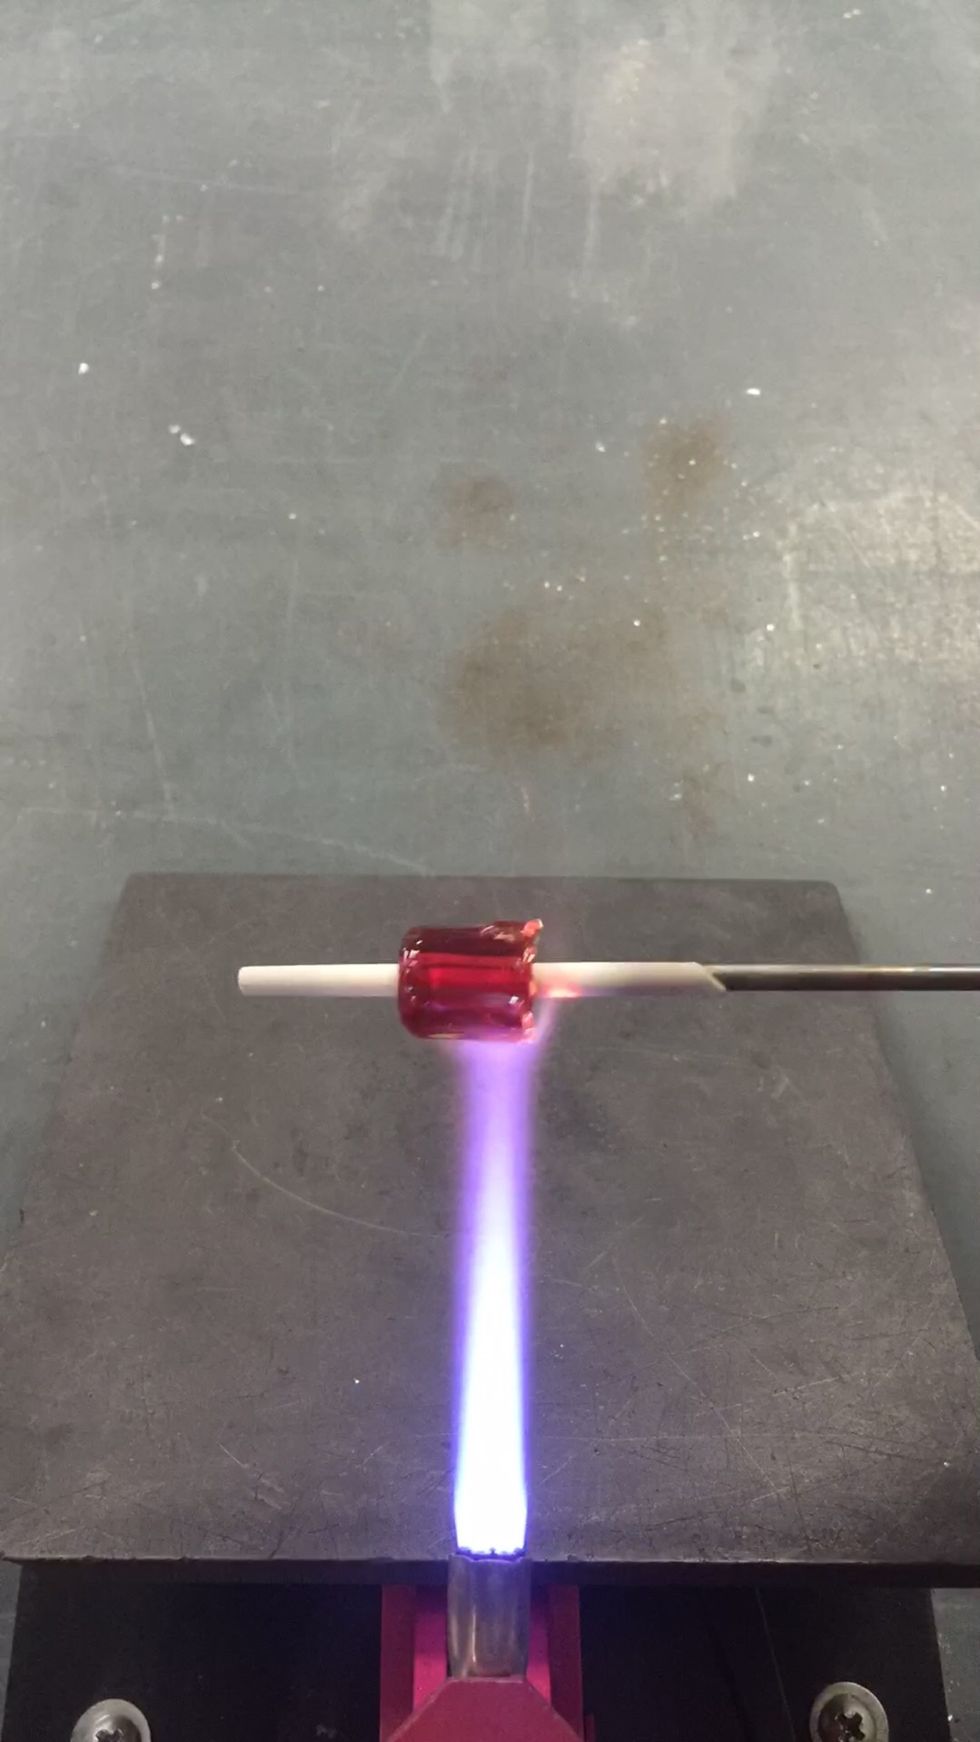
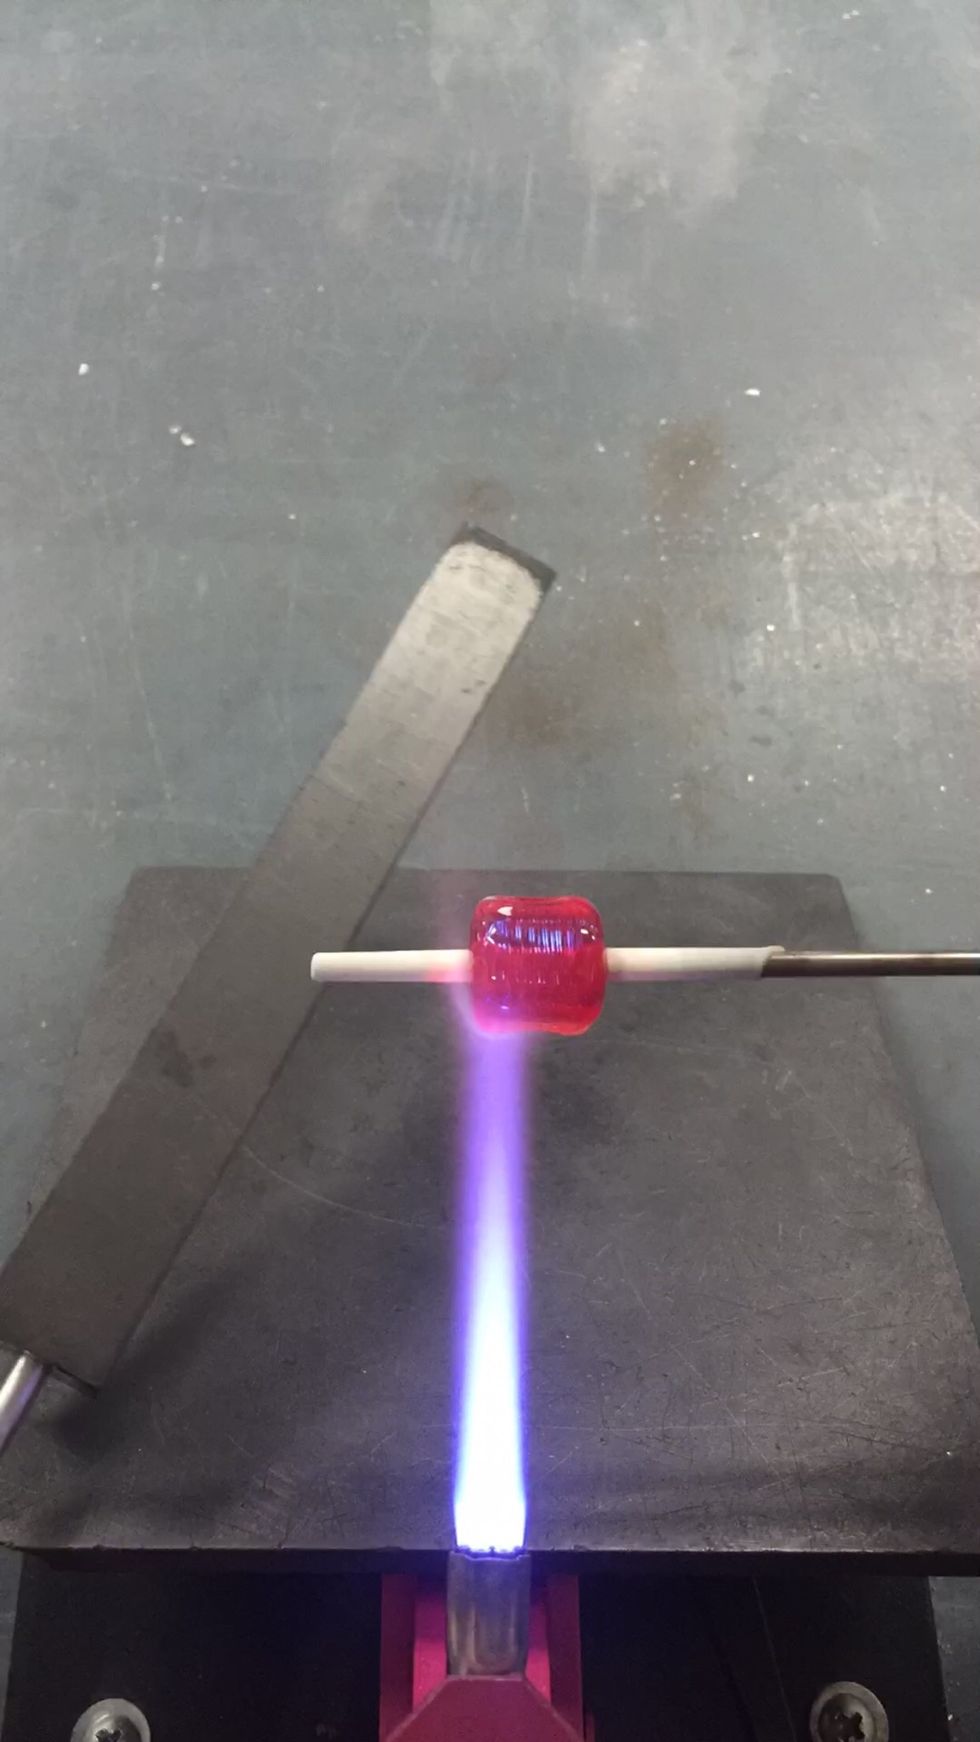
First, apply some Rhea to the mandrel.
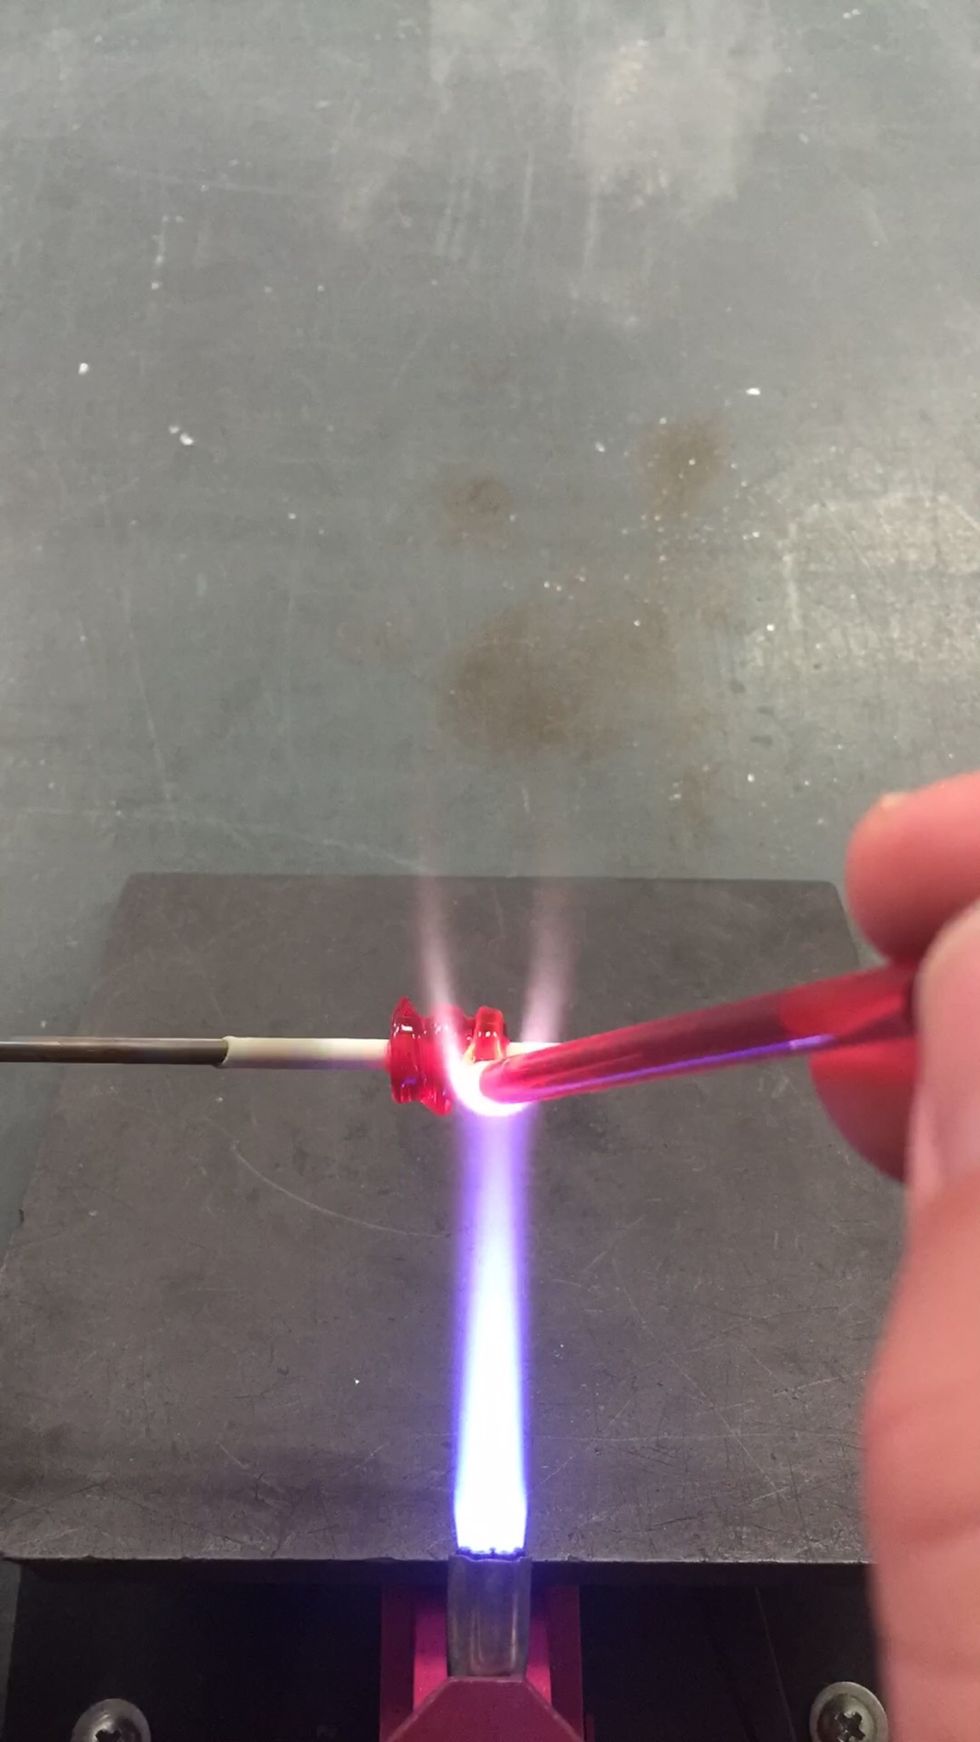
Make a small barrel shape, sized to fit in the ribbed cylinder Beadroller. This is the core, and more glass will be added, so use one of the smaller slots in the Beadroller.
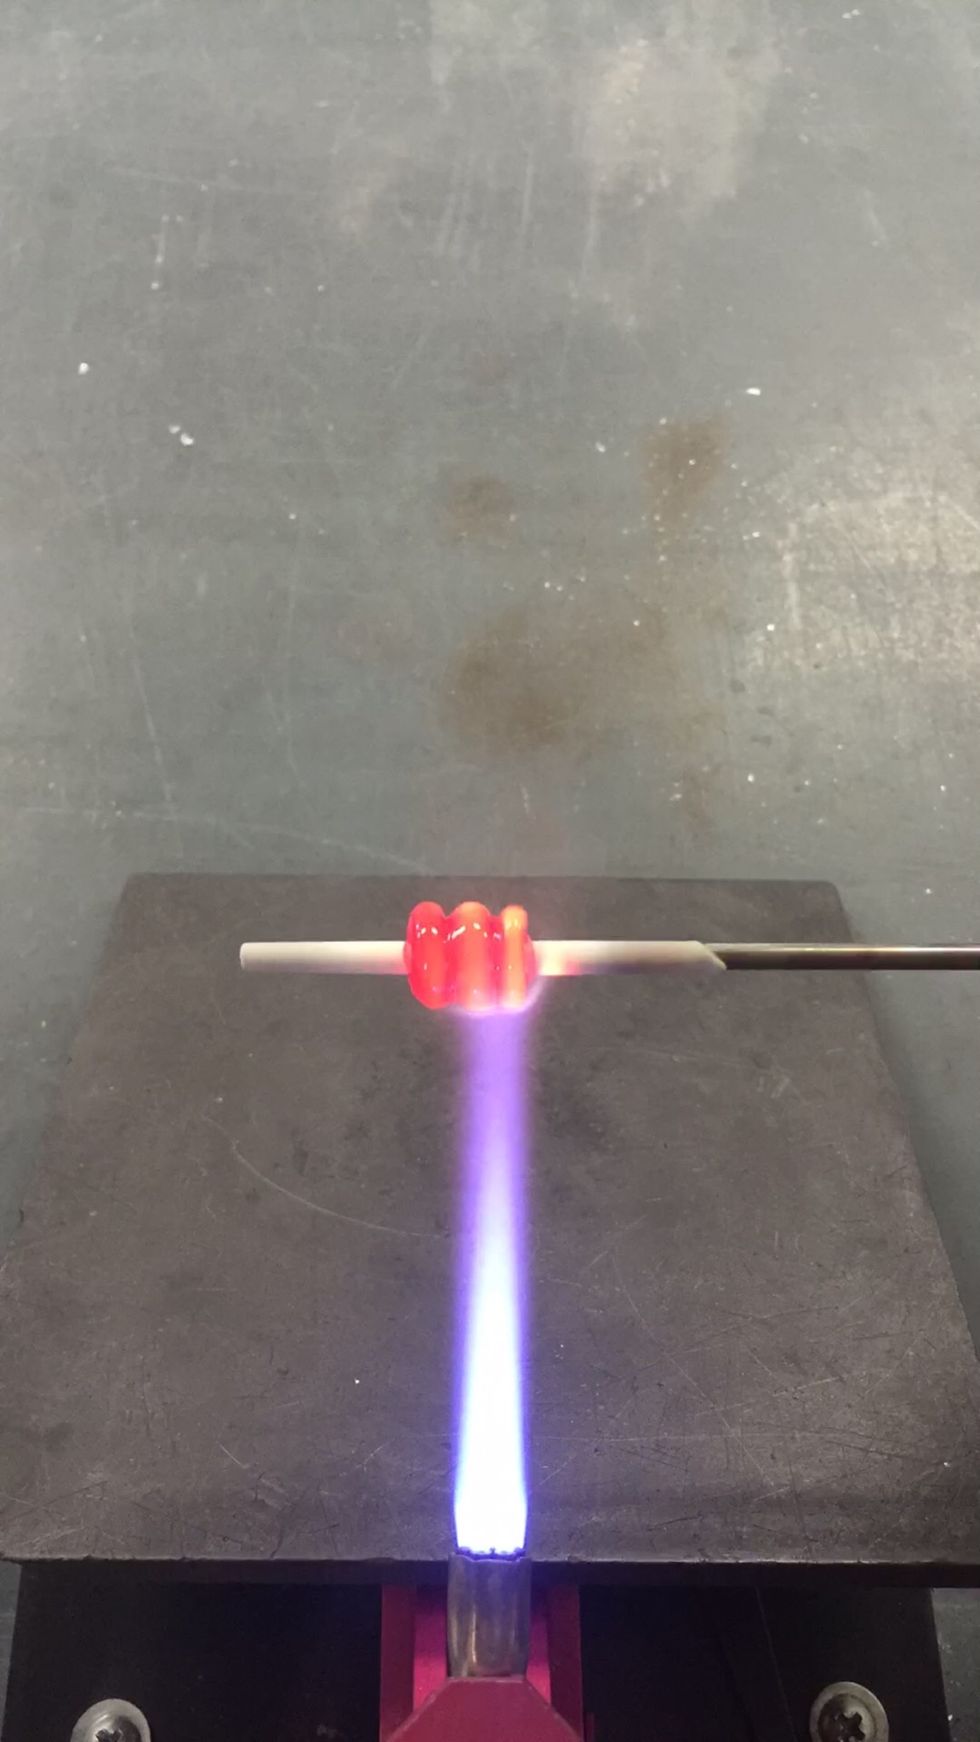
Apply heat to soften.

Roll the bead gently in the Beadroller. It takes a bit of practice to estimate the correct amount of glass for the mold size. If it gets messed up, reheat and try again.
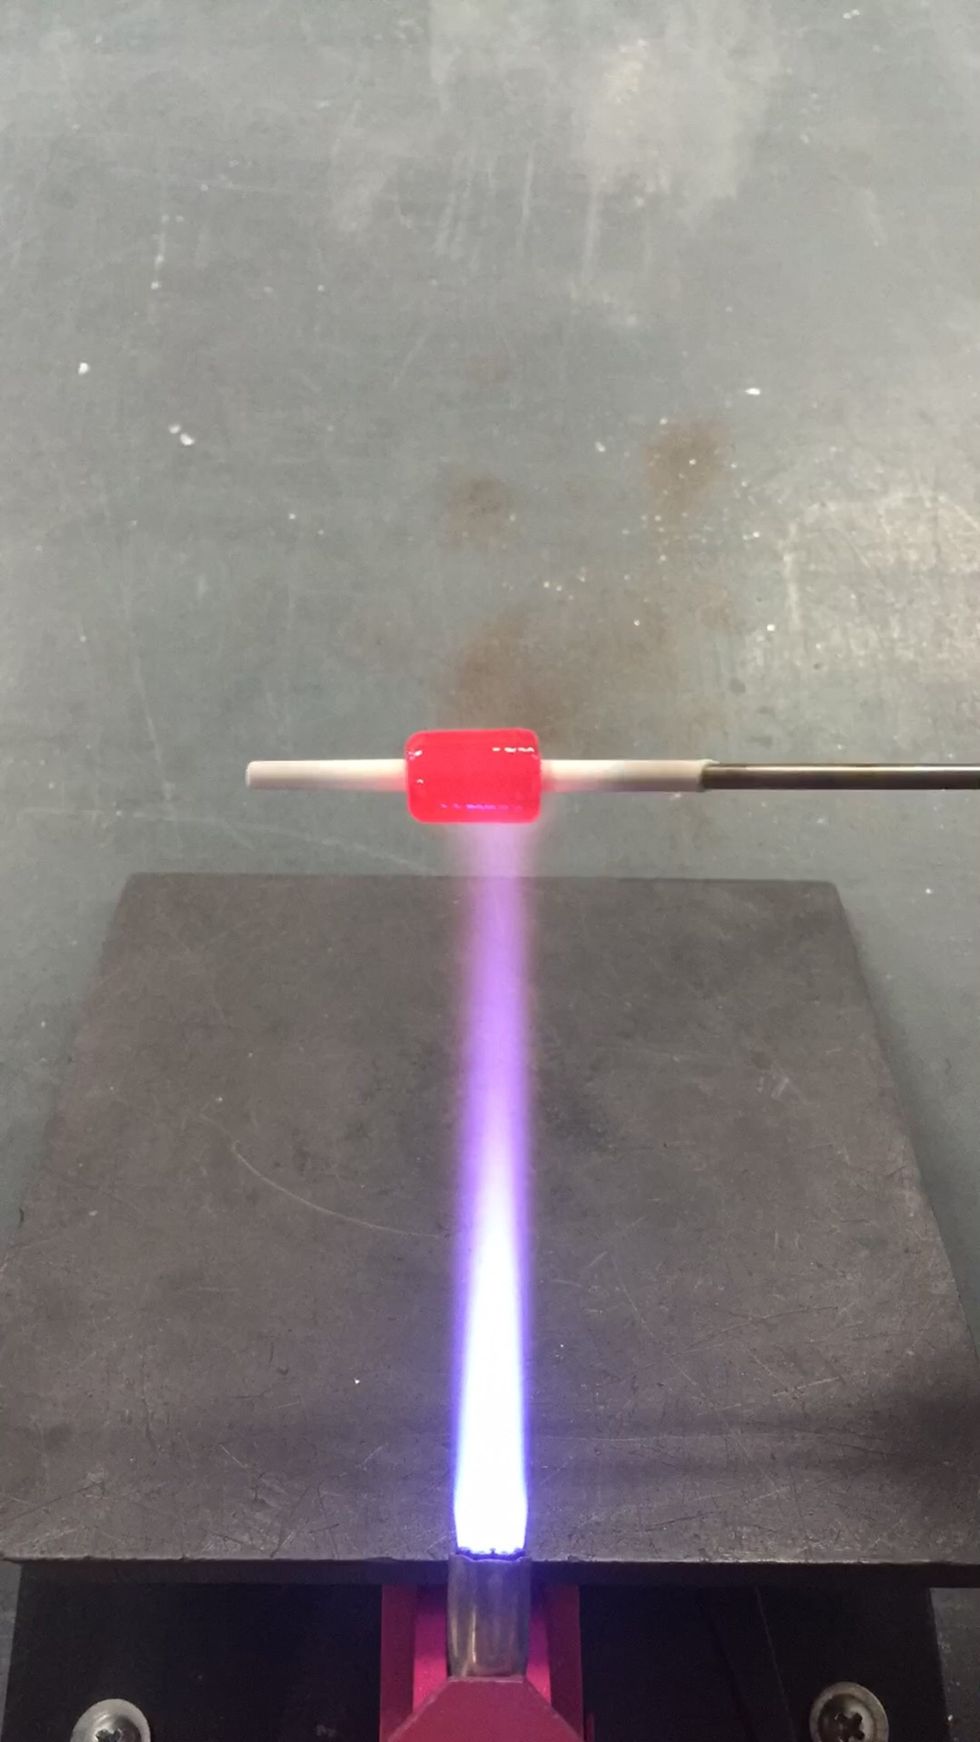
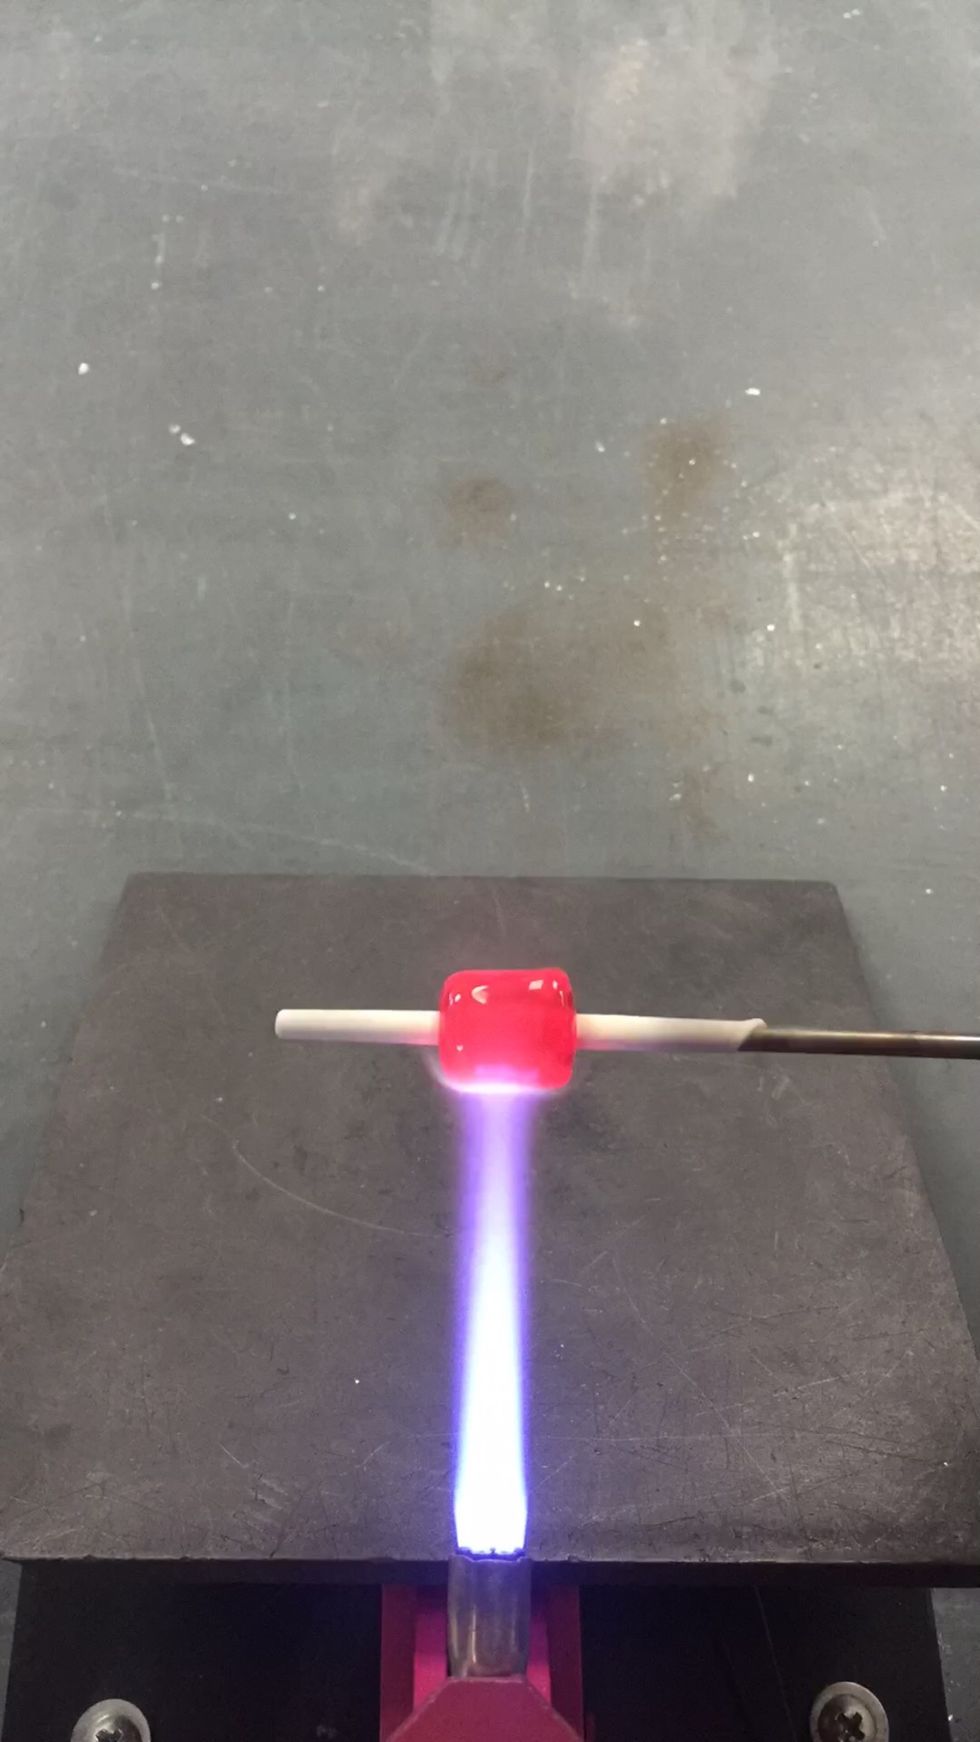
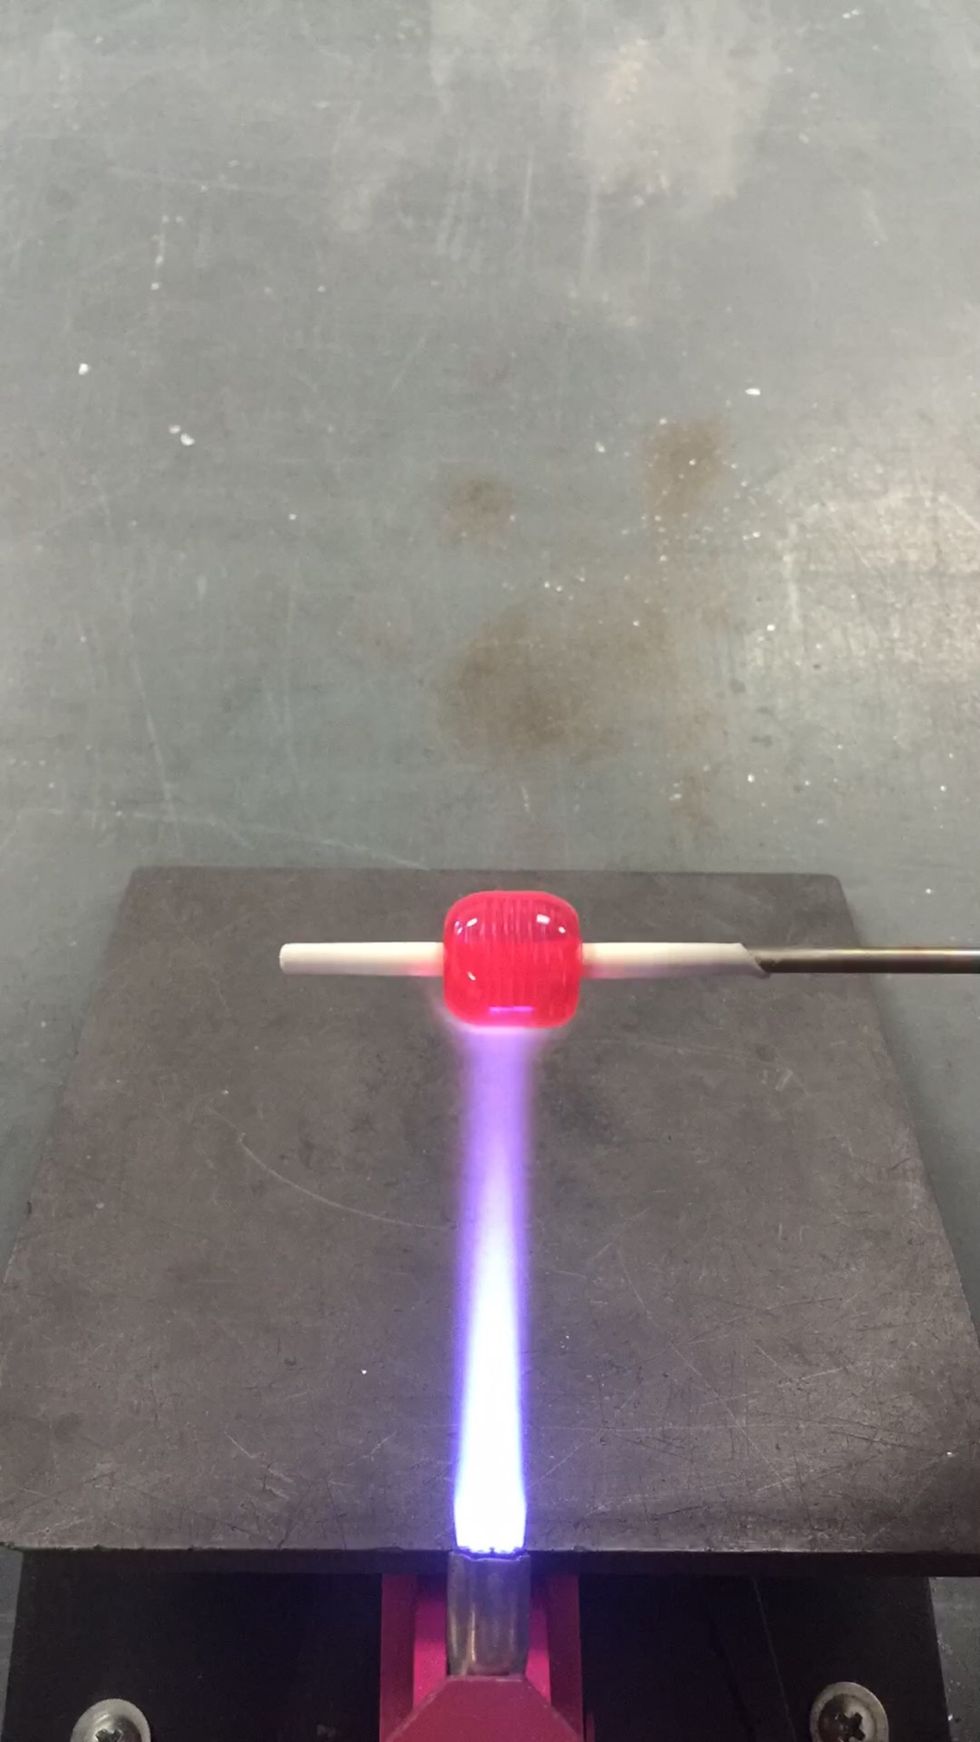
For the core, we won't need the ridges, so you can melt the bead smooth before the next step.
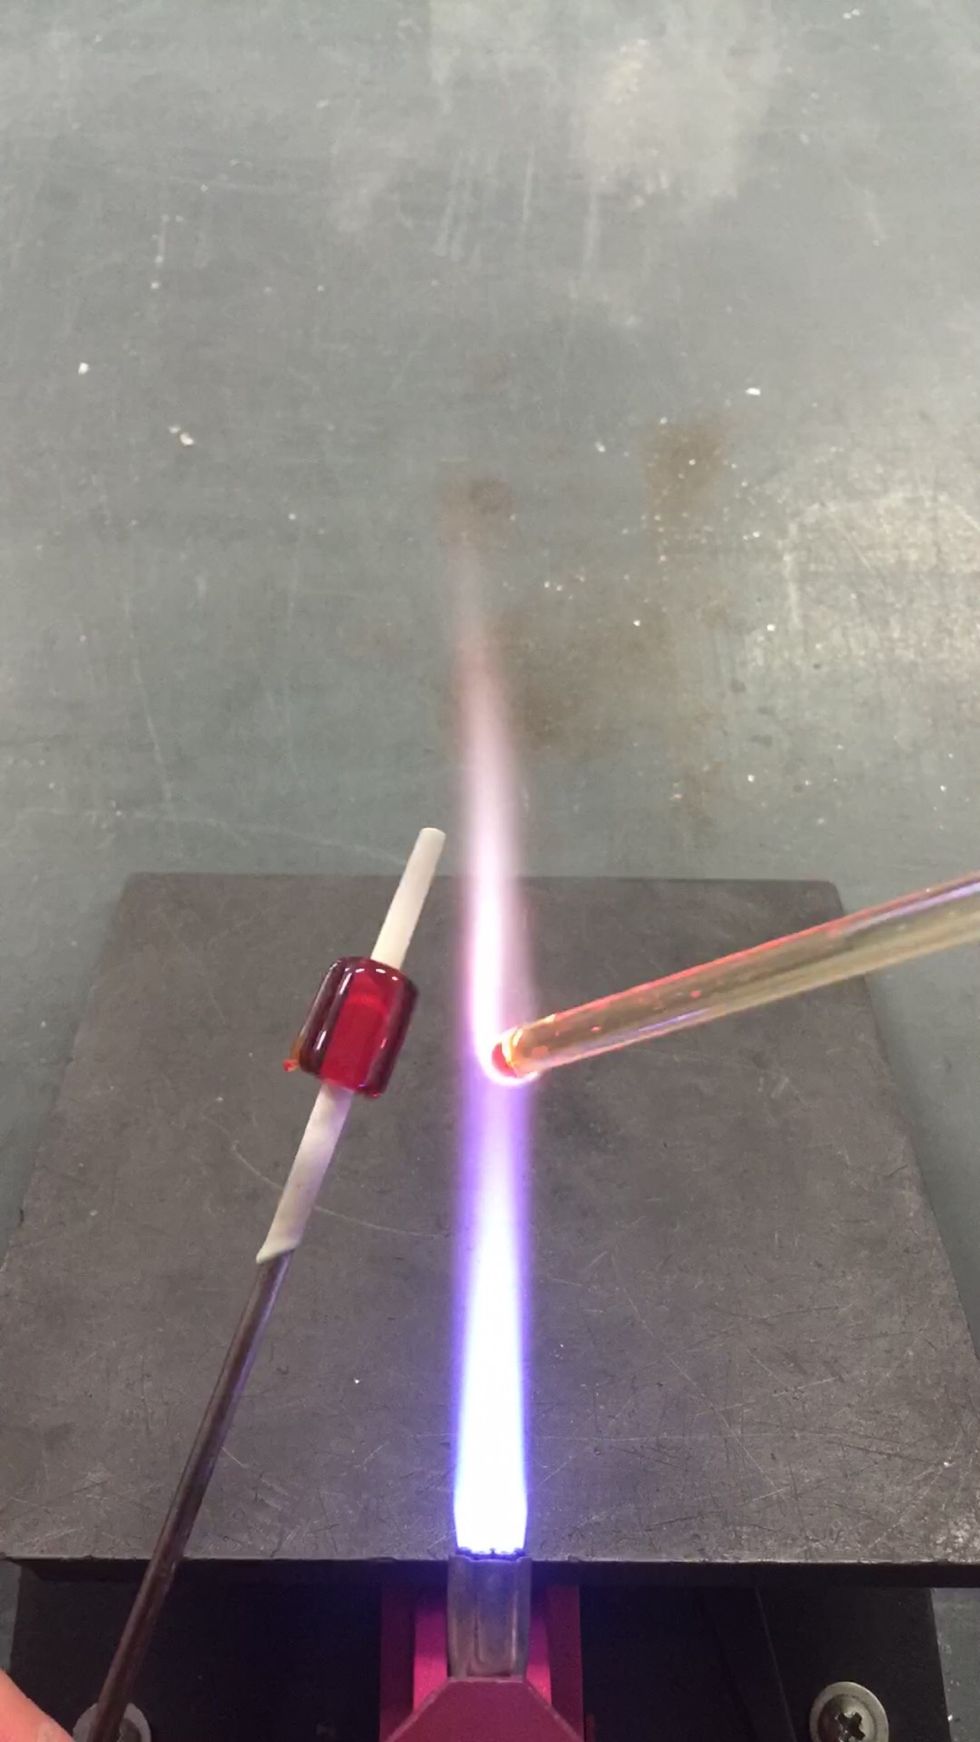
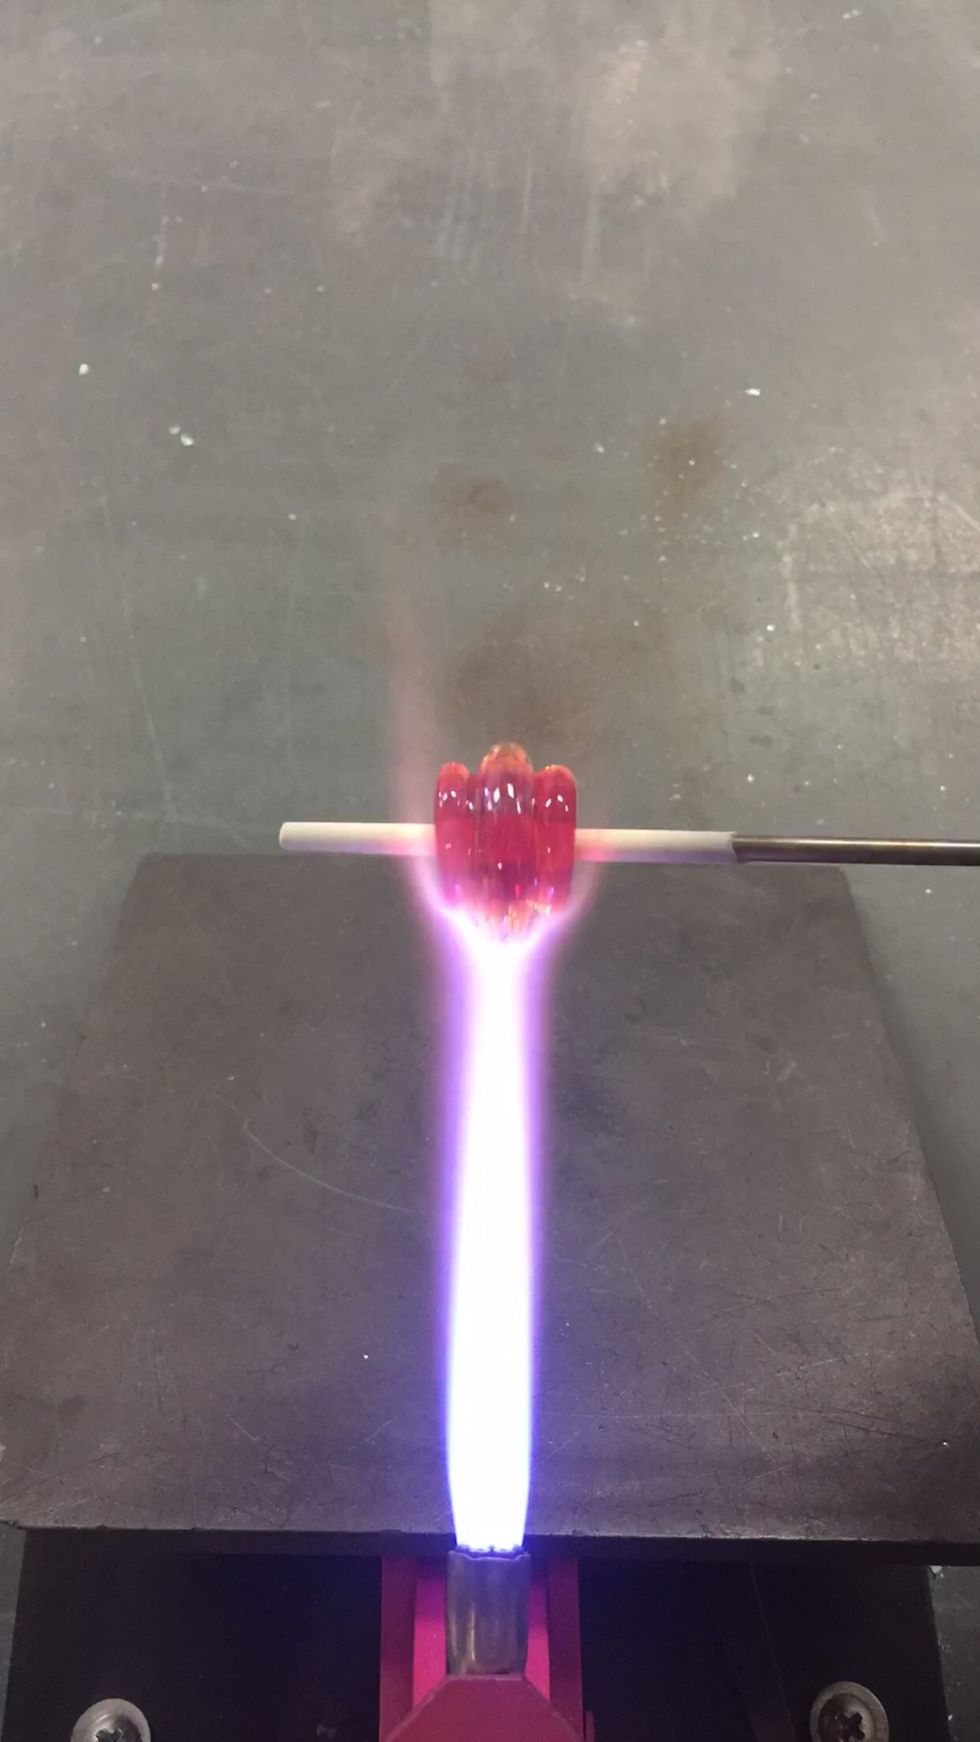
Next, apply thin stripes of Phoebe to the core. To keep it clean, turn up your oxygen a bit.
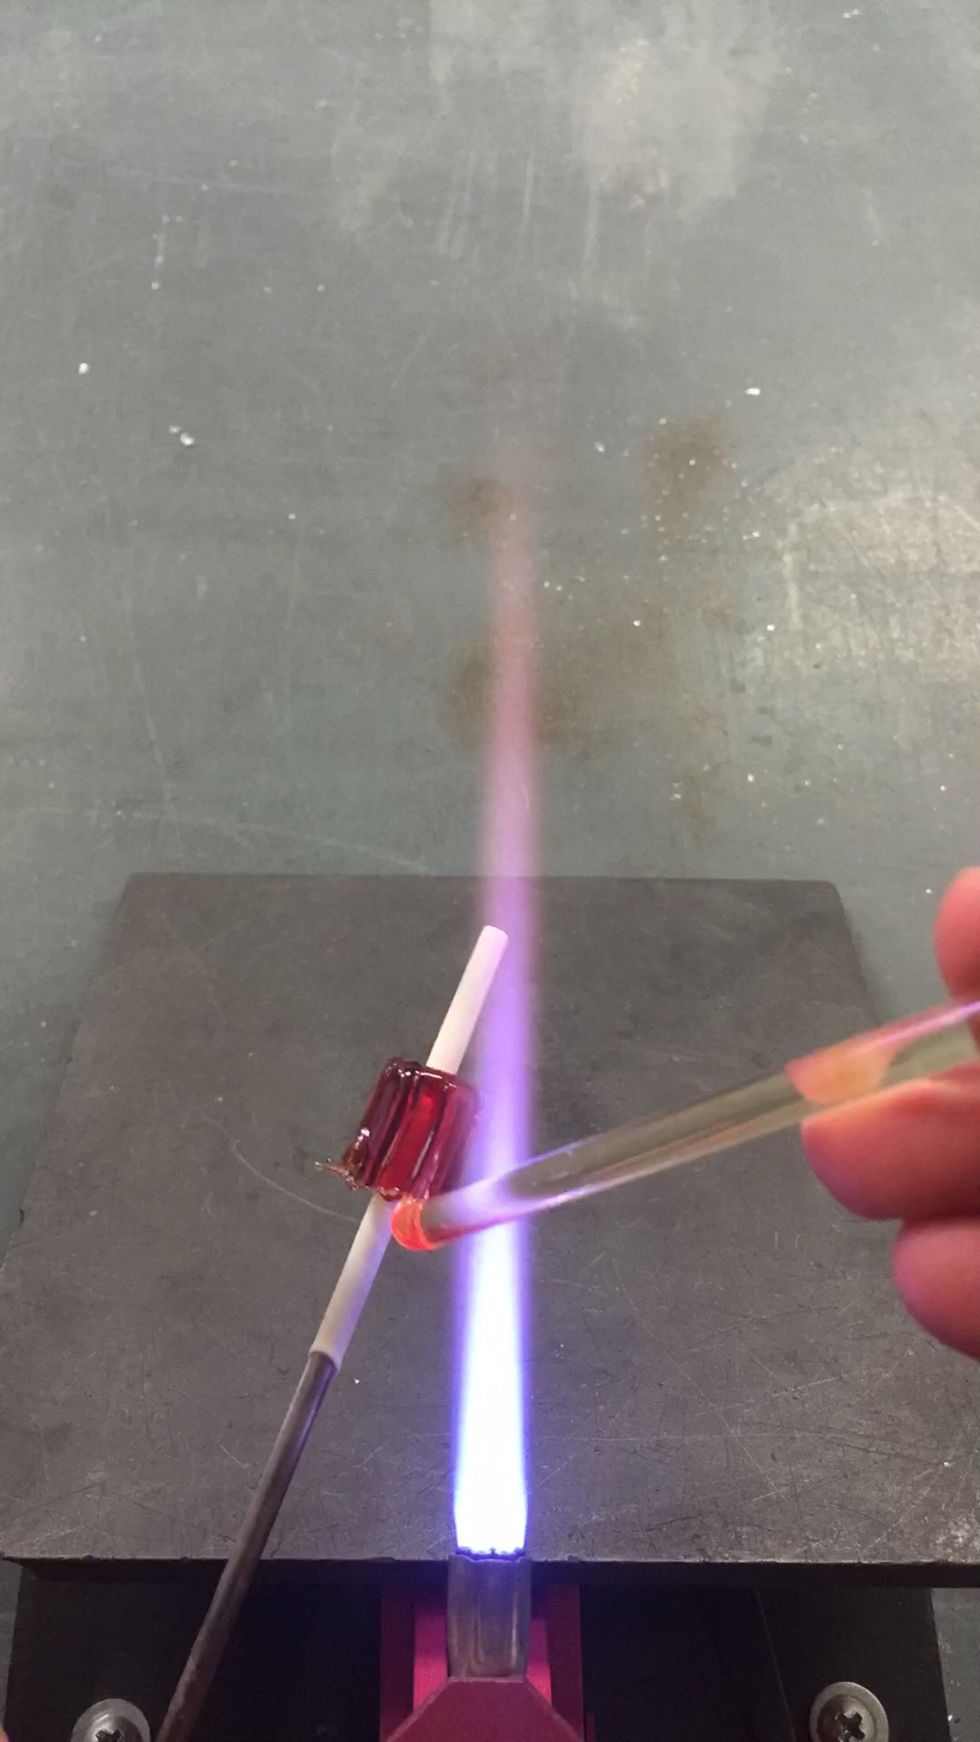
To keep the bead symmetrical, I like to apply the stripes in an alternating pattern. Stripe, turn 180 degrees, stripe, until I have four stripes and four gaps. Then I fill in the gaps.
Once the core is covered, use the flame to smooth out the surface.
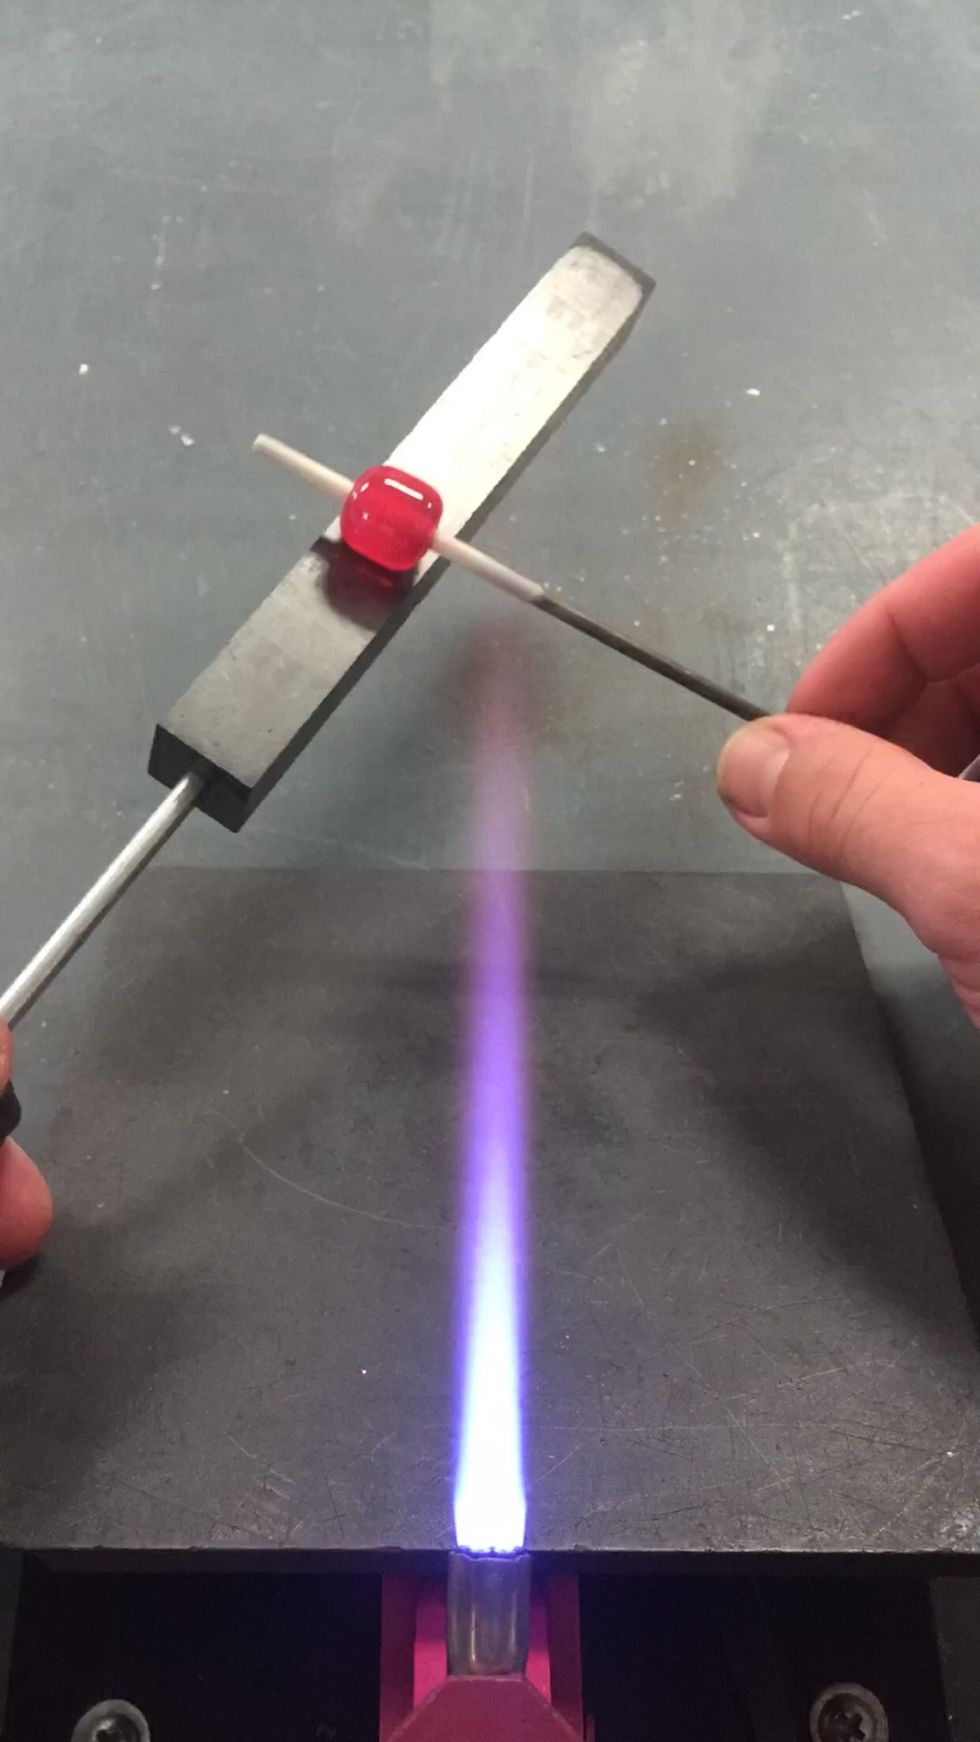
Starting at the ends can help prevent cracking.
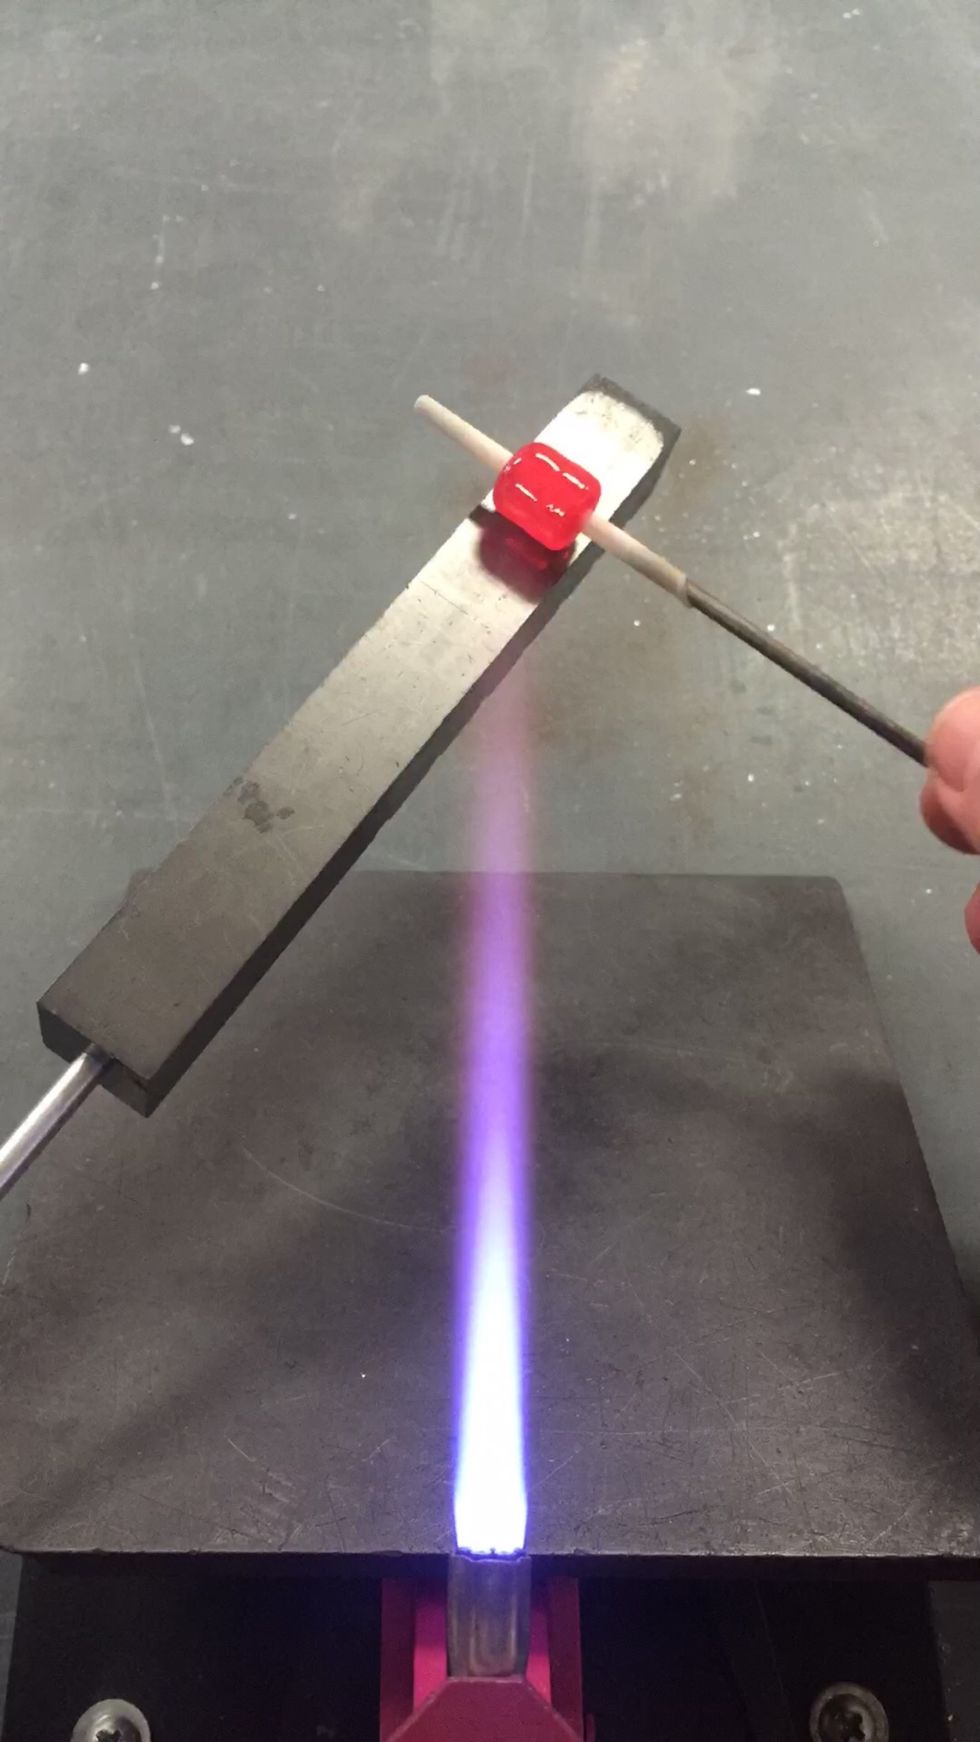
I like to use the back of the Beadroller as a long graphite paddle to help smooth out the bead.
Apply some heat to soften the surface of the bead.
Roll the bead gently in the largest slot of the Beadroller.
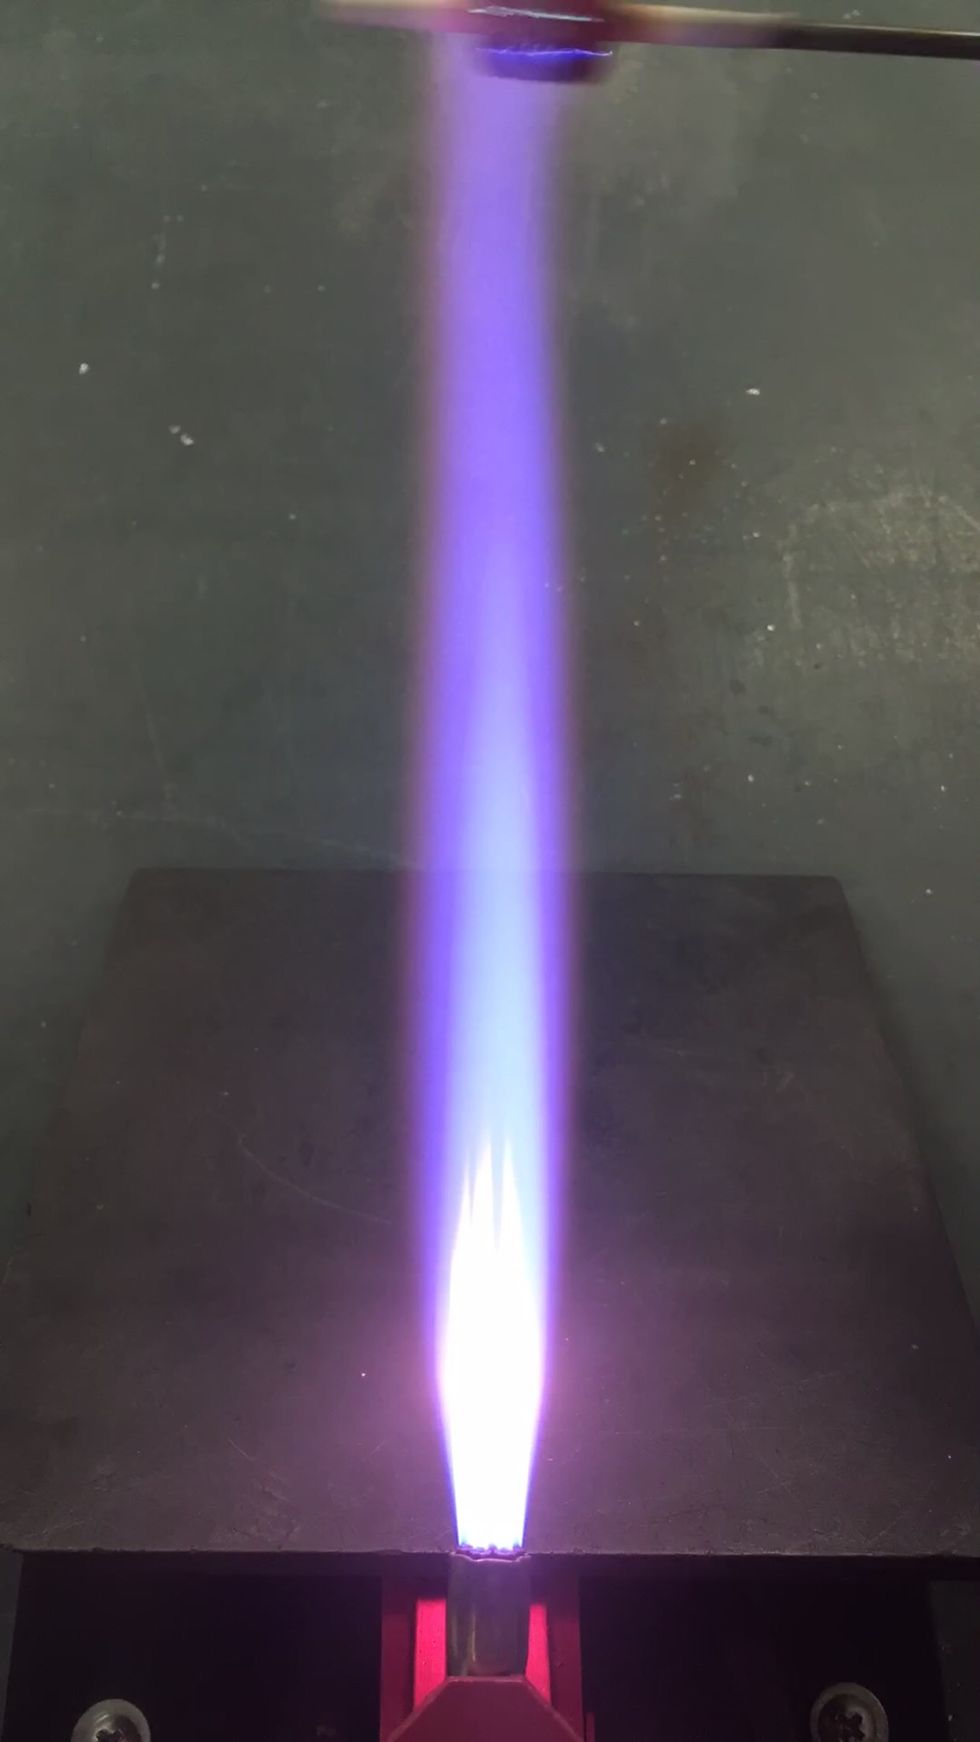
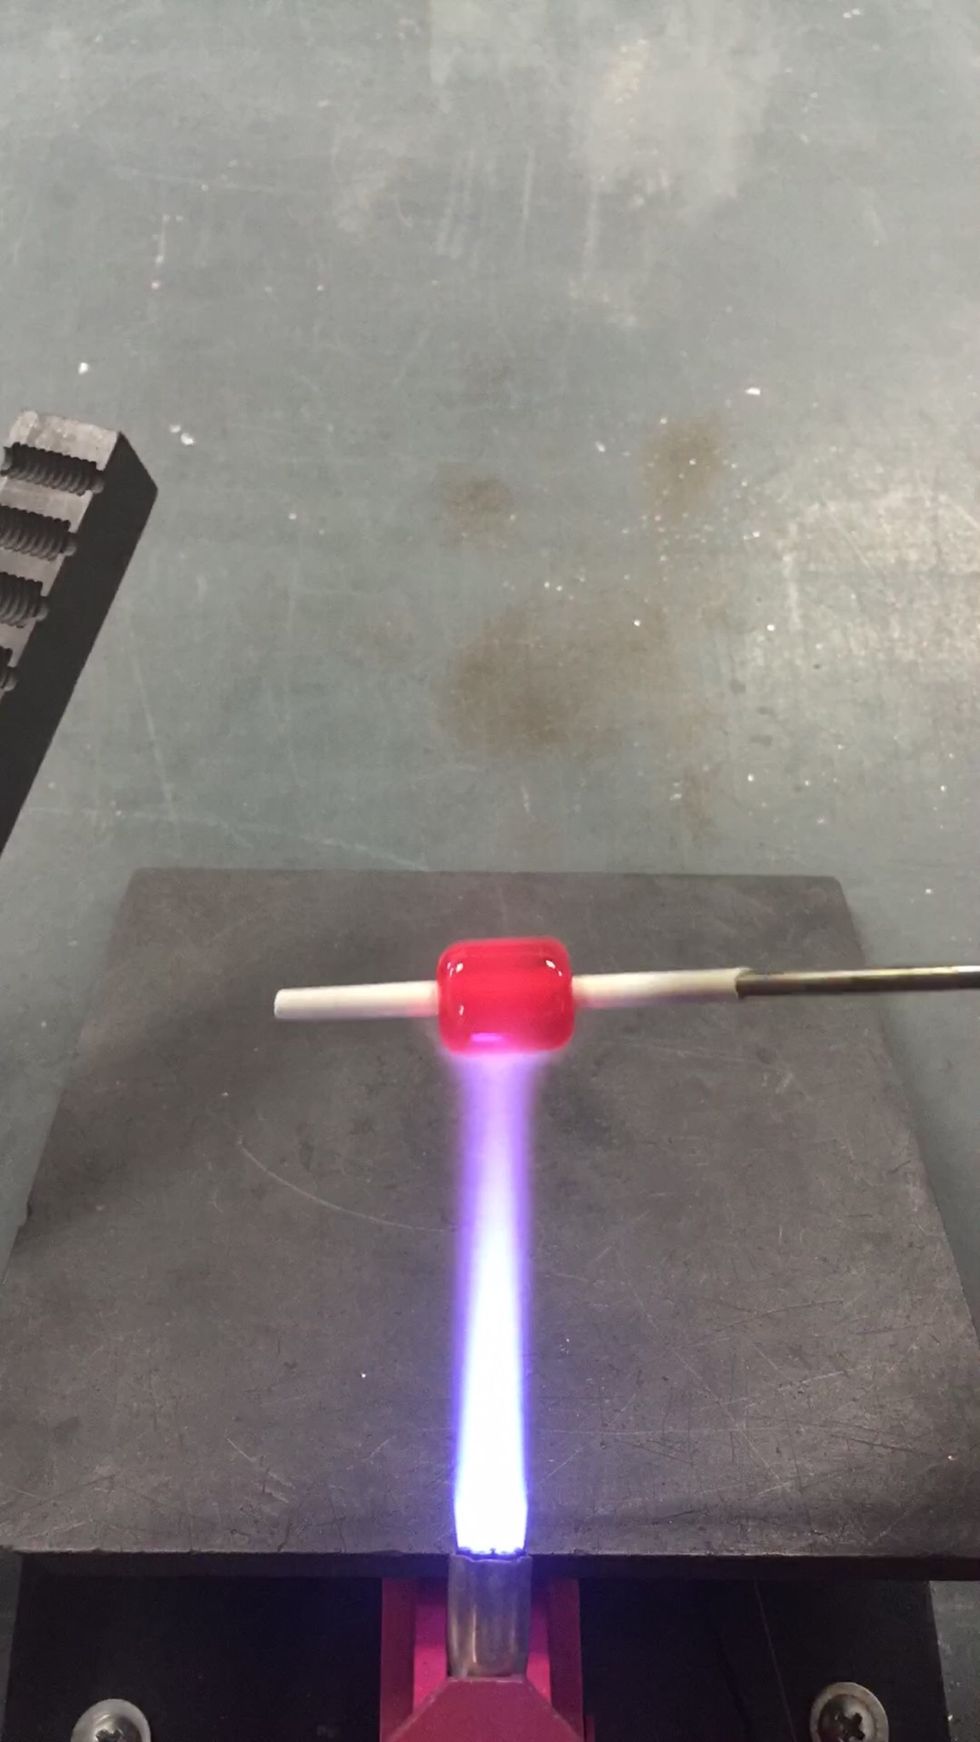
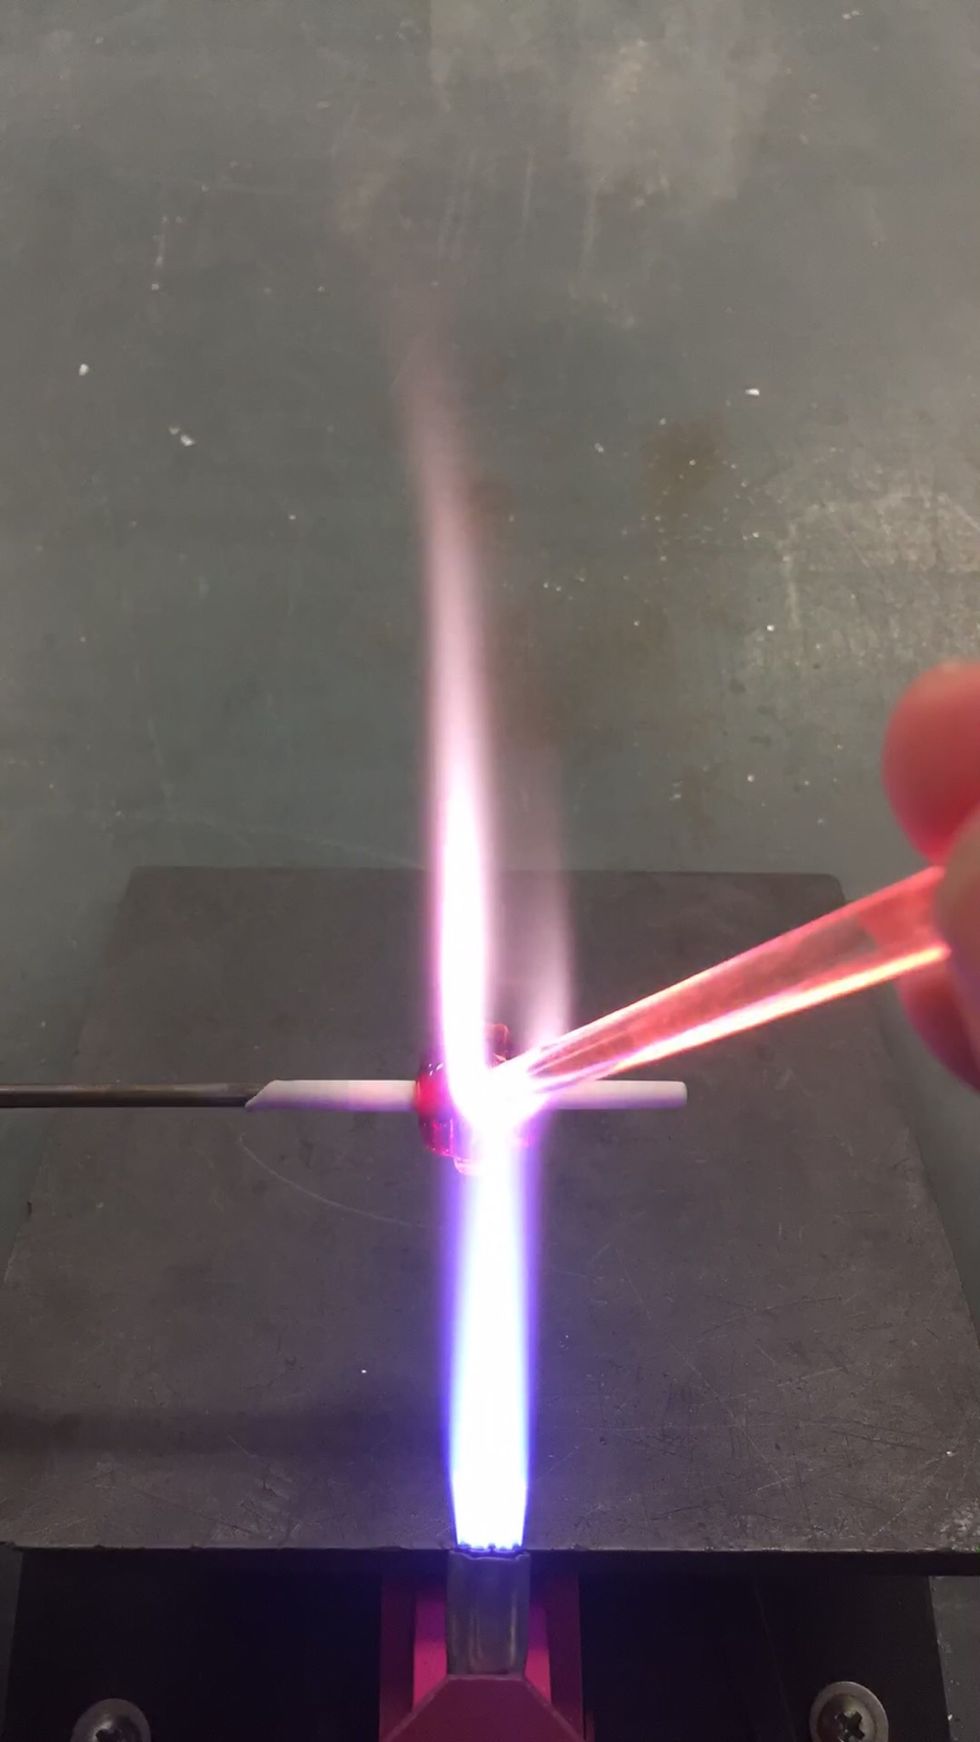
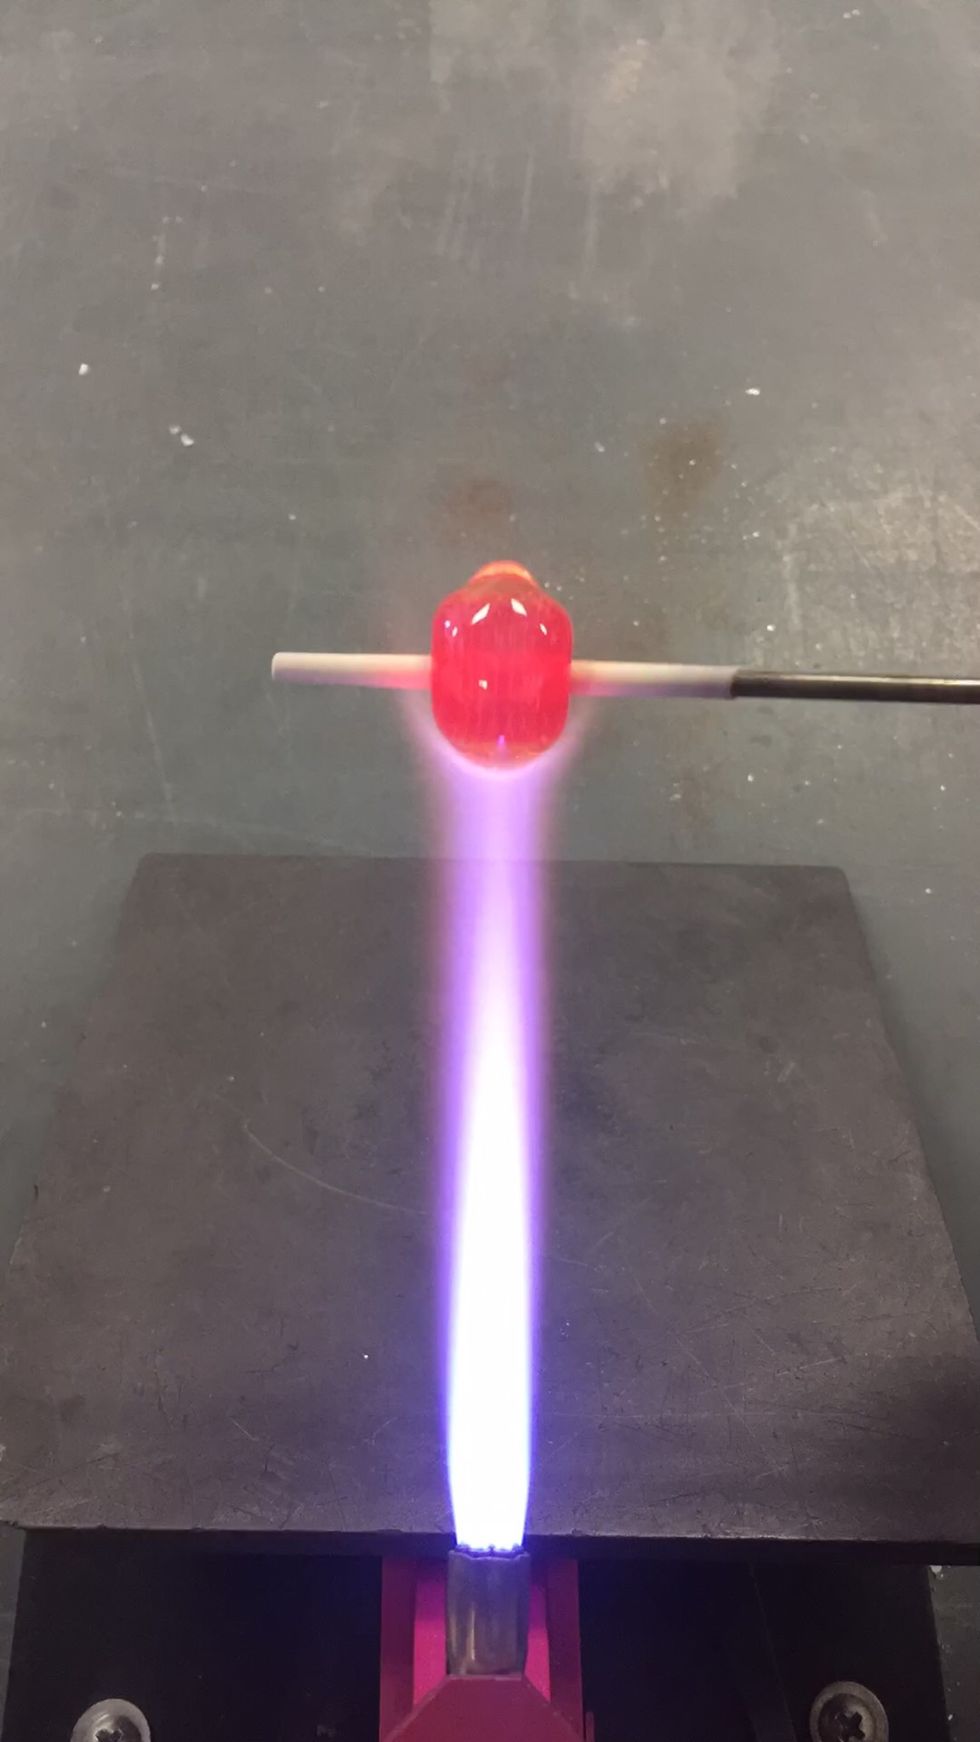
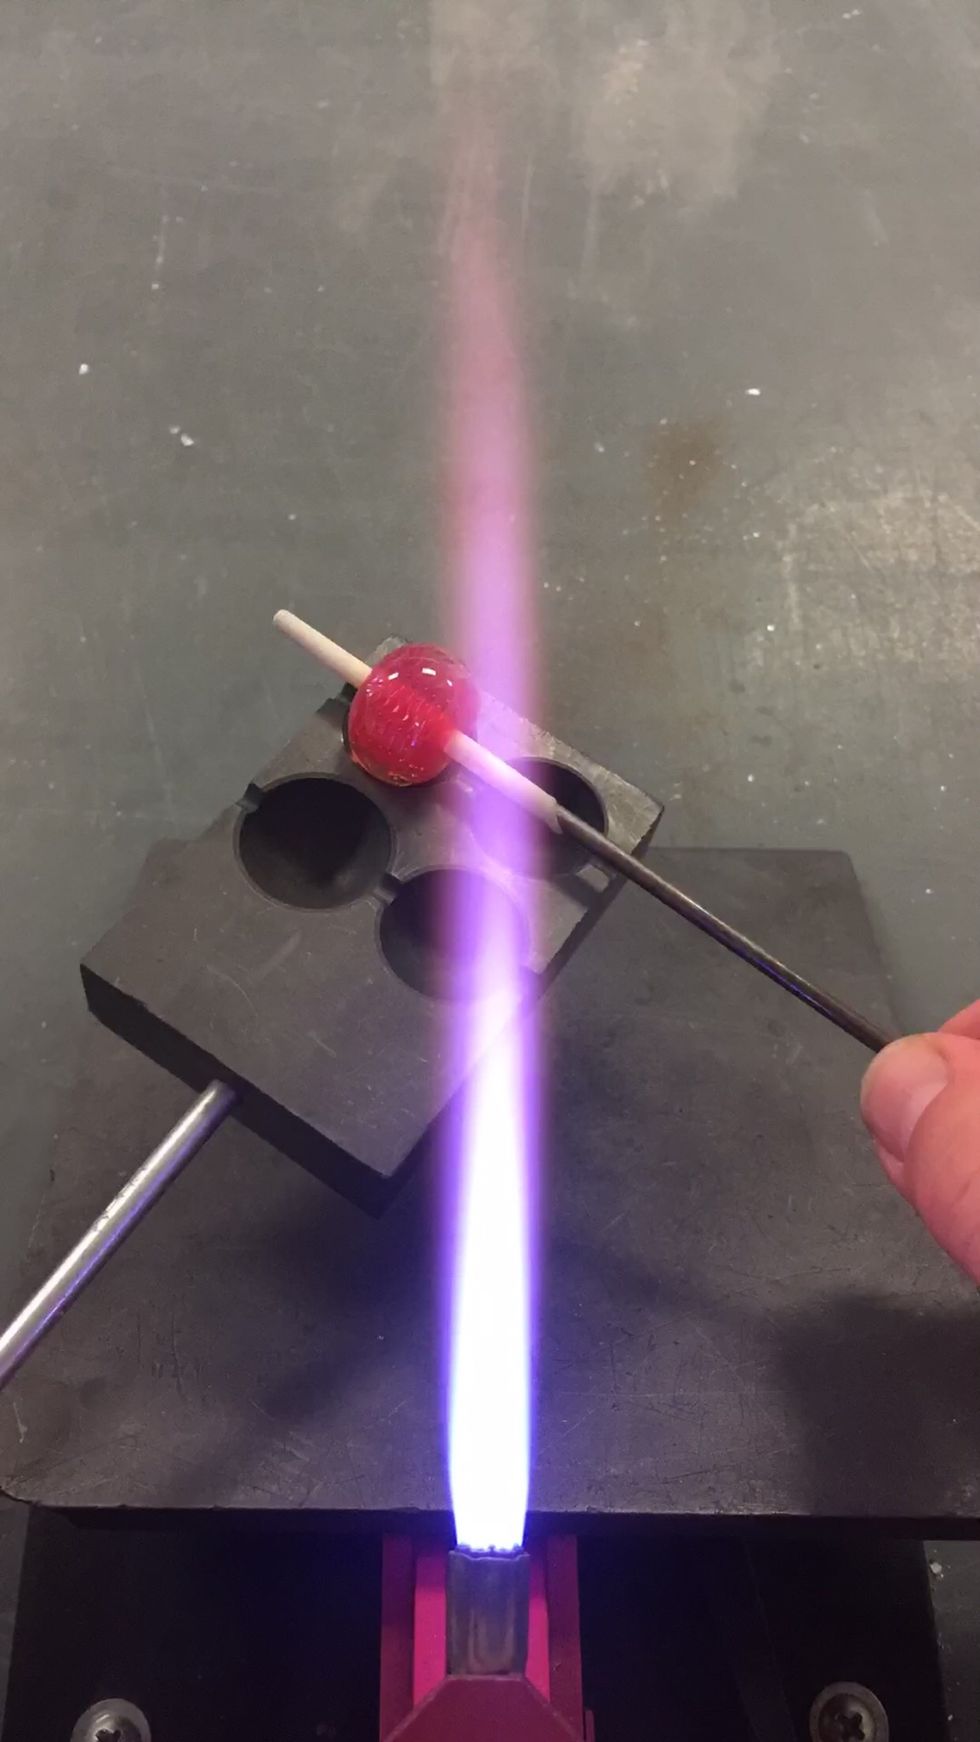
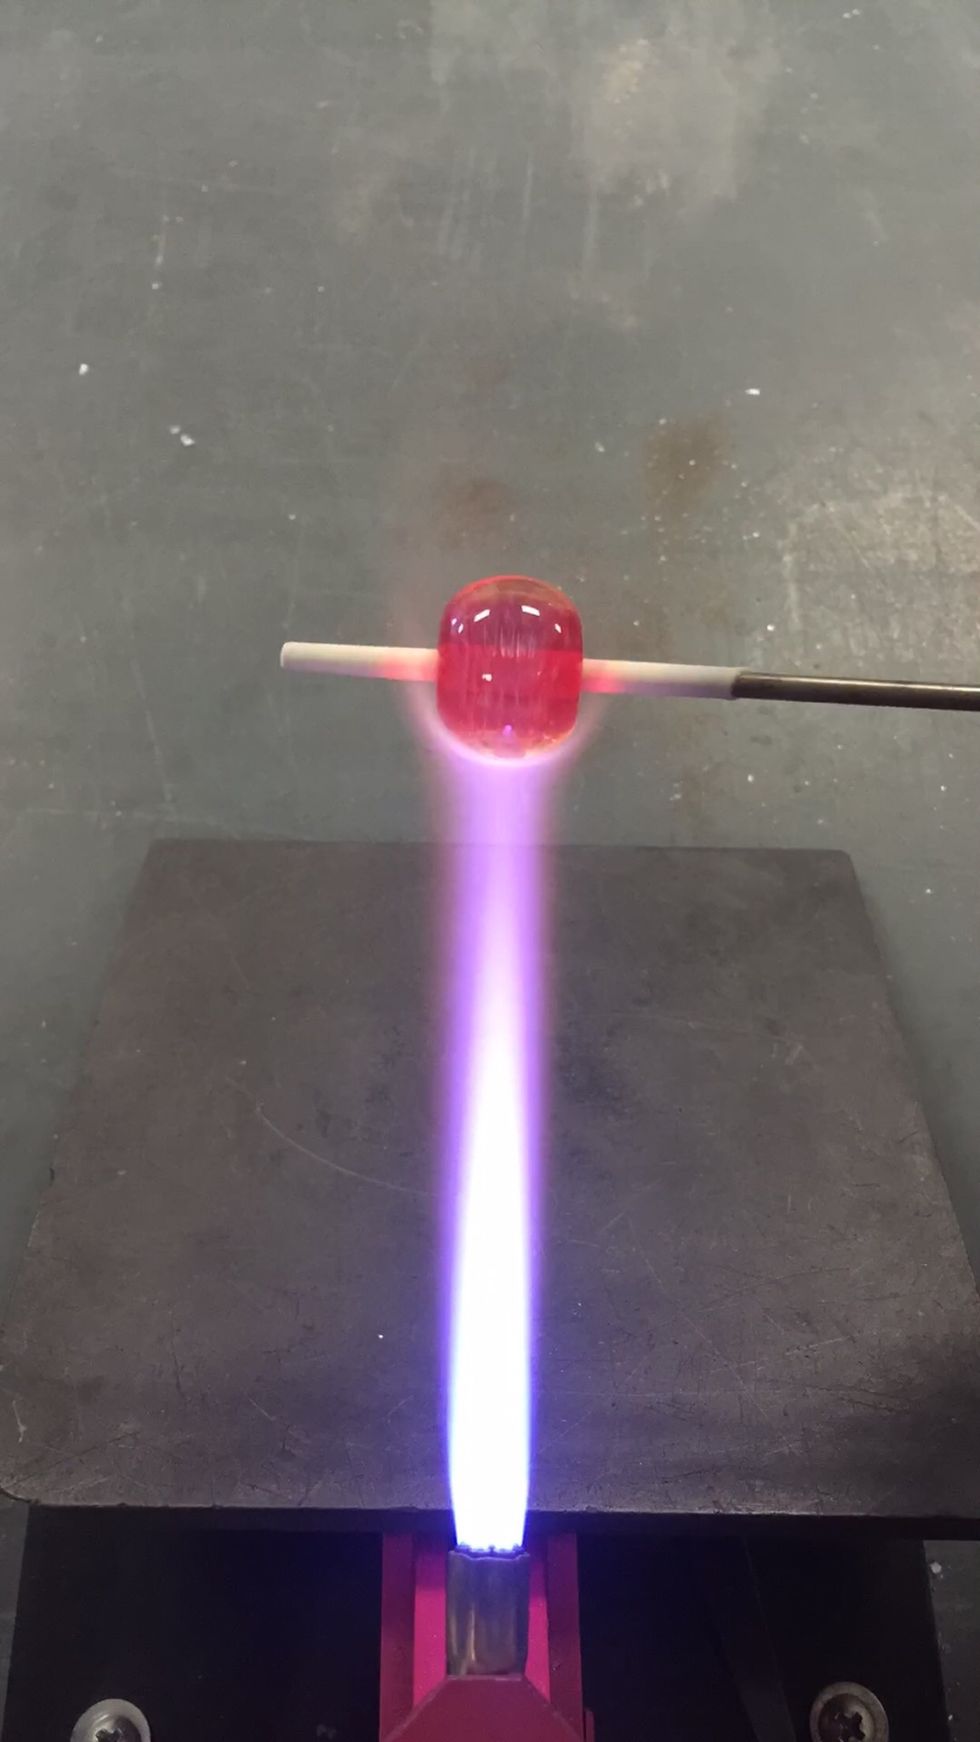
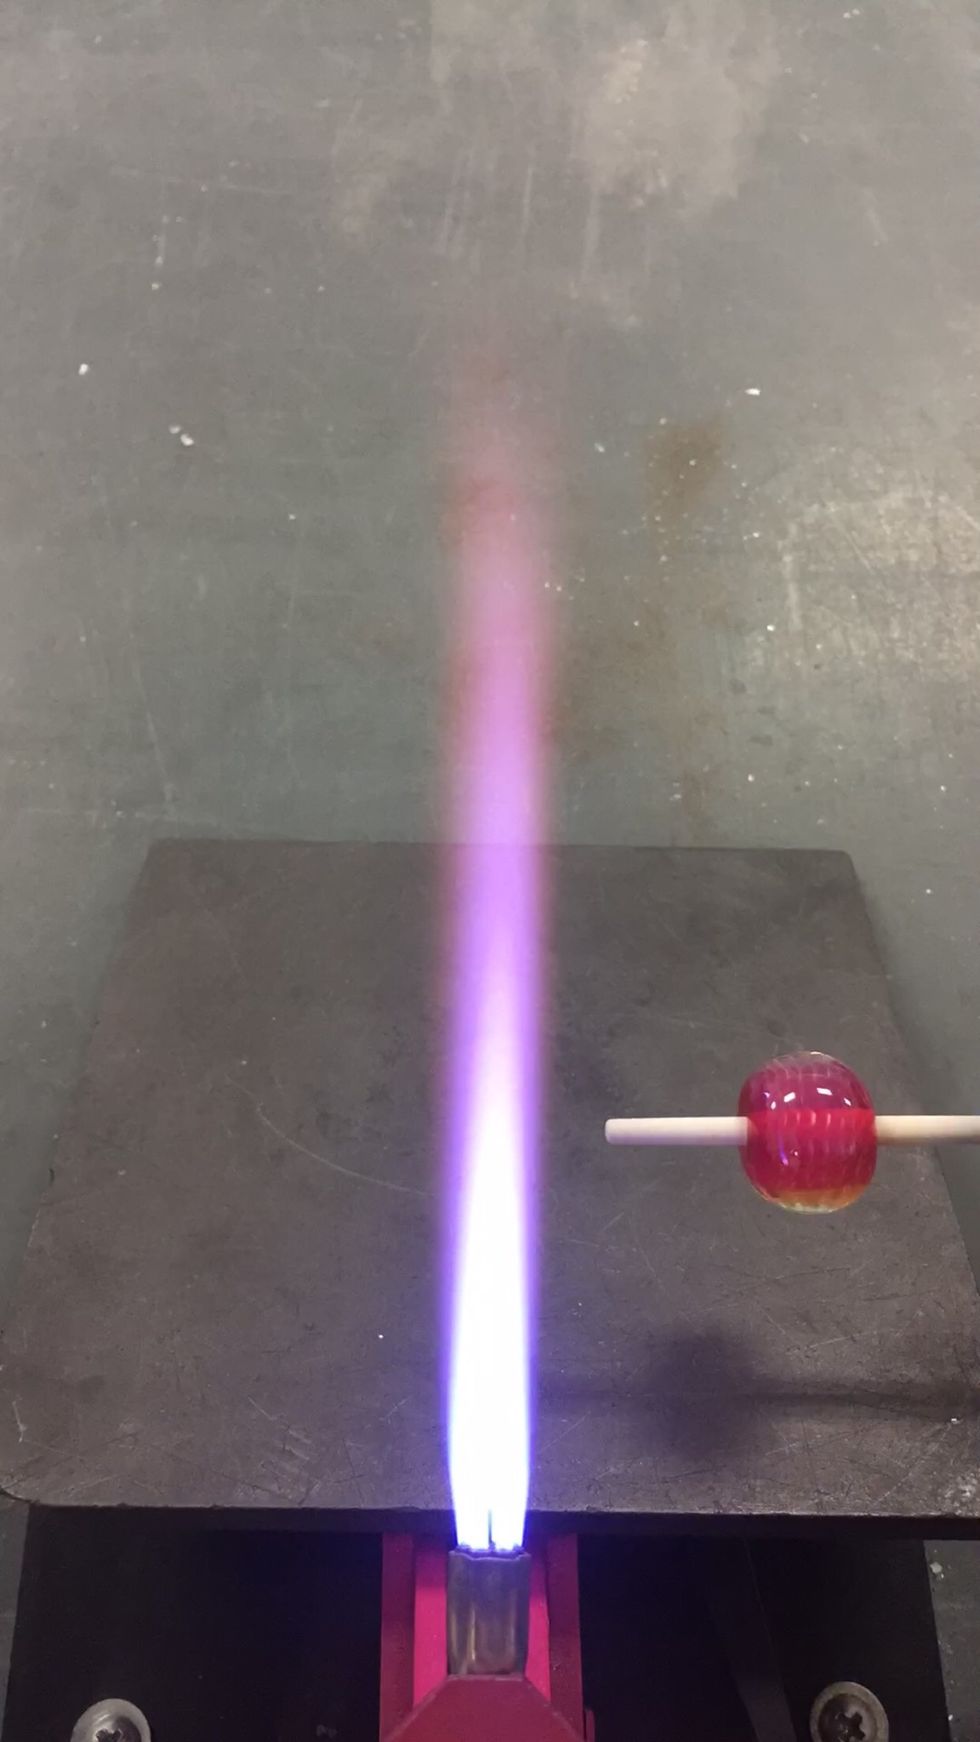
Next we are going to gently reduce the bead. Turn up your propane a bit until the yellow candles are an inch or two long, and pass the bead briefly through the furthest reaches of the flame.
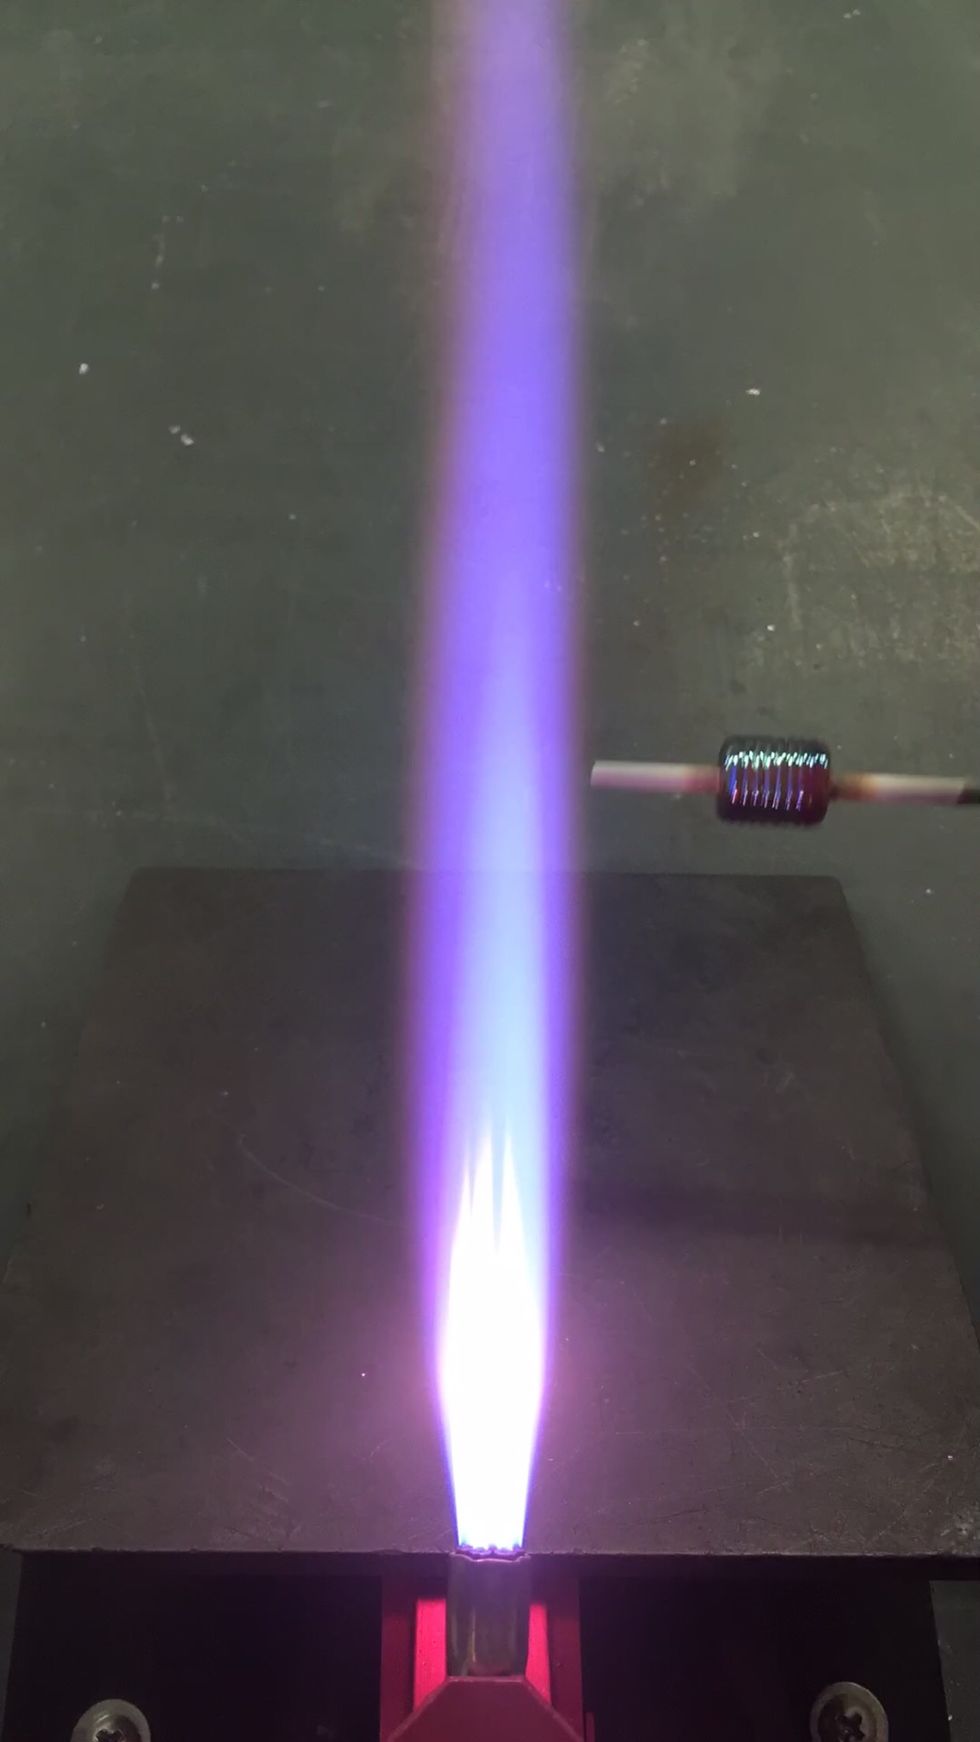
For a clean luster, keep each exposure to the reduction flame brief. I use multiple, light reductions. Just a couple seconds per pass. Don't let the bead get hot, or the luster will be muddy.
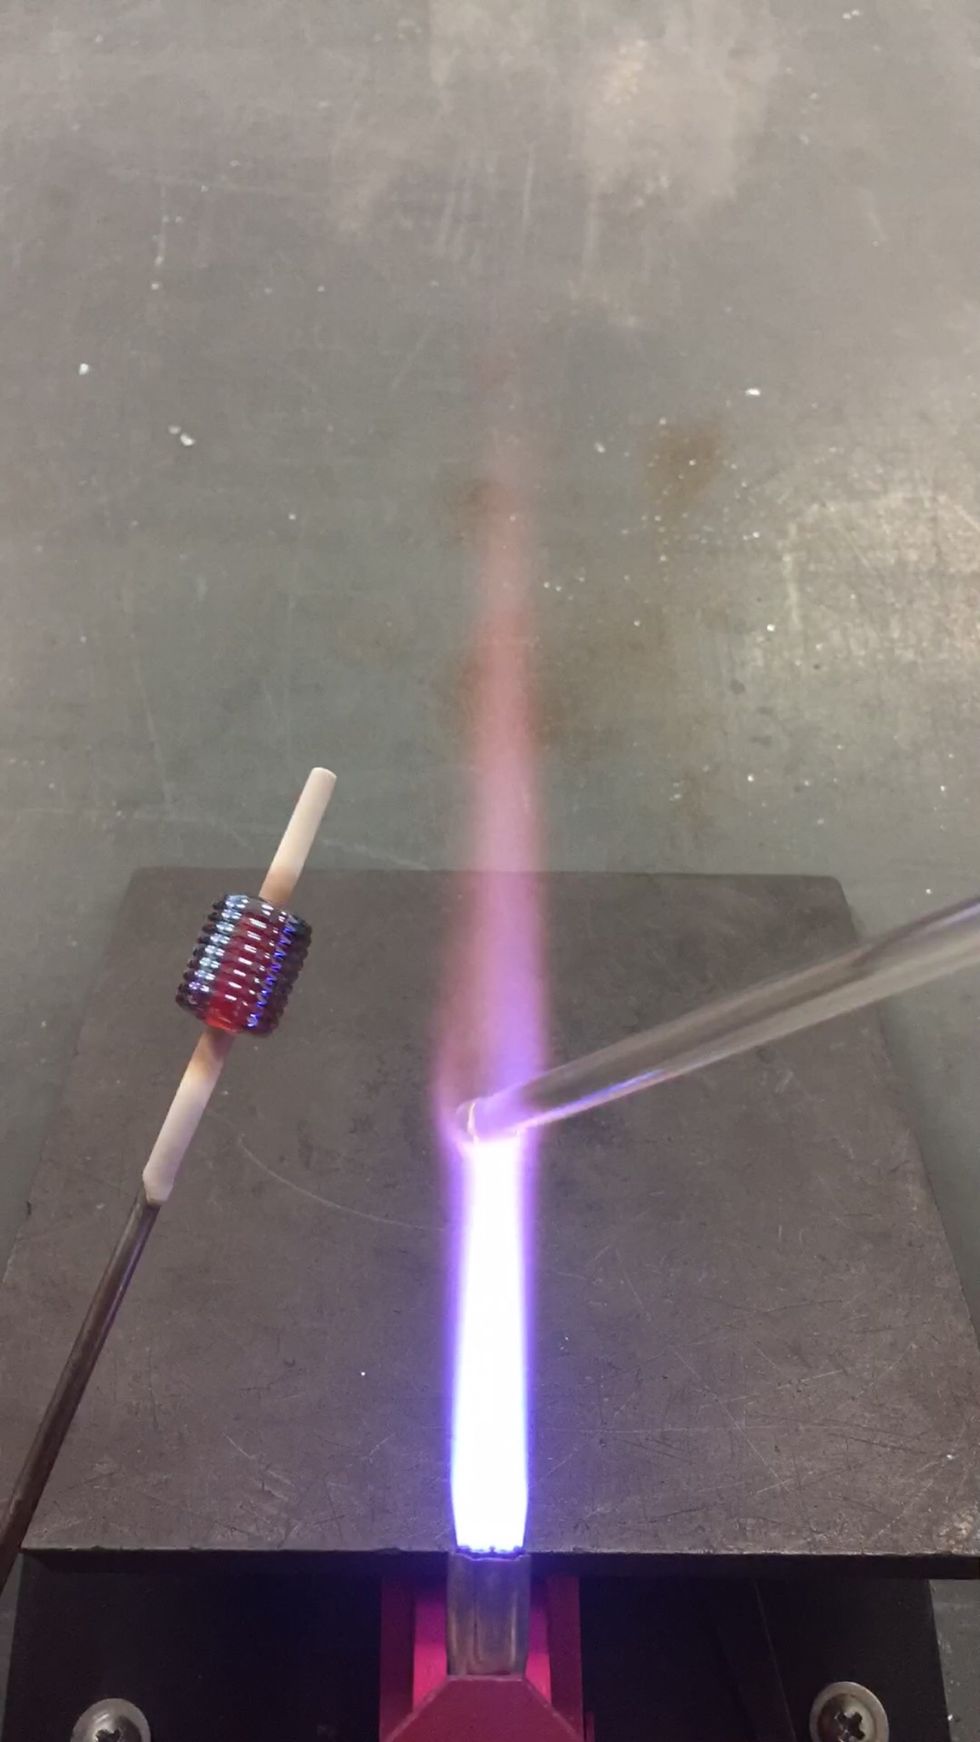
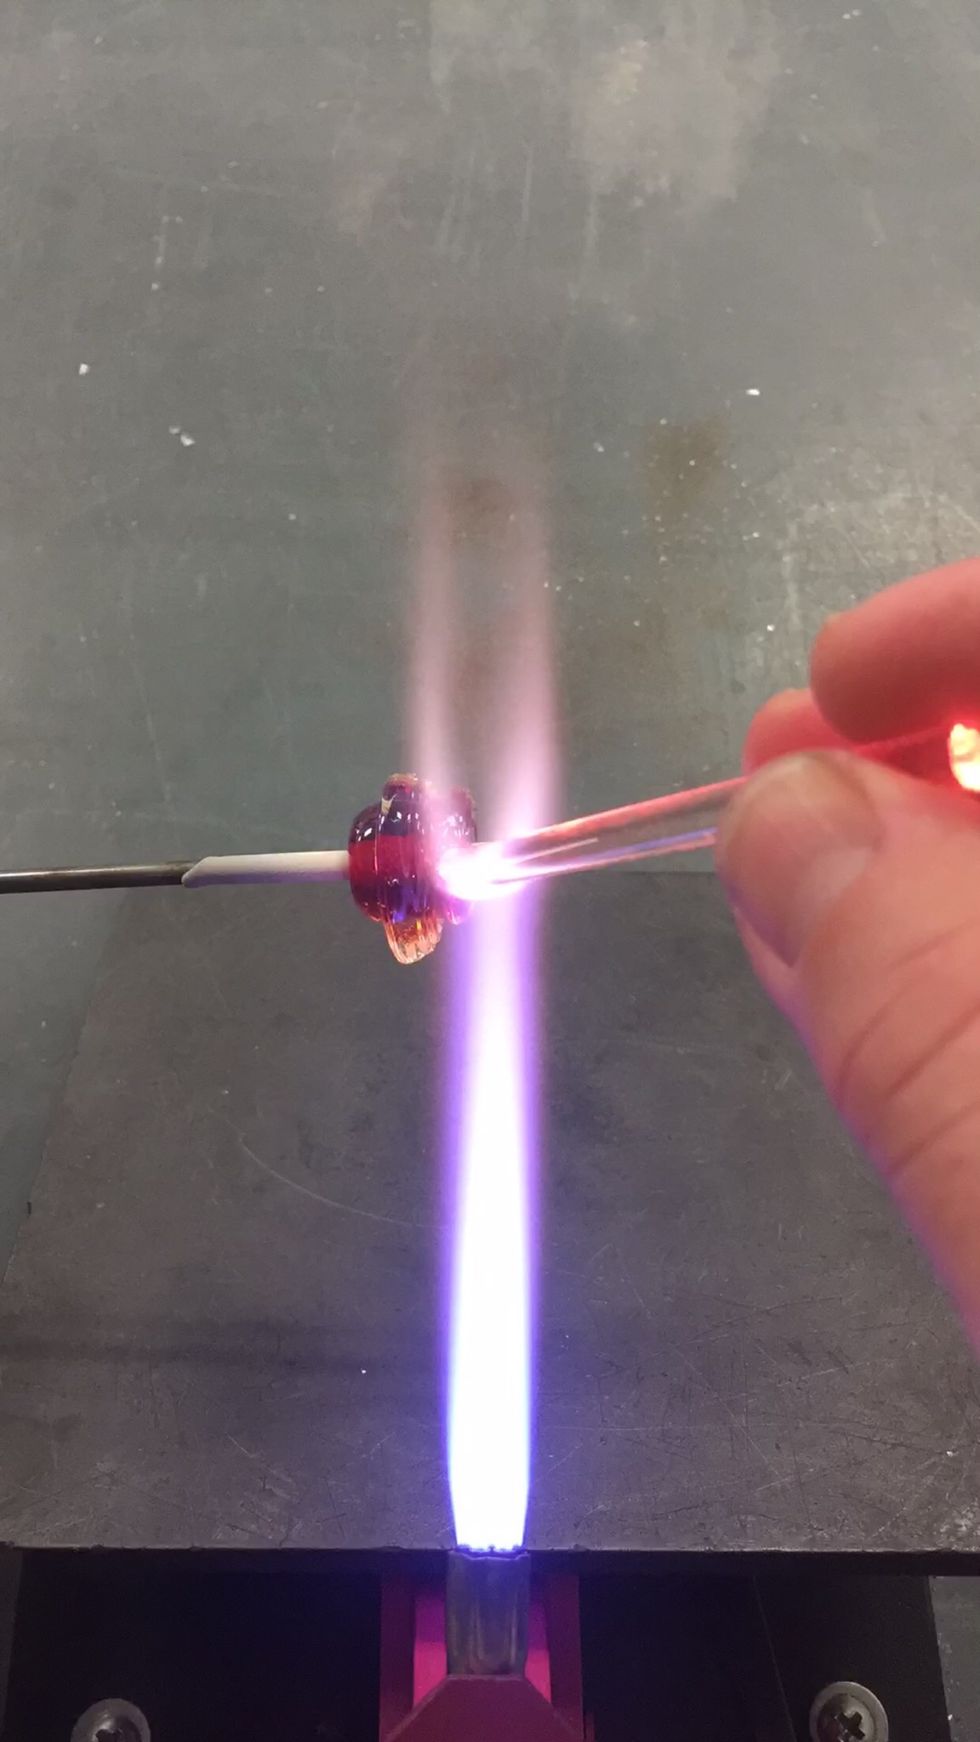
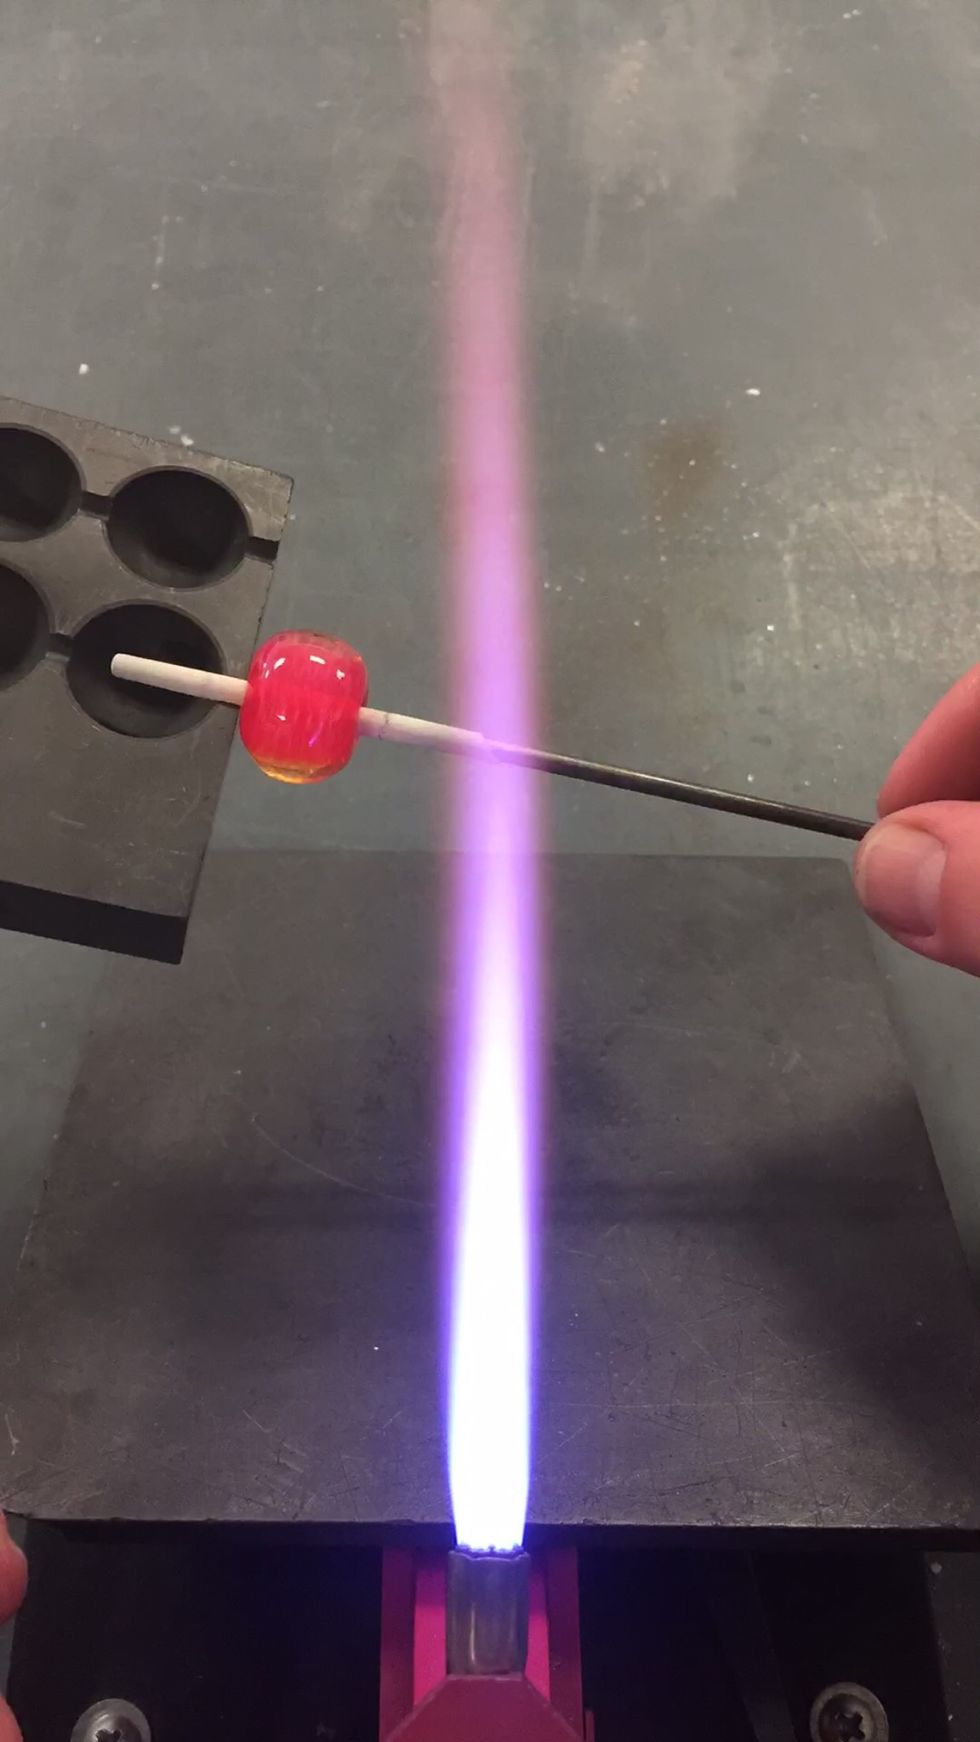
Next we will apply the first layer of Zephyr. The trick to maintaining the metallic layer is to keep it out of the flame until it's been encased.
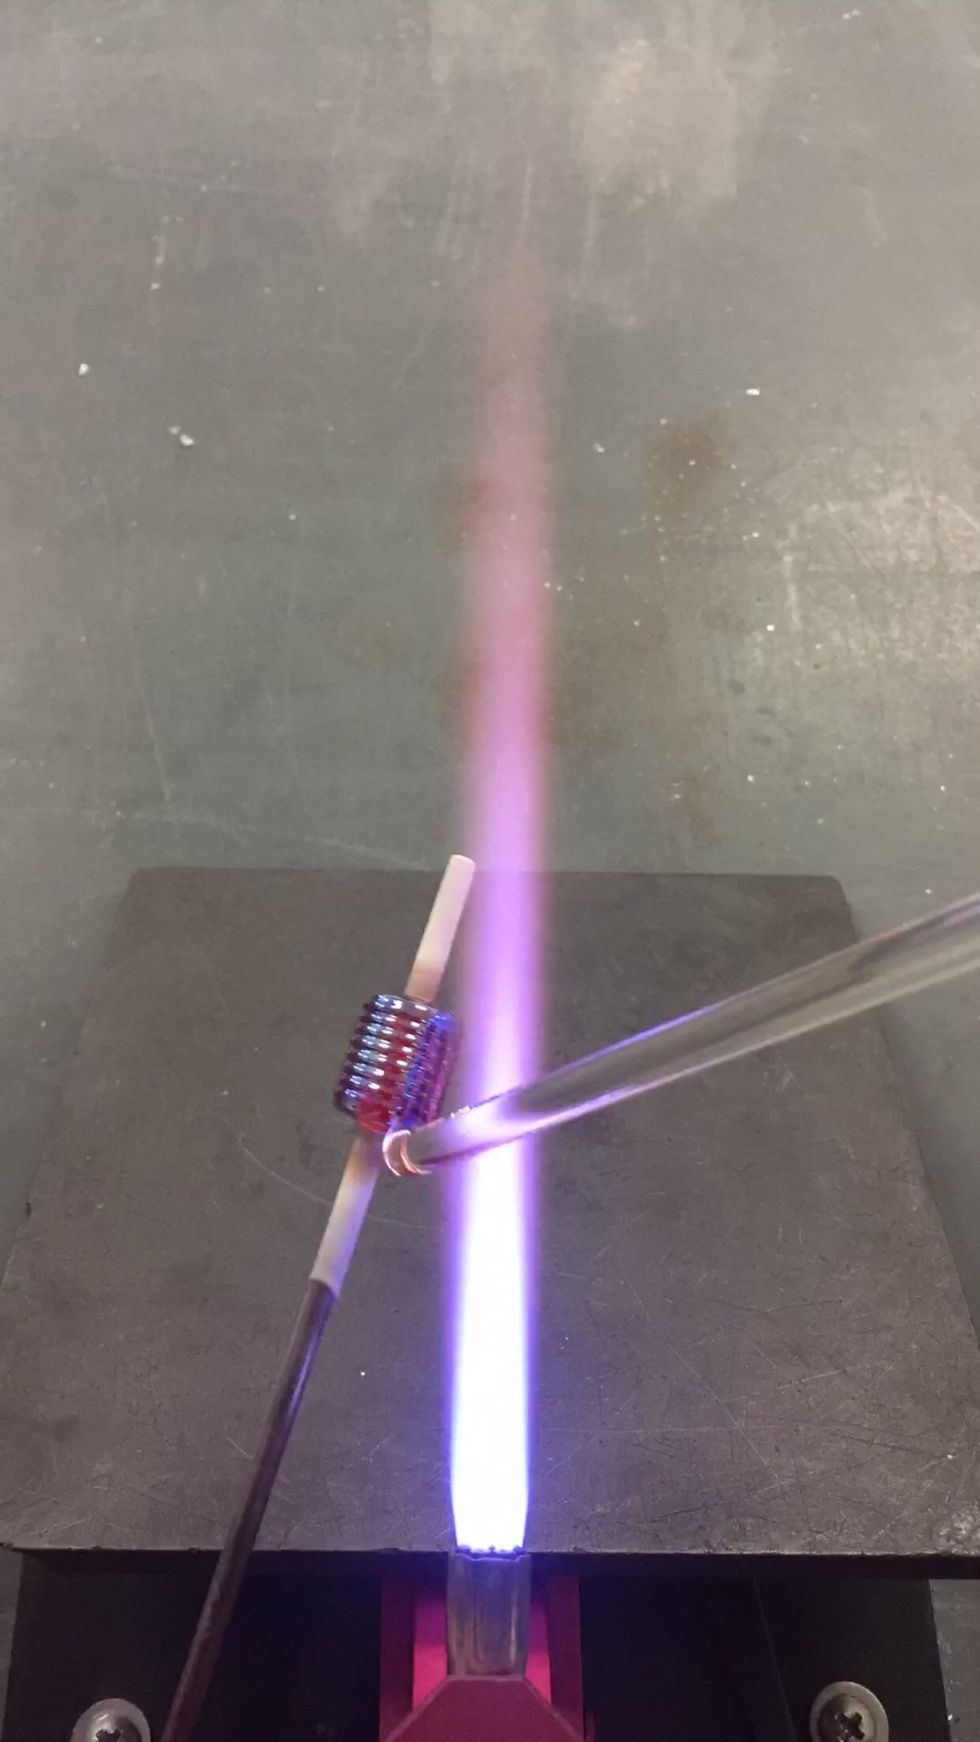
Apply the Zephyr in thin stripes, heating just the tip of the rod.
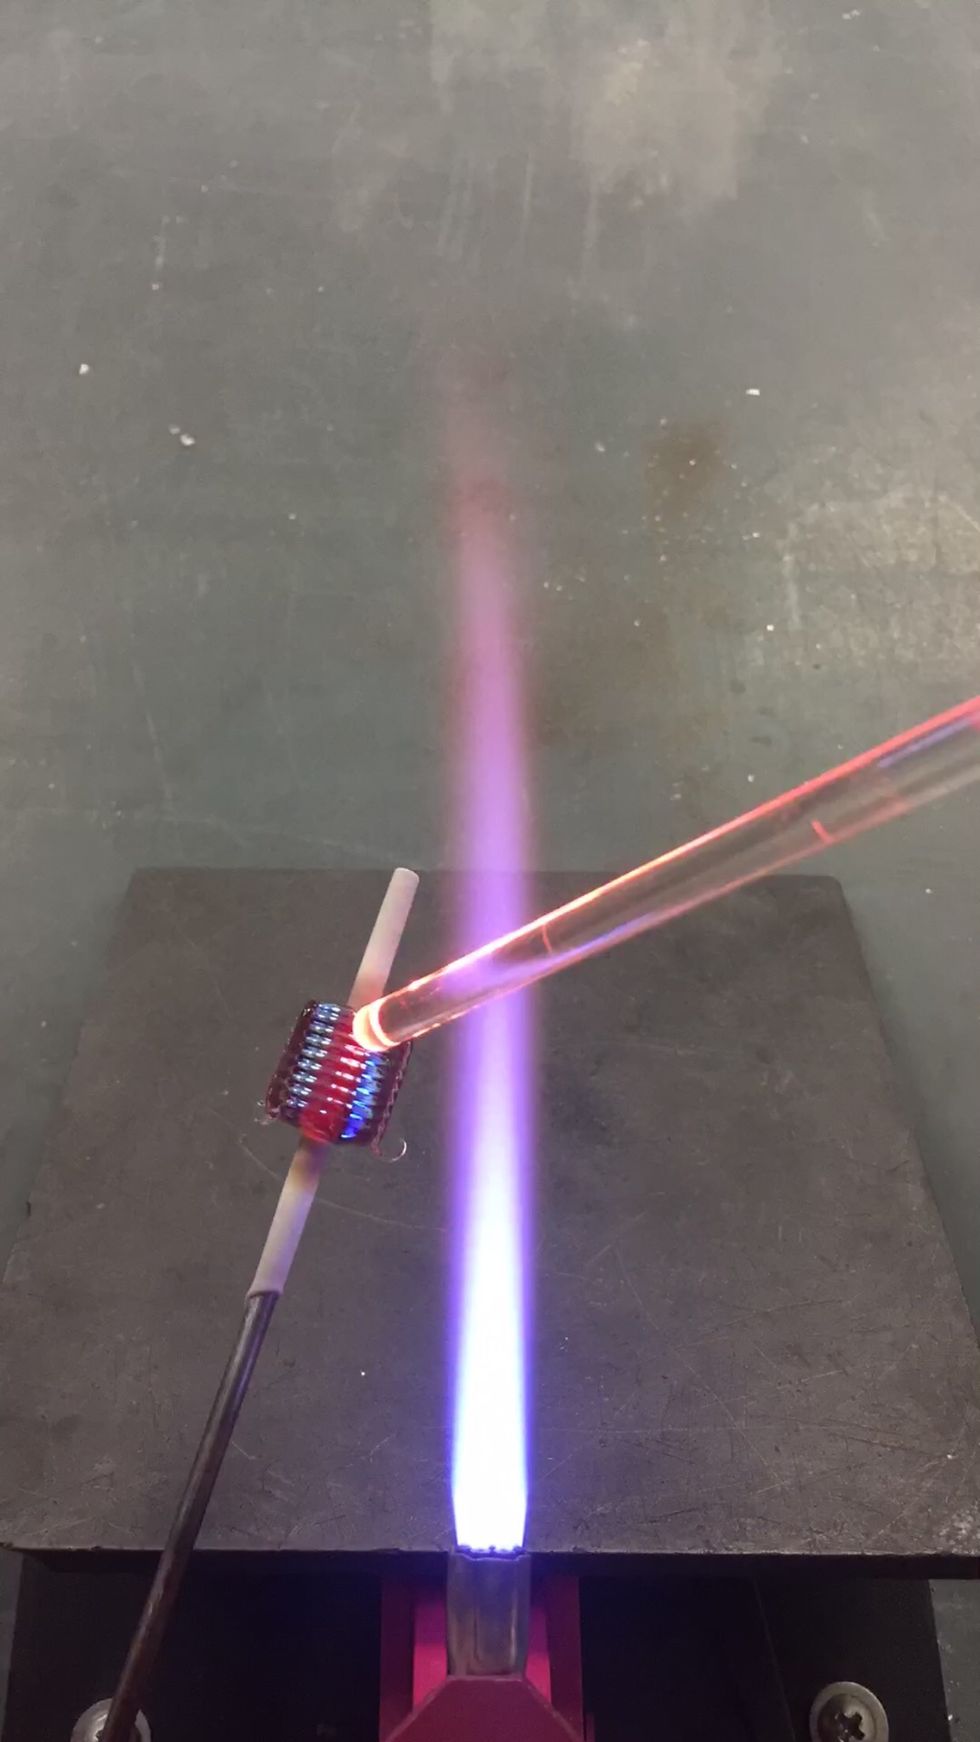
Keep the reduced bead out of the flame as you continue adding stripes.
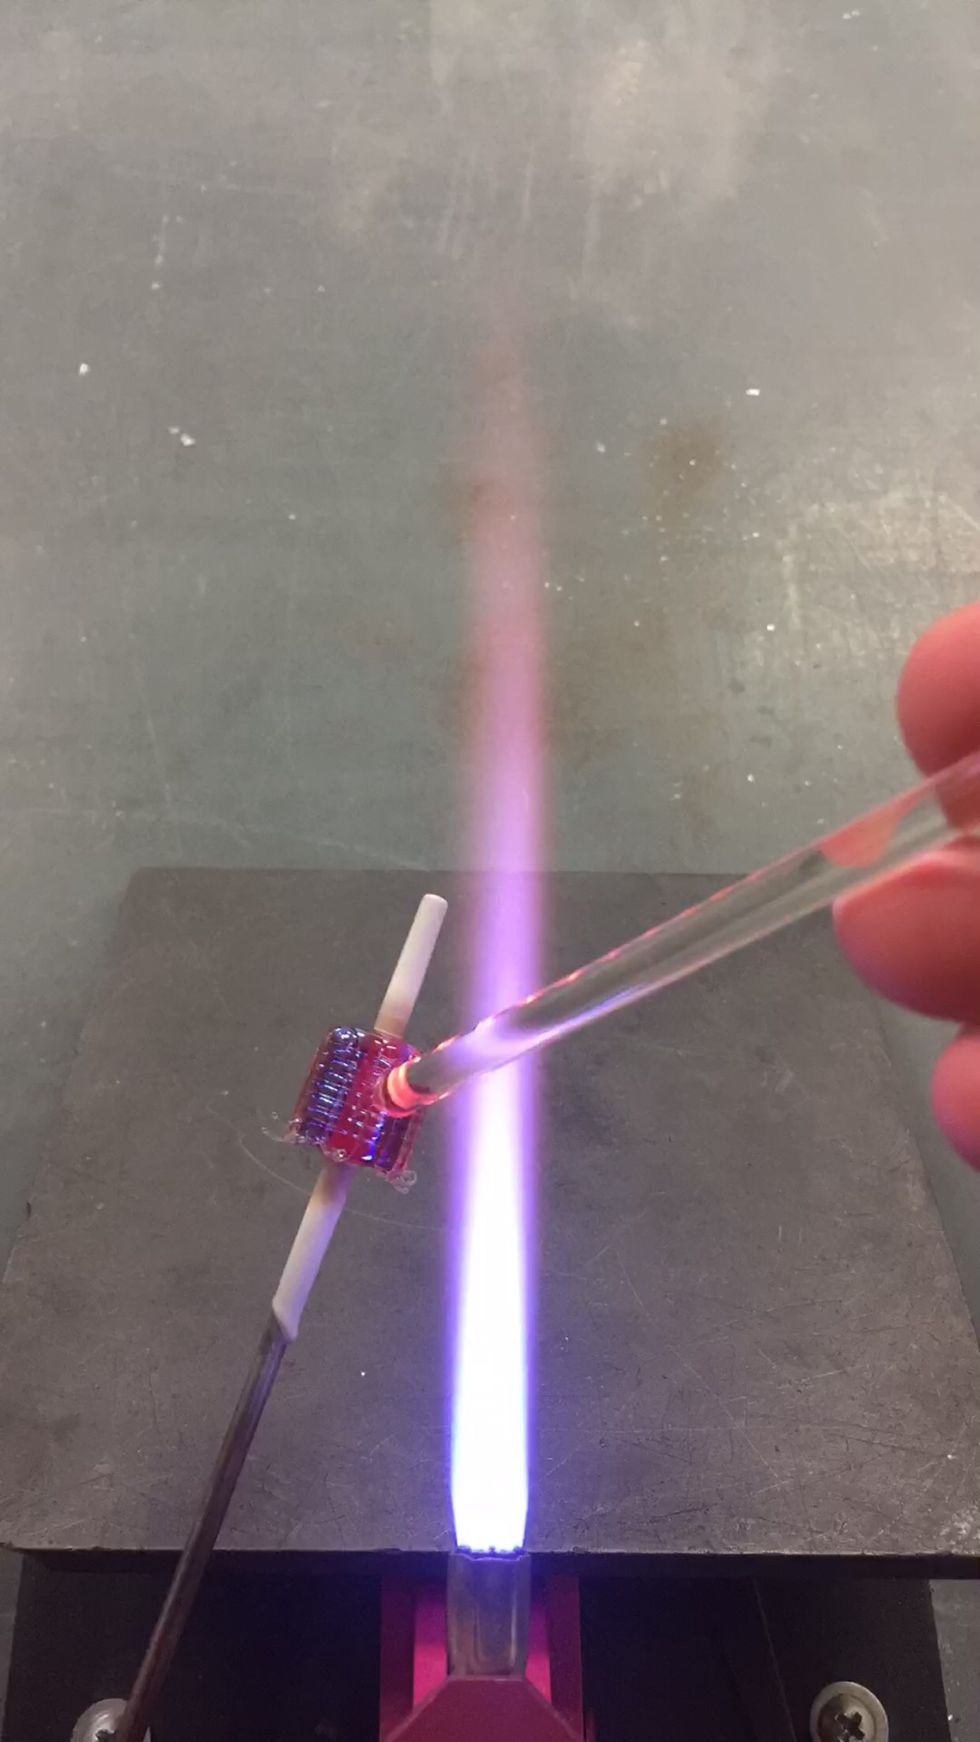
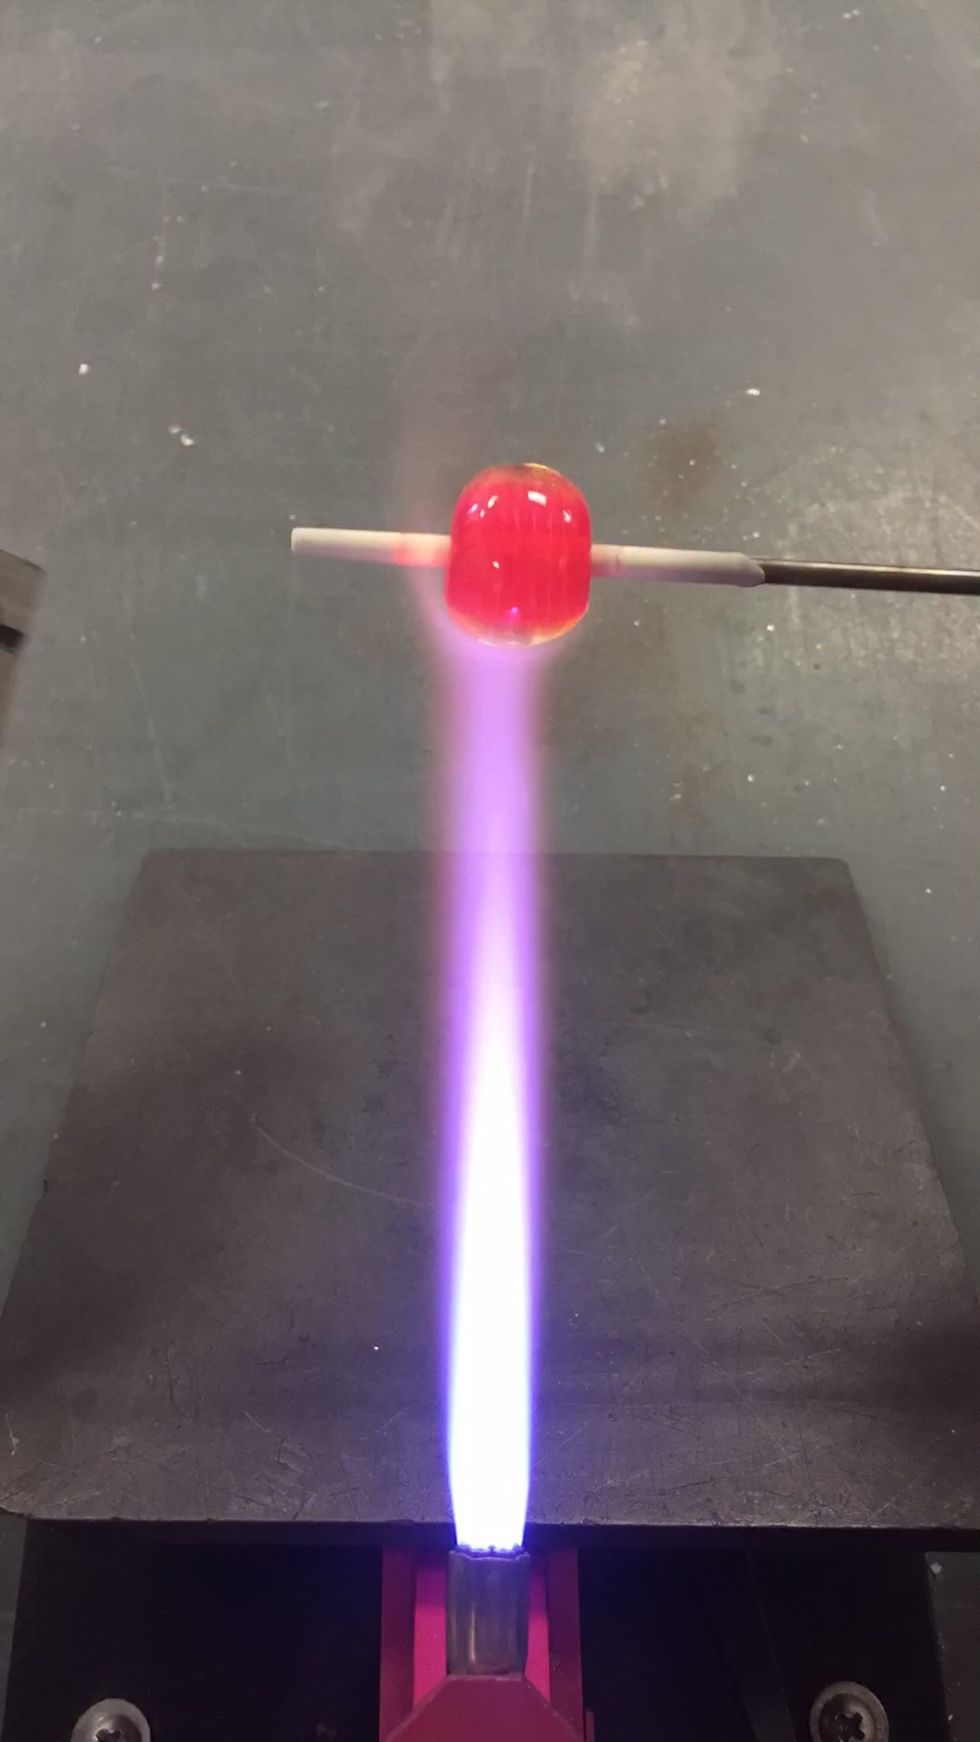
Fill in any gaps in between the stripes.
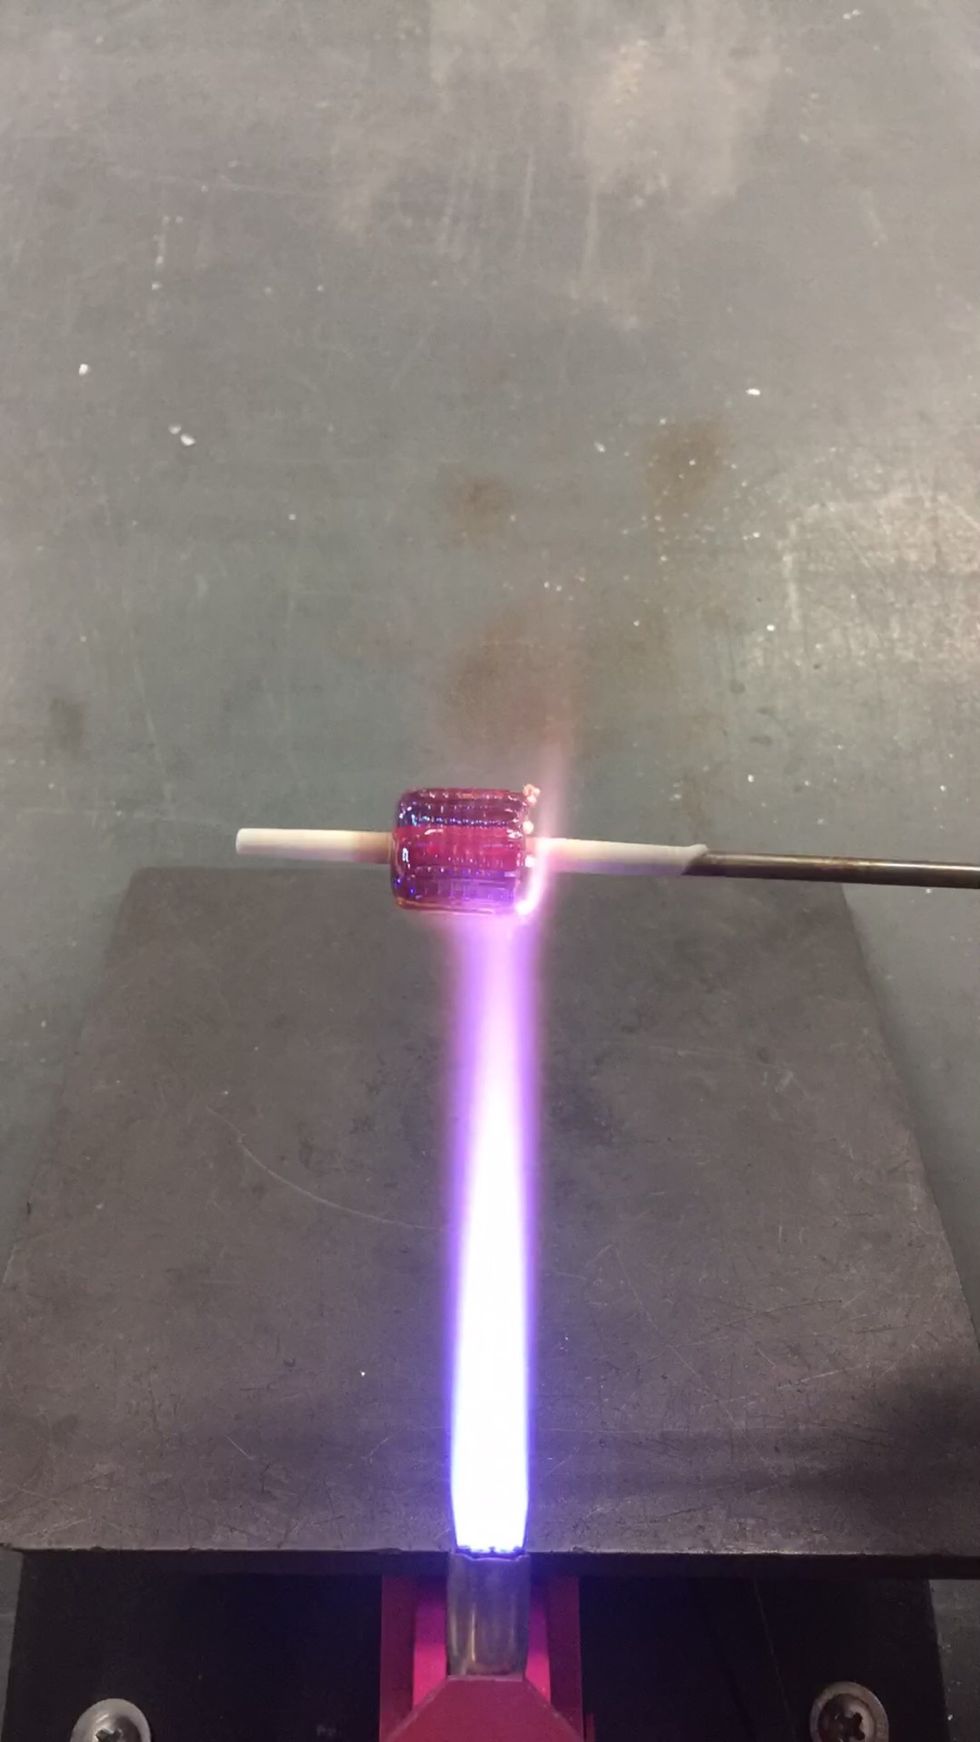
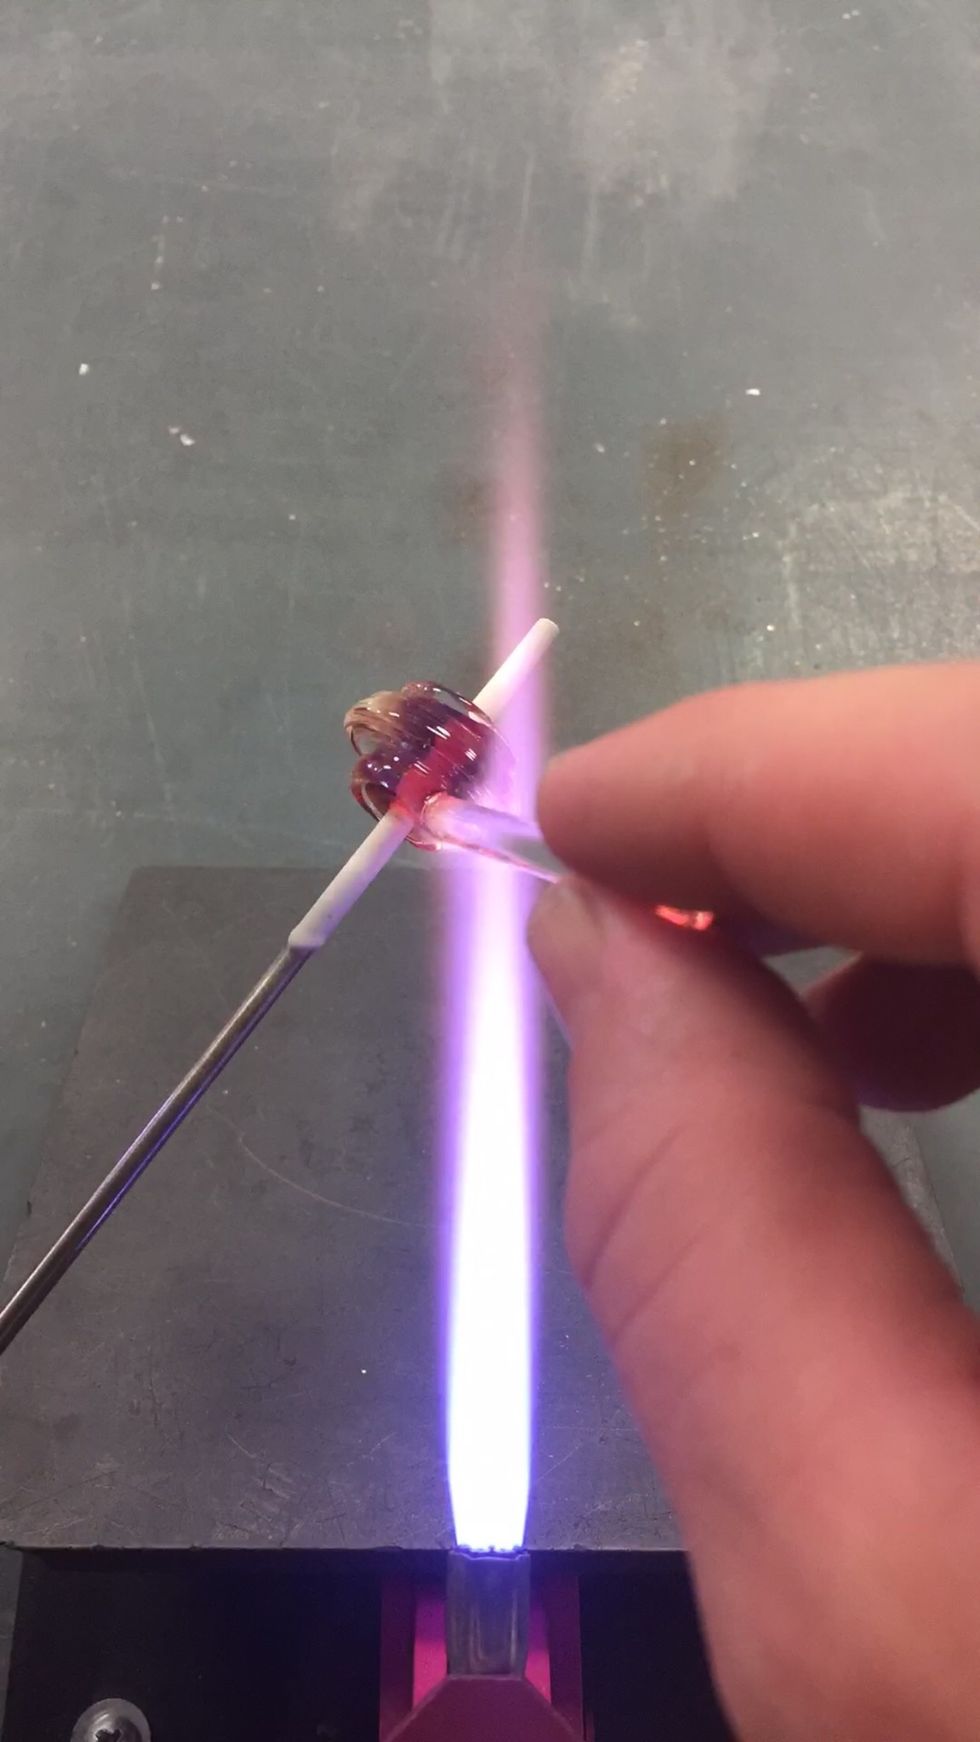
Once all the stripes have been applied, heat the ends of the bead to smooth it out.
Apply just enough heat to smooth out the clear encasement.
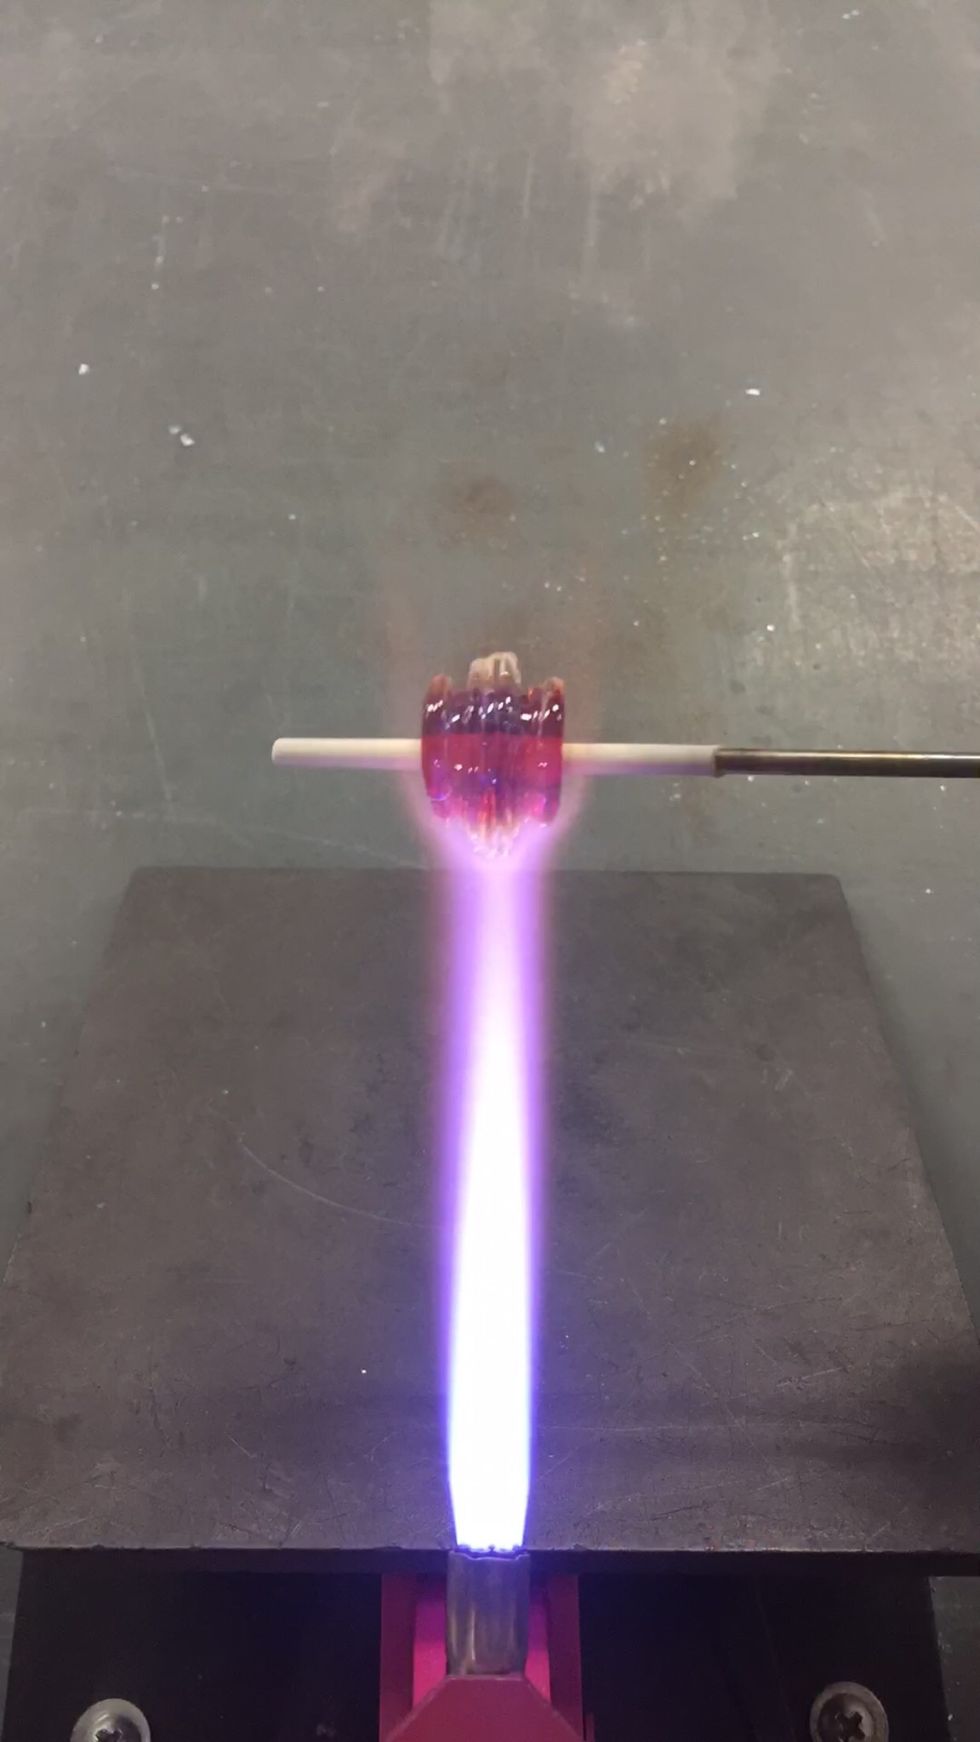
Apply a bit of heat to the center.
Then you can use the graphite to smooth out the surface of the bead.
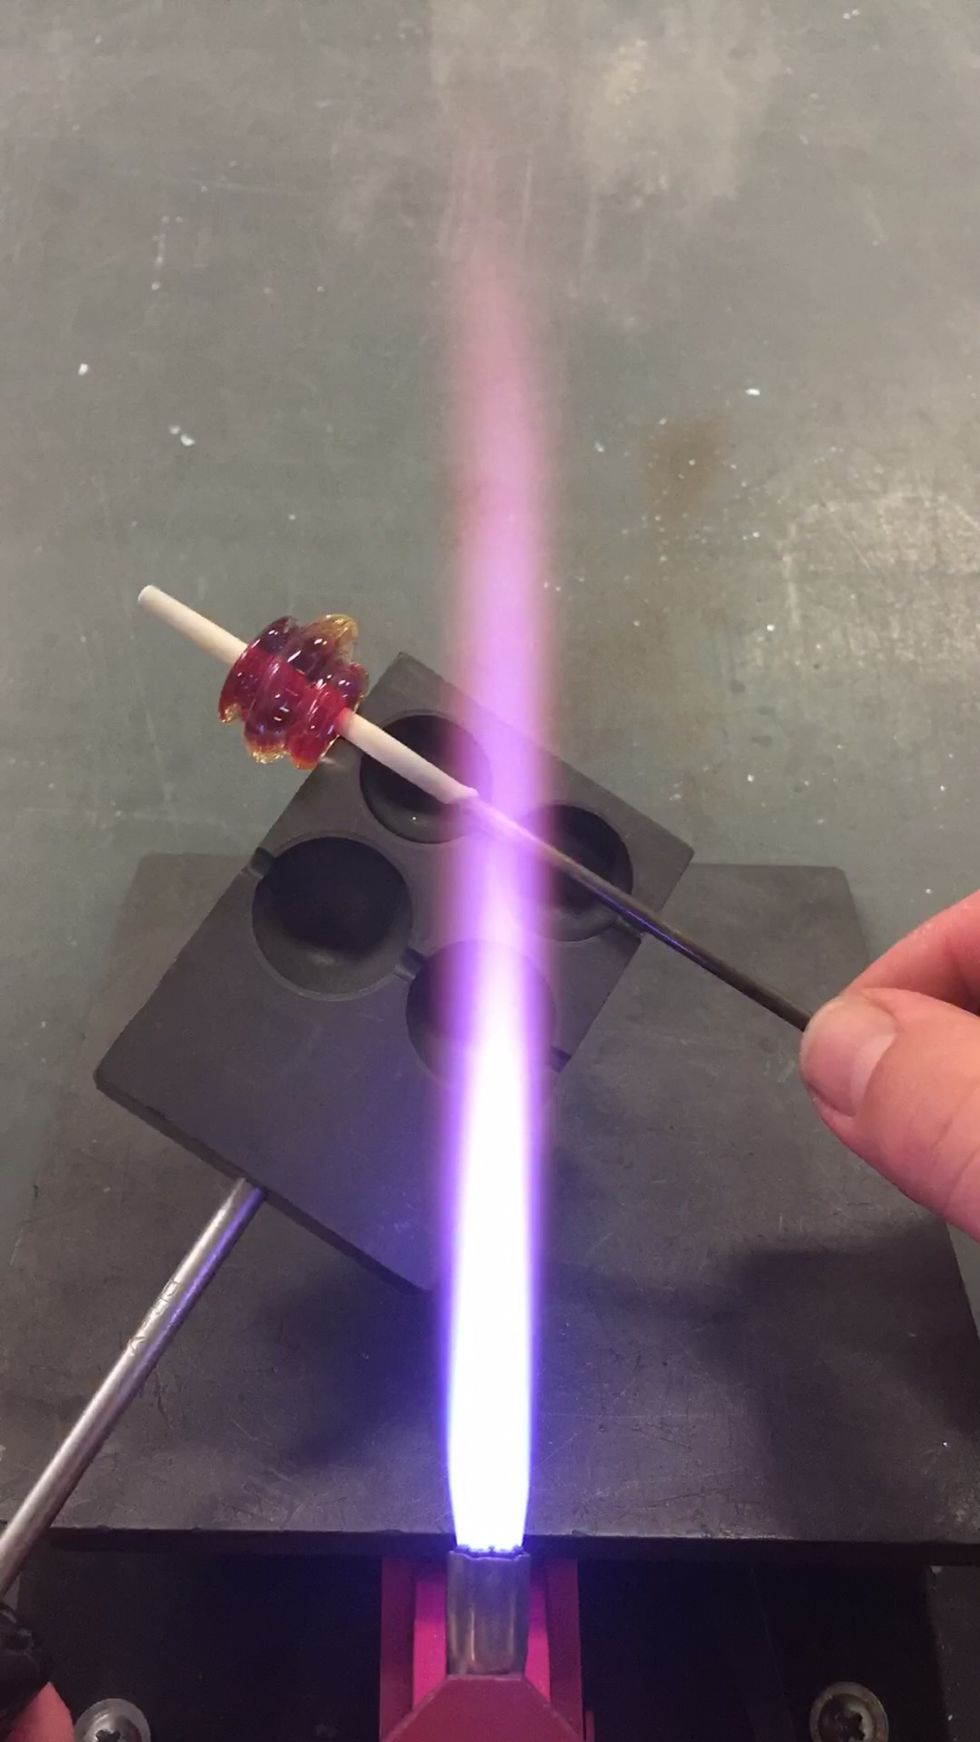
Now we will apply a ring of Zephyr clear to the center of the bead.

Like so.
Apply a smaller ring to one side.
And the other side.
Use the flame to begin melting in the clear rings.
Now is a good time to tidy up the ends. Use the outside edge of the Beadroller to flatten and correct the ends.
Use the flame to continue melting in the clear rings.
Almost there. Control the heat. The bead doesn't need to get sloppy hot, just enough to soften and smooth the clear encasing layer.

Now use the round bead mold to smooth the surface of the bead and encourage it to be round and regular.
Take another opportunity to correct the ends, if necessary.
Gently heat the surface in preparation for final shaping.
Use the ring shaped edge of a too-small bead mold to shape the bead.
Use the flame to polish out any tool marks.
And there we go.
Ready for the annealer.
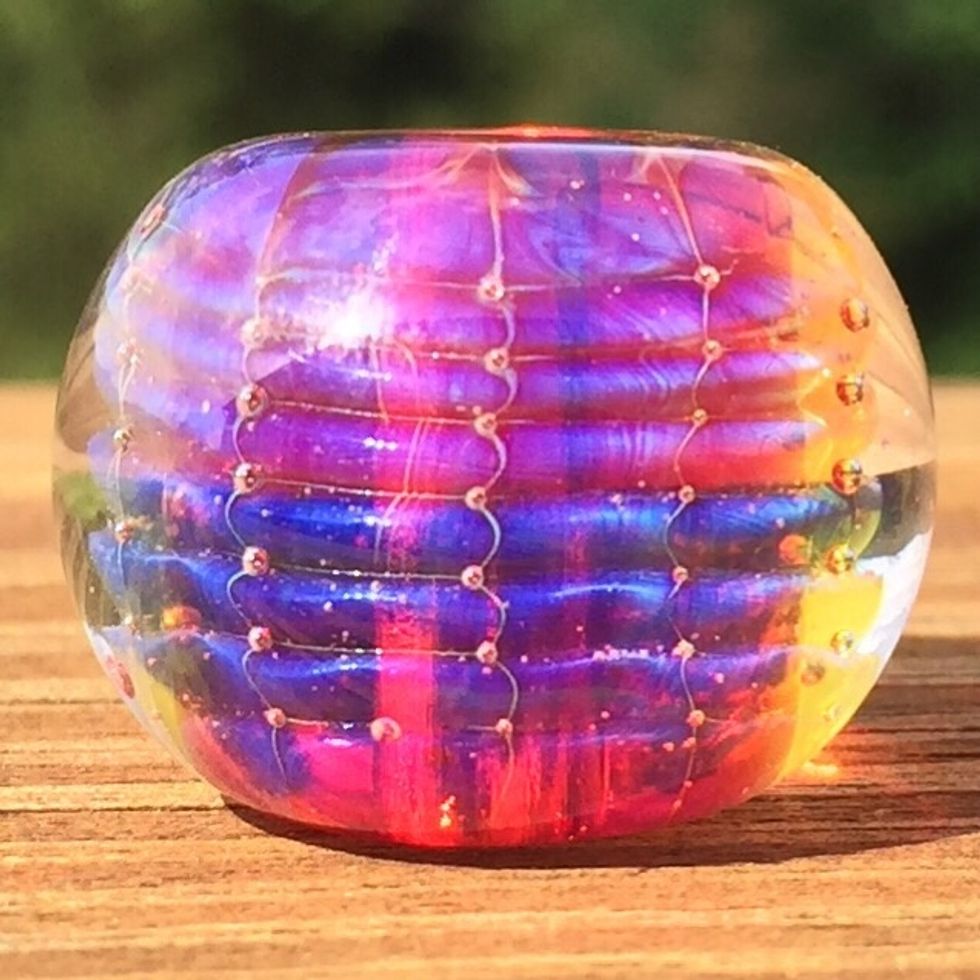
Here is the finished bead. Give it a try! You can also try it without the molds, with different molds, or with an opaque white layer under the Rhea.

Visit us at https://doublehelixglassworks.com for more tutorials and glass colors.