The Conversation (0)
Sign Up
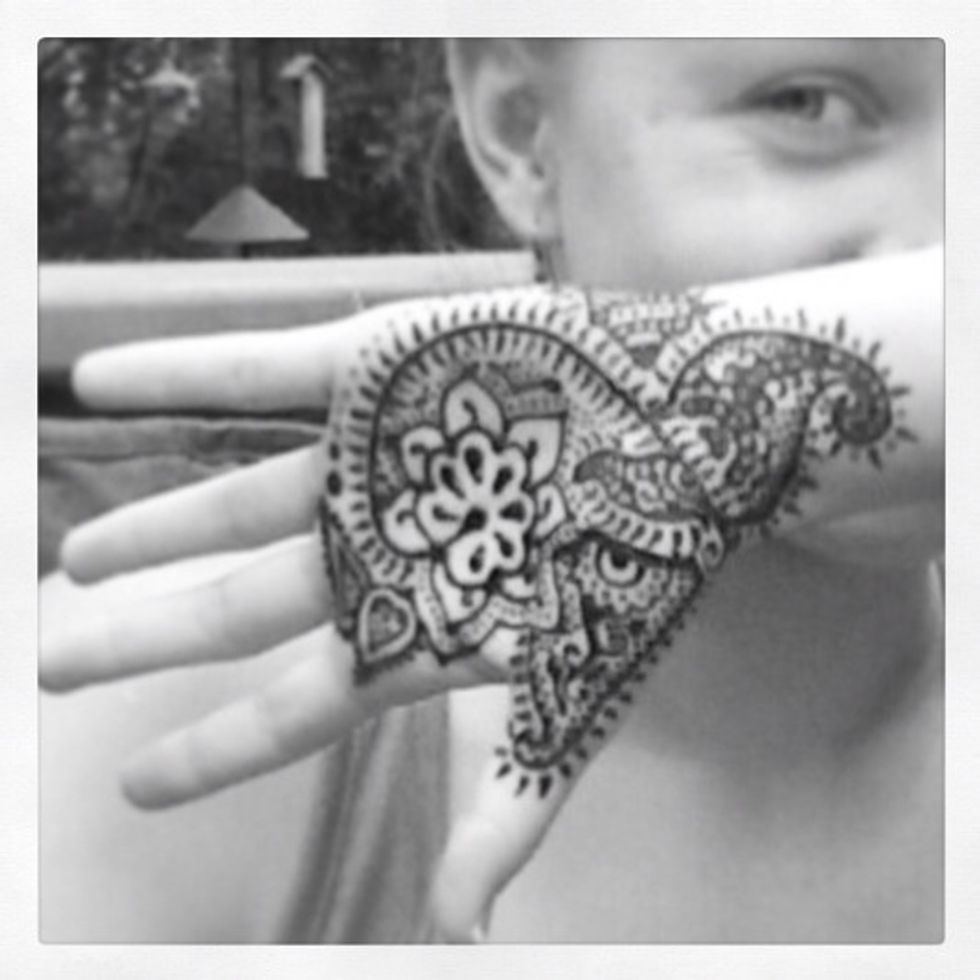
Beautiful, exotic, and temporary.
Savor the physical connection, the beauty of form and pattern.

Make your henna mud at least four hours before you plan to use it, but once mixed it will gradually lose potency.

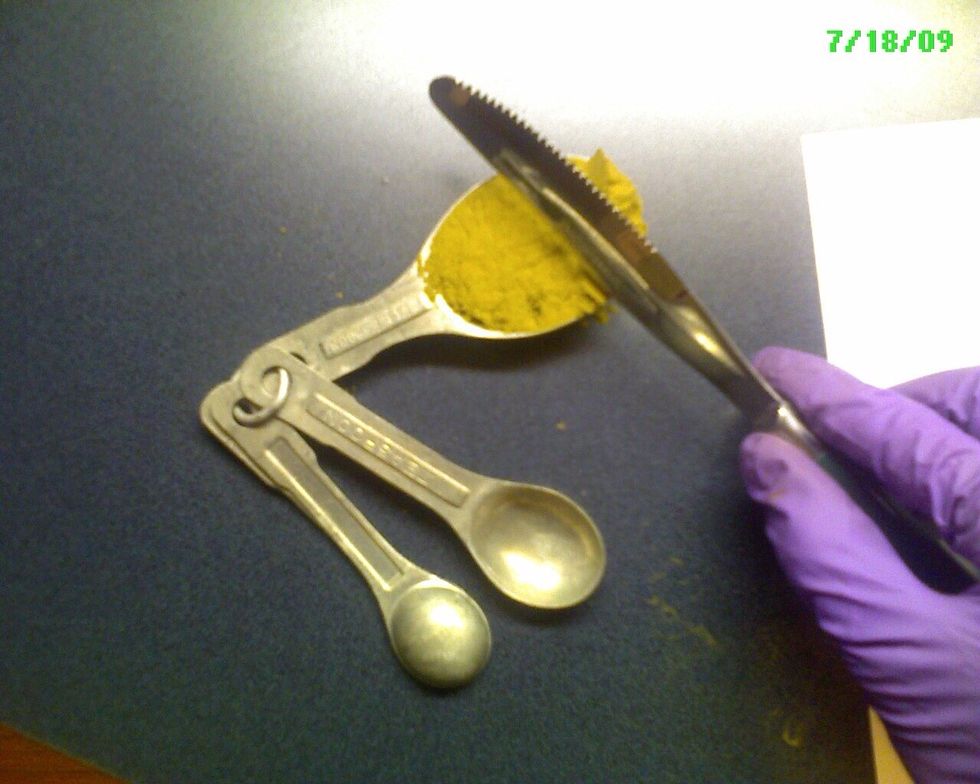
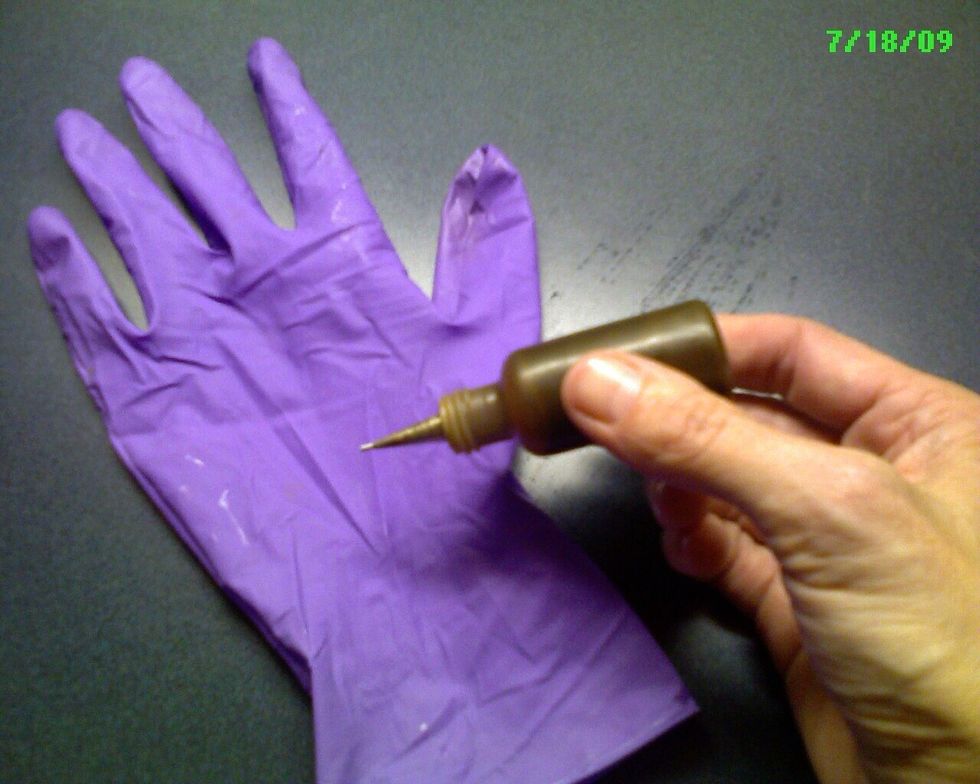
Protect your hands. Everything you touch with Henna powder and mud will stain.
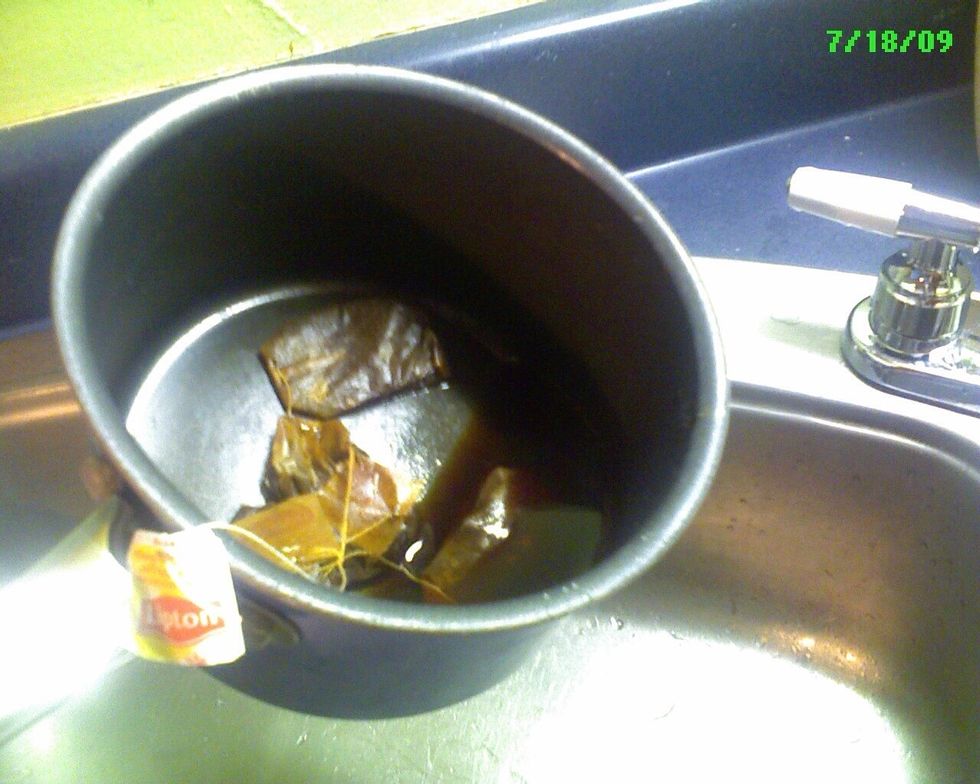
Brew up some super strong tea, or coffee, or use red wine… you can be creative. Set aside.
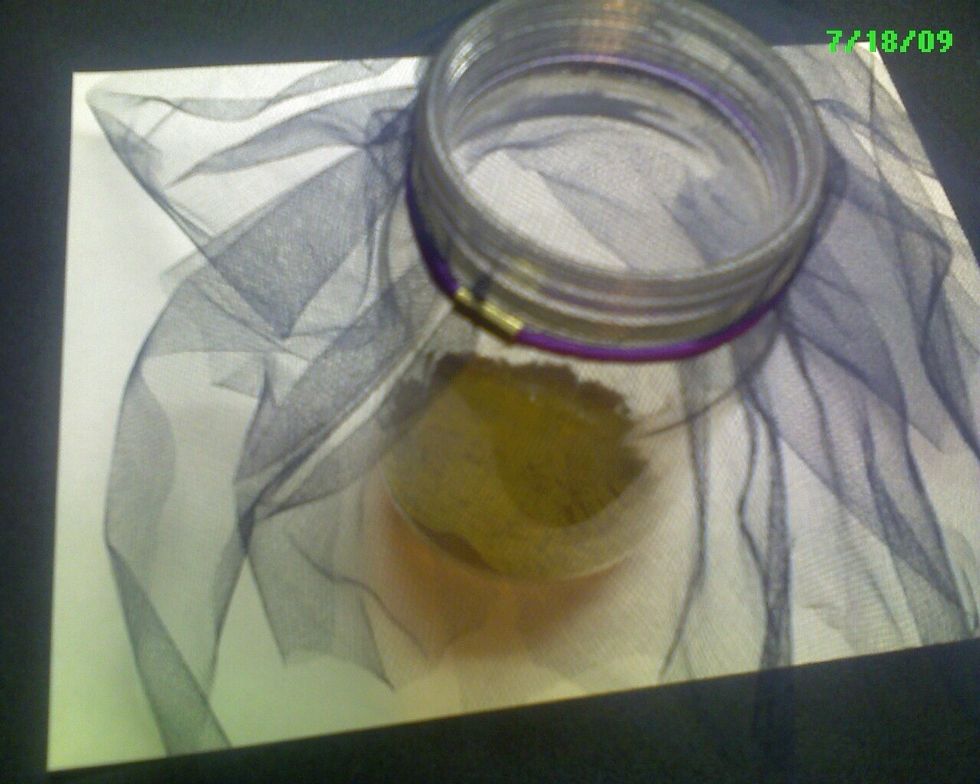
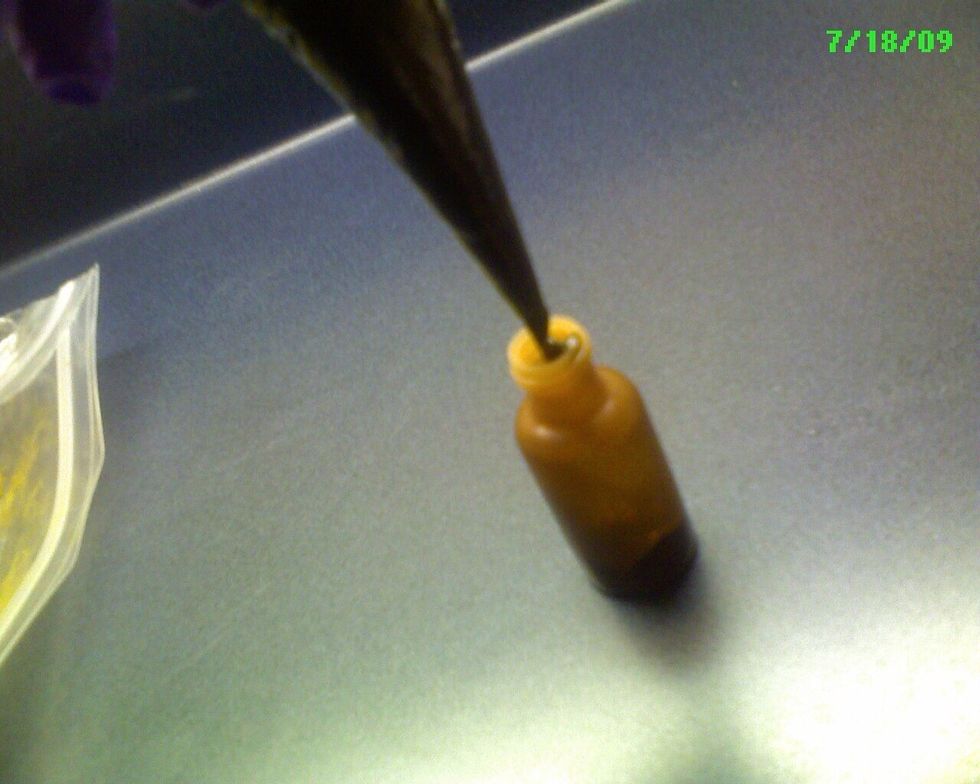
Everything that will pass through the drawing tip needs to be sifted or strained so that particles won't clog when you are applying the henna mixture.

Sift through a nylon, netting, or tulle onto a folded piece of paper.
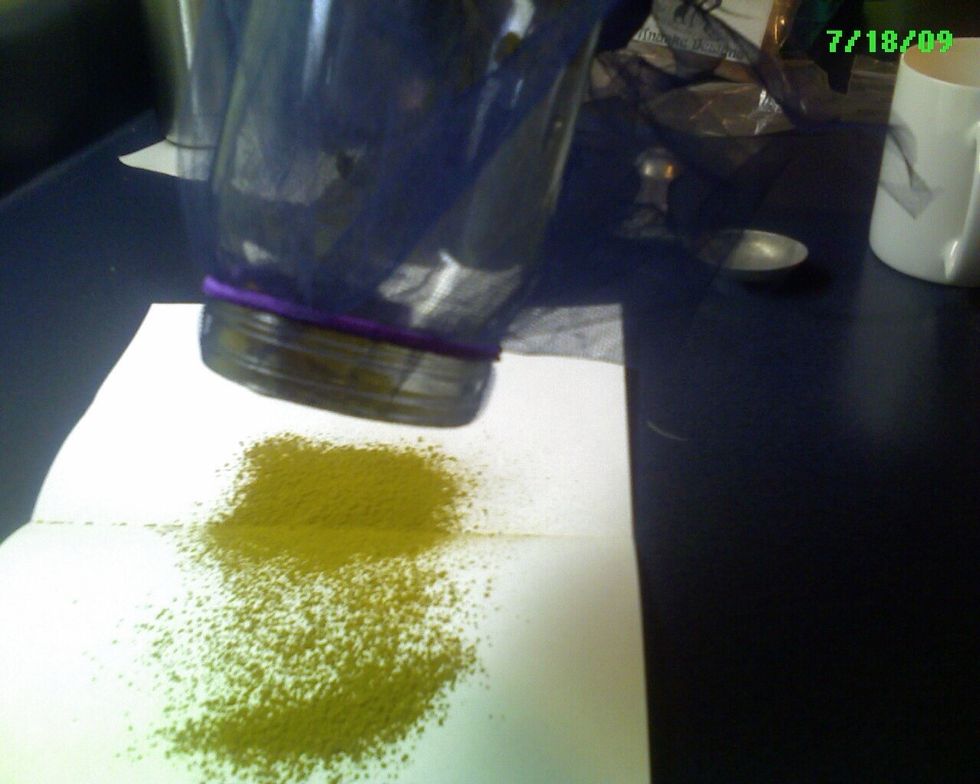
Any clumps will come back to haunt you!
Measure each ingredient according to this recipe but be prepared to fudge and adapt.
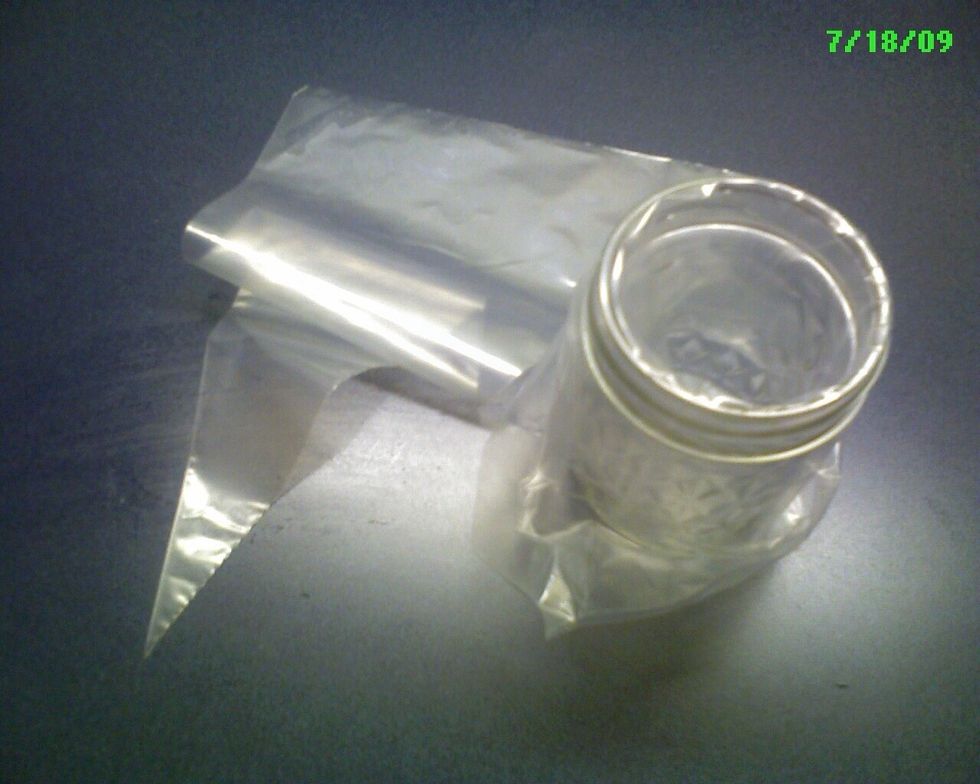
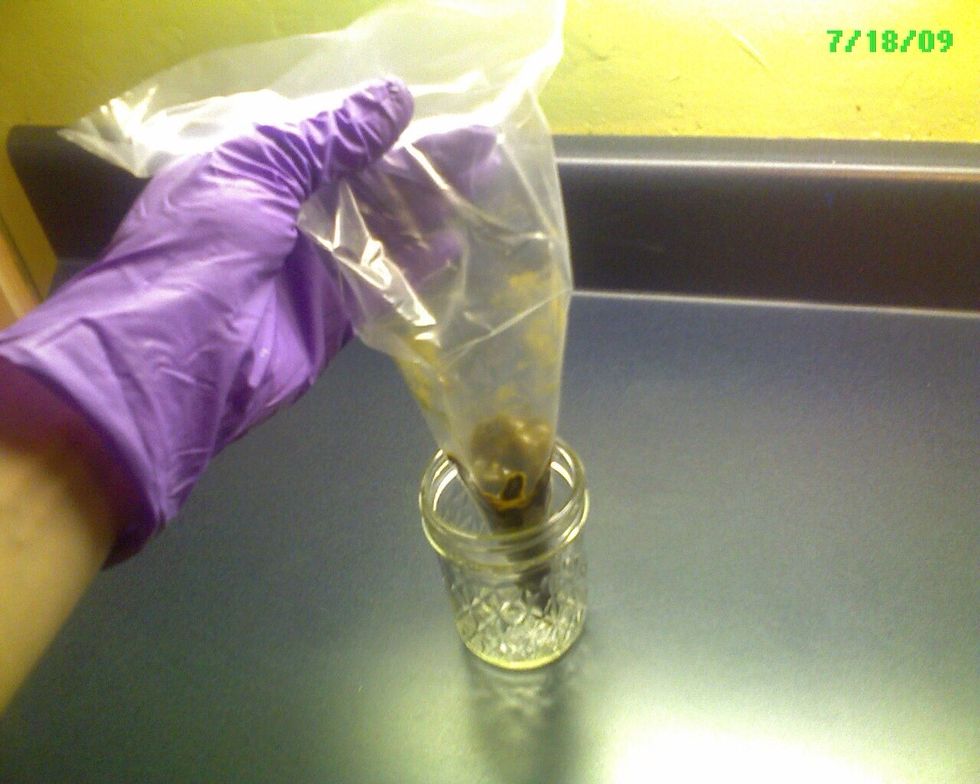
Put a "carrot" bag in a jar so it will stand up. This could be any plastic bag. After mixing we will cut out the corner, so filling the application bottle will be very easy.
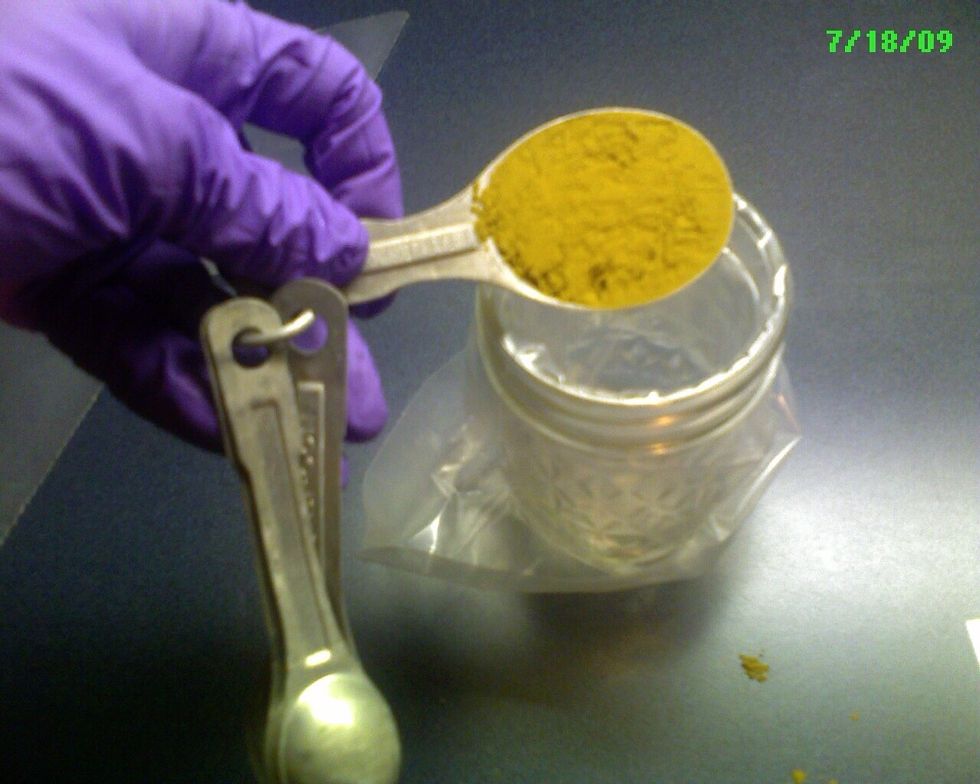
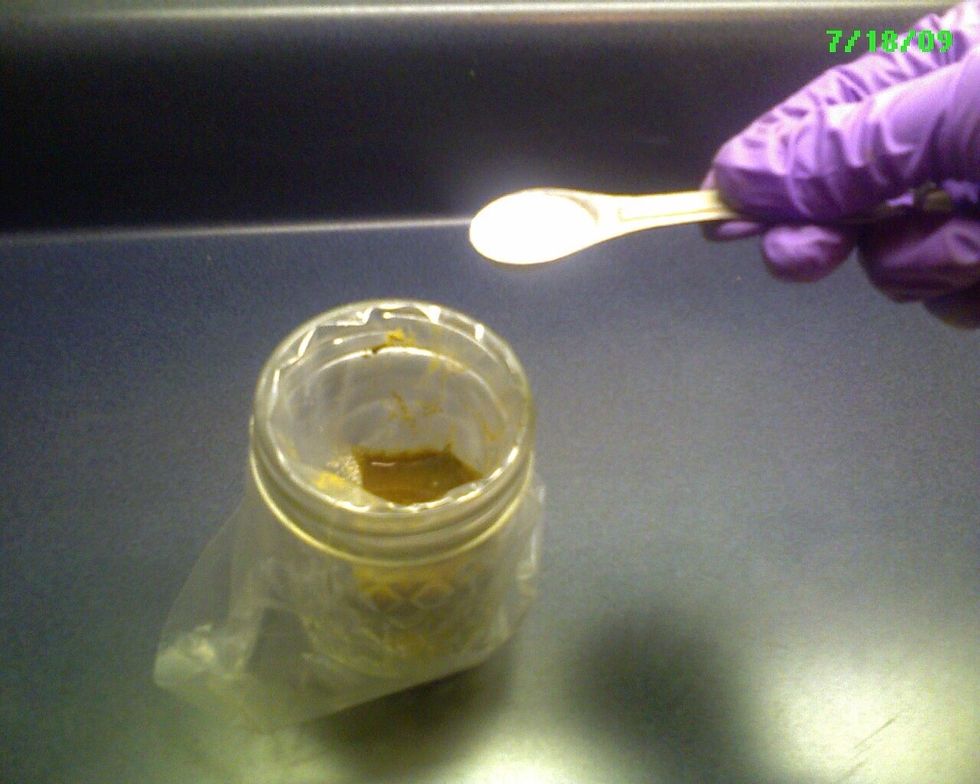
5 teaspoons sifted henna powder. (1T, 2t)j
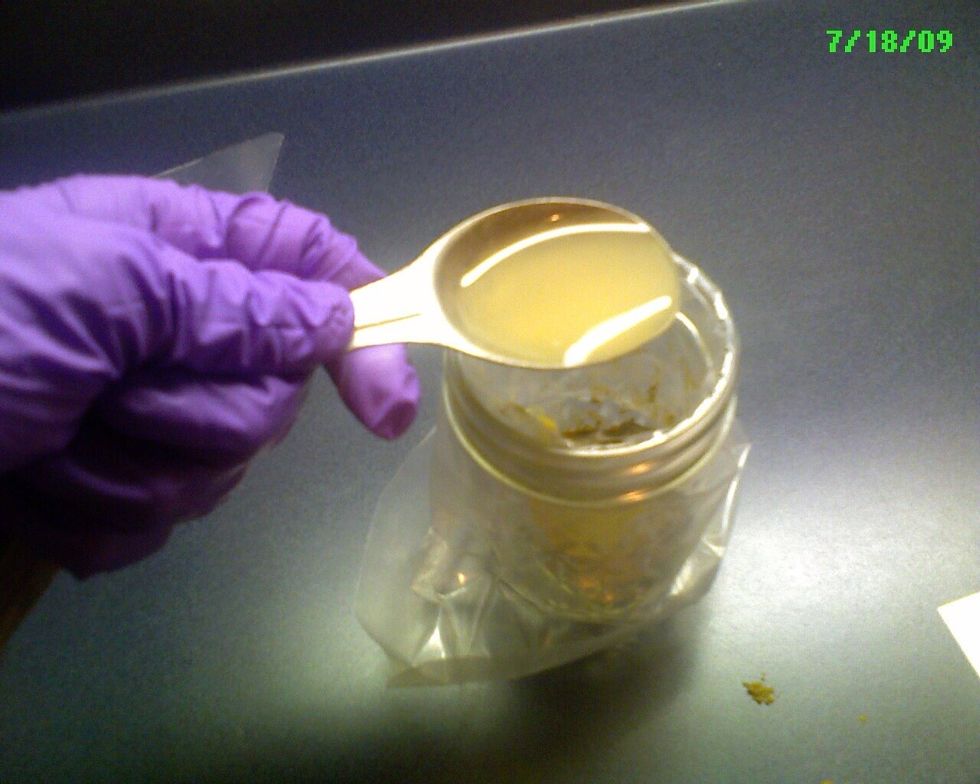
1 tablespoon strained lemon juice.
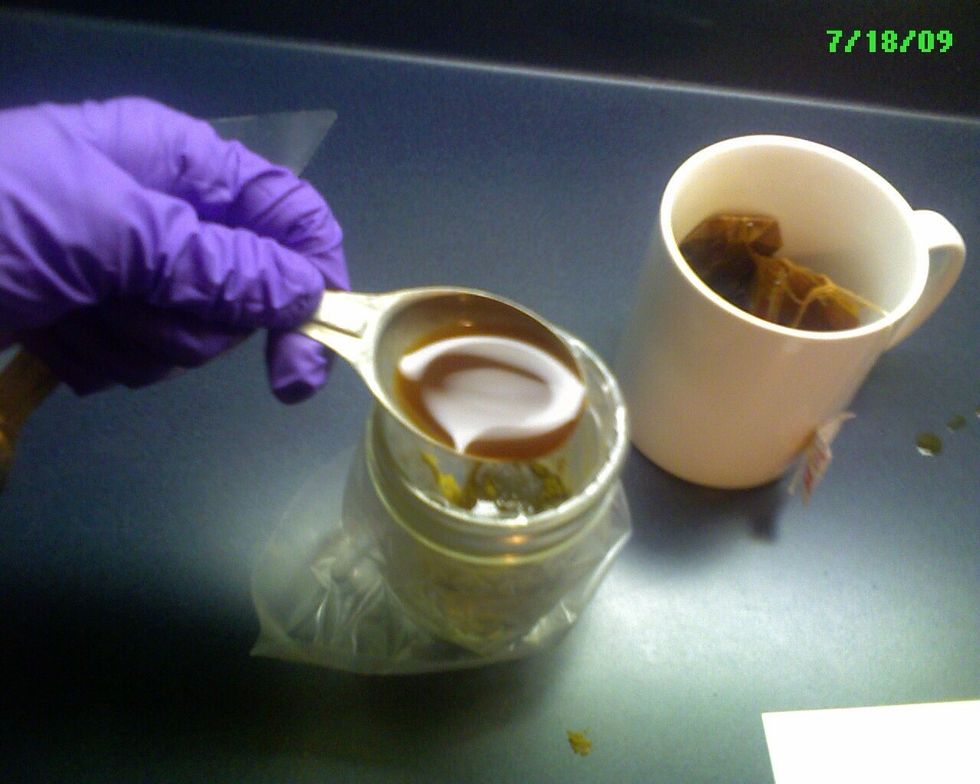
1 tablespoon strong coffee, tea, or red wine.
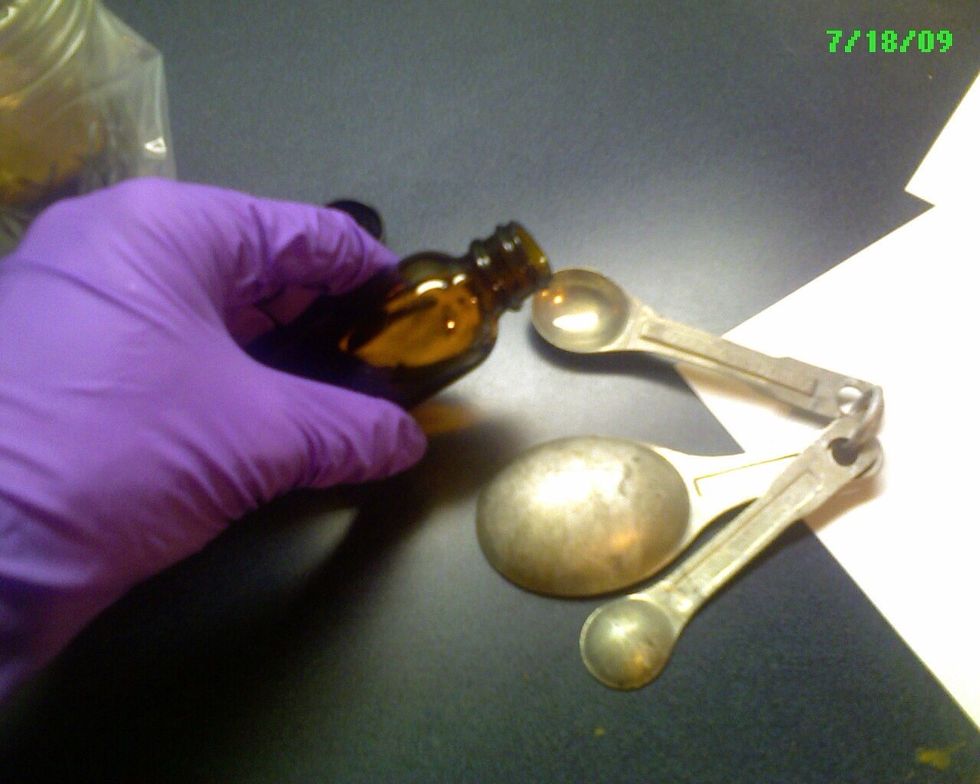
One half teaspoon Mehndi oil.
One half teaspoon sugar.
Pull it out…
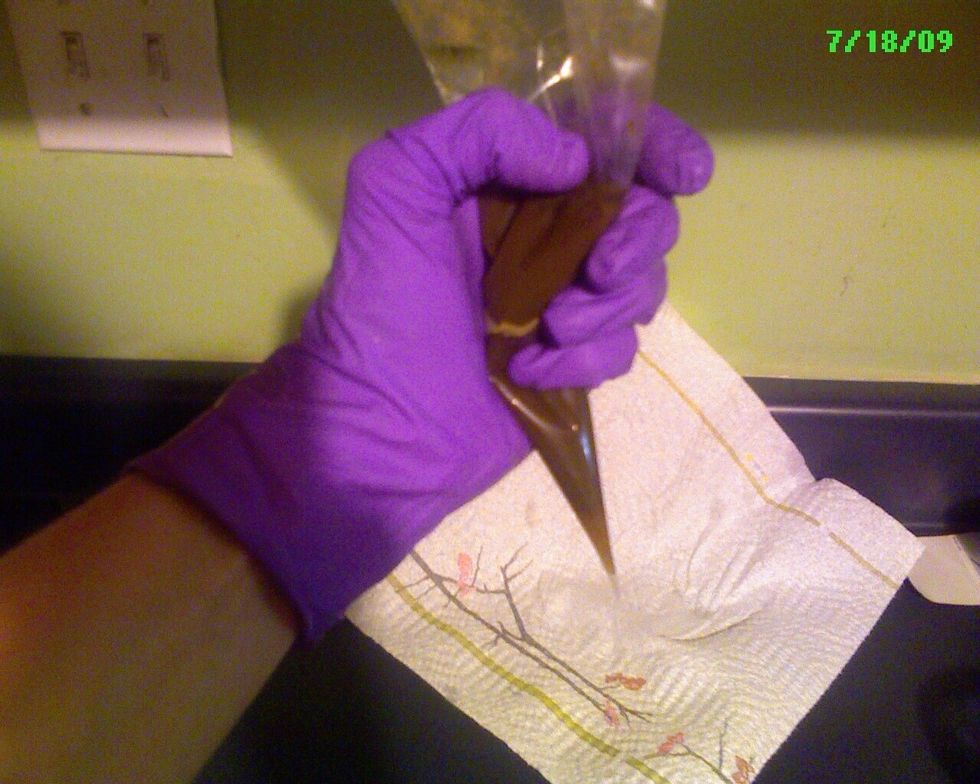
Squish mix.

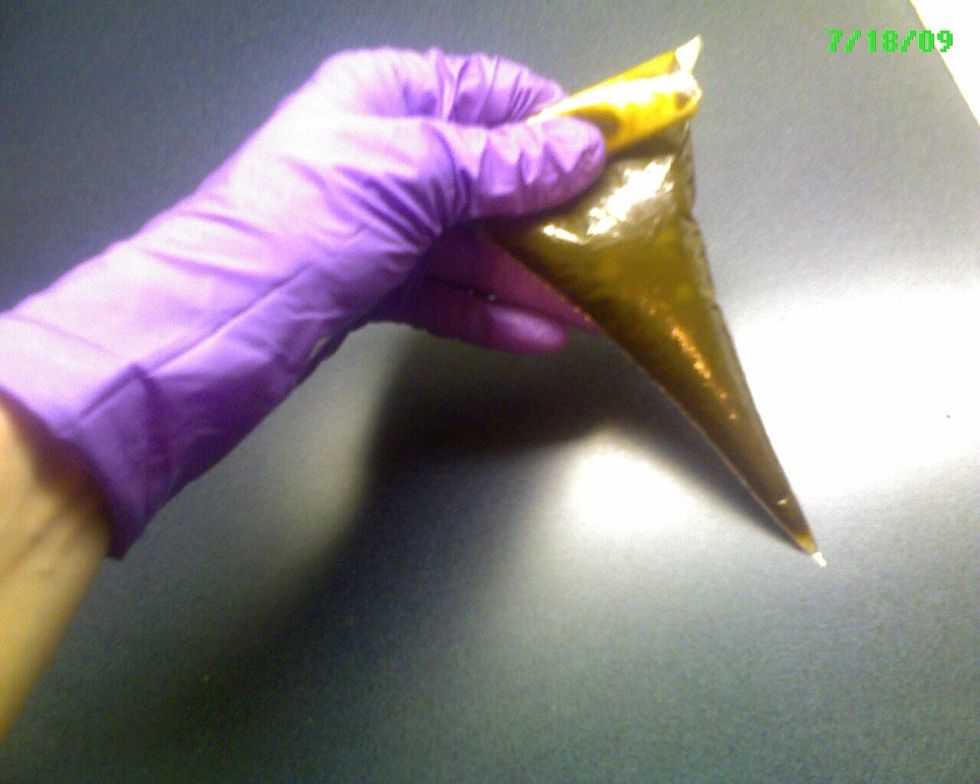
Get used to the right consistency by seeing if it holds together. Wet, but not drippy, is ideal. The mud needs to hold a "bead" when you draw a line, but not so firm that it is difficult to squeeze.
Squish it to the point.
Roll down the top of the bag.

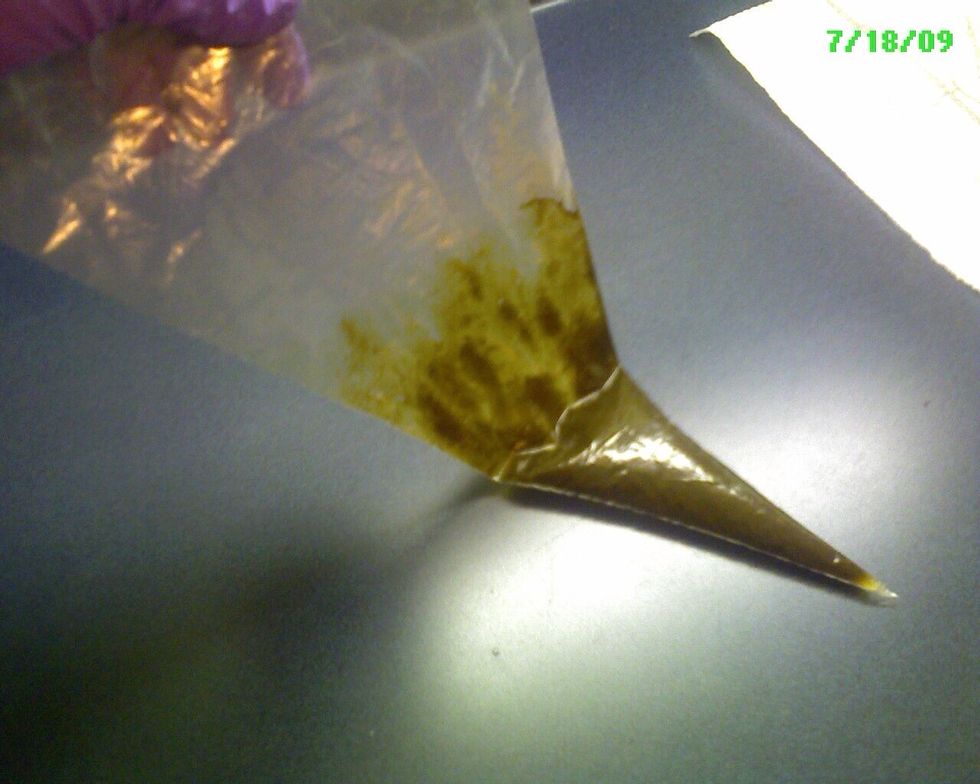
Cut off the tip. Cut less than you think, you can always cut more. Squeeze a little out to test the consistency.
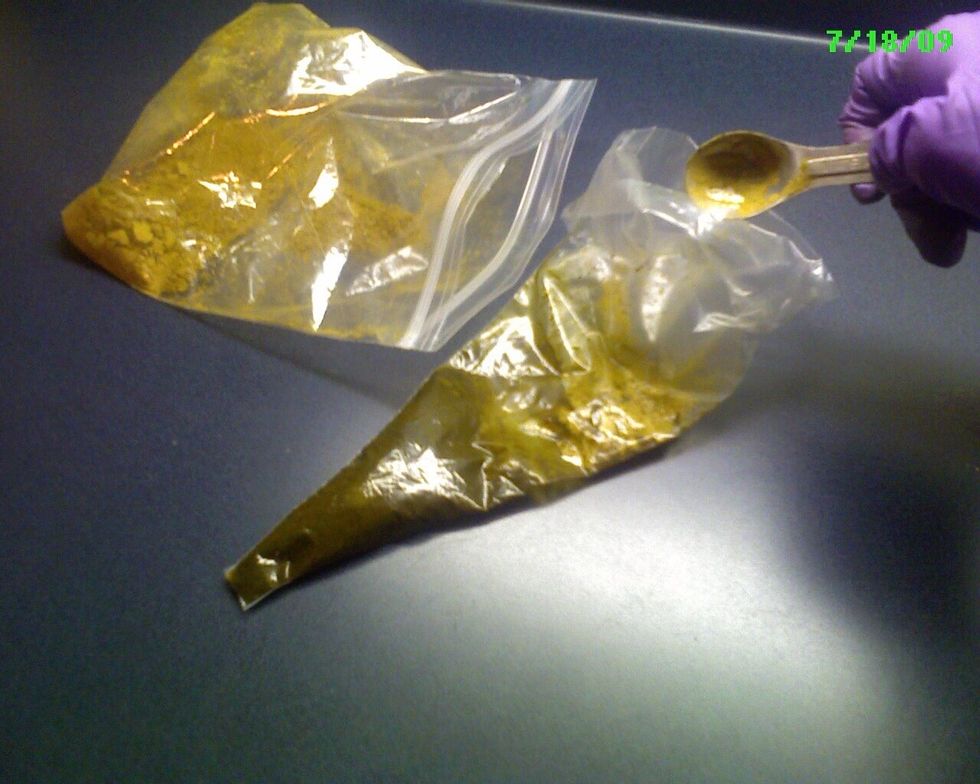
Fudge as necessary, by adding more henna if it's too runny, or more lemon to wet it. The oil and sugar each do their part to adjust the consistency and texture...experiment!
Fill your bottle. You can also fill multiple bottles and freeze the rest!
Your henna will be ready and most potent in 4 hours. Think about where to apply your design...
Palms and soles are best. The skin is thicker, so the henna is able to stain deeply.
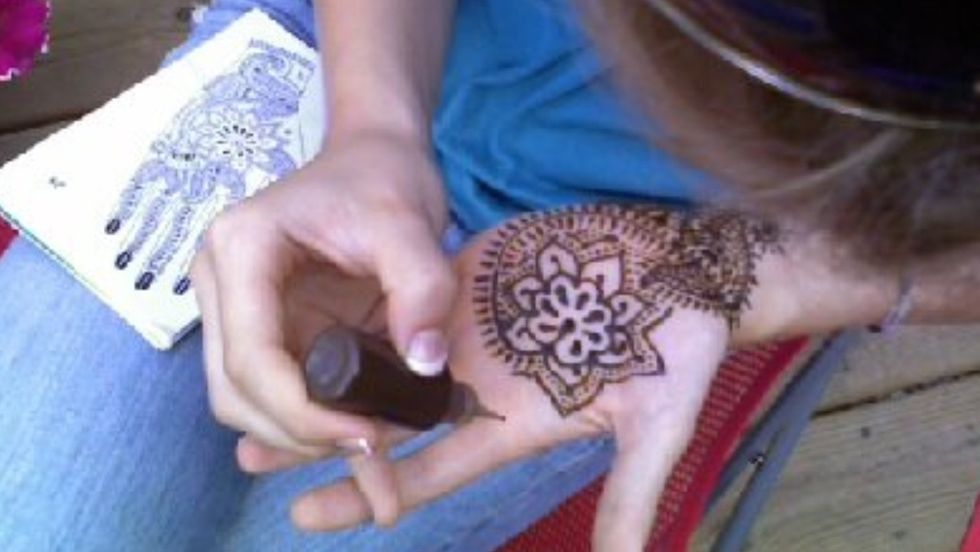
Wrists work well, but "take" less as you move up the arm. Henna goes on brown-green. Thicker equals darker, so plan your design with bold strokes.
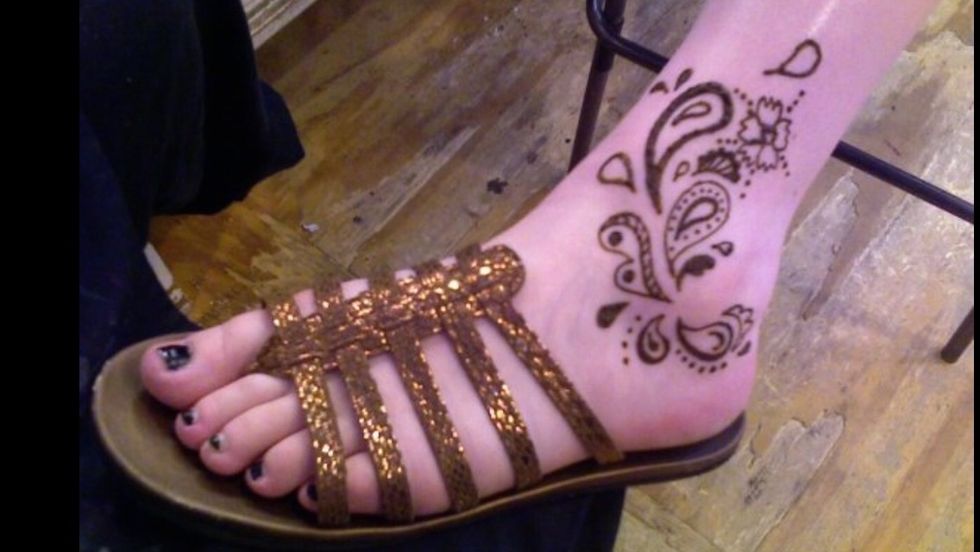
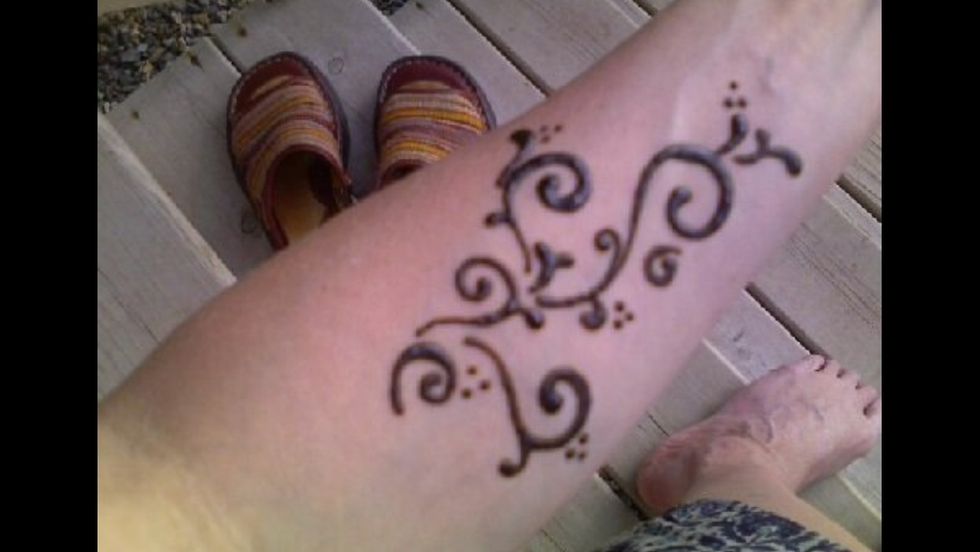
Same story for ankles. Also, warmth is important for a dark henna stain. So, hot summer days are a plus.

Touch is part of the art, making Mehndi safe, beautiful, and bonding for the artist and the one being pampered.
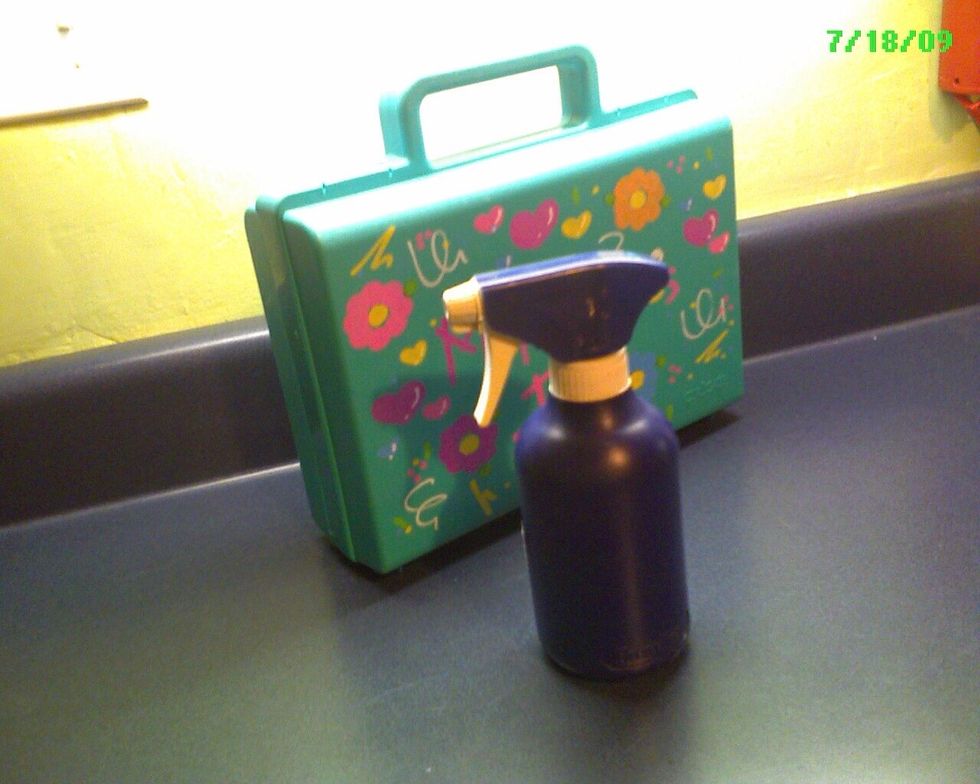
Spray lightly with a lemon juice and sugar solution to keep the mud moist, but not so wet that it drips. This will prolong the contact of moist henna to skin.
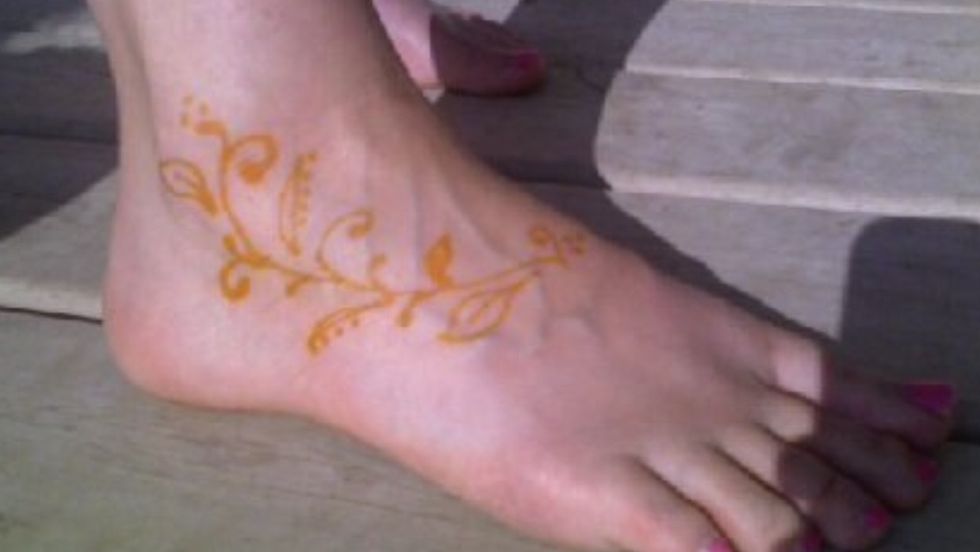
After several hours remove any remaining mud. Your design will be yellowish-orange. Keep your skin from drying out with a little olive oil, rather than your usual lotion.
Over the next 48 hours your design will darken considerably and reach its peak color, a medium to dark rusty brown.
No pool. Chlorine is a bad idea. Be more careful washing in the first 2 days, it could lighten your final design. You can expect your henna design to last two weeks to a month.
Thanks for viewing my how-to! There is always more at JoeBobLeigh.com