The Conversation (0)
Sign Up
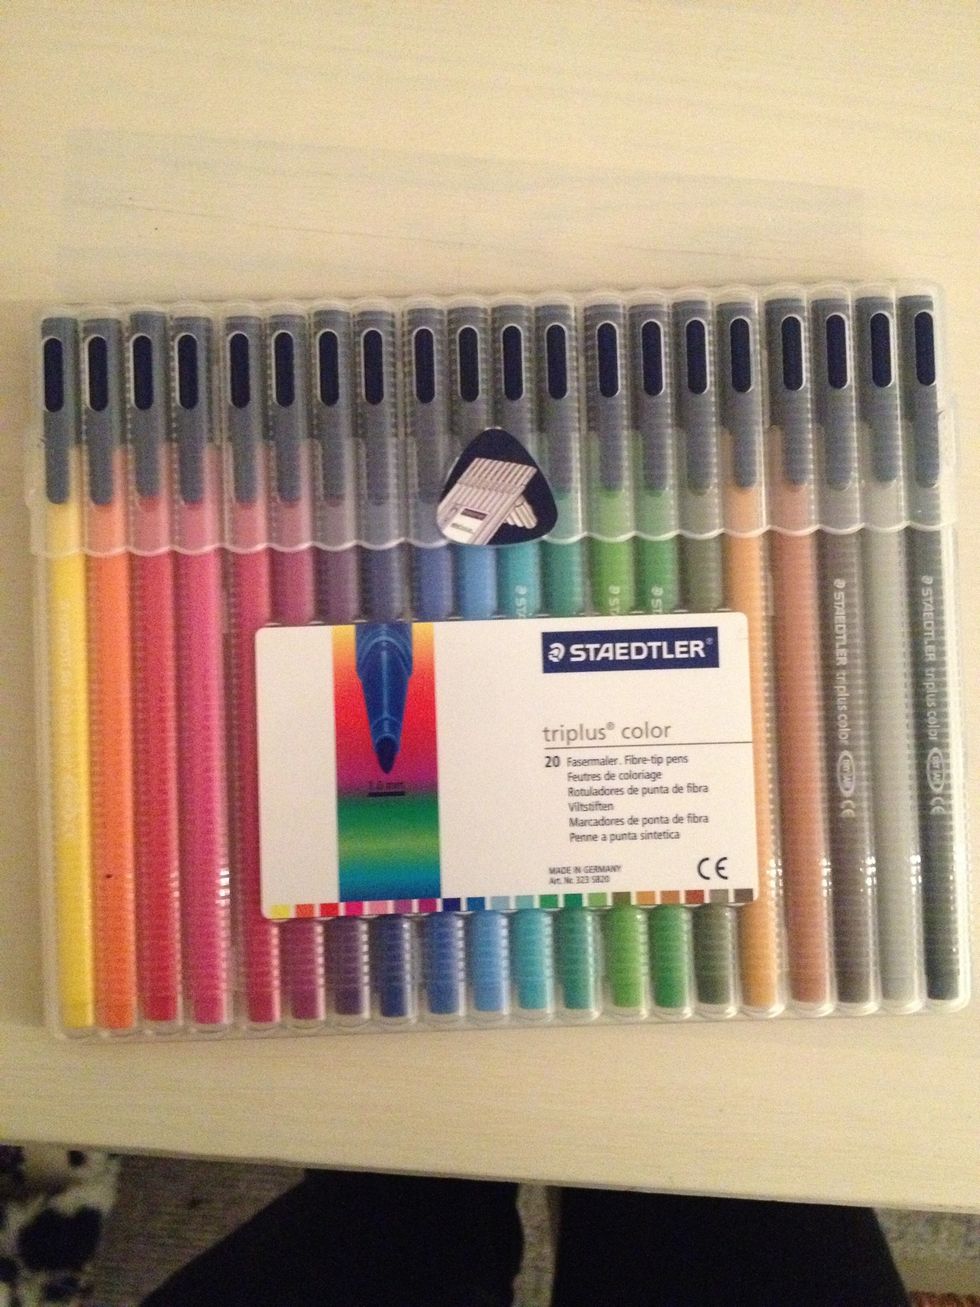
The markers that I'm using is from STAEDLER.

First step is to roughly mark how big you want your bookmark to be. I want mine to be about 6 - 6,5 centimeters.
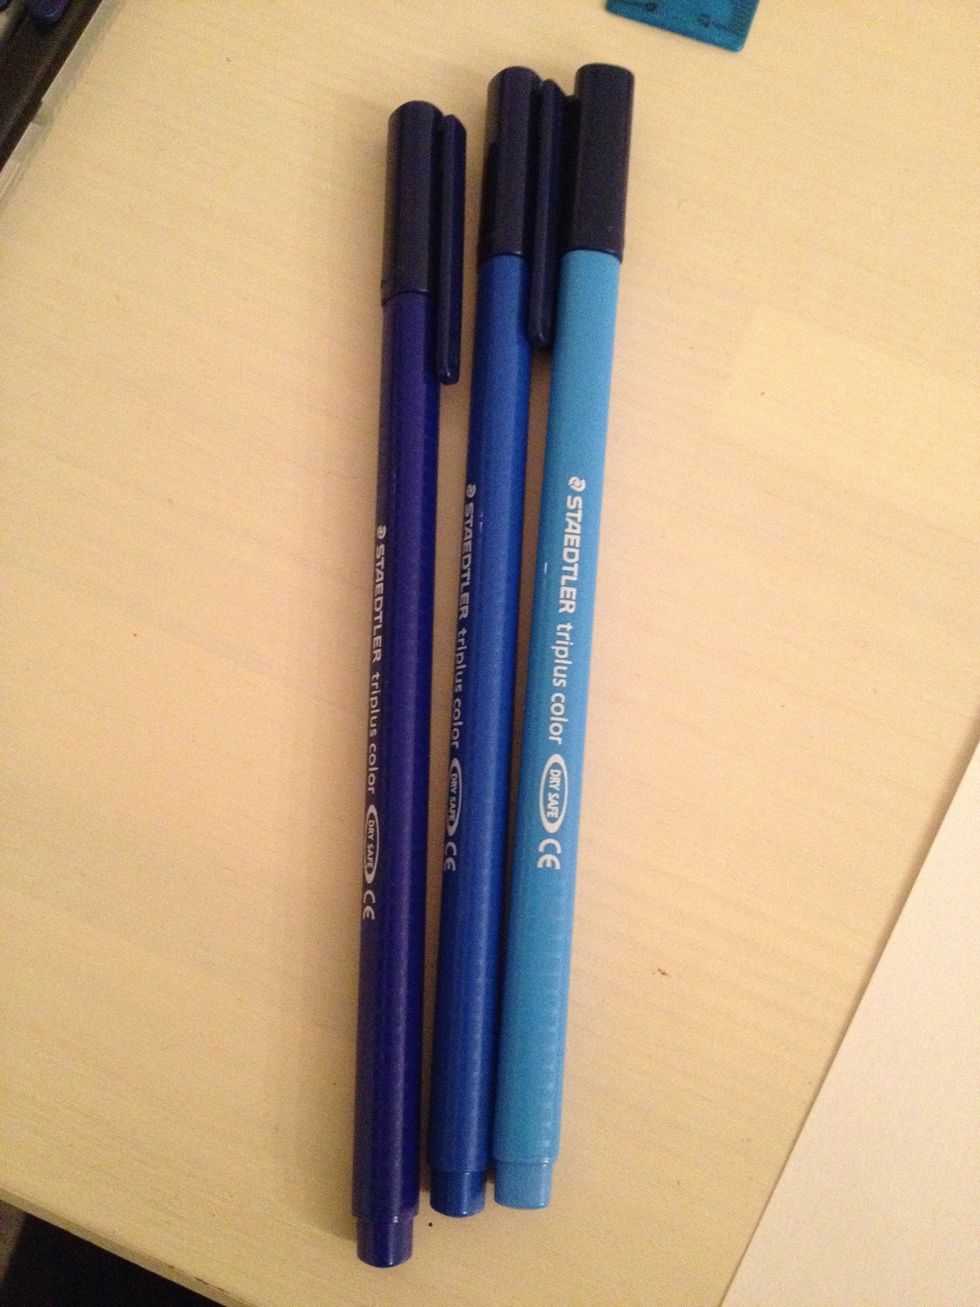
Grab your markers.
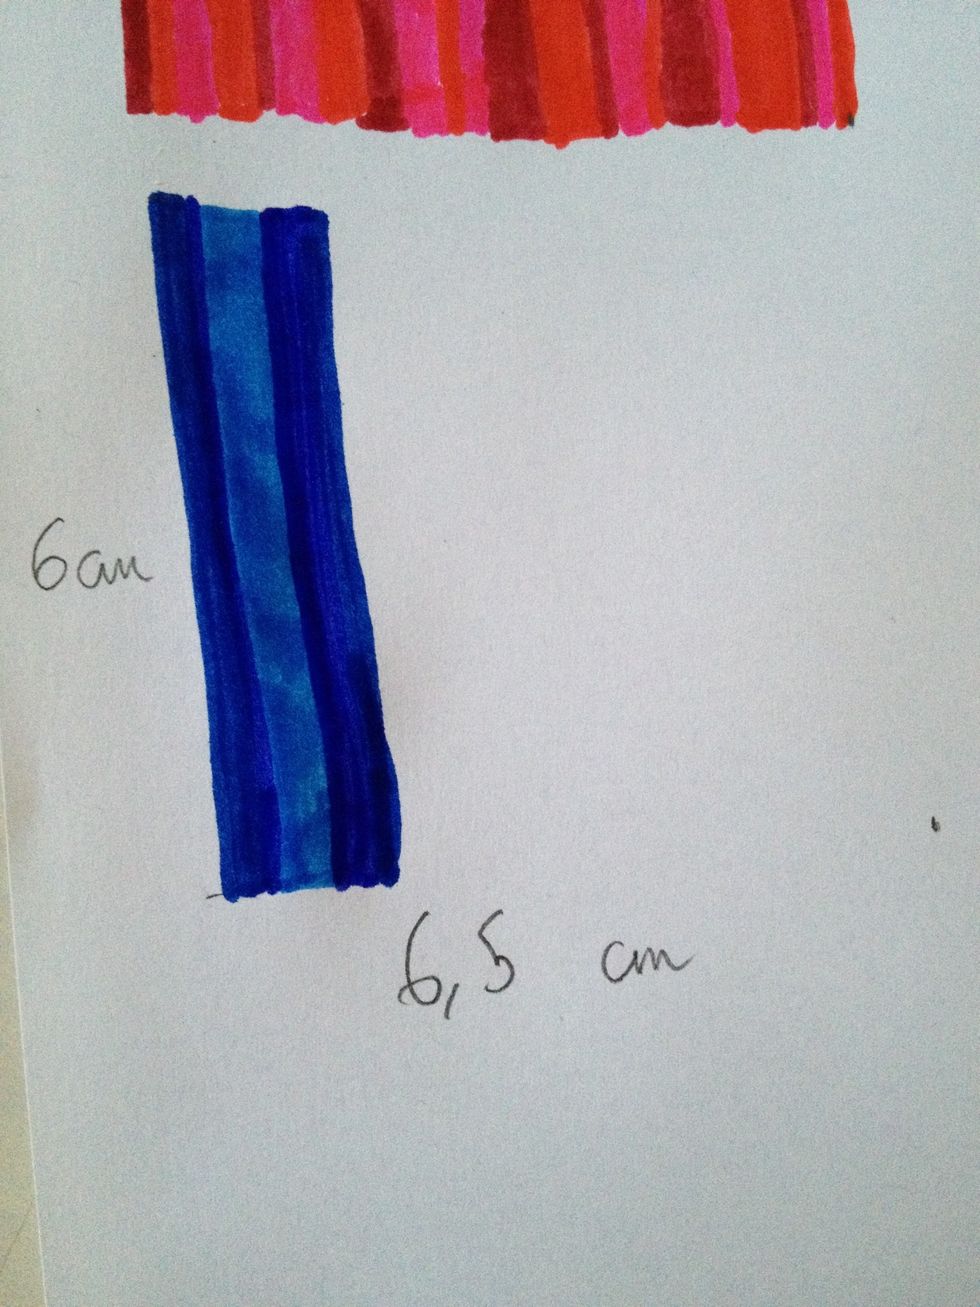
Try to draw the lines in diffrent sizes. You could also make a pattern or use a ruler.
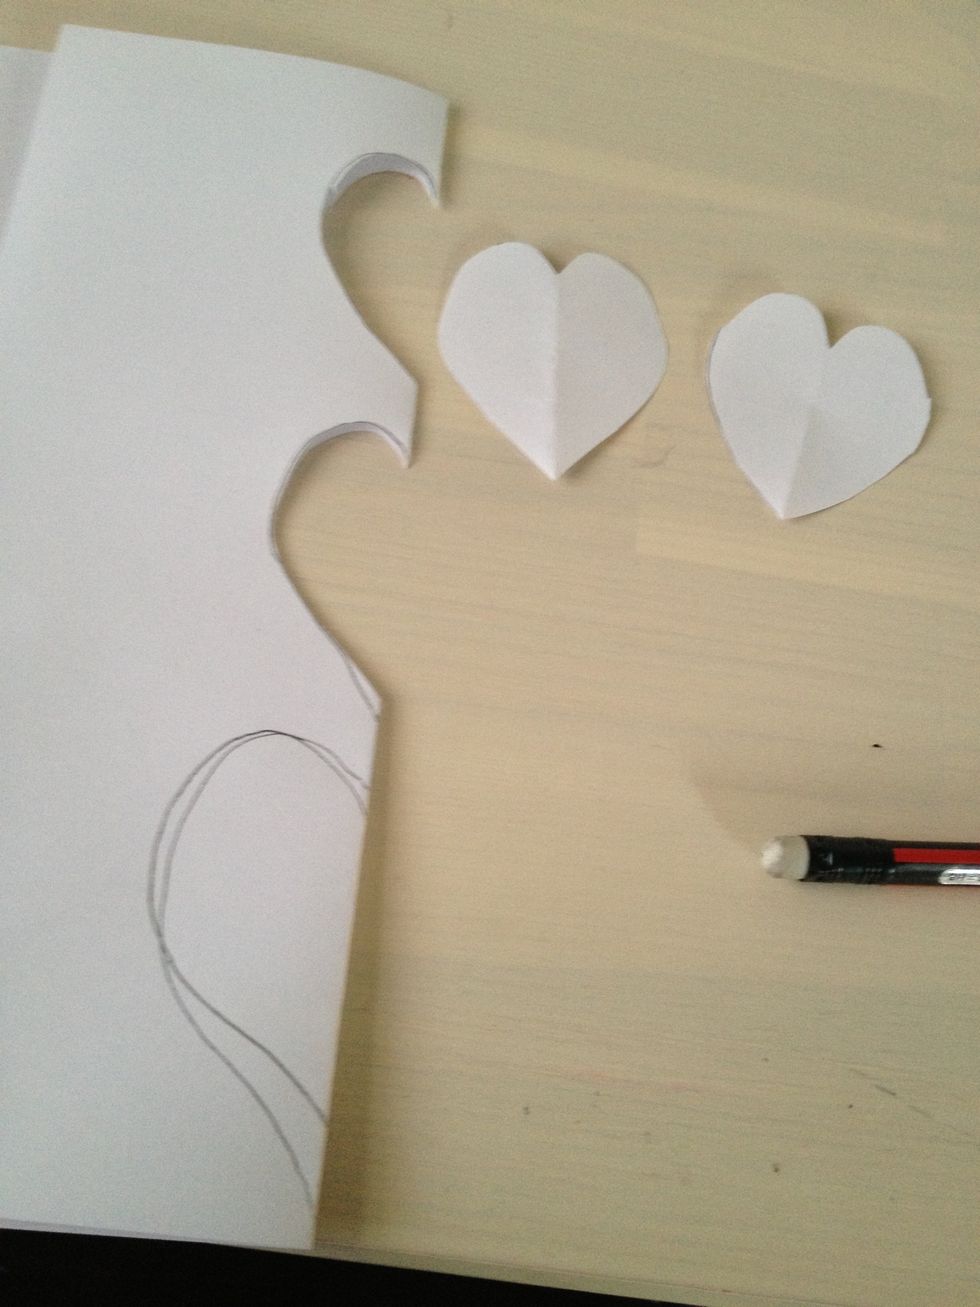
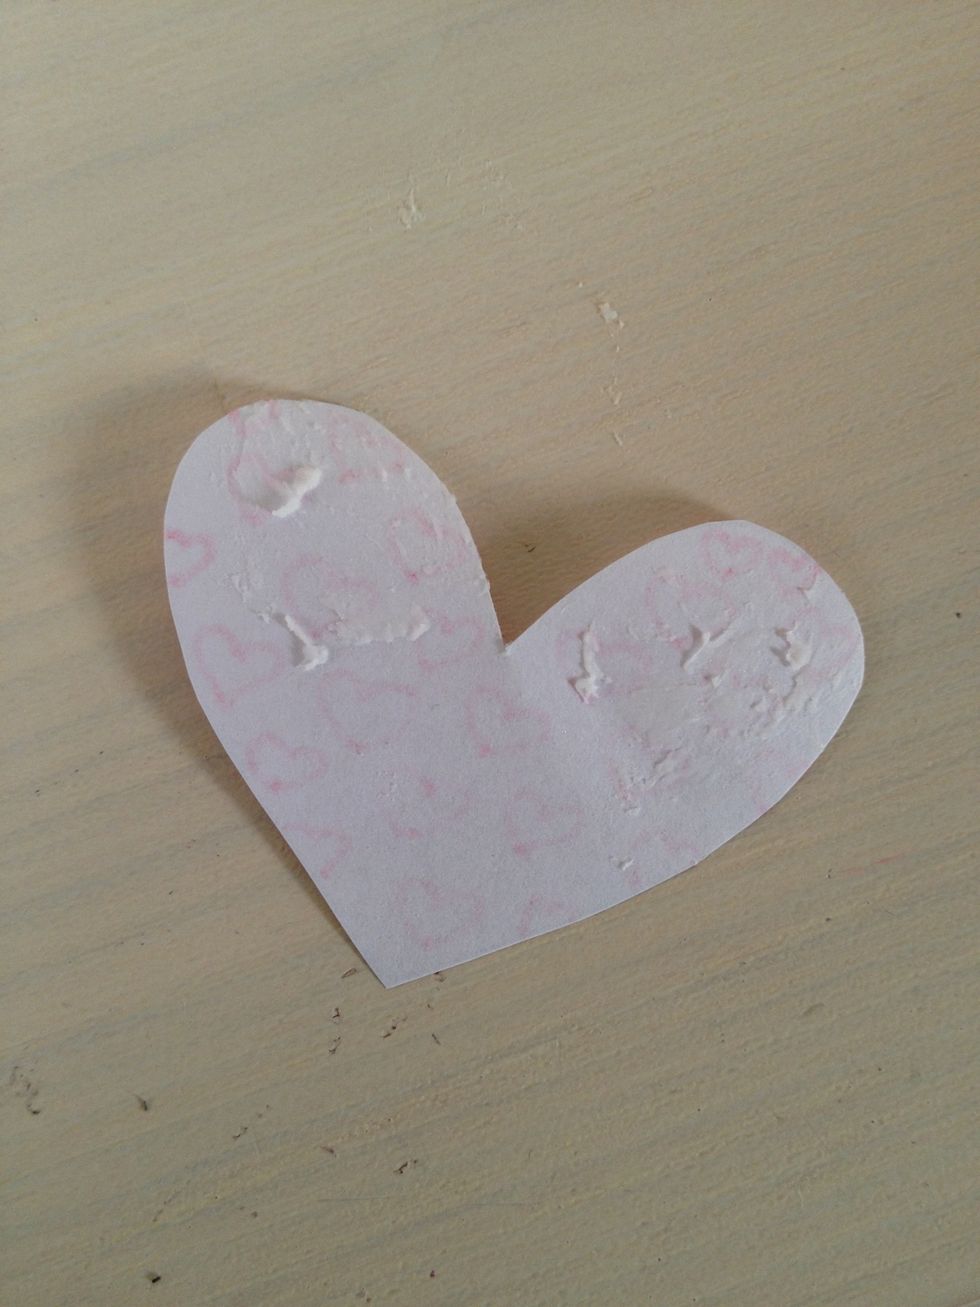
Fold your paper and draw some hearts. Then cut them out and pick the best one.

Then draw around the heart or inside the paper and cut.
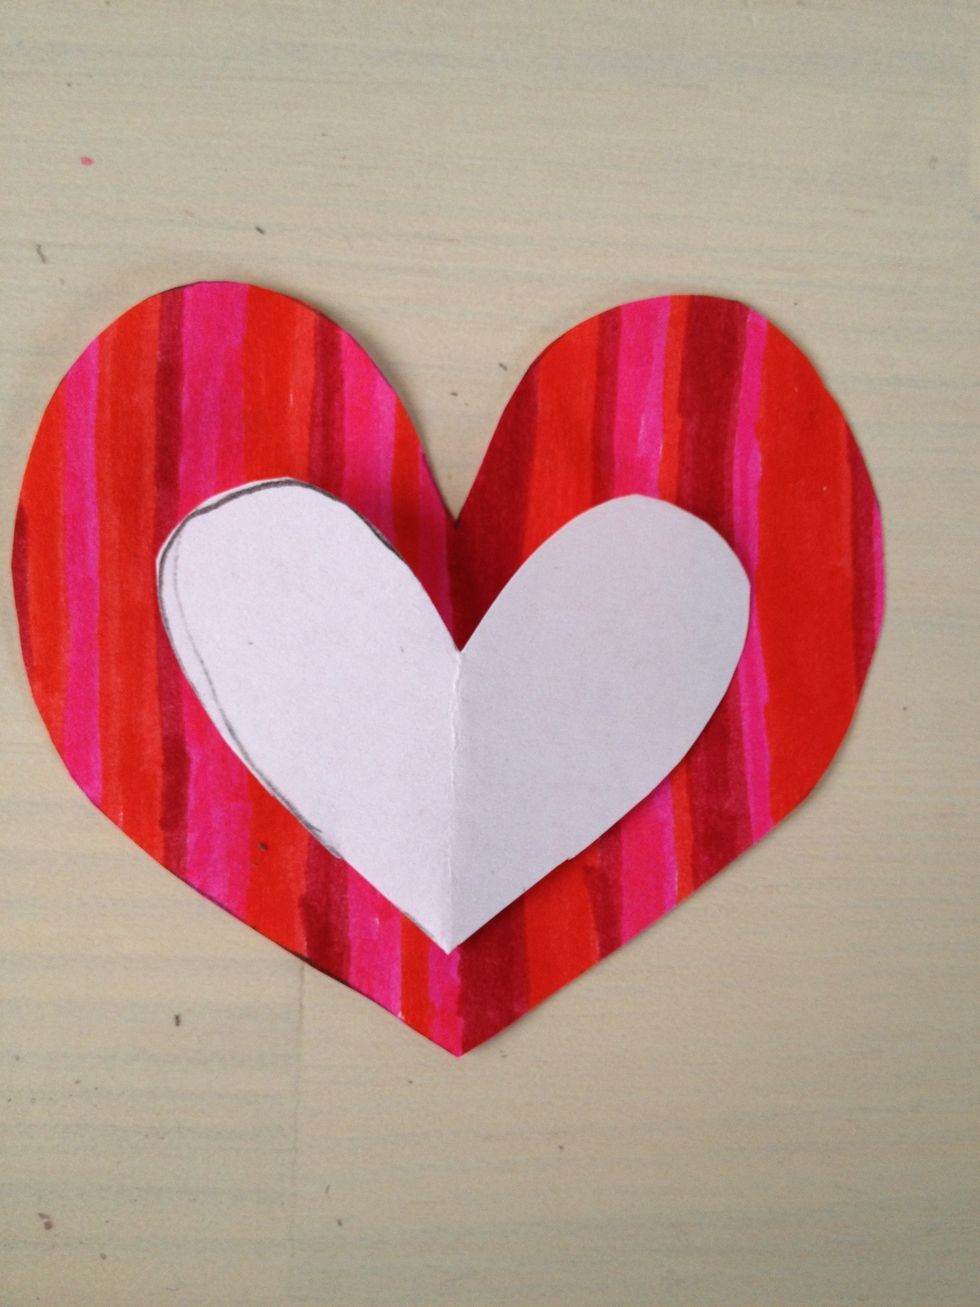
Draw a smaller heart that can go inside the bigger heart.
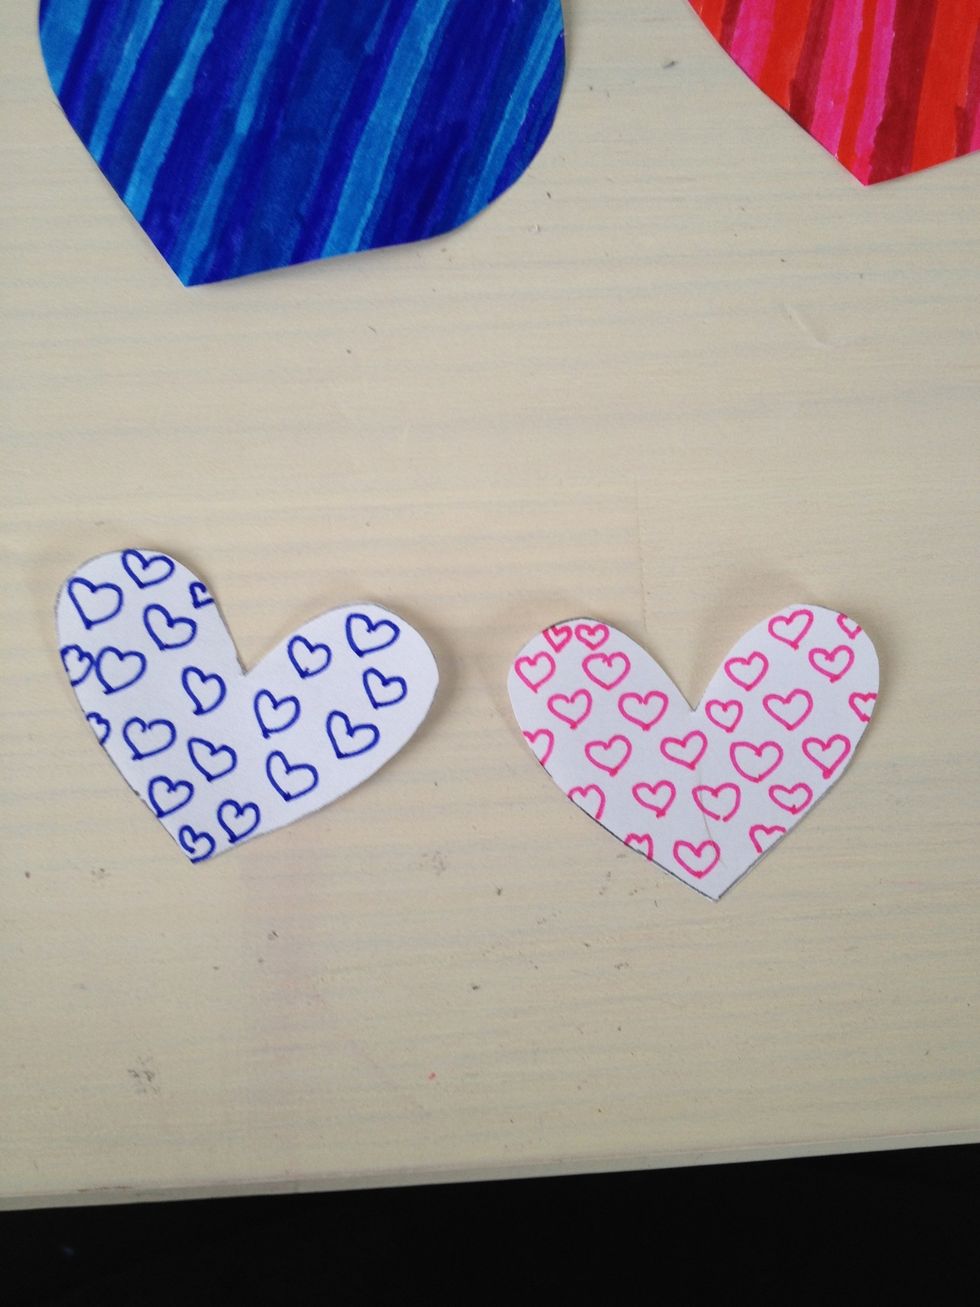
Then draw a pattern in the smaller hearts and cut them out.
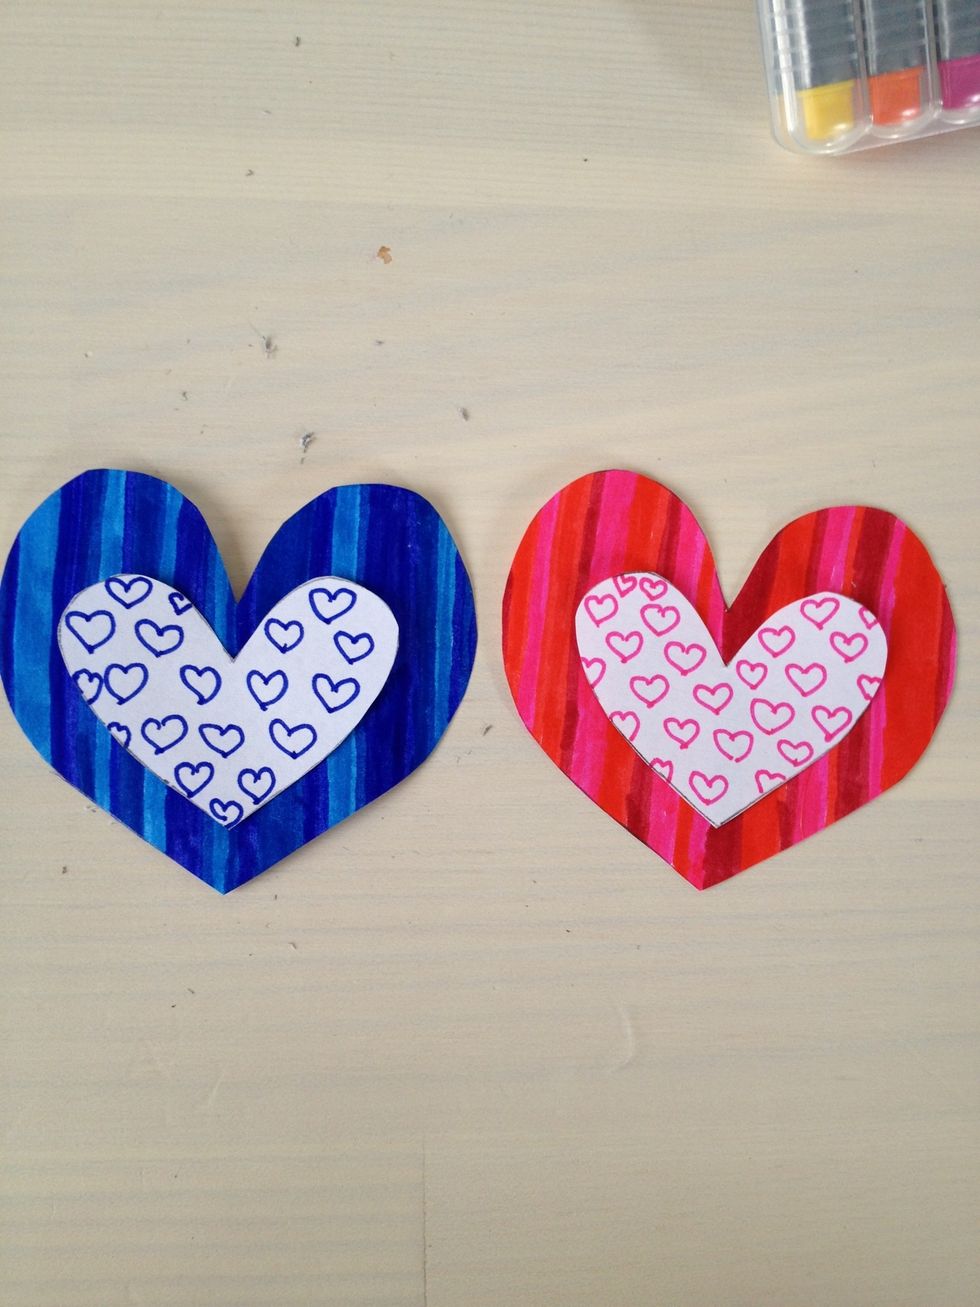
Lay them on the bigger hearts so you have an idea of where you're gonna glue them.
Then grab your glue and glue the back top half of your heart.
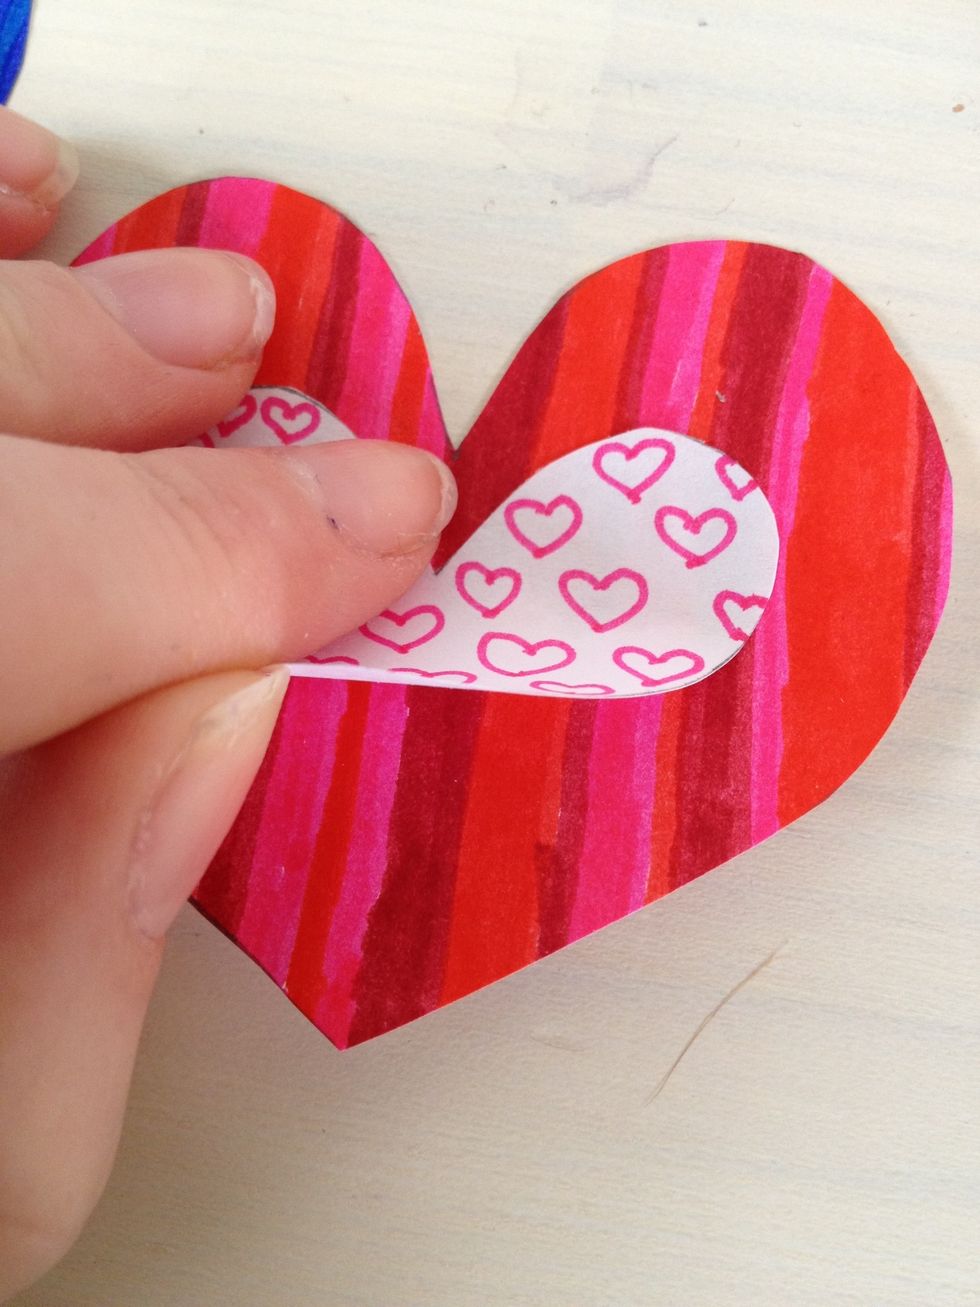
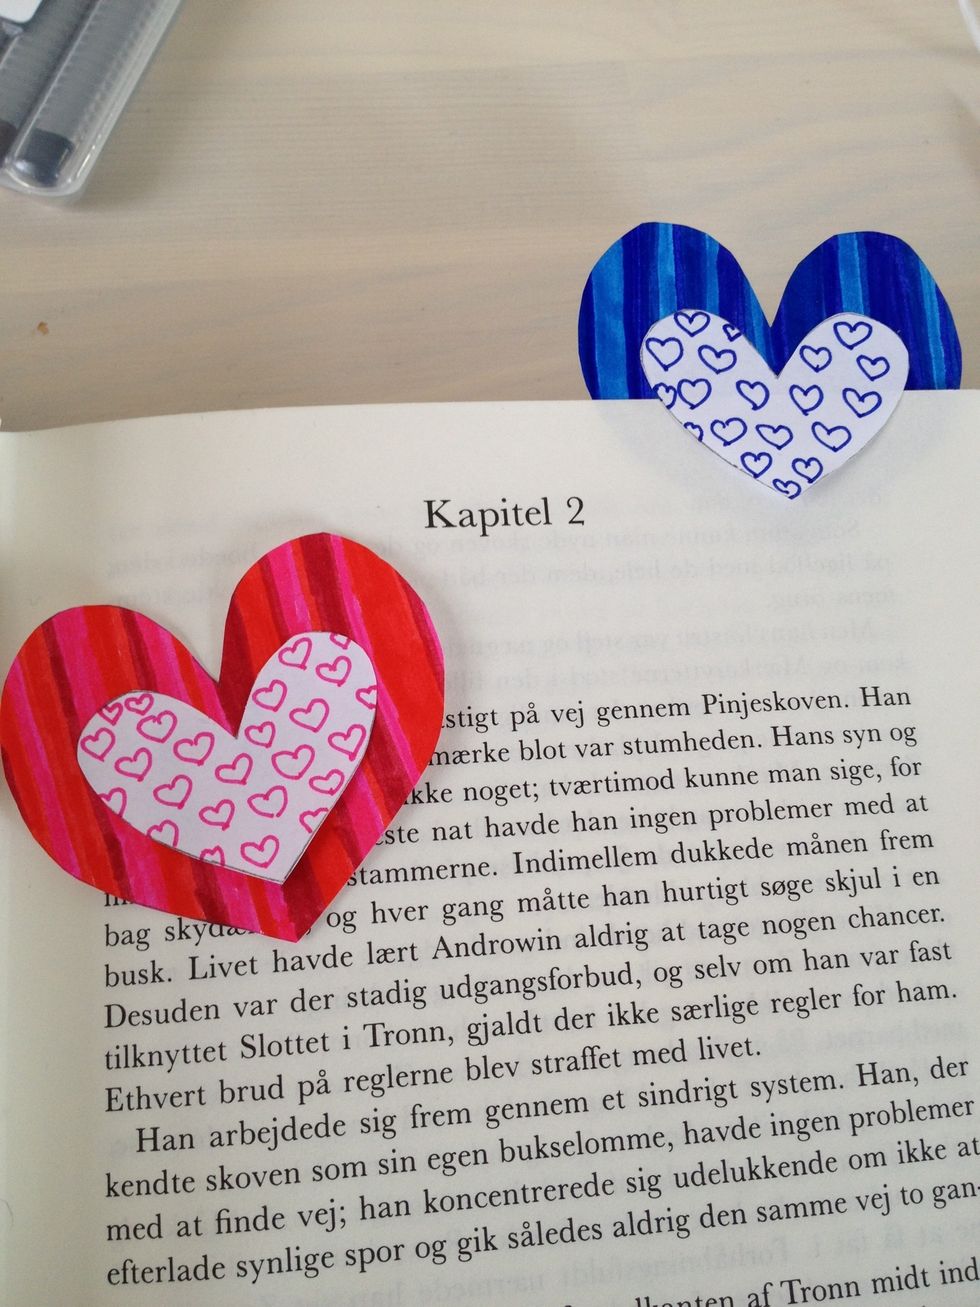
Stick it on the big heart and there you have it! Your very own homemade bookmark!