The Conversation (0)
Sign Up
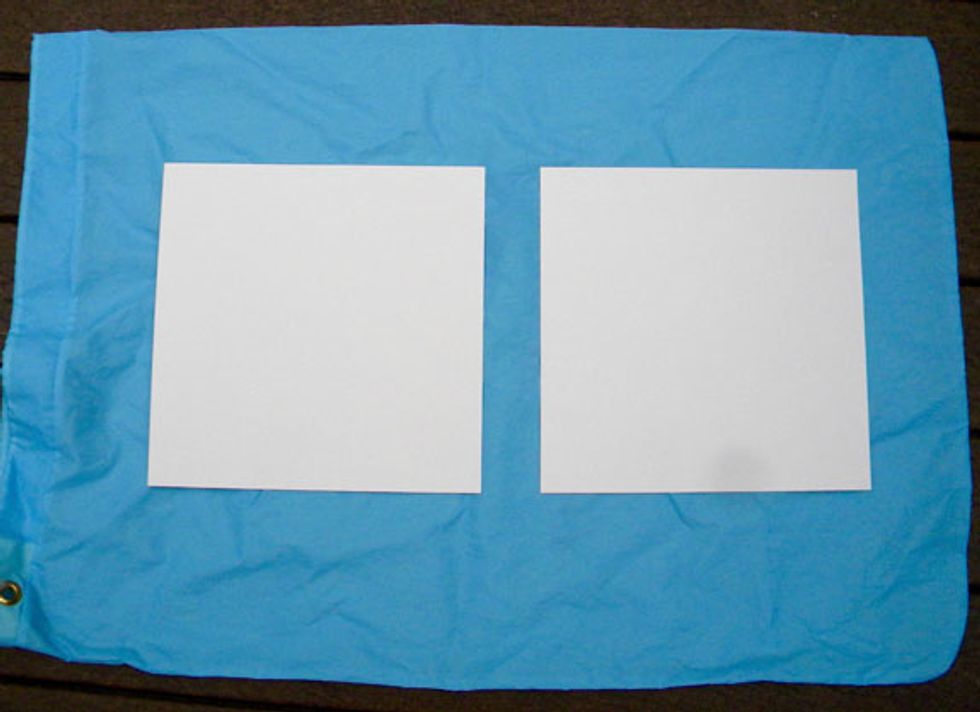
Set watercolor paper outside on a rainy day on top of a waterproof drop cloth. I used an old laundry bag. Make sure that the paper will be rained on.
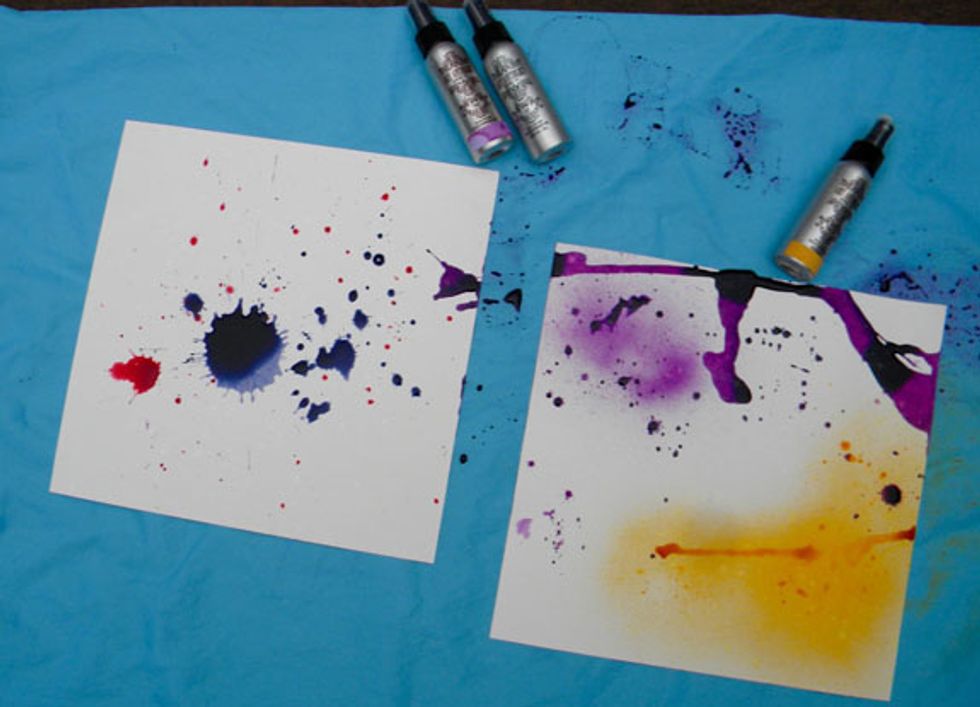
I opened the bottles and splattered or poured Lark and Patience Colorations Sprays on one paper, and Lark and Timeless on the other. I poured a bit too much Patience on the second paper!
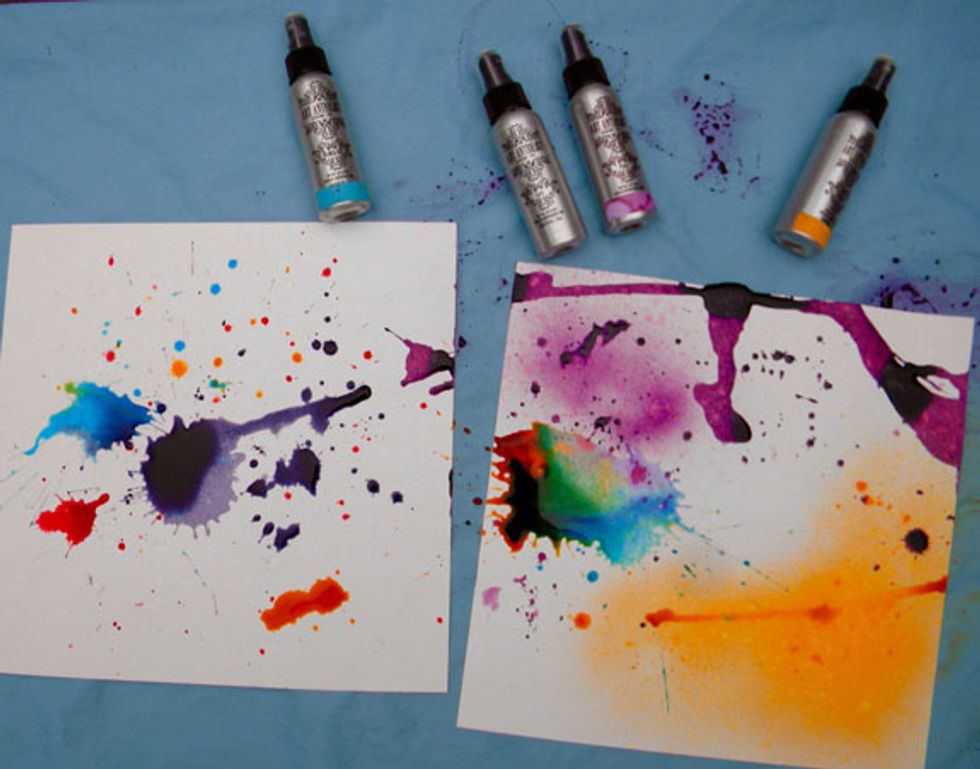
It needed more color so I added Waimea Bay and Tango to both.
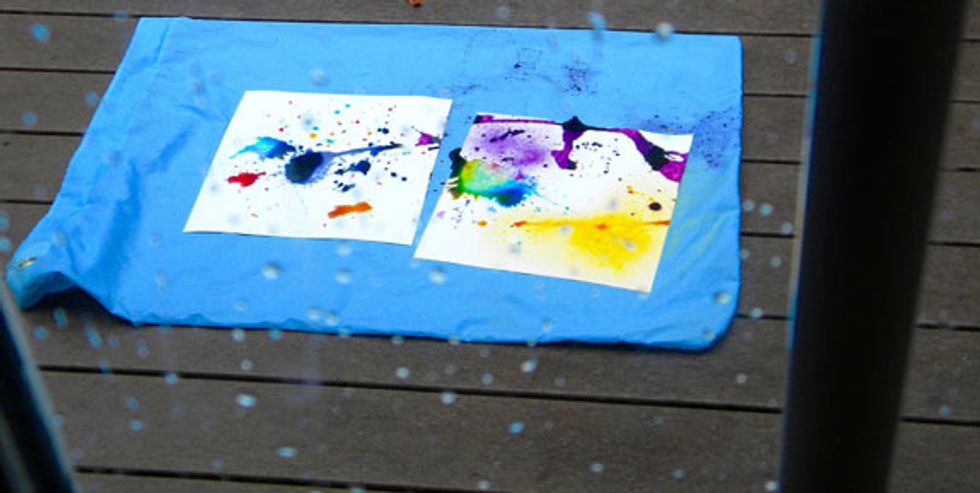
Then I let it sit in the rain for a while. Actually, I forgot about it and it rained really hard for a while.
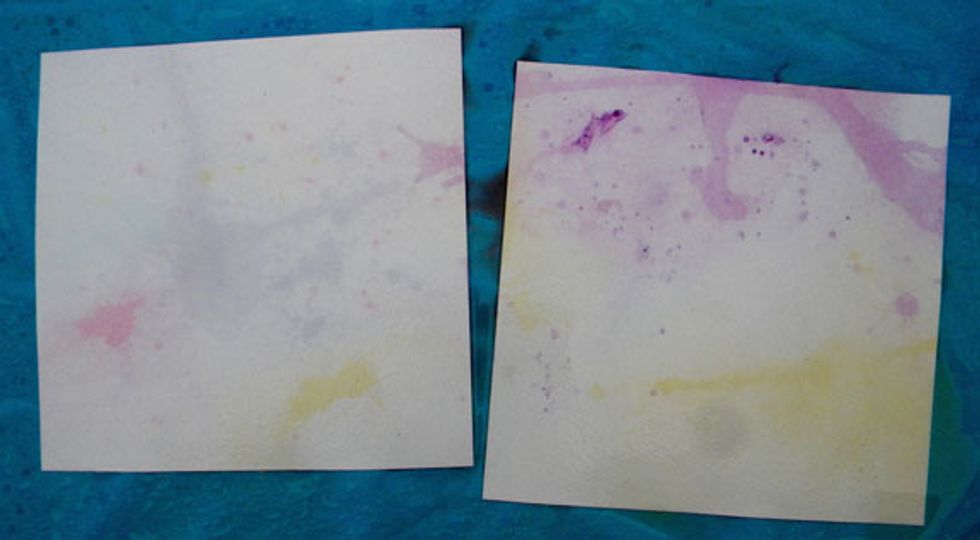
Much of the color washed a way because I didn't monitor it enough. It probably sat out there for a few hours. But I liked the soft background I created, or rather, the rain created.
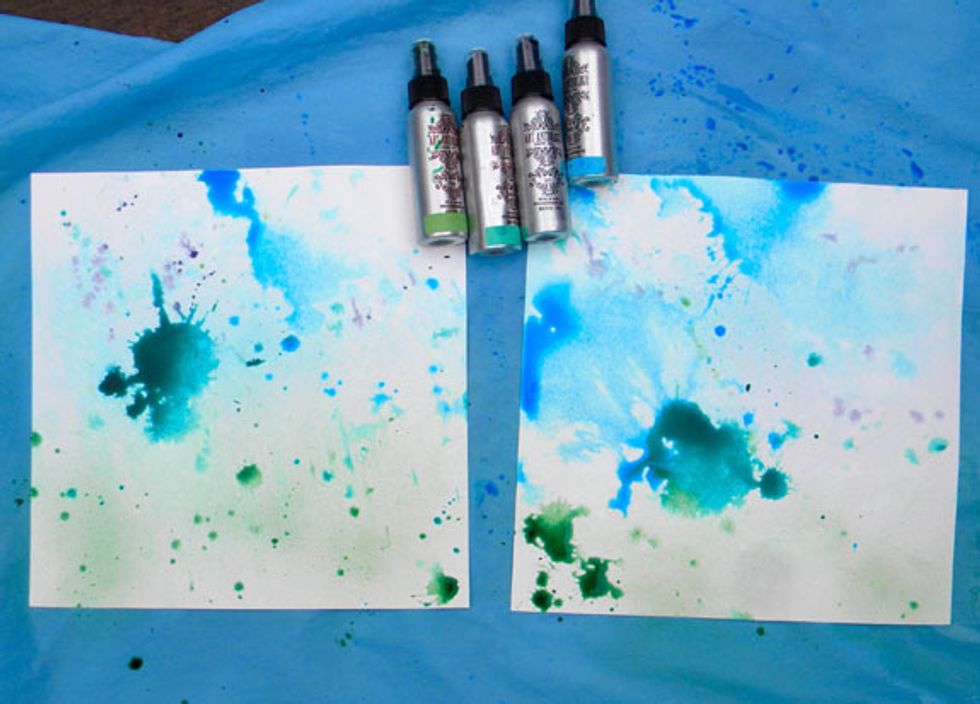
I decided to try it again with cool colors and monitor it more so I could get more patterns. I applied Waimea Bay, Studio Blue, Lark, and Grass on two more watercolor papers and set them outside.
I set my iPhone timer for 15 minute intervals to monitor the progress.
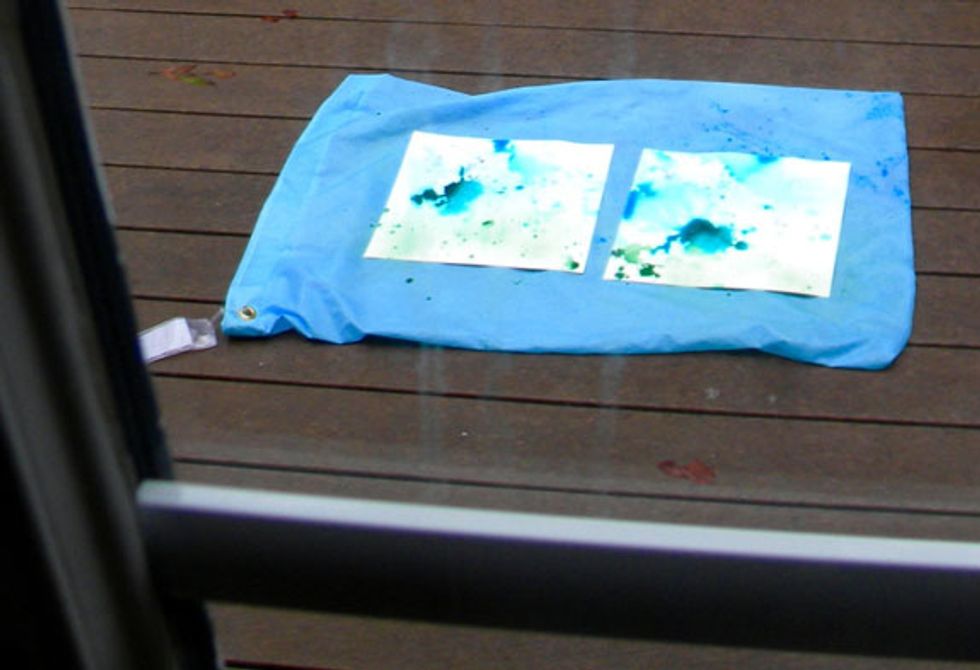
After about an hour of light rain, I liked the patterns I got so I brought them in and let them dry completely.
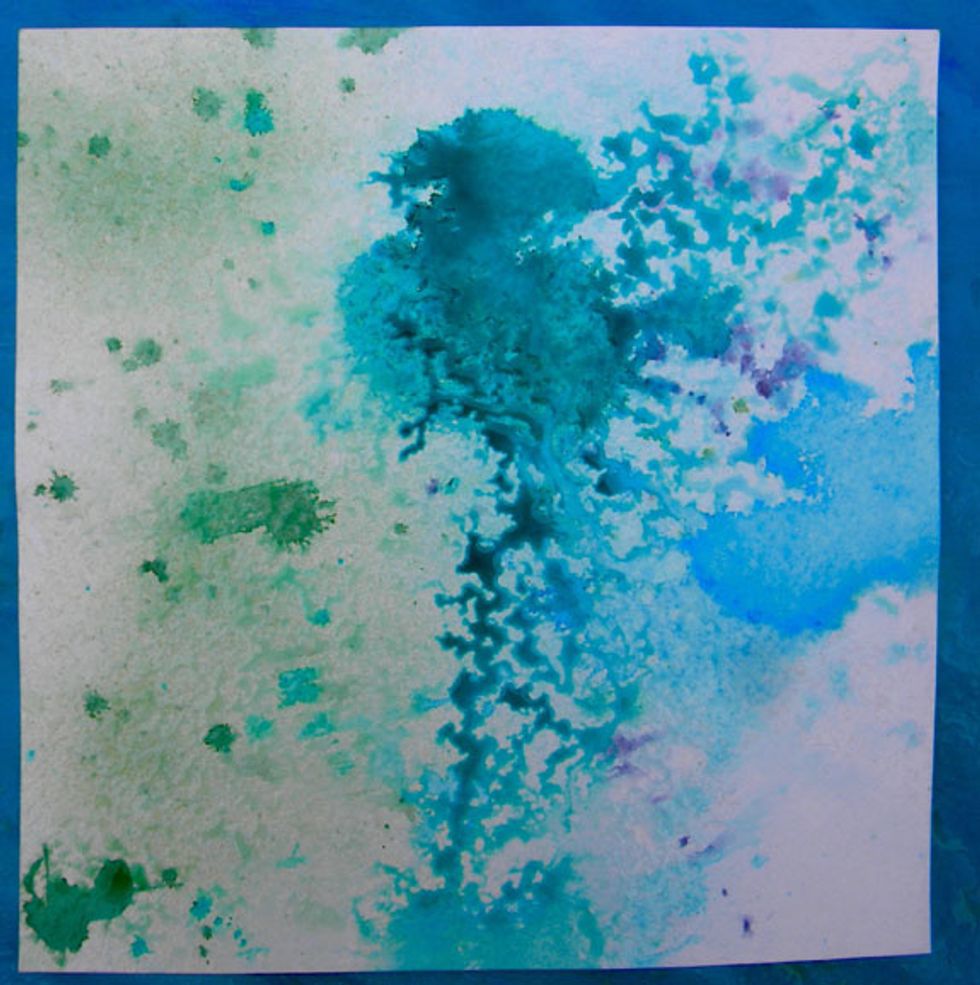
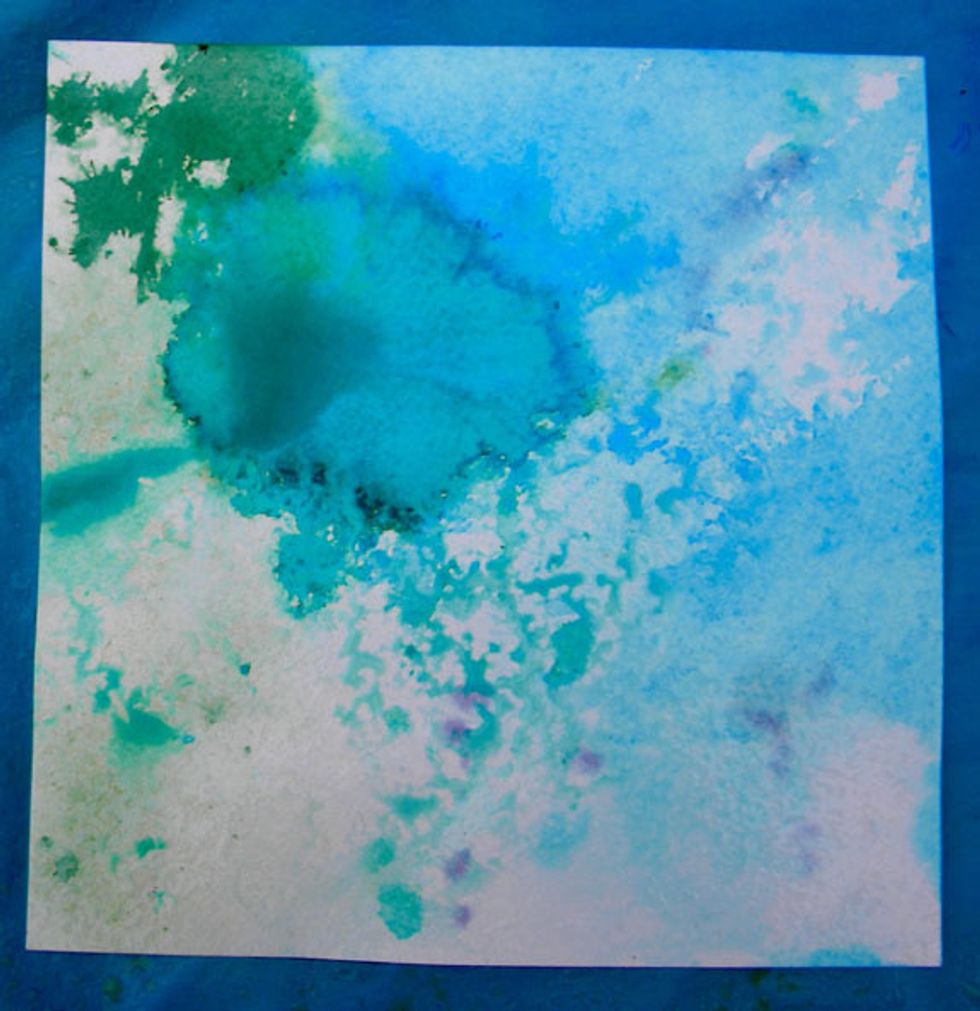
I love the patterns it made! Now to make something with them.
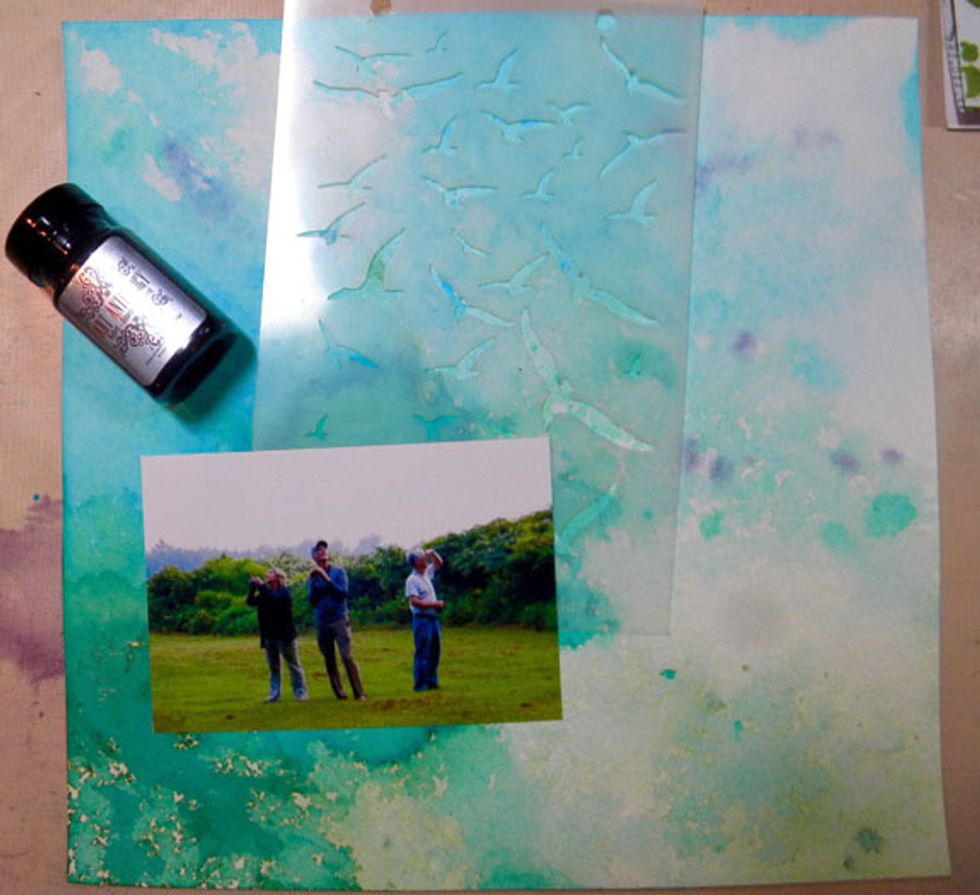
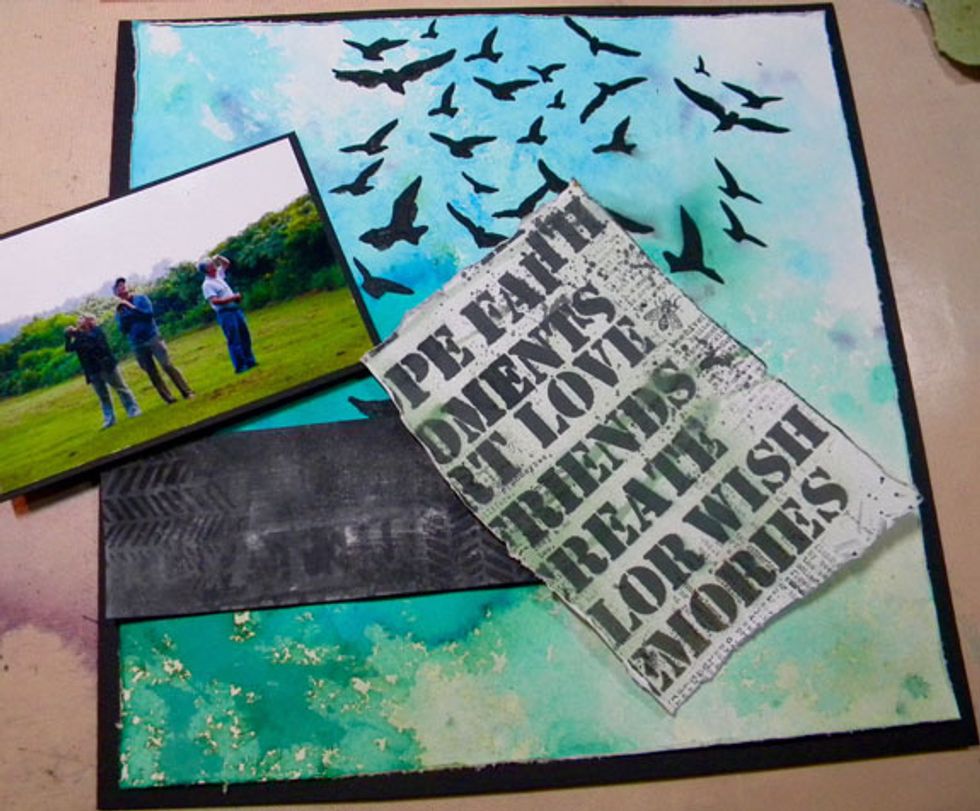
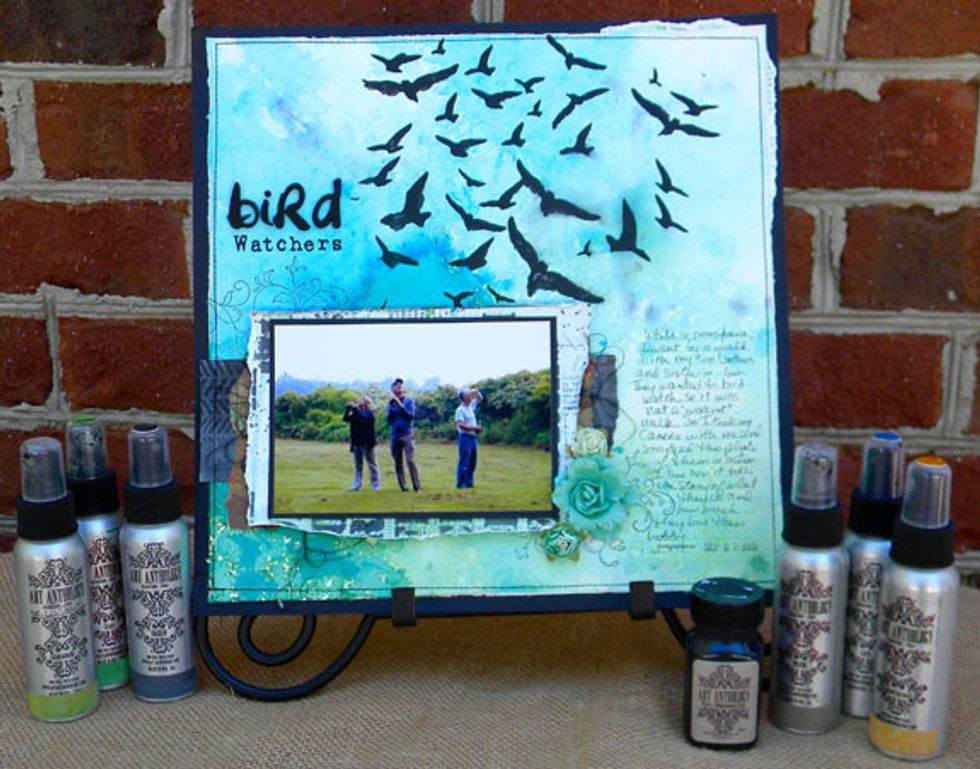
I chose one of the blue and green backgrounds to make a scrapbook layout using a photo of my brothers. I wanted to add birds to the "sky" using Tuxedo Velvet and the Take Flight stencil.
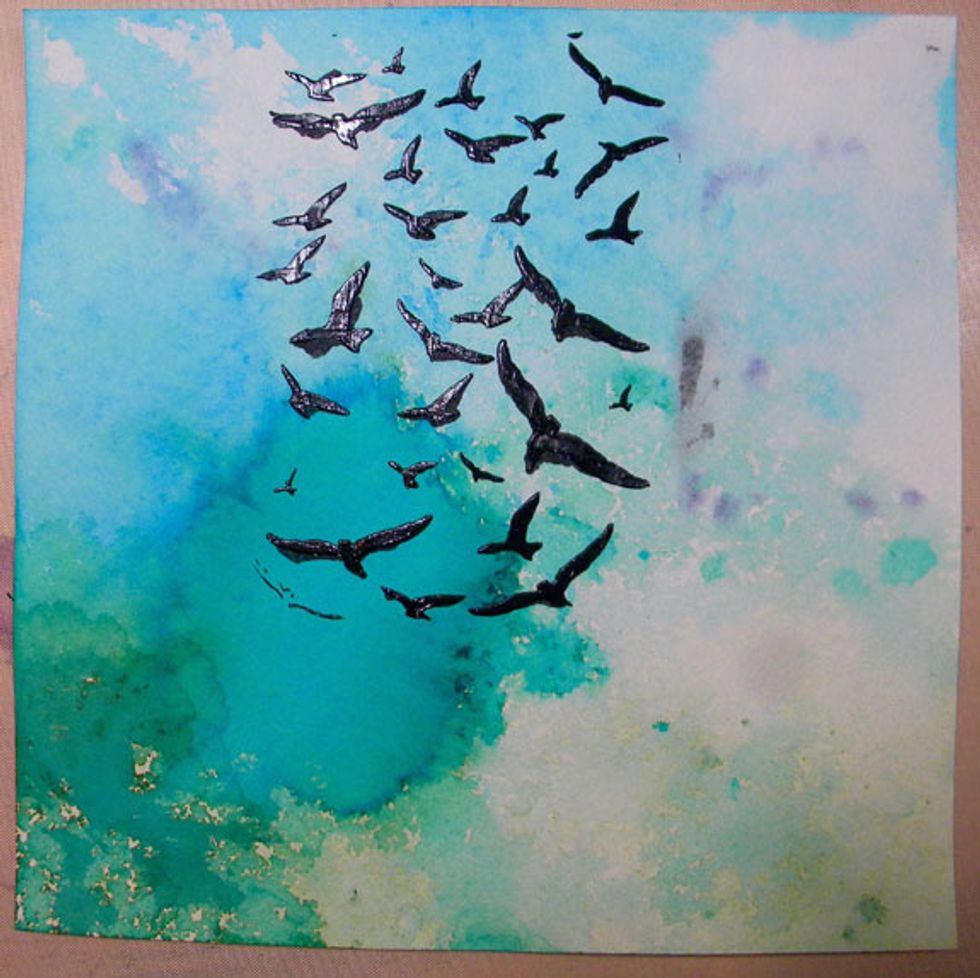
Art Anthology paints are the perfect consistancy to use with stencils. The birds are slightly raised when dry. I added a few more to the right after I let these dry.
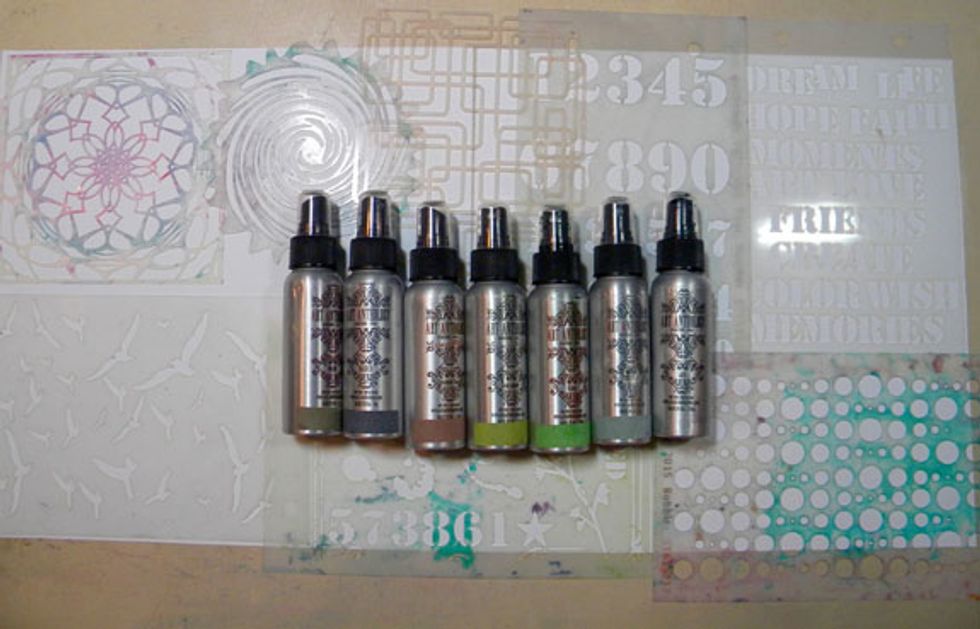
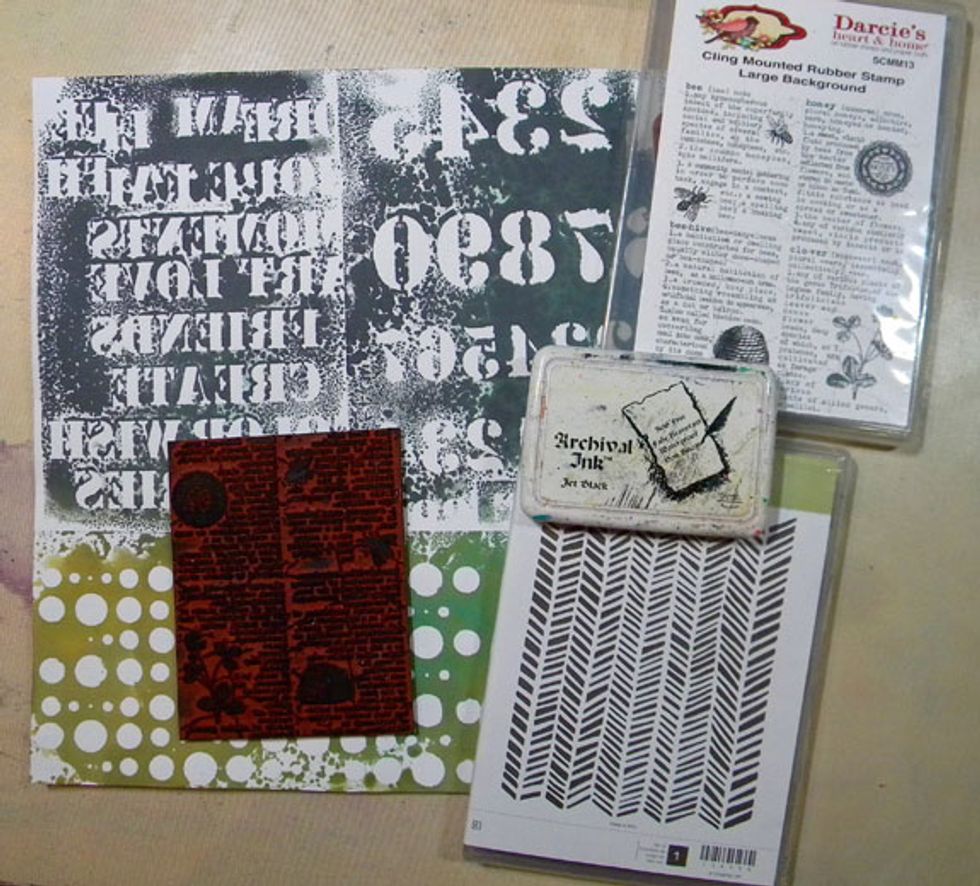
Next, to make my handmade patterned paper. I laid out two pieces of white cardstock and covered them with stencils. I chose a neutral color palette to keep the natural feel of the layout.
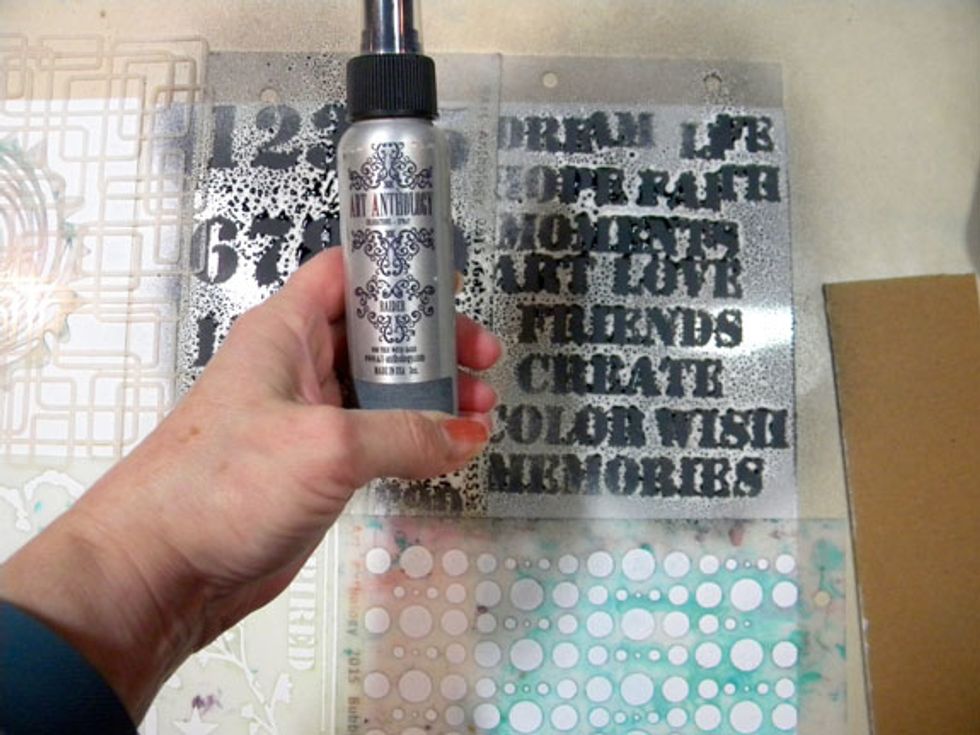
First I sprayed Raider on the Soliloquy and Got Your Number stencils. I kept the stencils in place.
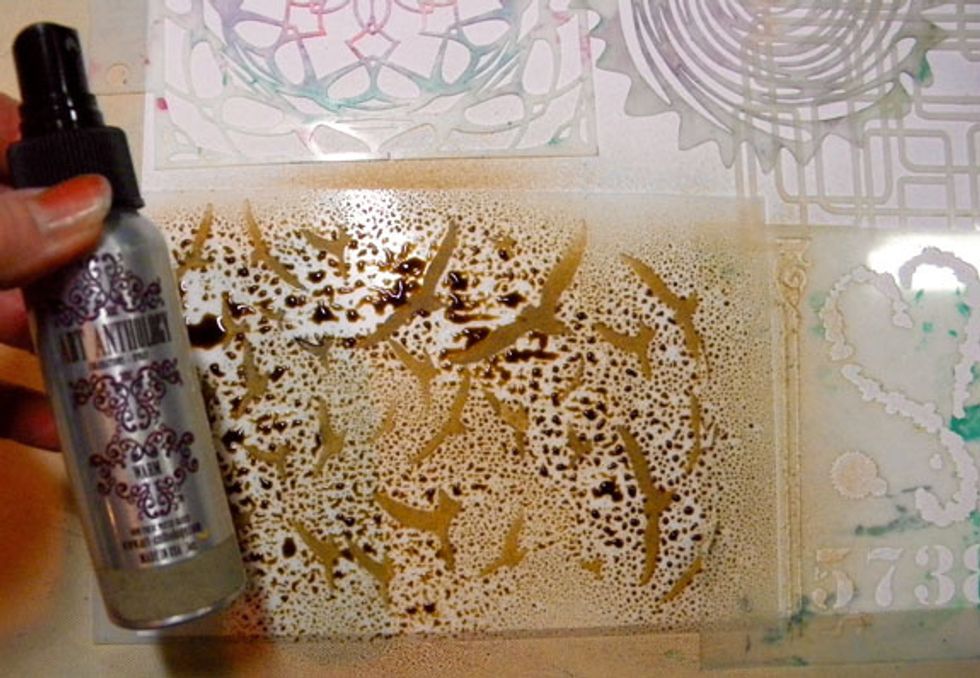
Next I sprayed Warm on the Take Flight stencil.

Spray Grass on the Inspired Grunge stencil. I overlapped the stencils on the paper, so my images will be random and messy.

The goal is to get color onto the paper. Also, did you notice my thumb nail is painted with two different colors? I was trying to figure out what color to use for my toes and never removed it!
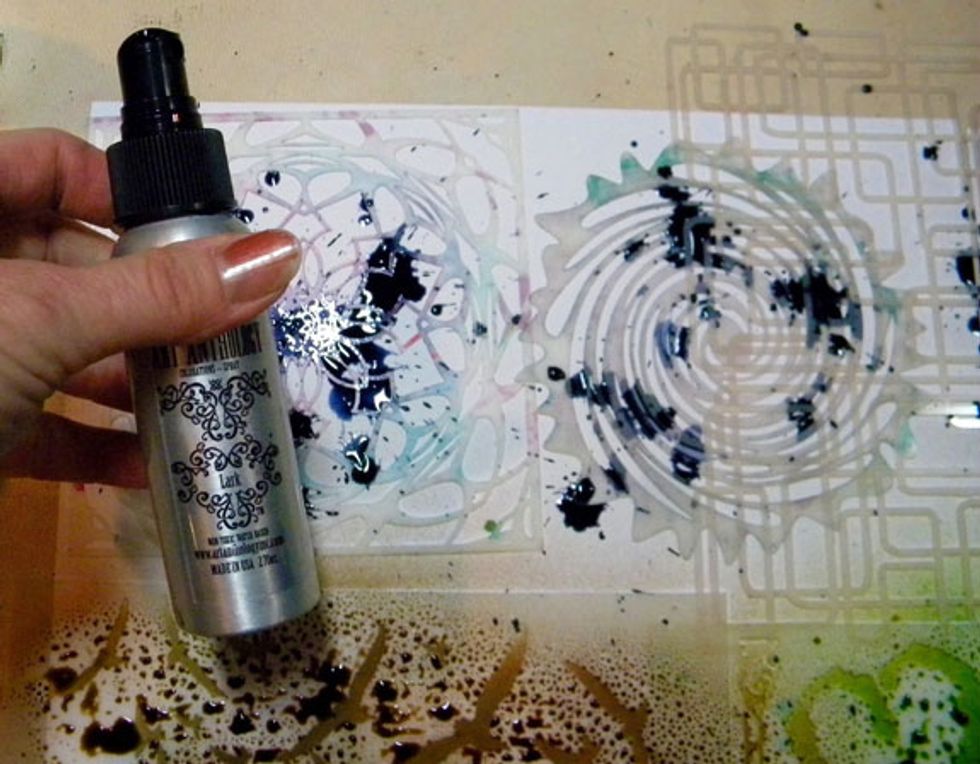
See? I never paint my nails because within hours they are messed up! Anyway, continue spraying Colorations over the stencils. I had a bit of trouble with Lark!
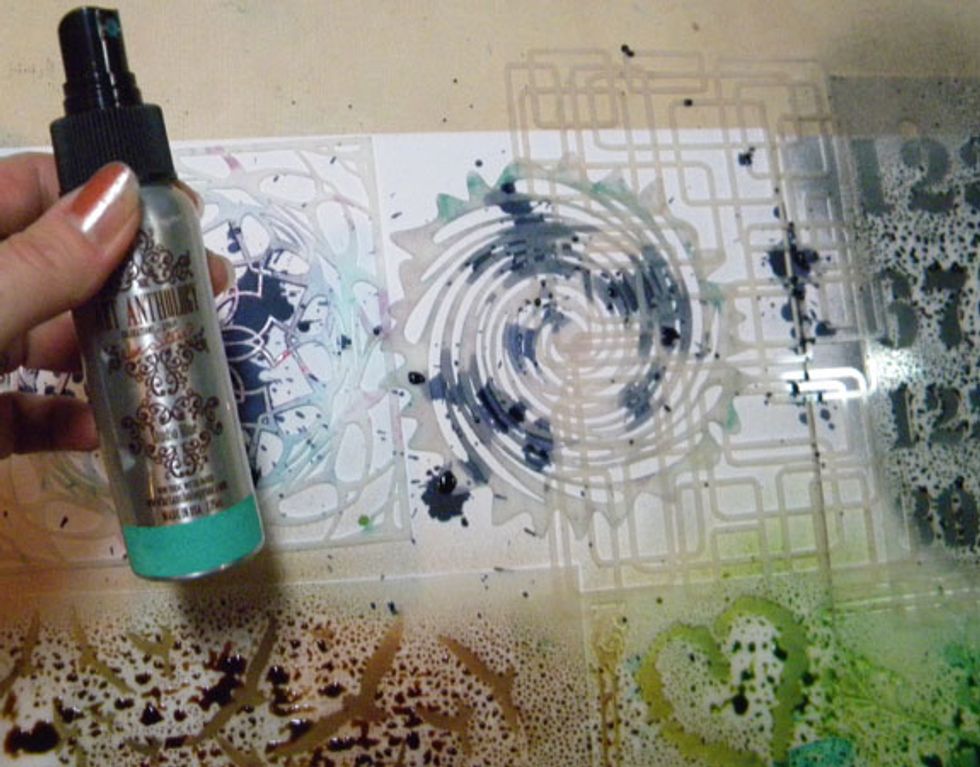
I added more than one color to some of the stencils. This time I used Studio Blue. I love these two colors together. I even like that Lark is splotchy.
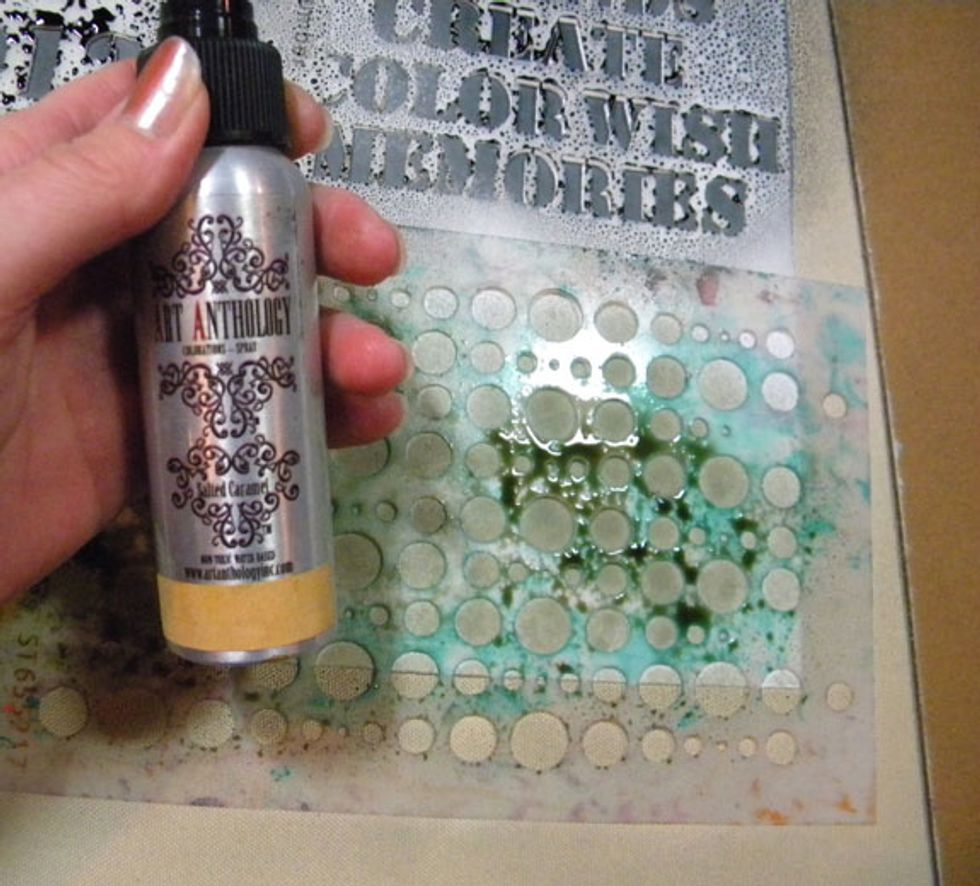
The cool color palette needed some warmth, so I added Salted Caramel over Fern Leaf through the Bubbles stencil.
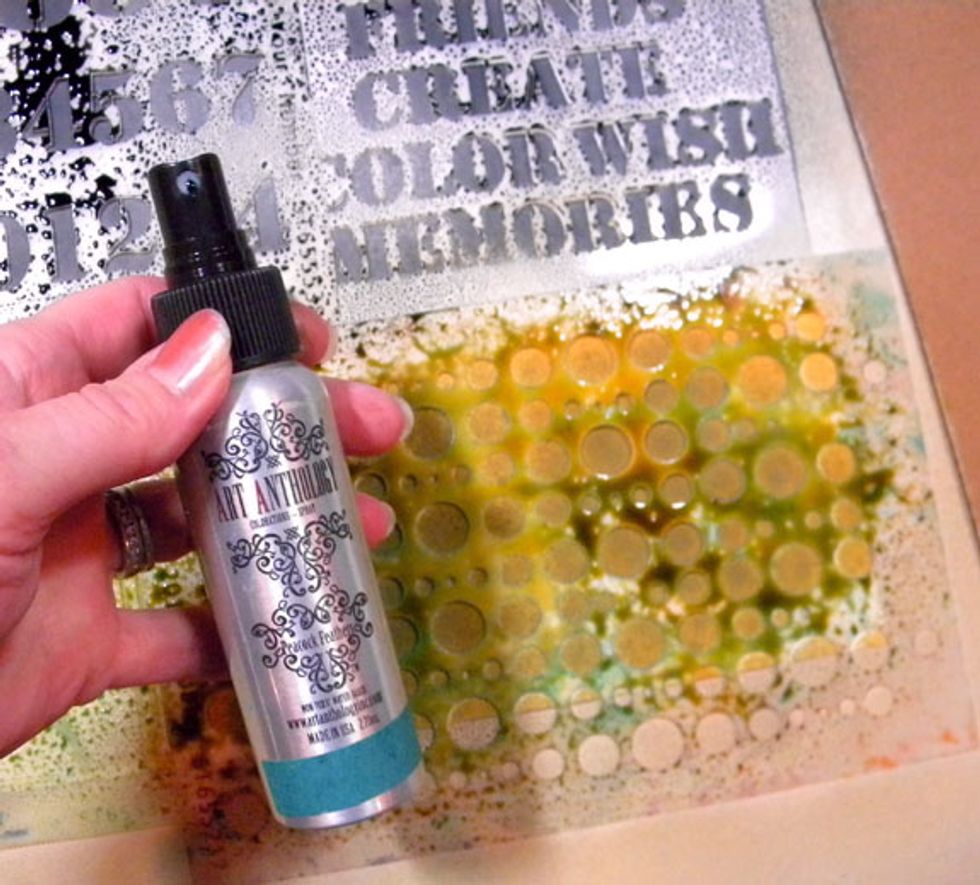
And a third color for the Bubbles stencil, Peacock Feathers.
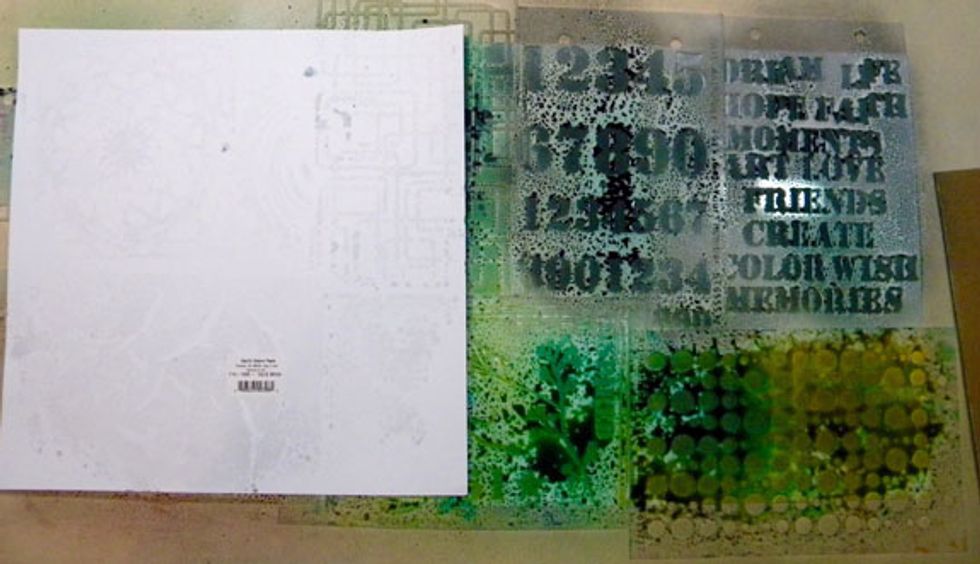
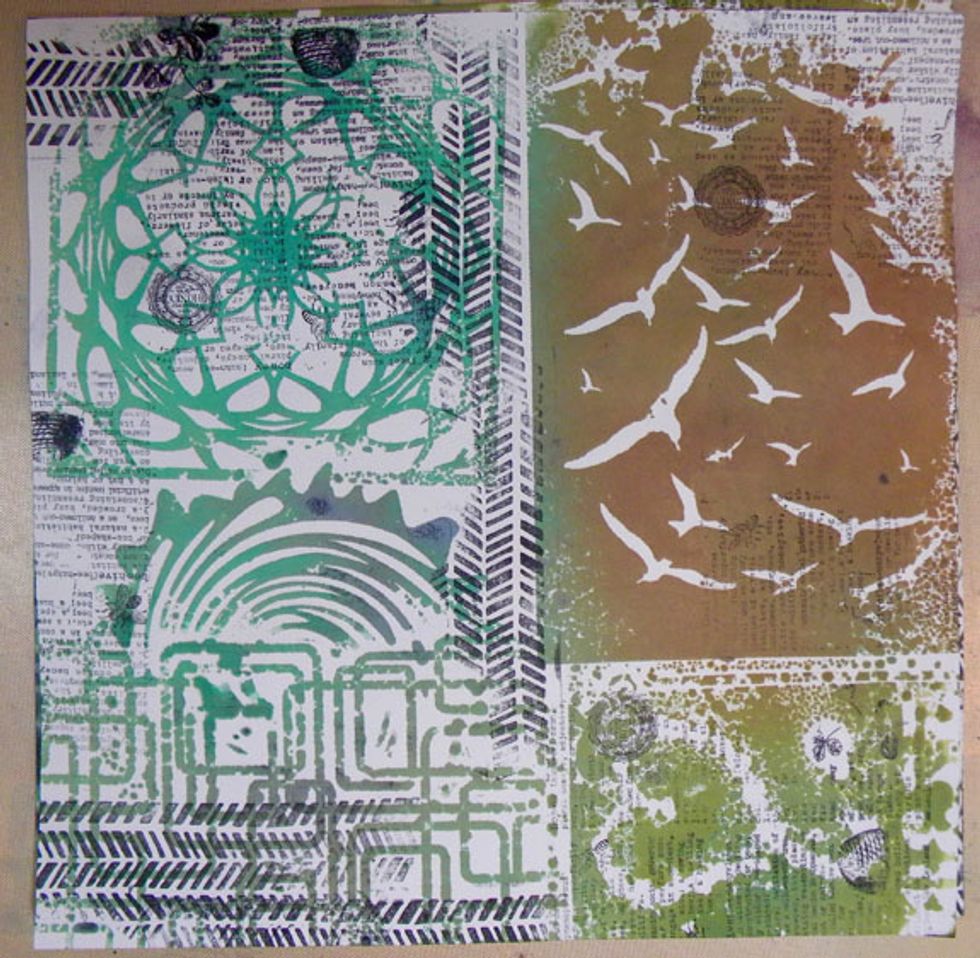
Look at all that spray on the top of the stencils! I can't waste it so I took two more pieces of white cardstock and placed it over the stencils.
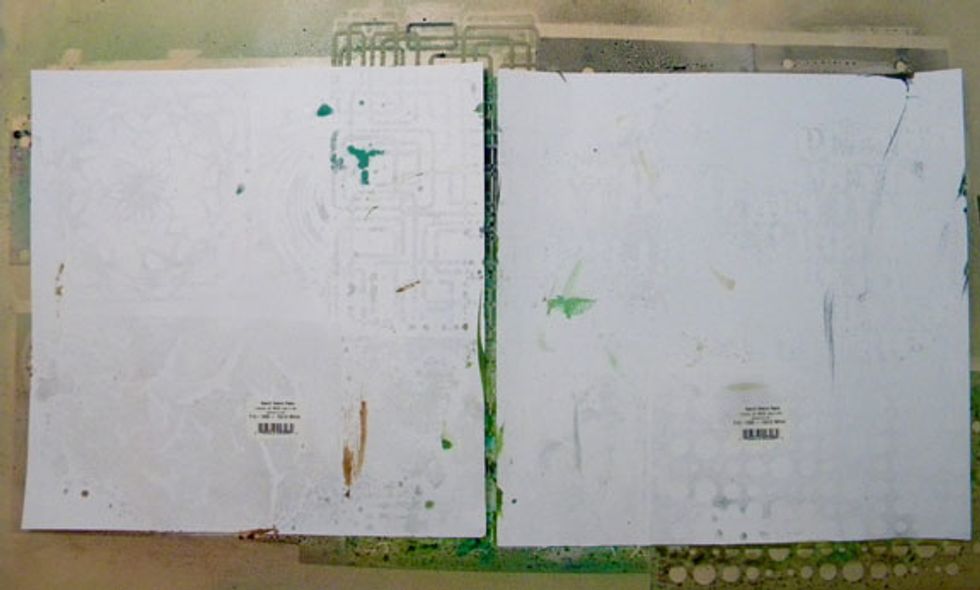
I used my hands to smooth out the cardstock over the stencils and soak up all of the spray. I love this technique because it's like Christmas when you lift them off to reveal the images!
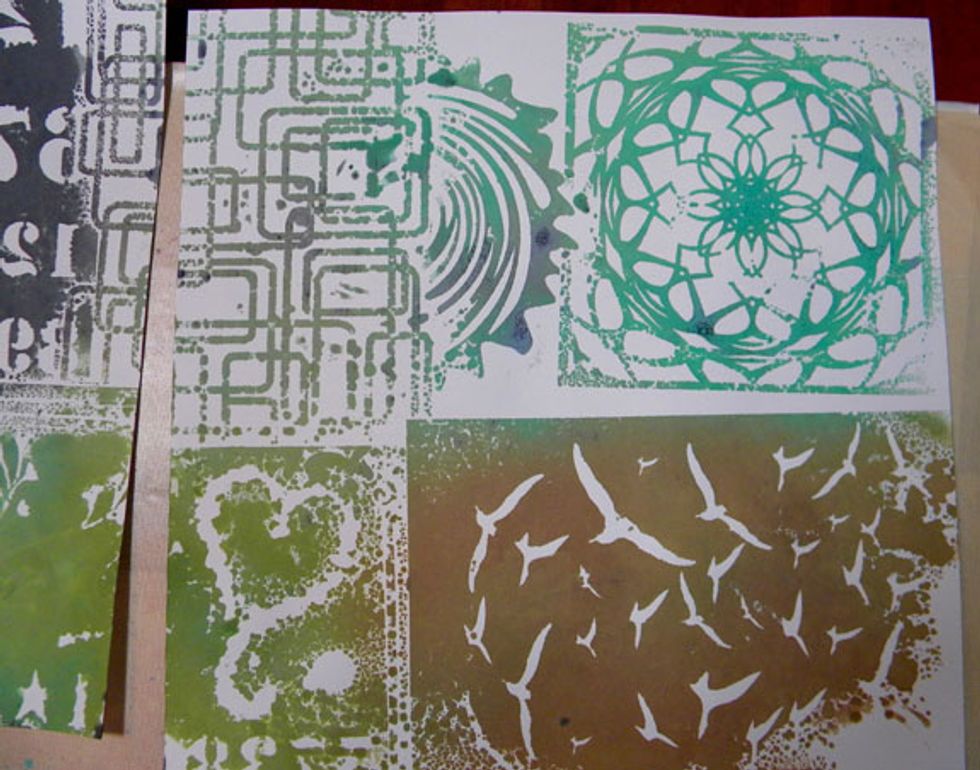
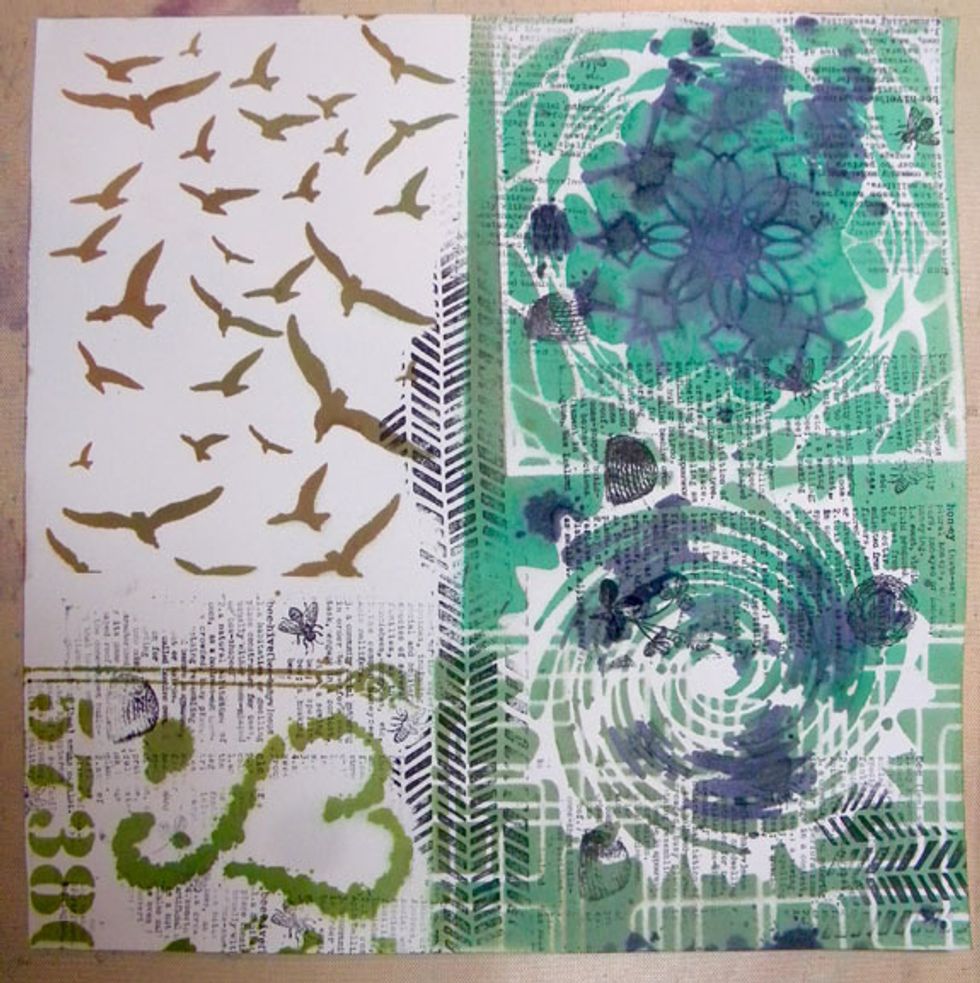
It's like Christmas when you lift off the paper to reveal the patterns! The three stencils on top are actually masks, since the image isn't open. I love the play of positives and negatives!
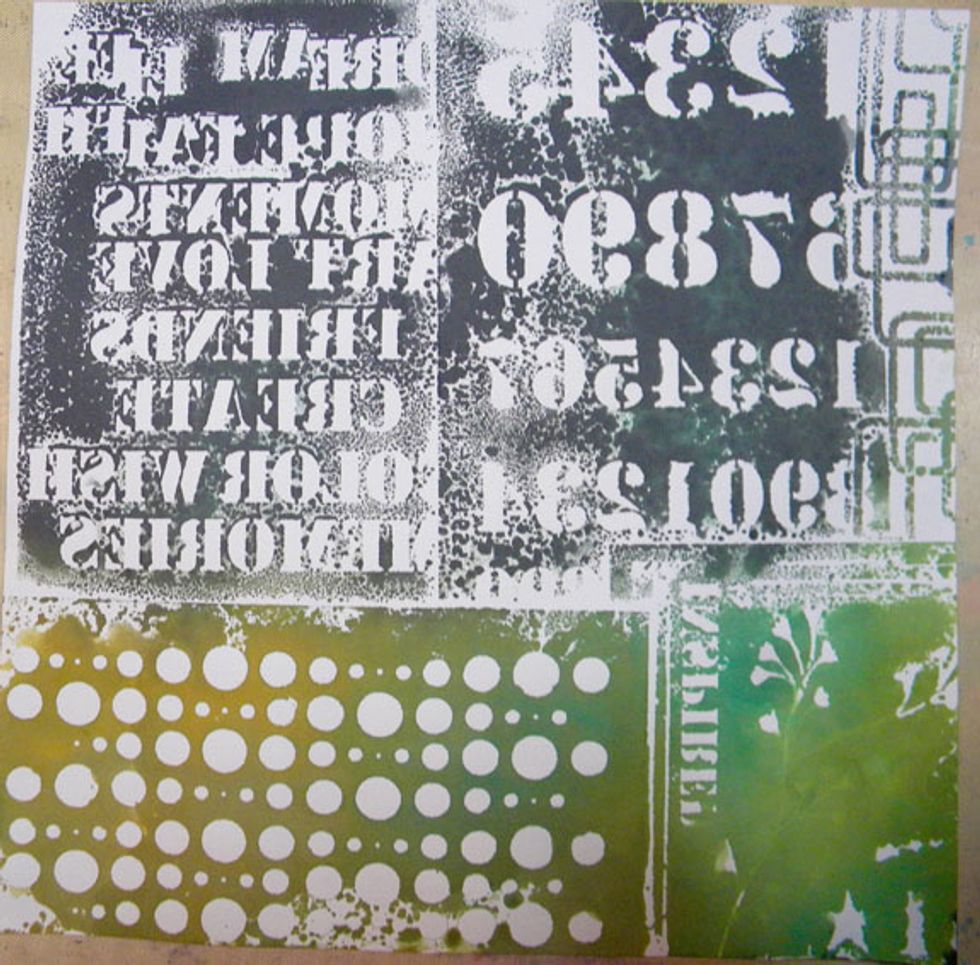
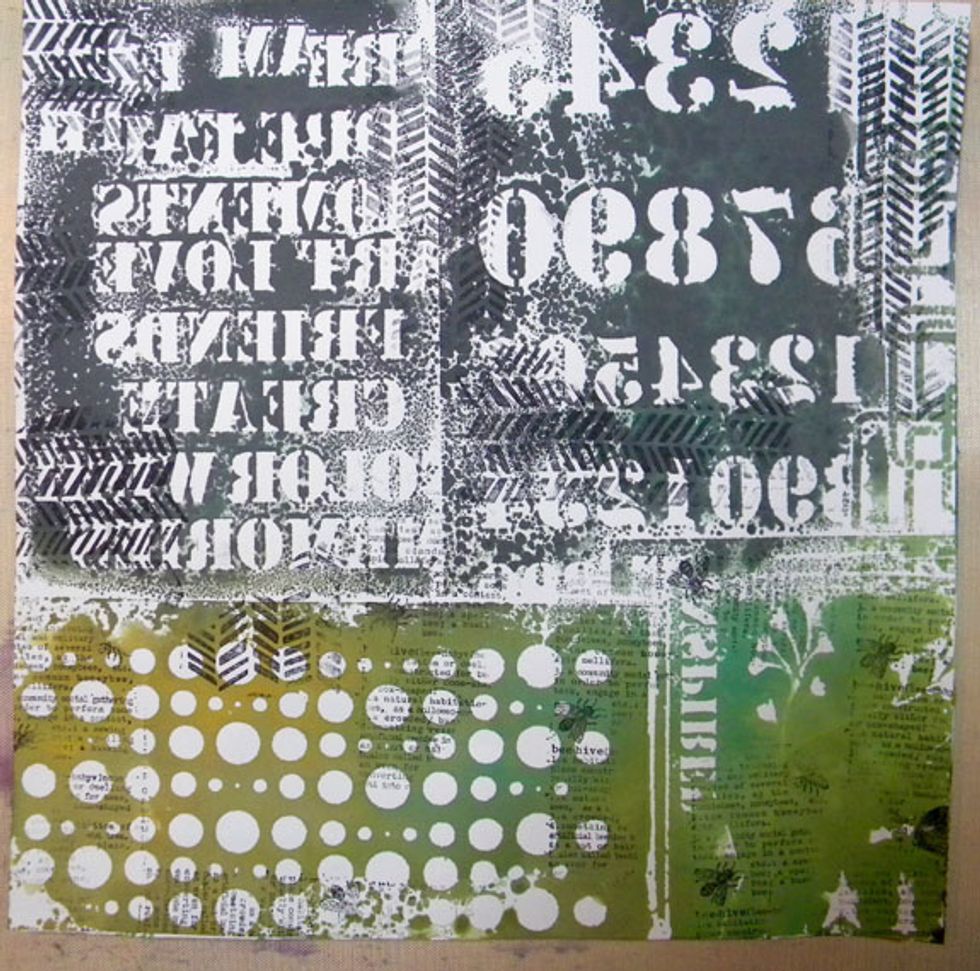
Here is the other piece of cardstock I placed on top of the stencils. I really don't care about the words and numbers being backwards. I love the cool negative pattern the technique created.
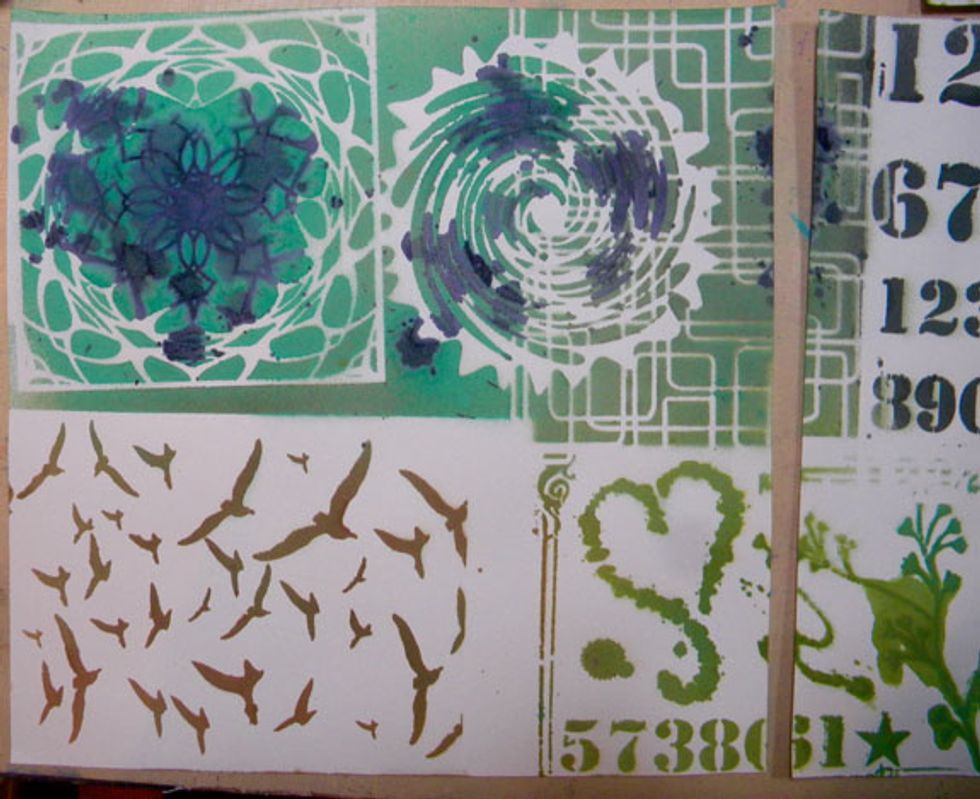
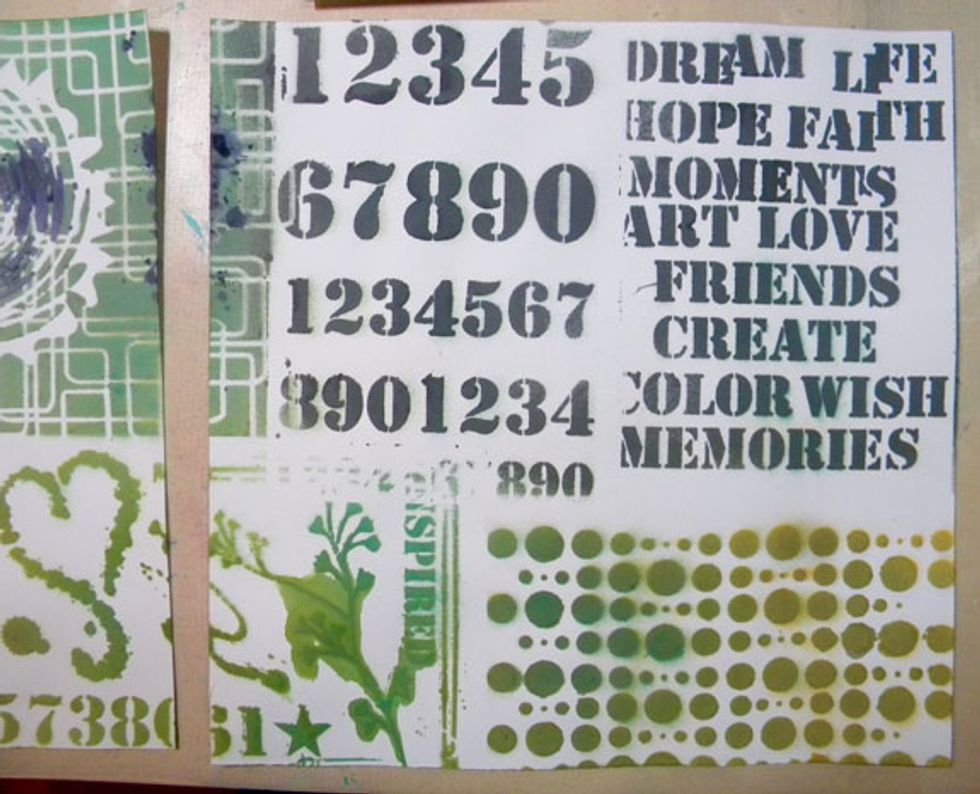
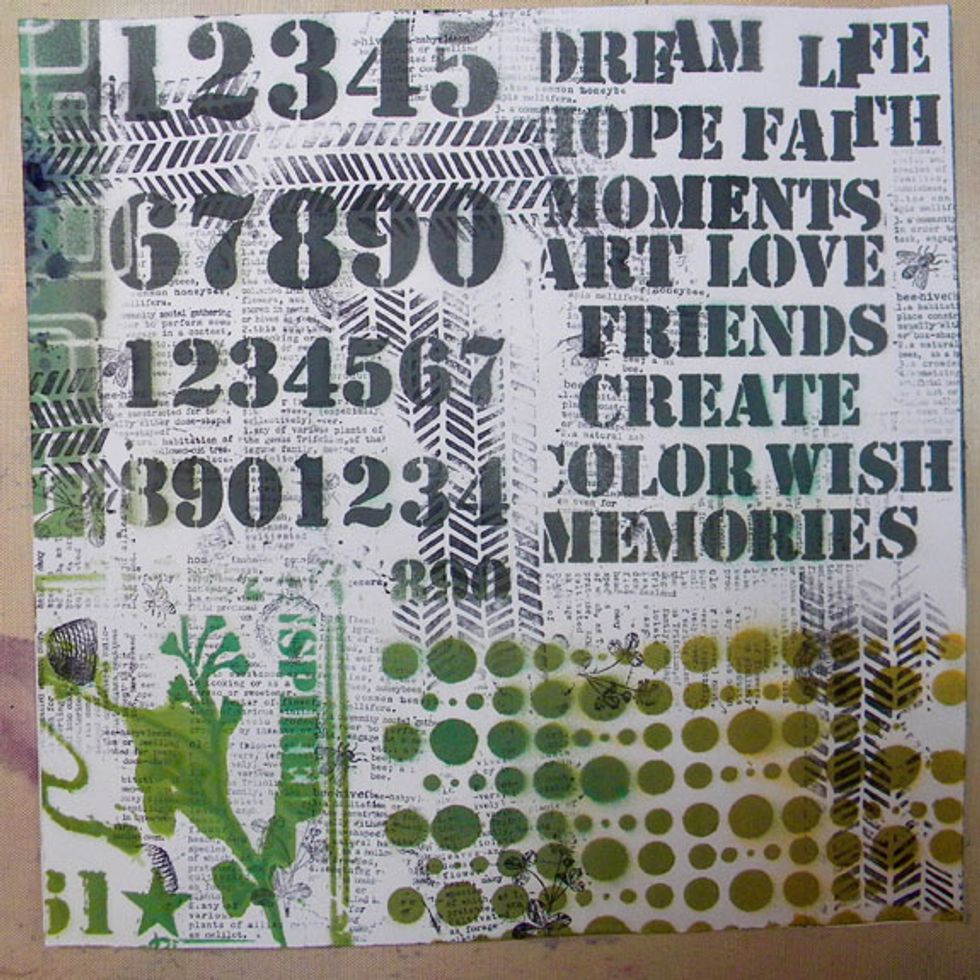
Here is the cardstock that was underneath the stencils.
We aren't done with these yet!
I decided to add some background stamps to the paper. I didn't mount the stamps on acrylic blocks, but just stamped parts of them onto the paper using a rolling motion.
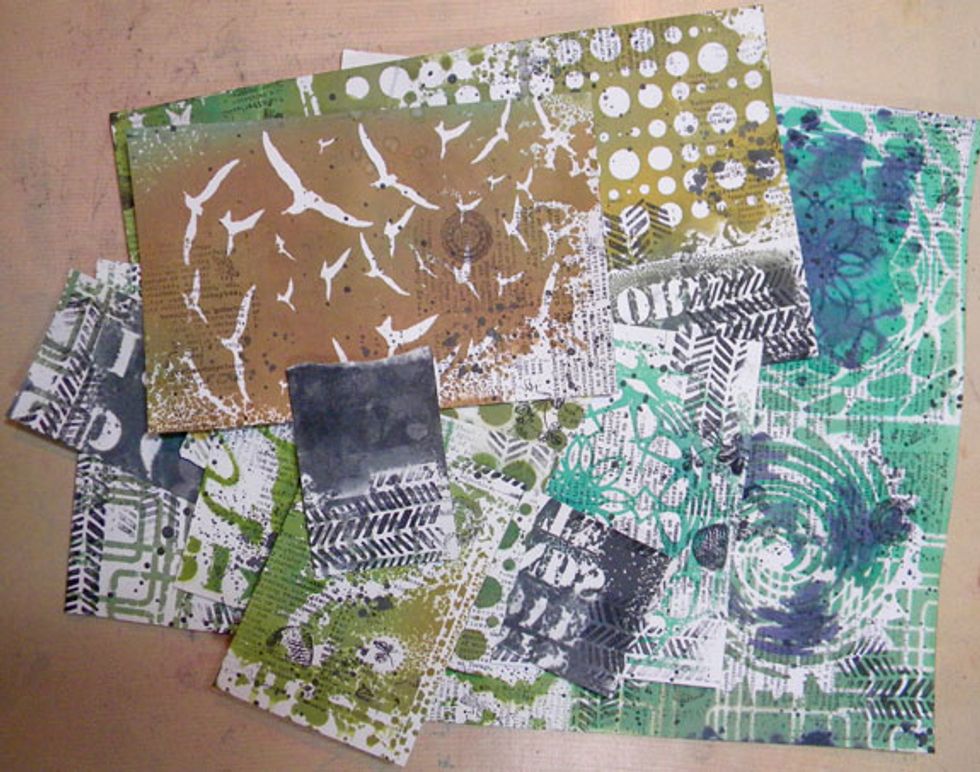
Here is what they look like.
I love the graphic black and white patterns.
I've got lots of images to choose from for layering my photo.
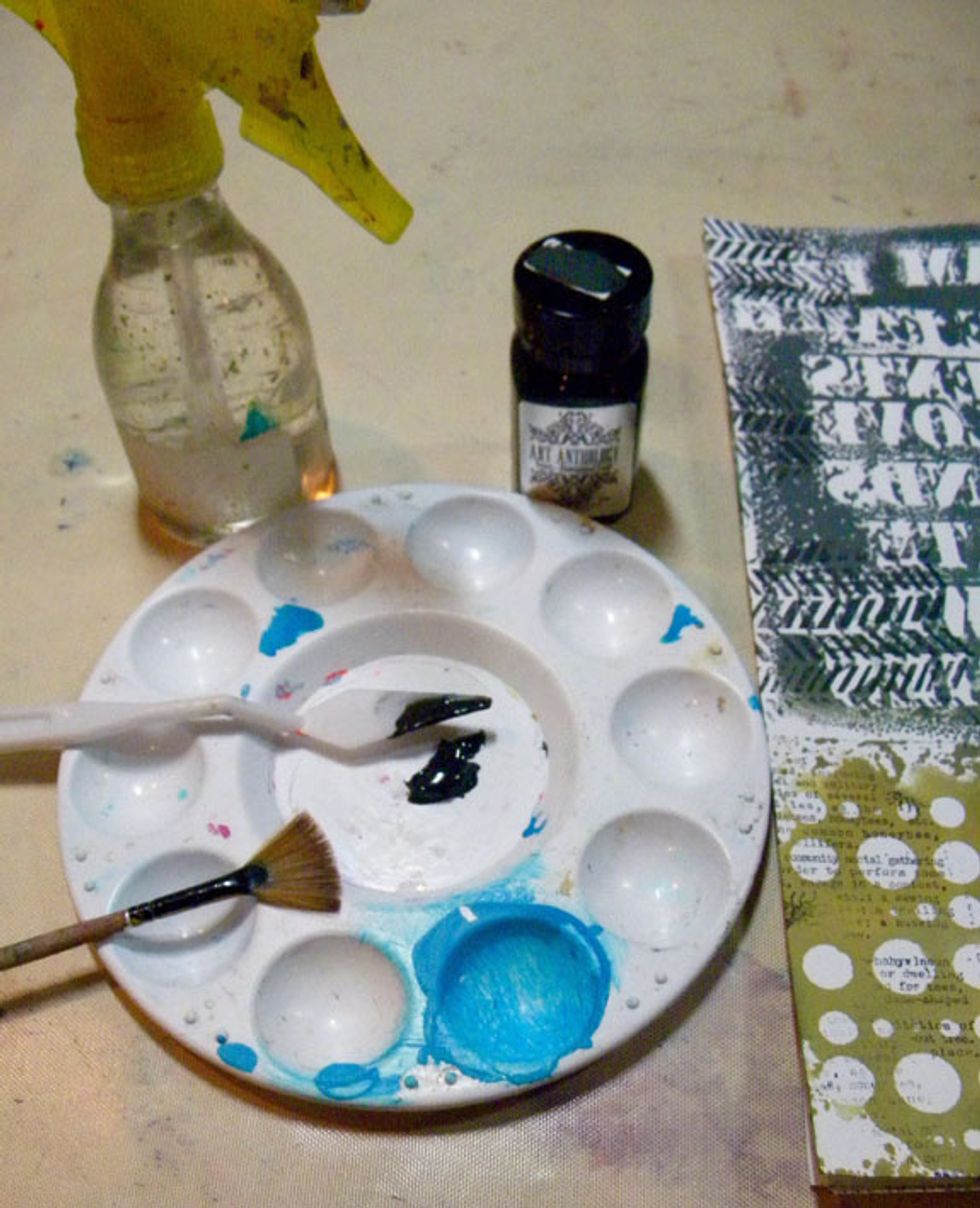
Of course, no project of mine is complete without splatters! Mix Tuxedo Velvet, water and 1 spray of Raider Colorations.
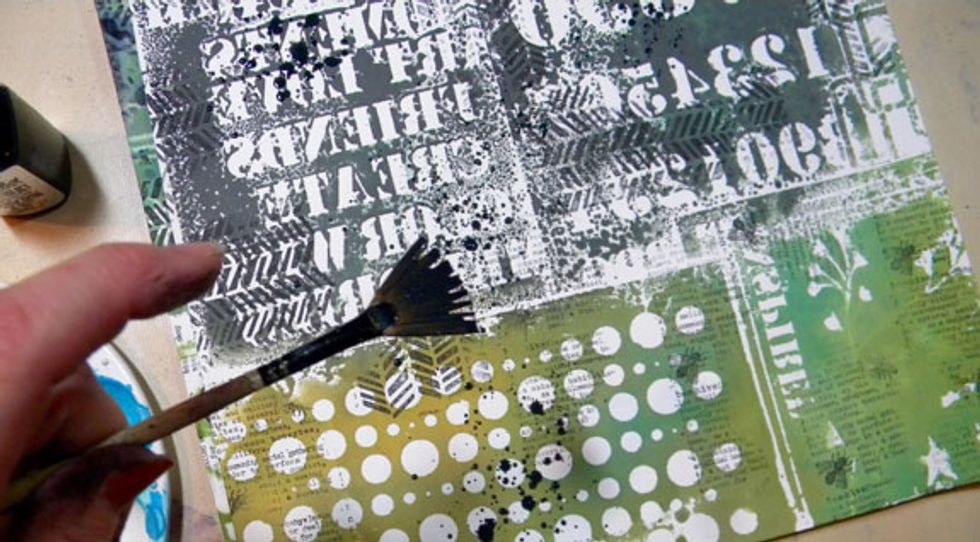
Using my fan brush, I splatter the black mixture randomly on all of the pattered cardstock.
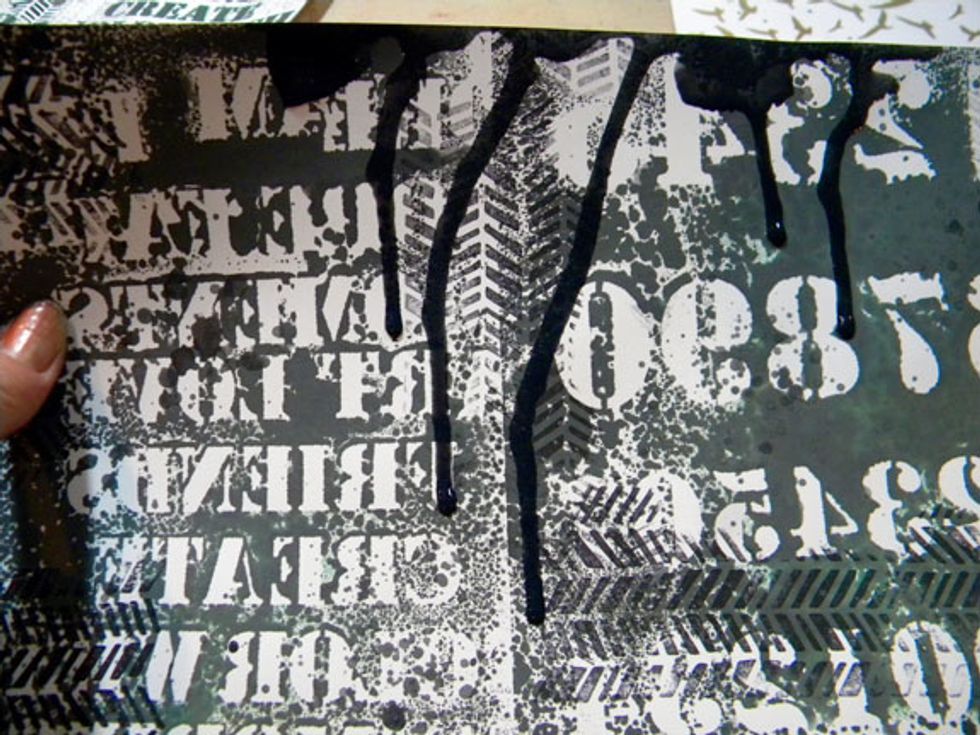
I used the rest of the black mixture to create drips on some of the papers.
I cut apart my handmade patterned paper and found some images that worked with my layout. I added a black cardstock mat to my photo and sprayed more Raider onto one of the papers.
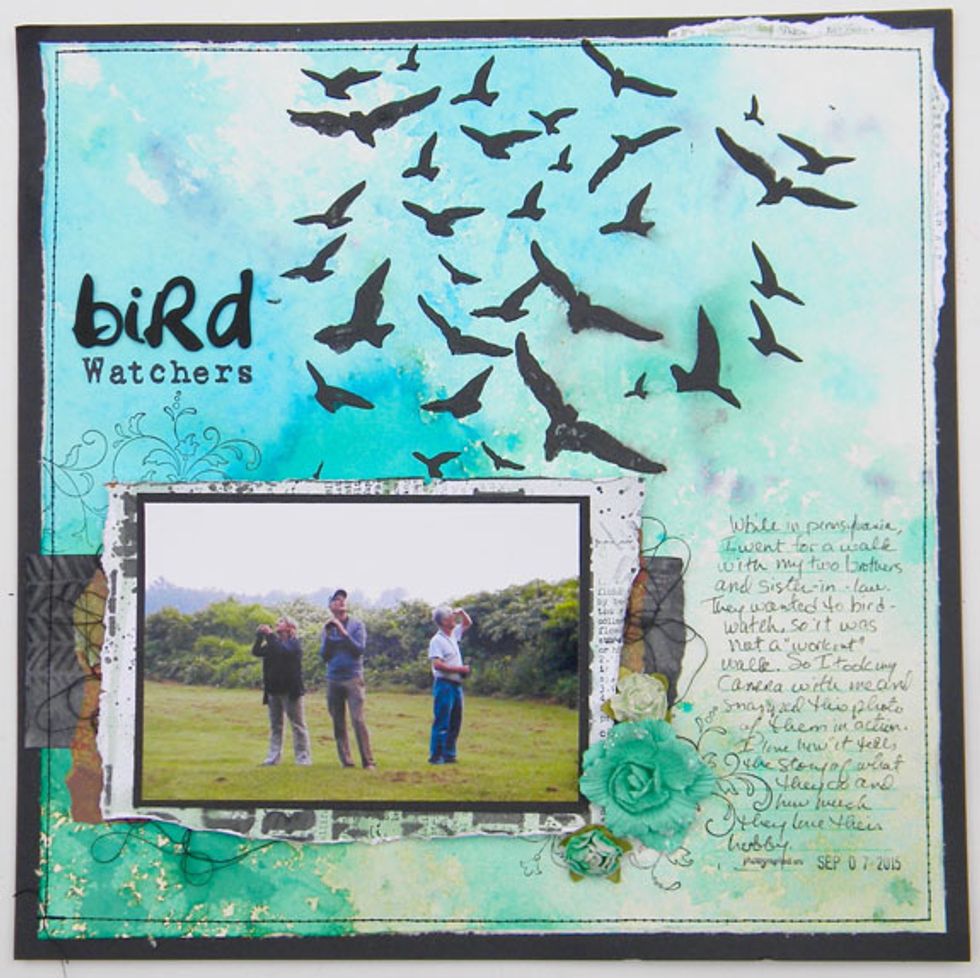
A few embellishments, a title and some journaling and it's complete!
And here are all of my leftover patterned papers! So guess what? I made some cards!!
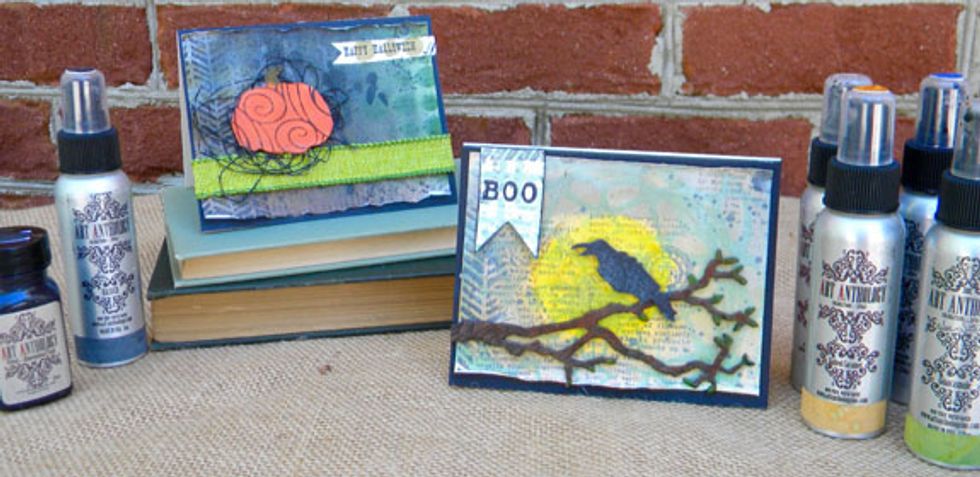
I added a bit more paint to the background paper, painted die-cuts. I love how they turned out! I may make some Thanksgiving cards with the rest.
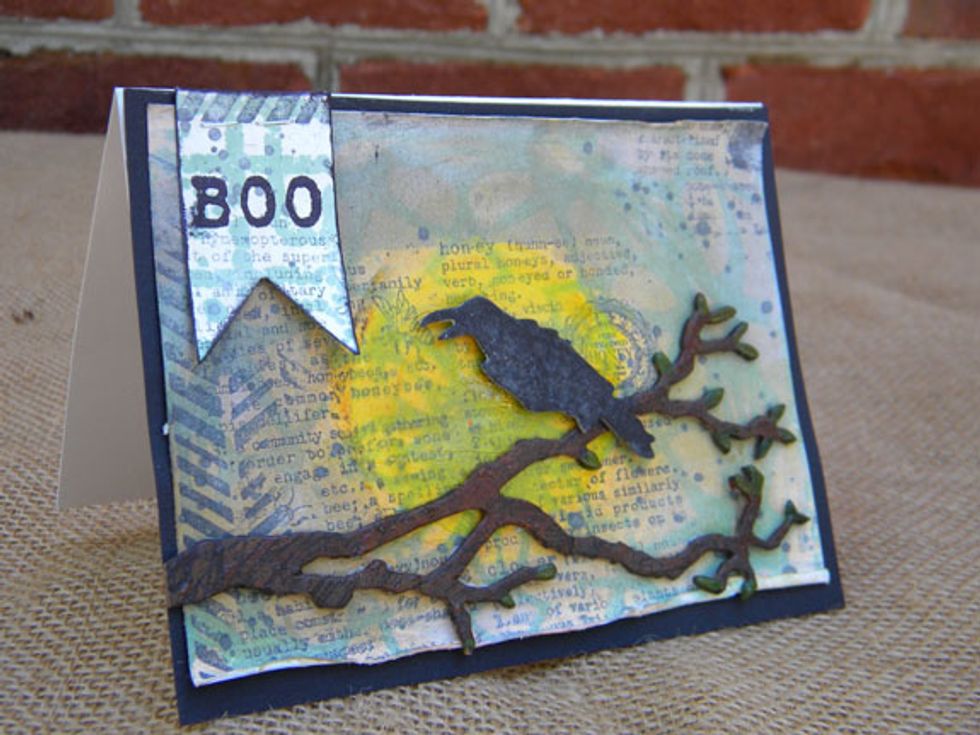
I made the branch and raven with a Tim Holtz die and chipboard, then painted them with Velvets. I also wanted to calm down the background a bit and dabbed on watered down gesso and added the moon.
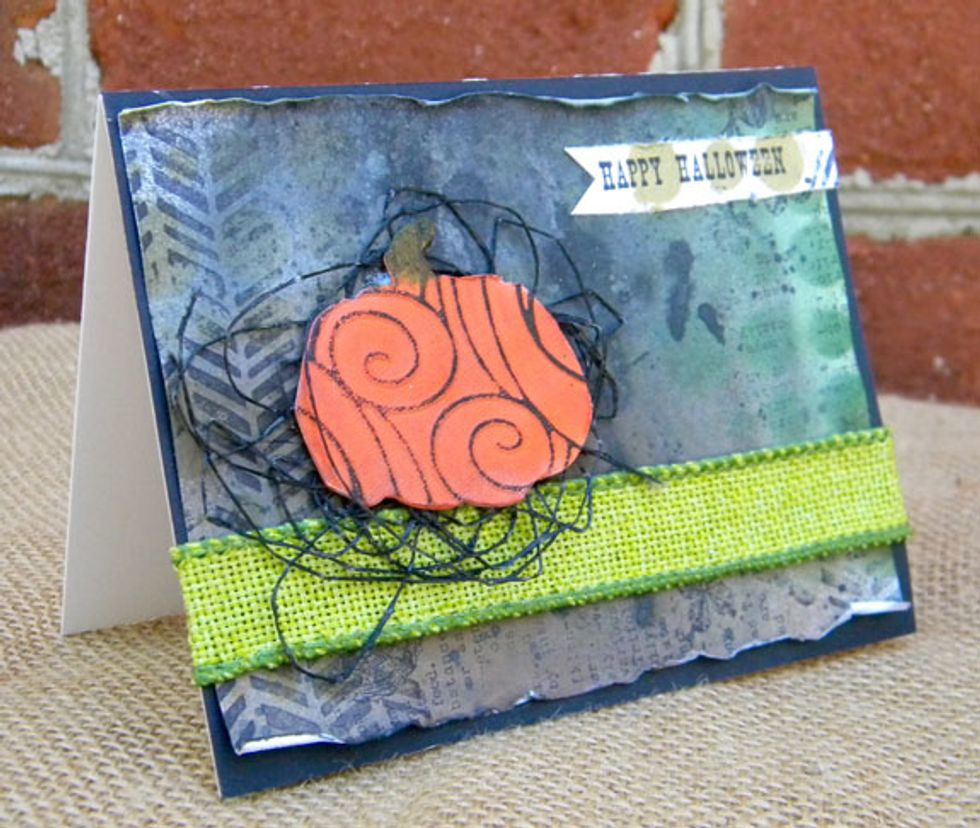
The pumpkin die-cut is from a Tim Holtz die using chipboard, painted with Tango Velvet, then embossed. I lightly ran an Archival Black ink pad over the raised areas to bring them out.
So grab some Colorations Sprays in your favorite colors and make your own pattered papers! It is so much fun and will be uniquely your own style to use for cards, scrapbook layouts and more.