The Conversation (0)
Sign Up
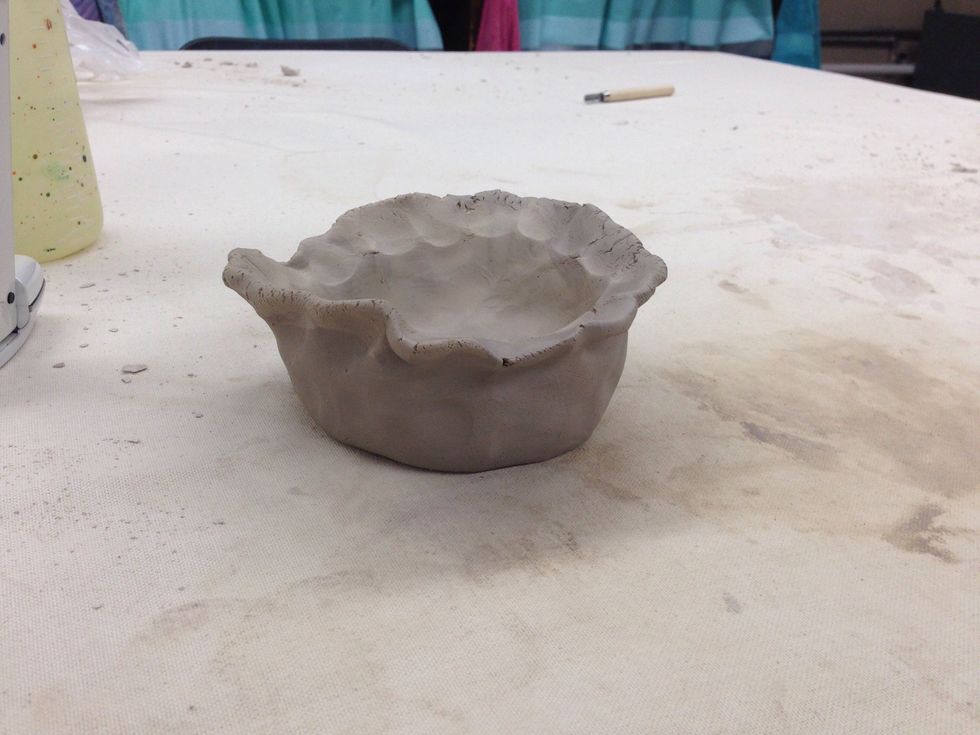
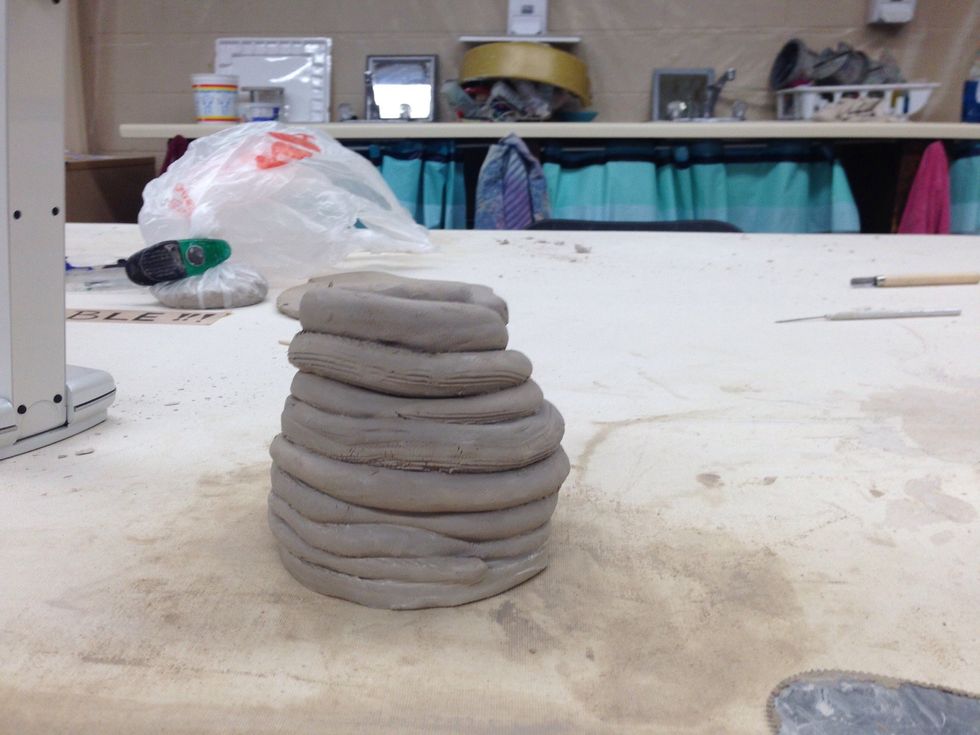
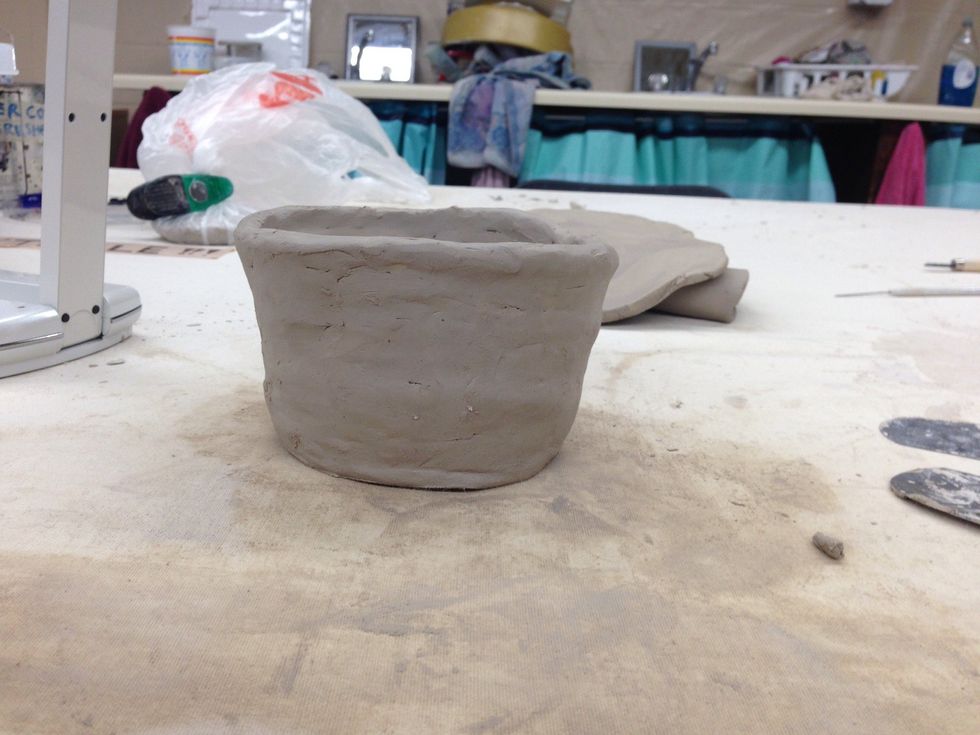
Add fun edges or designs to the sides, Pinch pots have endless ways of forming.

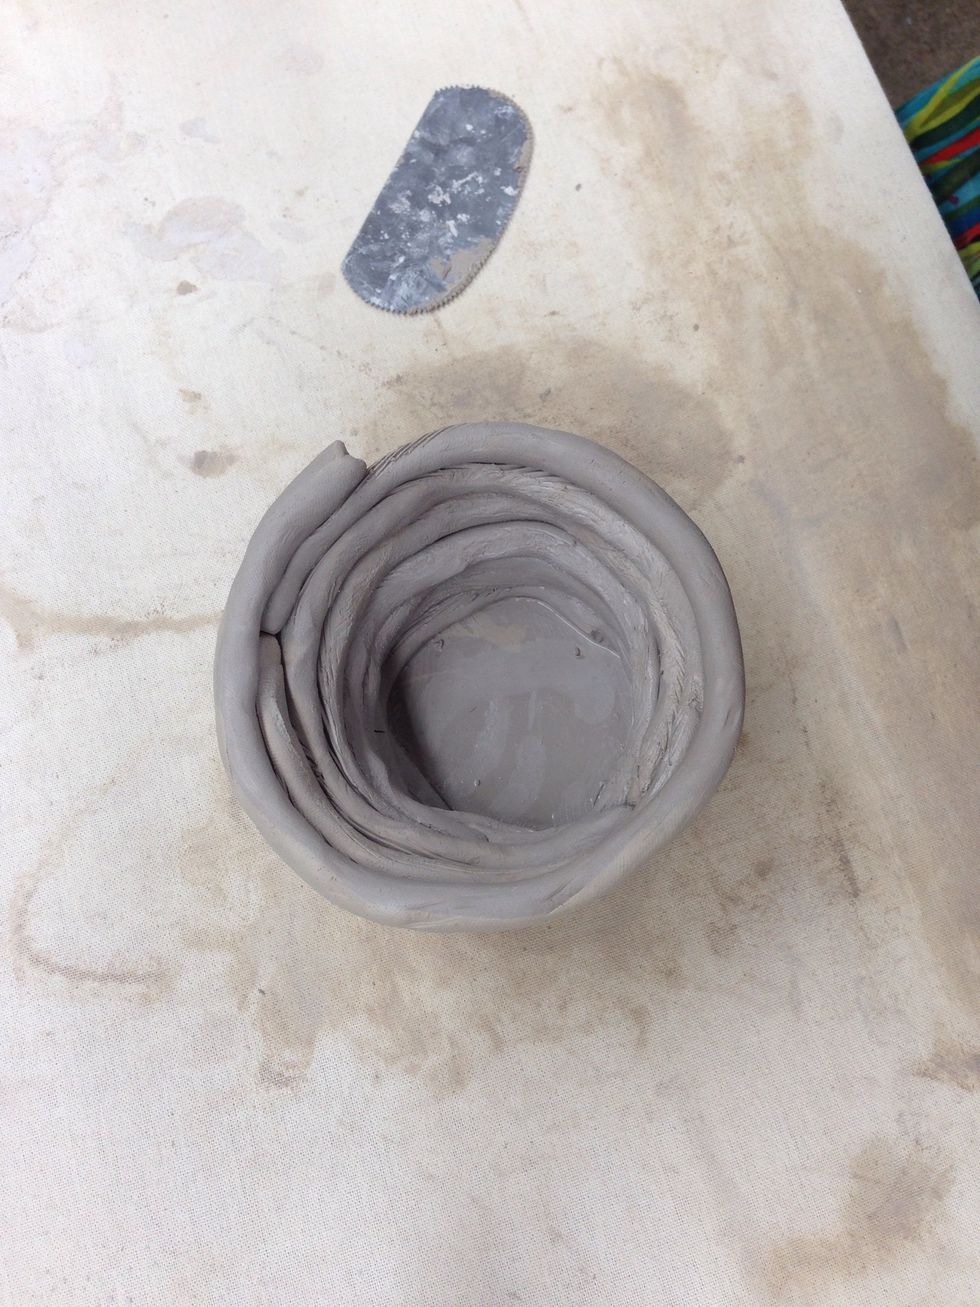
Coil Pots: Roll a slab of clay for the base of your coil pot.
The base should be a least 1/4 to 1/2 inch thick.
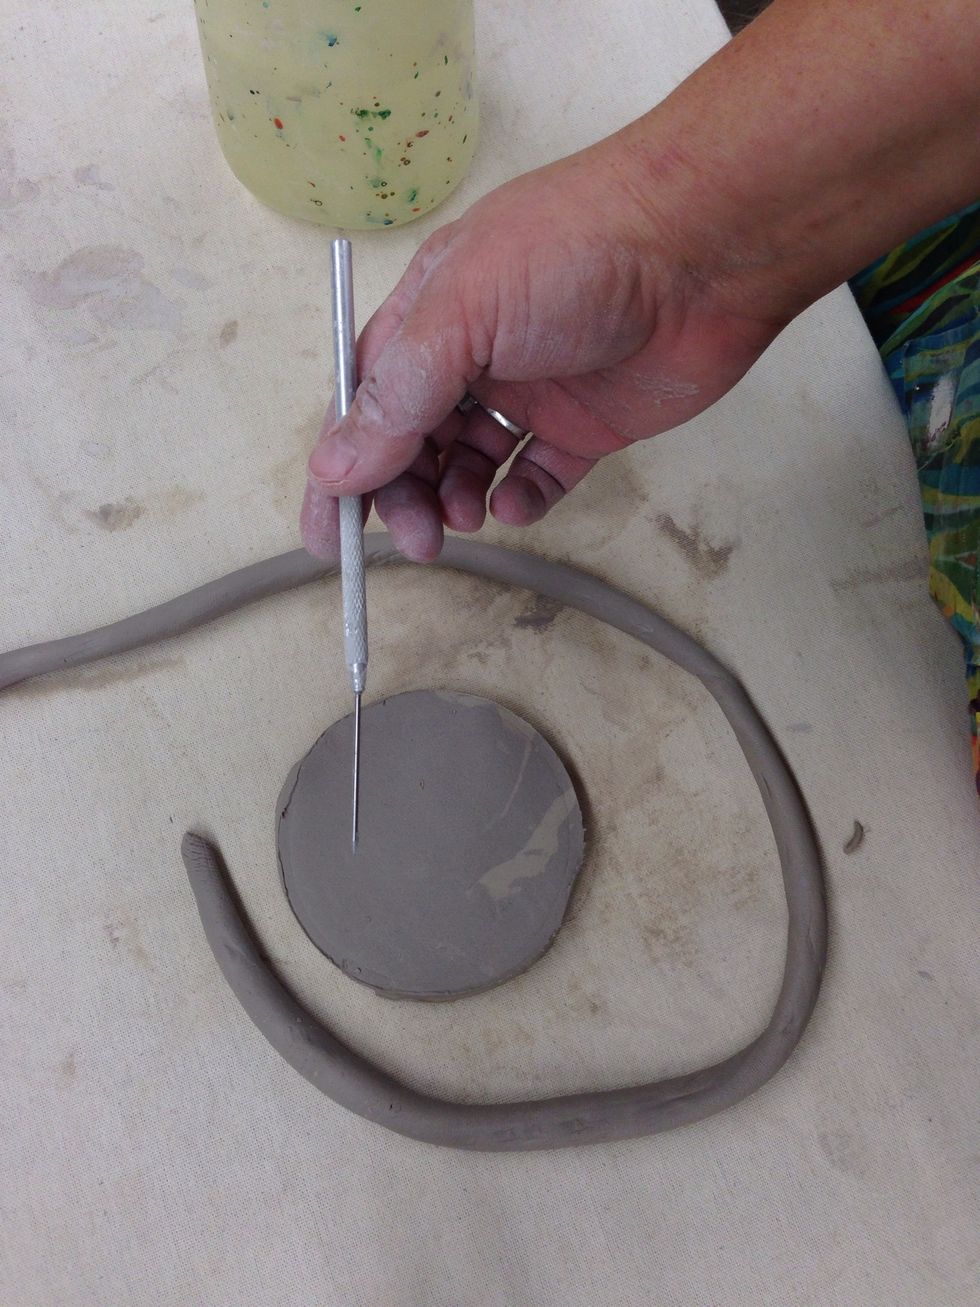
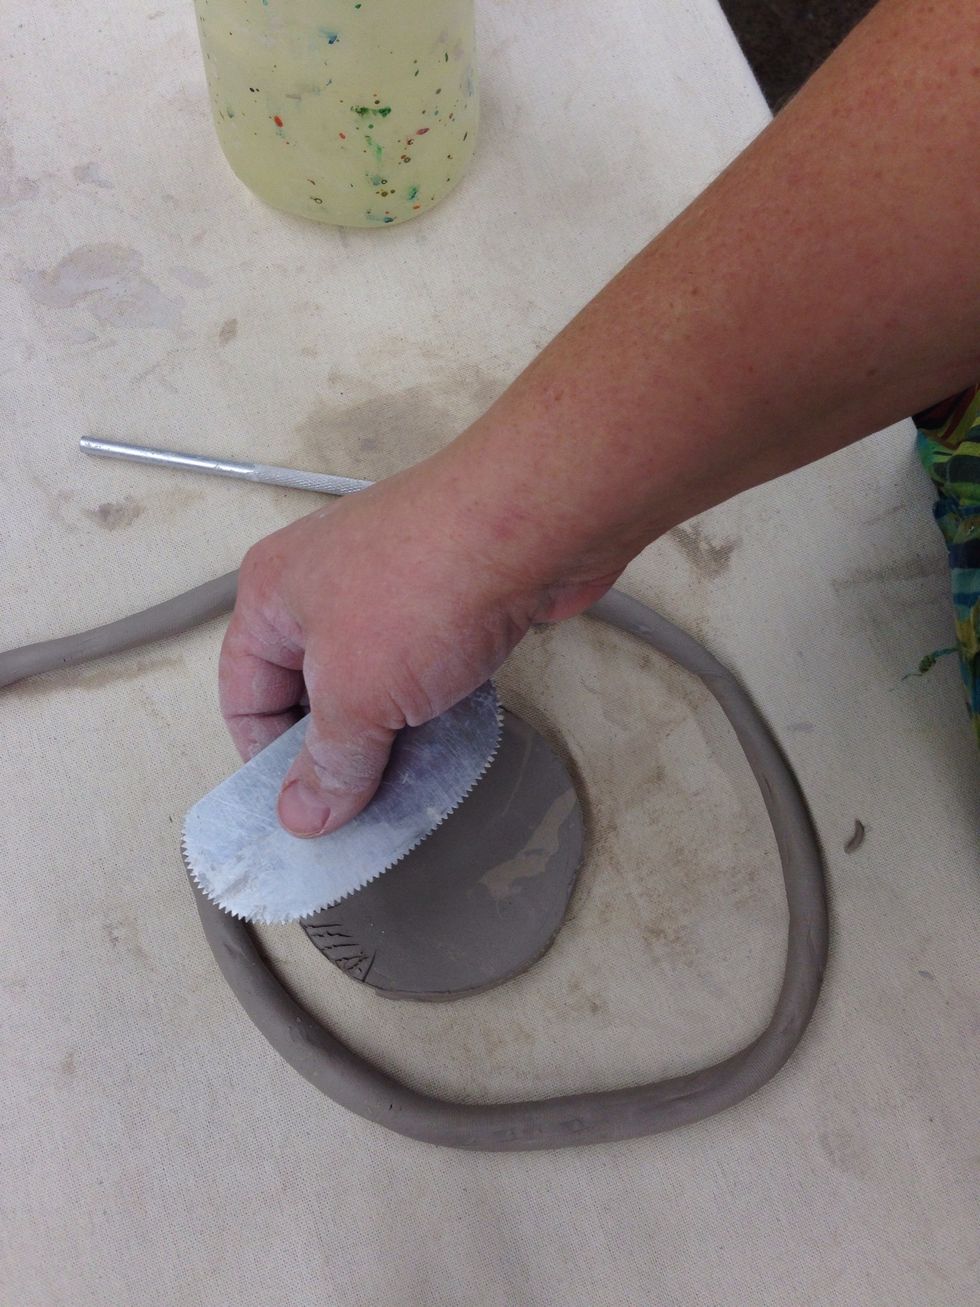
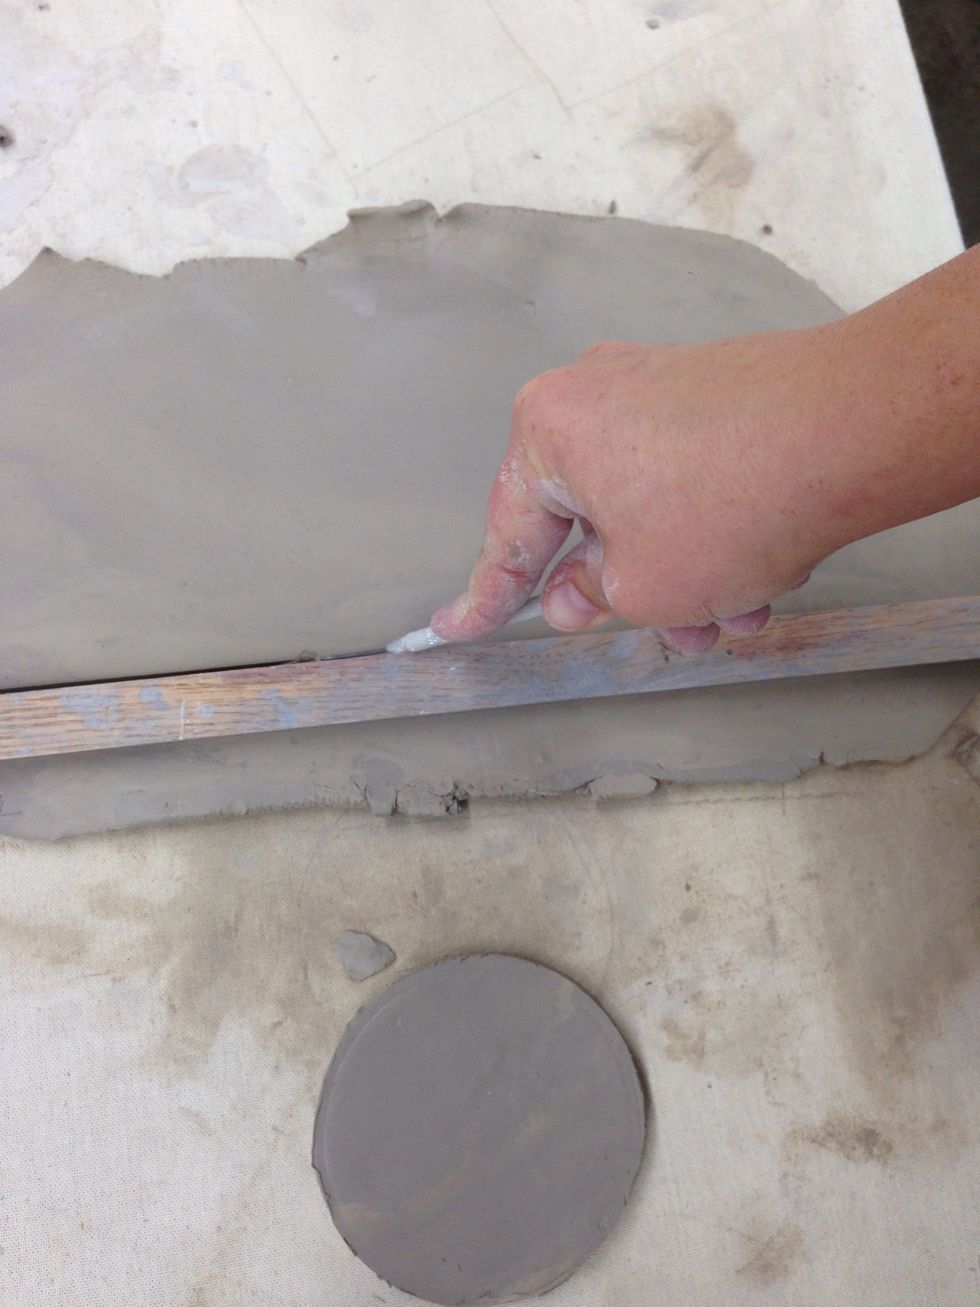
You can score with a needle tool or other tools.
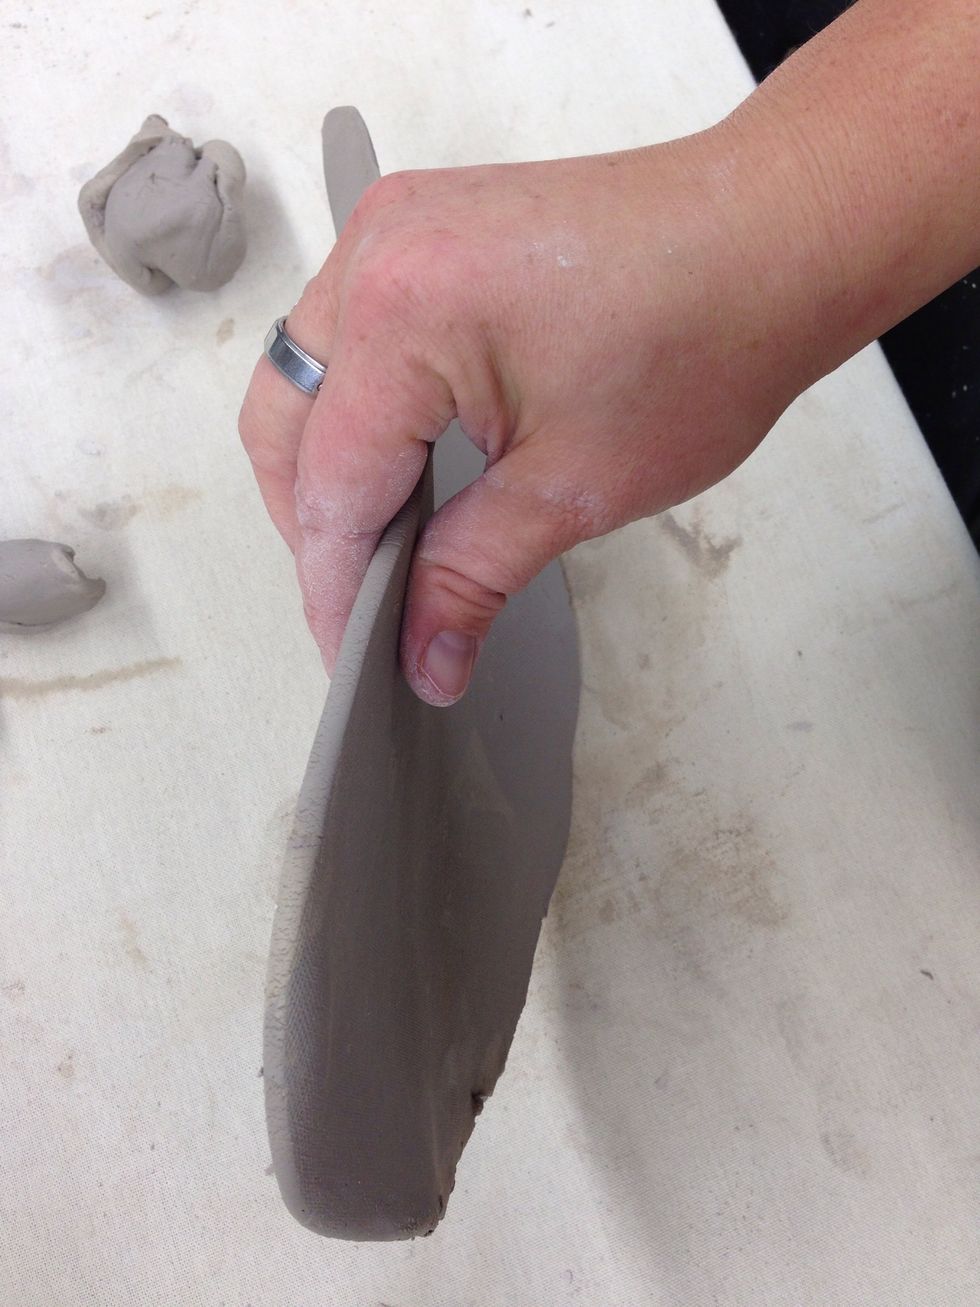
My favorite way to score is with this tool.
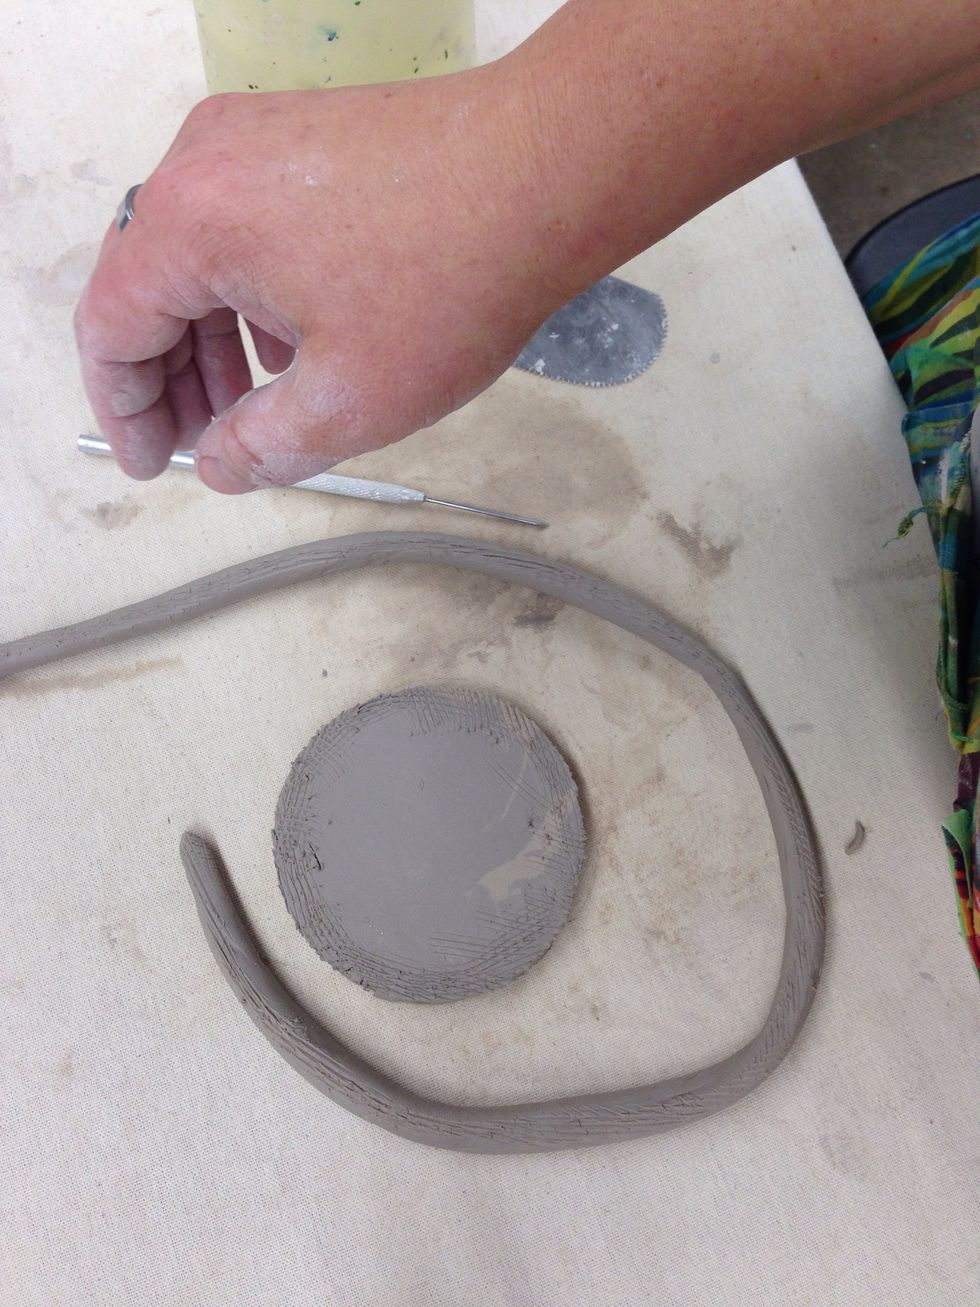
Scored edges.
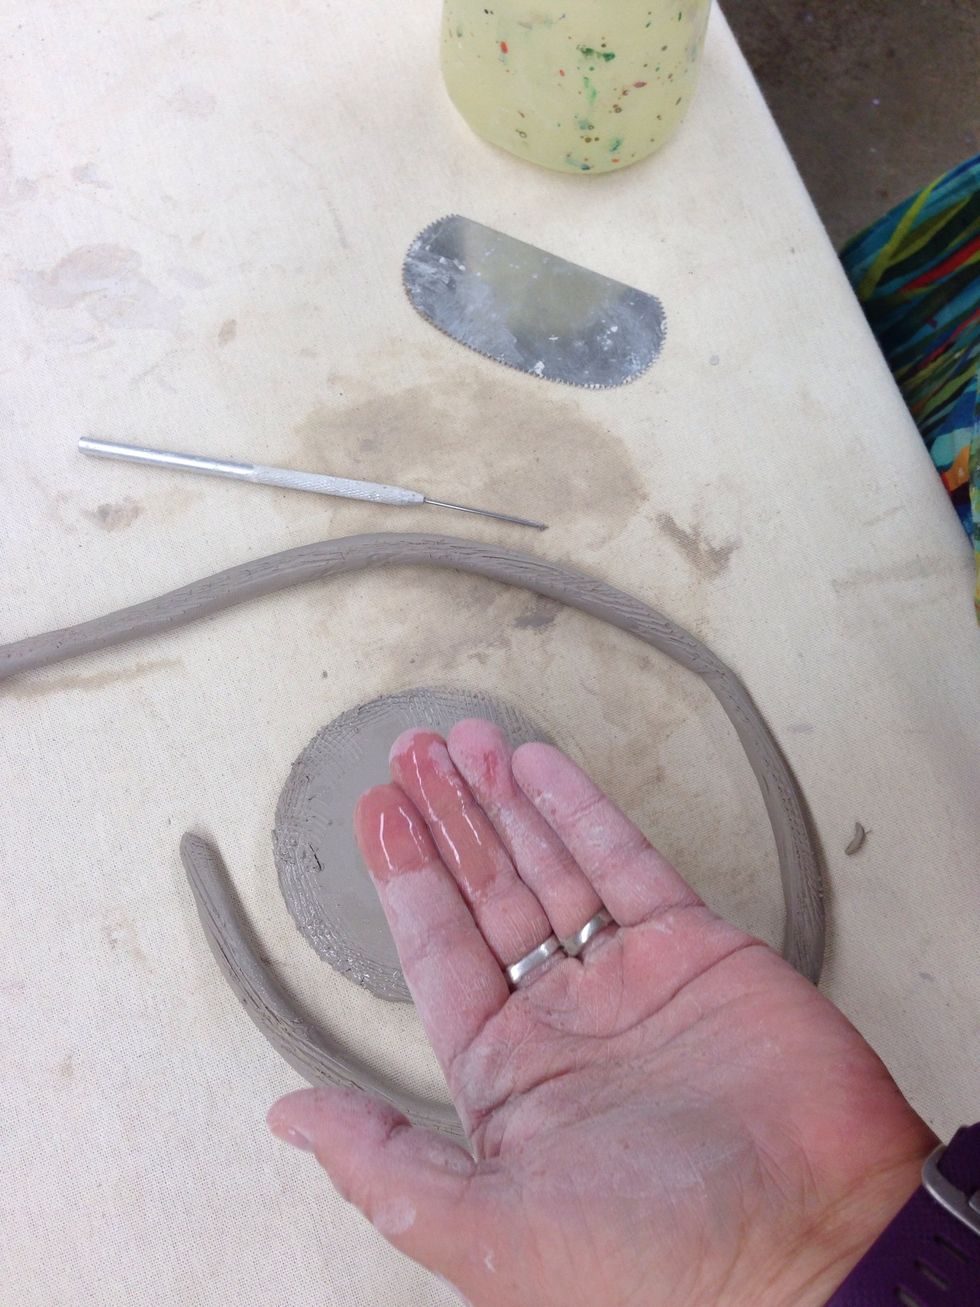
Add water or slip to the scored edges.
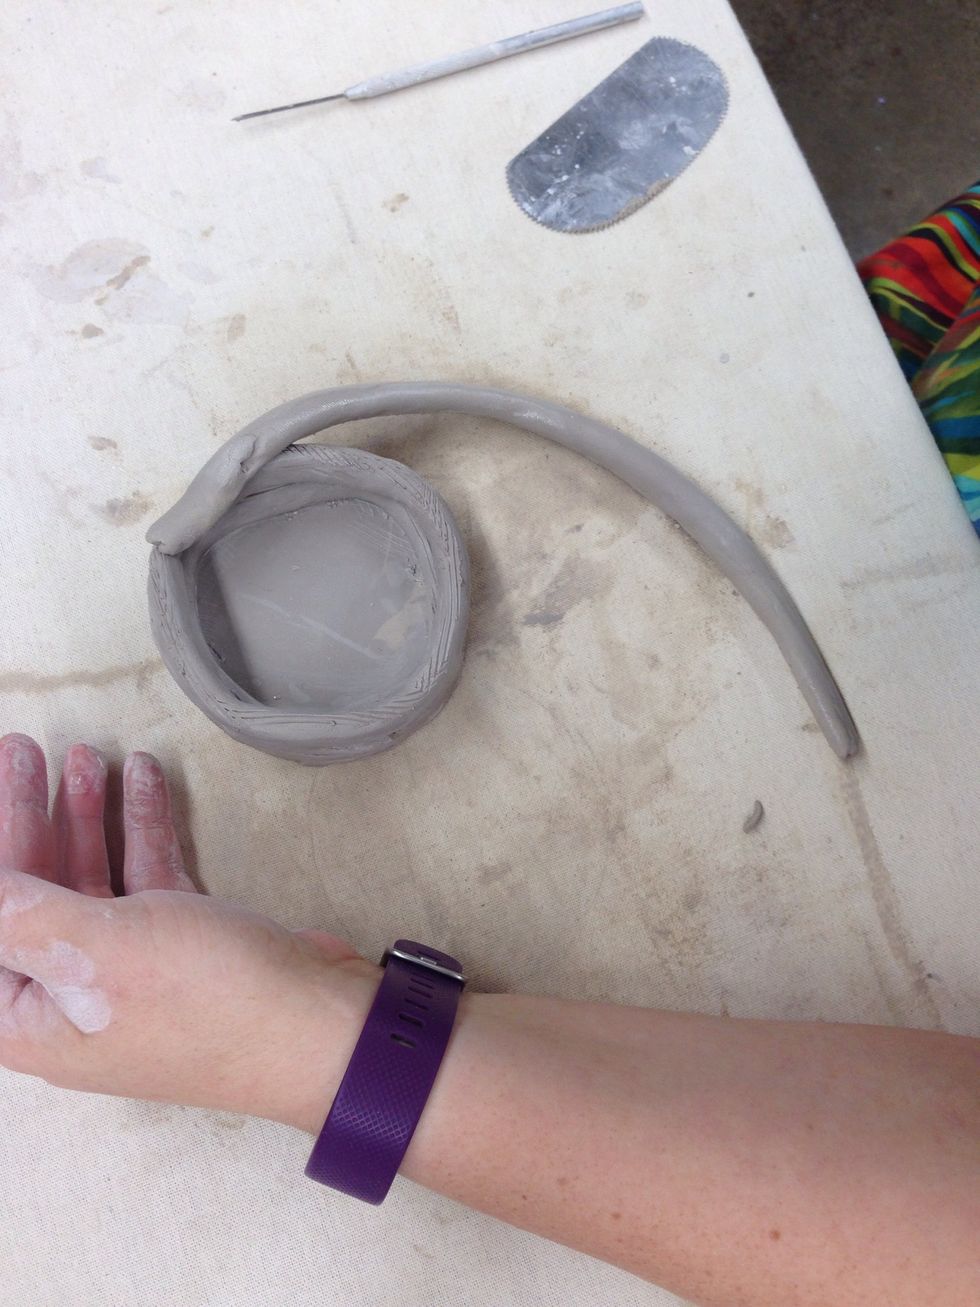
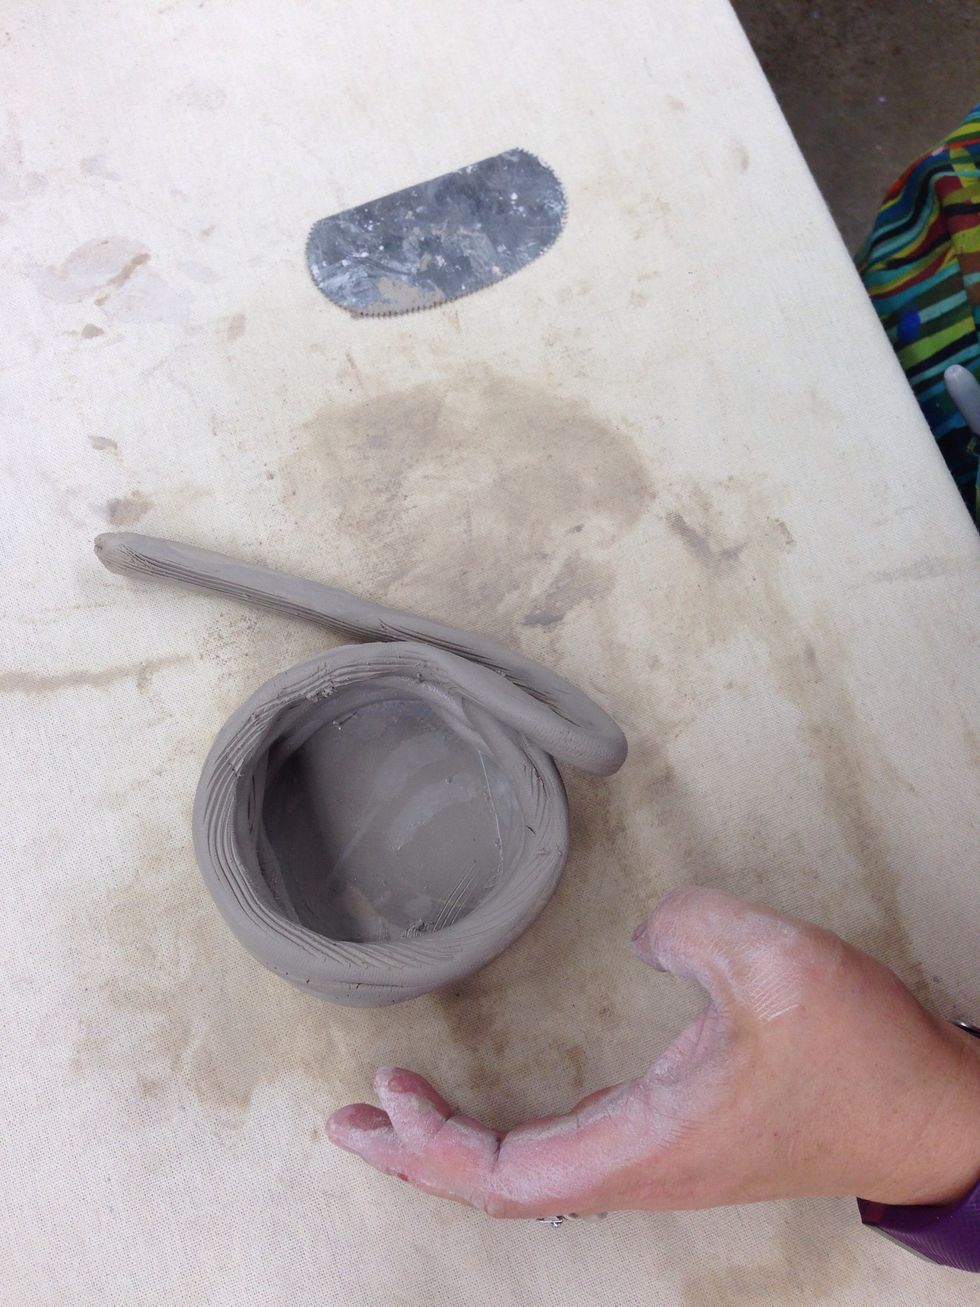
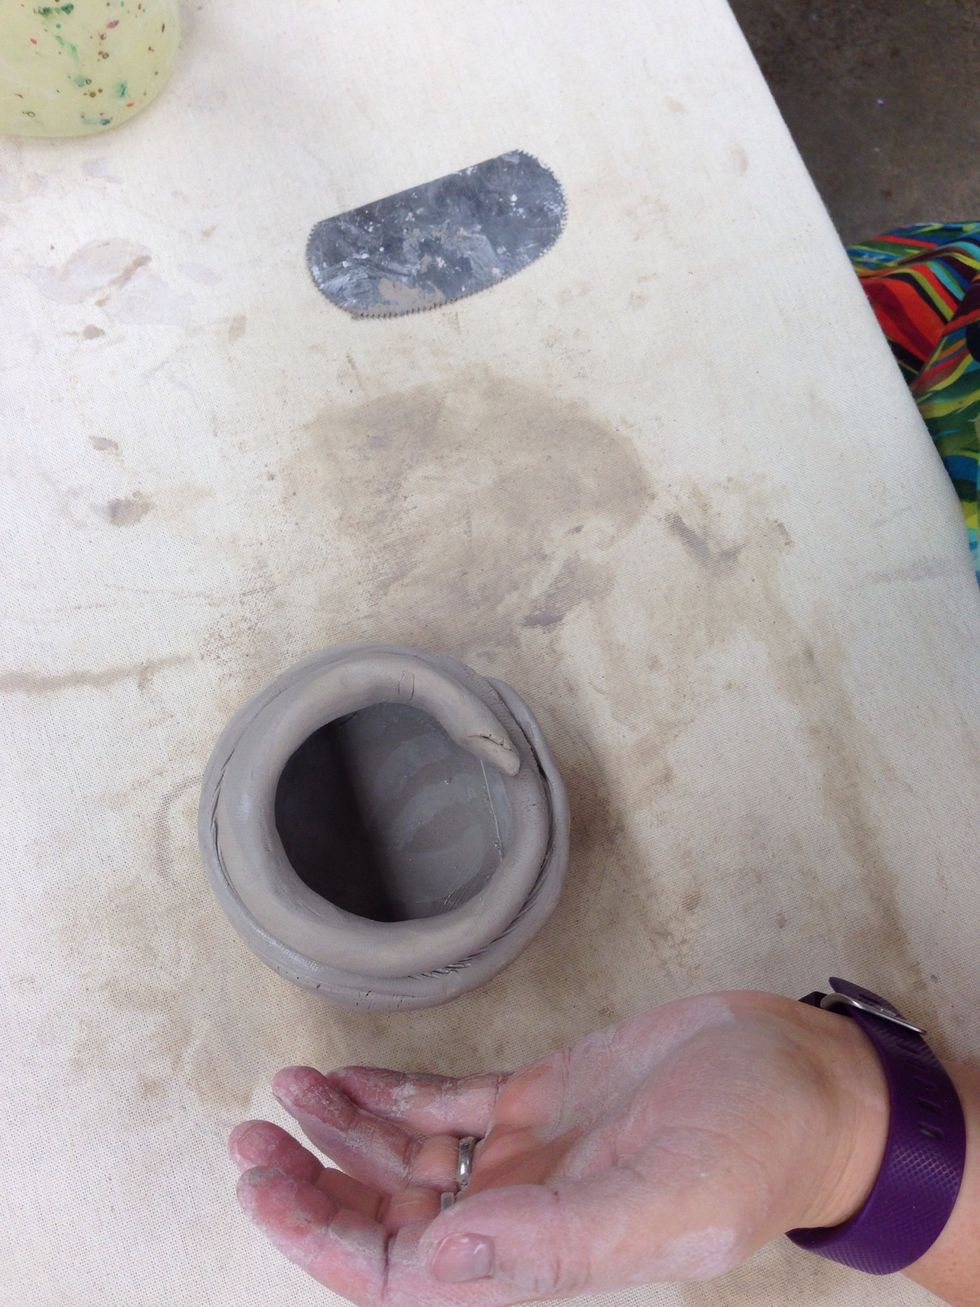
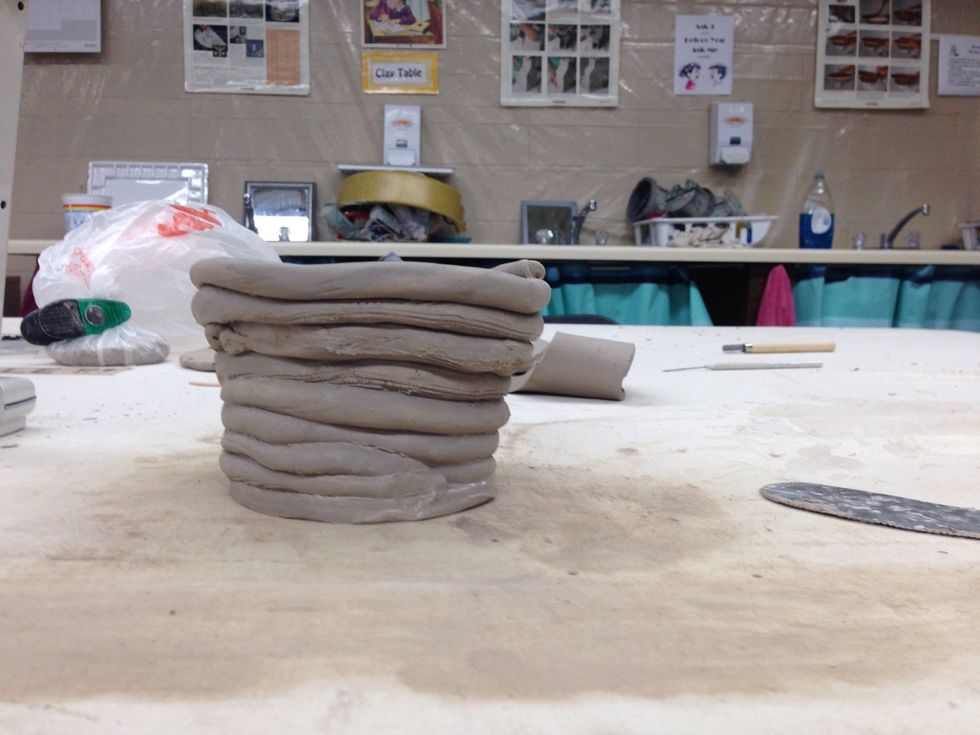
Add your next coil where the first one left off.

Side view of the coils stacked on top of each other.
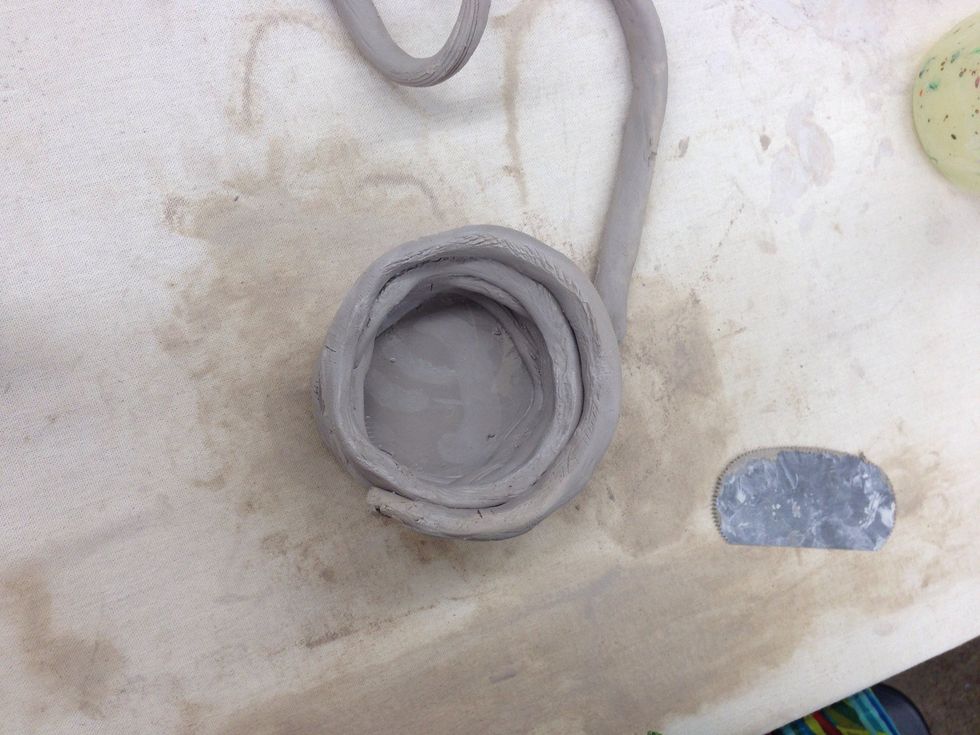
If you want your pottery to curve inward, place the coils on the inner edge of the pot.
This curves in the opening.
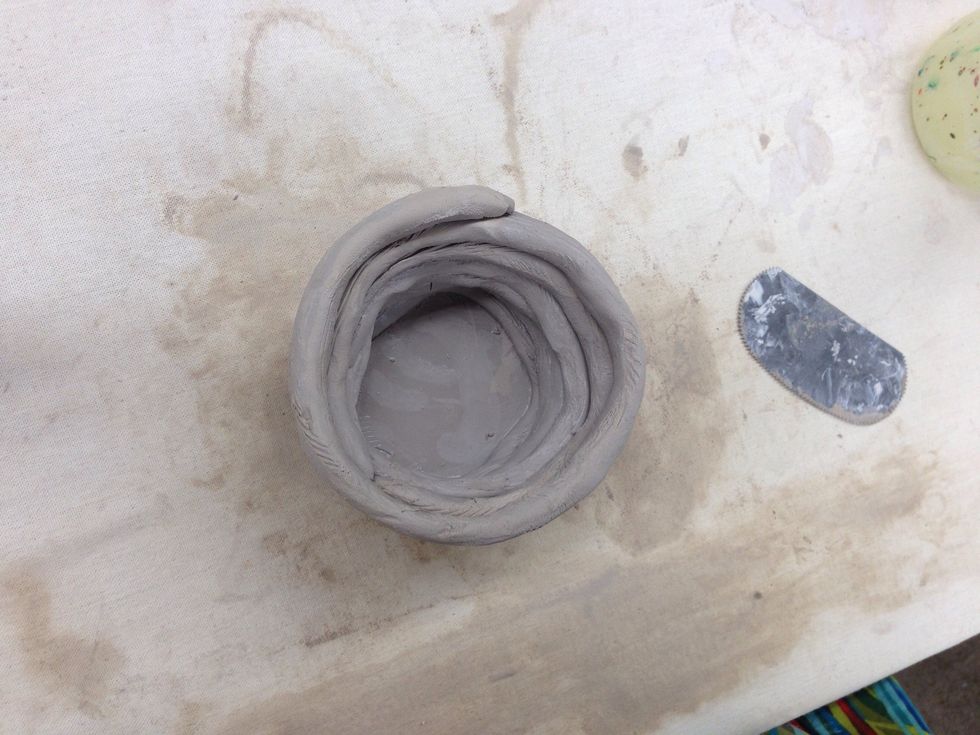
Side view with inward curve.
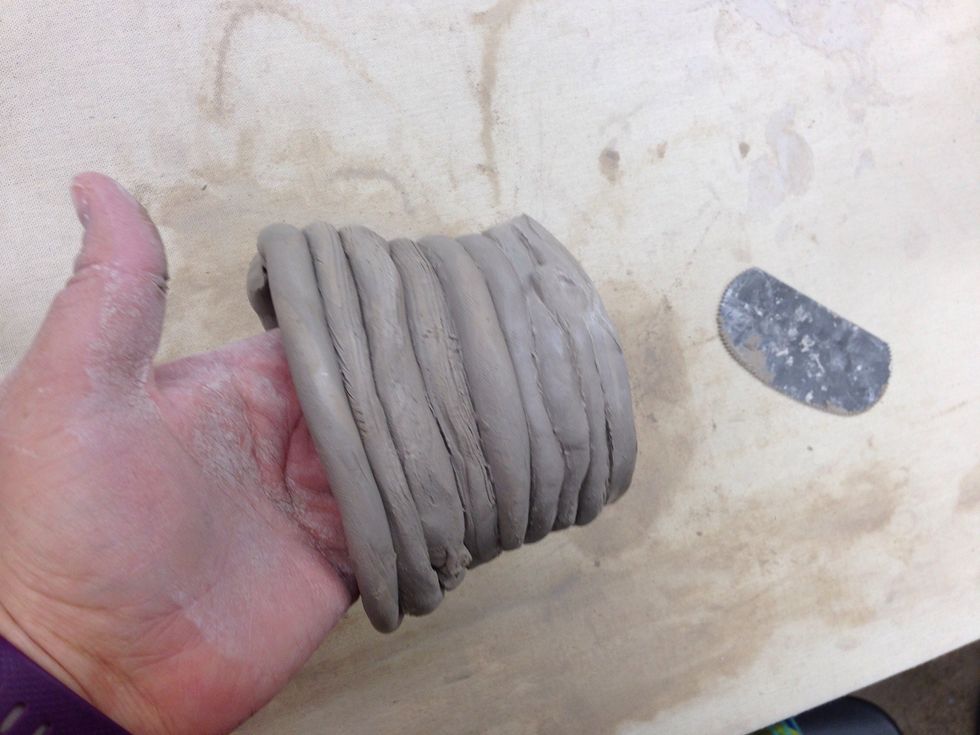
If you would like the potter to curve outward, place the coils towards the outer edge.
Coils placed on the outer edge.
Side view of coils pushing in the outer direction.
Side view of the outside of the coil pot.
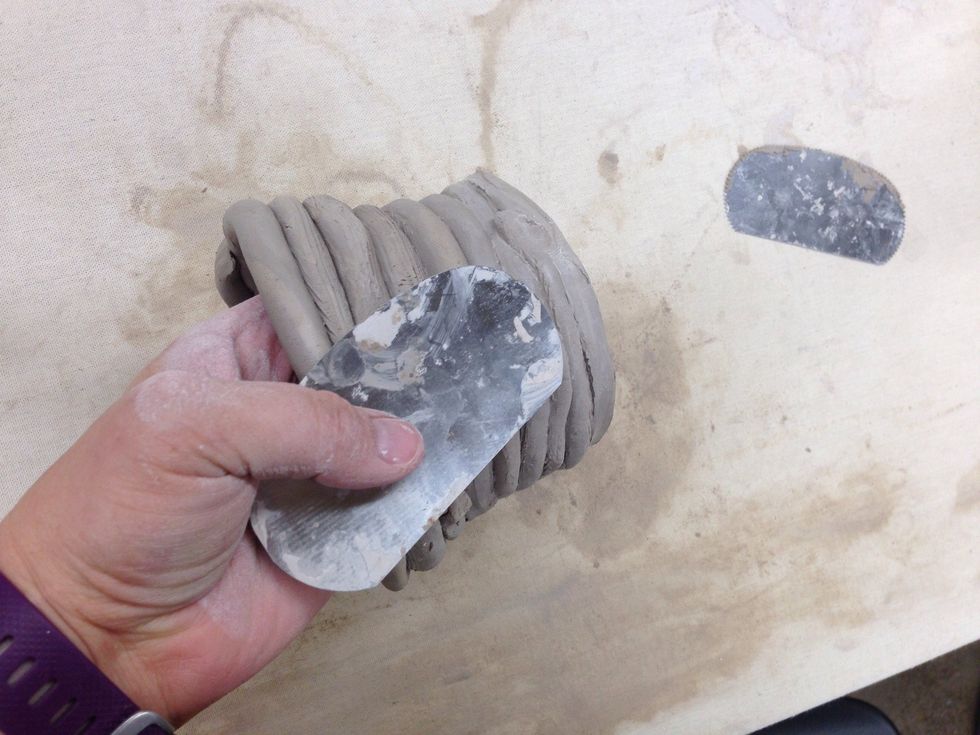
Smoothing may be done with this kind of tool or your fingers to blend in the coils.
Smoothed outside
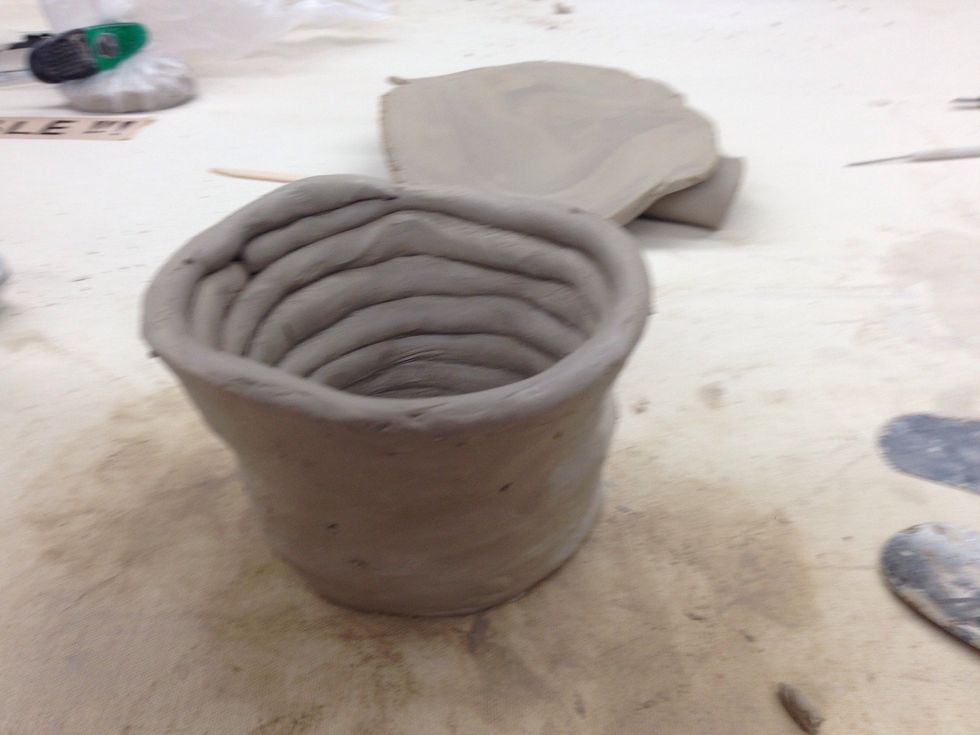
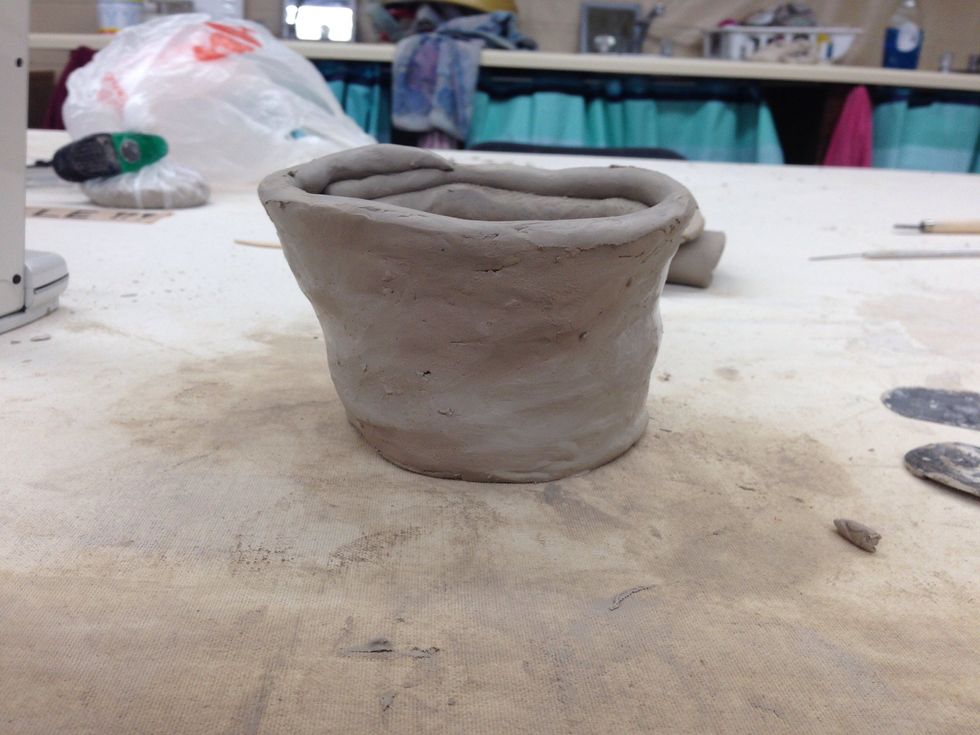
The inside still has coils and the outside is smooth
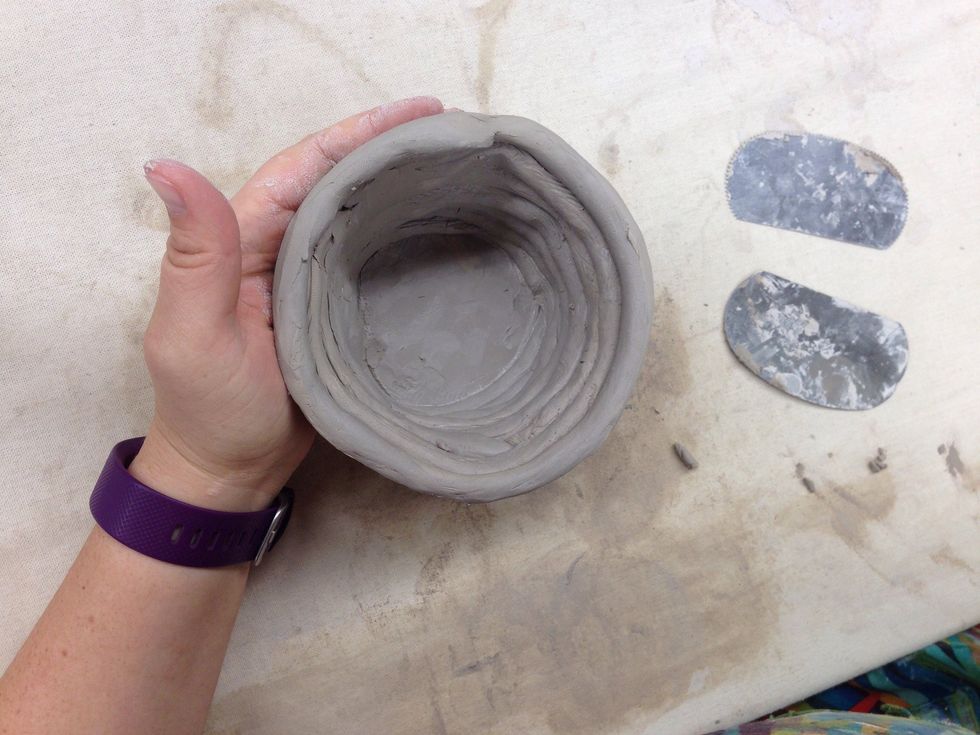
You may also smooth the inside of the pottery also.
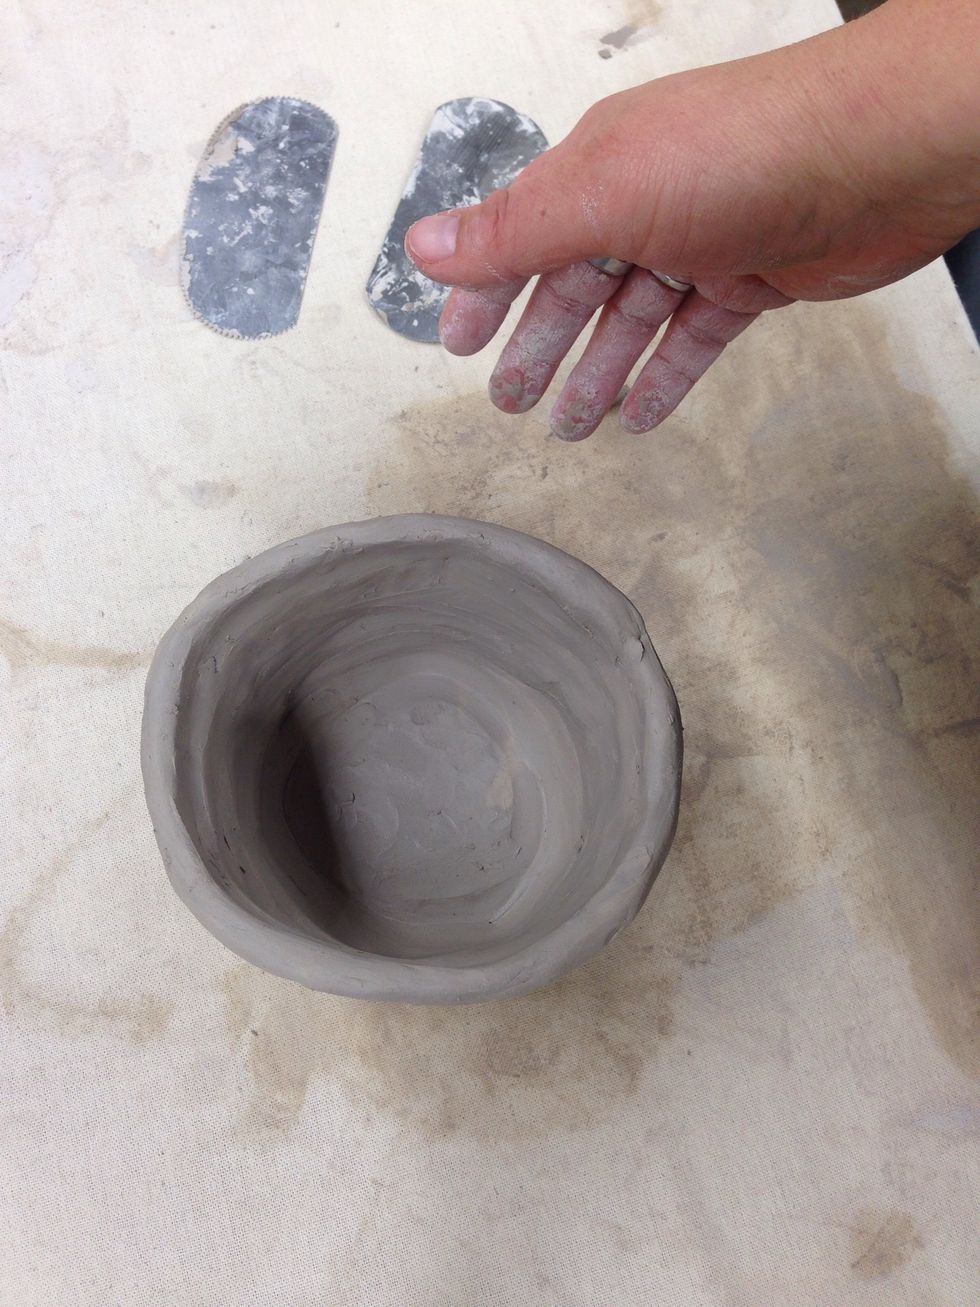
smoothed inside and out
Final coil pot.
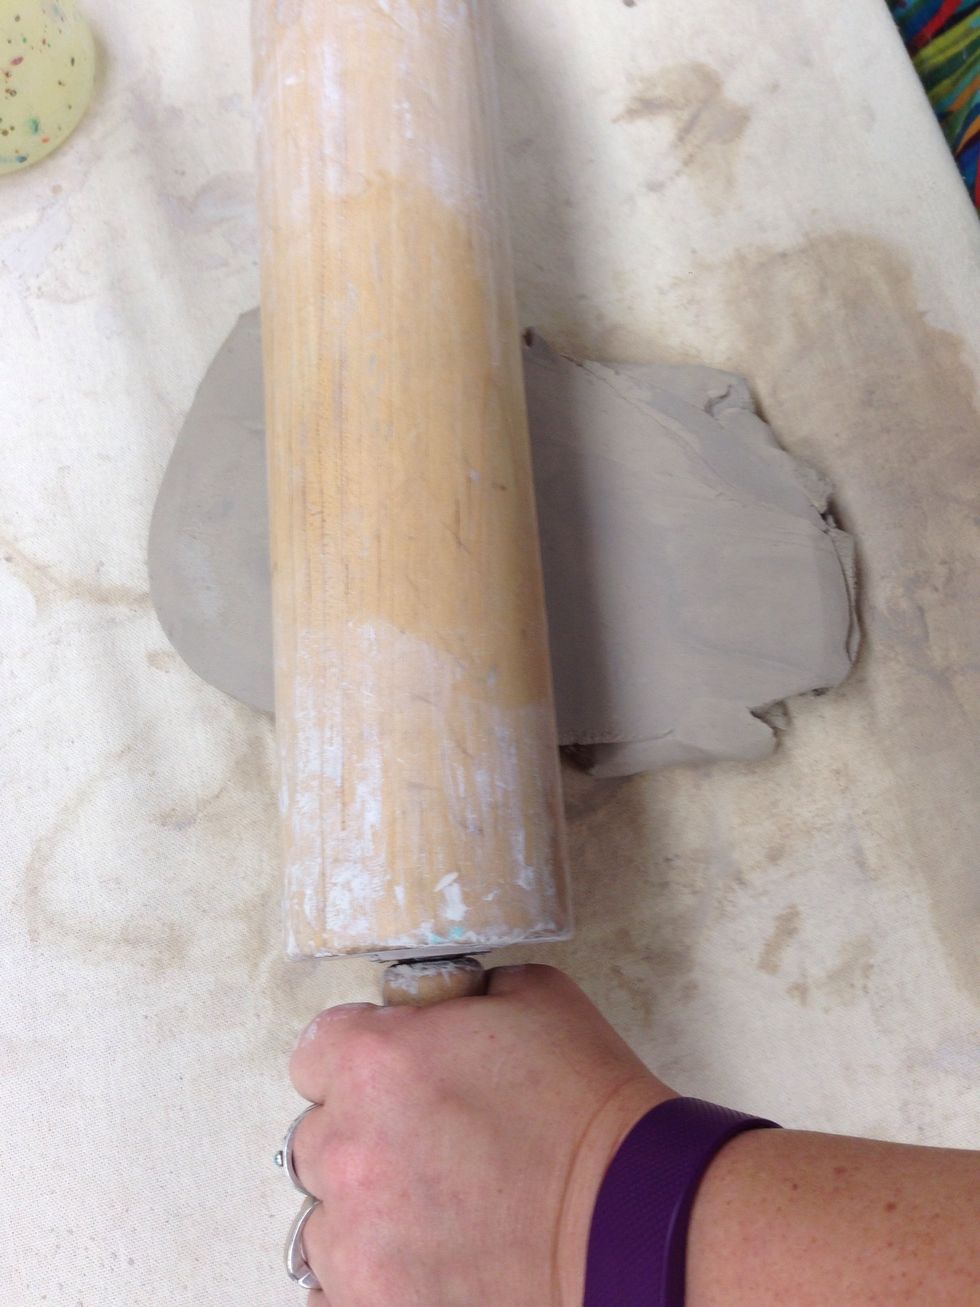
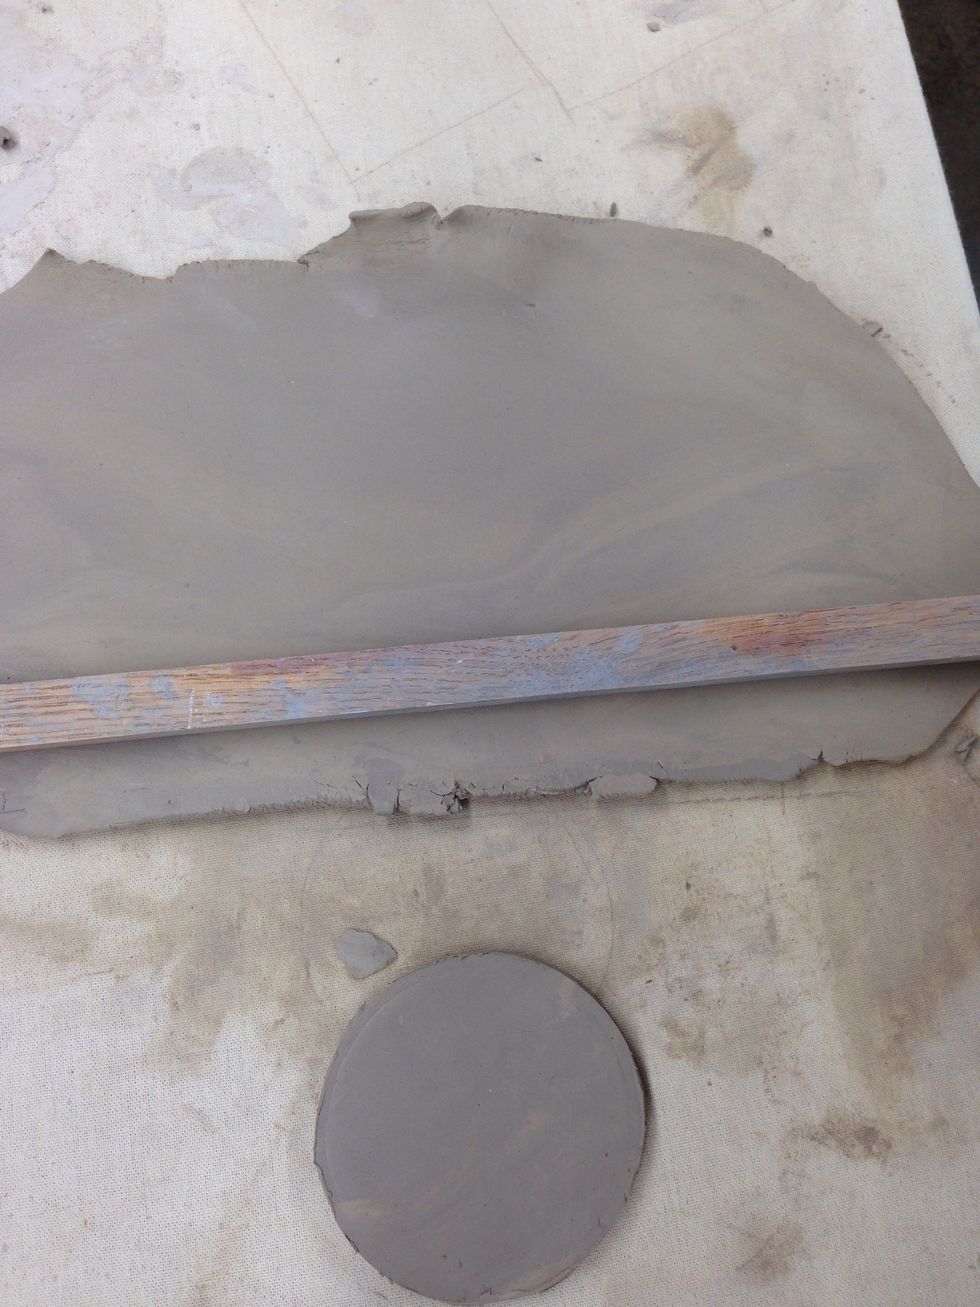
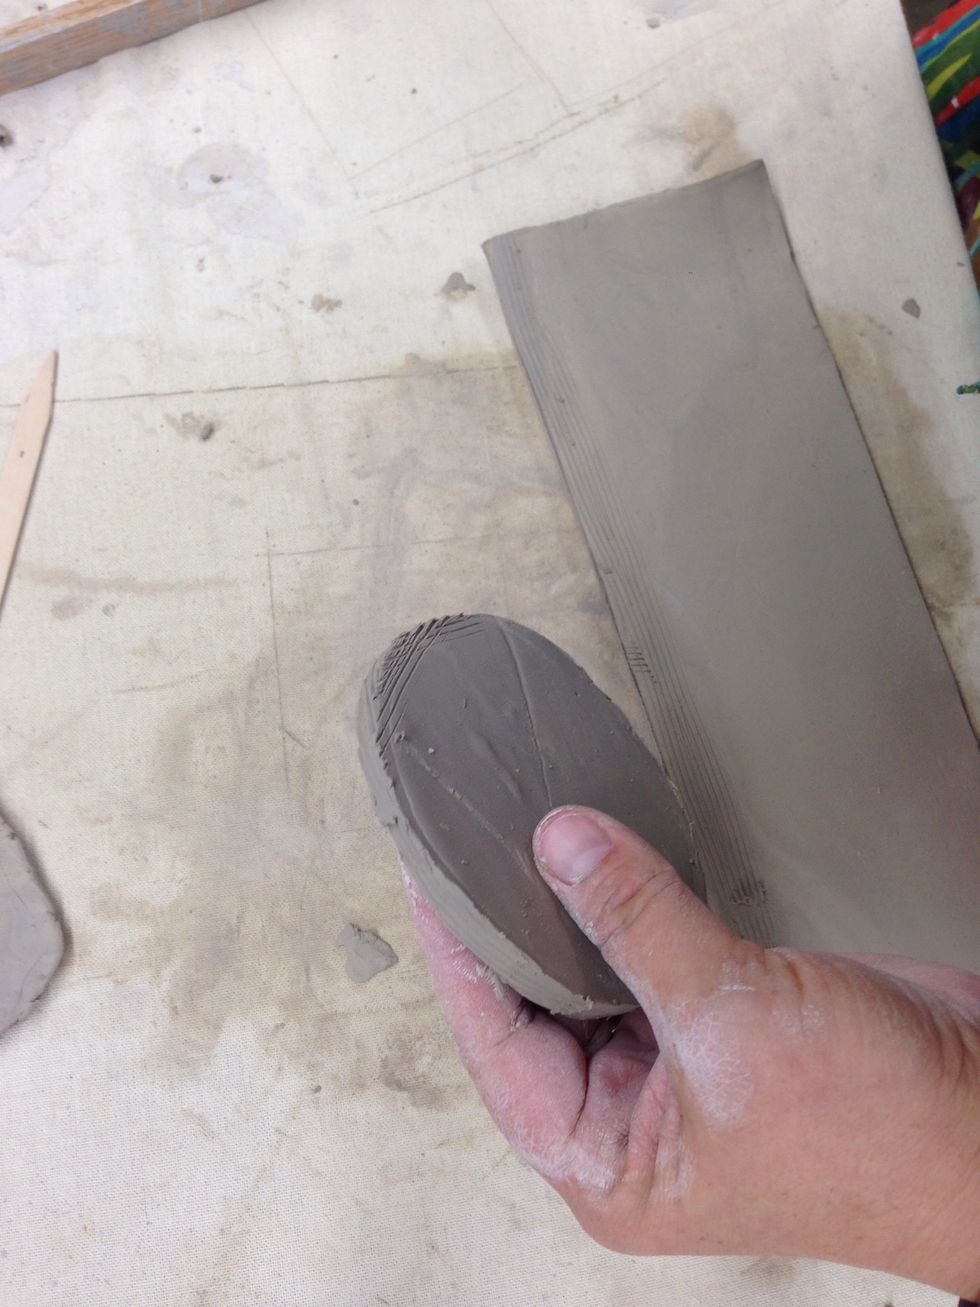
SLAB POT: Roll your clay using a rolling pin.

Try to achieve an even thickness throughout the slab.
The desired thickness is 1/4 to 1/2 inch

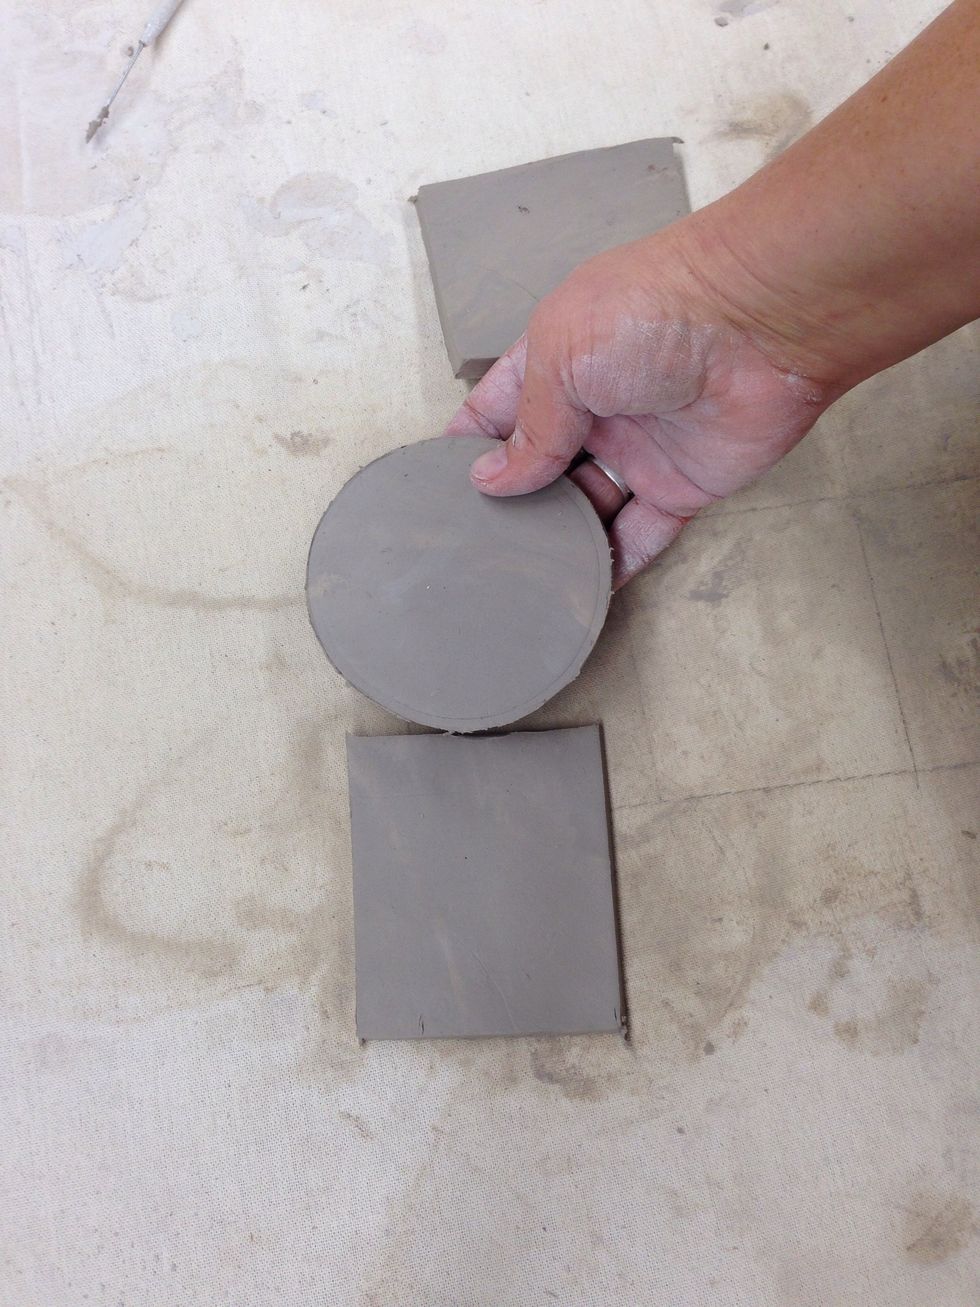
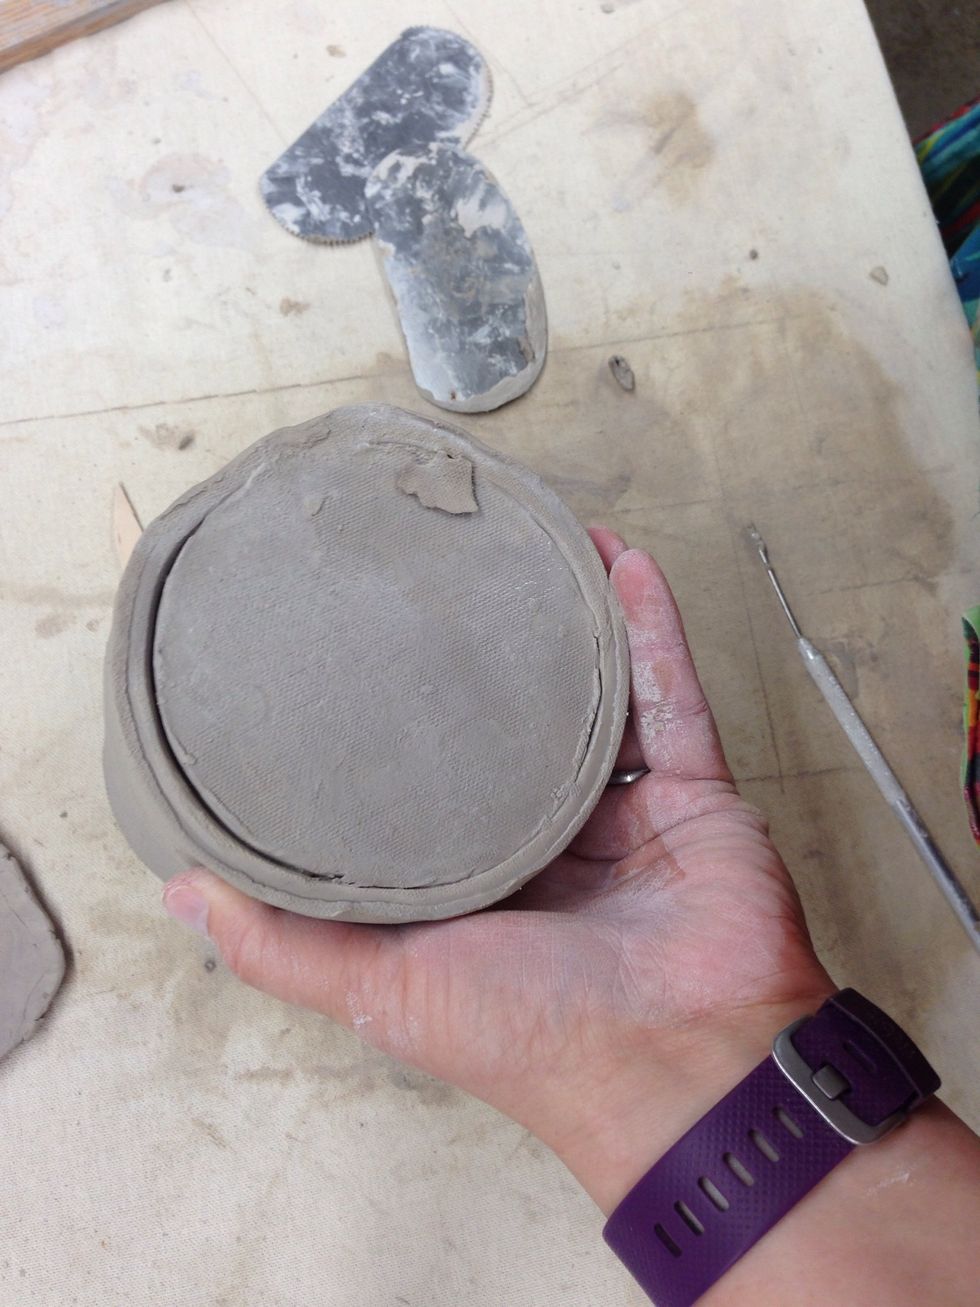
trace a circle again
I will show how to do both a circular slab pot and a box slab pot.
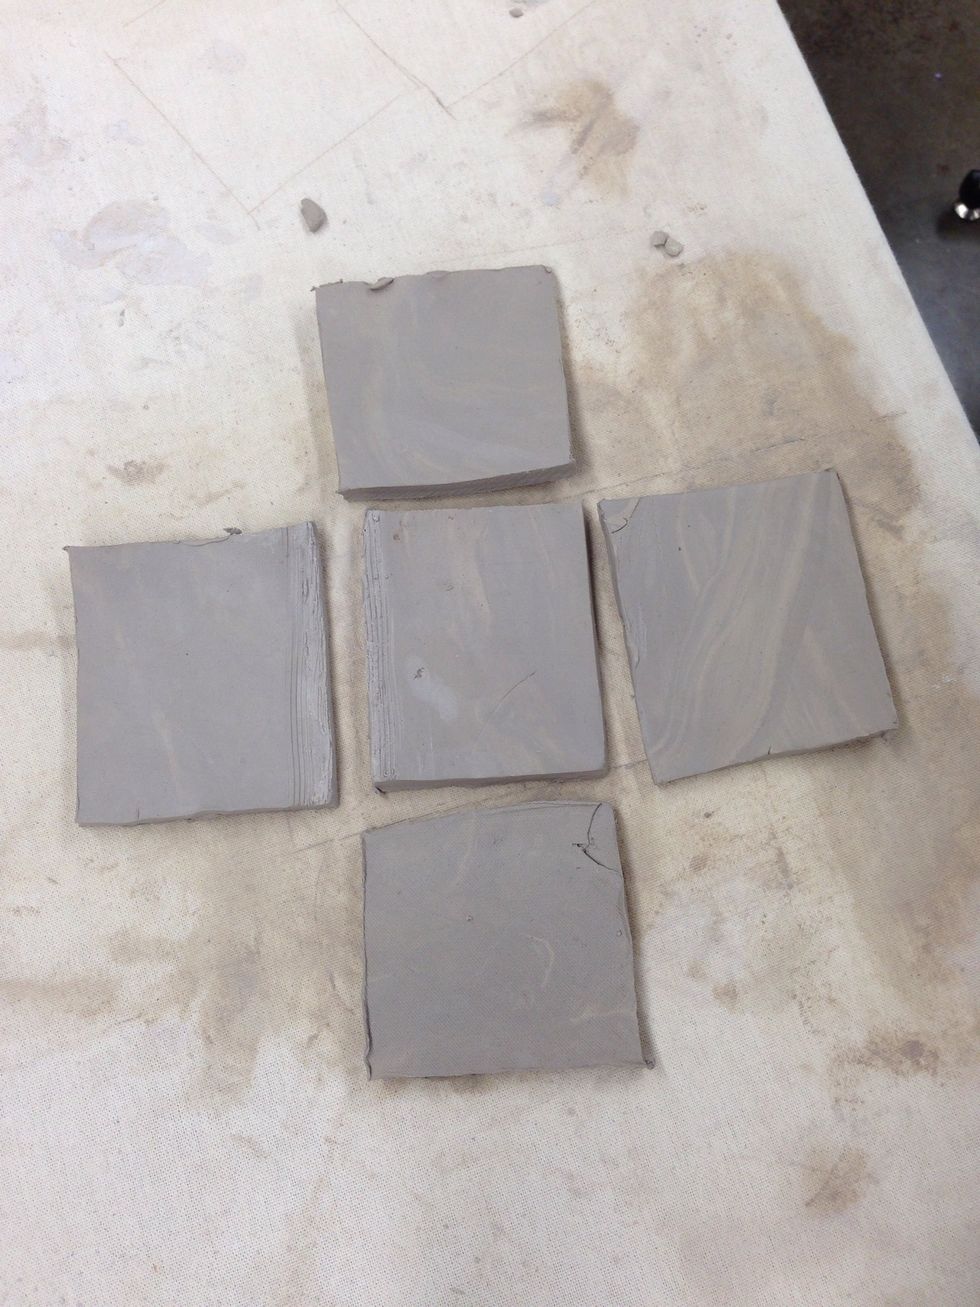
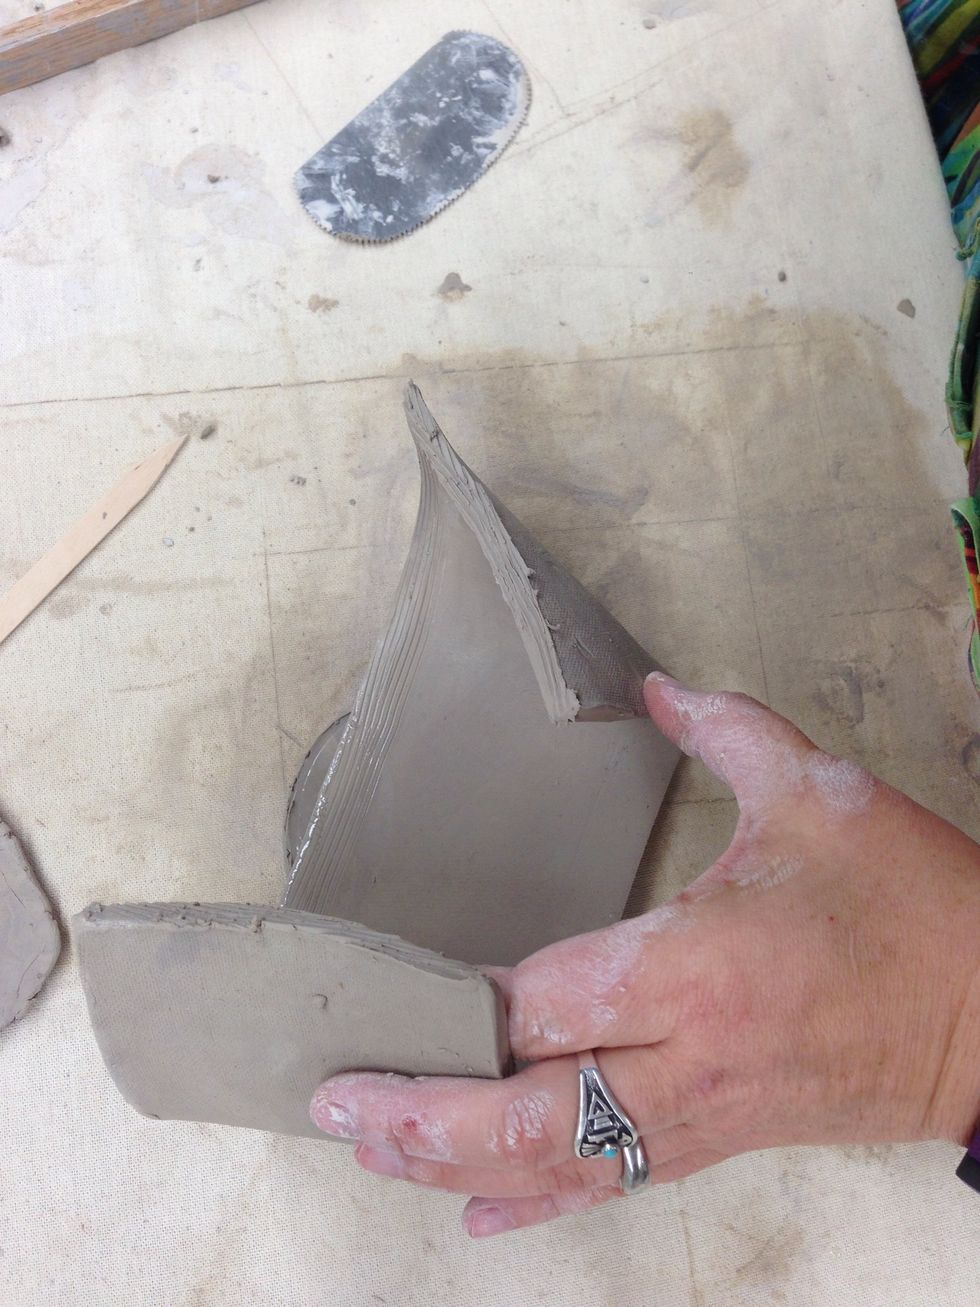
Box Pot: Cut 5 shapes that fit together as the sides of the box. 2 of the sides should be a little longer the the middle for connecting.
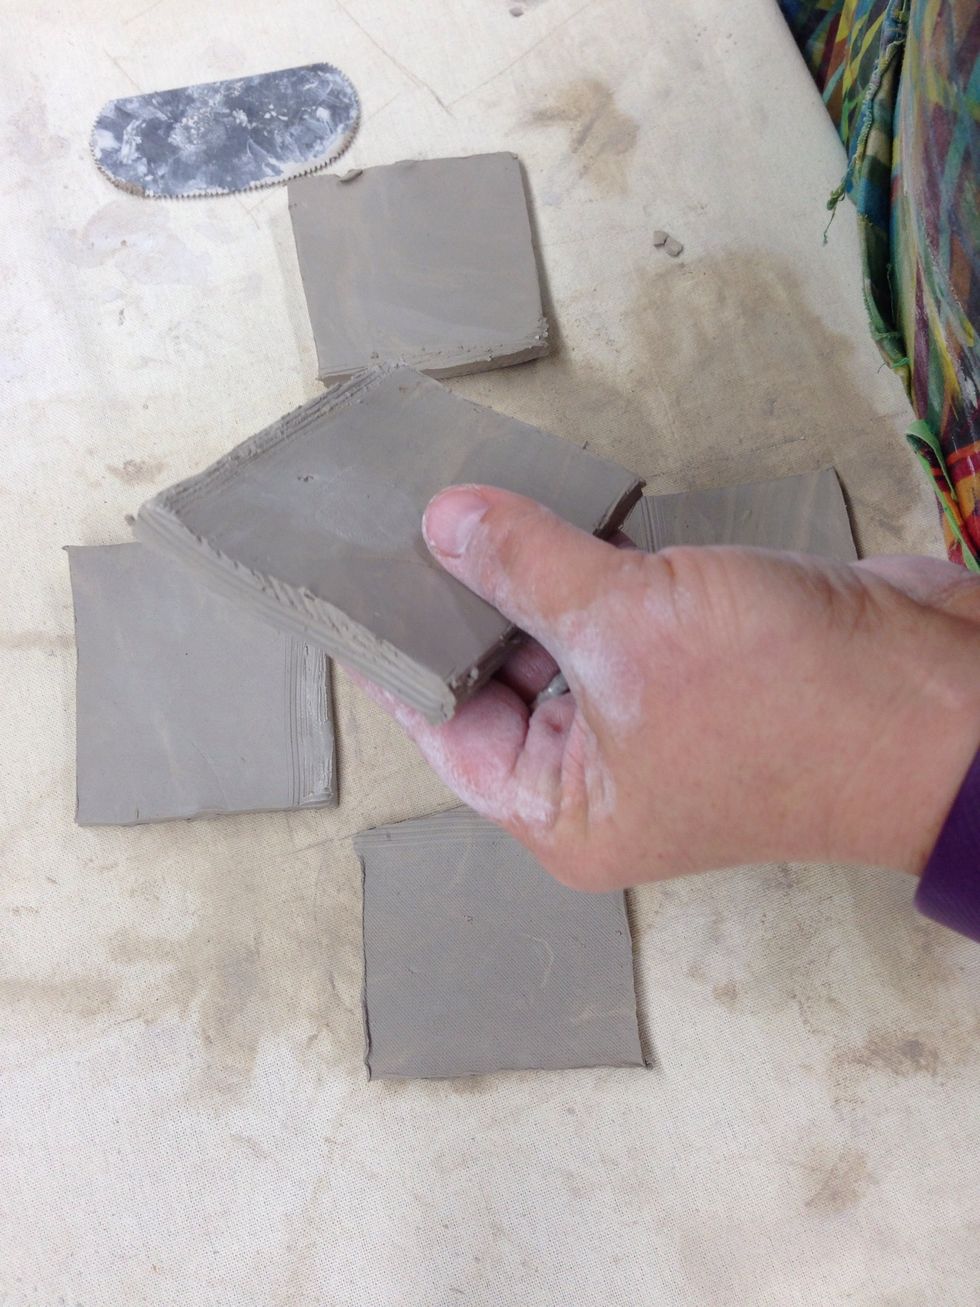
Score all the connecting sides.
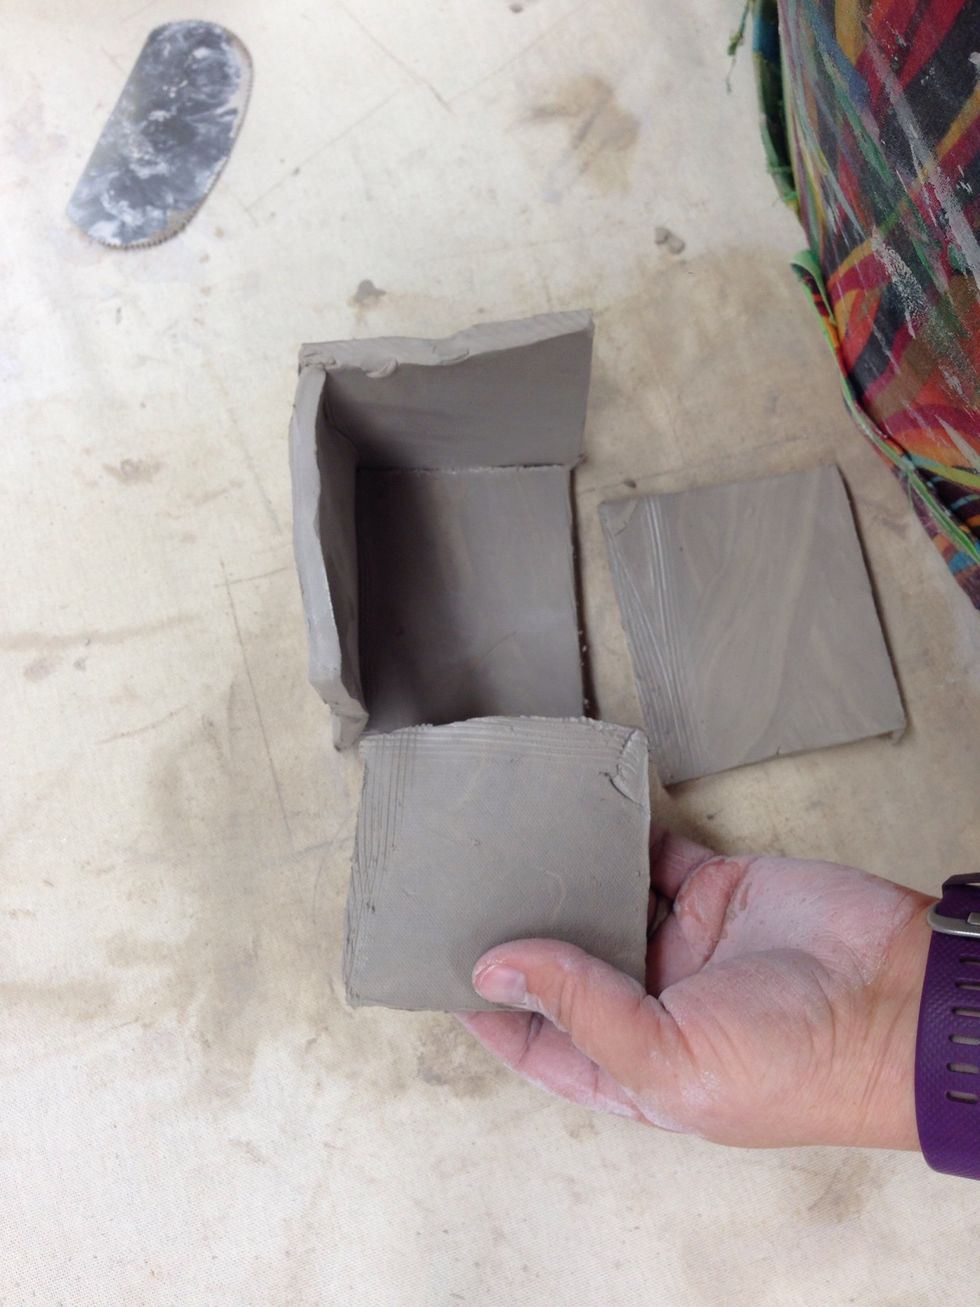
Add water or slip and fit the sides together.
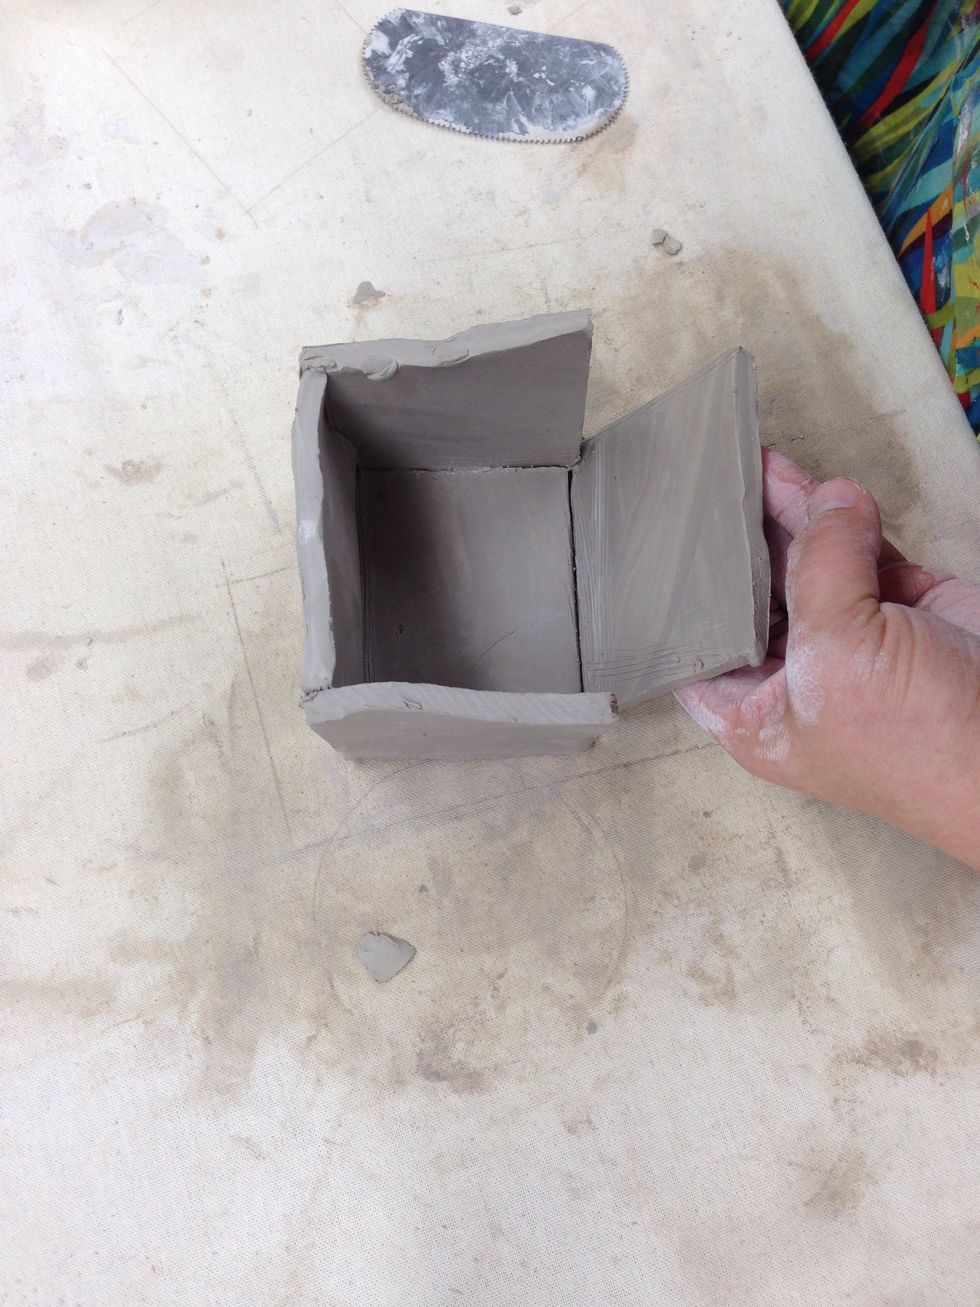
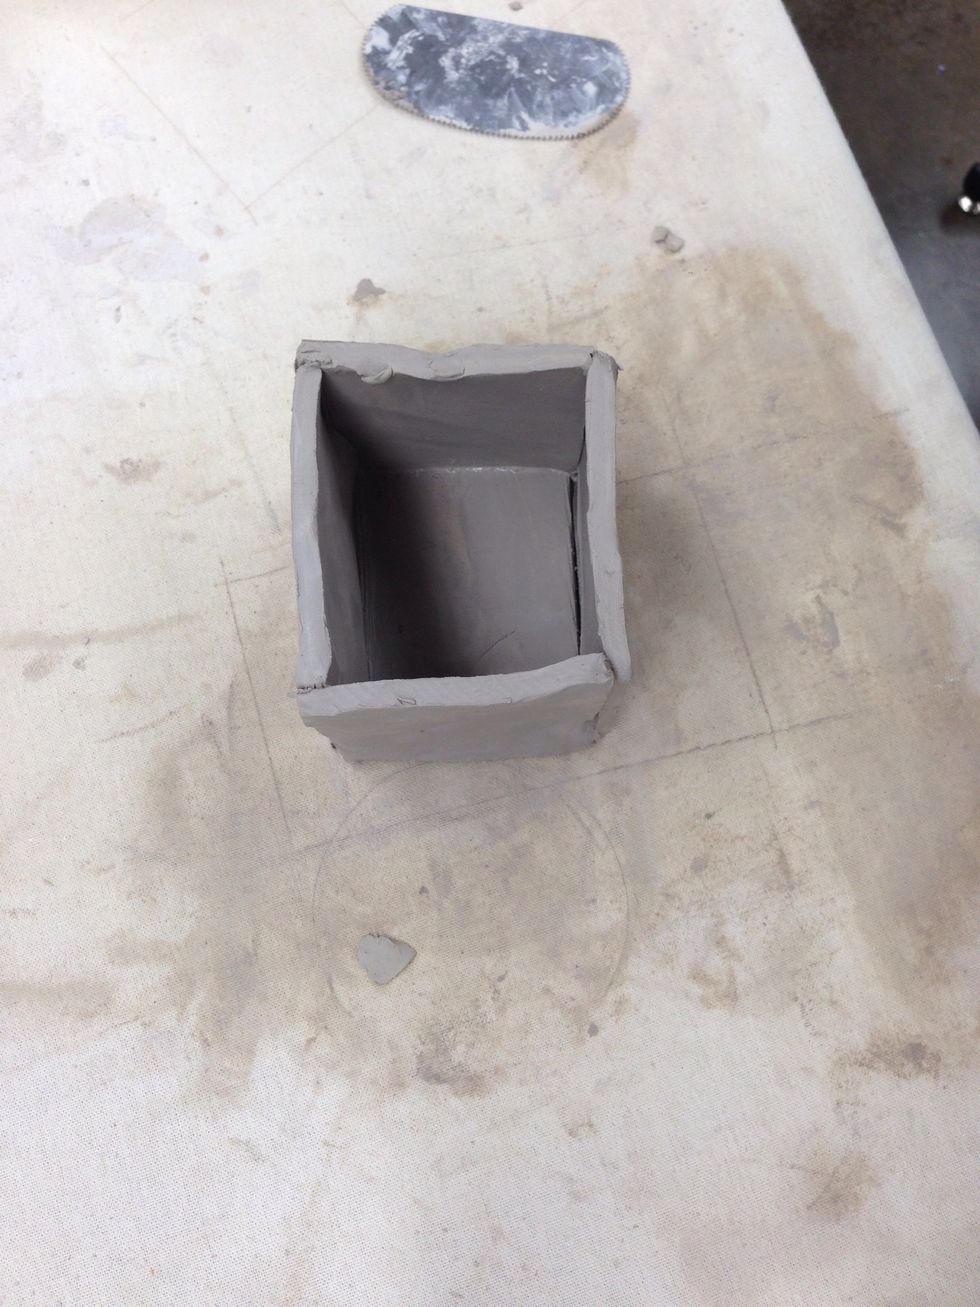
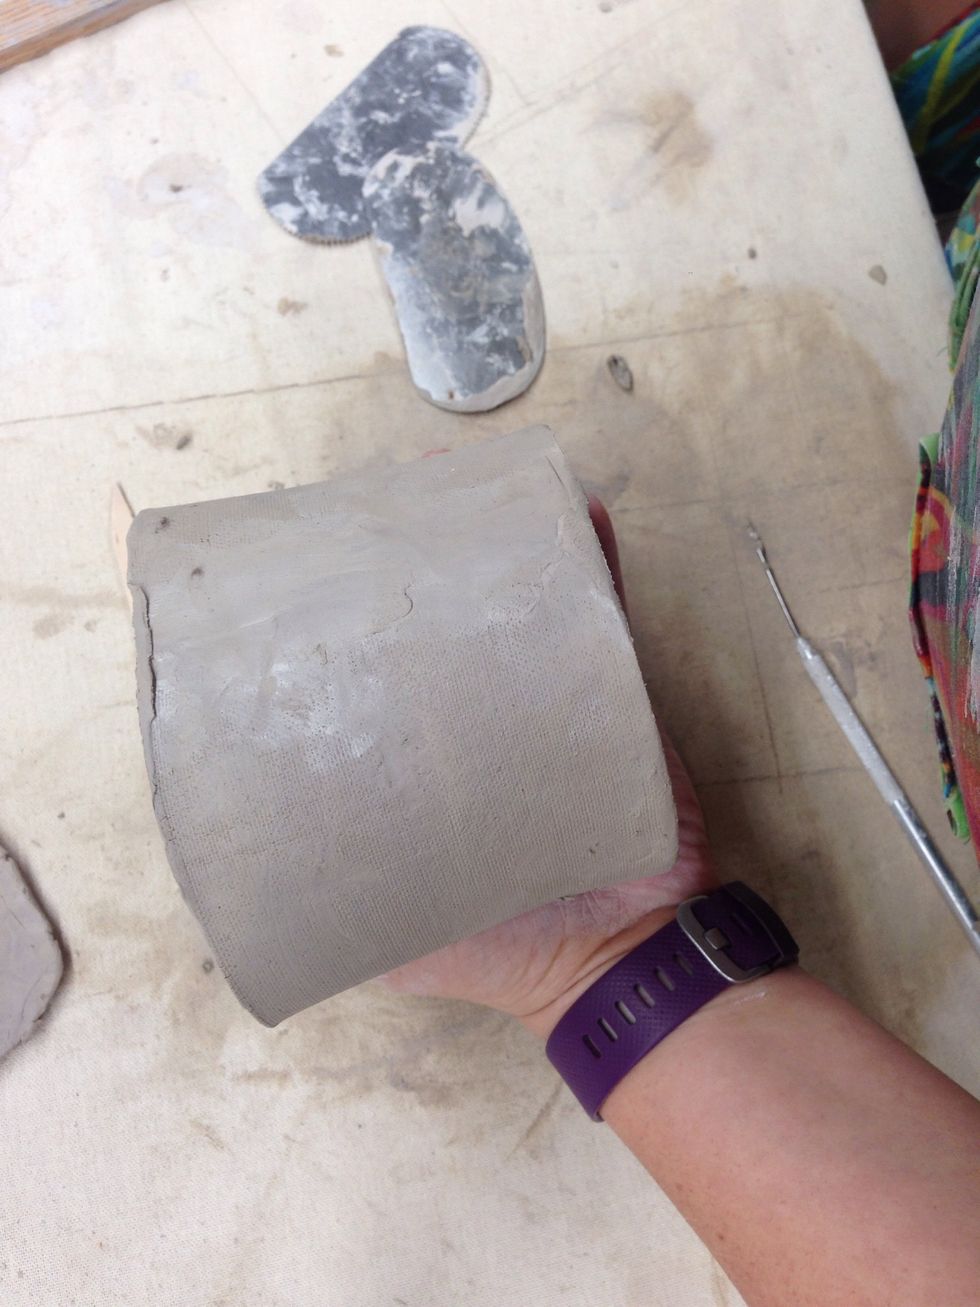
All sides up now smooth it out.
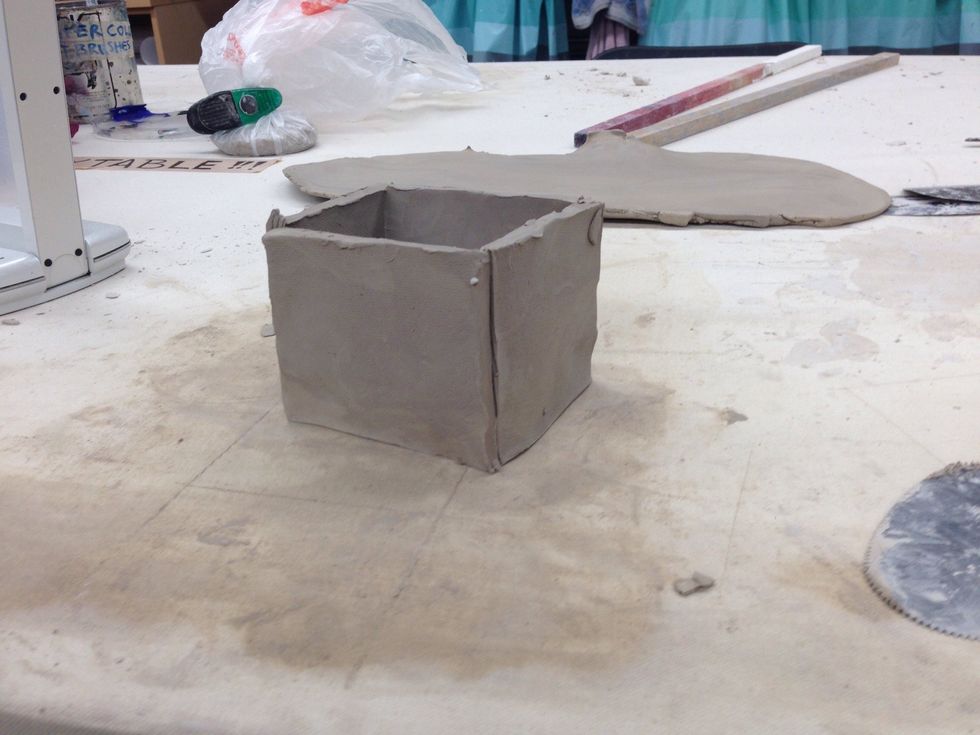
Side view
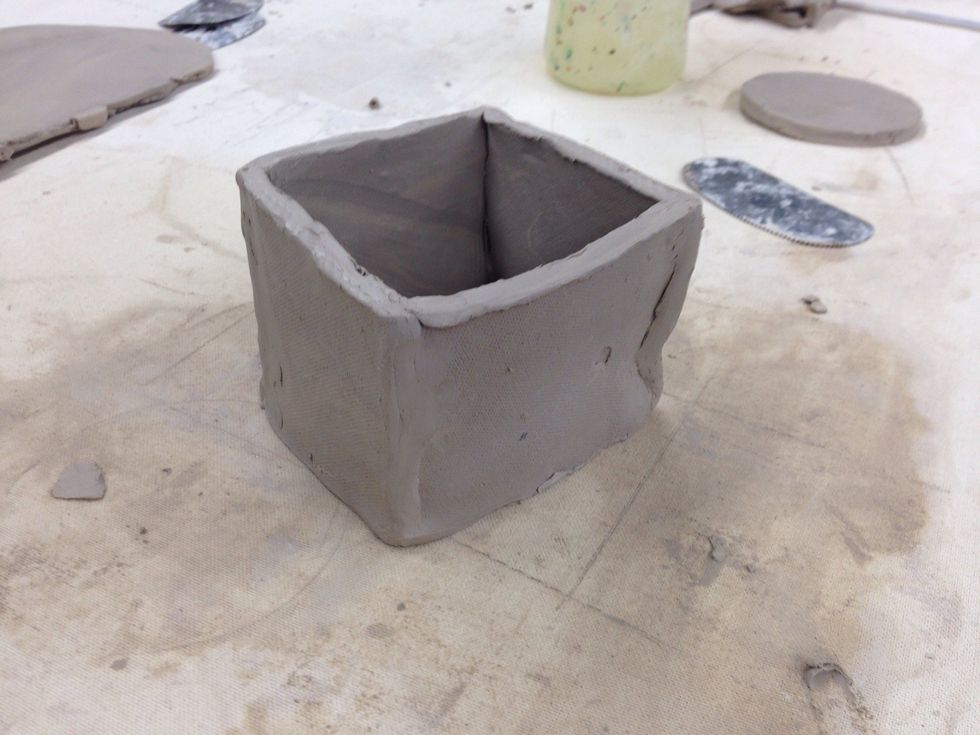
Smoothing sides
Slab Circle Pot.
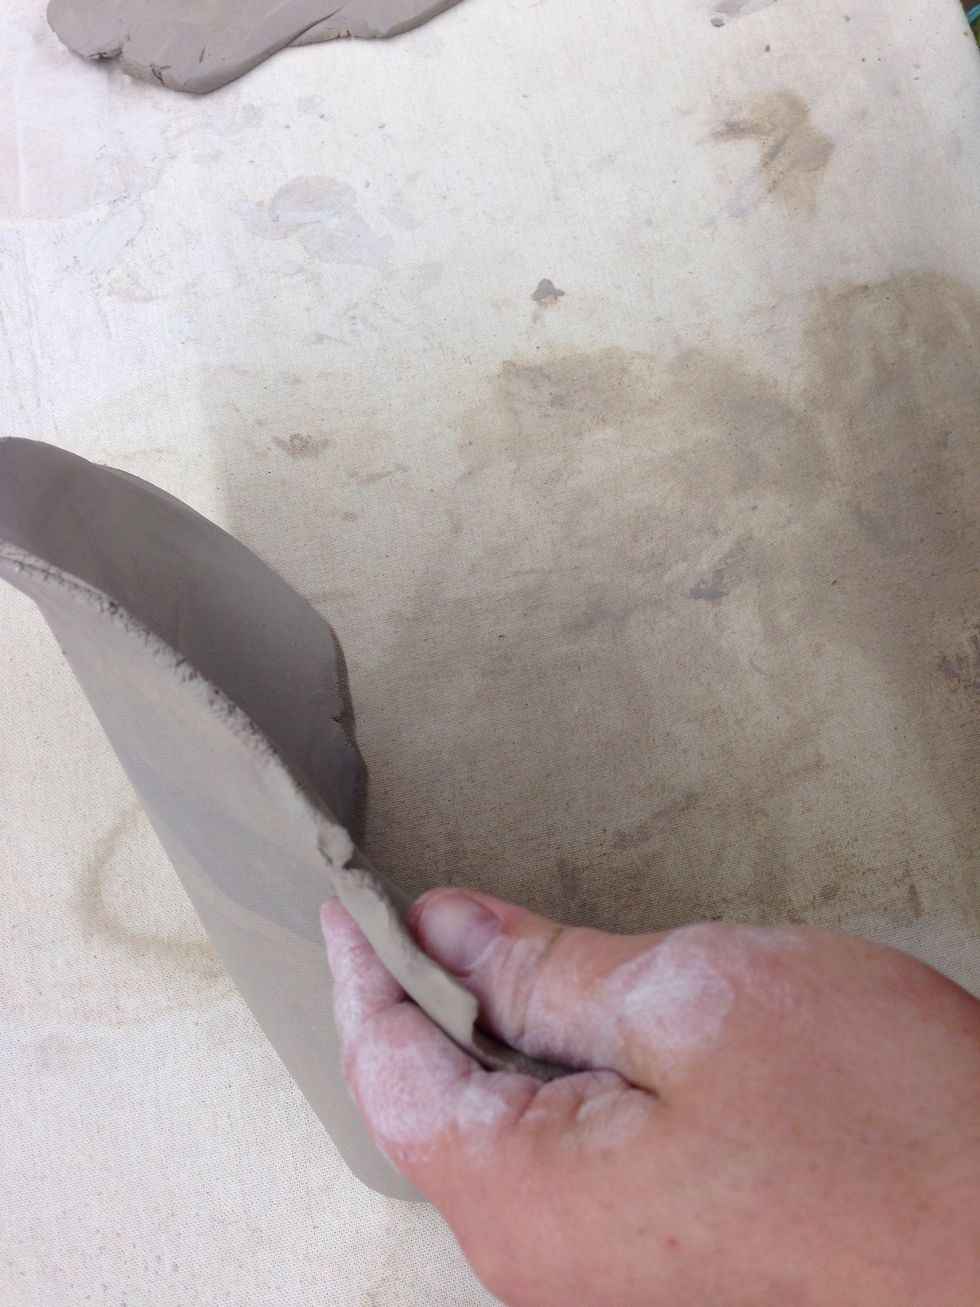
Cut with a straight edge a very long rectangle.
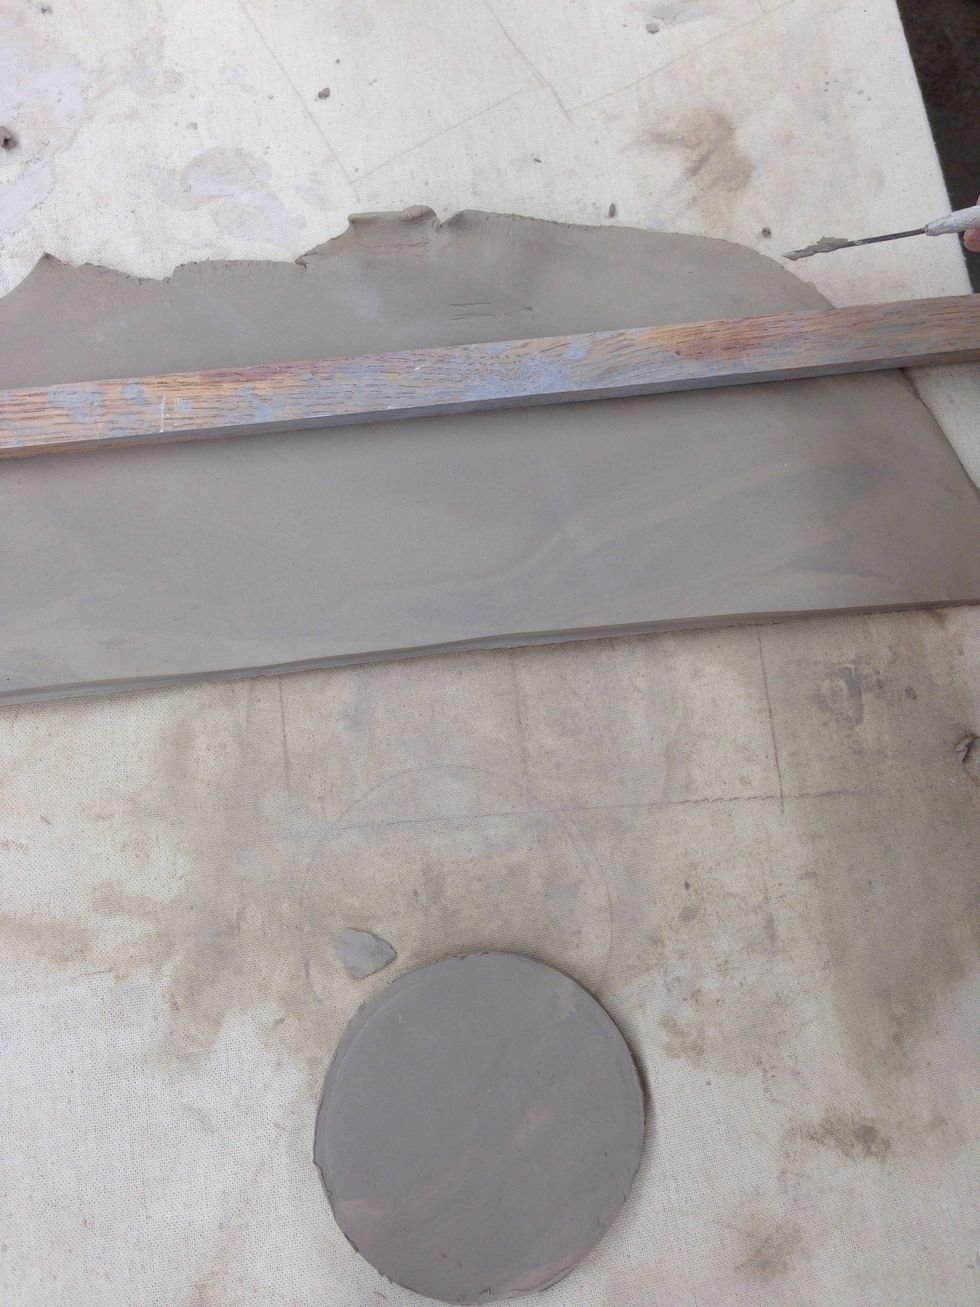
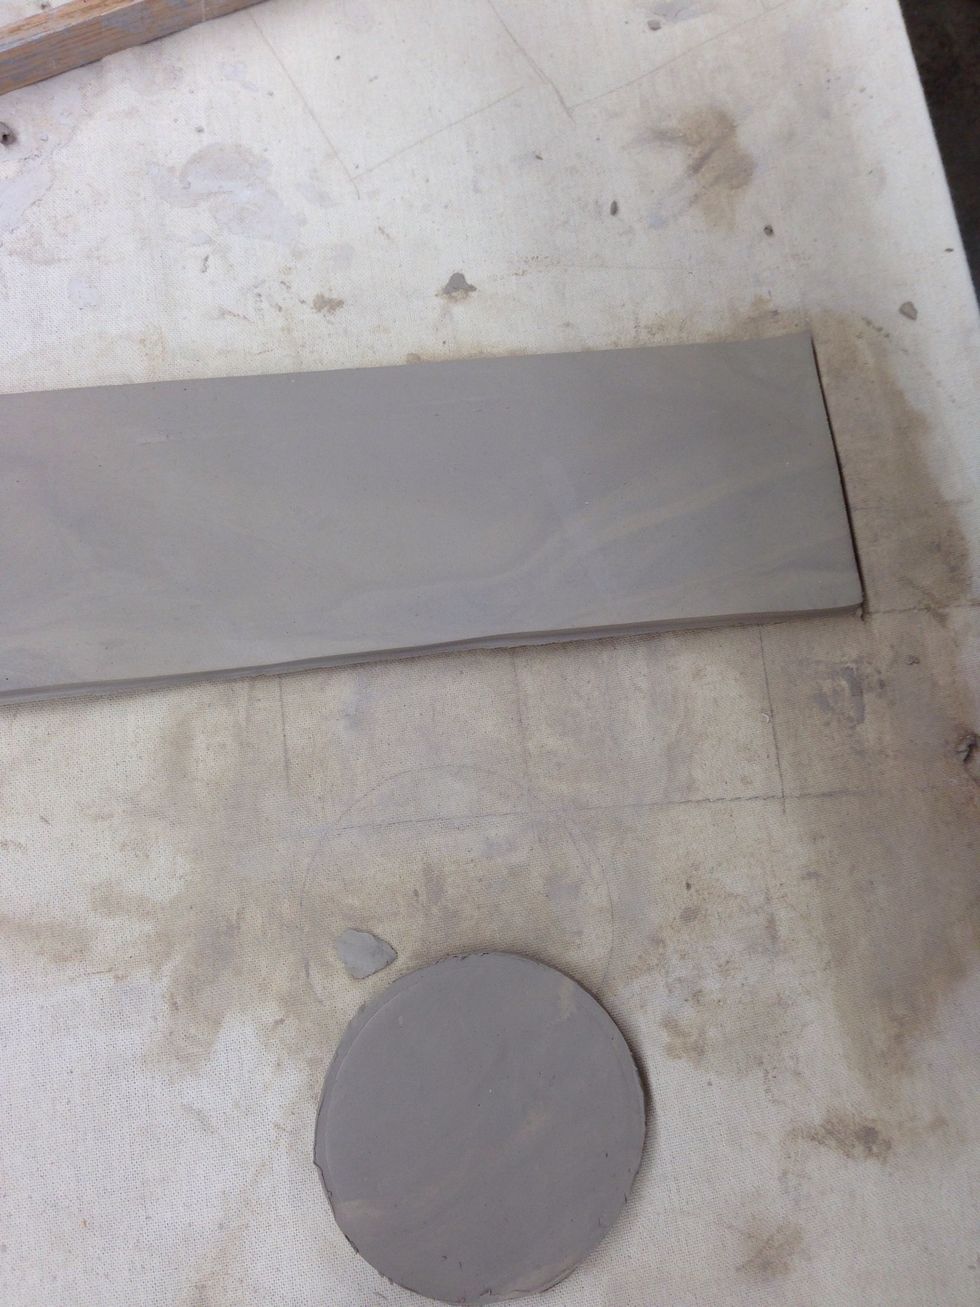
Long rectangle
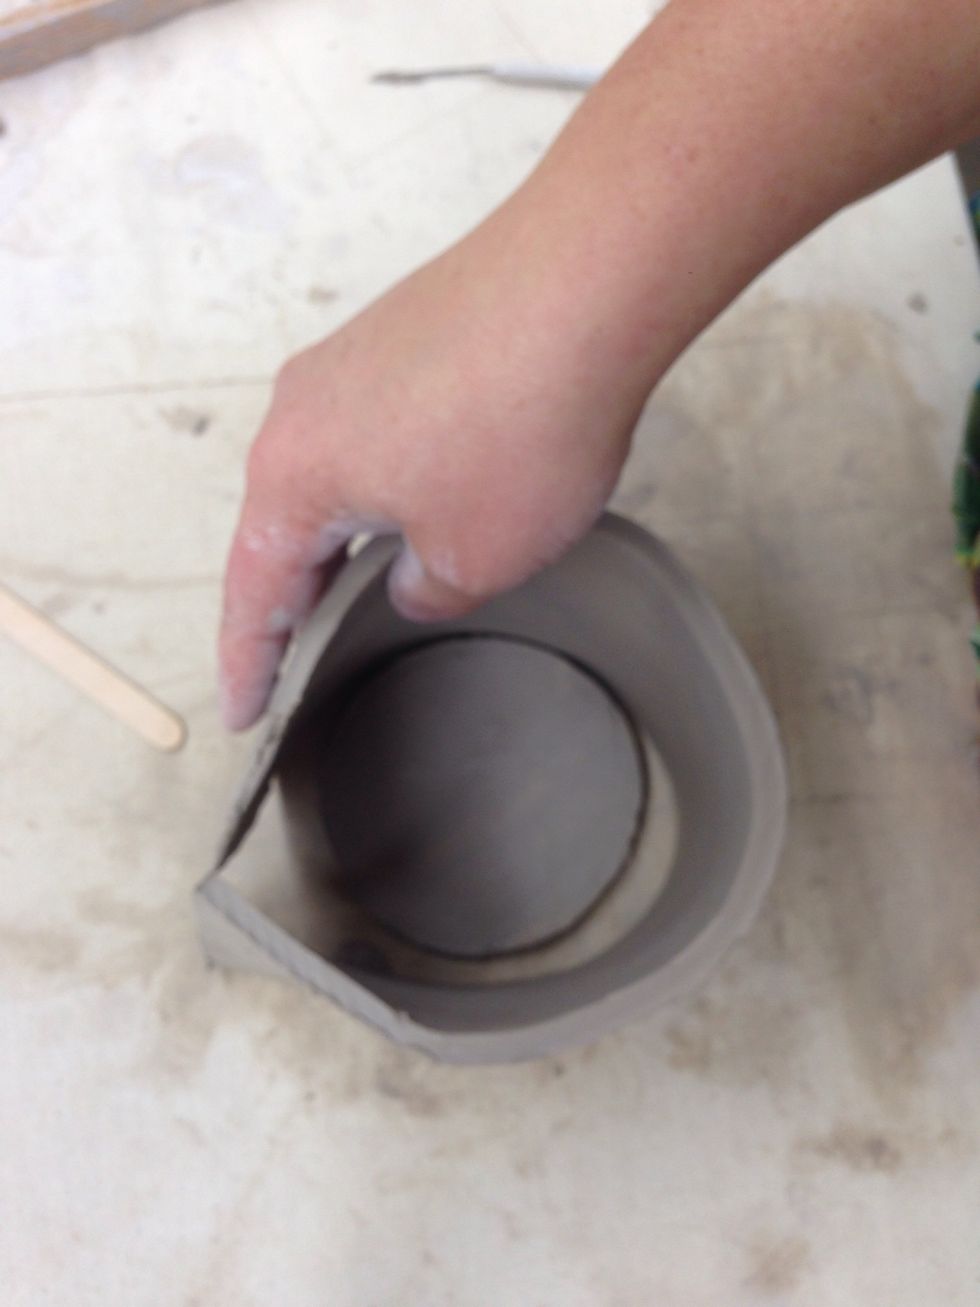
Try it on for size, make any adjustments so the the edges of the rectangle will fit exactly together and not overlap.

It should fit snugly to the edges of the base.
Score all edges and add slip or water.
Wrap it around the base.
Smooth over the connection points at the side and the bottom.
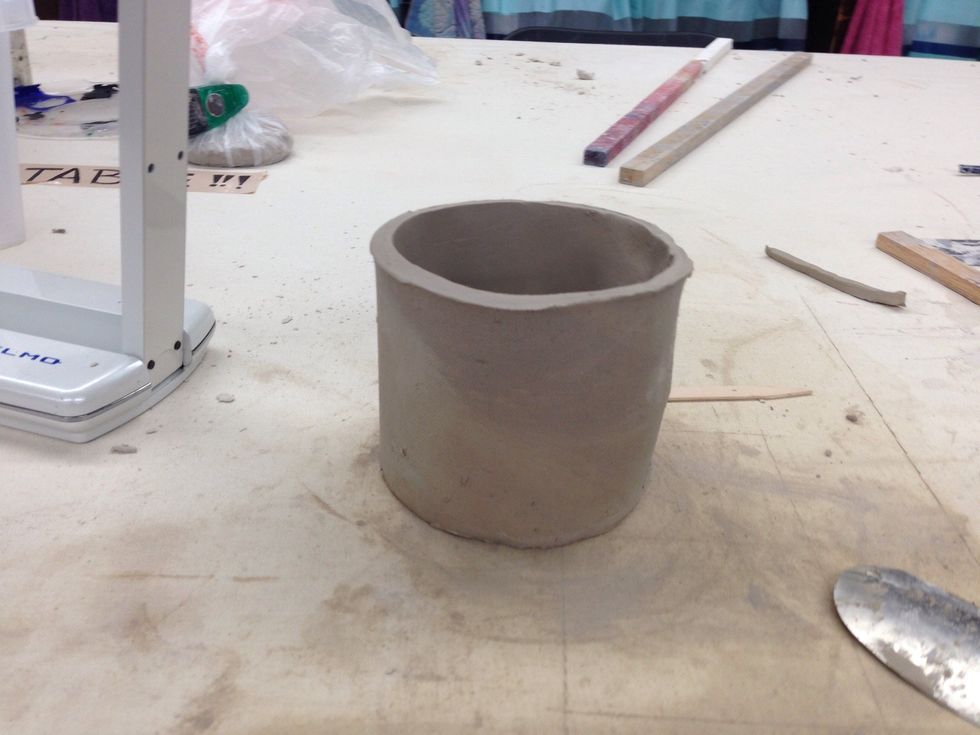
Completed Slap Circular Pot.