The Conversation (0)
Sign Up
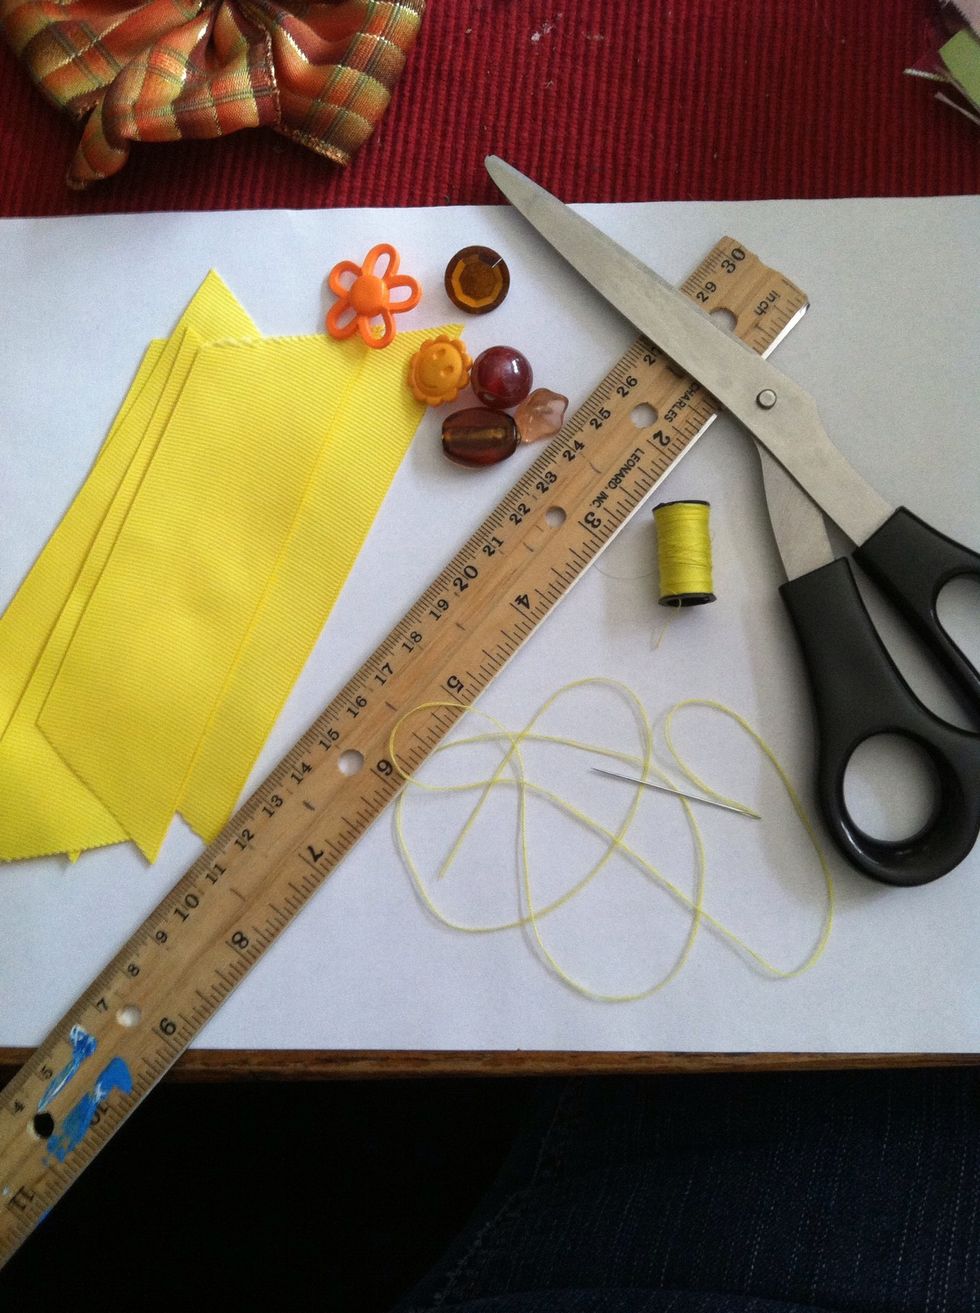
Supplies, please note that I did not measure my ribbon lengths, I like to free cut because I think it looks a tiny bit more organic. Also I didn't use all those beads.
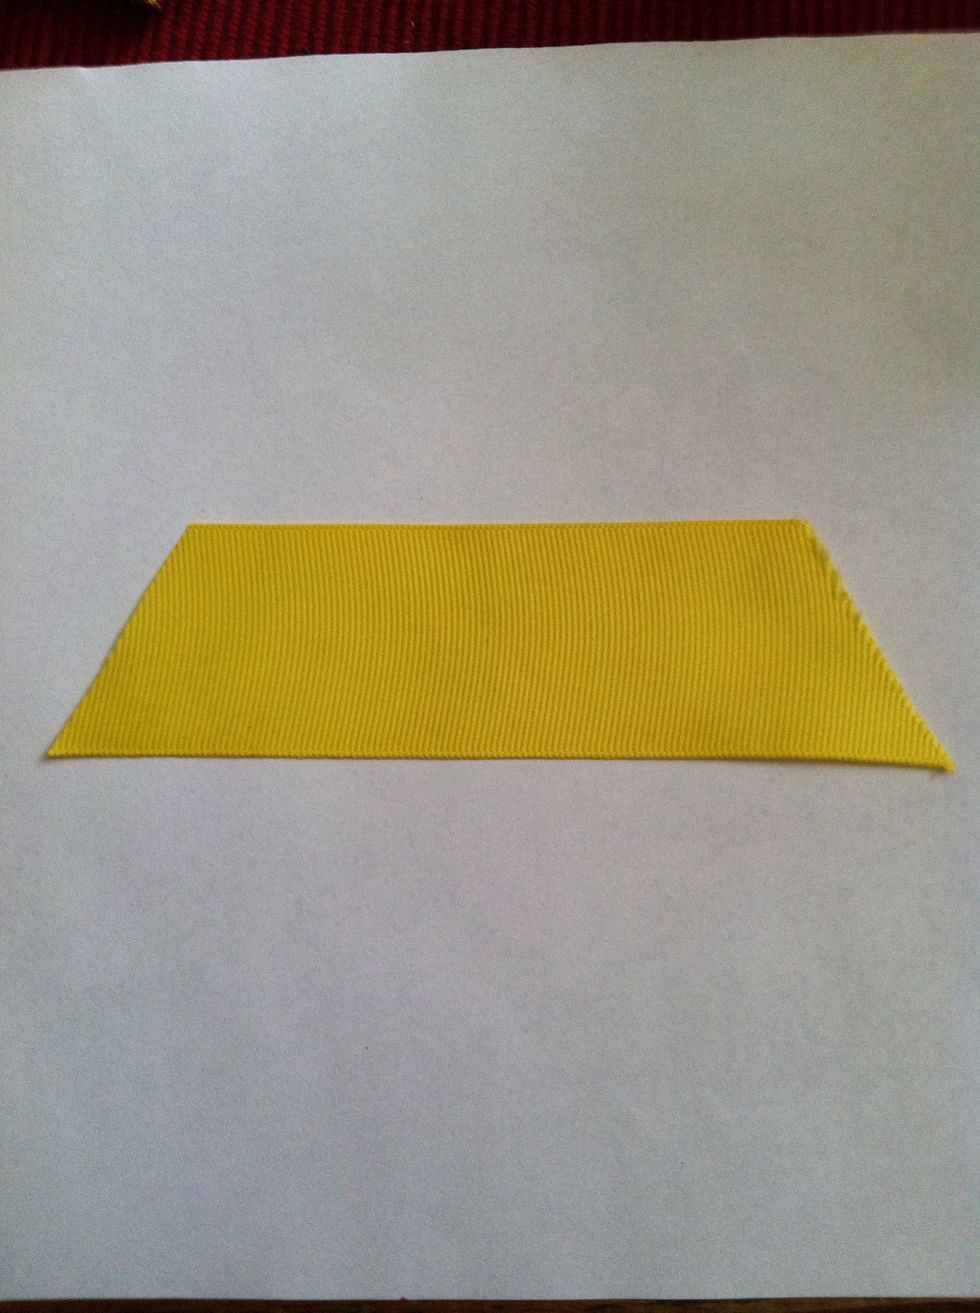
Cut your ribbon to your desired length, in a trapezoid shape. You will need 6 pieces. These were about 2inches at its longest side.
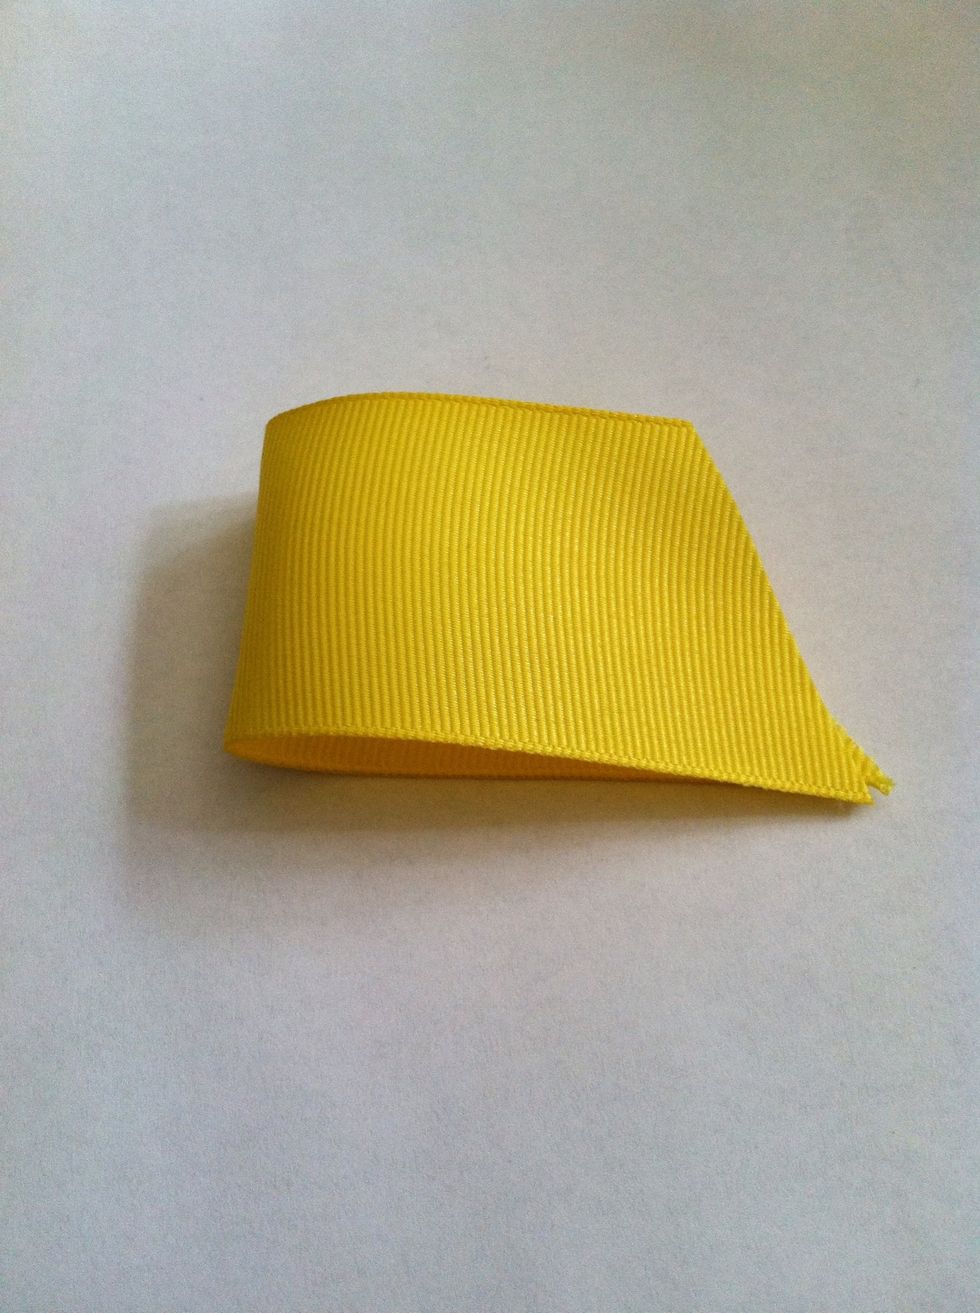
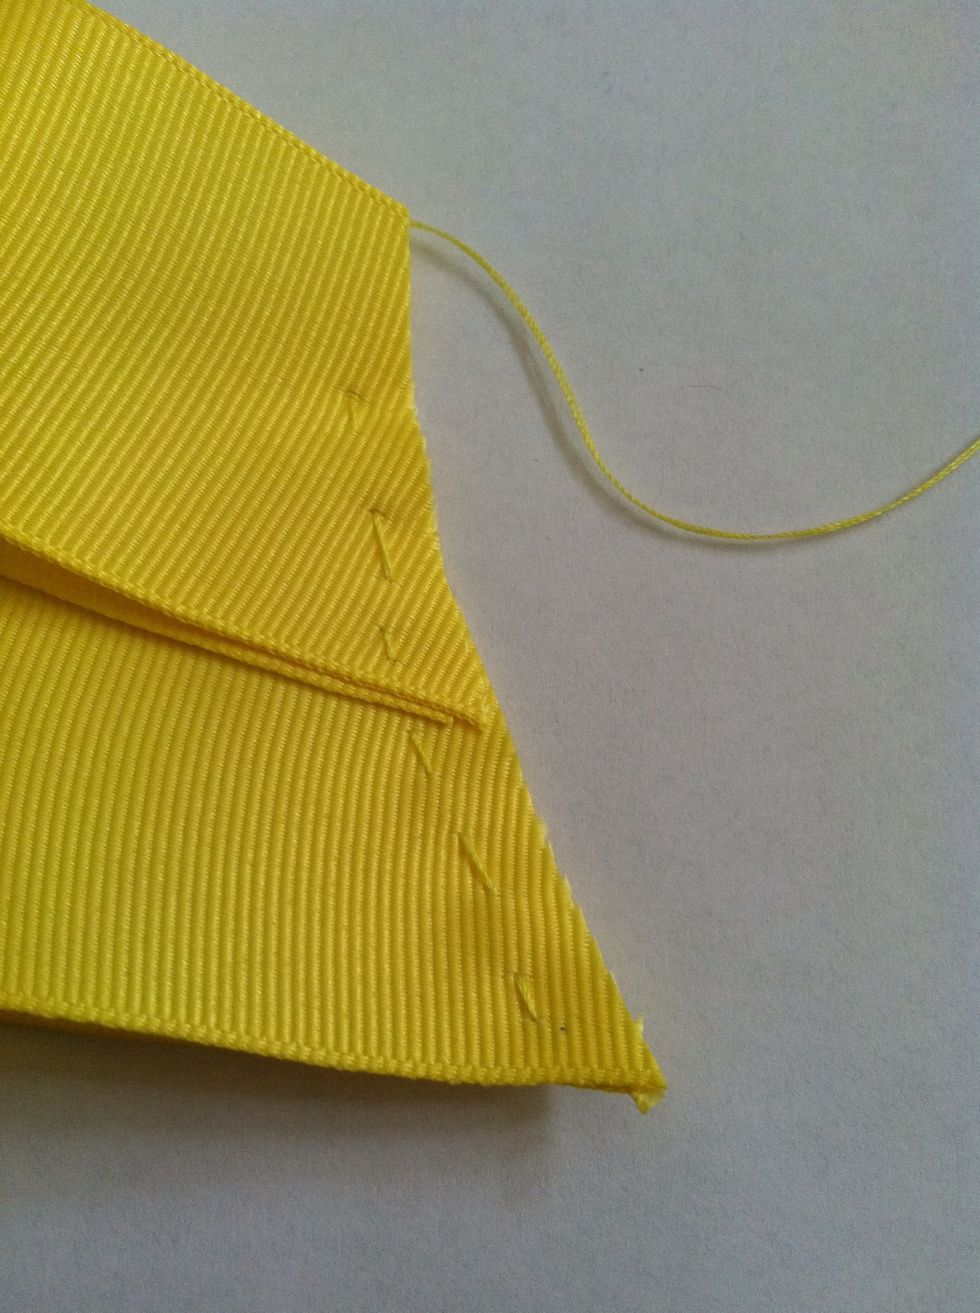
Fold in half. Make sure if your ribbon has a 'face' side, that you fold it so that side is showing.
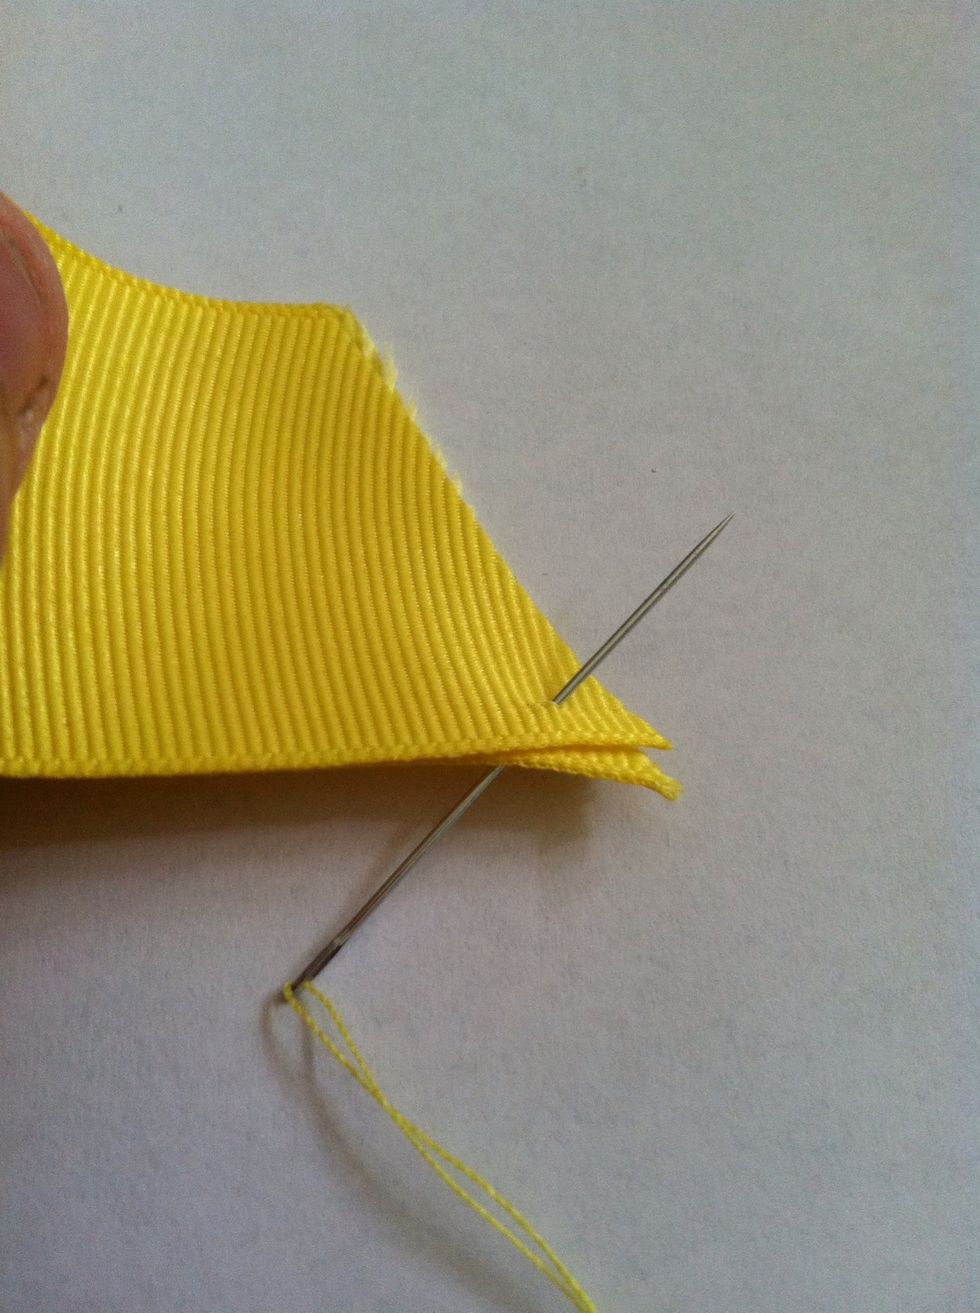
Insert your needle, starting from the bottom side, at the longer edge of the folded trapezoid. Pull it through.
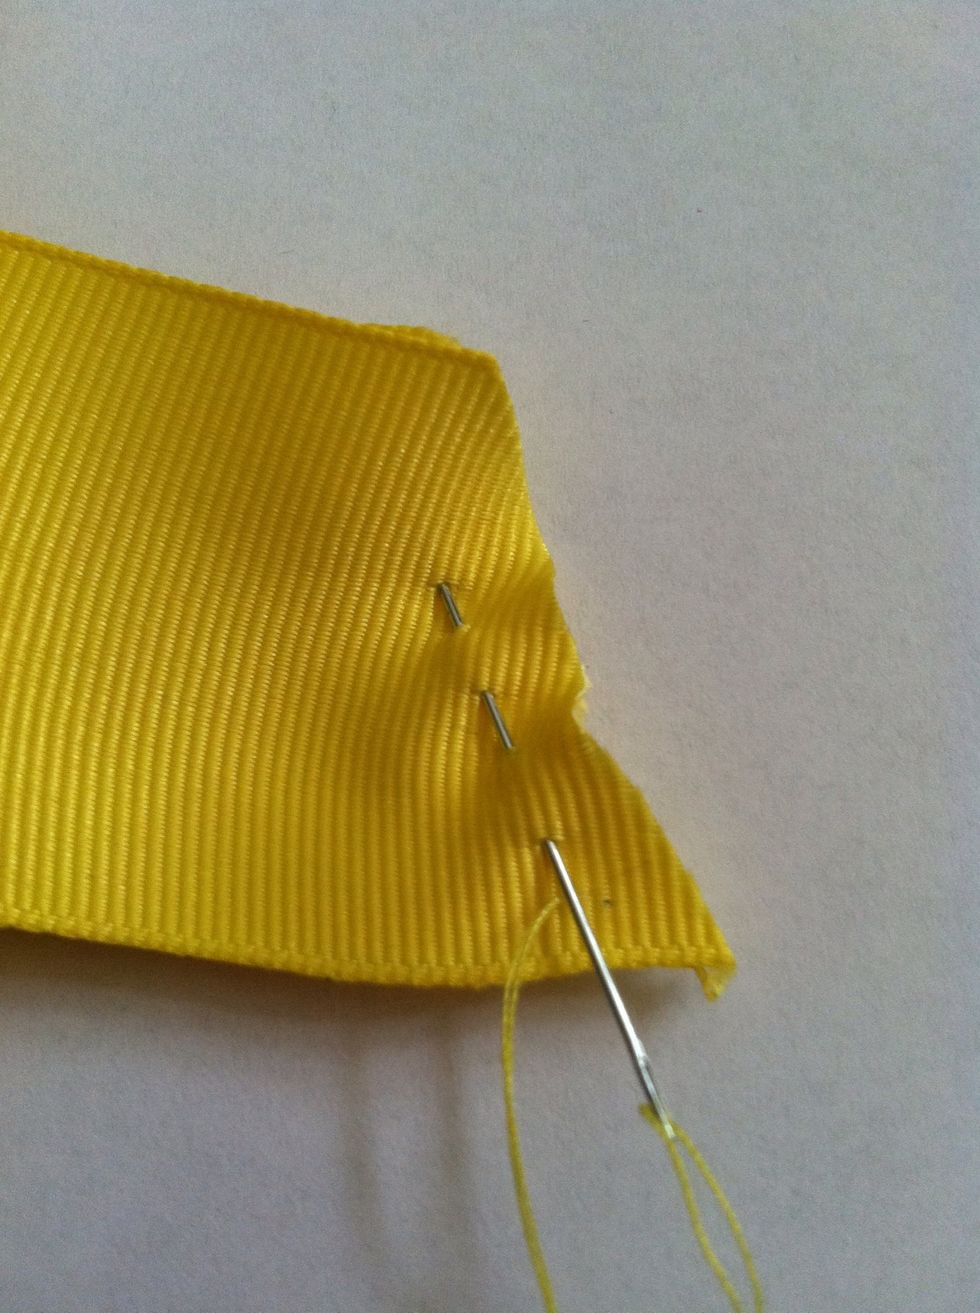
Stitch your way along to short side, using a running stitch. Simply go through the front side and back through the back side, repeat.
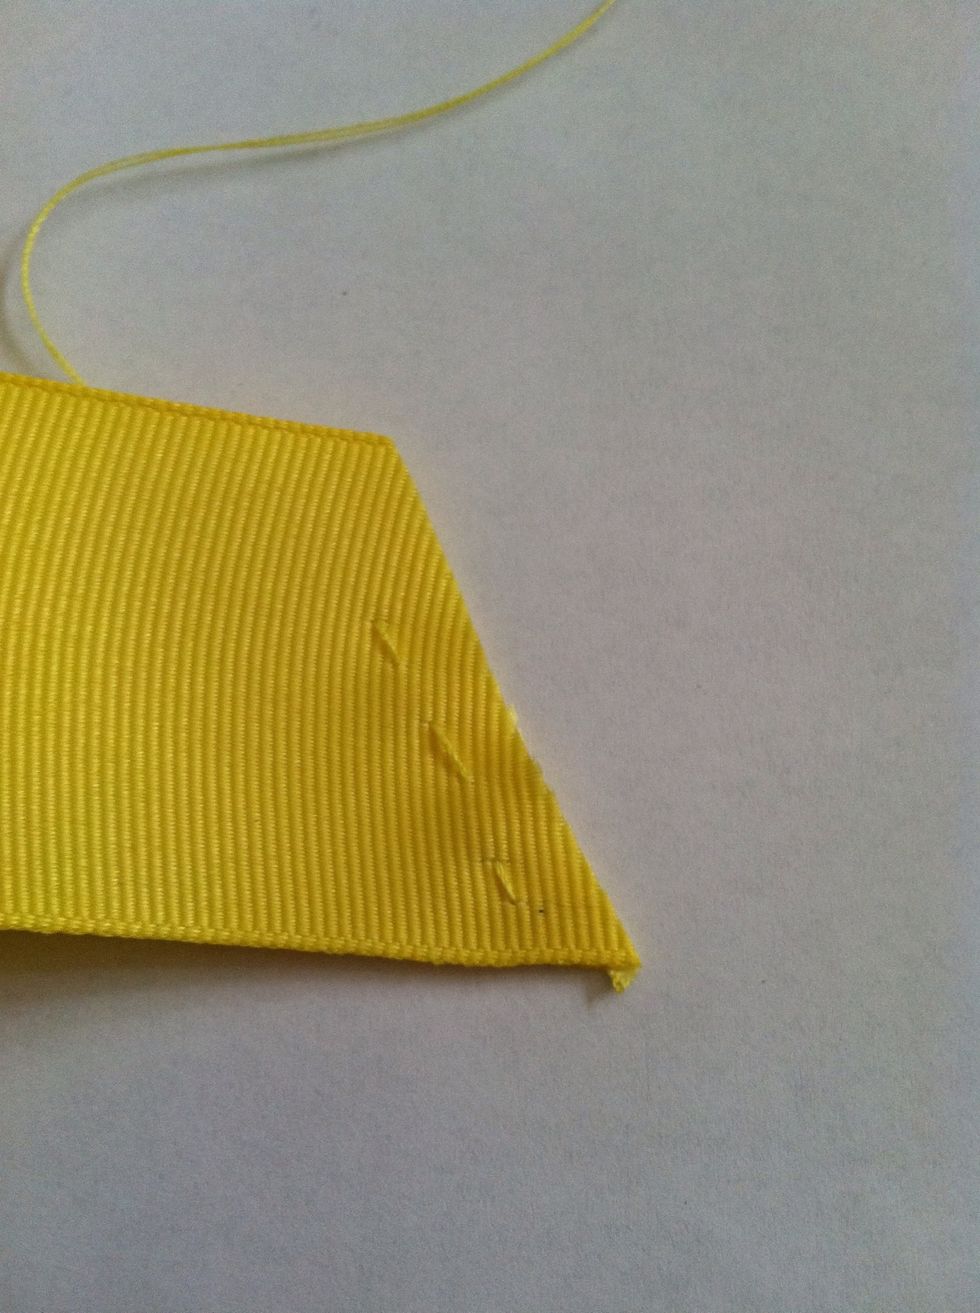
Pull it through all the way, make sure to end, leaving a bit of room, with your needle coming out if the back side.
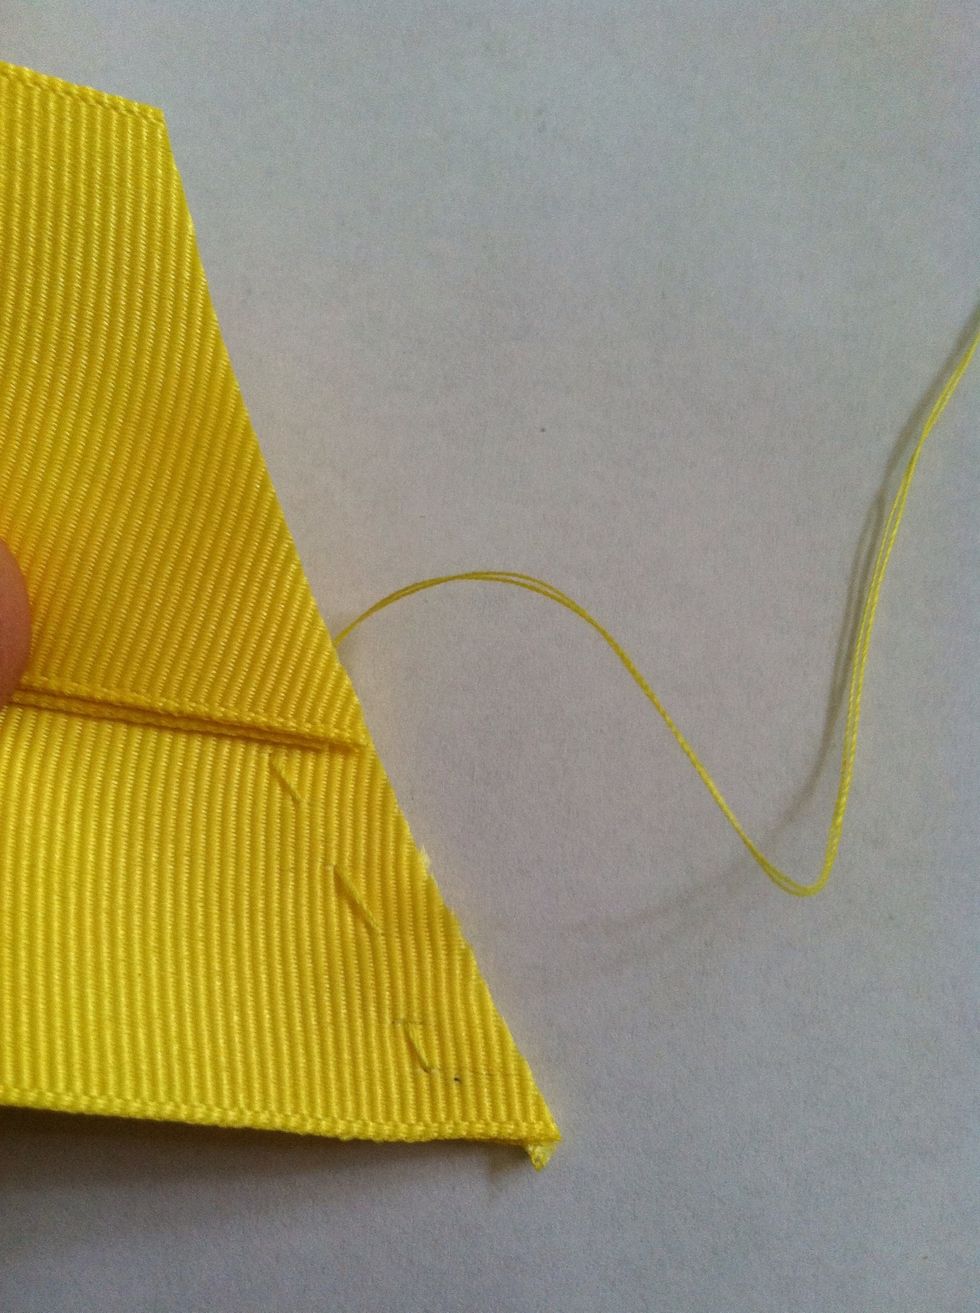
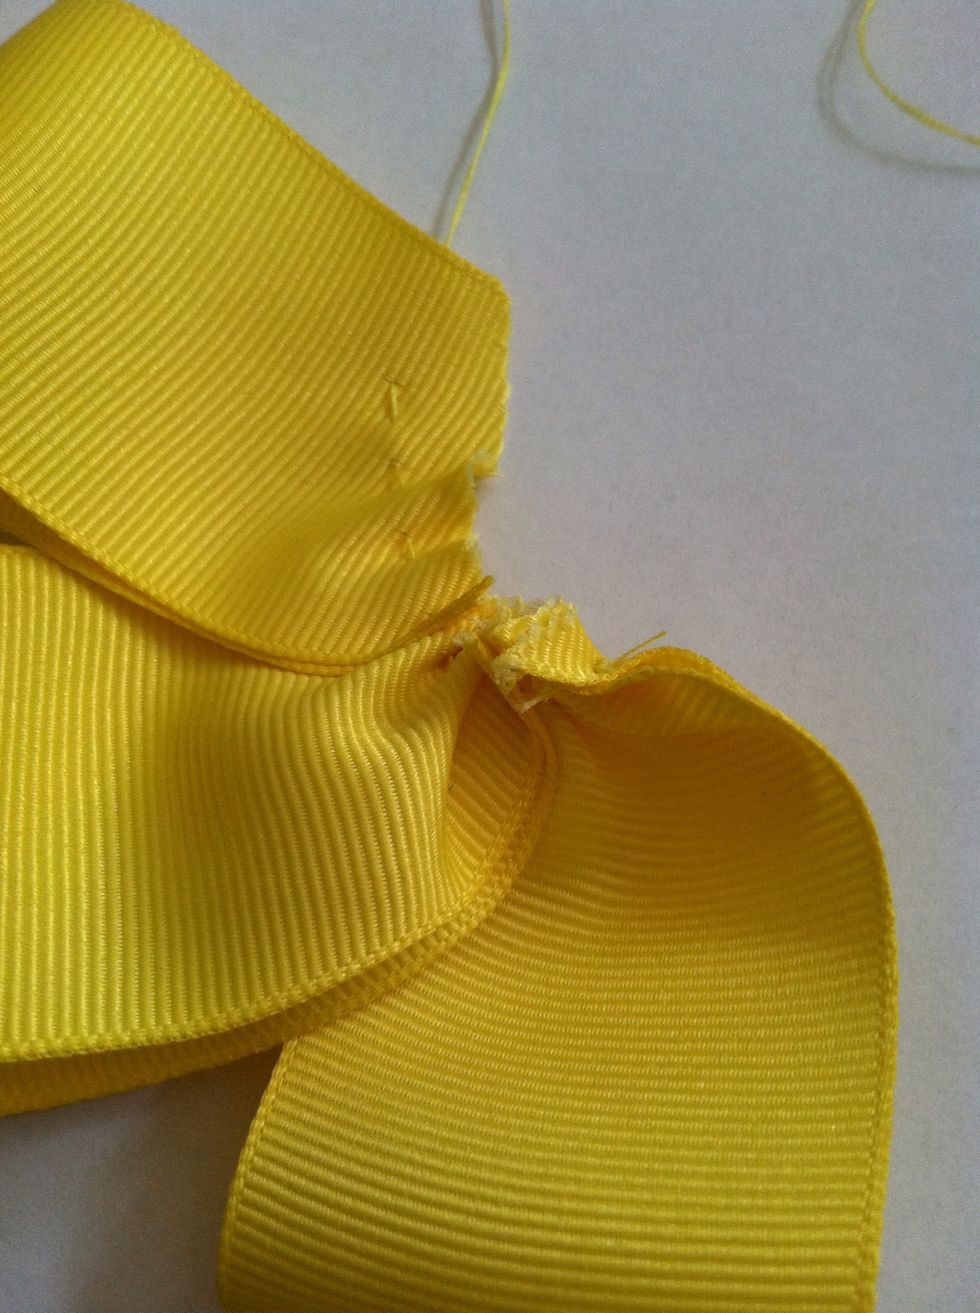
Get your next piece if ribbon, fold it and lay it overlapping the piece you just sewed.
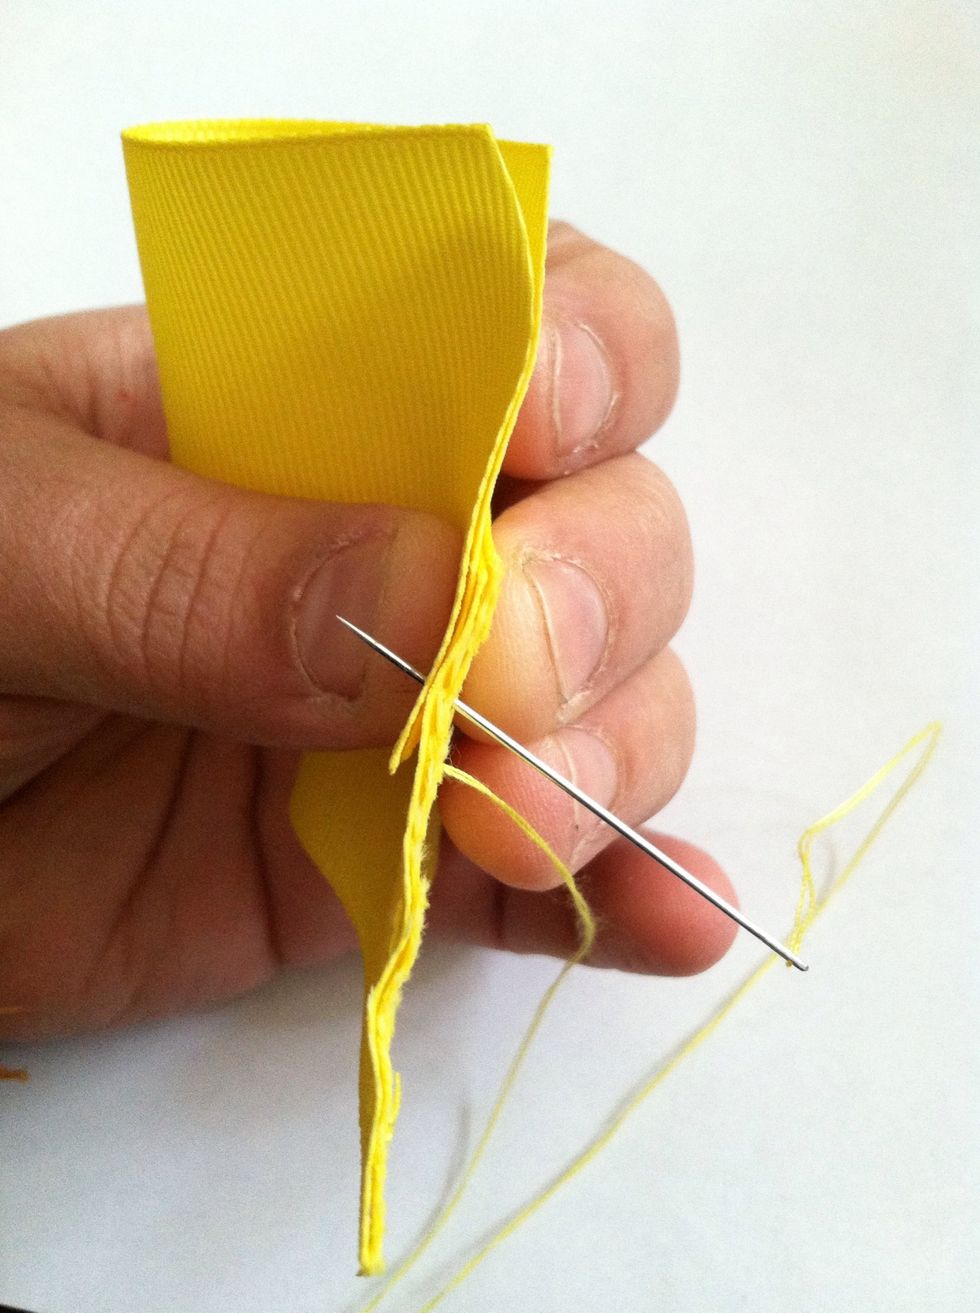
Put your needle up through all the layers of ribbon And repeat the previous sewing steps.
Like so. Make sure you always end with your needle coming through from the back side.
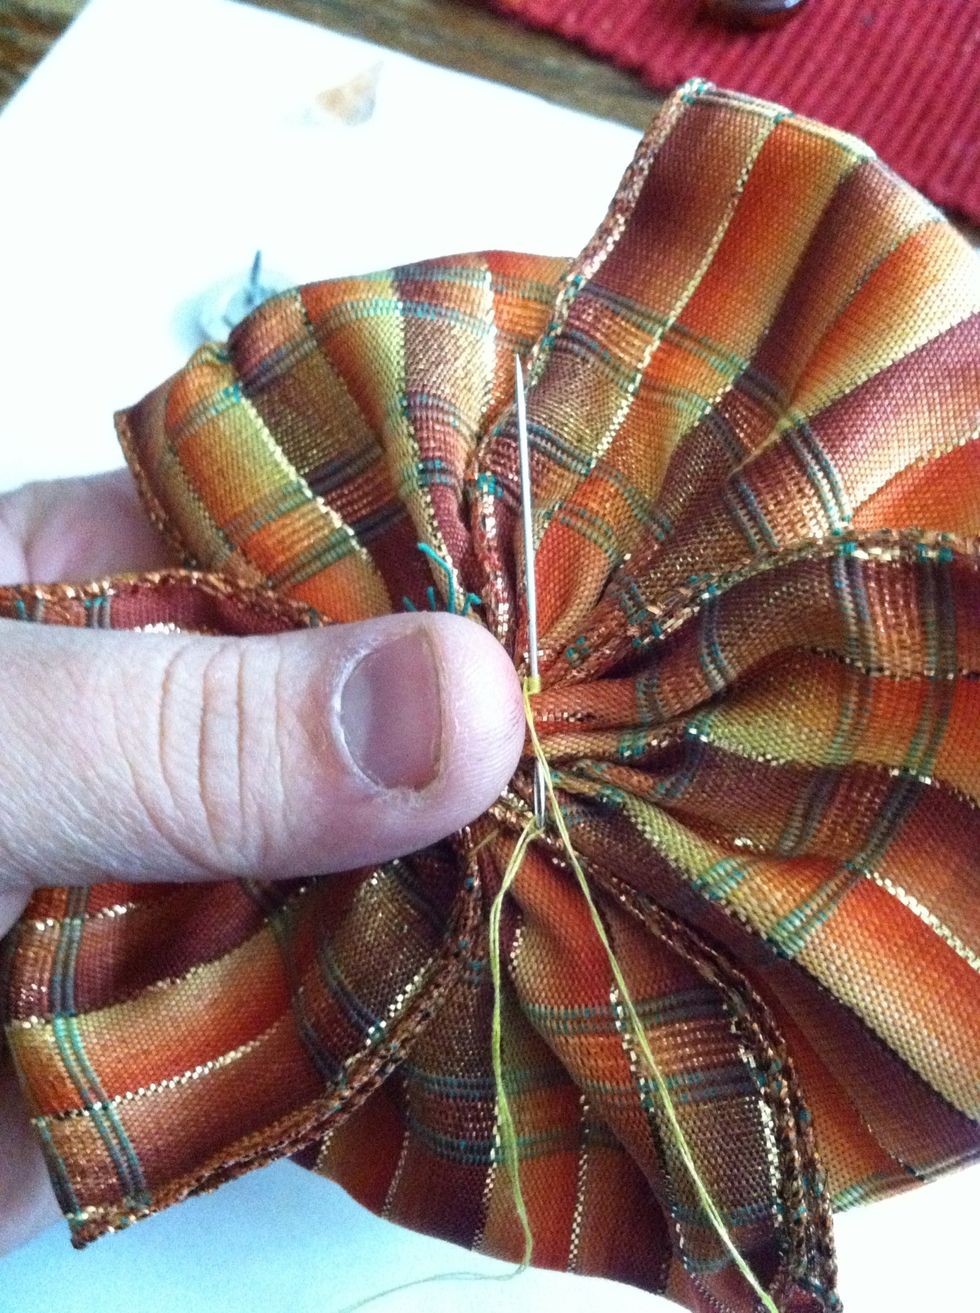
After your third piece you may find it easier to begin scrunching now, you can also wait till all your 'petals' are attached but it gets a little more difficult. Scrunch by gently tugging the thread.
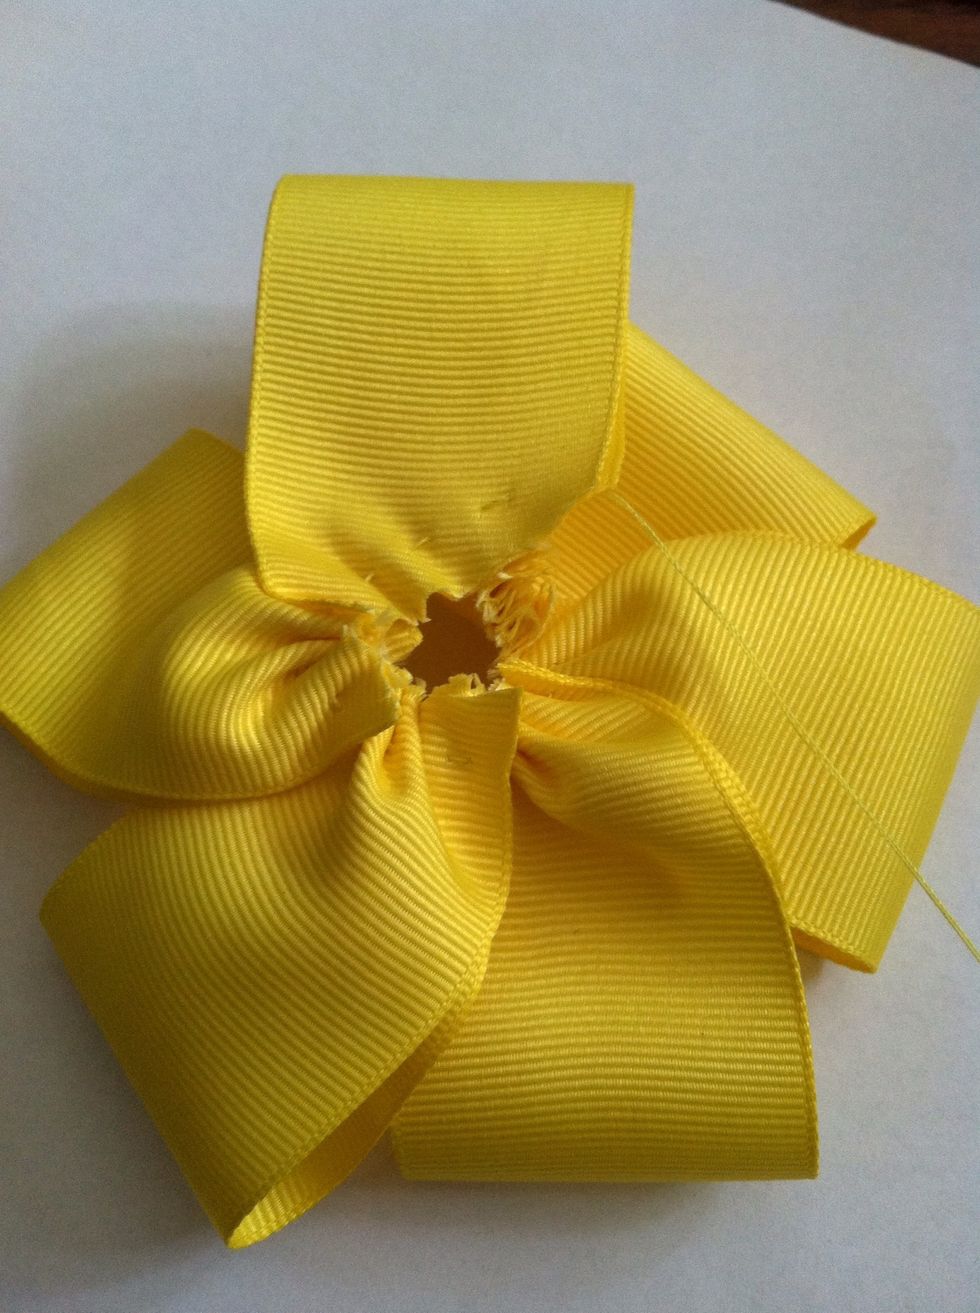
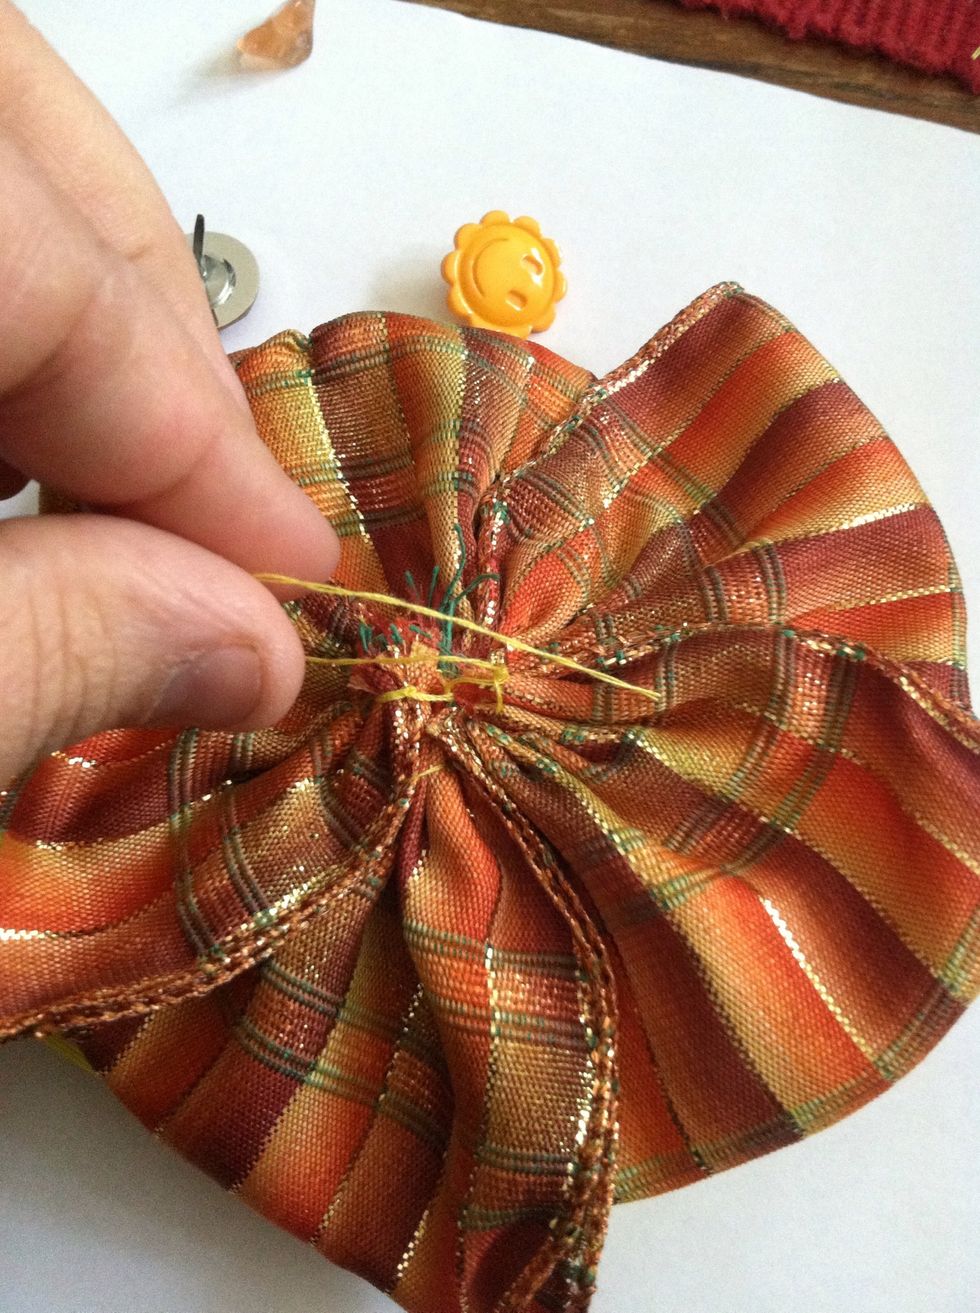
Once you have all the petals attached and scrunched...

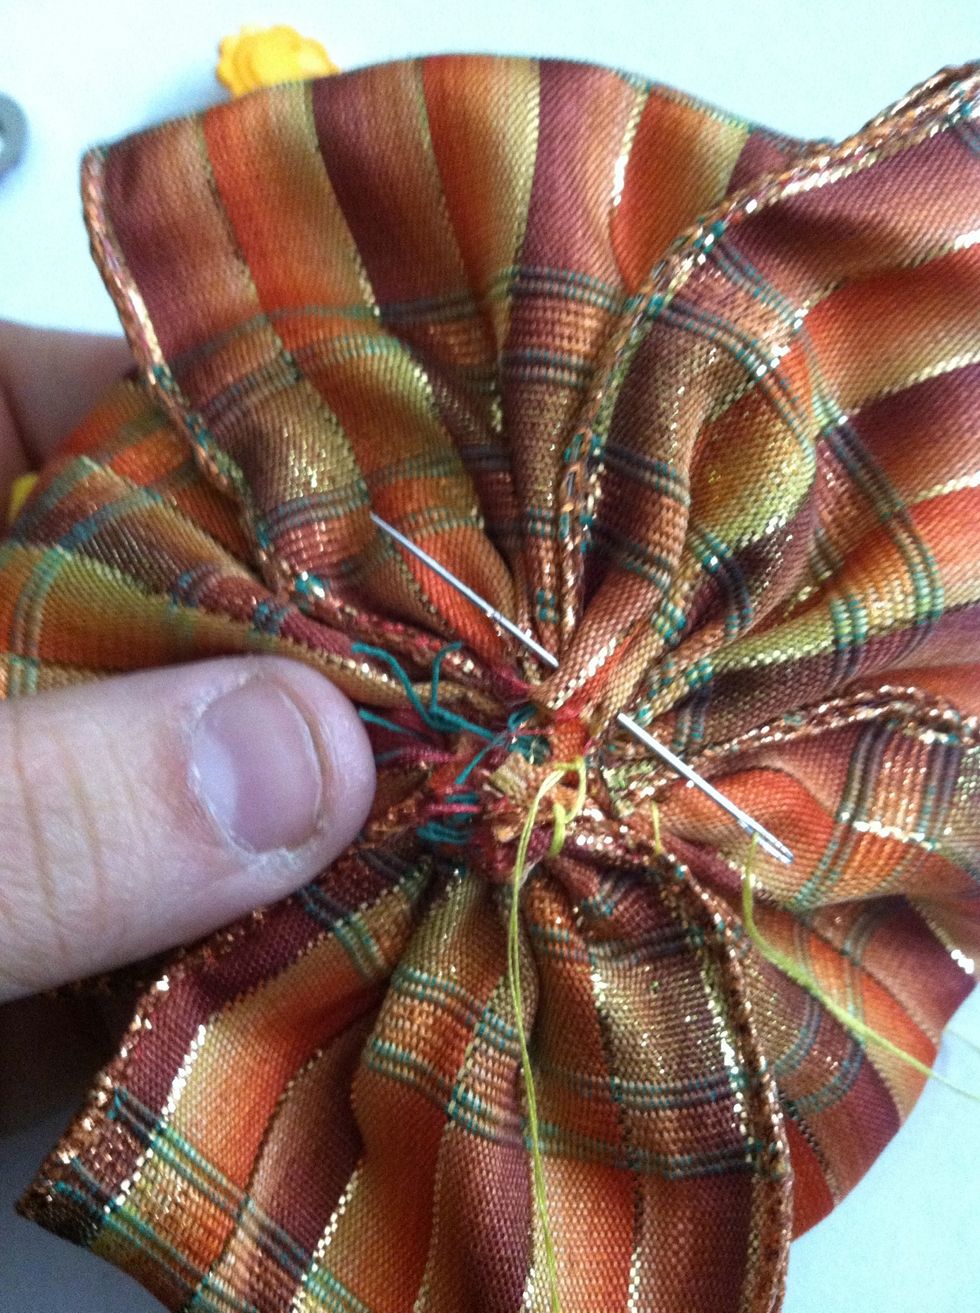
Attach the last petal to the first, continuing with the overlapping pattern of the previous petals. Throw a few random crisscrossing stitches in to secure it.
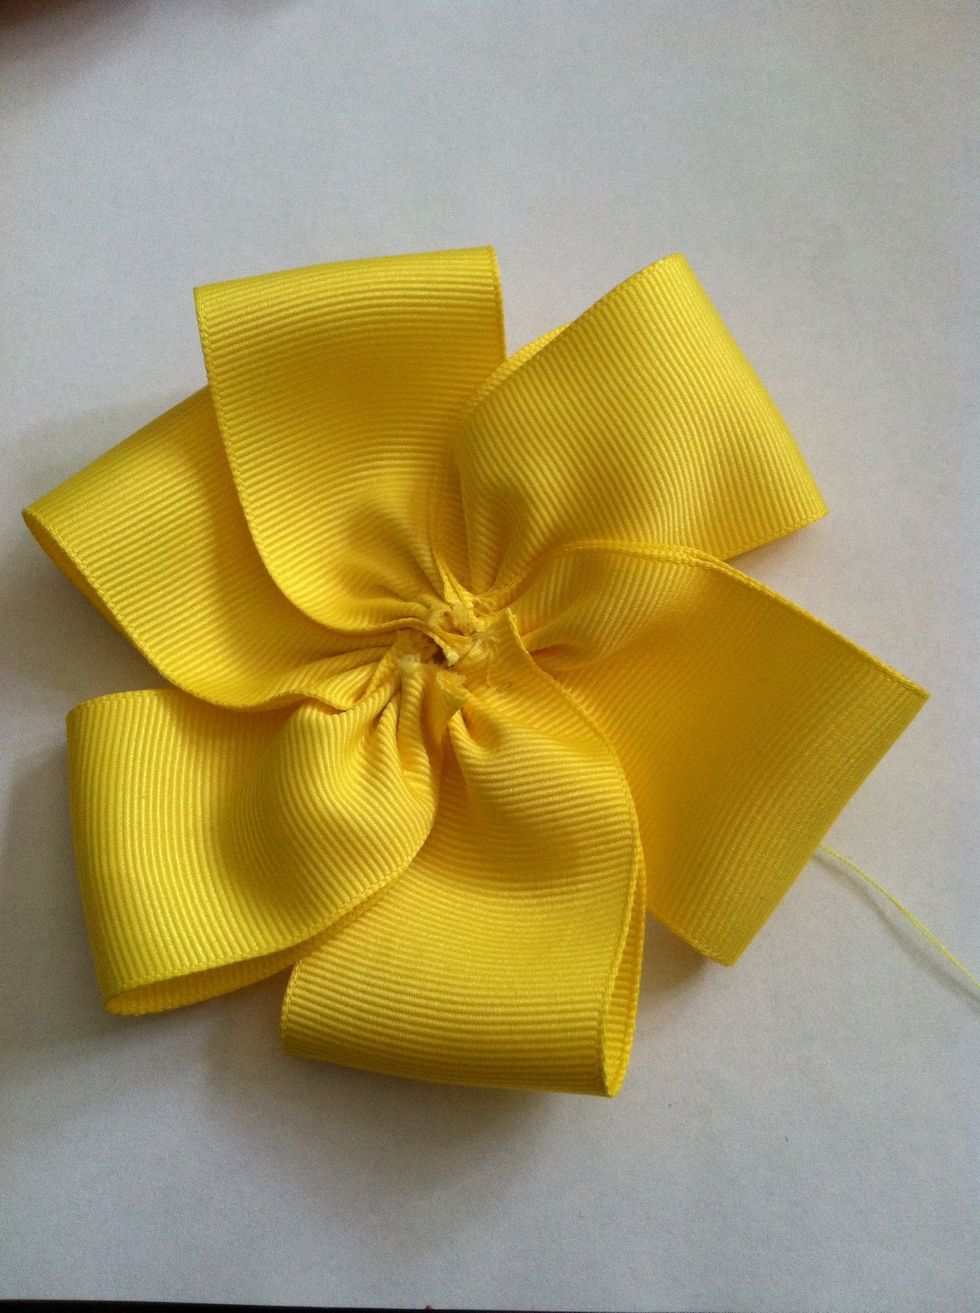
At this point you could do many things with it. I added another layer of petals and a center.... Refer to step 26 on how to close off the thread.
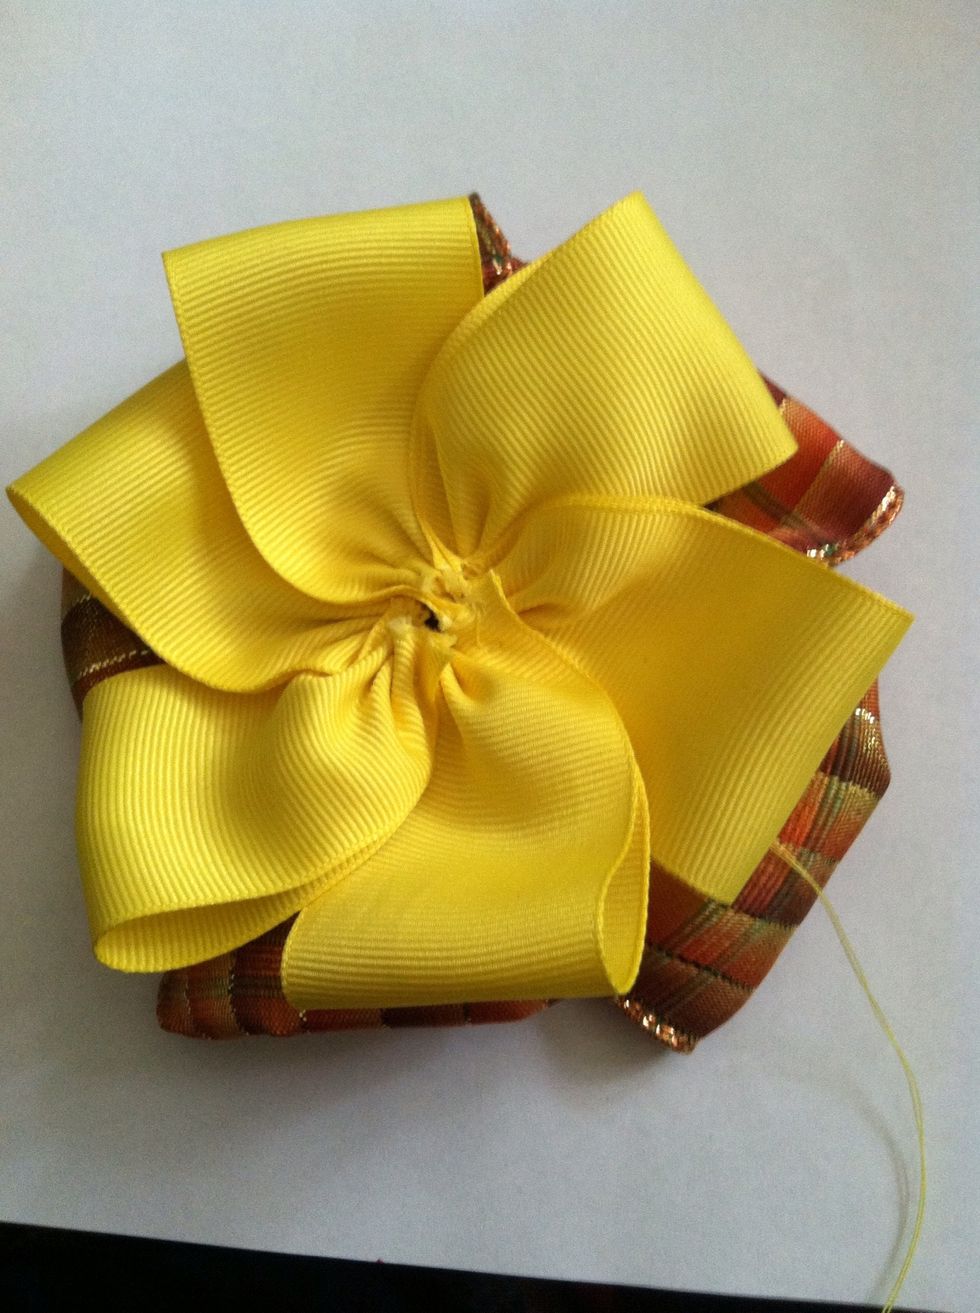
I made a second flower, slightly bigger, and sewed the two together.

This center I chose had its own attachment thingy, but normally I would sew a bead to the center.
When finishing, (reference from step 13) put your needle through, as shown in the picture, do not pull it through.

Wrap your thread, close to where it comes out of your last stitch, three (3) times.
With your thumb, gently hold the thread you wrapped around, and pull the needle through, leaving a knot behind.
Do this two or thee times. Then snip off, leaving enough tail to make a standard knot. Knot it two or three times and snip again.
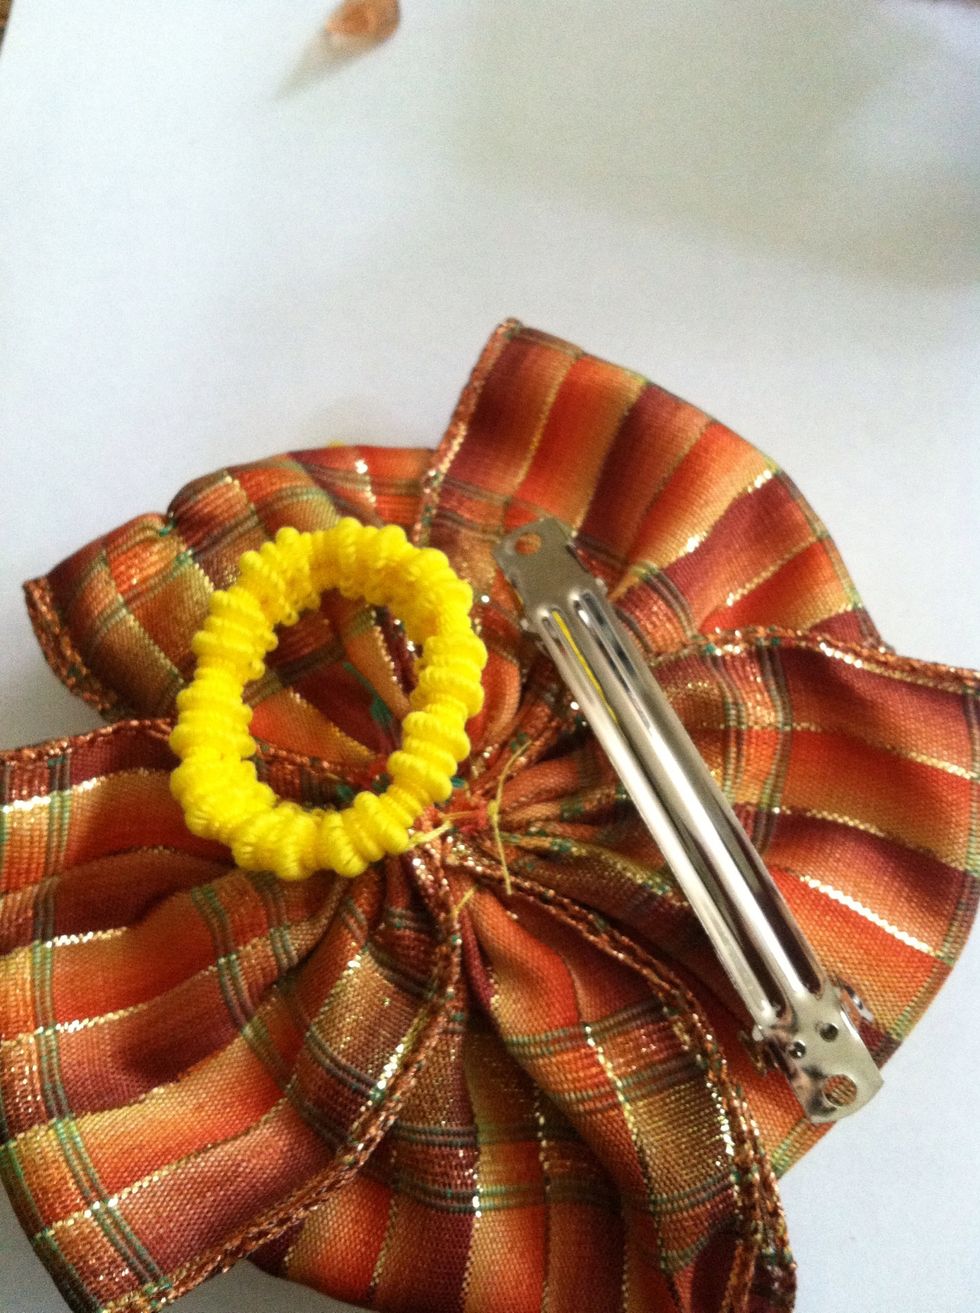
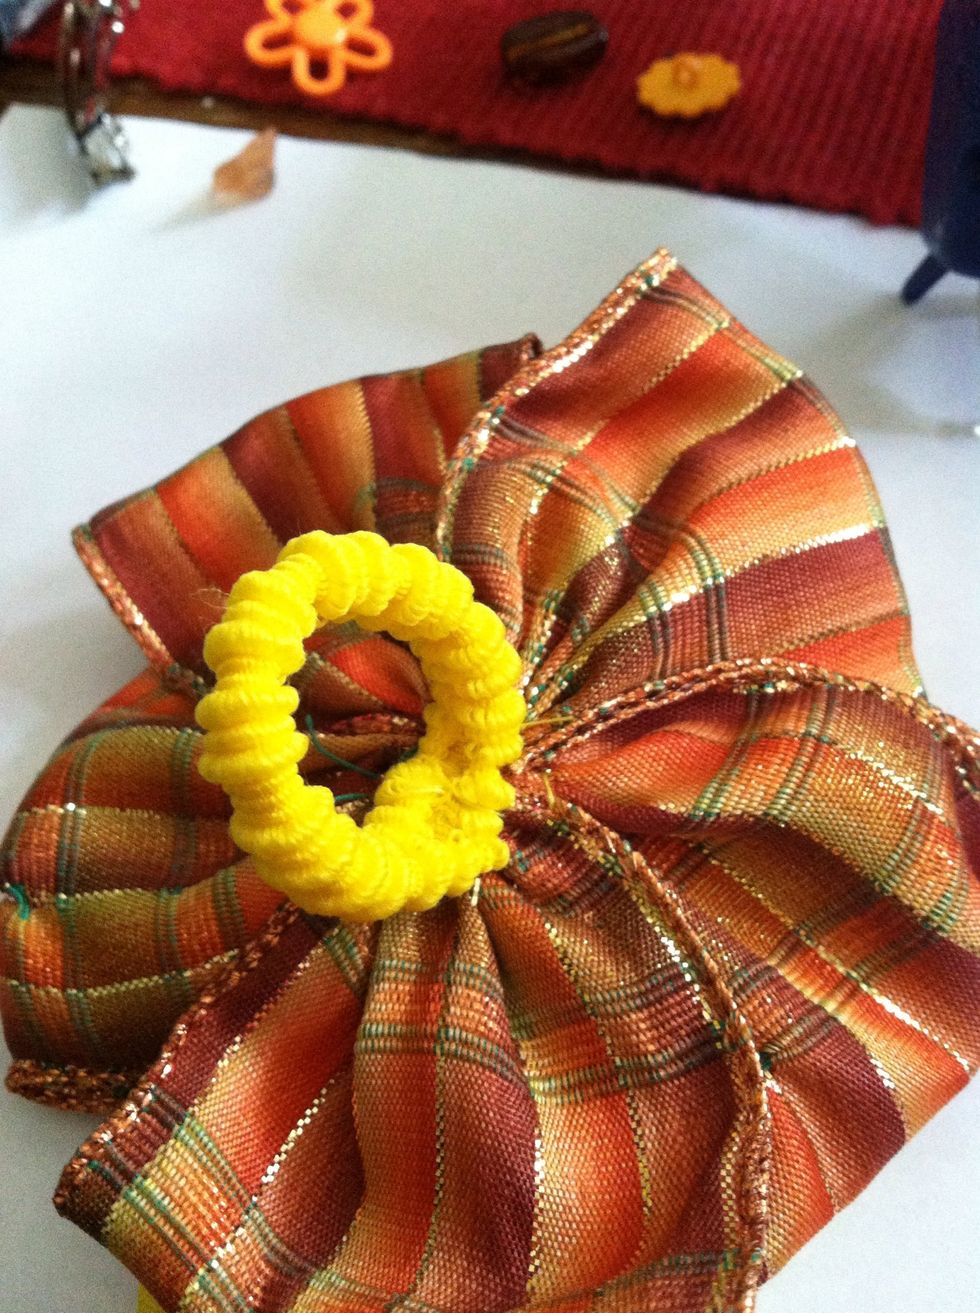
Choose a tie or clip.
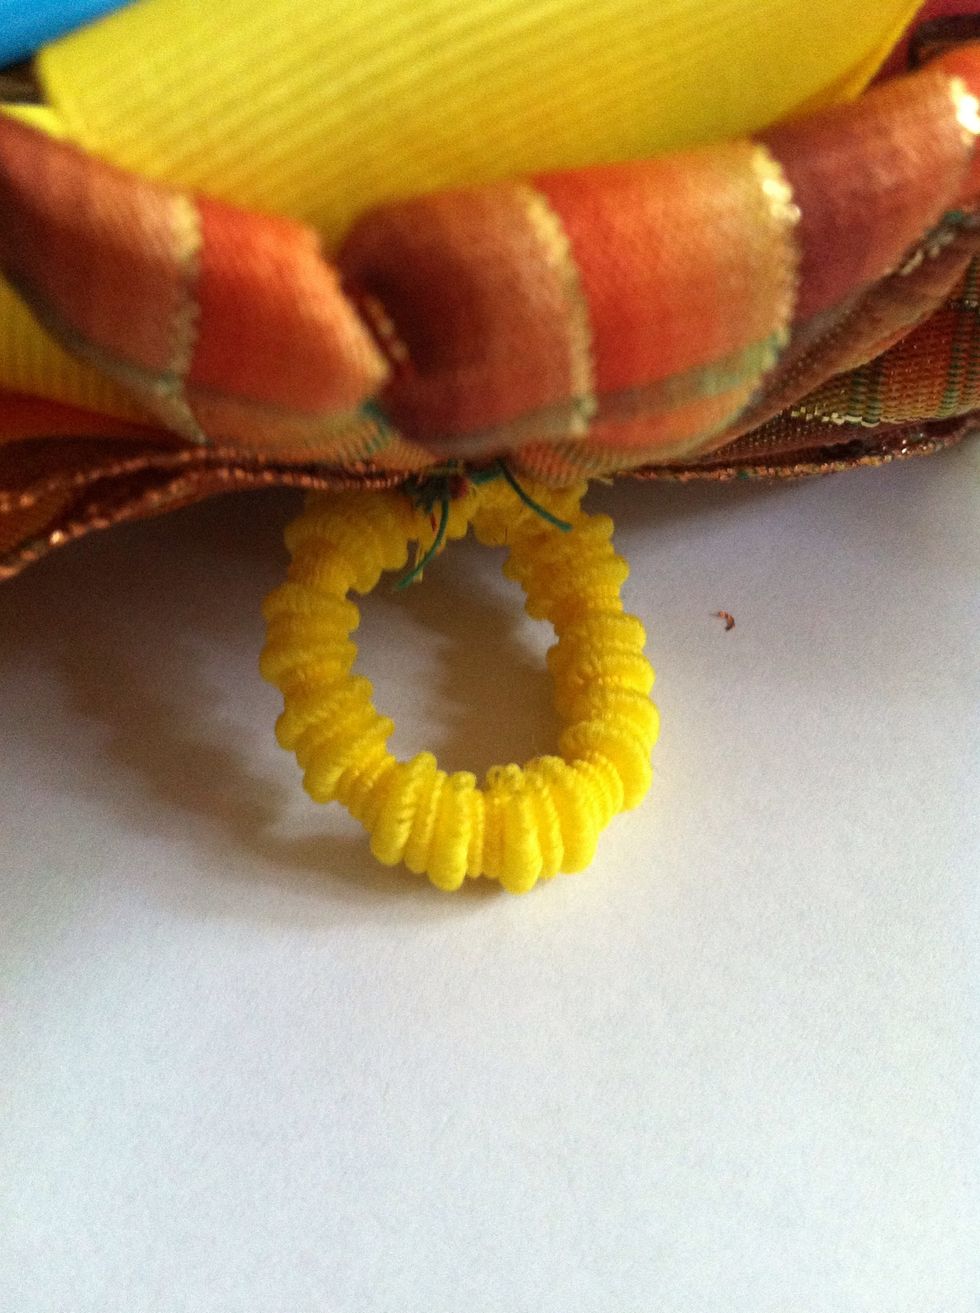
Sew it on, I'm really not great at sewing.... Lol
Just make sure it's secure, I ended it the same way as my flower, with the triple wrapped knots and two standard knots.
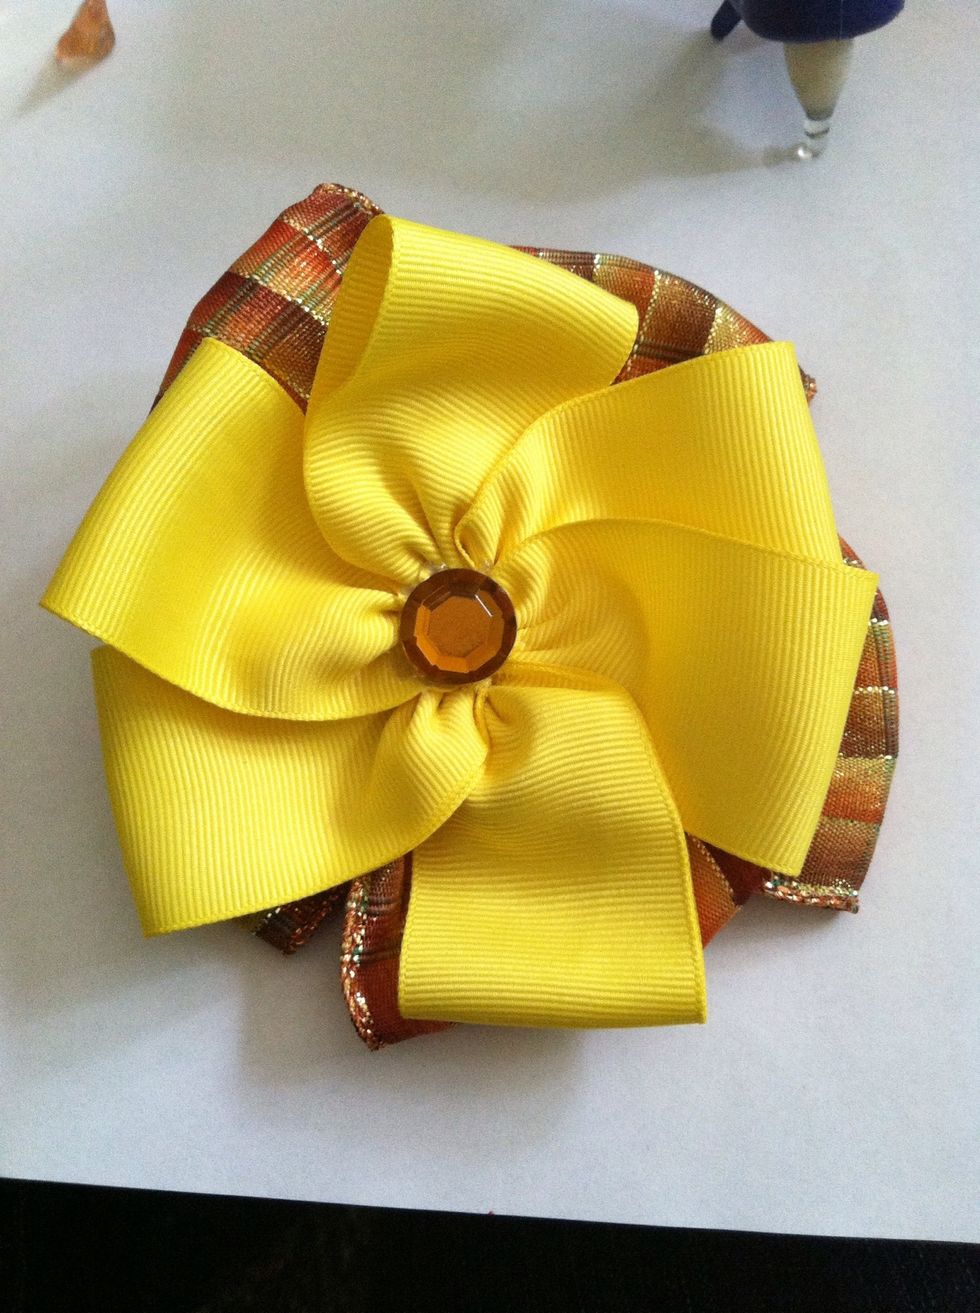
Tada! A finished hair flower! This one I made rather large, but I actually prefer smaller ones lol.
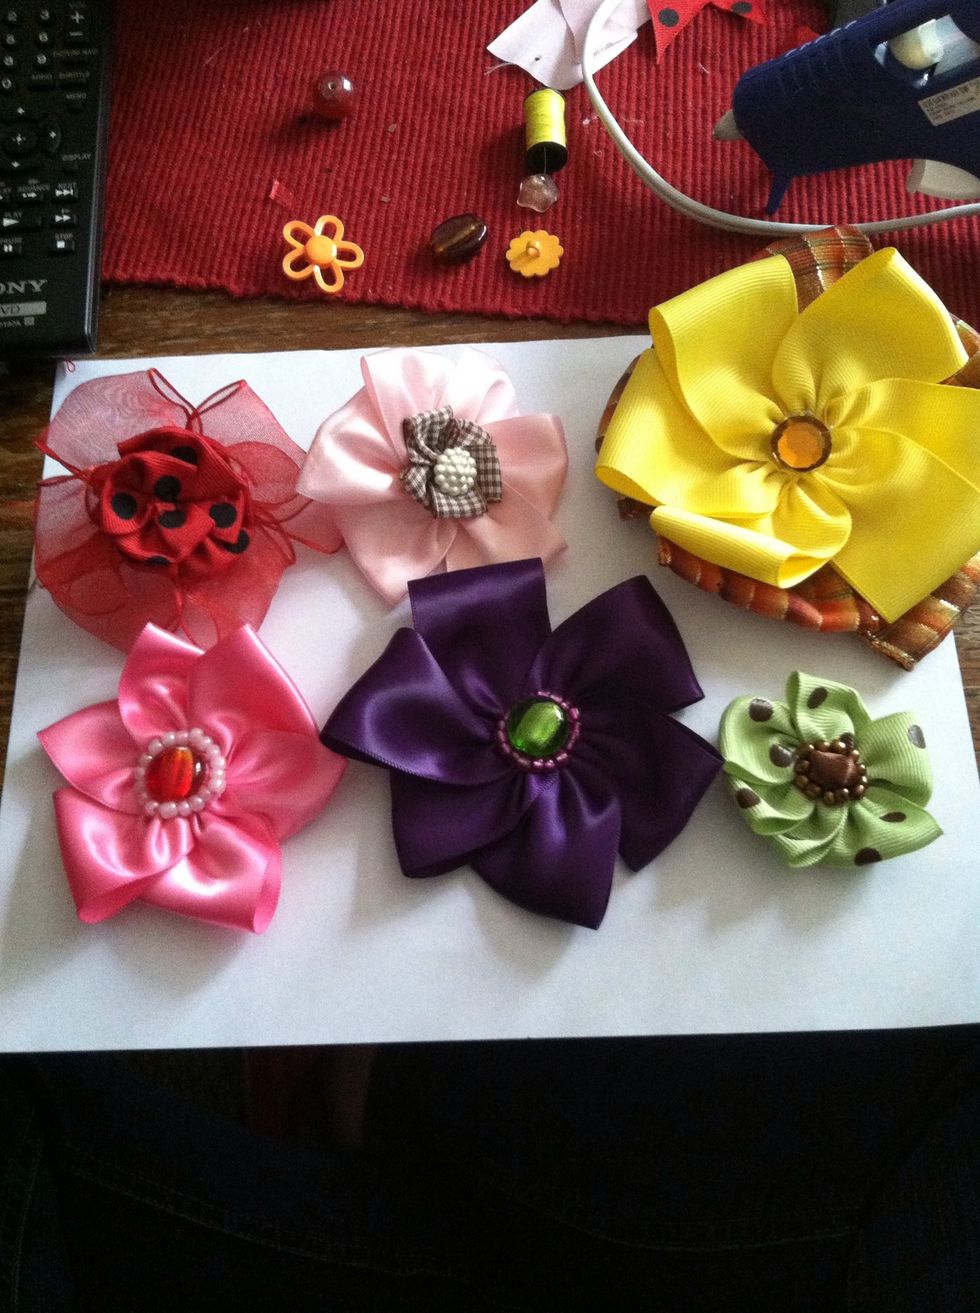
Some other examples using beads.

You can also use a clip.
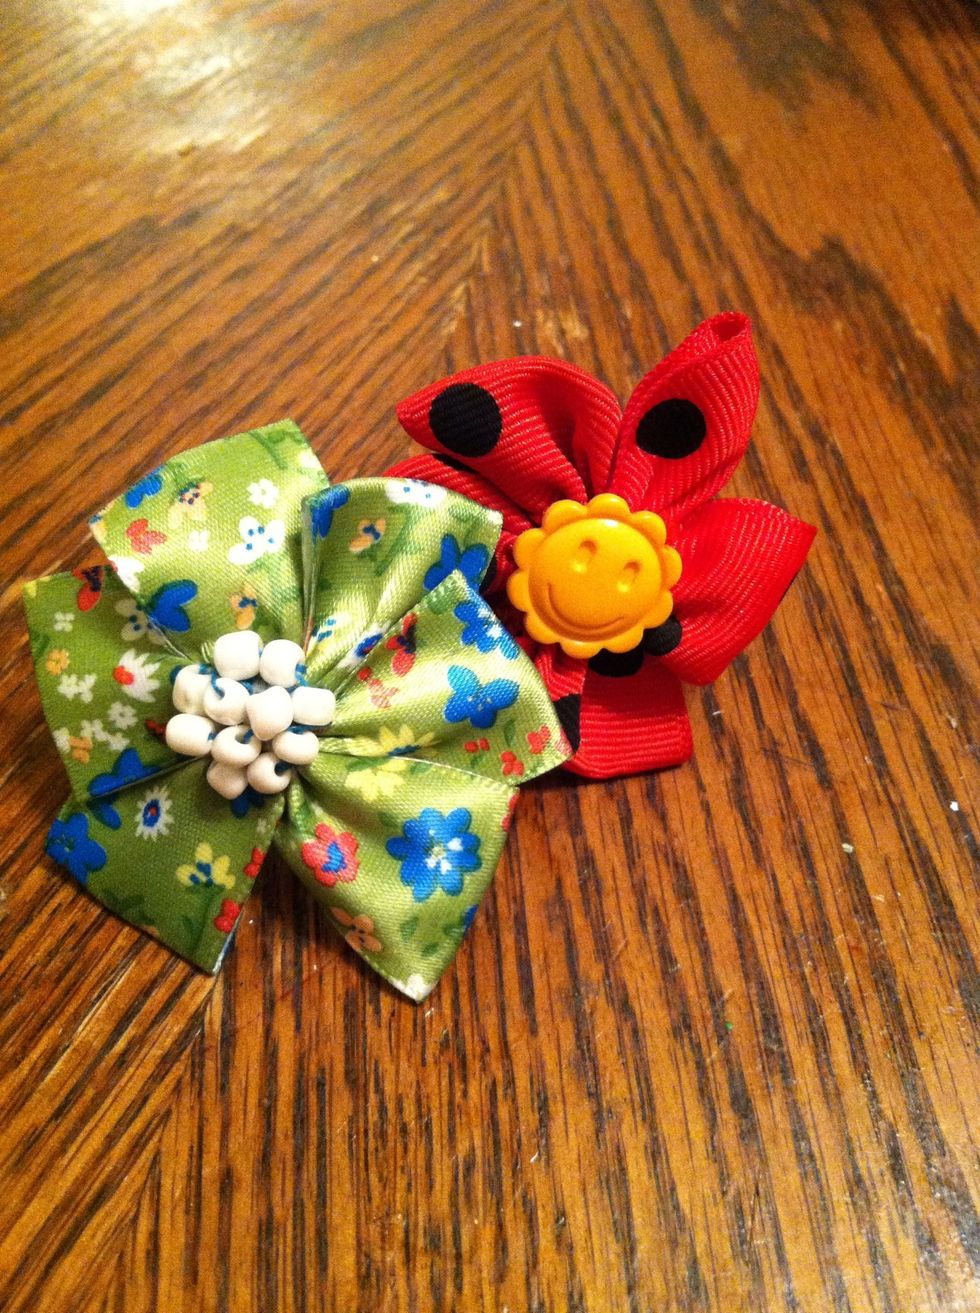
I wear that green one all the time :)

Thanks everyone for your support, check me out on Facebook, twitter: @ranebodydecor And the newest addition! A blog! Ranebodydecor.blogspot.com. Hair flowers and bows can also be purchased :)