The Conversation (0)
Sign Up
Pick out a tea tin that you want to decorate. If you're going to be making a decoration that reminds you of what variety of tea is inside, it's best to pick a tea that you're likely to keep in stock.
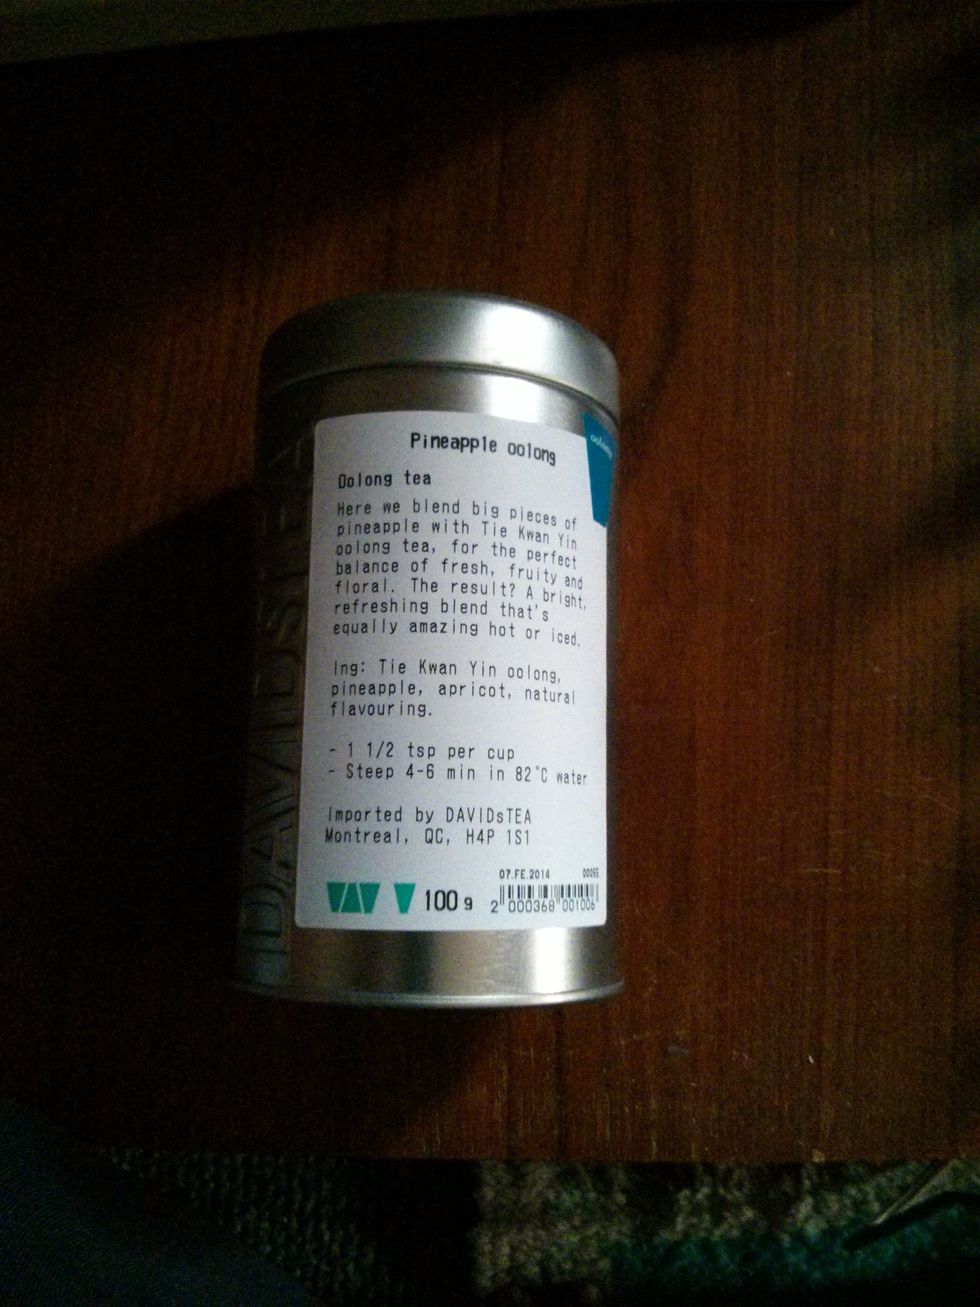
Here we have a David's Tea tin, with a label. It's Pineapple Oolong...so yummy and tropical!
If you have tea in the tin you want to paint, this is the point at which you should find another temporary container for it. Mason jars are a good option, as they seal well.
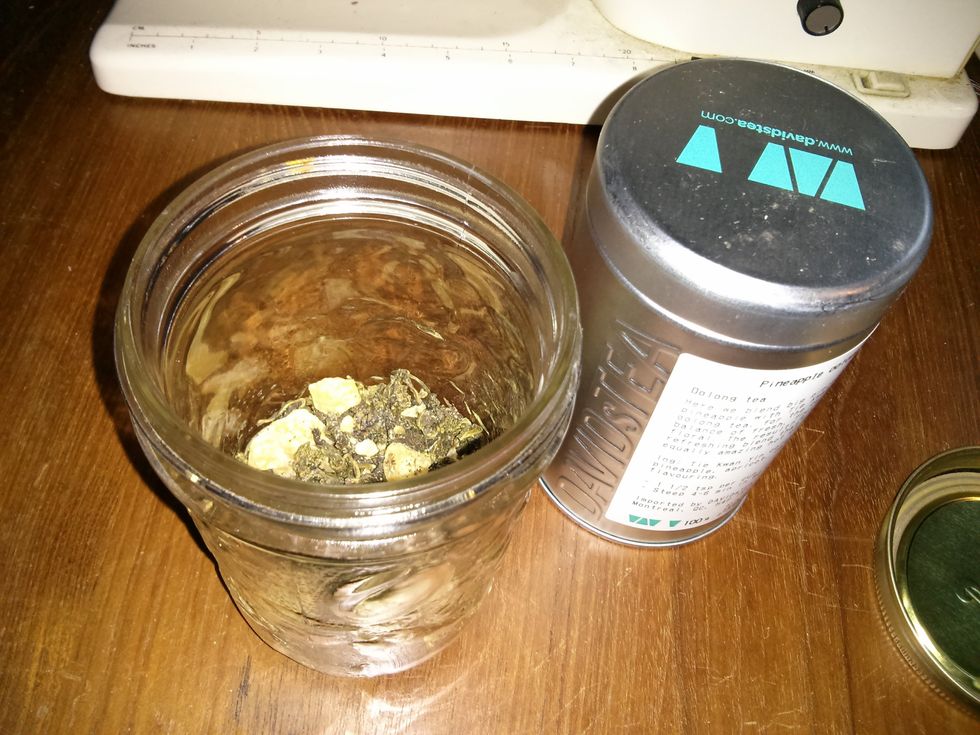
Keep your tea safe from smelling like nailpolish! It is not nearly so tasty!
Depending on the type of decoration you want to do, this is the point at which you might want to sketch out your design. For this tin, I'm going with a dragon (Oolong) blowing a sailboat.

I'm not a spectacular artist, but then, considering the medium is going to be nailpolish, don't expect much in the way of precise lines and perfect artwork.
Pick a colour you like, or a few colours. Remember, some colours of nailpolish don't dry the same shade as when they're wet, so if you aren't sure, test it out to see the colour (and finish) when dry
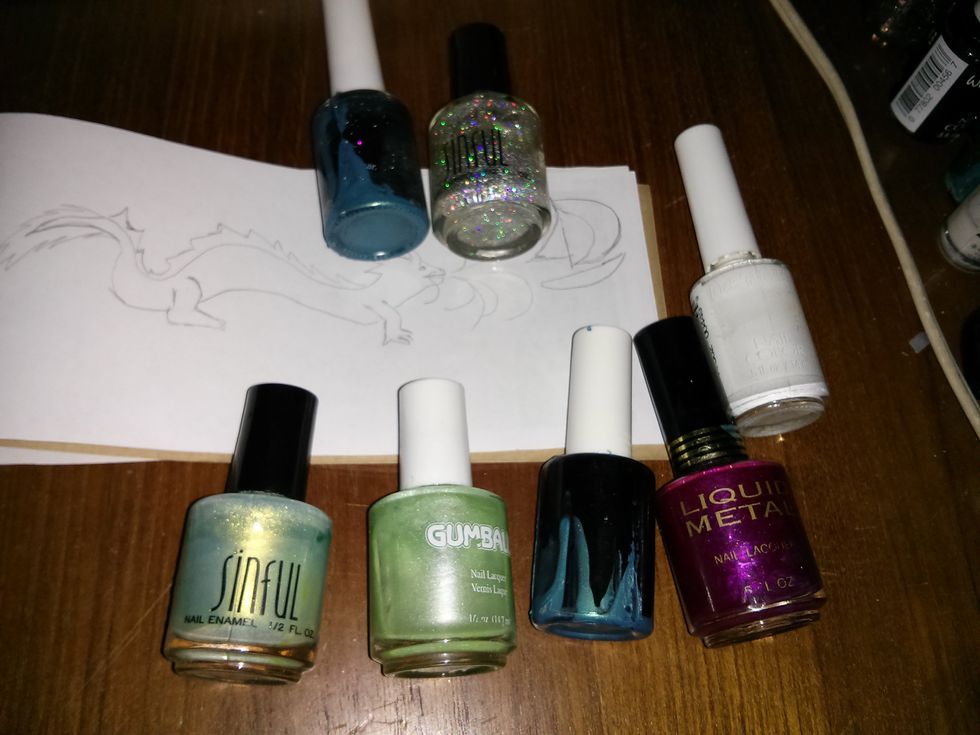
here we have colours for the dragon's body, its crest and tail, the hull of the boat, the sails, and of course the water. Black and white are essentials for almost any image.
Now it's time to paint! Take this slow and careful, giving the polish at least half an hour to fully dry between coats, and especially between different colours.
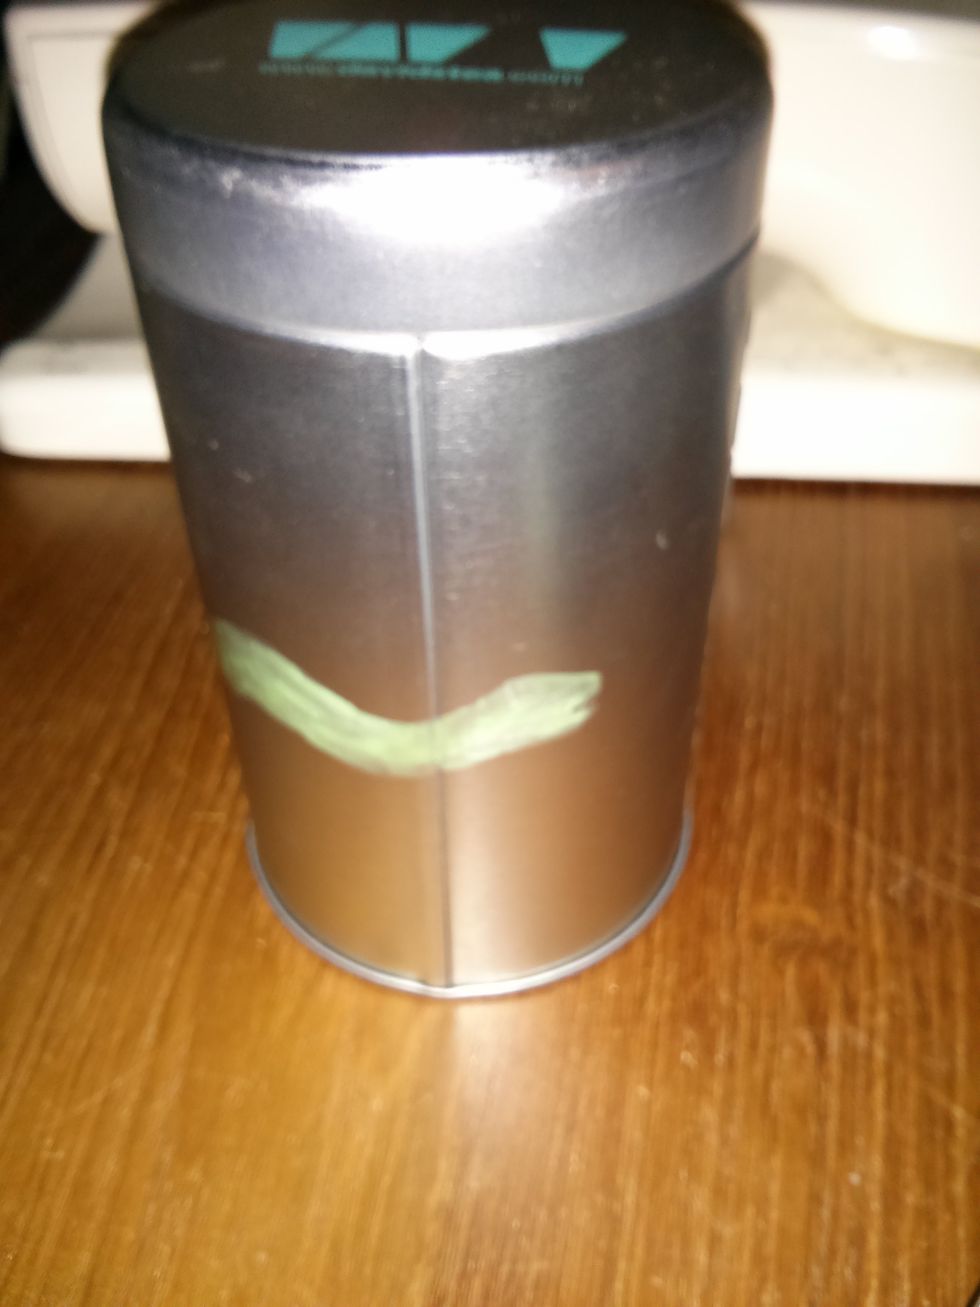
We start with the body of the dragon...at this point he looks like a snake, pretty much.
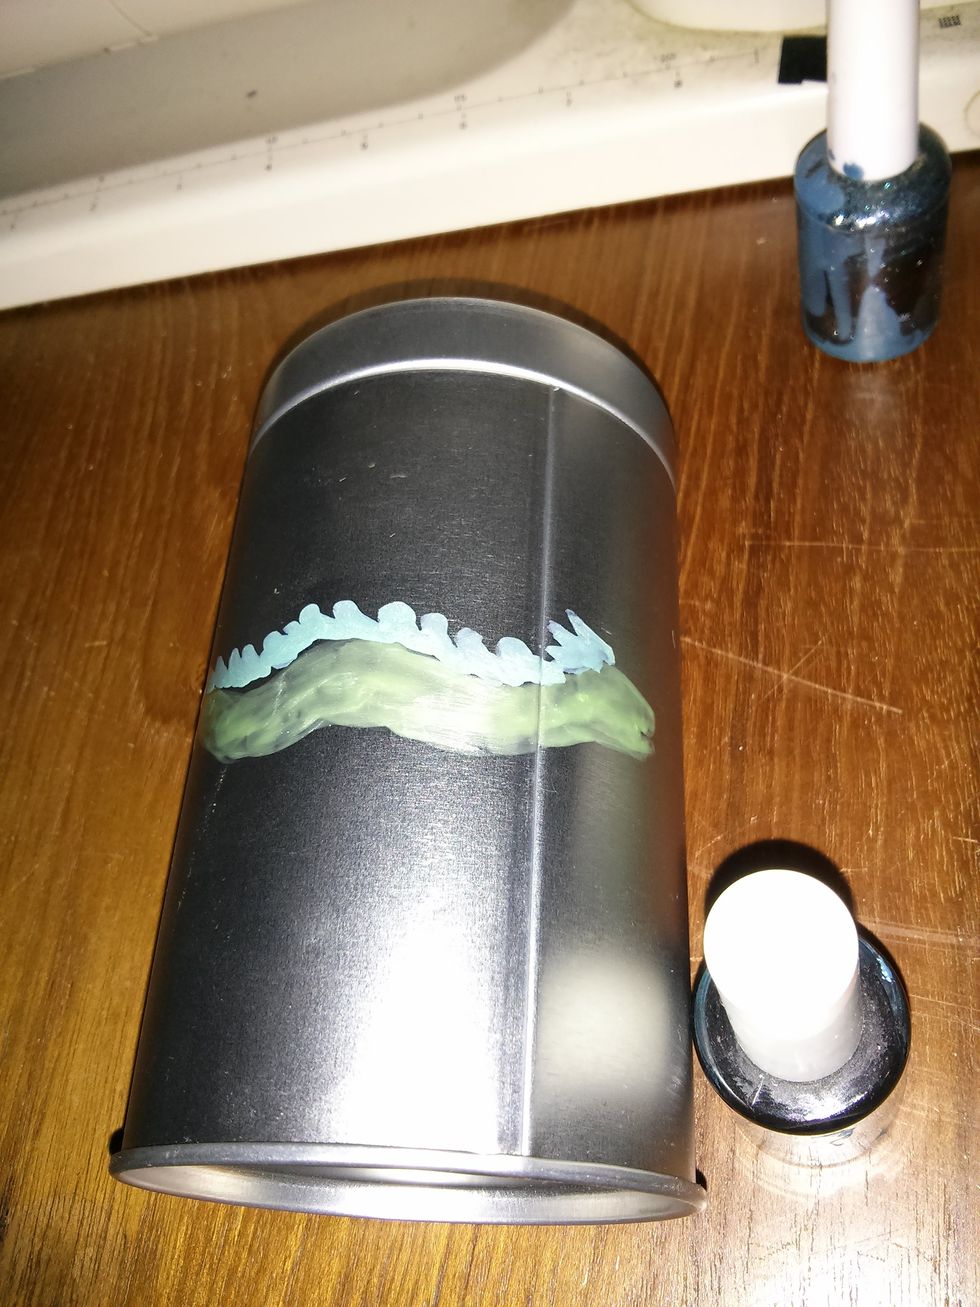
Add in the crest (and the tail as well, even though you can't see it in this picture...it's a bit hard to take photos of curved things.)

Our dragon is no longer a snake! The legs are added on after, so that there will be definition between the body and the legs where they overlap.
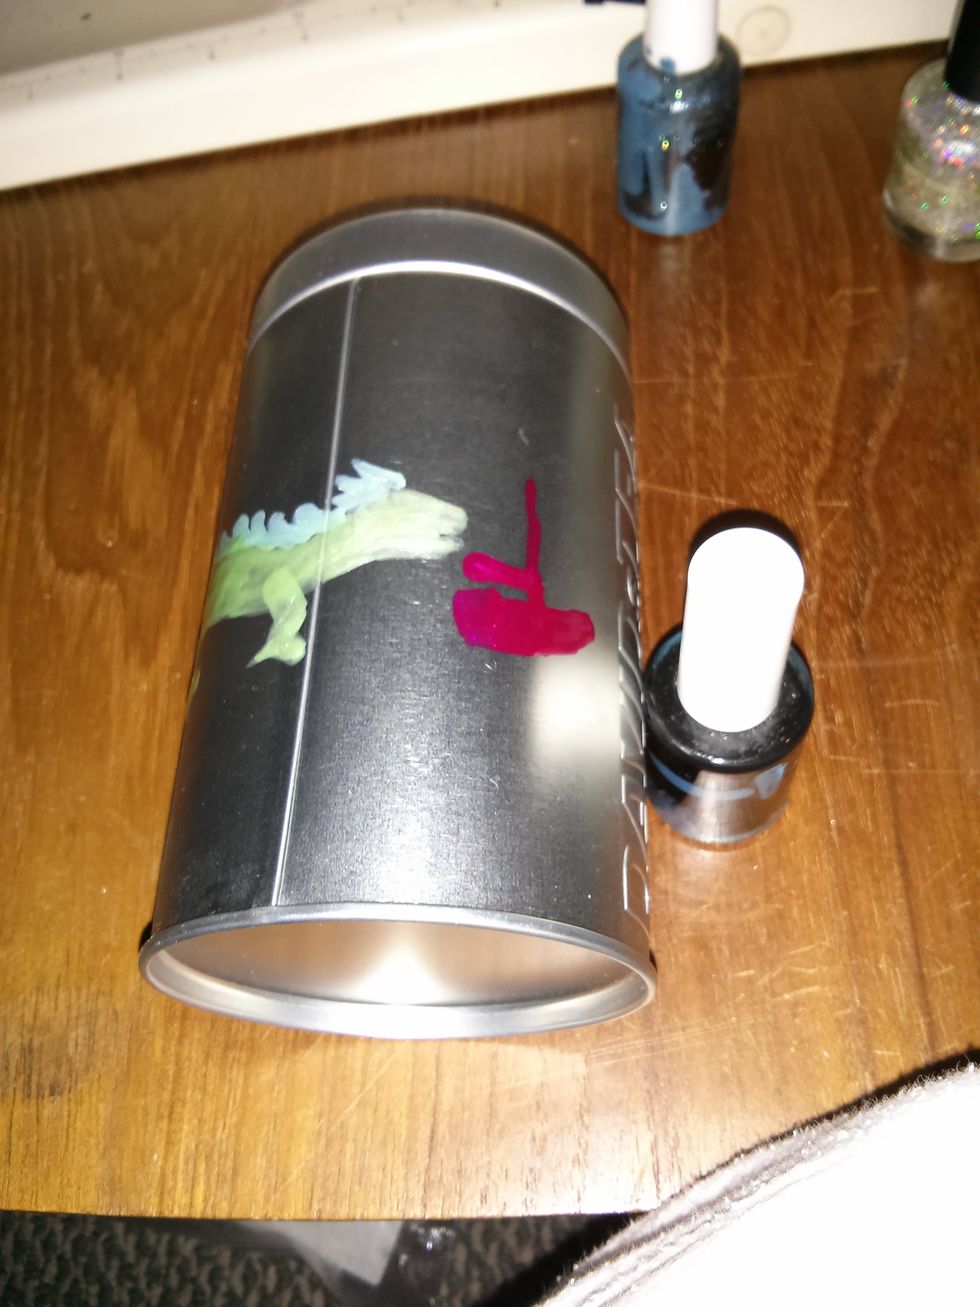
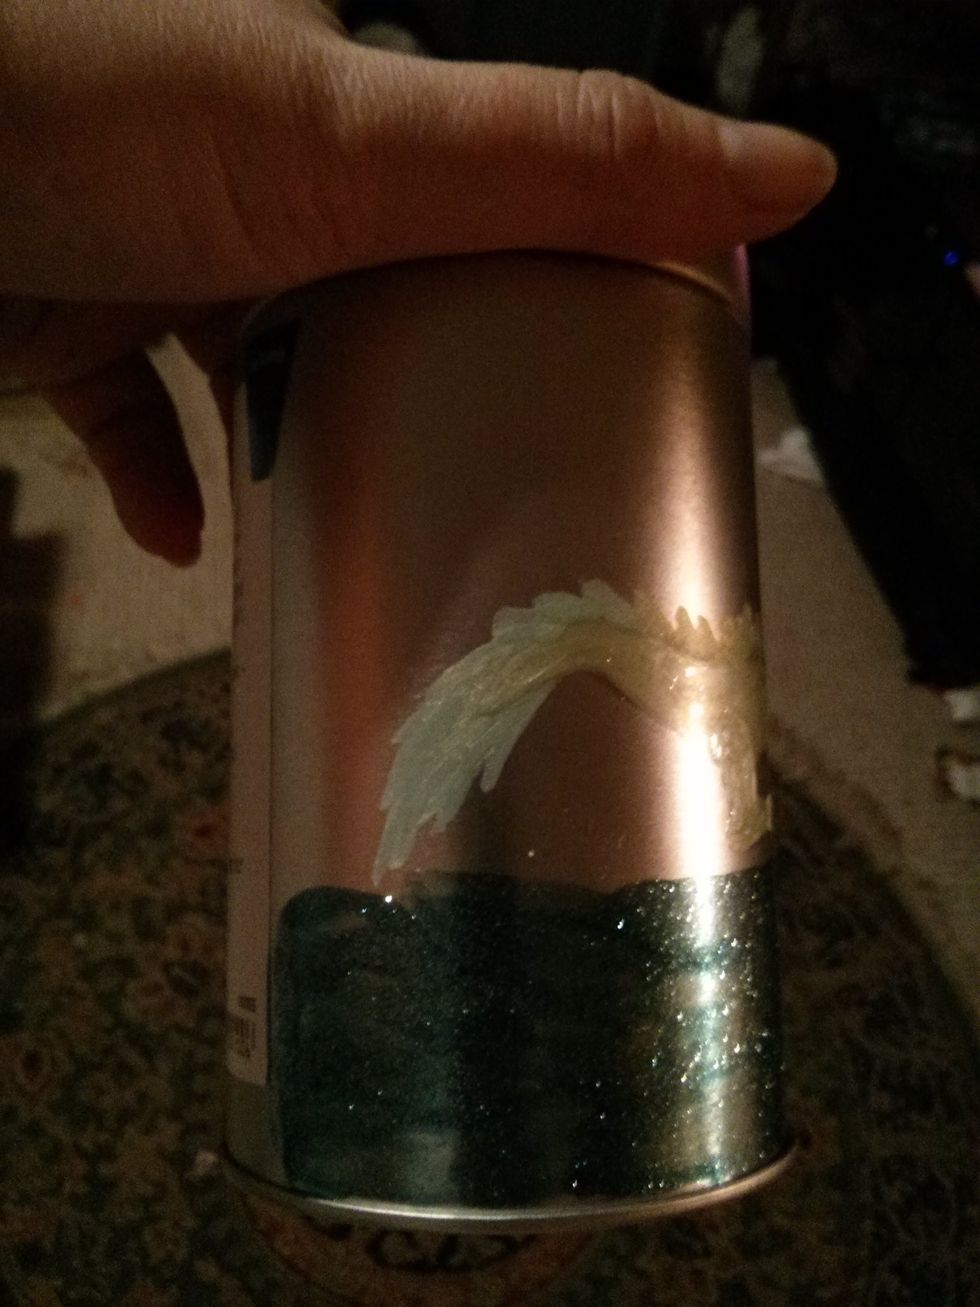
Now we let the dragon be for a bit and work on the hull of the sailboat. It looks a little blobby but don't worry, we can fix that!
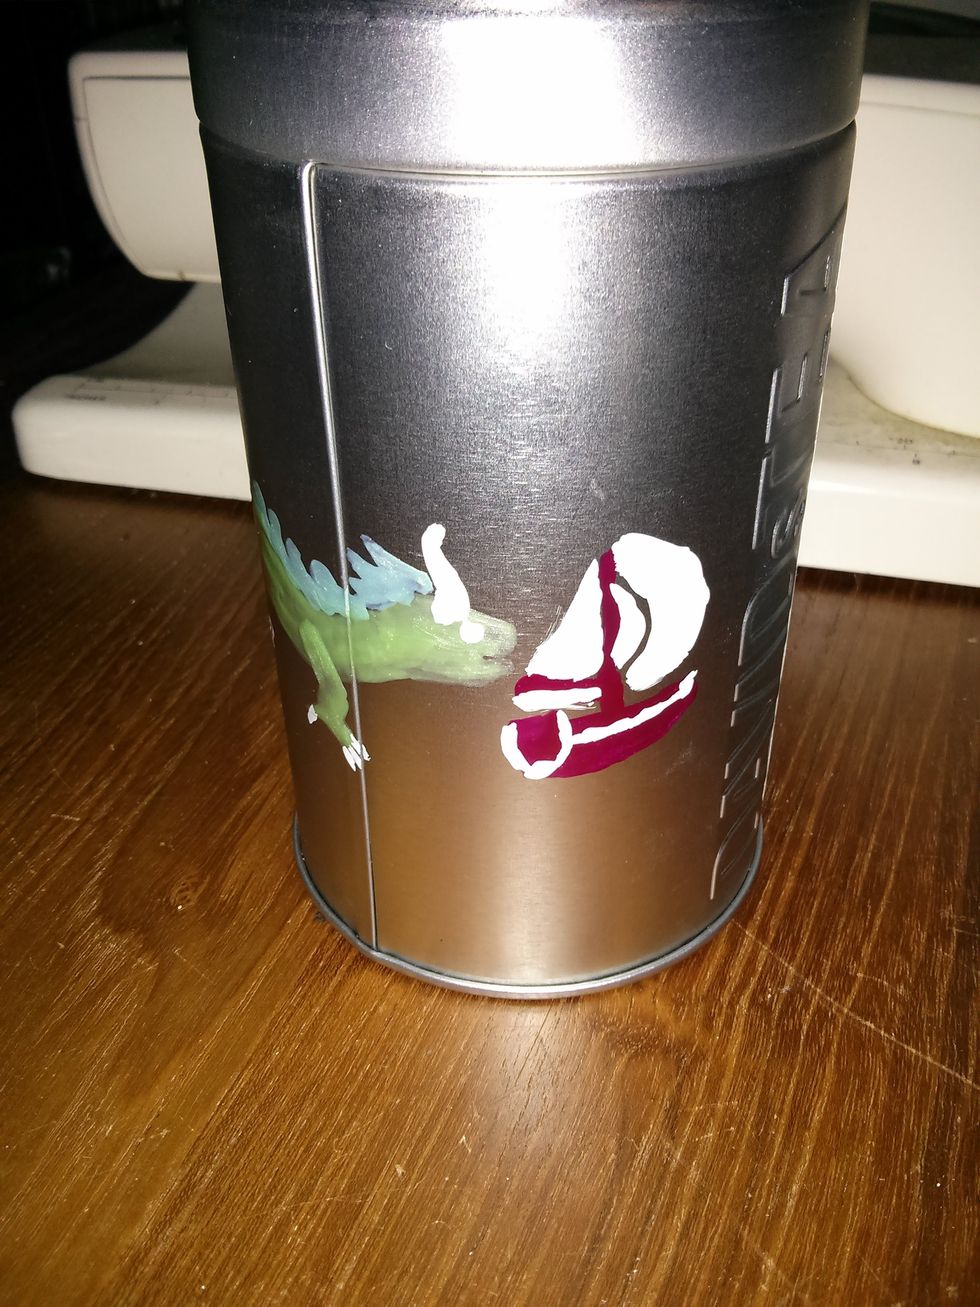
See! Now that we've added the white for the sails, horn, claws and outline on the hull, things are starting to look a bit better. The dragon has an eye now as well.
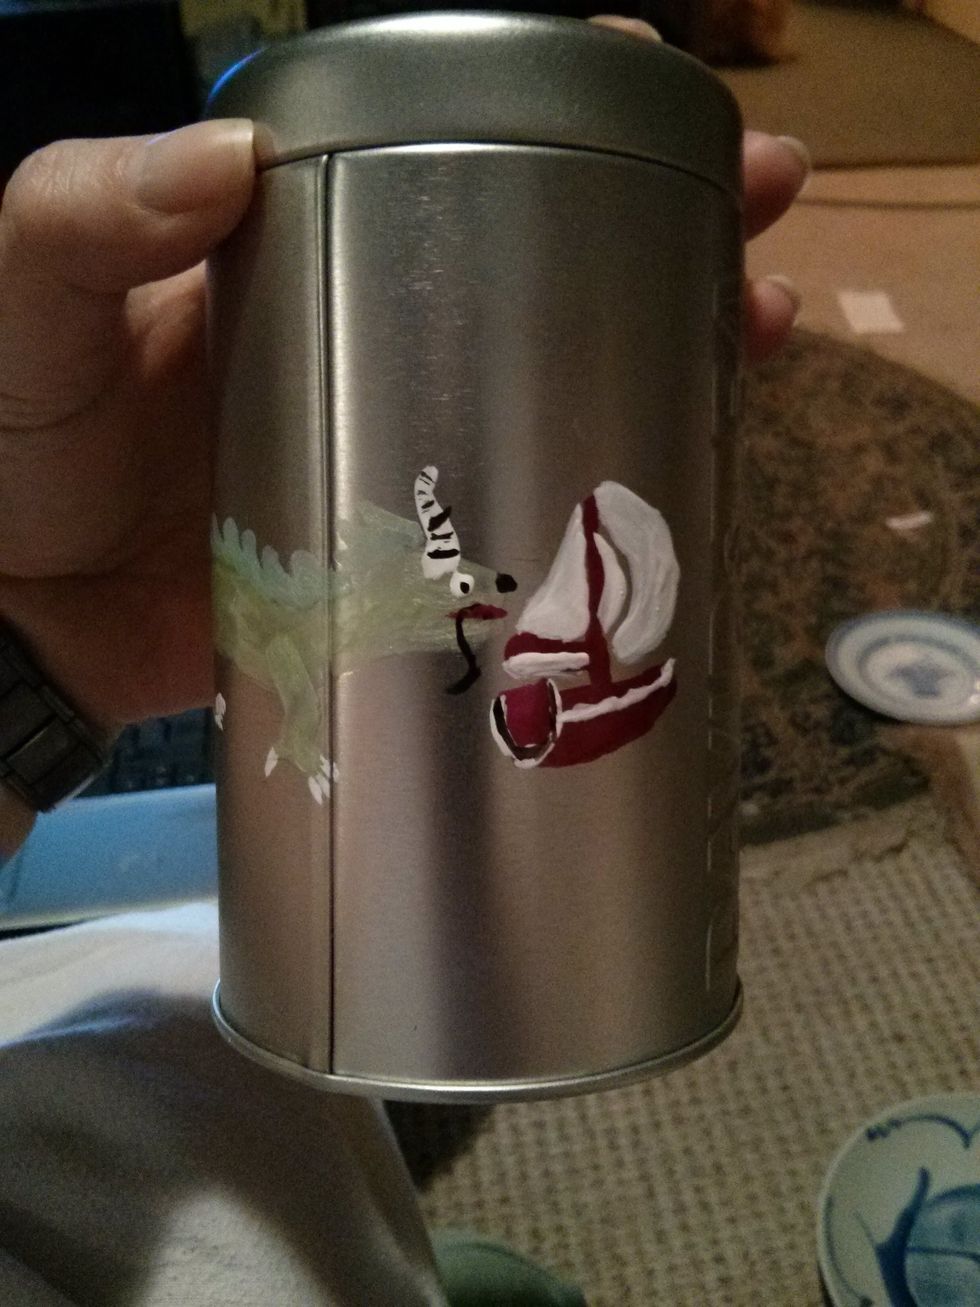
And now the black! The dragon's horn has lines, his eye is more obvious, he has a nose and whiskers... You may also notice that I've added a little pink to the mouth to better define it.
This step is optional, but if you're like me and love glitter, the last thing to add to your masterpiece is any glitter topcoat or sealer coat.
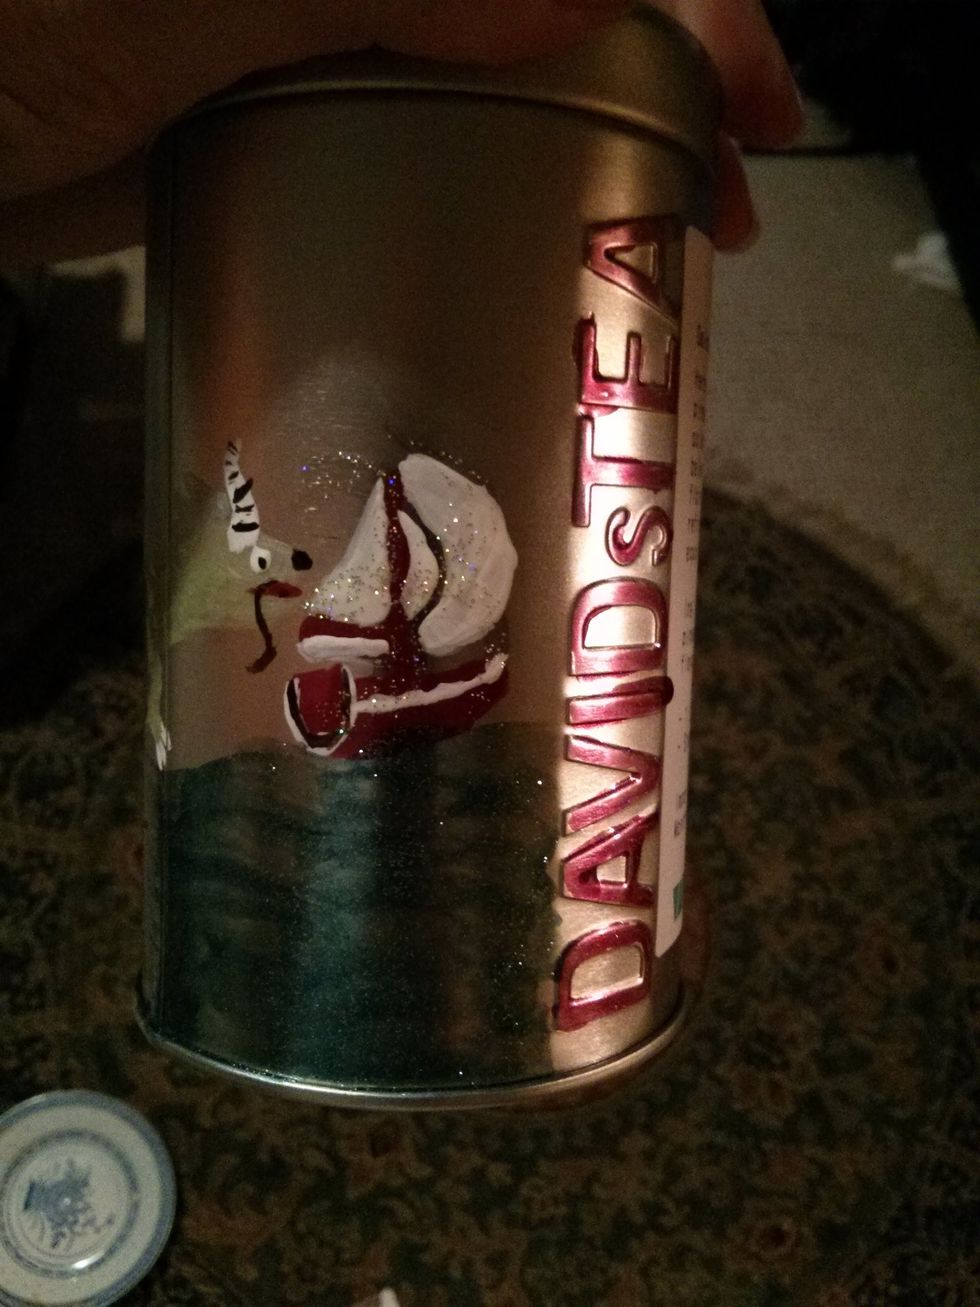
Clear topcoat with sparkles denotes wind, and the ocean is a semi-clear blue with silver sparkle. Because I like to sparkle.
This is the tail...the bit you never got to see! You can also see that there is a thin layer of very fine silver glitter on the dragon's body to imitate scales.
And you're done! Don't forget to let the finished tin air out for at least a day before putting your tea back into the tin (if you had tea in it) or before taking it to the store to have it filled!