The Conversation (0)
Sign Up
Be sure to read all of the instructions. Also WEAR EYE PROTECTION.
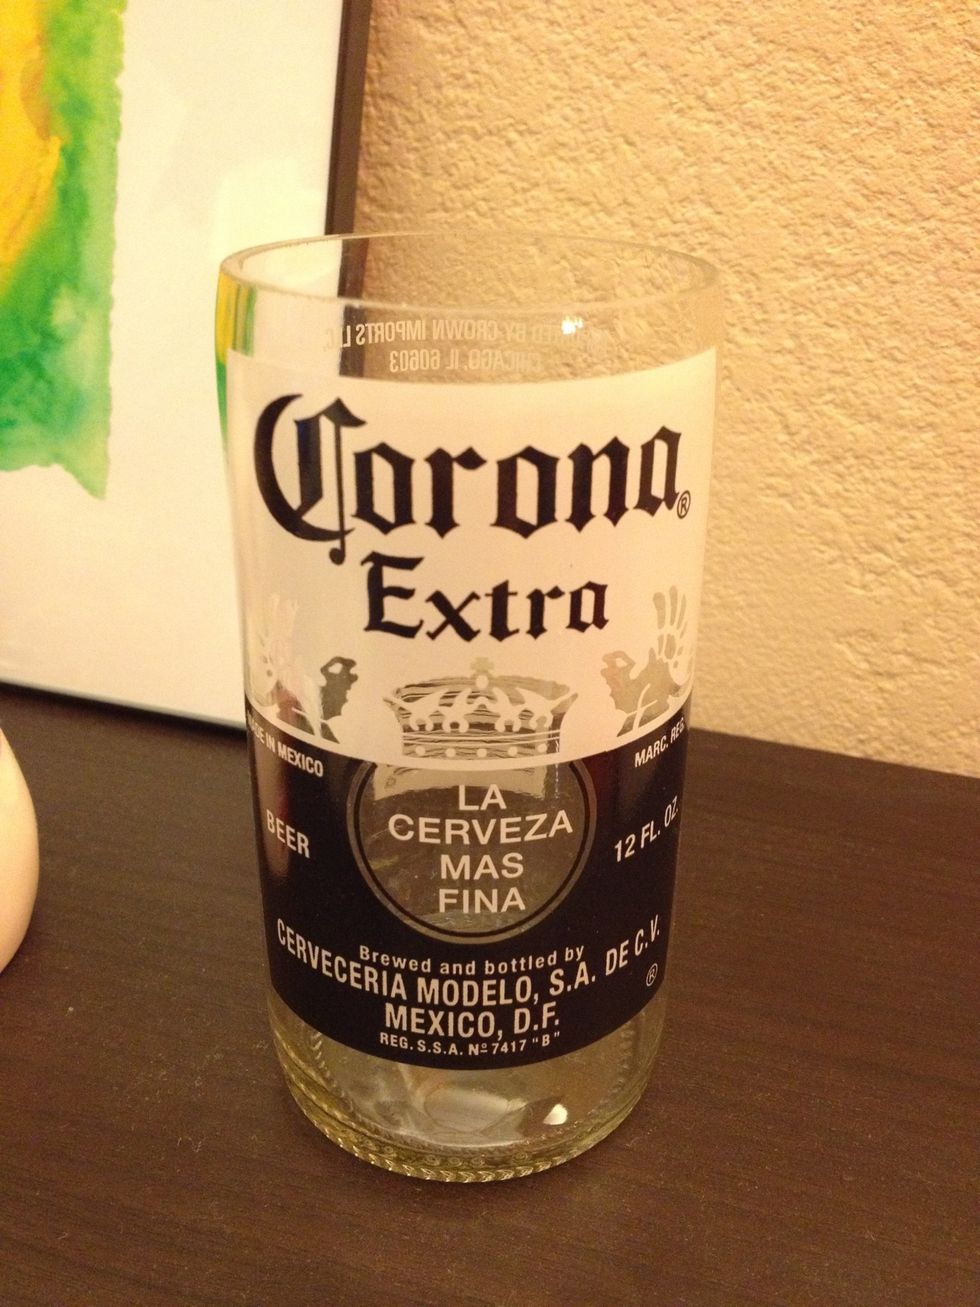
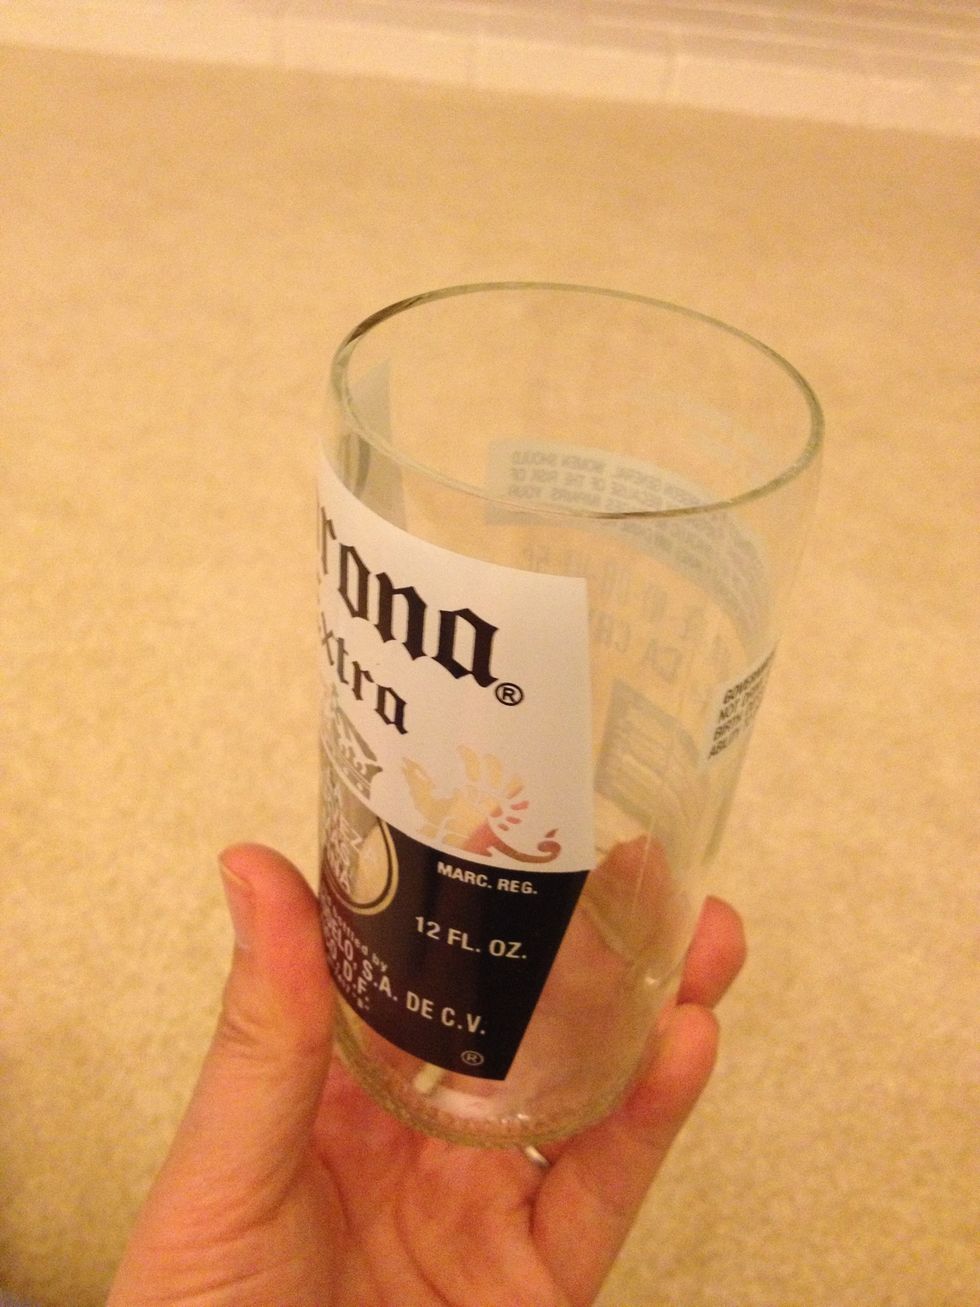
This is what you will be making from a typical beer bottle
How it is done! :)
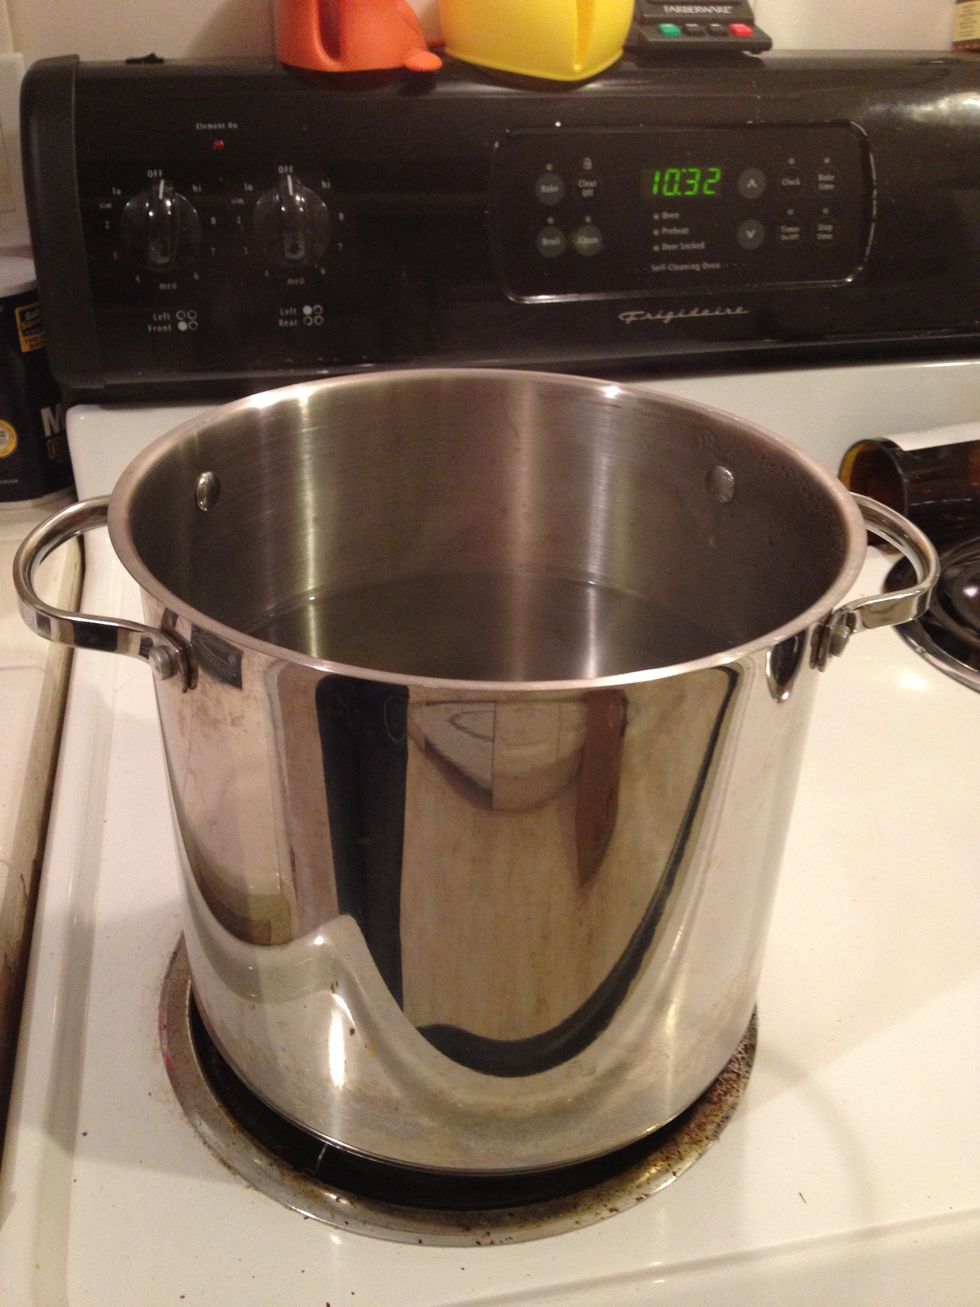
Begin boiling a lot of water
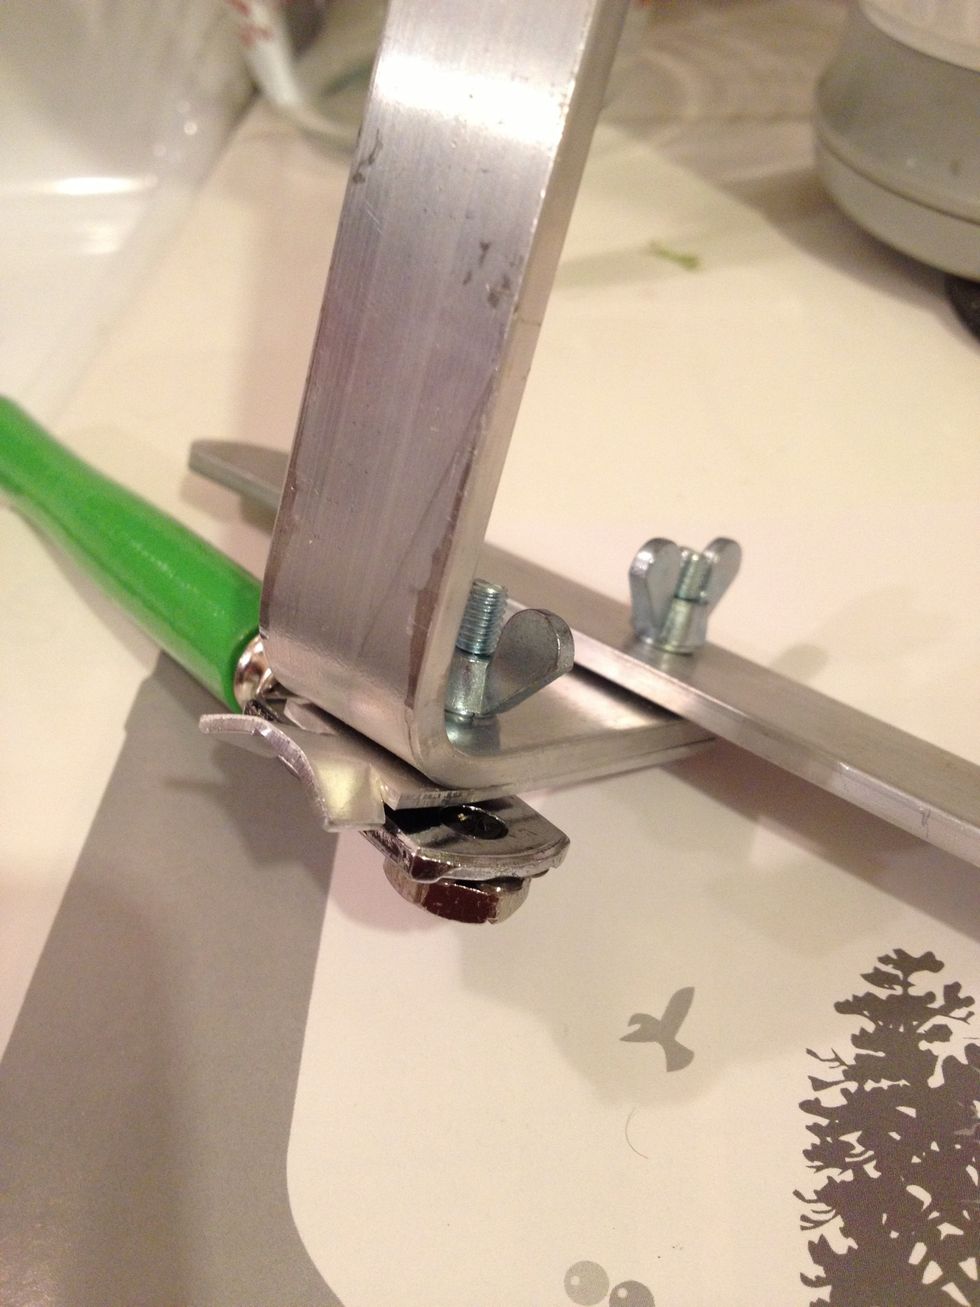
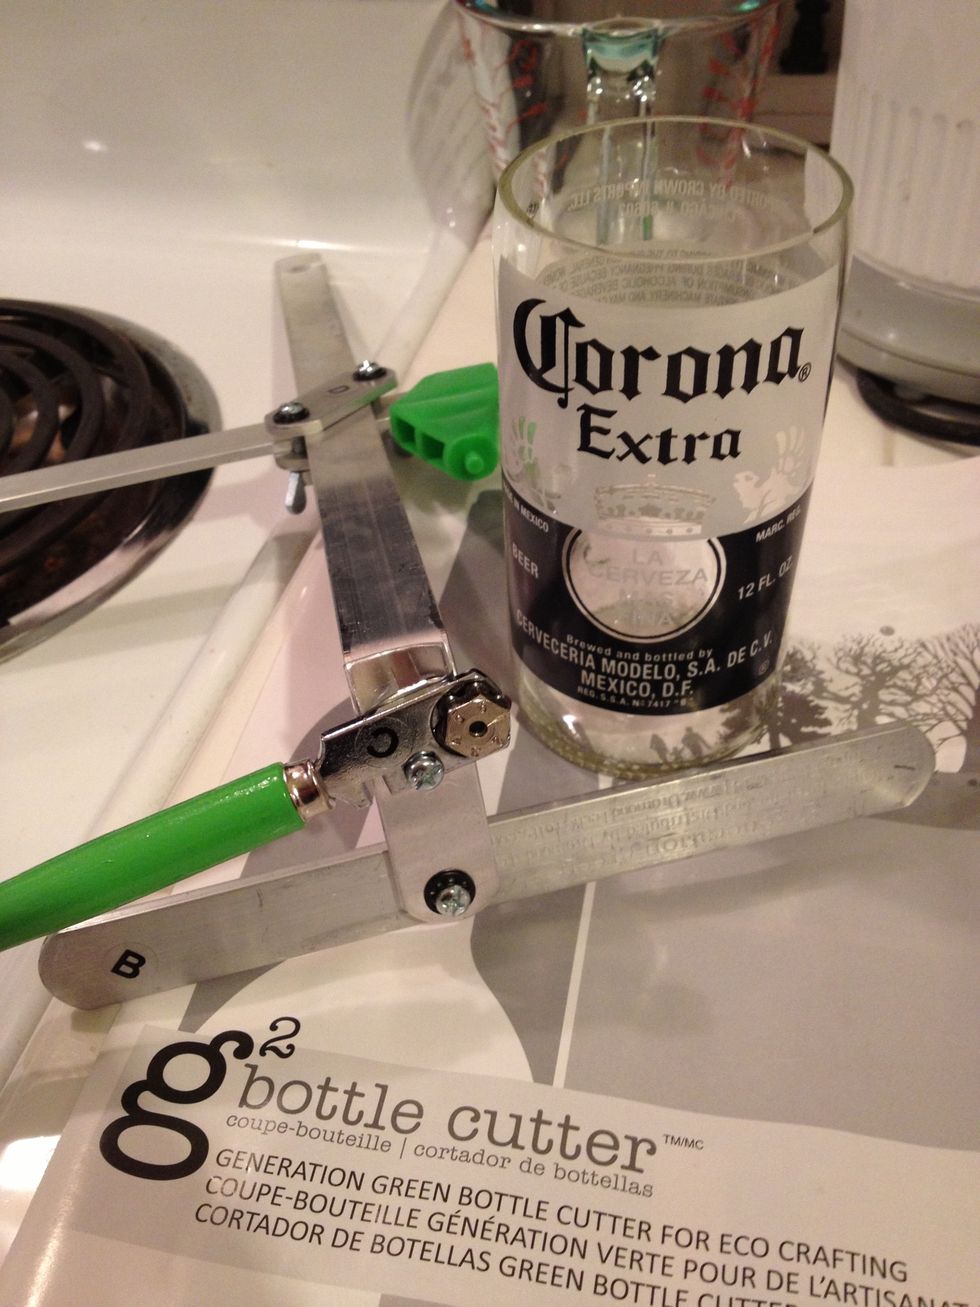
Assemble the cutter according to the guide
Watch the g2 video while your water is still coming to a boil: http://www.youtube.com/watch?v=P-_w8MfpVG8
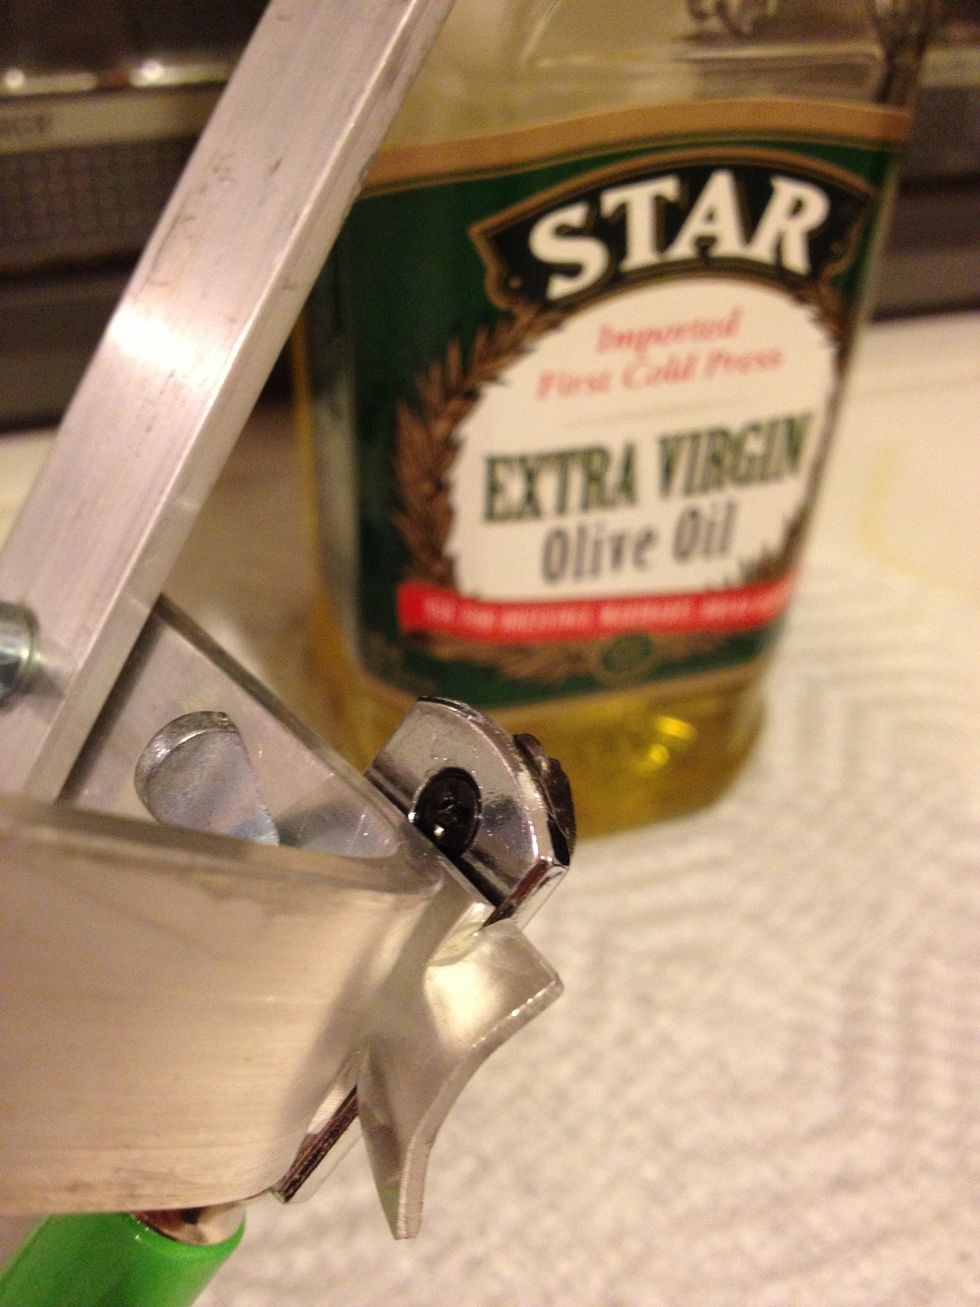
Oil that edge with a little veggie oil, blot off the excess carefully
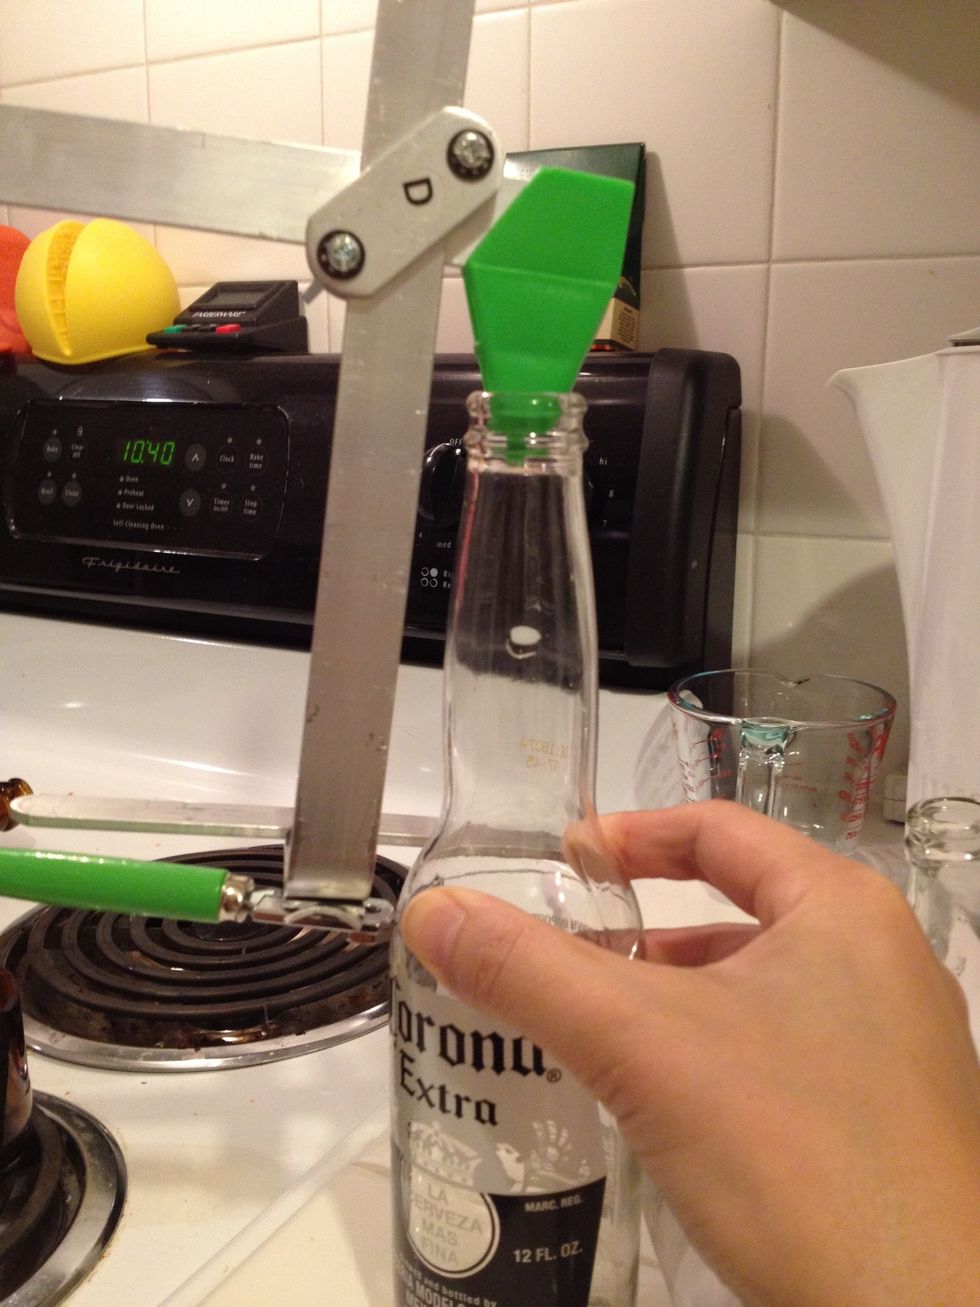
Gently put the cutter on the bottle
Place the cutter on the bottle PERPENDICULAR to the curve
Make the lightest scratch. Follow instructions on mostly pressing DOWN. You are only creating a score. You are NOT cutting through the glass.
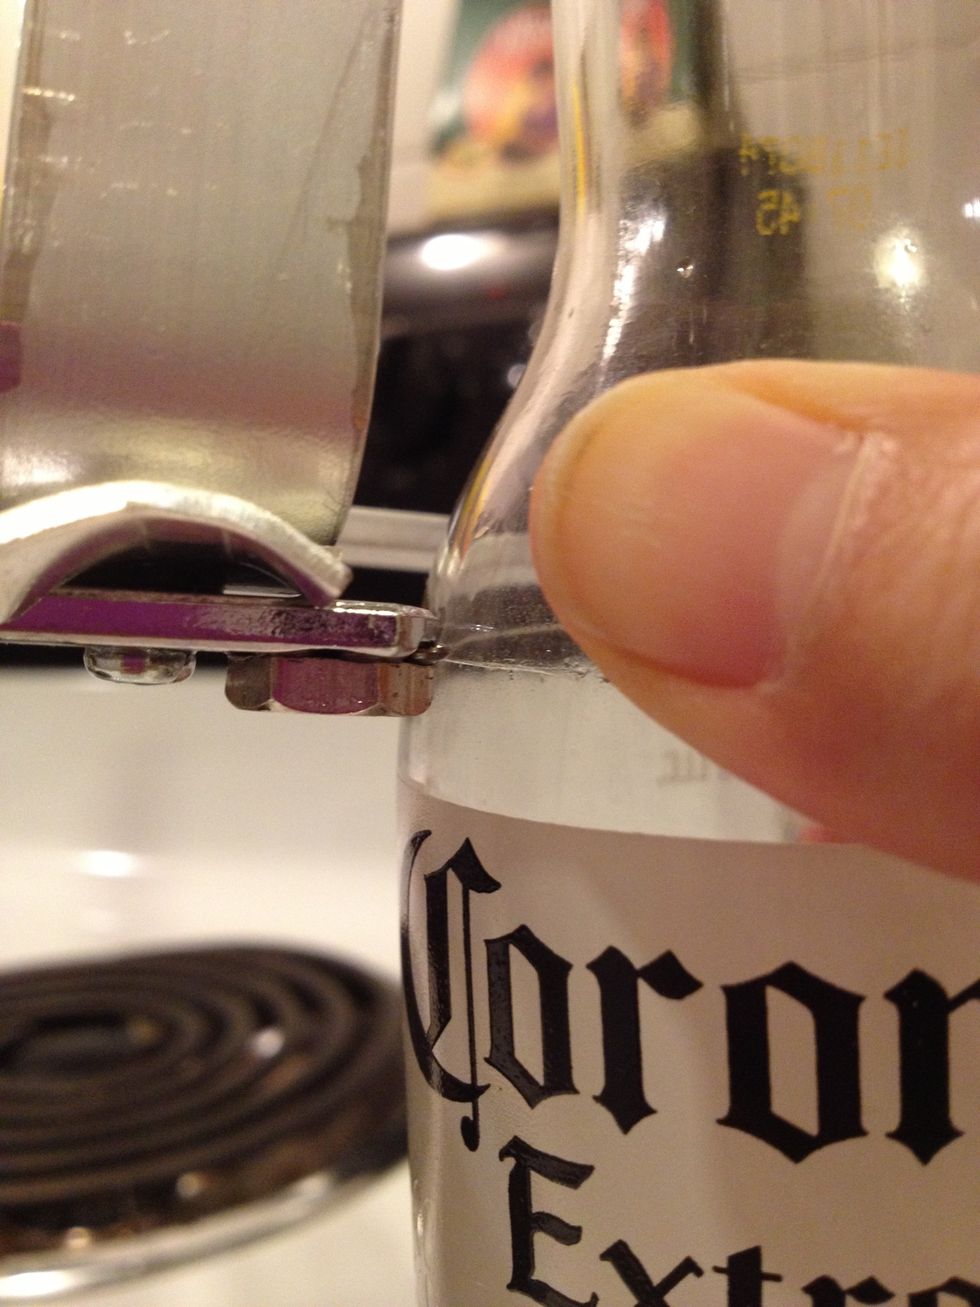
Rotate the bottle slowly, making sure medium pressure is being applied to the bottle an the blade. A soft scratching sound can be heard. Stop when you hear the "click".
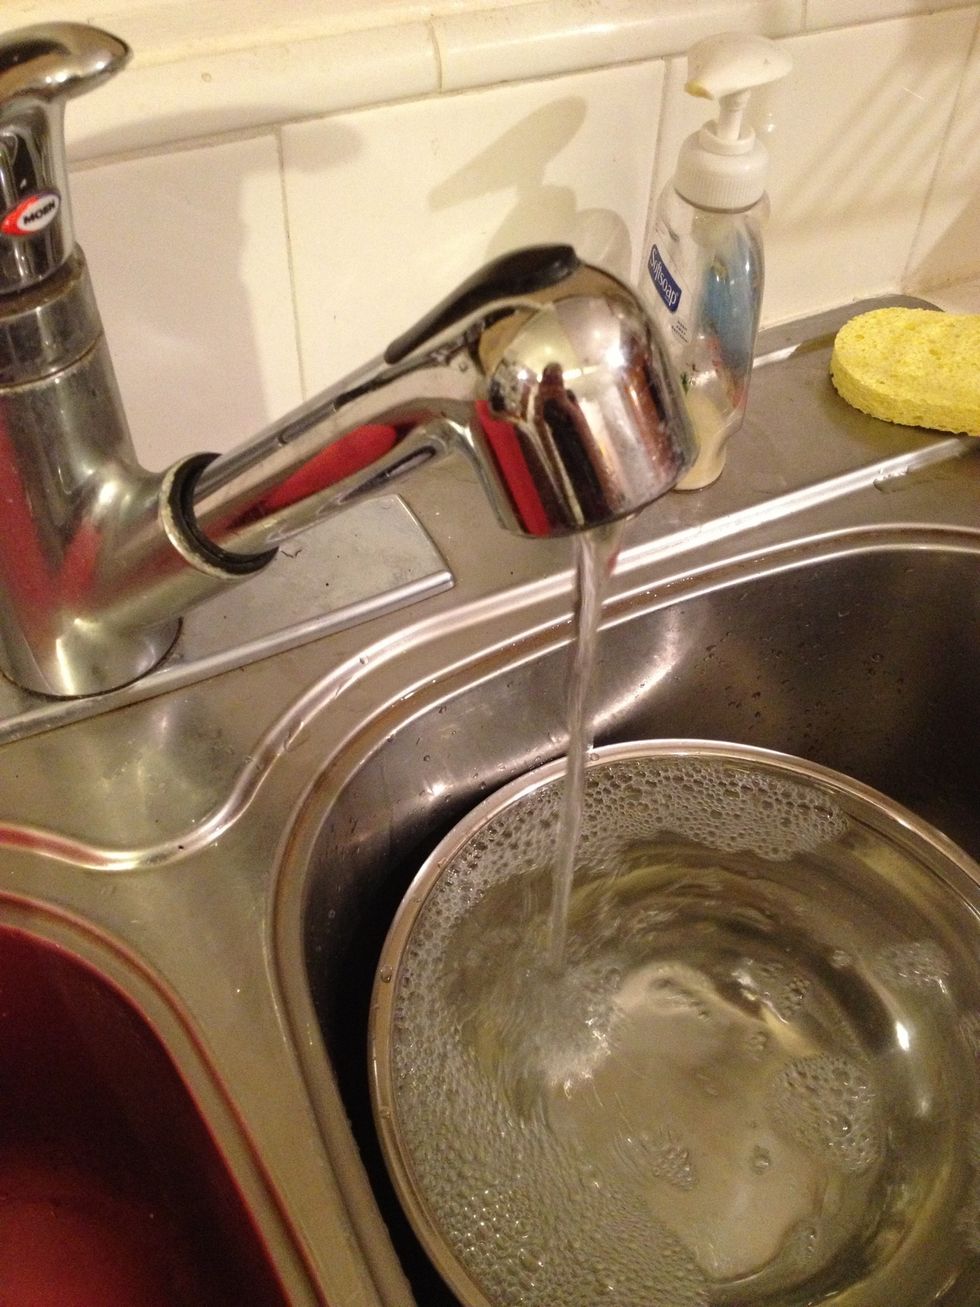
Run some very cold water. I used a bowl of water to break the fall a little
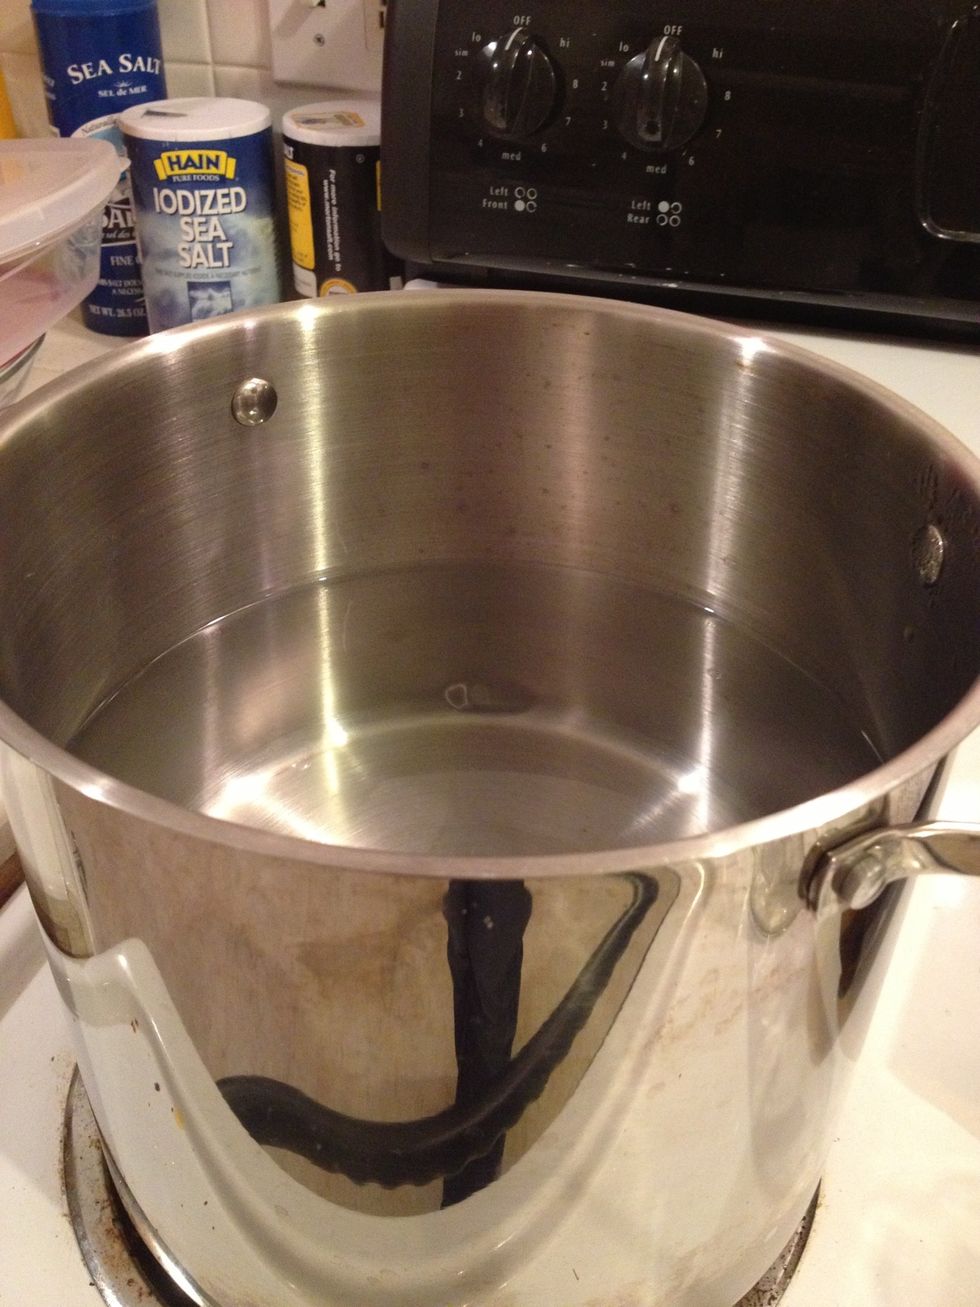
Water should be hot and boiling. (Imagine it is in this photo. ^_^)
Put the bottle in the boiling water, being sure the crack gets really submerged for at least 5-10 seconds.
Quickly transfer the bottle to run the cold water over the crack. Repeat by putting the bottle back under the boiling water.
Pro tip: I held a pan under the bottle when moving it between the pot and the cold water just in case it separated spontaneously.
Part of the bottle should crack and use tongs to pull out the submerged piece.
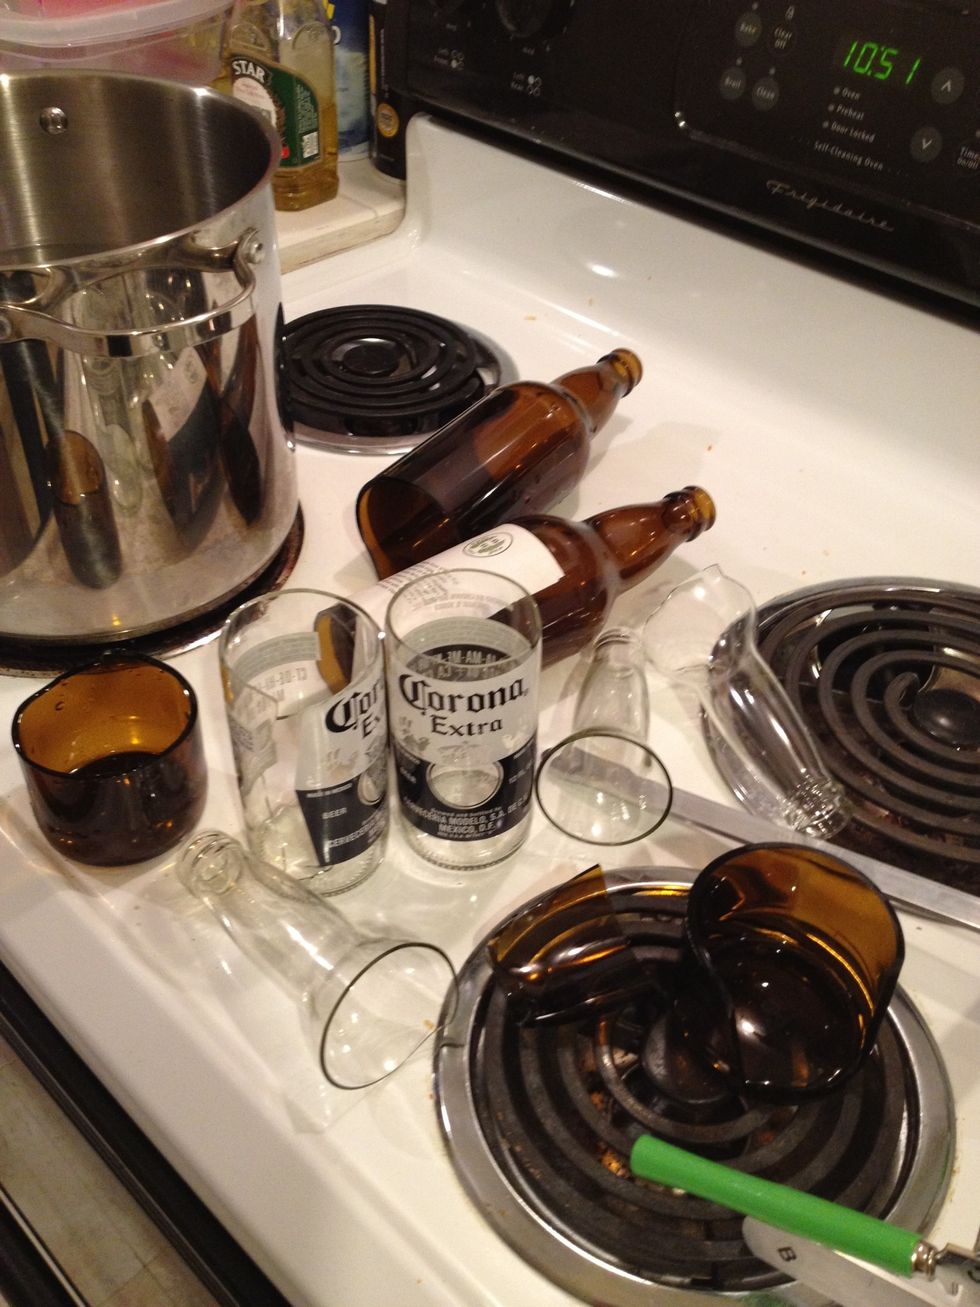
It will take a bit of practice... most bottles didn't break evenly. The thick brown bottles took many more repetitions.
Pro tip: turn that bottle slowly against the cutter, making sure the score is constant and straight.
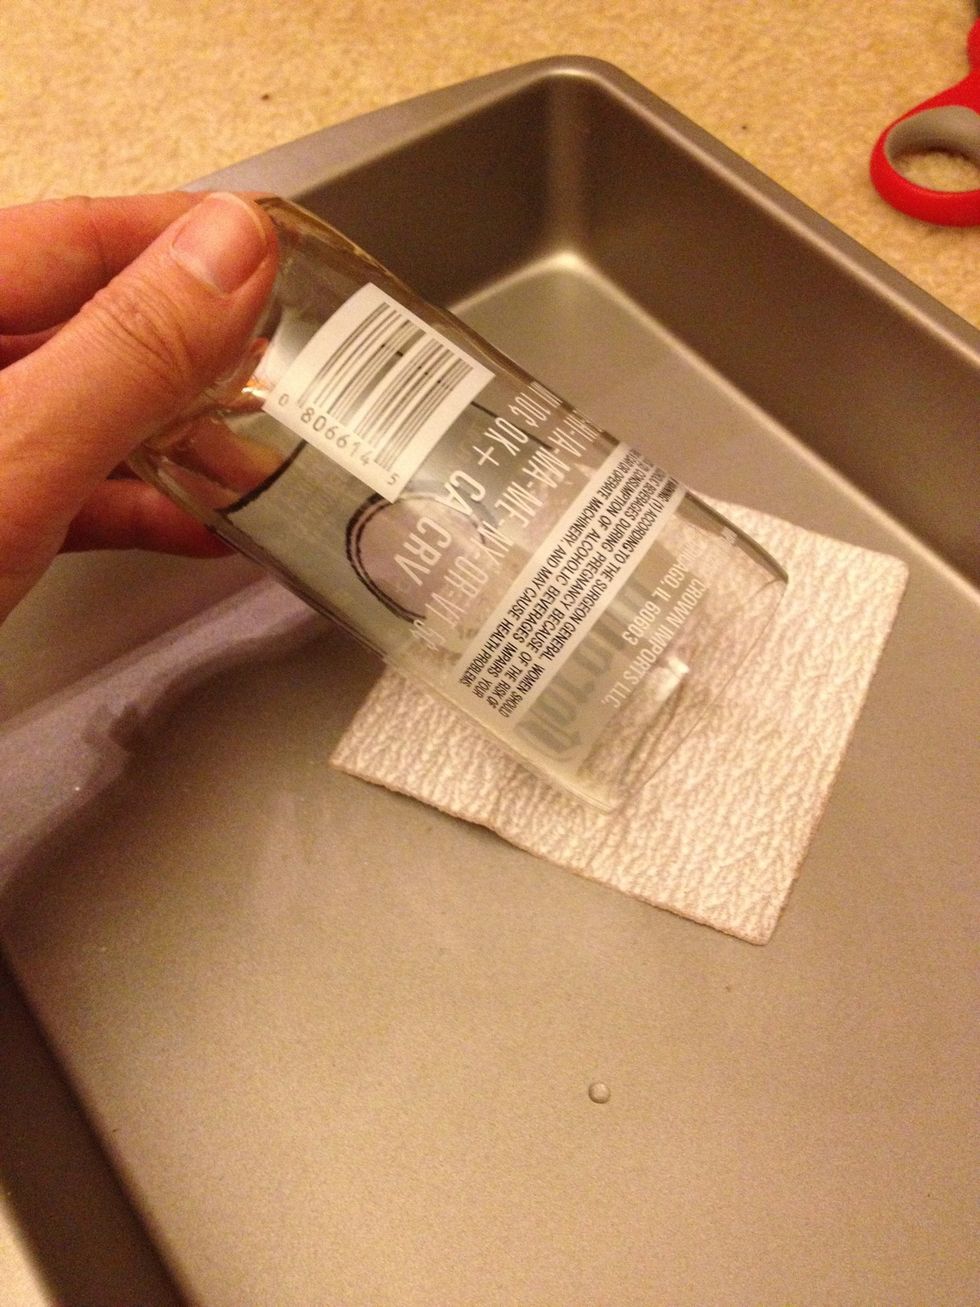
Smooth those sharp edges ...
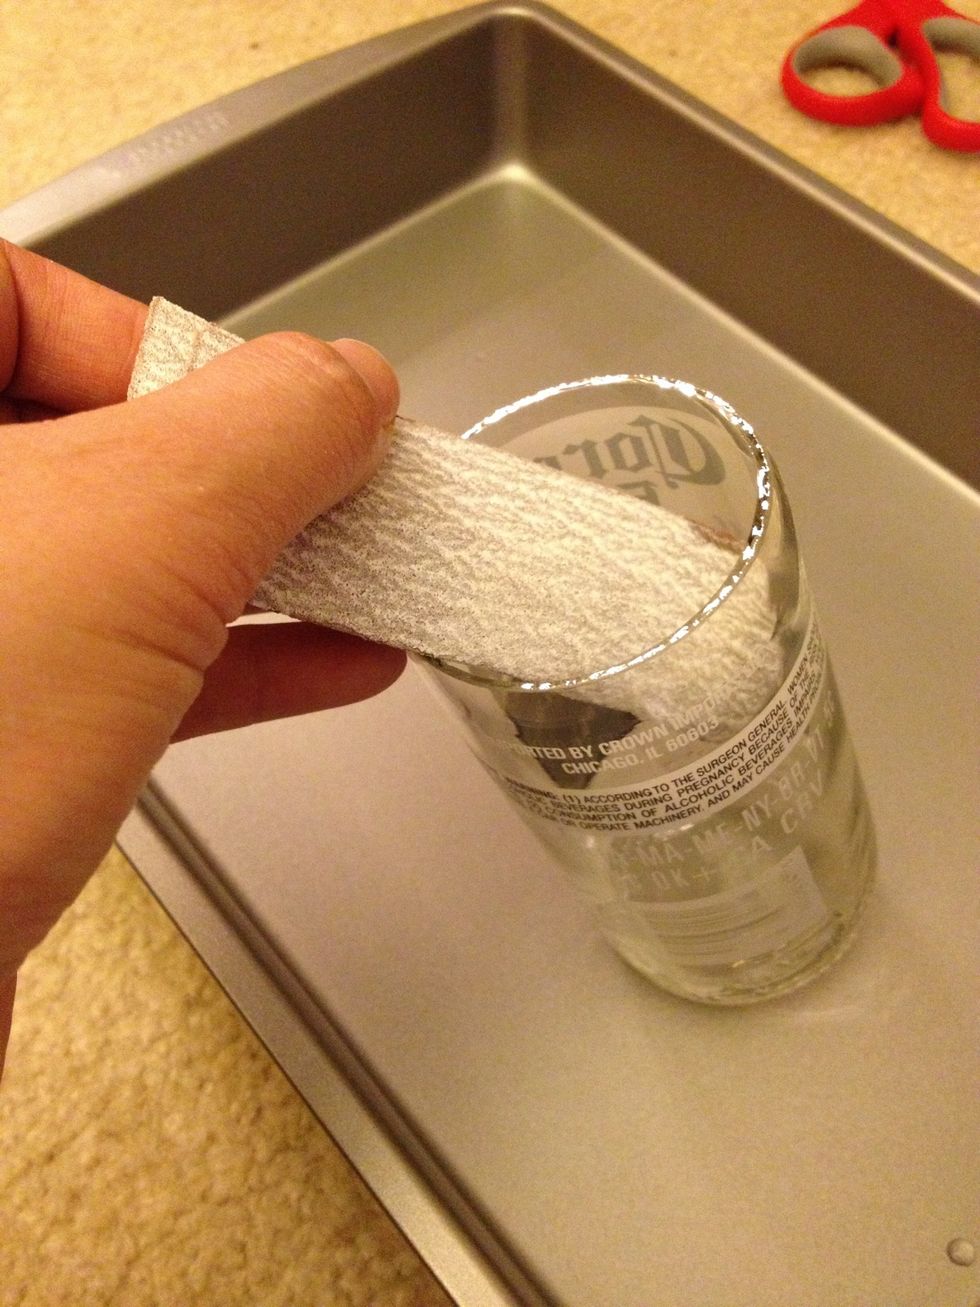
Even on the inside lip!

Finish up by rolling with some fine-grit sandpaper of your own.
Pro tip: I "roll" the sanding paper into and then back out of the glass over the edge, not sideways. That dulls the sharp edges and smoothes out bumps.
Wash, and you're ready!
Note: I am still leery that the edge will stay round and clean. I've read that chipping on the edges can occur easily, making it dangerous. Always check that the edges aren't sharp.