The Conversation (0)
Sign Up
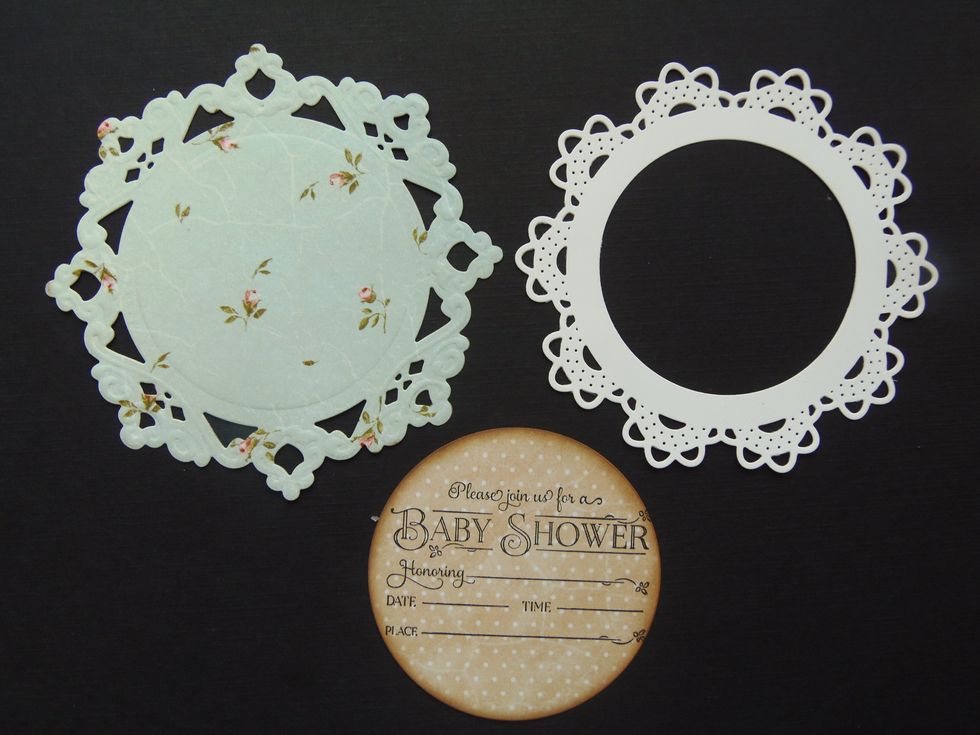
Die cut two different size and color doilies -or use store bought in two different sizes and colors. Cut a big enough circle-with a different paper, where you will stamp the invitation information.
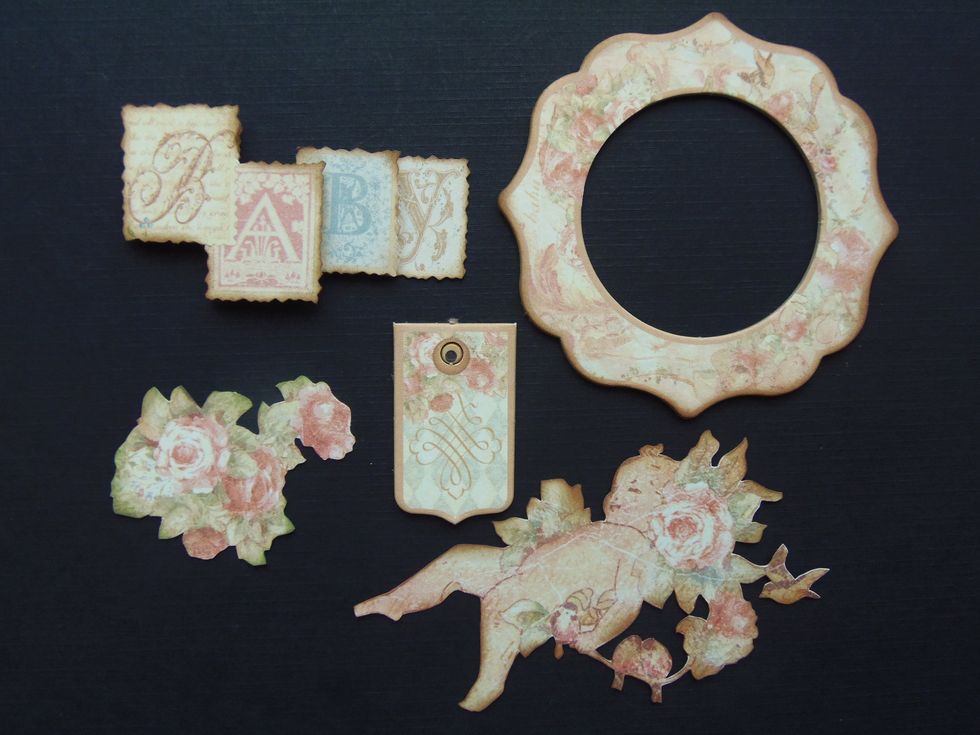
Fussy cut some elements and chipboard. Set aside for now.
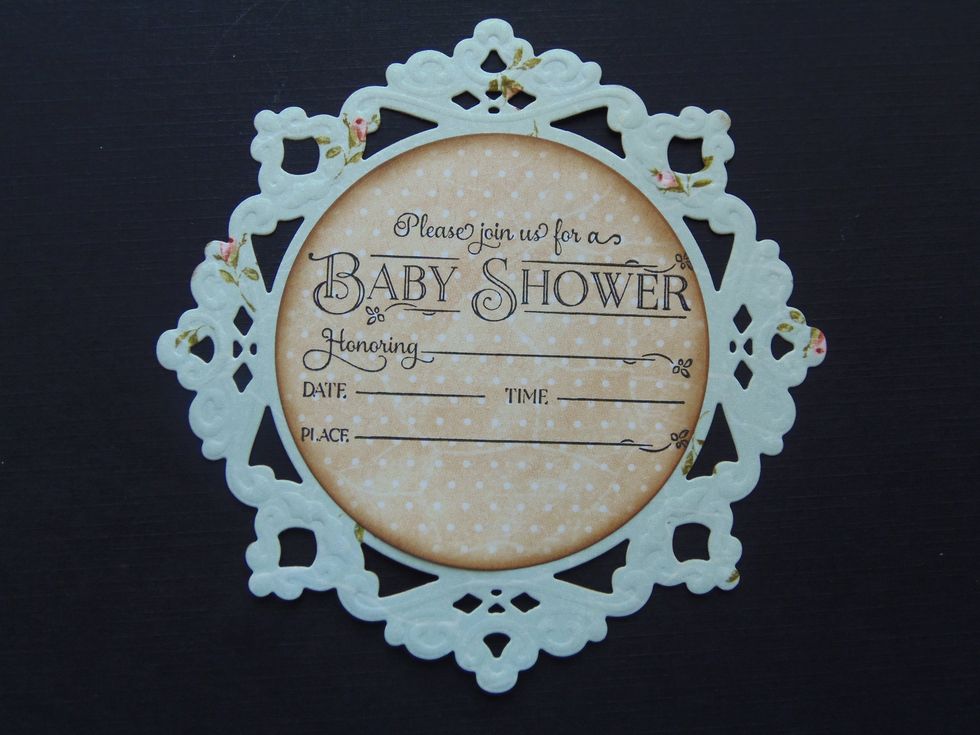
Adhere the stamped circle to the center of the big doily.
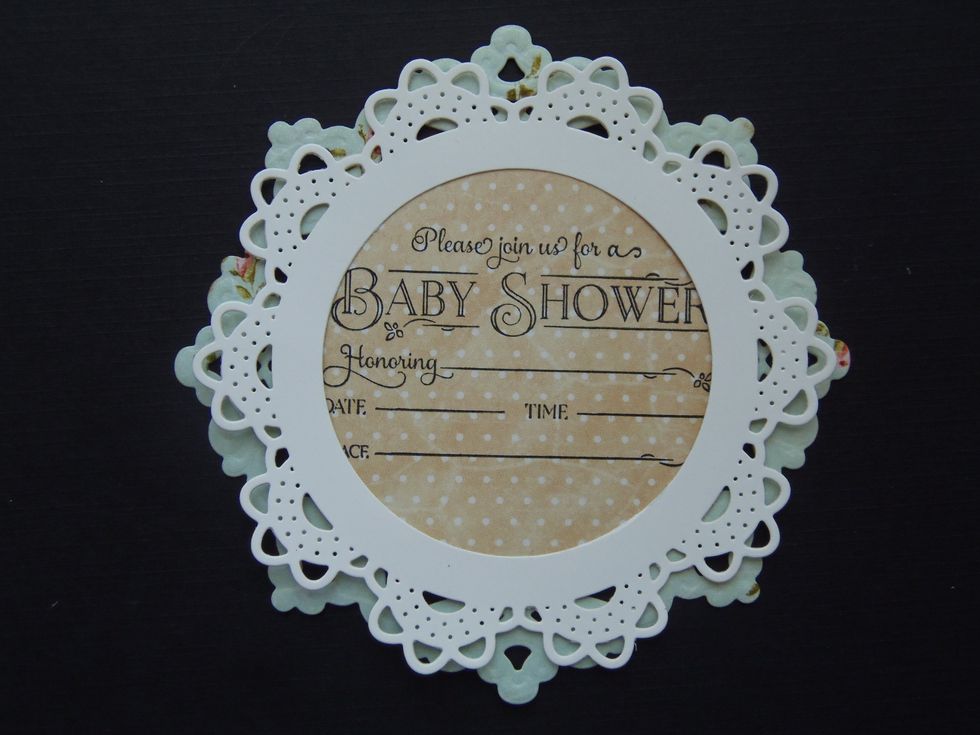
Place the smaller doily on the bigger one-make sure they are centered. DO NOT GLUE TOGETHER. Notice that I've cut out a circular window on the center of the smaller doily -this is optional.
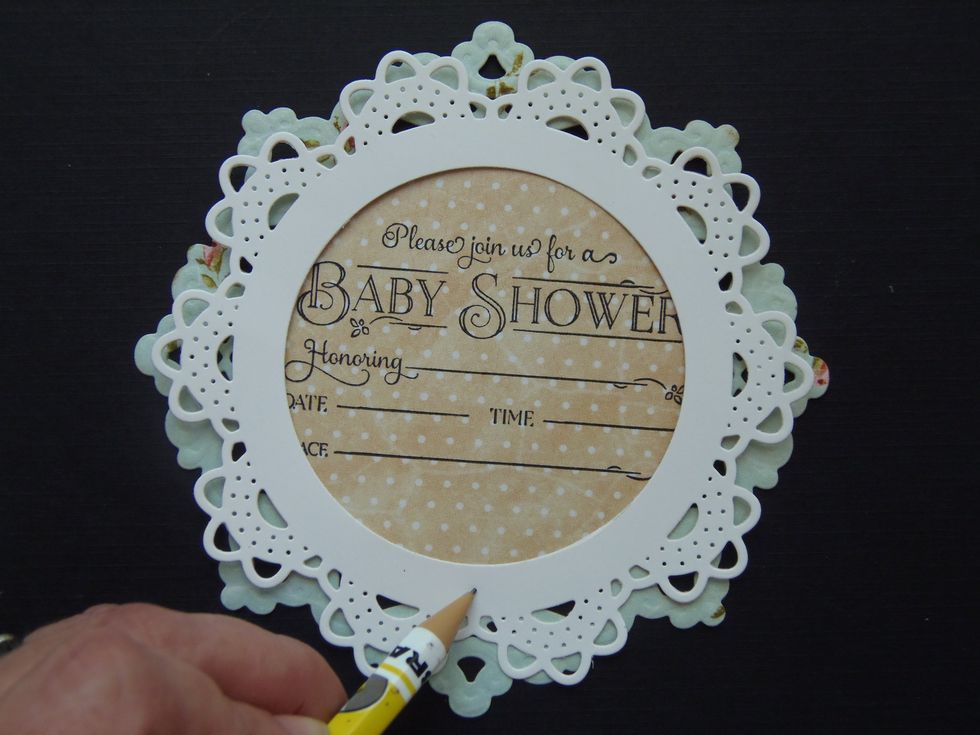
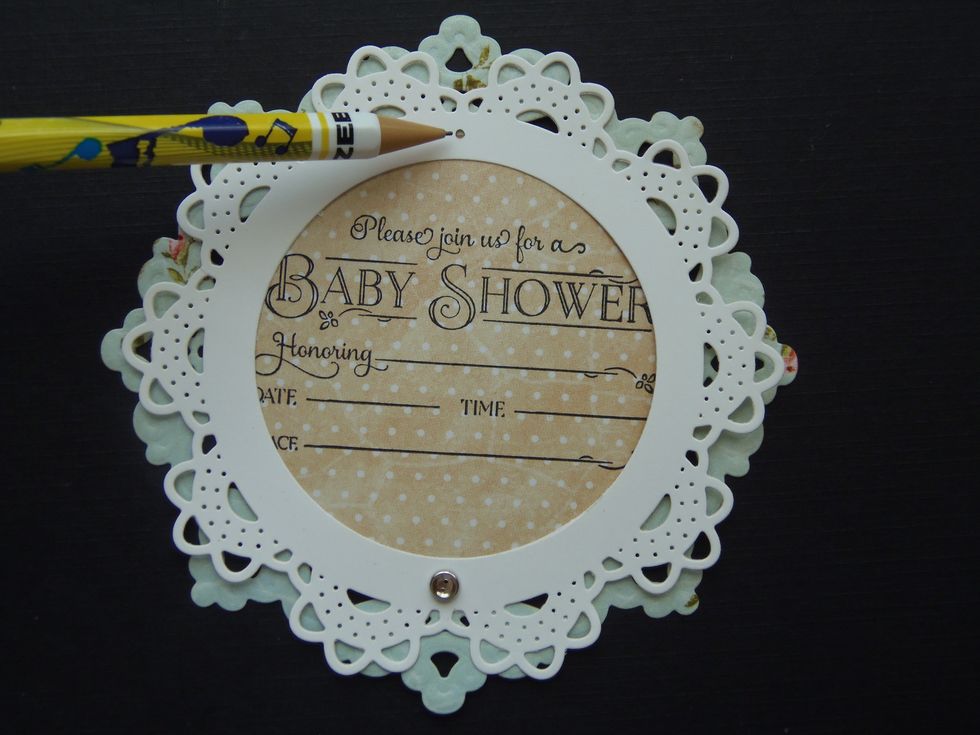
Make a pencil mark on the bottom-center of the small doily.
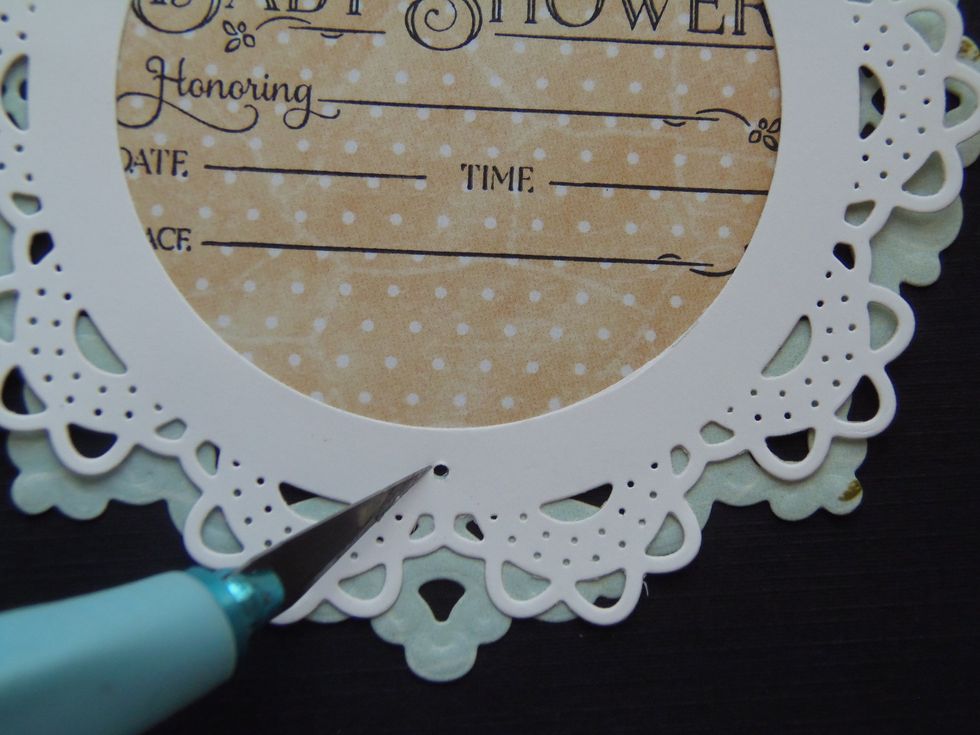
Punch a small hole through BOTH of the doilies.
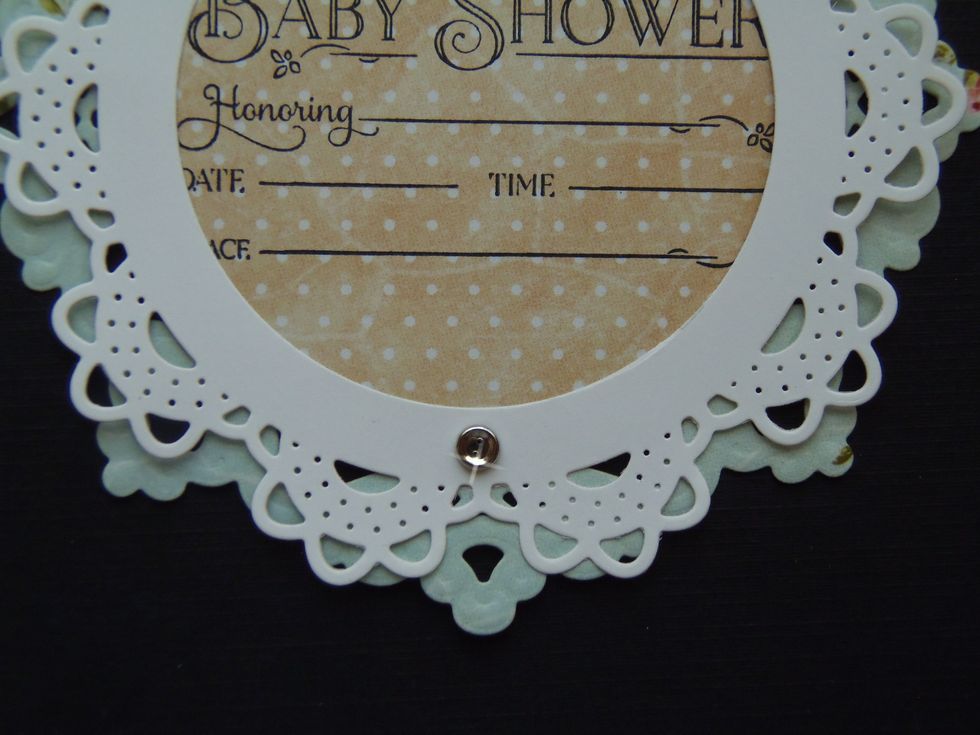
Use a small brad to hold both doilies together.
Now mark the top center of the small doily. This time ONLY punch the hole through the smaller doily.
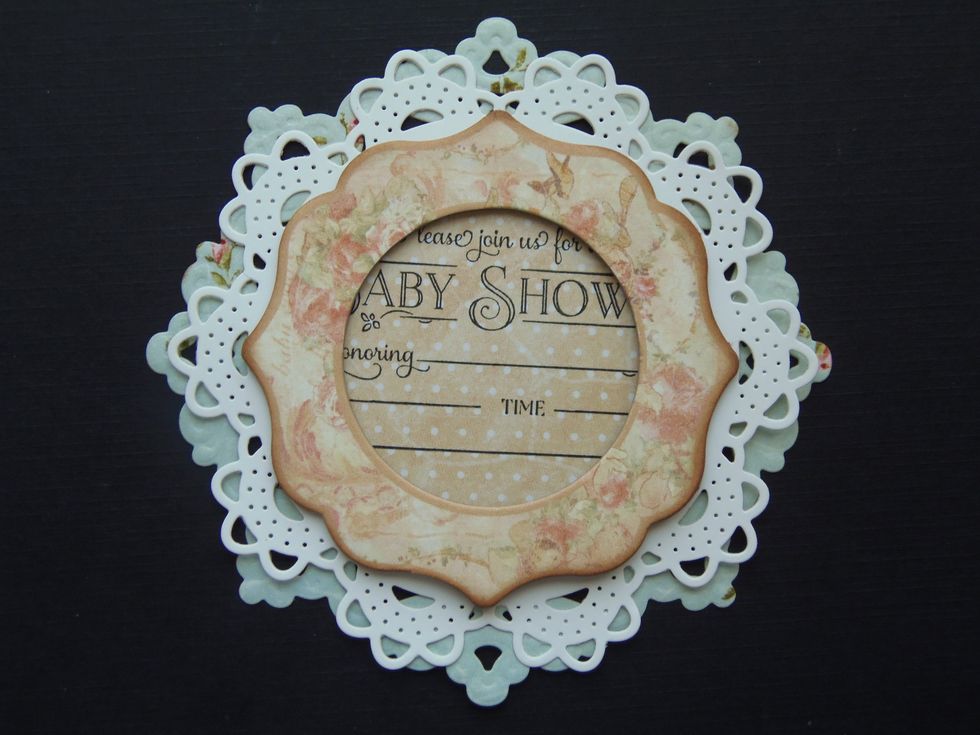
Here I have a chipboard frame that I've centered in front of the white doily. Another option is to use a third- smaller doily in a contrasting color and shape. DO NOT glue them together

Slide down doily and chipboard frame together making sure they stay centered.
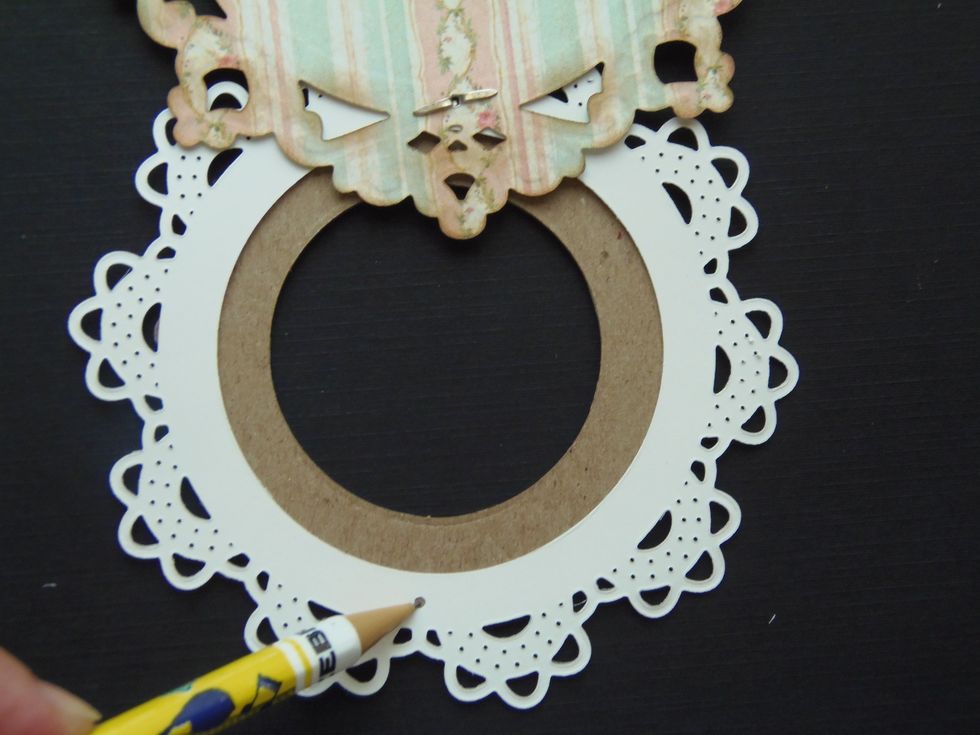
Back view of the card. Use the hole, that was punched on the doily, as a guide to mark where the hole will be punched on the chipboard frame.

Use a sharp point to make a hole through the chipboard piece.
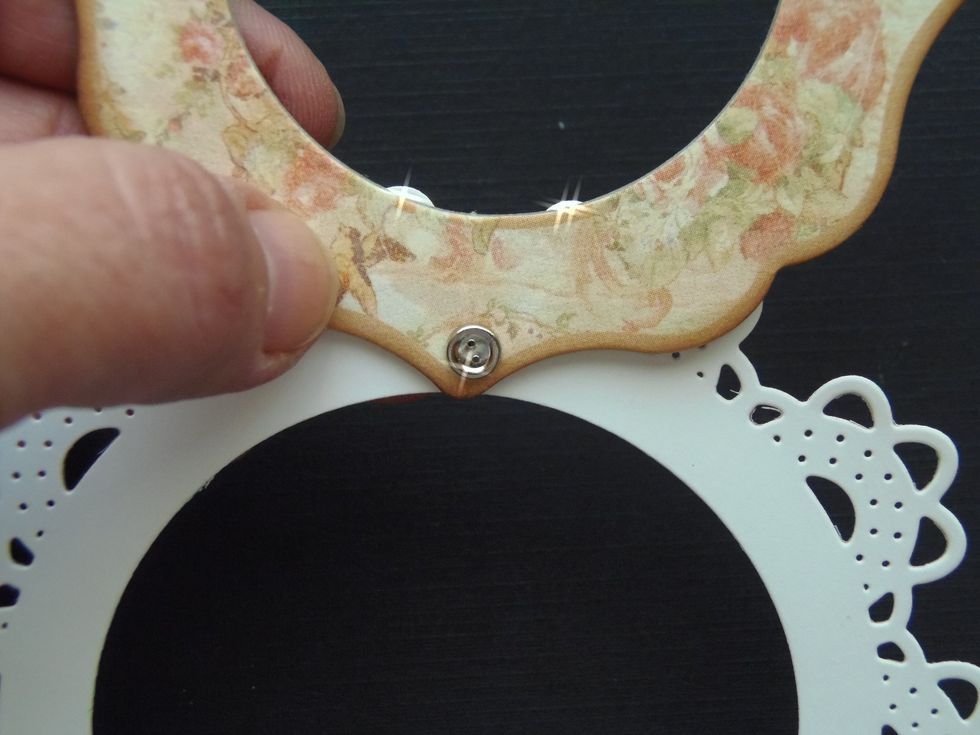
Join doily and chipboard frame together using a small brad.
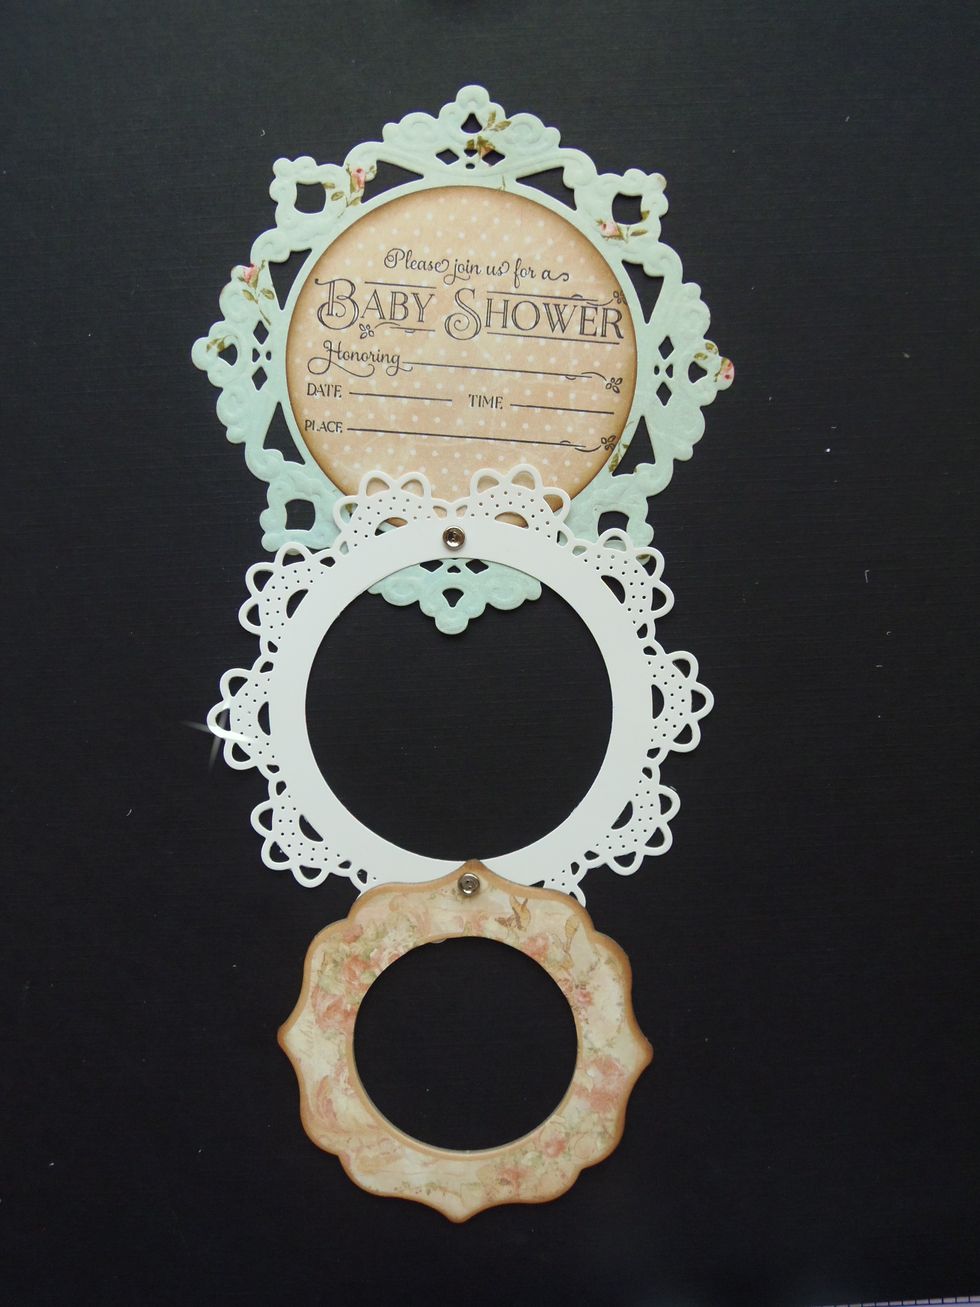
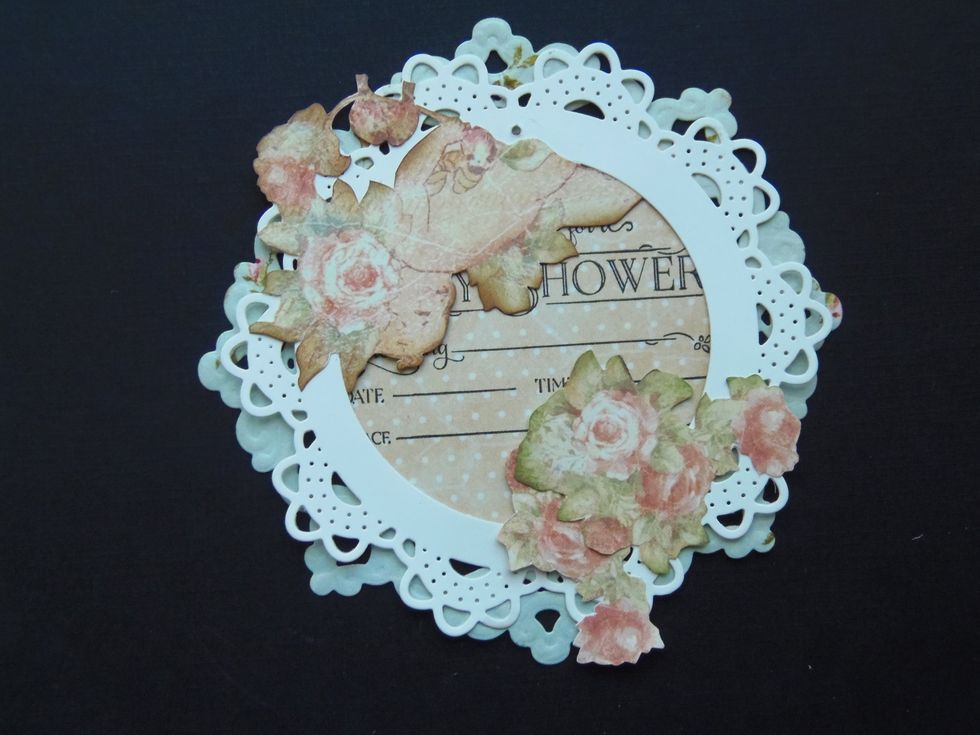
This is a view of how it should look like when the three pieces are all joined together-opened card.
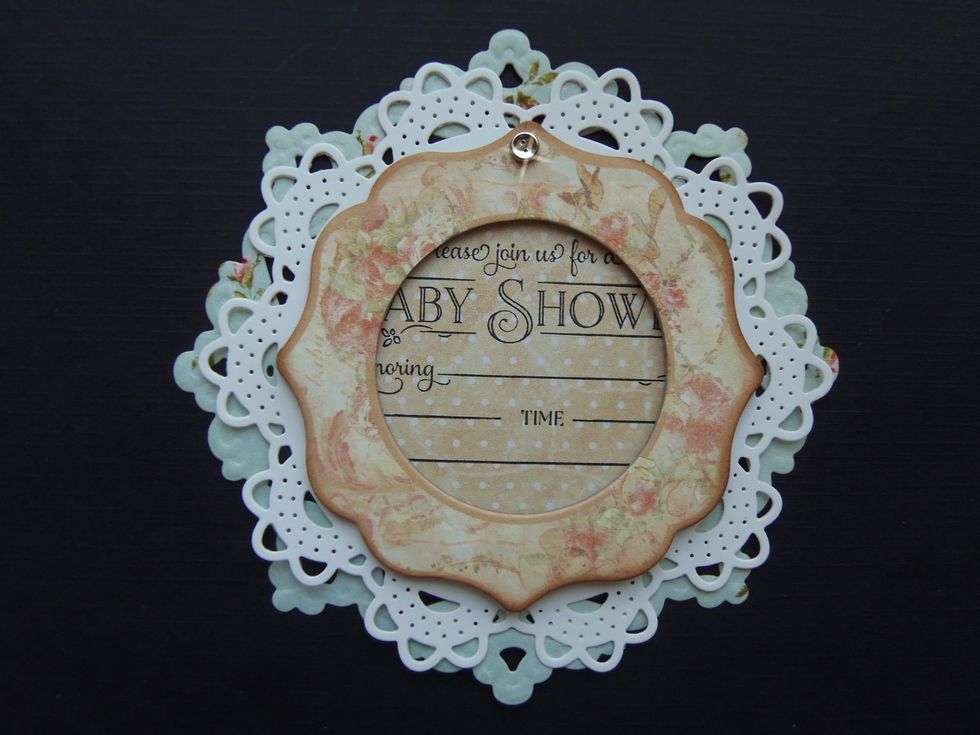
View of invitation/card when is closed.
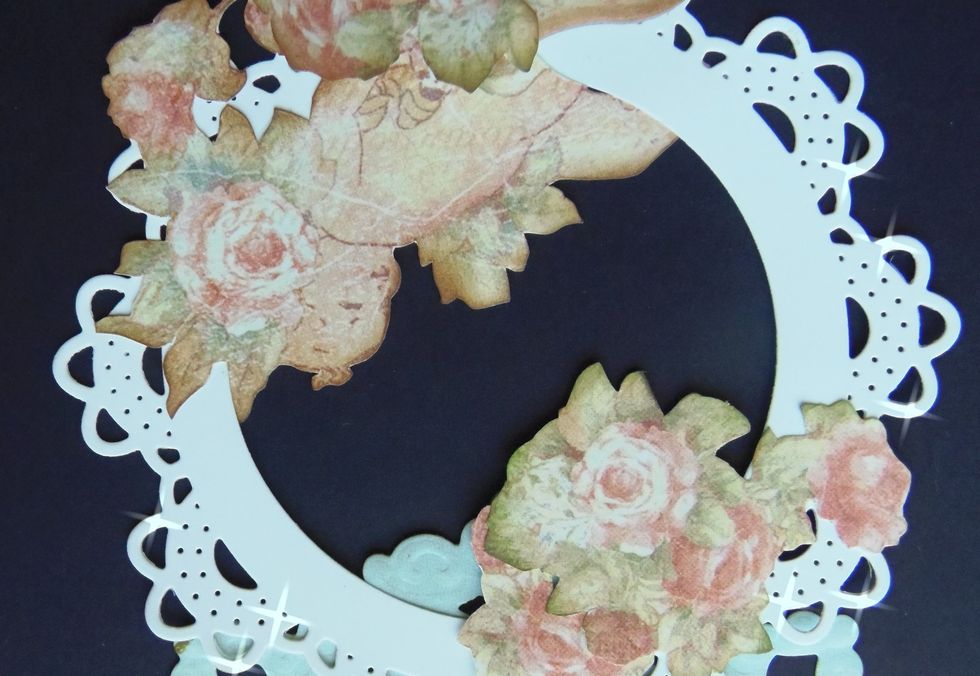
With the card opened, adhere some of the fussy cuttings to the second doily. You need to glue them in an upside down position -sounds weird, but trust me this is how it needs to be done.
It should look like this.
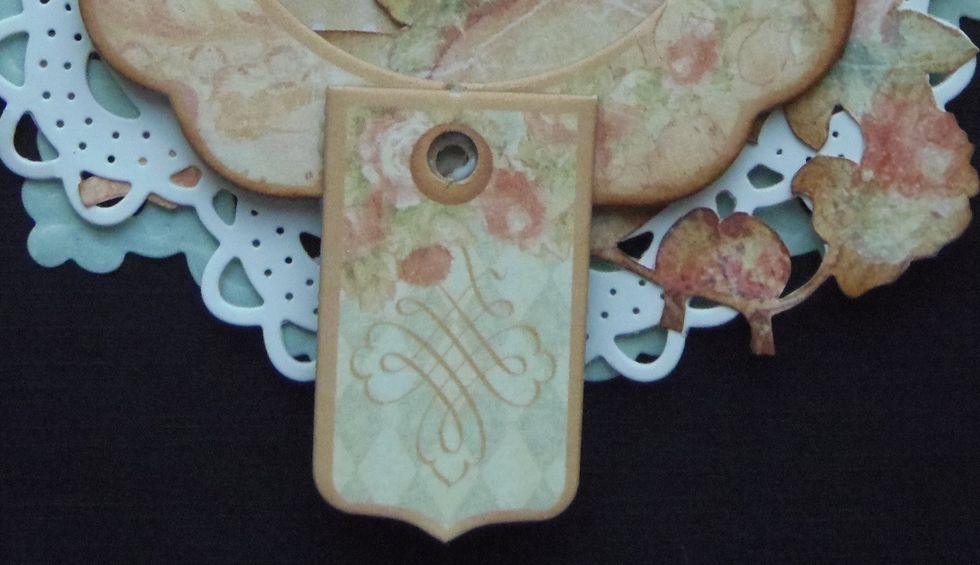
Glue a chipboard tab to the bottom-center of the chipboard frame. This chipboard tab will also serve as a pull down tab.
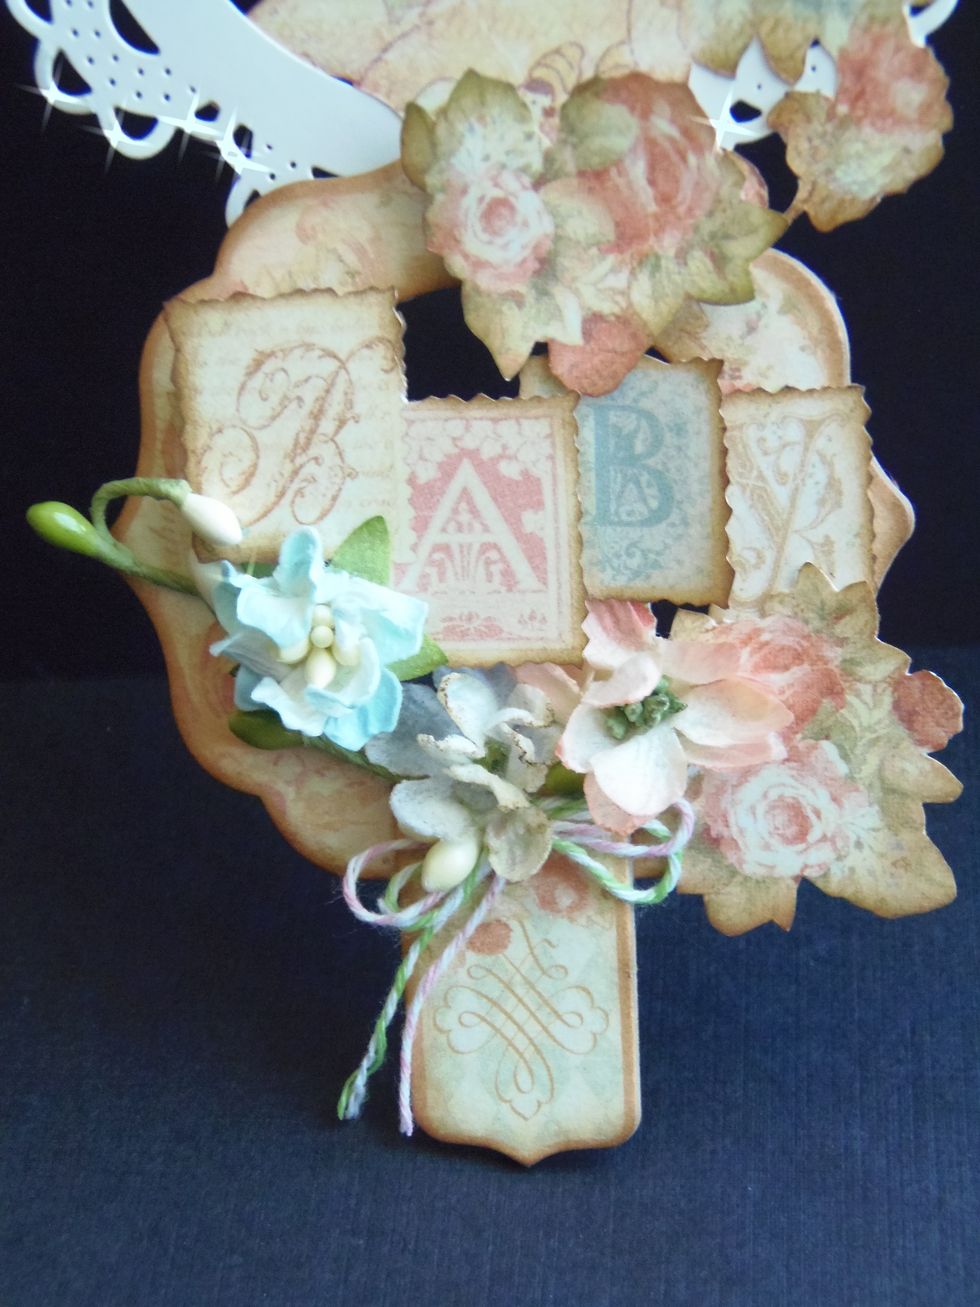
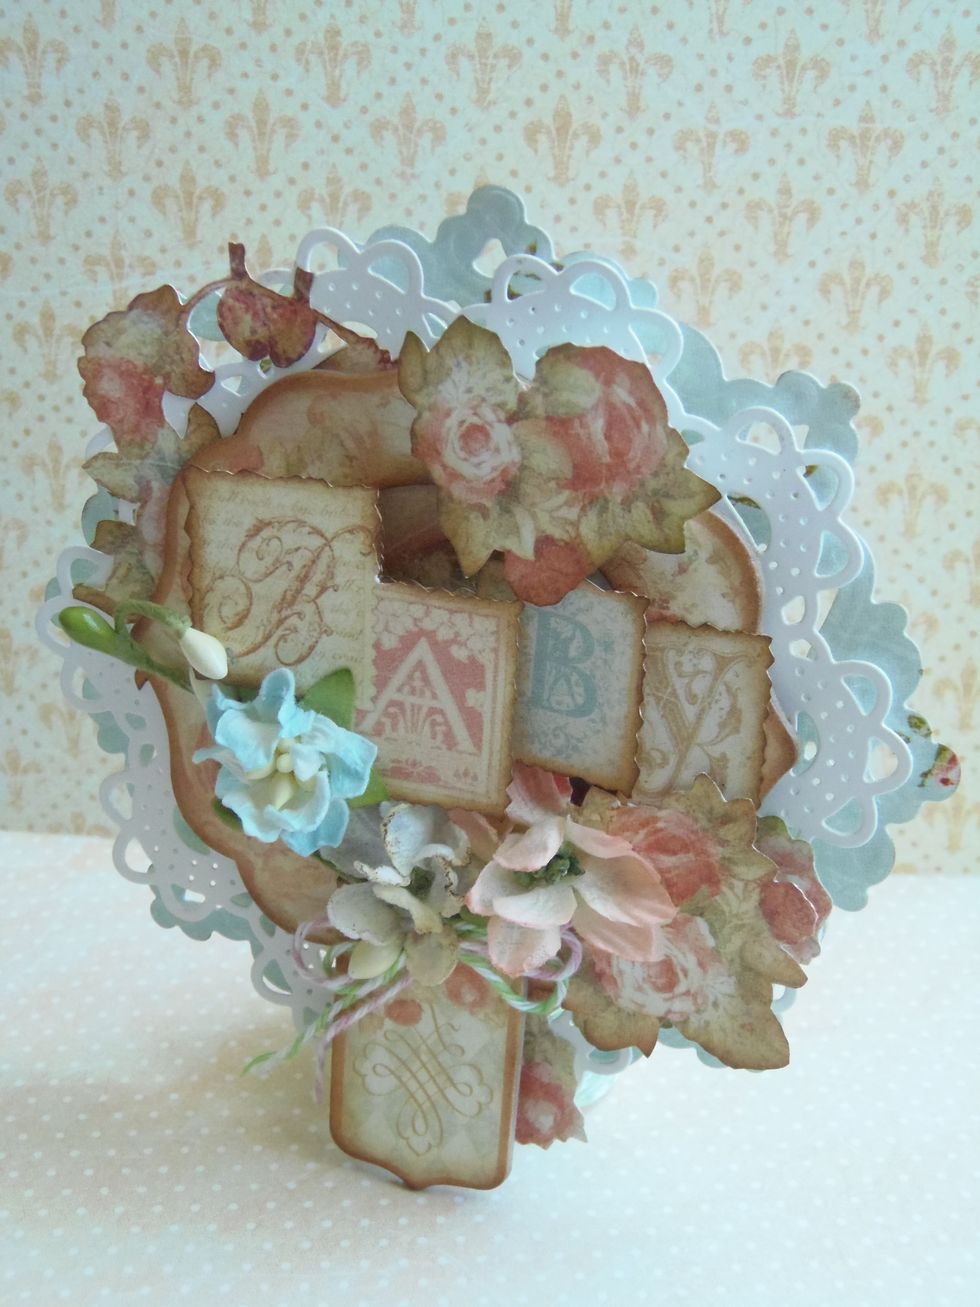
Add the rest of your fussy cuttings, flowers and other embellishments to finish decorating your chipboard frame.
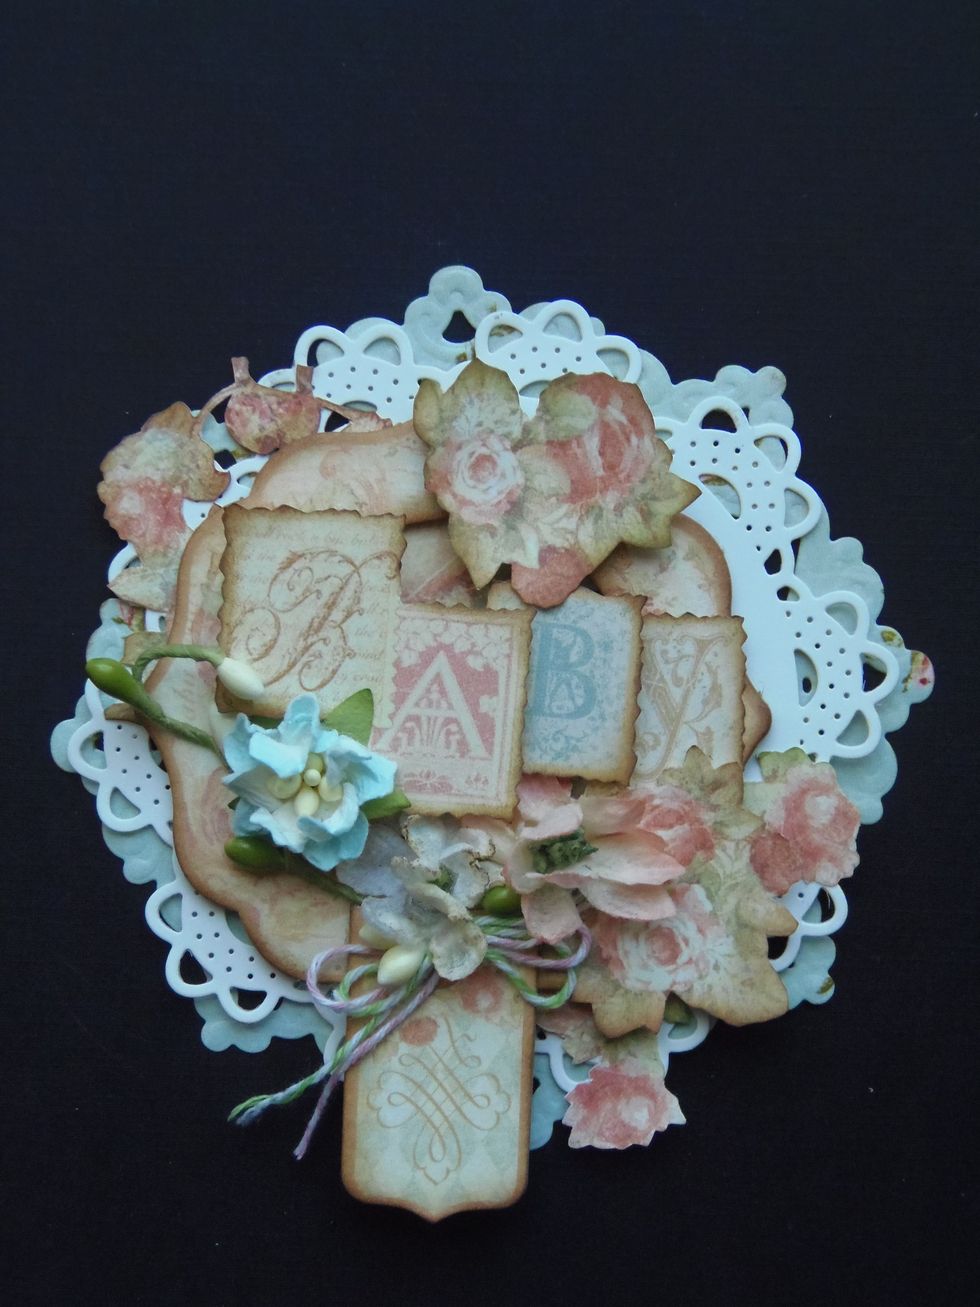
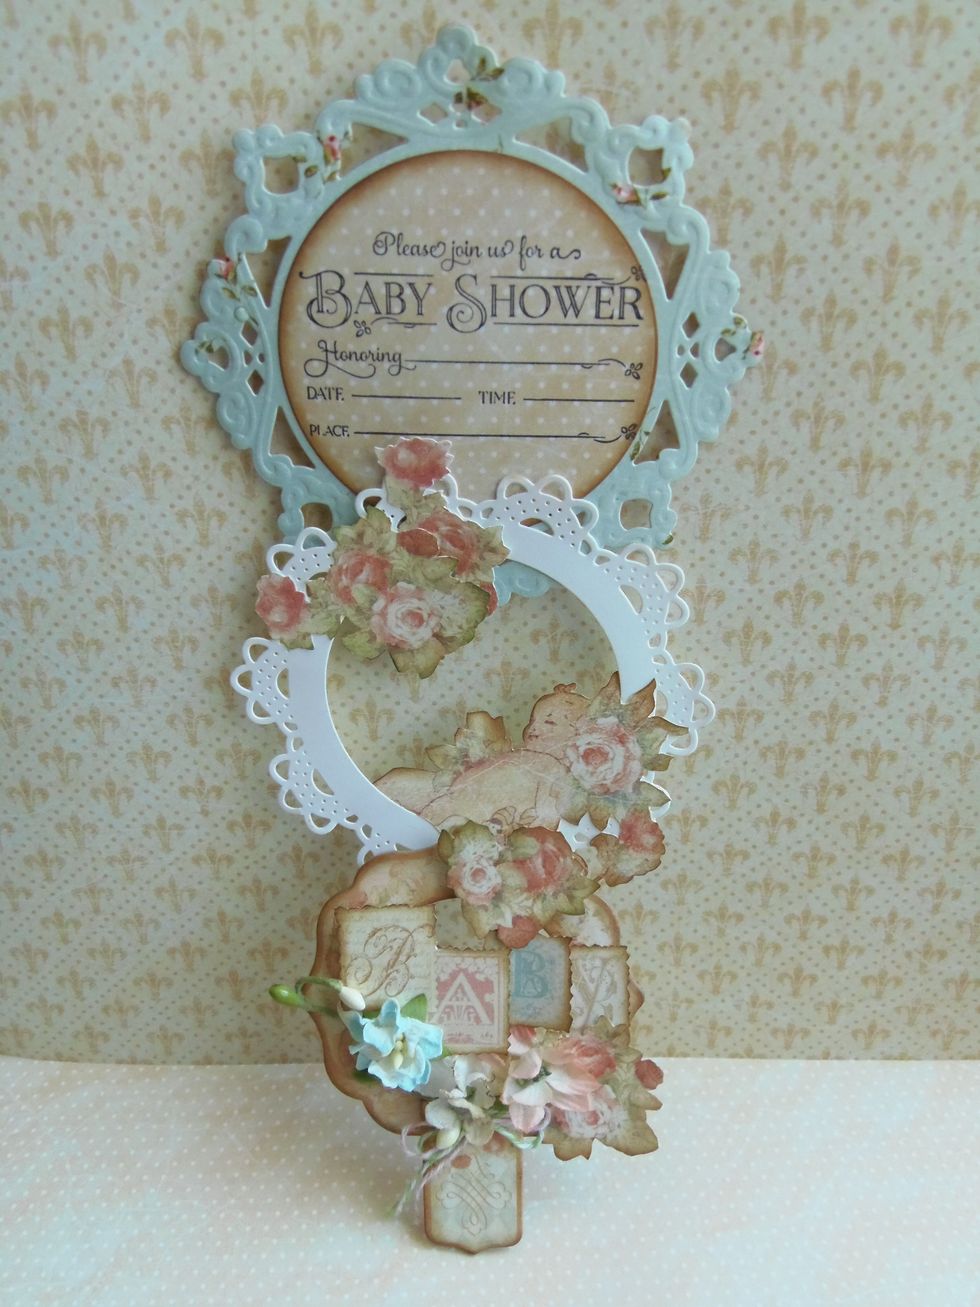
View of the card when is all closed.
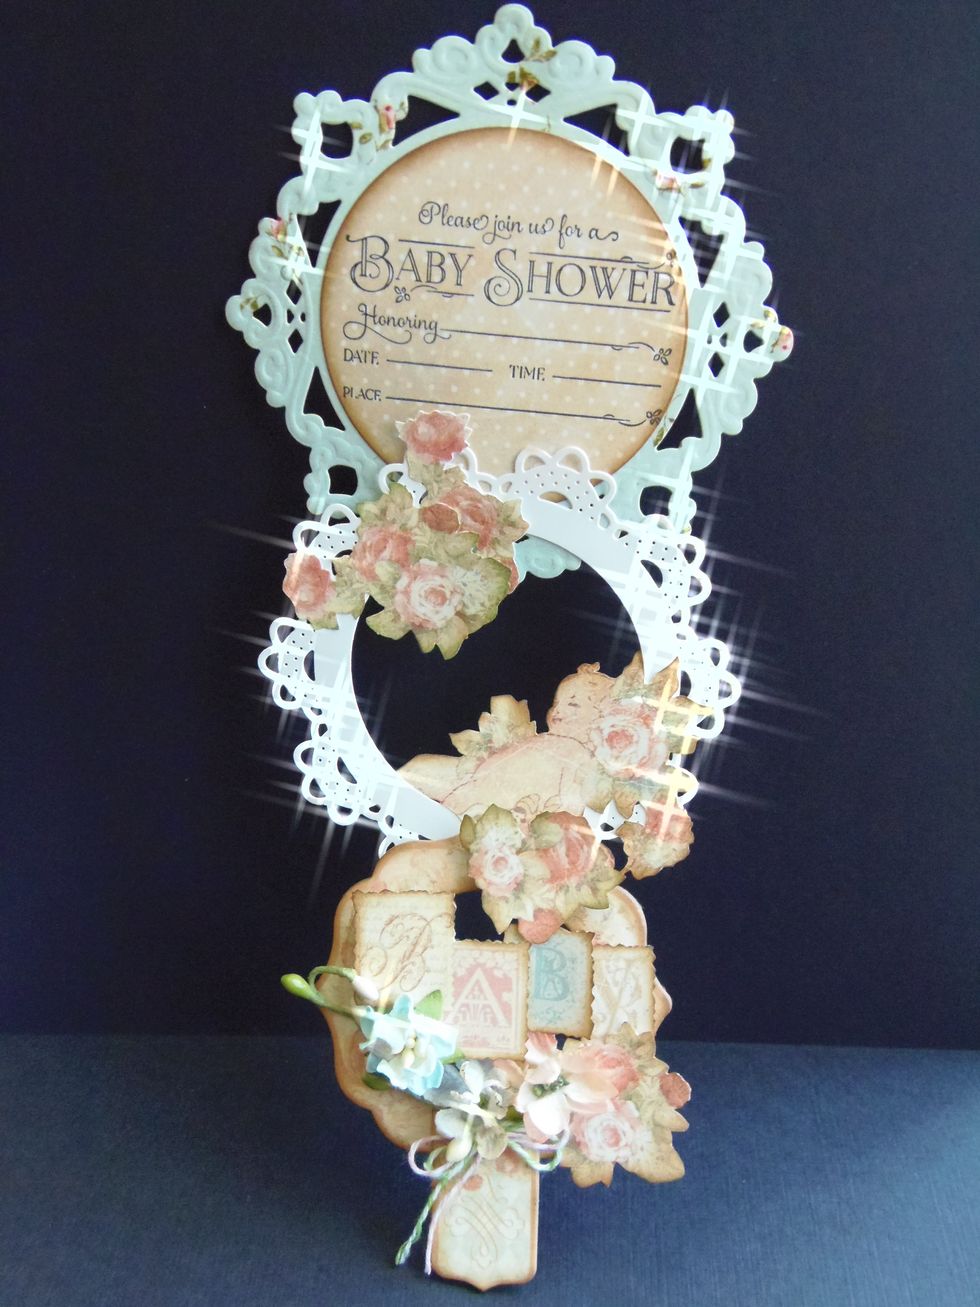
Pull down tab to open card and view whole invitation. Notice the elements that were initially glued upside down are now viewed in the right position when card is opened completely.