The Conversation (0)
Sign Up
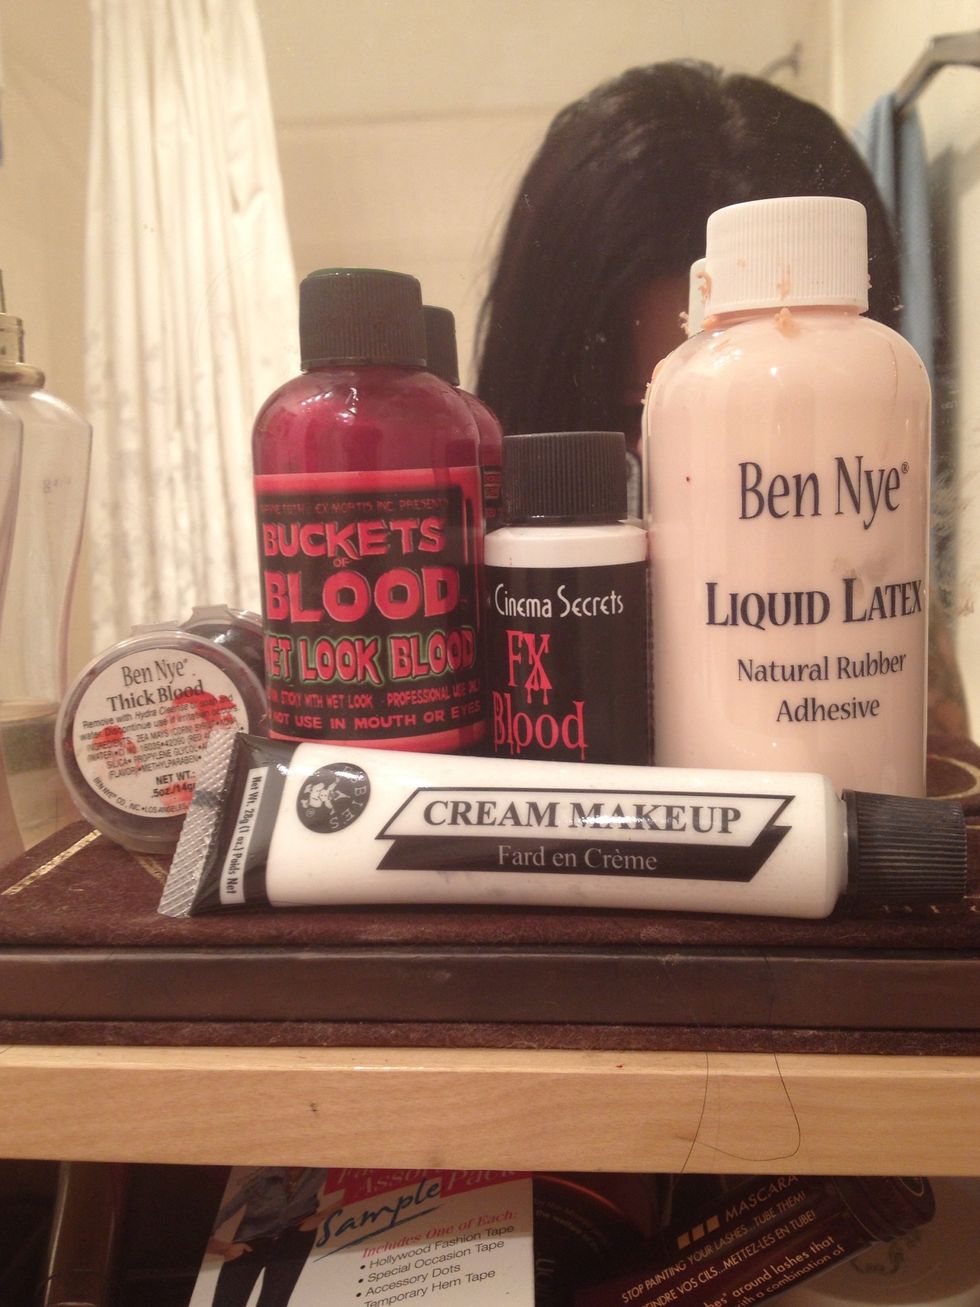
All the goodies!!
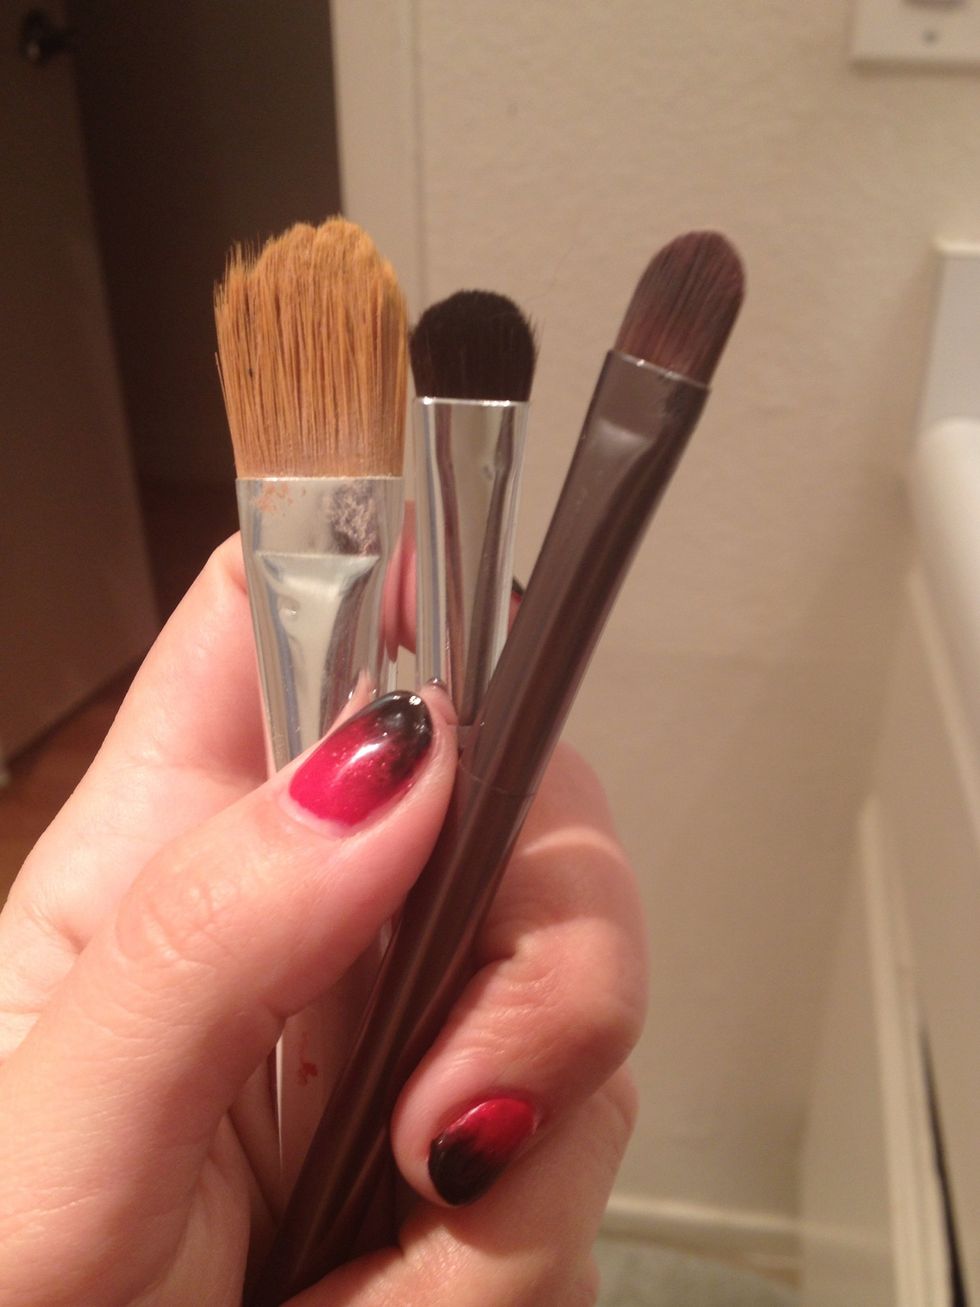
Some brushes you won't care about getting dirty.
Cotton..
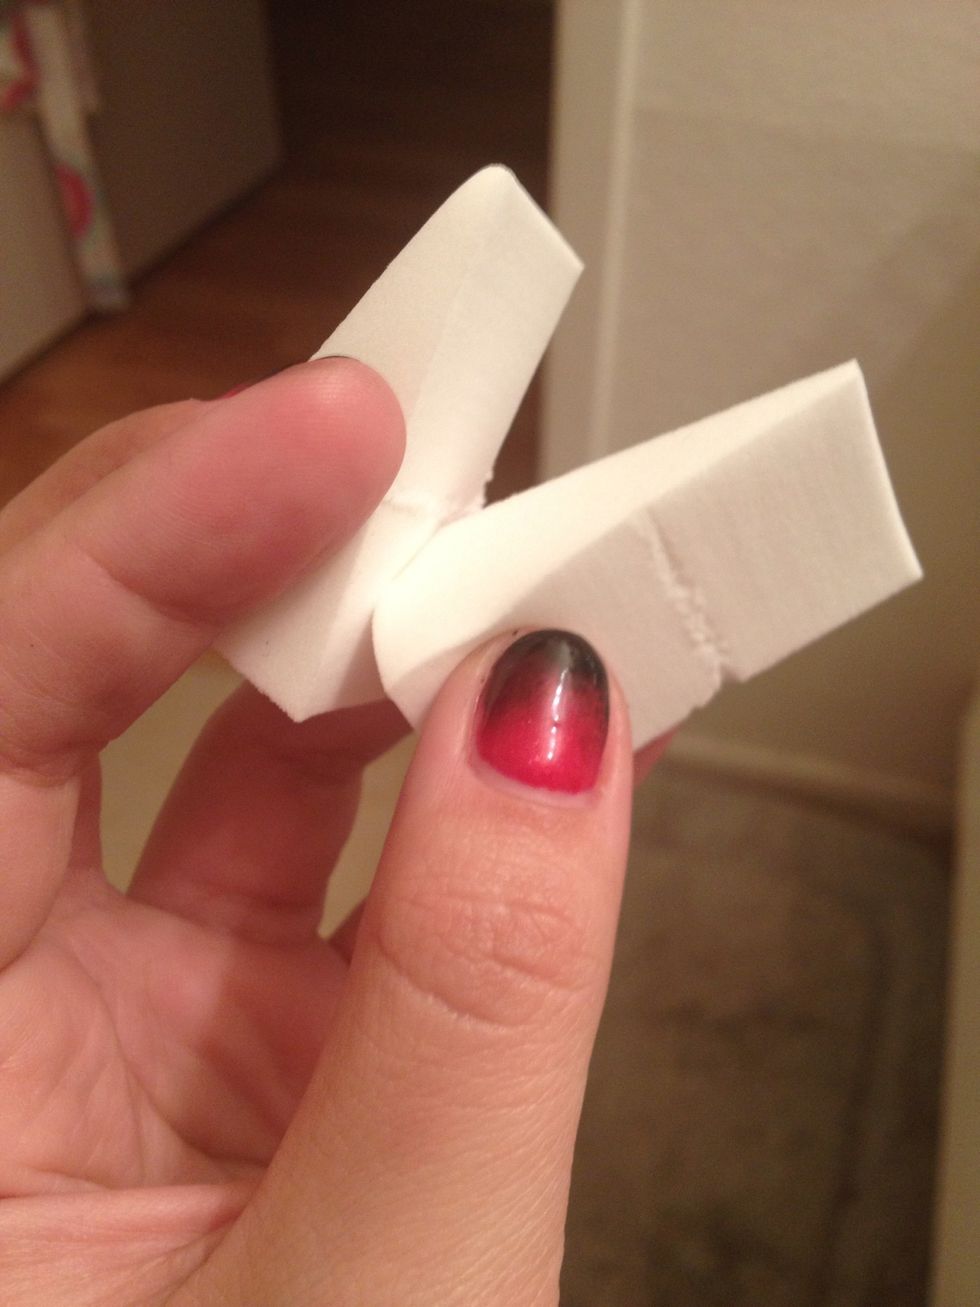
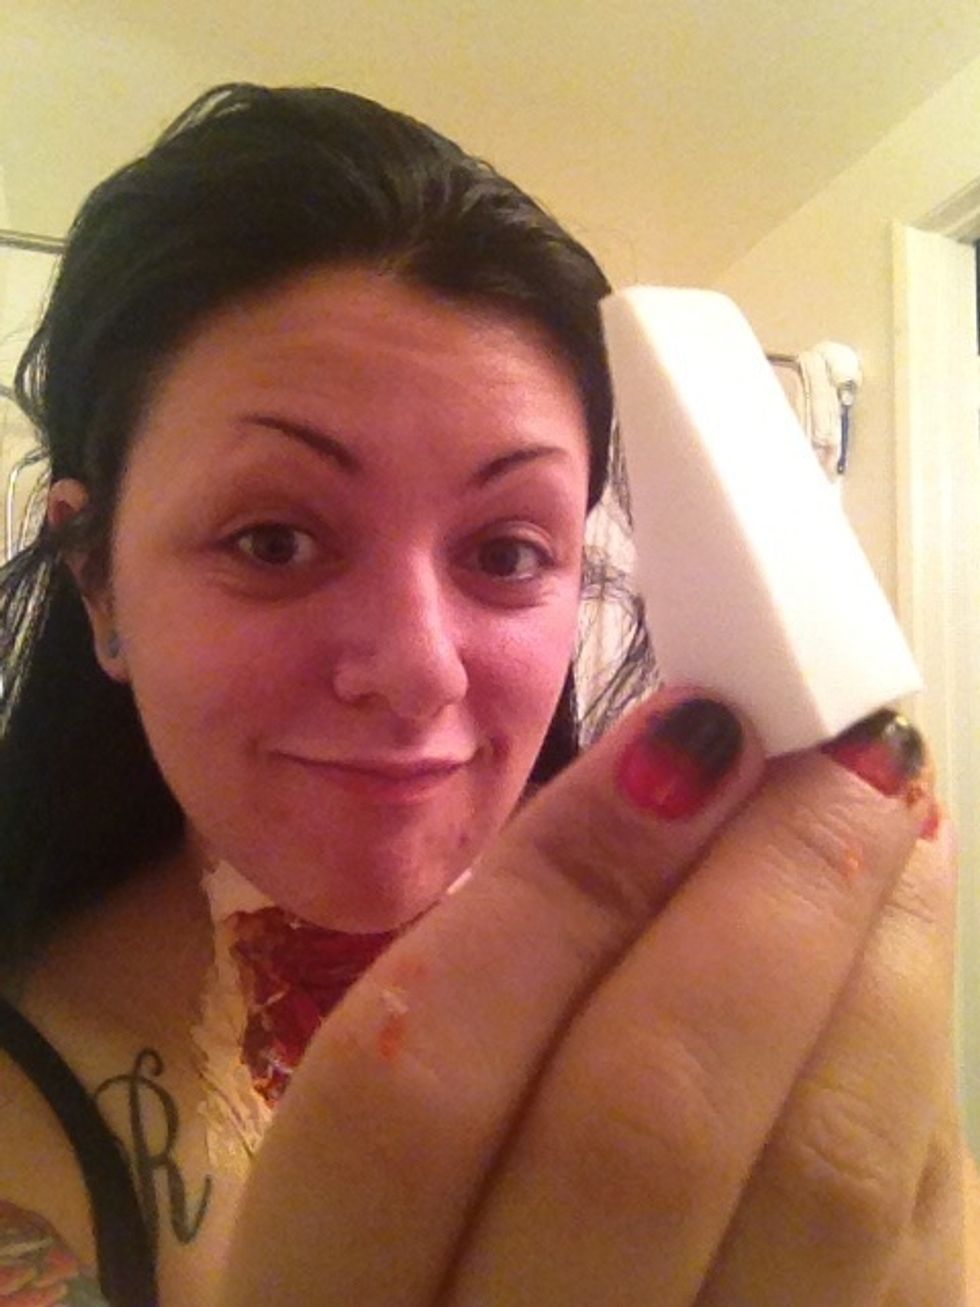
Makeup sponges. Grab a few. Trust me you will go threw them
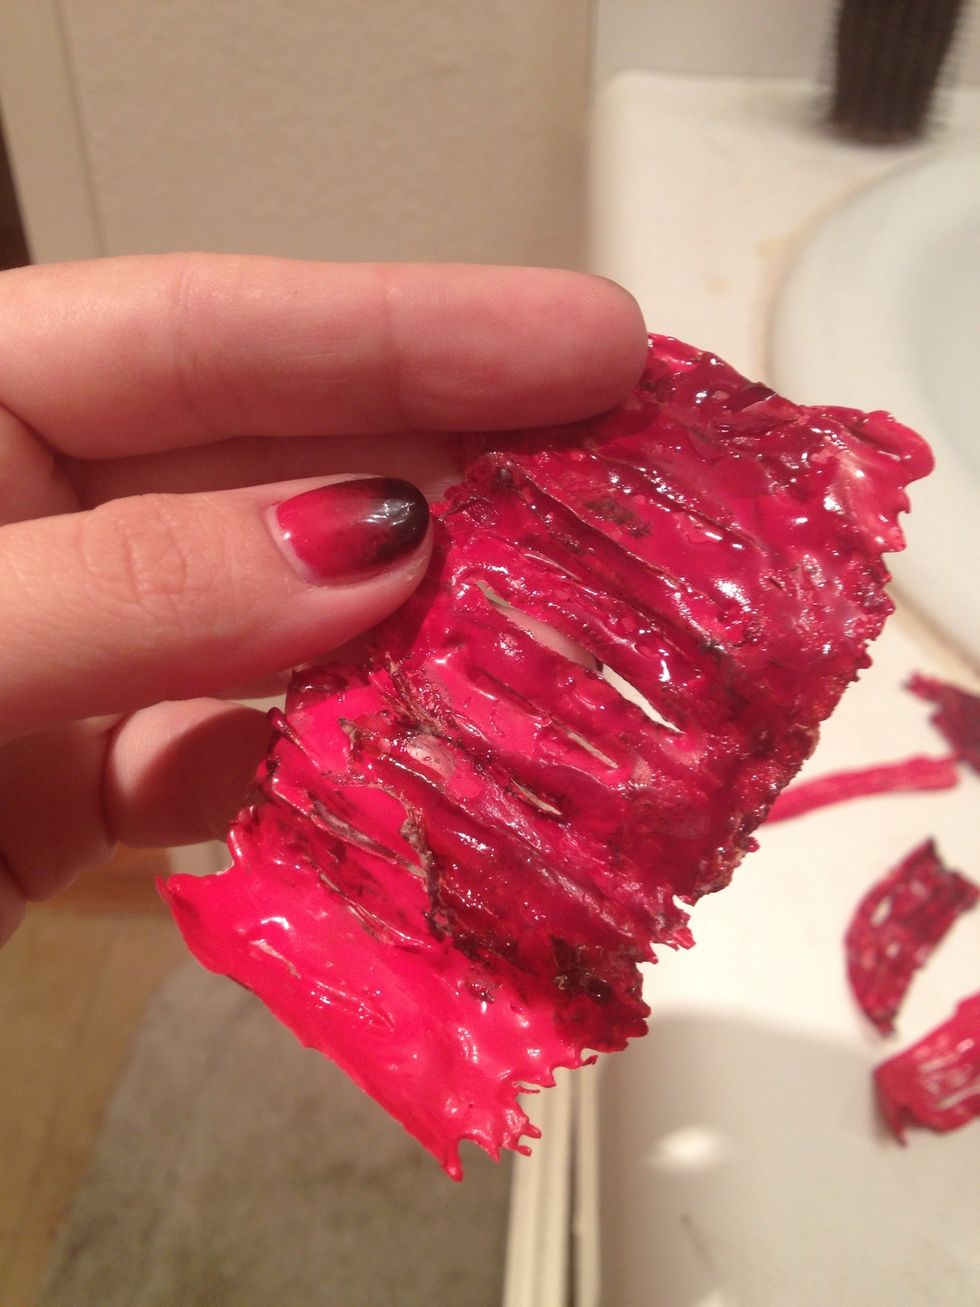
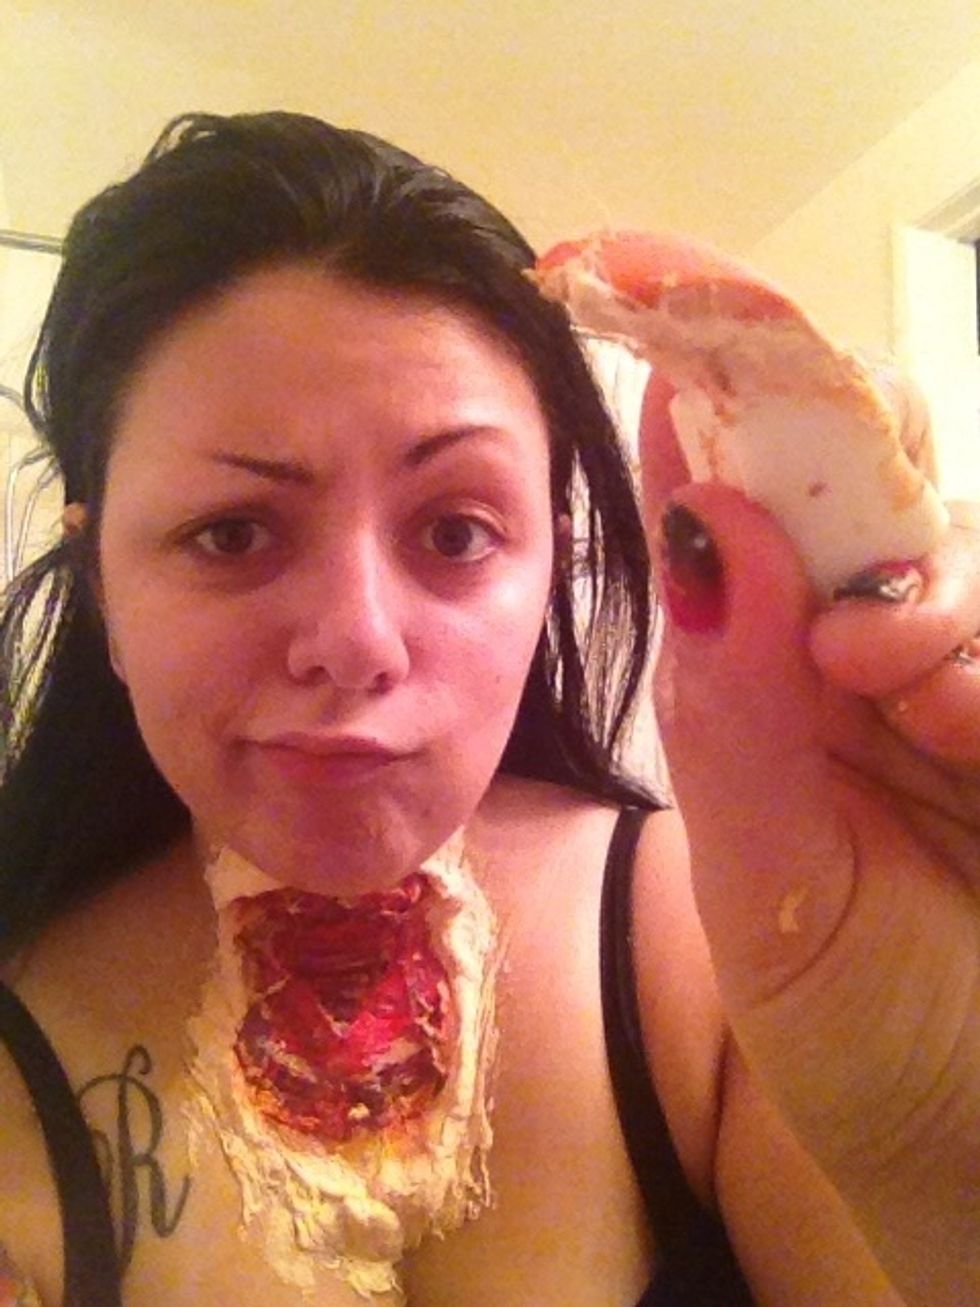
This was made from the puff paint. I made muscle like pieces for the throat. Let them dry for two days. Then put face powder like the latex to prevent stickiness.
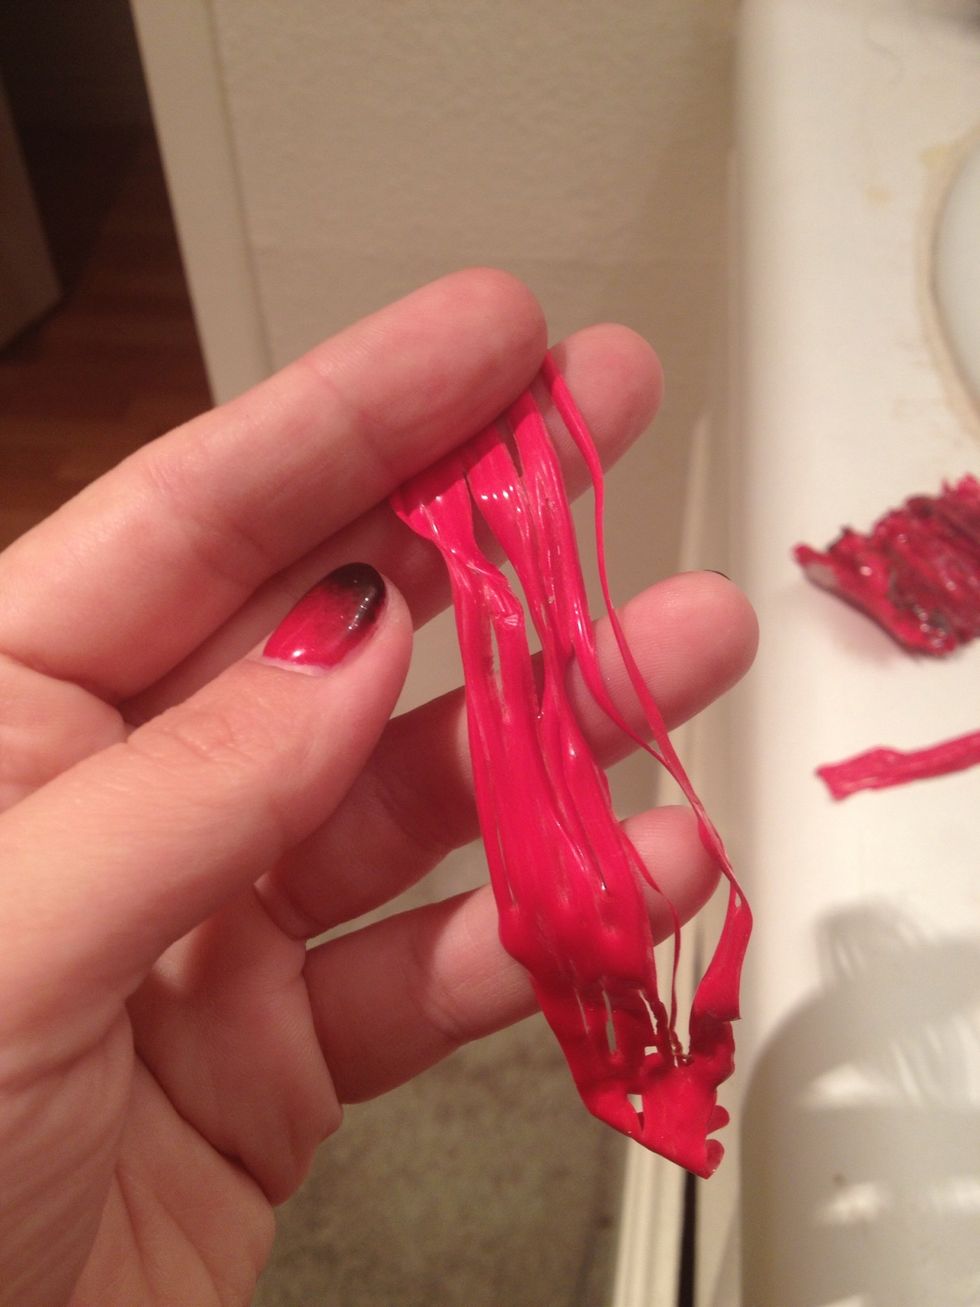
This one I used already hence the dirty look. This piece is the trachea part...

Figure out what kind of shirt to wear. Best is a deep v neck or tank top/tube top.

Put hair pack! Latex and hair don't mix!
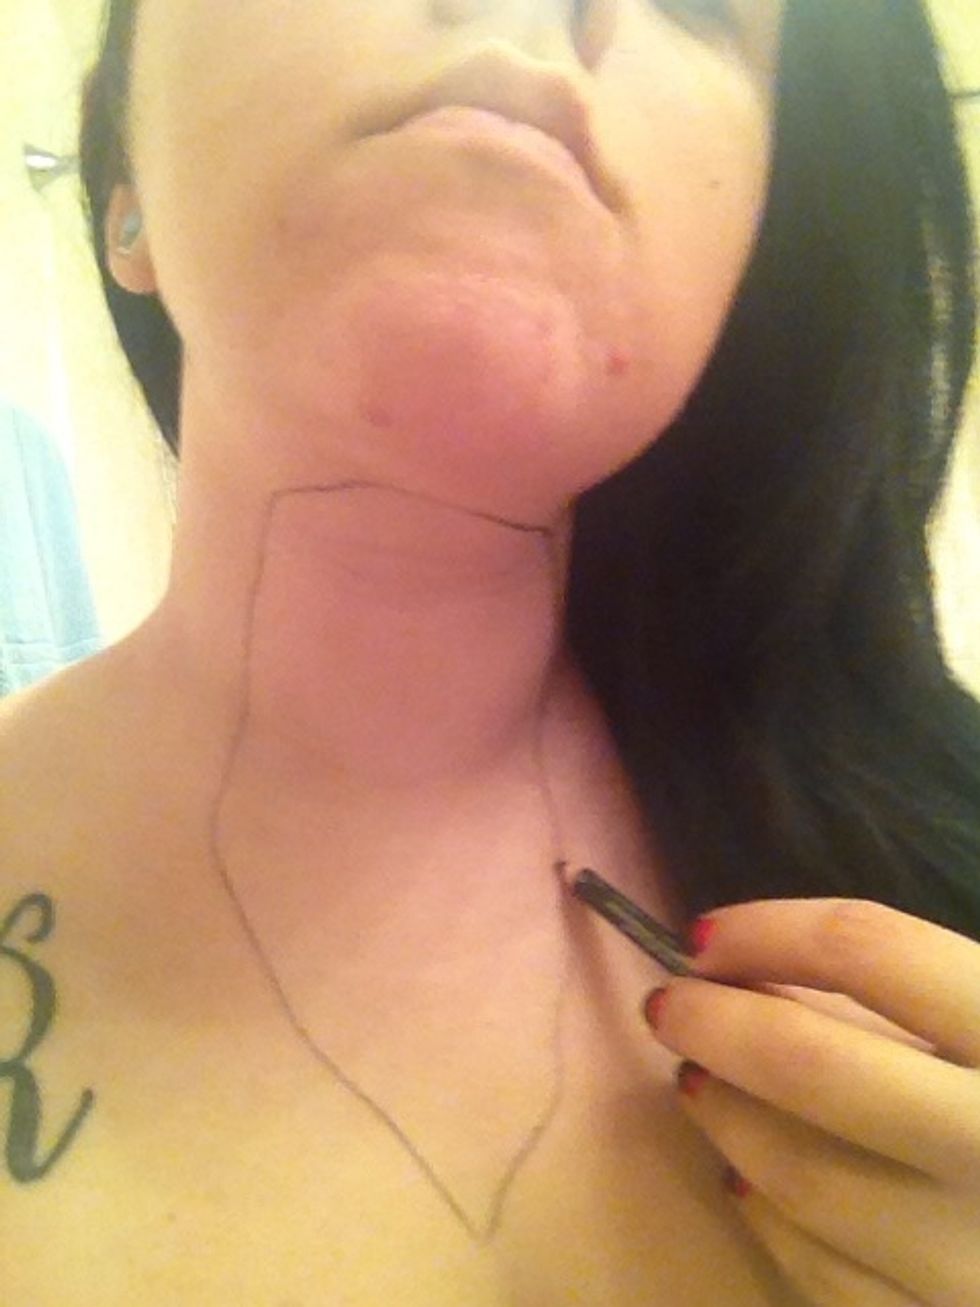
Draw an outline of your open neck
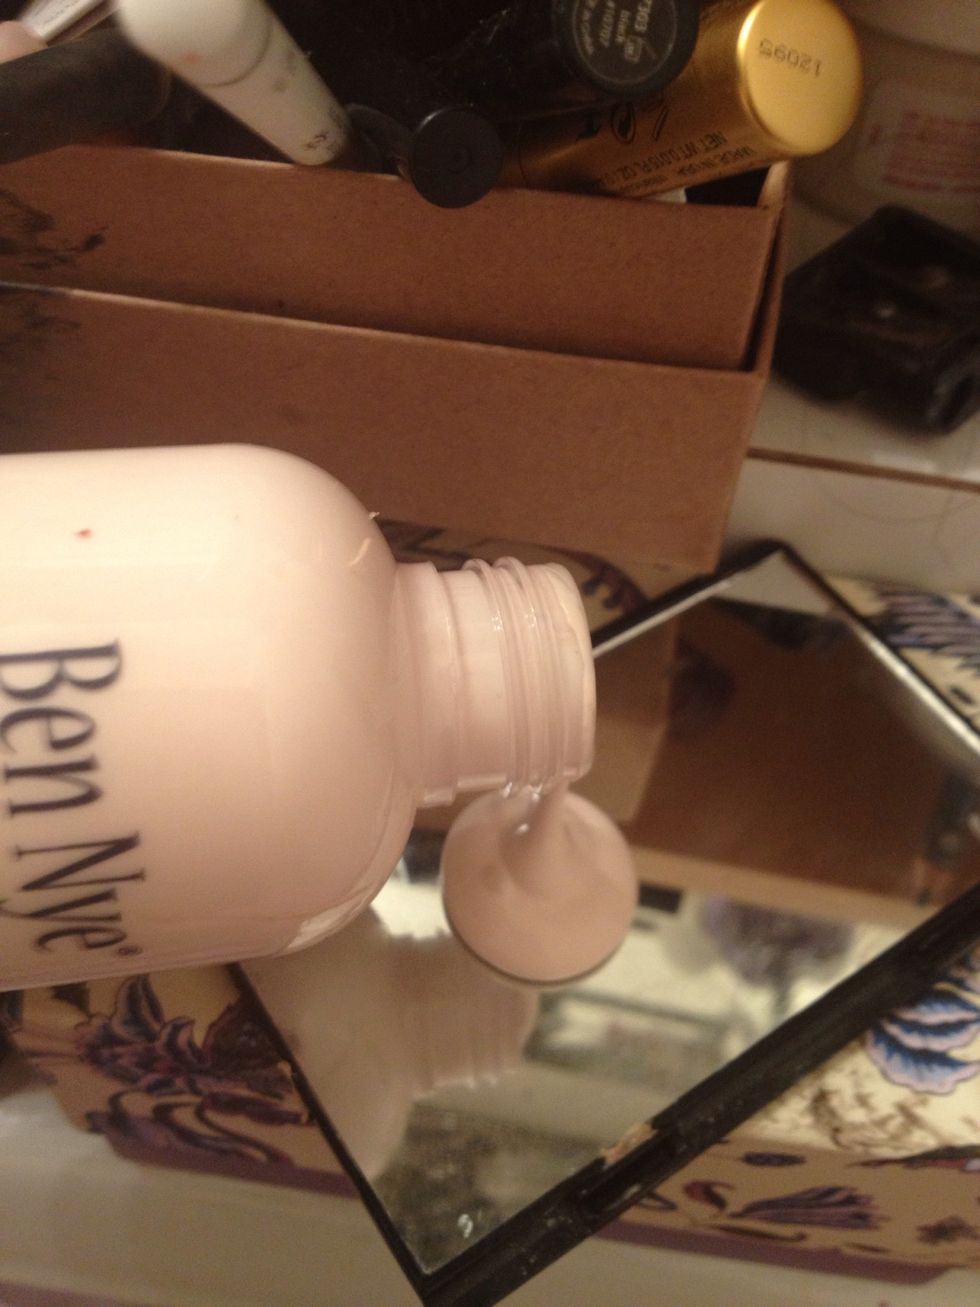
Put some latex. I use a mirror to work with the latex.
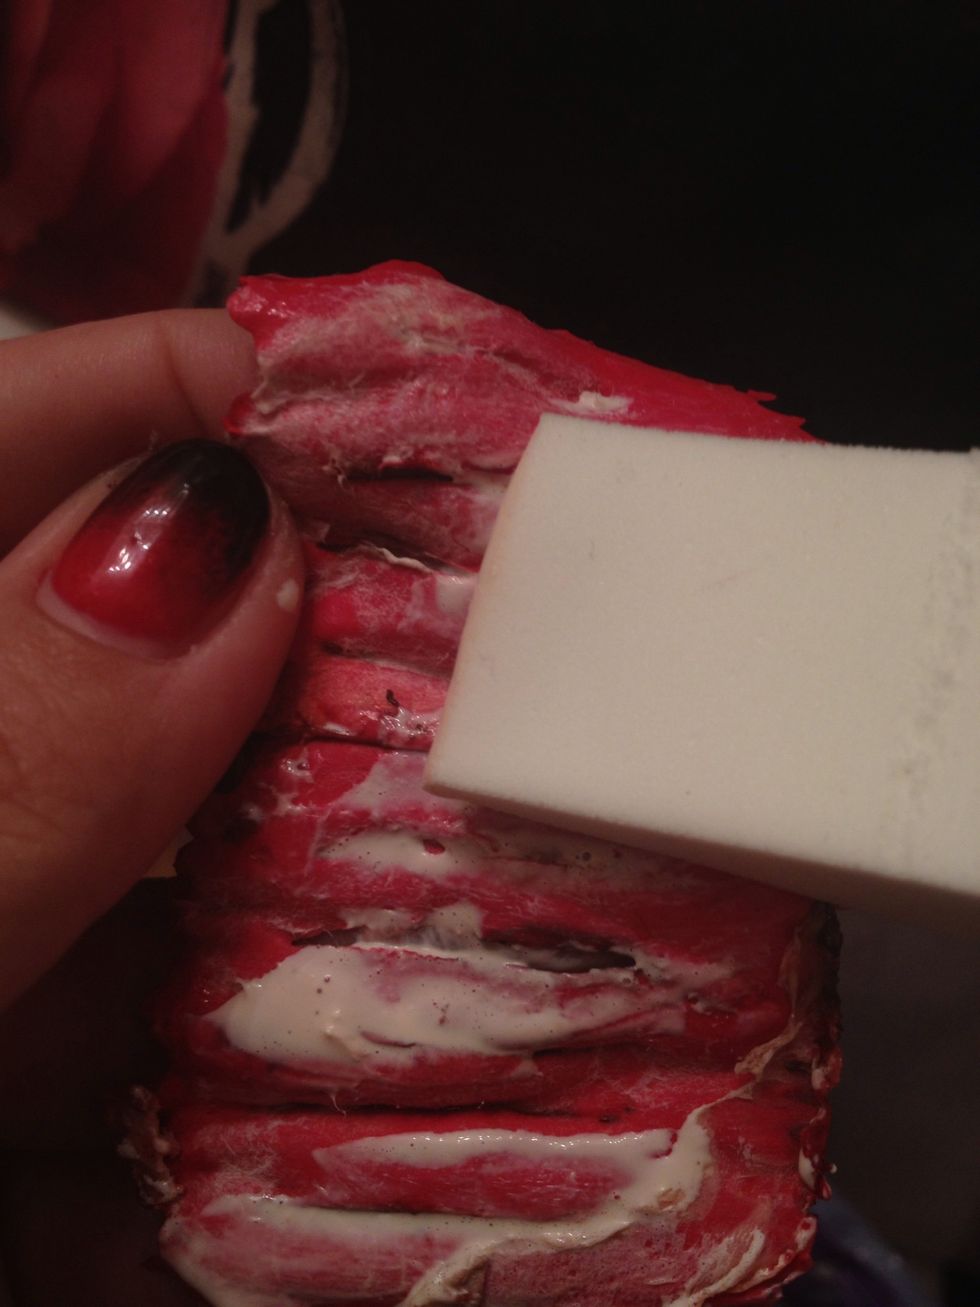
Sponge on some latex to the back of the puff paint piece
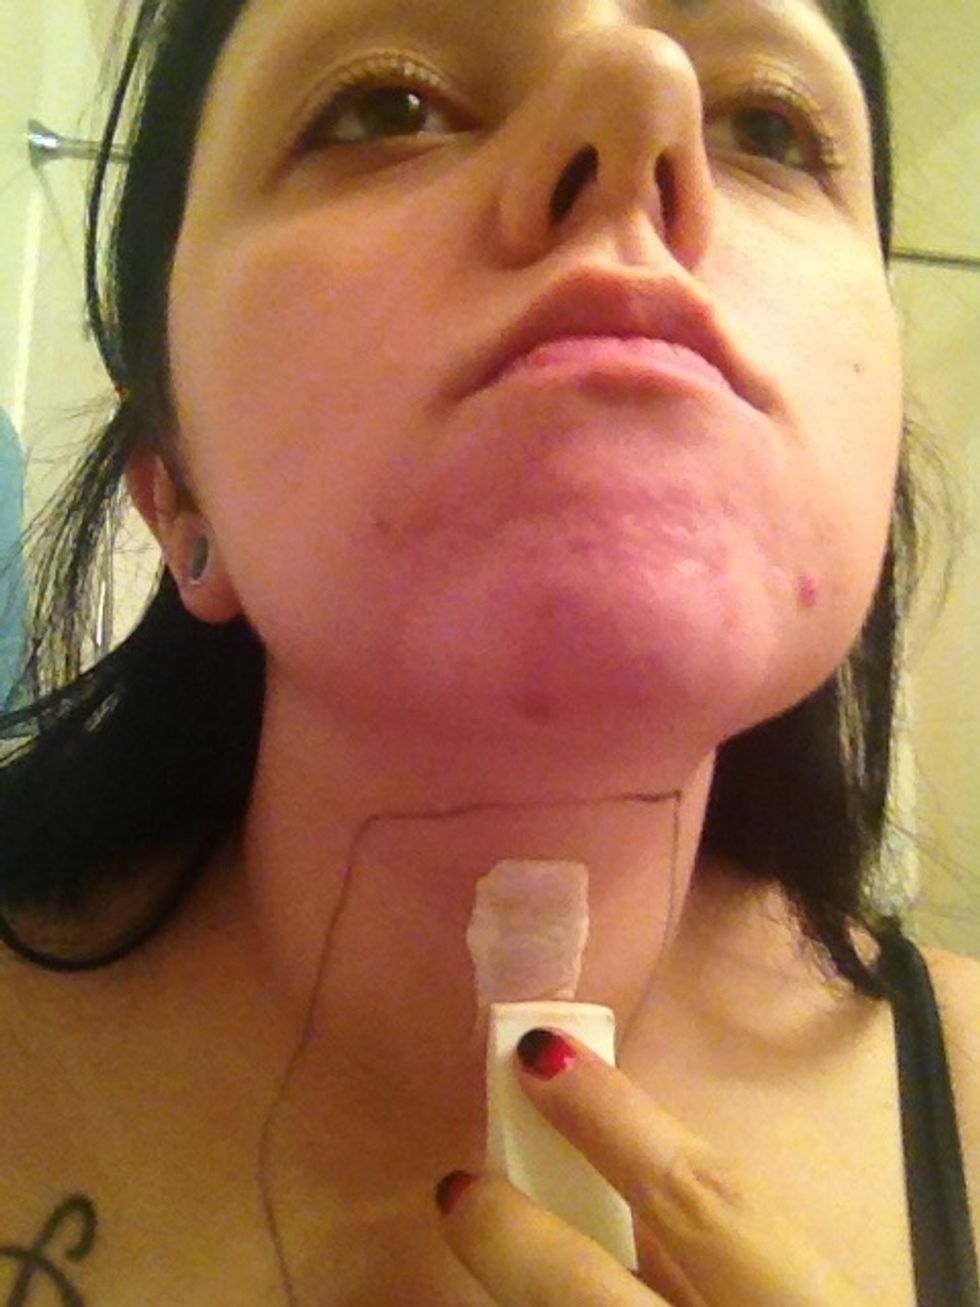
Then onto your neck
Place on your skin...
Should hold...
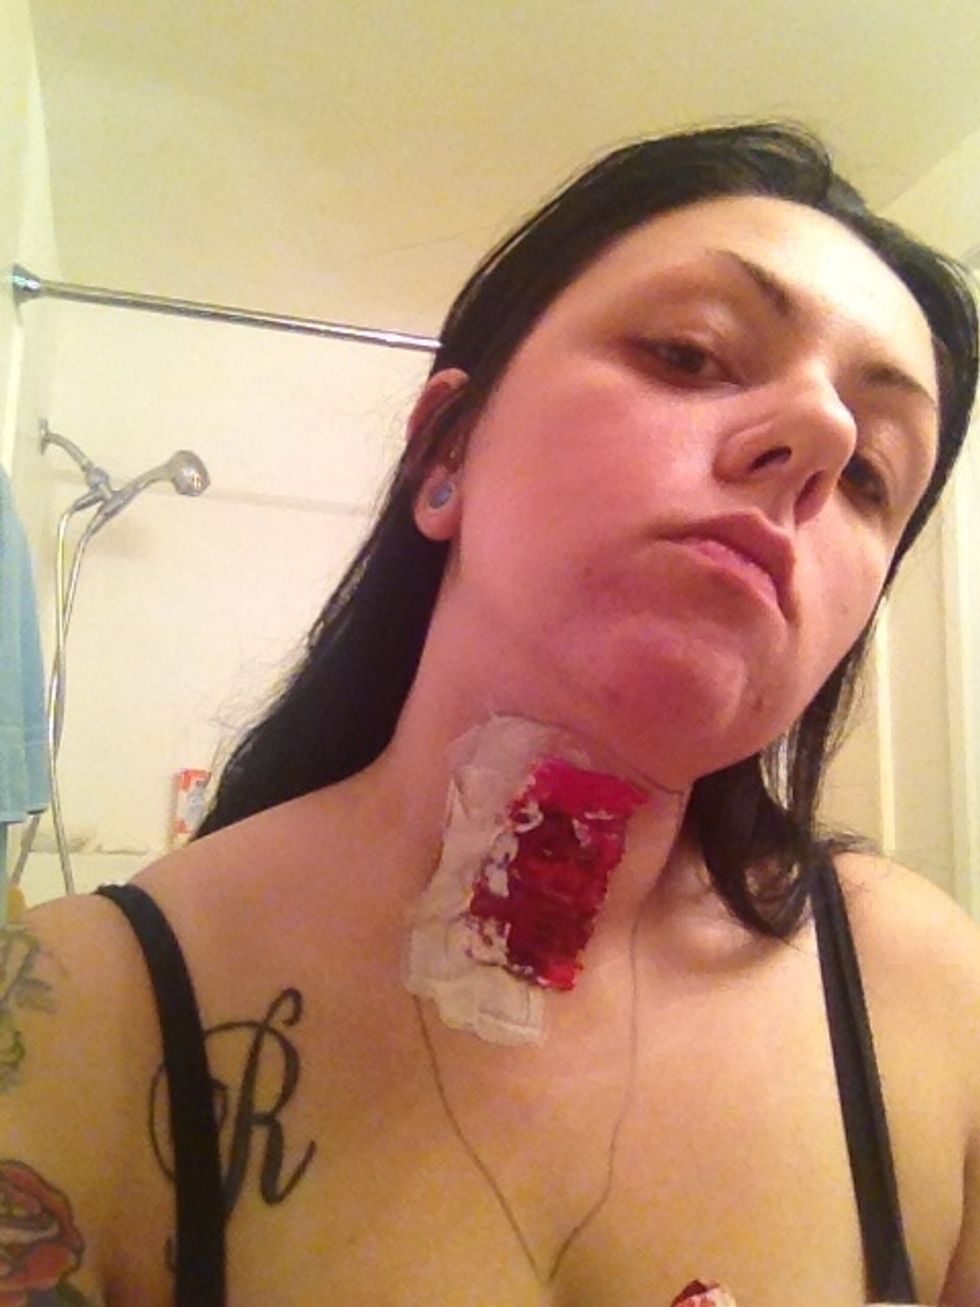
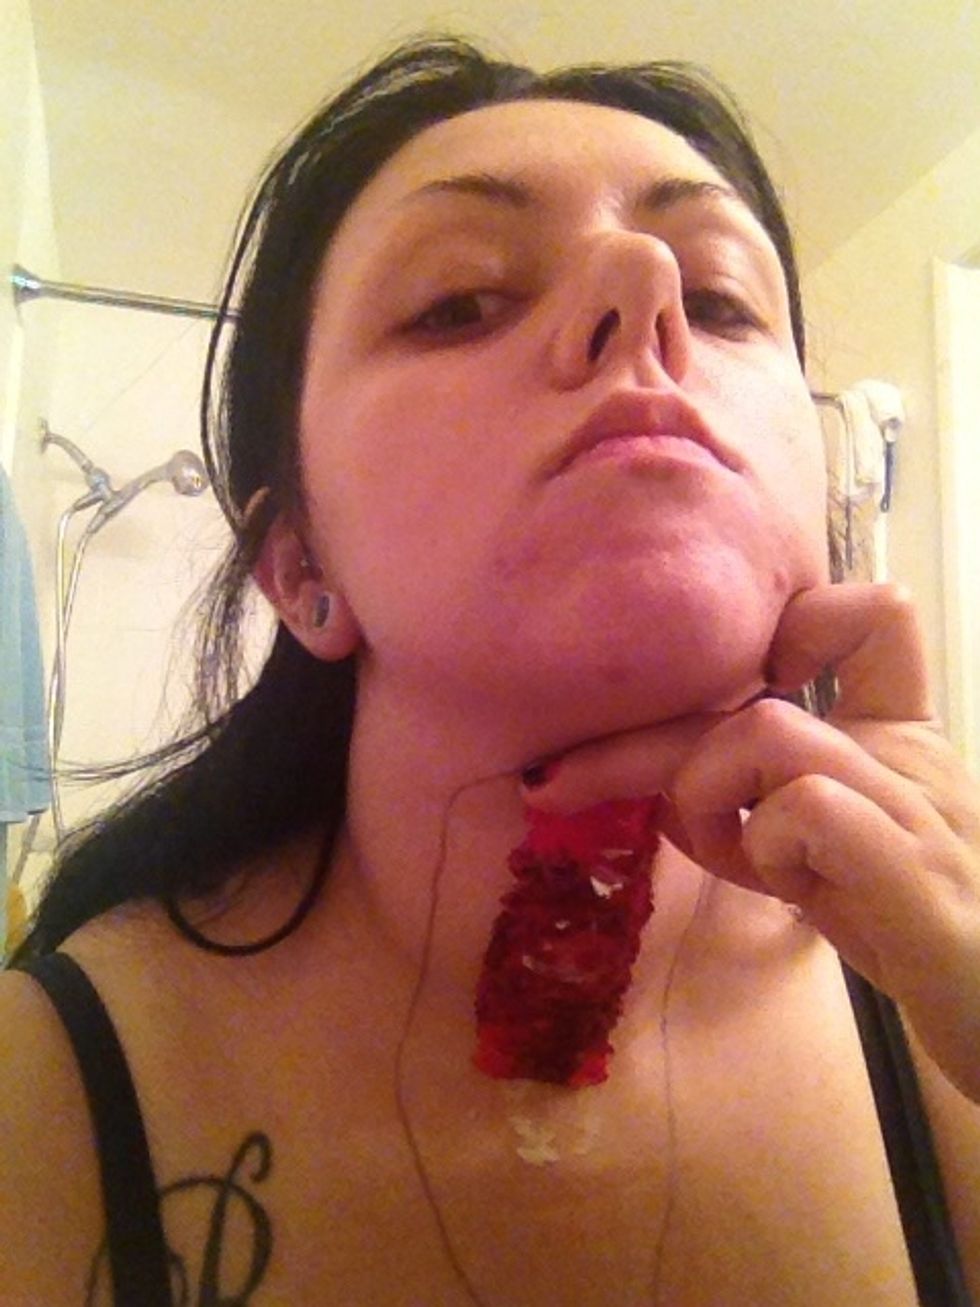
Now add more latex and repeat process for other pieces...
As such...
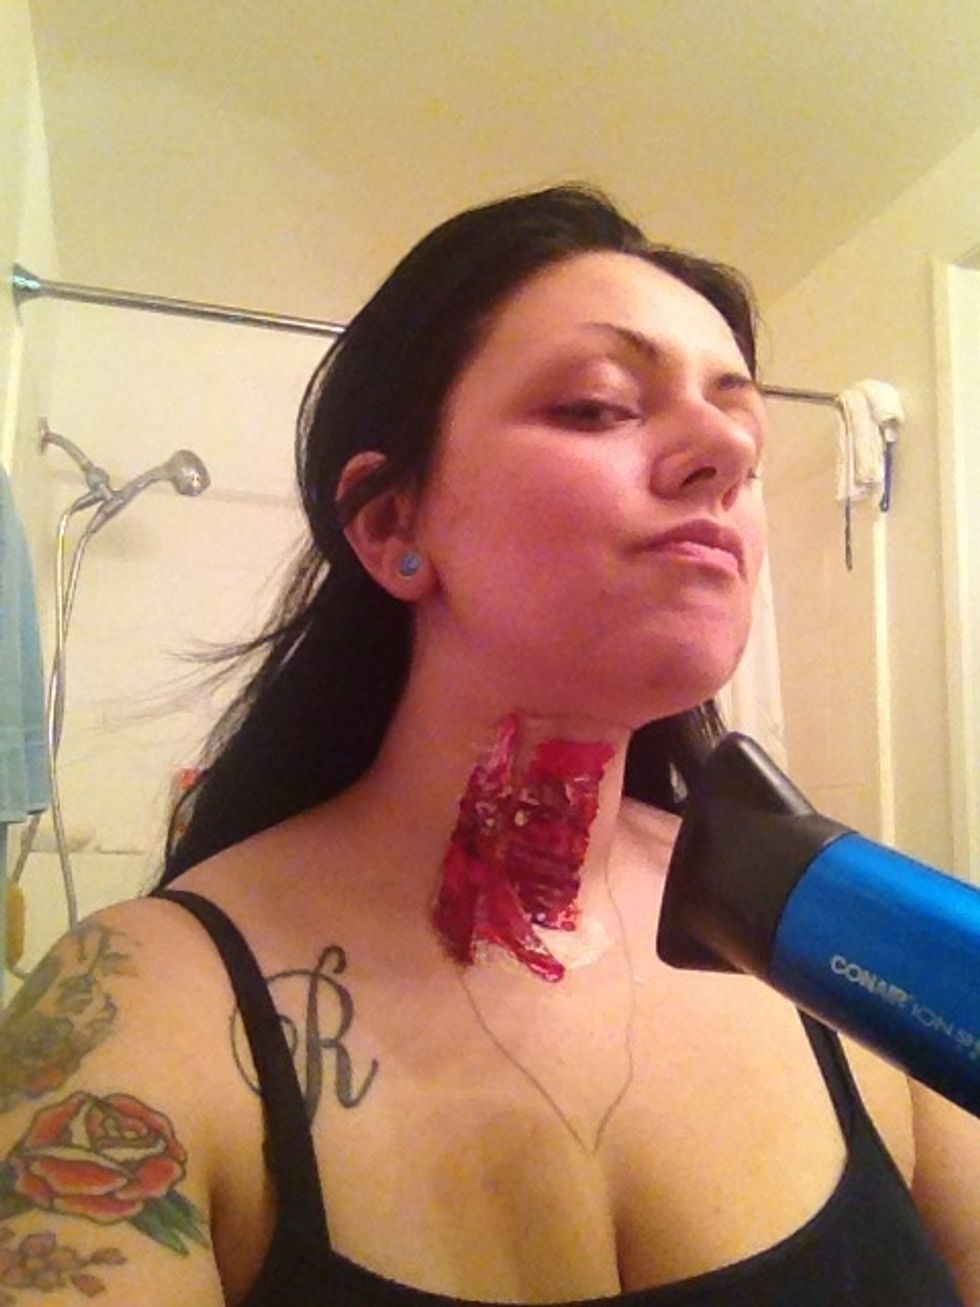
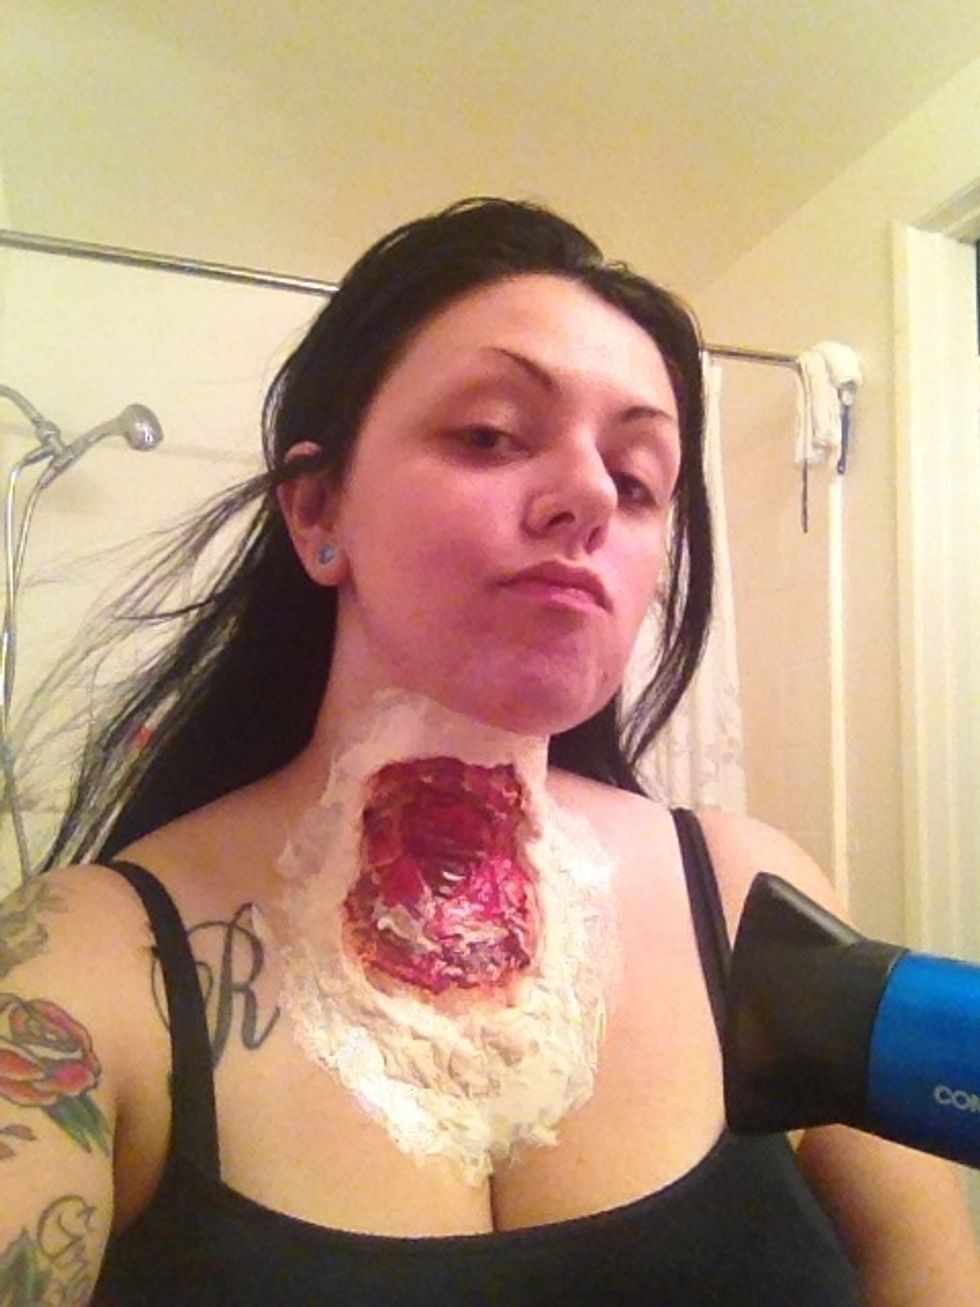
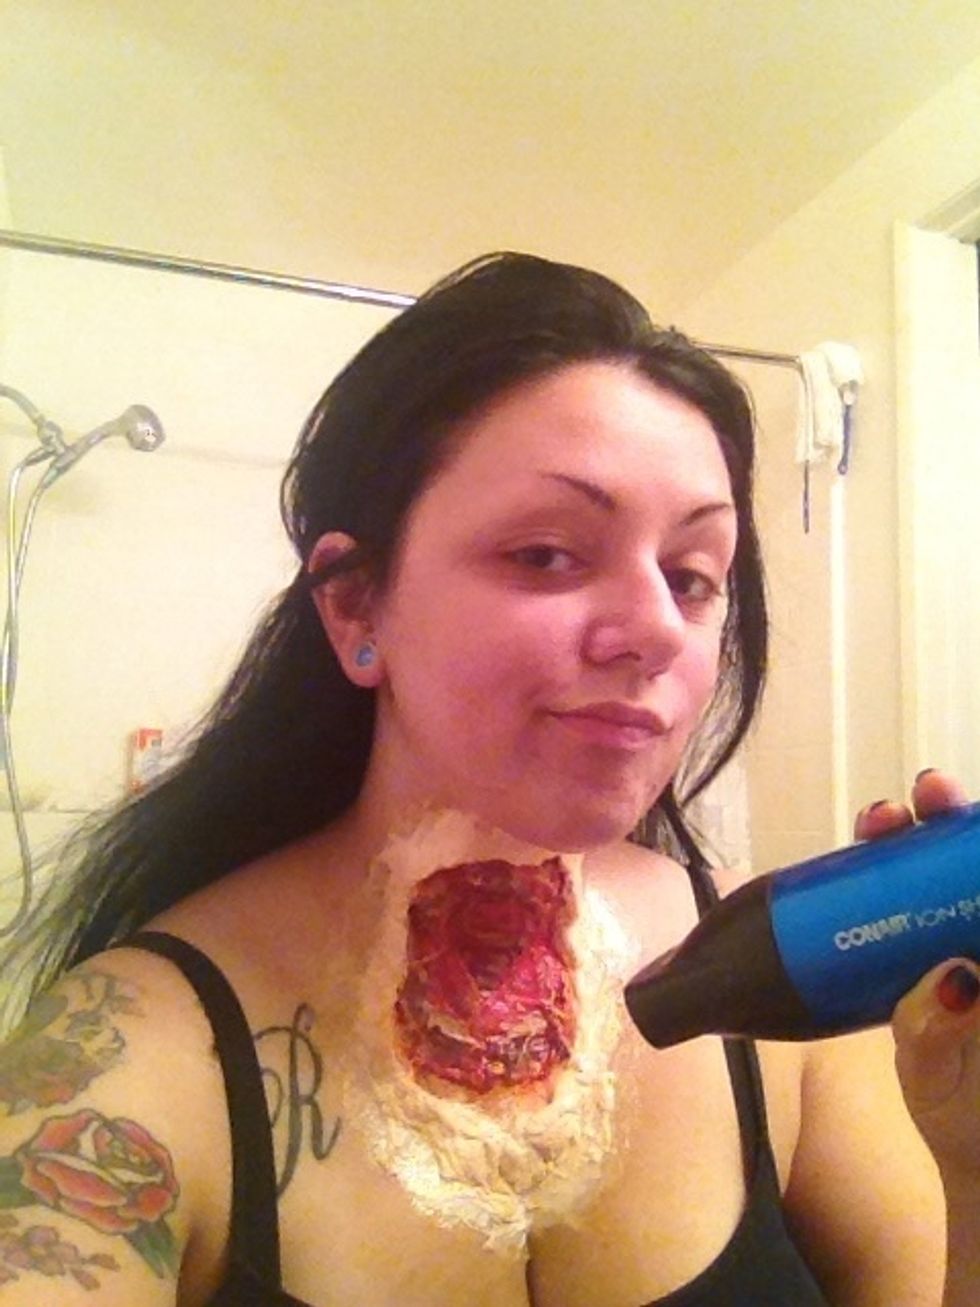
If not sticking, use the blow dryer to speed up the process.
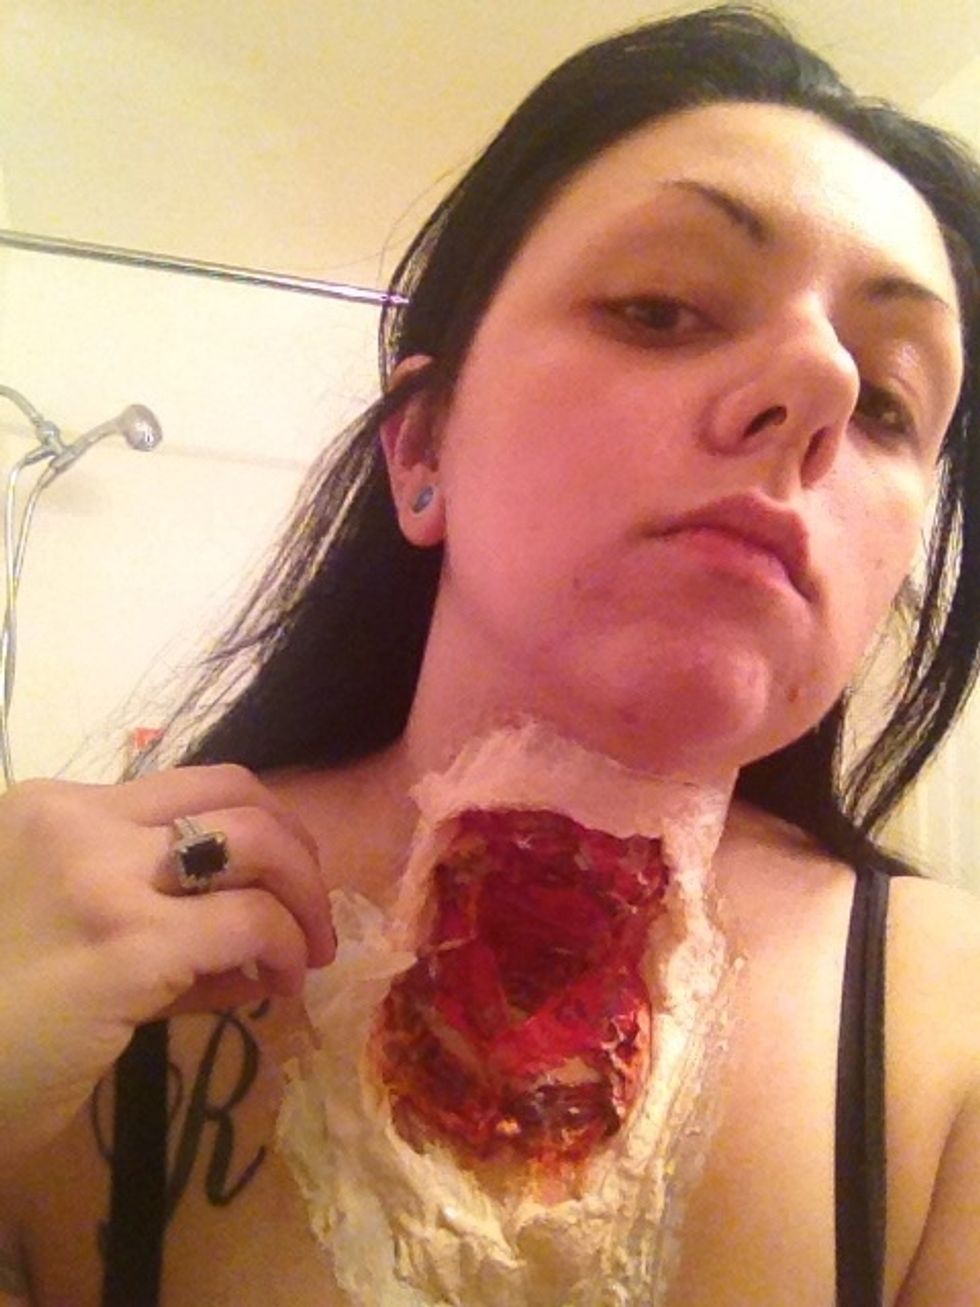
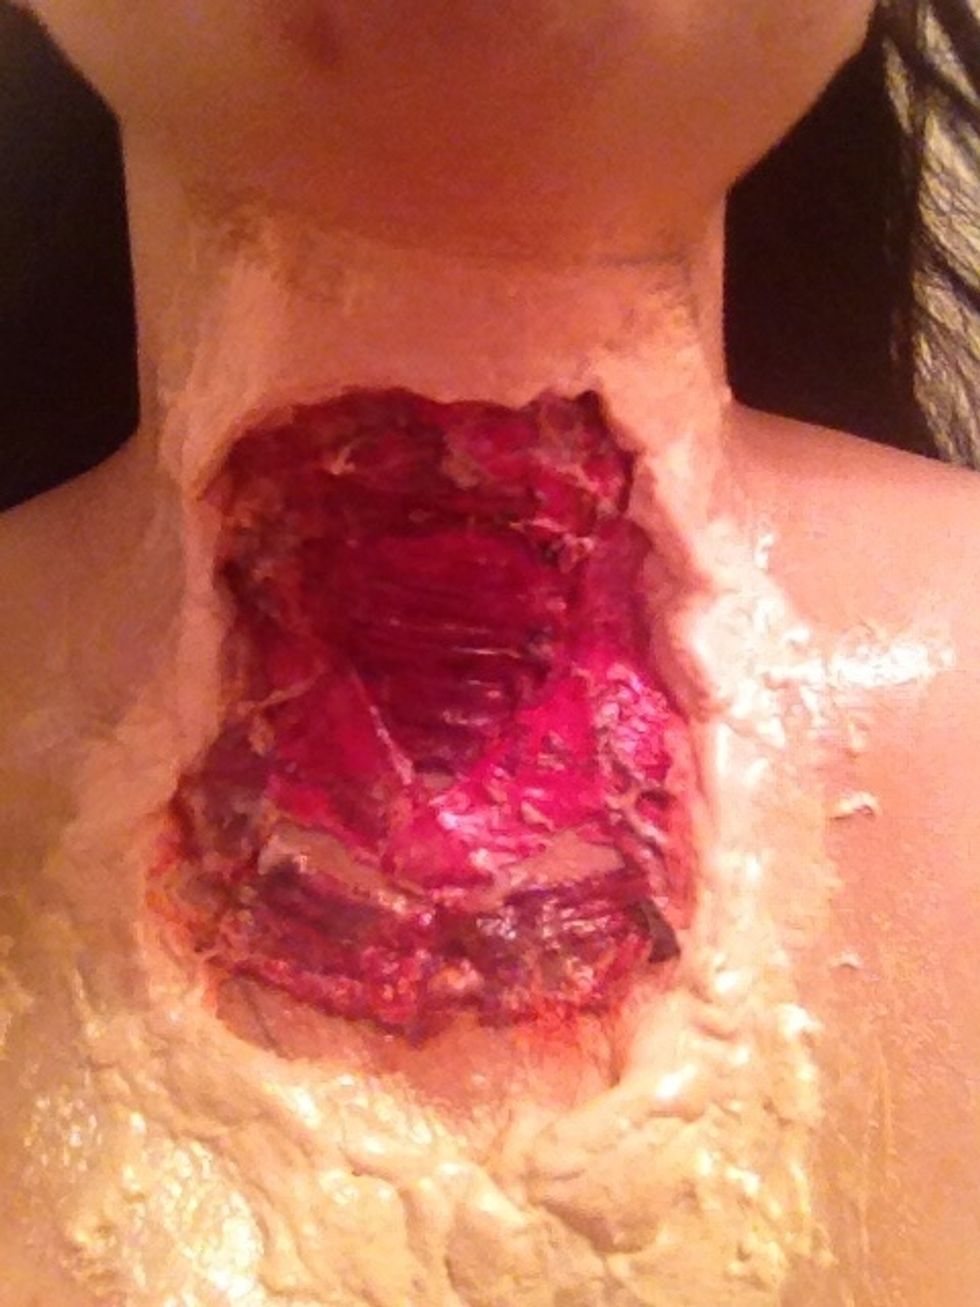
And here is the throat muscles. I used an anatomy image to get an idea of what it may really look like inside the throat.
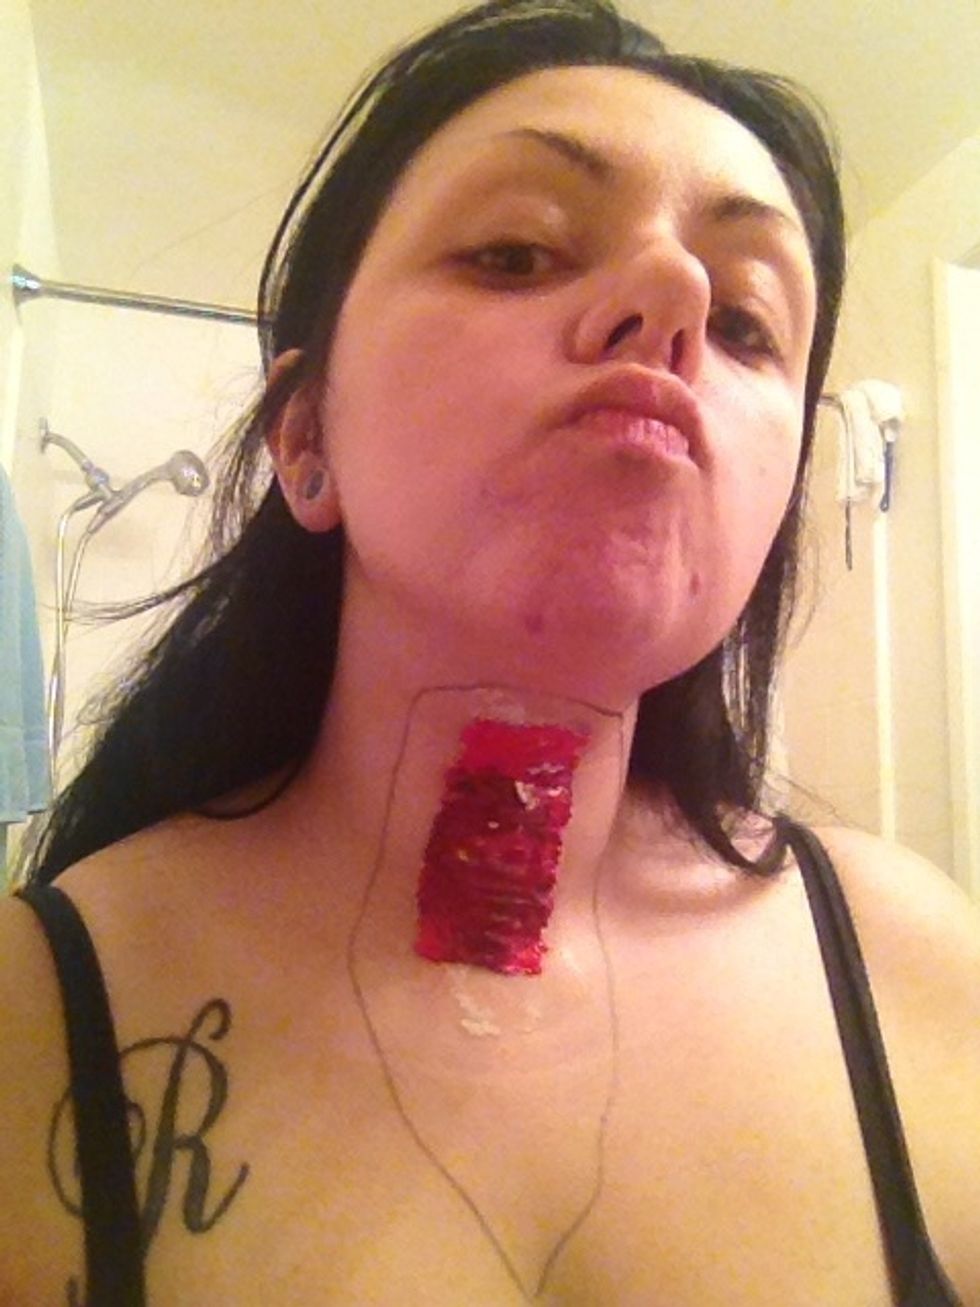
Now add a layer of latex around the muscle..
I wanted more muscle so I added a few more pieces that were left over
Pretty

Now roll out your cotton balls to make them a long strand.
Apply more latex around the muscle. This is going to be the torn skin.
Add cotton. This part is a little messy.
As such...
Add more. Do sections at a time. Makes it easier.
This is the result. Looks like Santa is on my throat. Hahaha.

Now get a lot of latex ready and start applying onto cotton. Gets a bit more messy.
As you apply latex use your fingers to mold or pinch the ends of the "skin". Easier for peeling later...
Pinch pinch pinch!!
End result. Start to see what it's gonna look like.
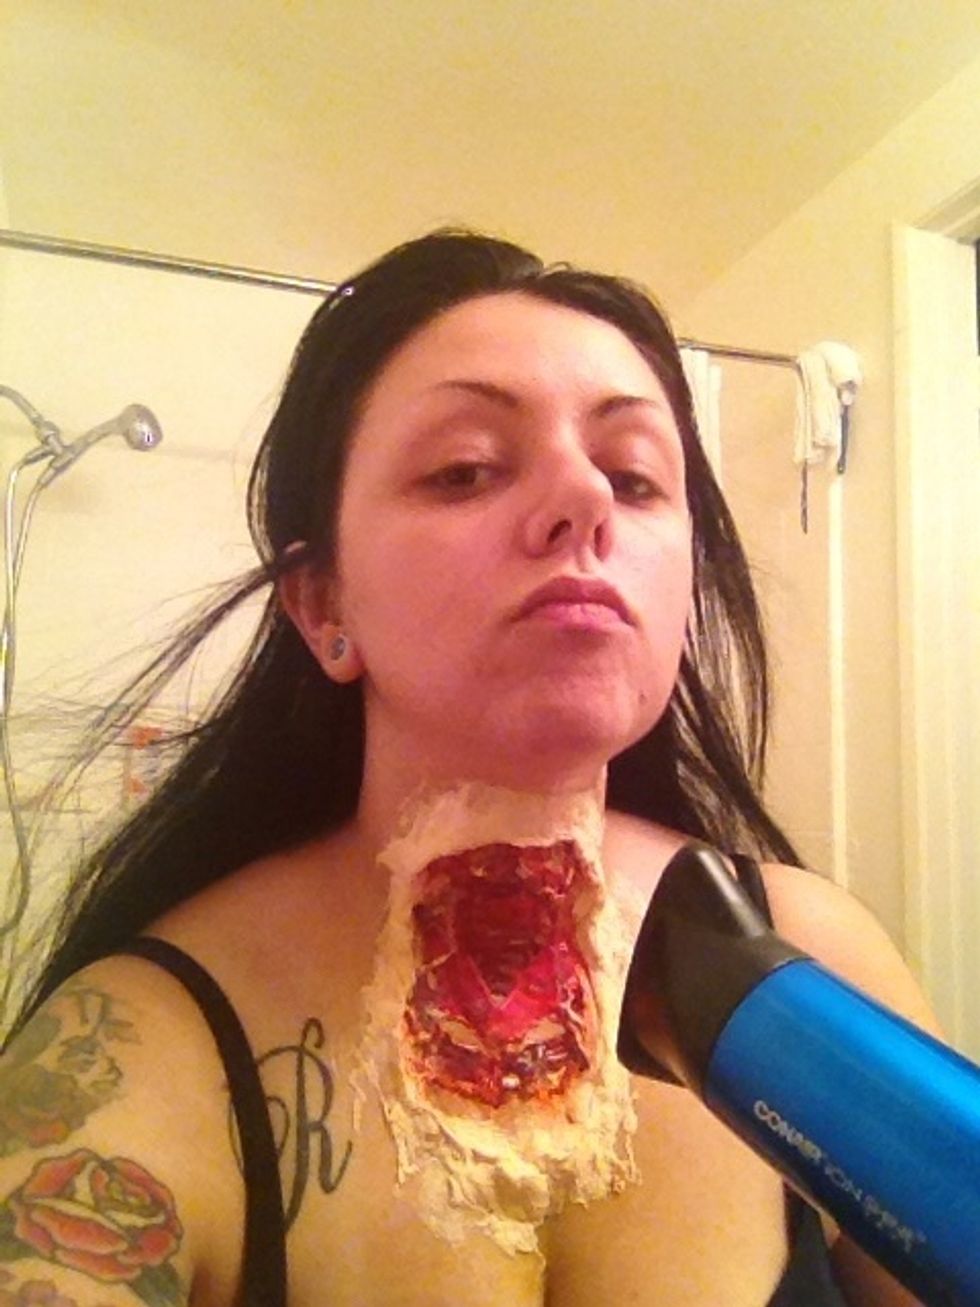
Dry with blower 💨💨💨
See how crappy the sponges get... Throw it out!
All better! And easier to use.
Add more latex, now spreading outward to blend more with your own skin.
See how far I went out from the prosthetic.
Make sure it's really dry!
Should end up like this.
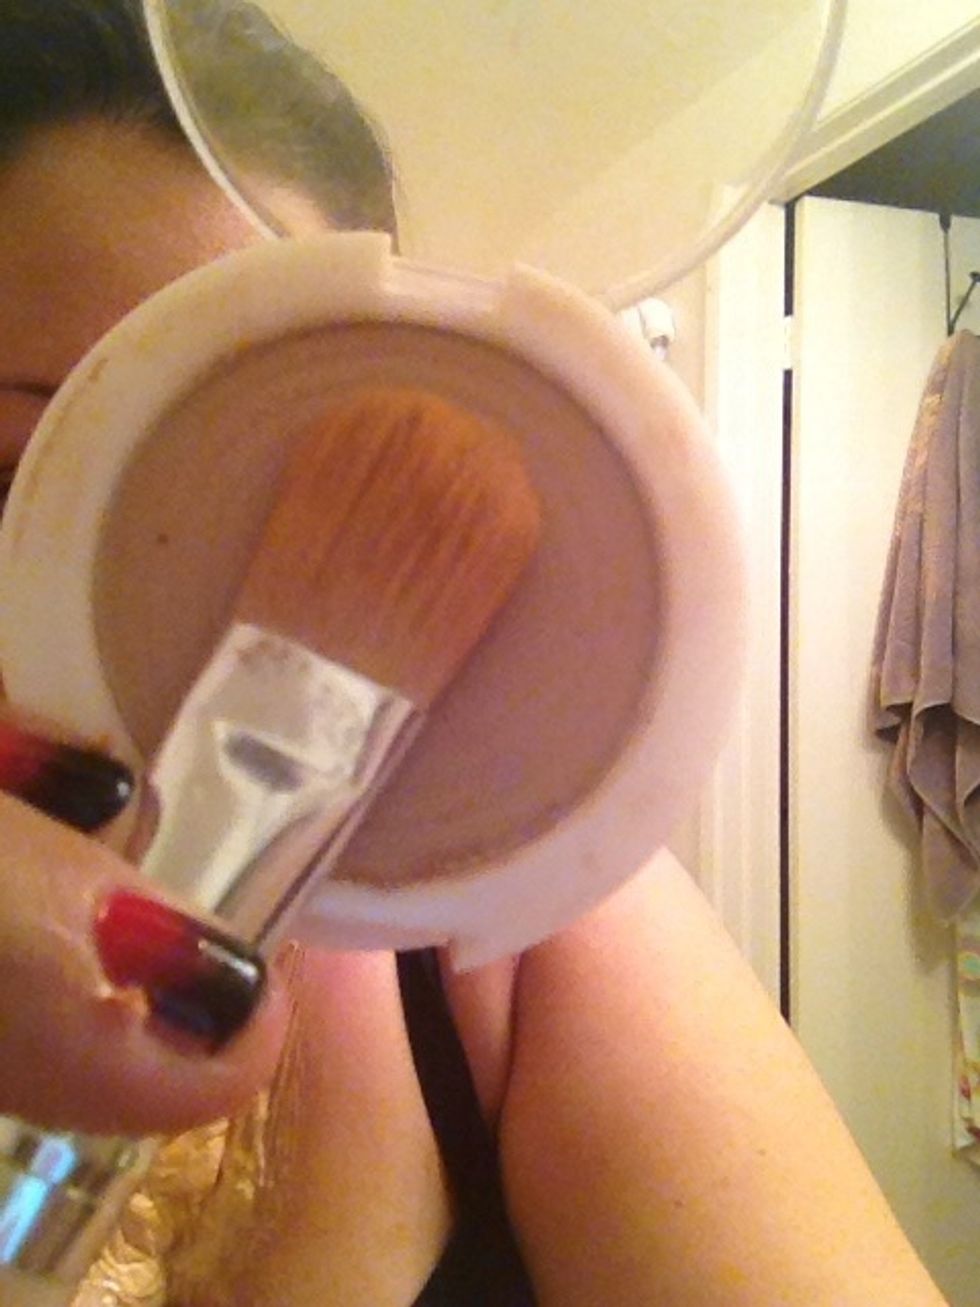
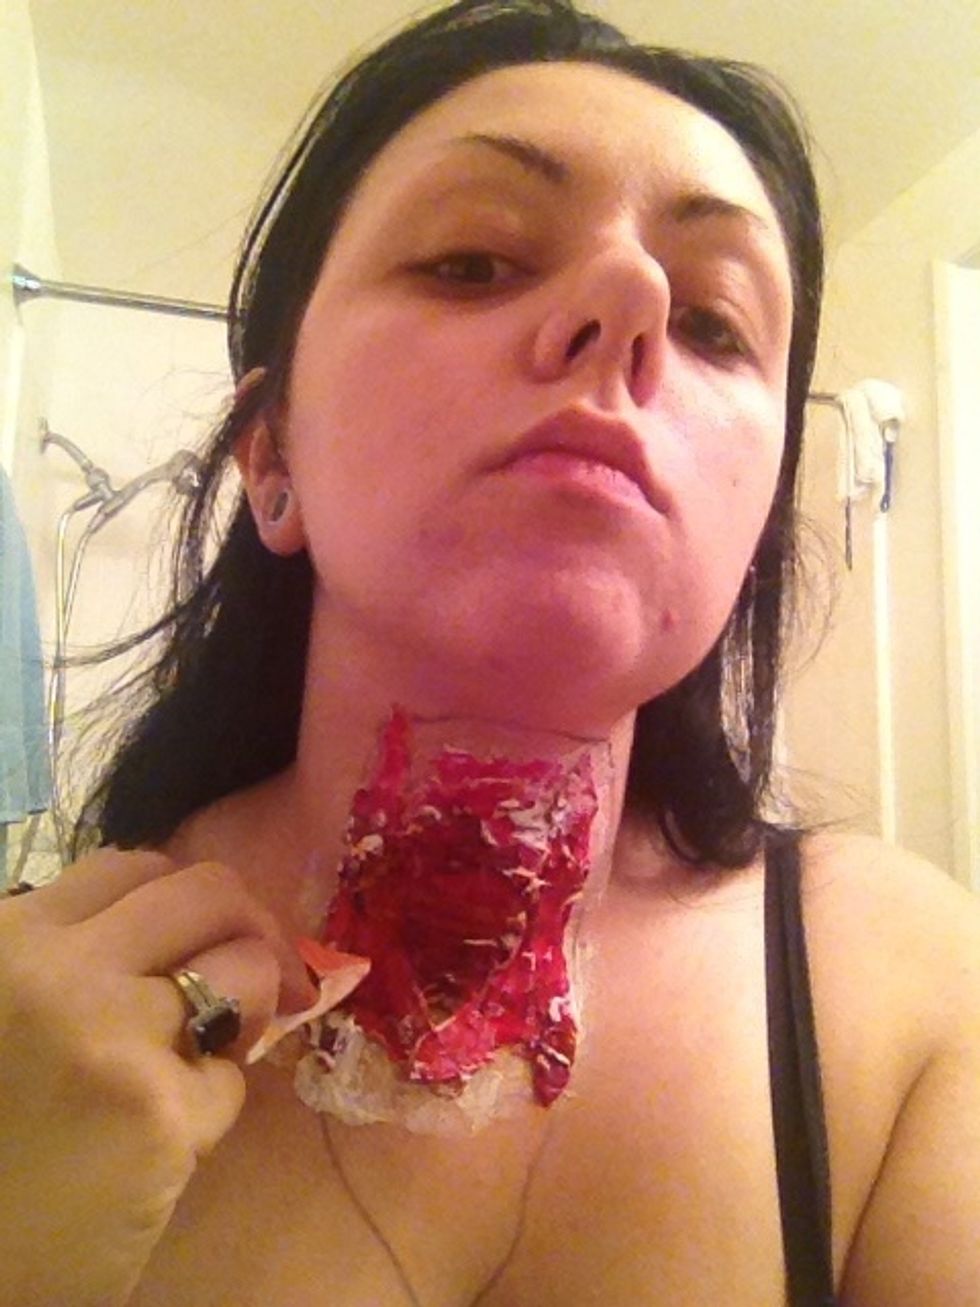
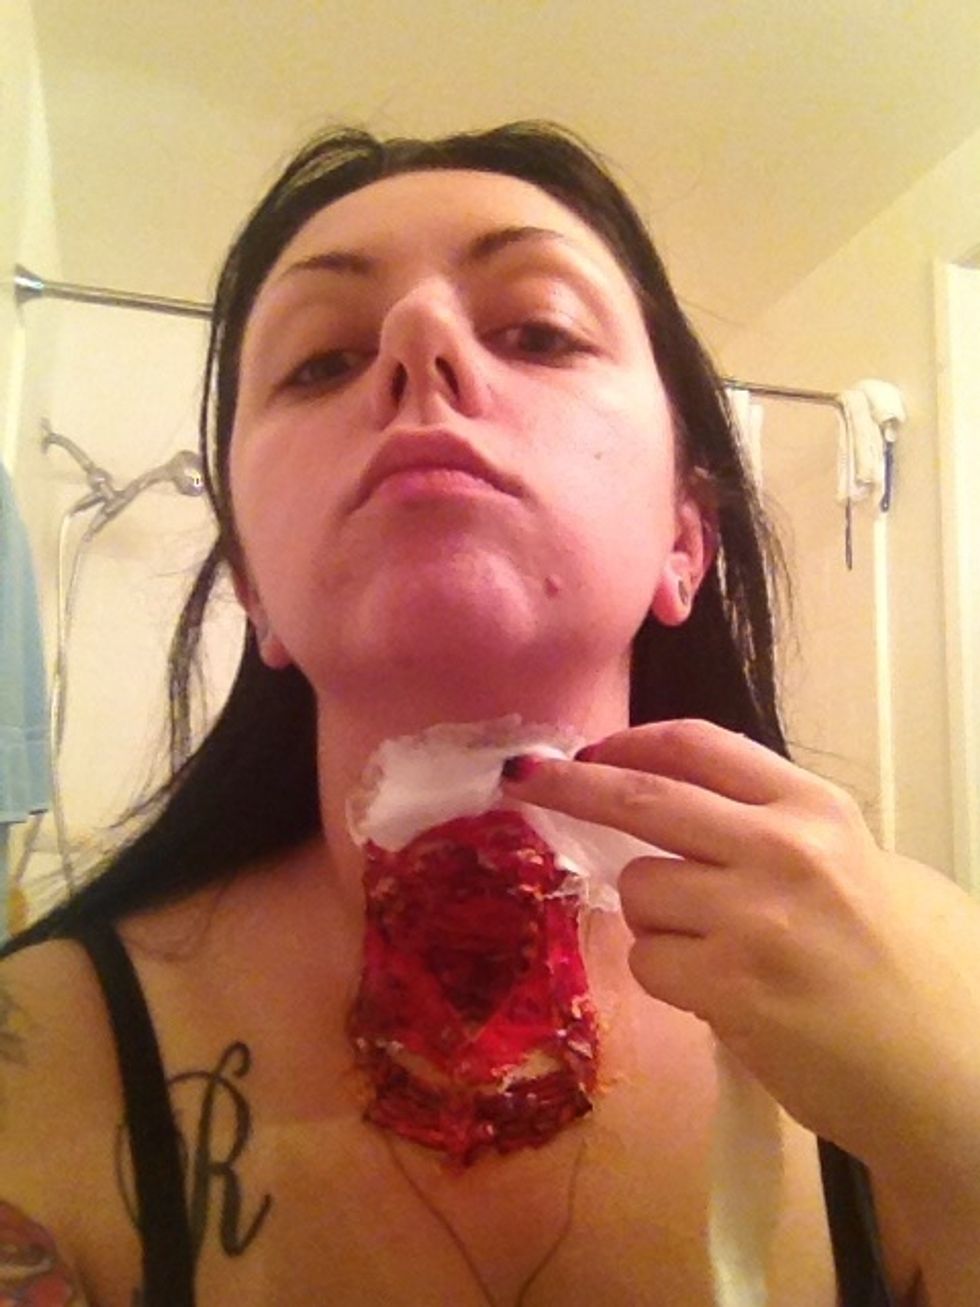
Add face powder.
This prevents the latex from sticking.
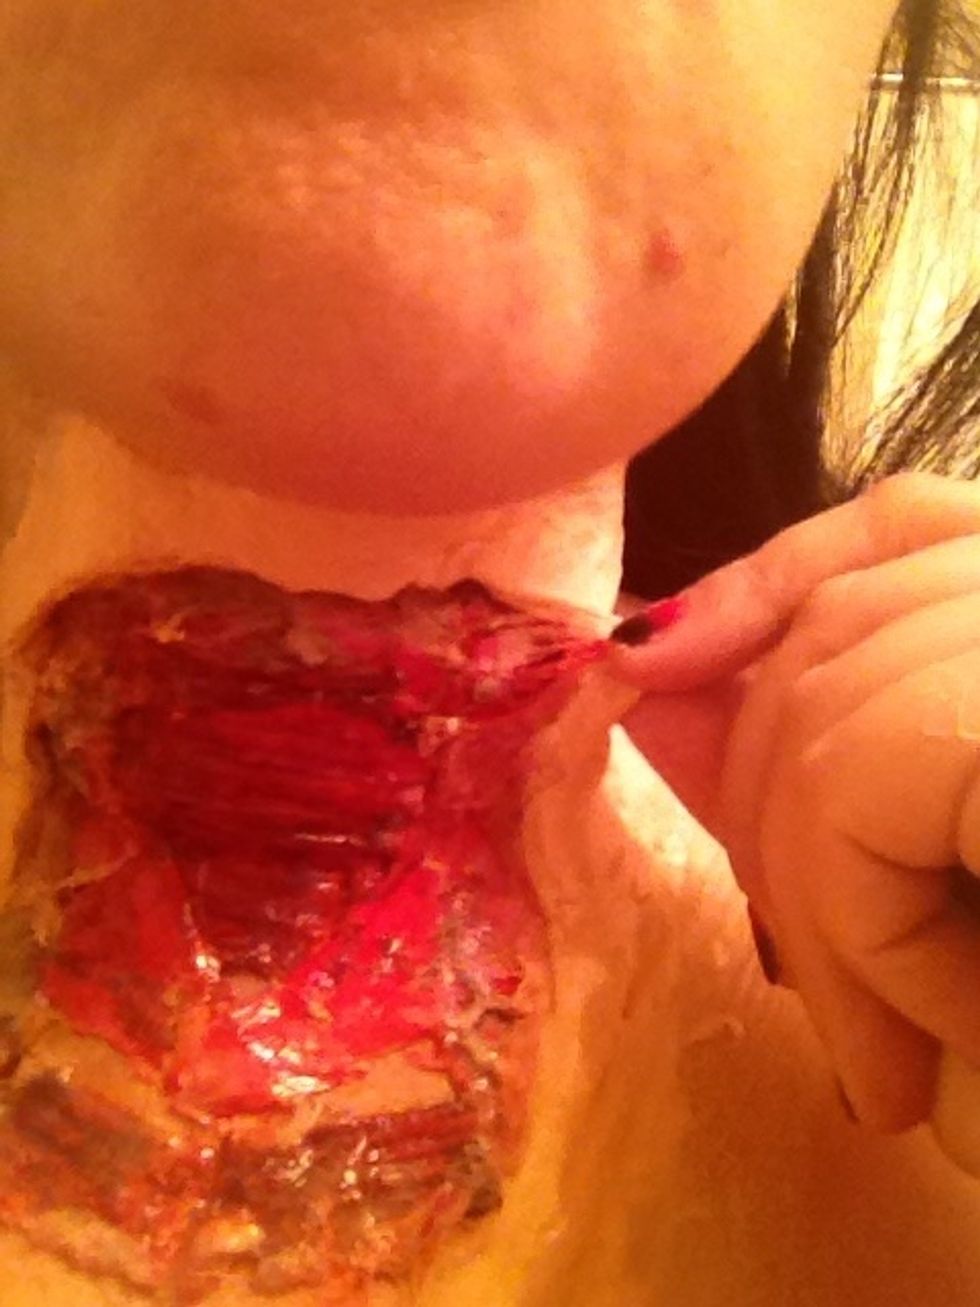
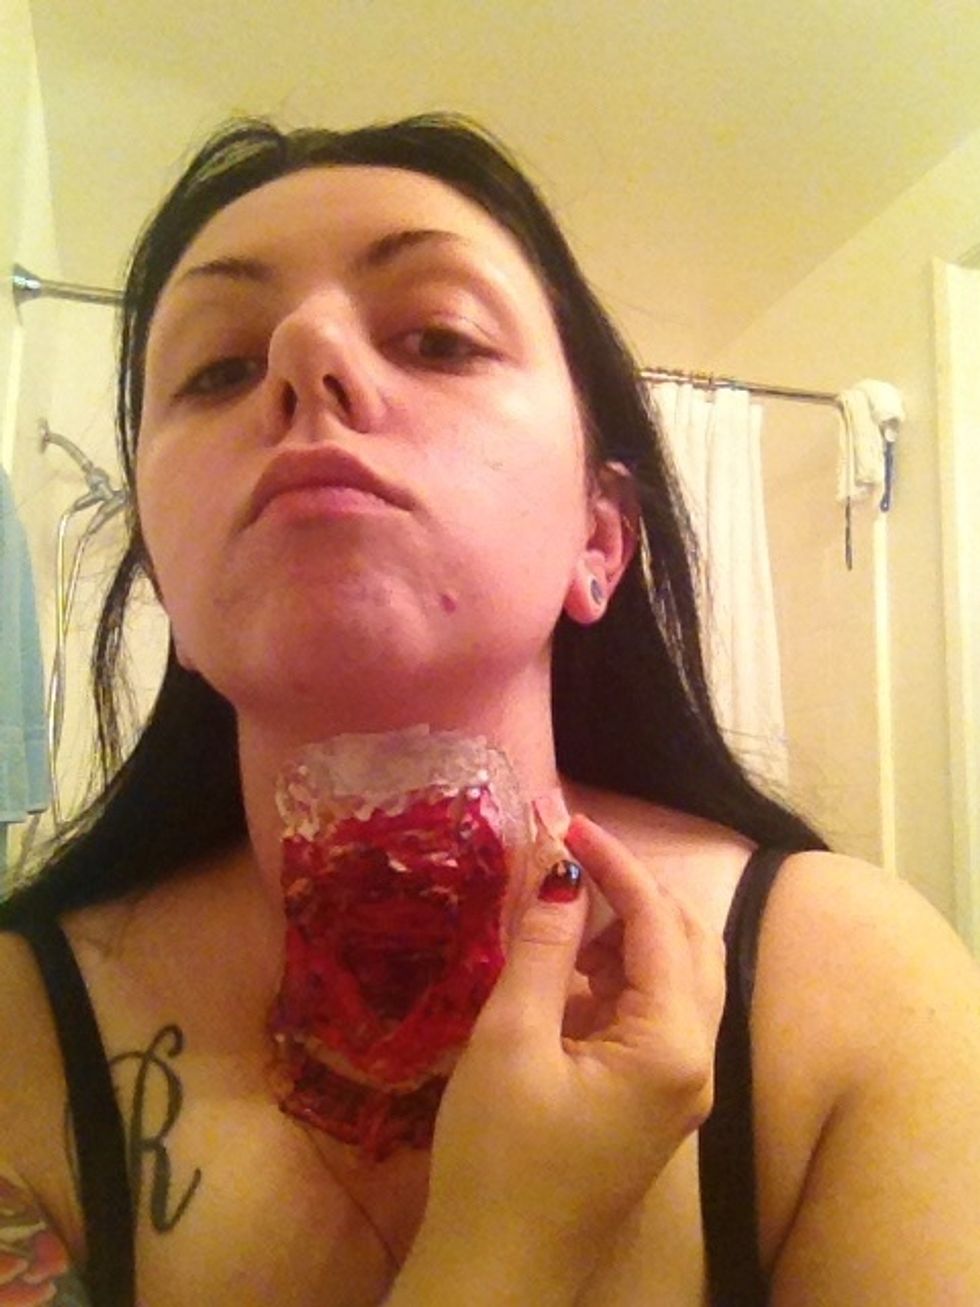
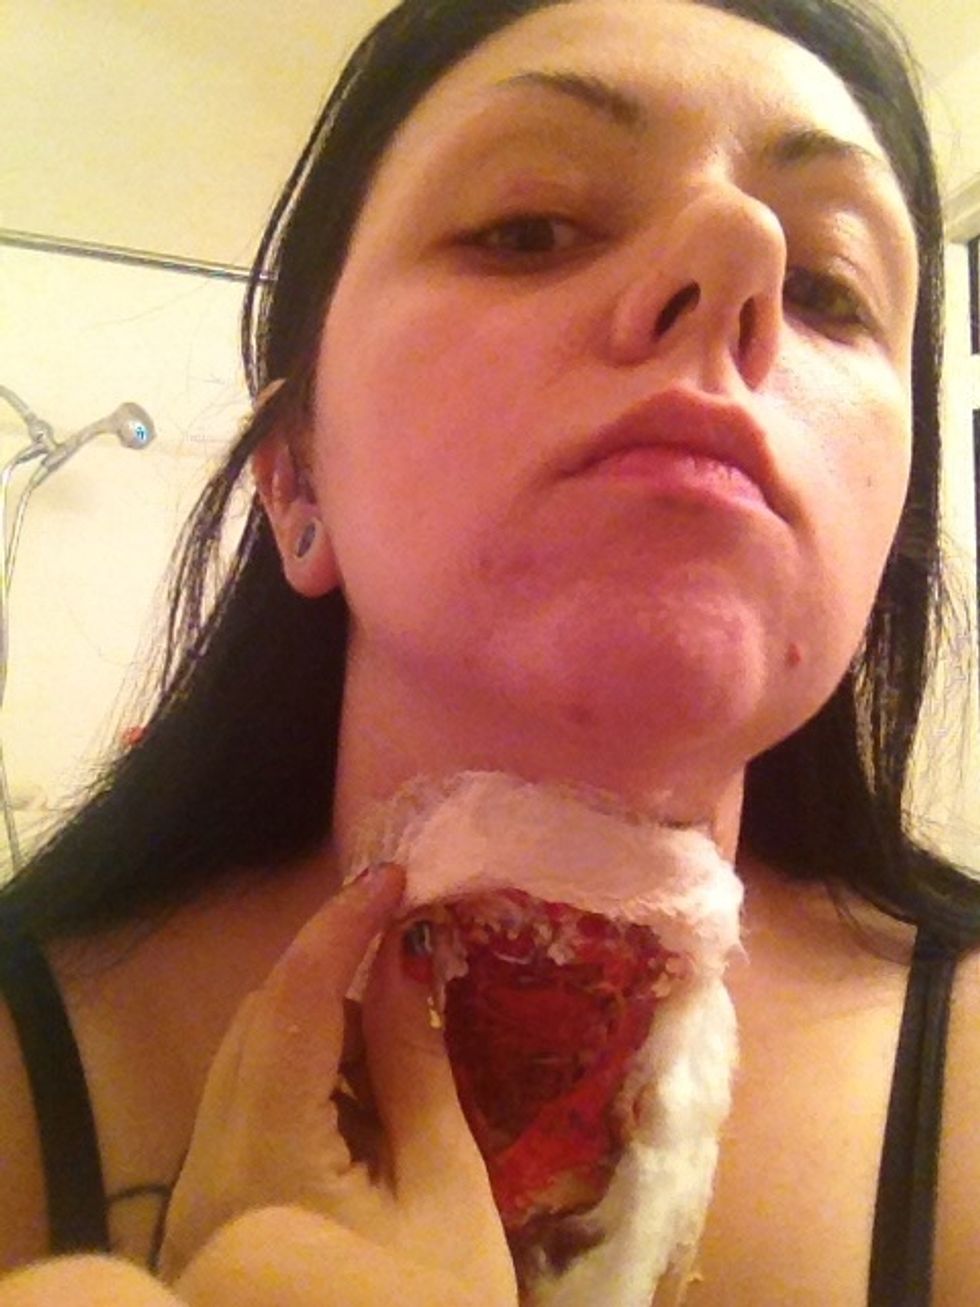
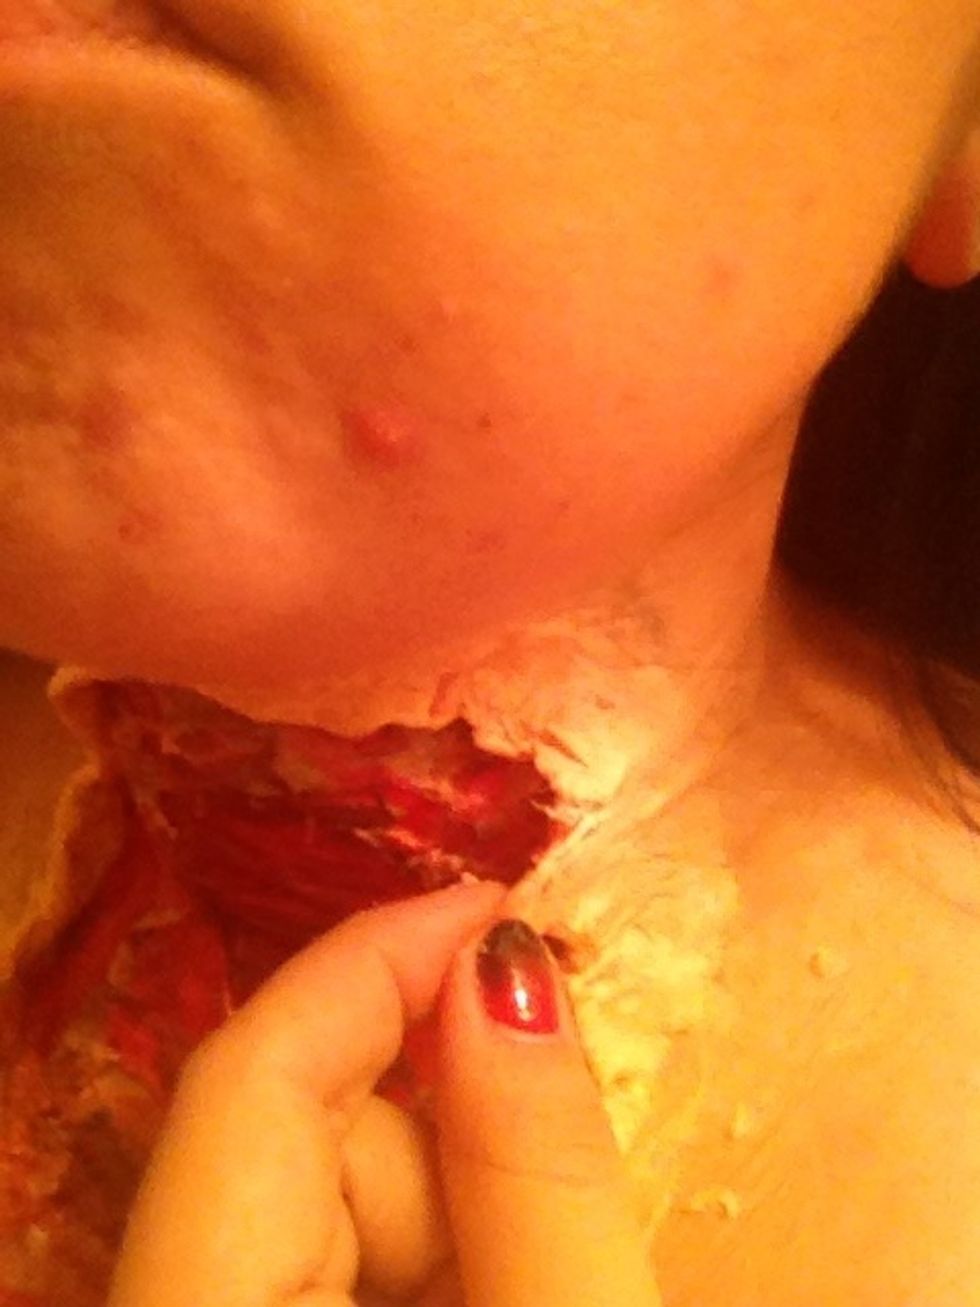
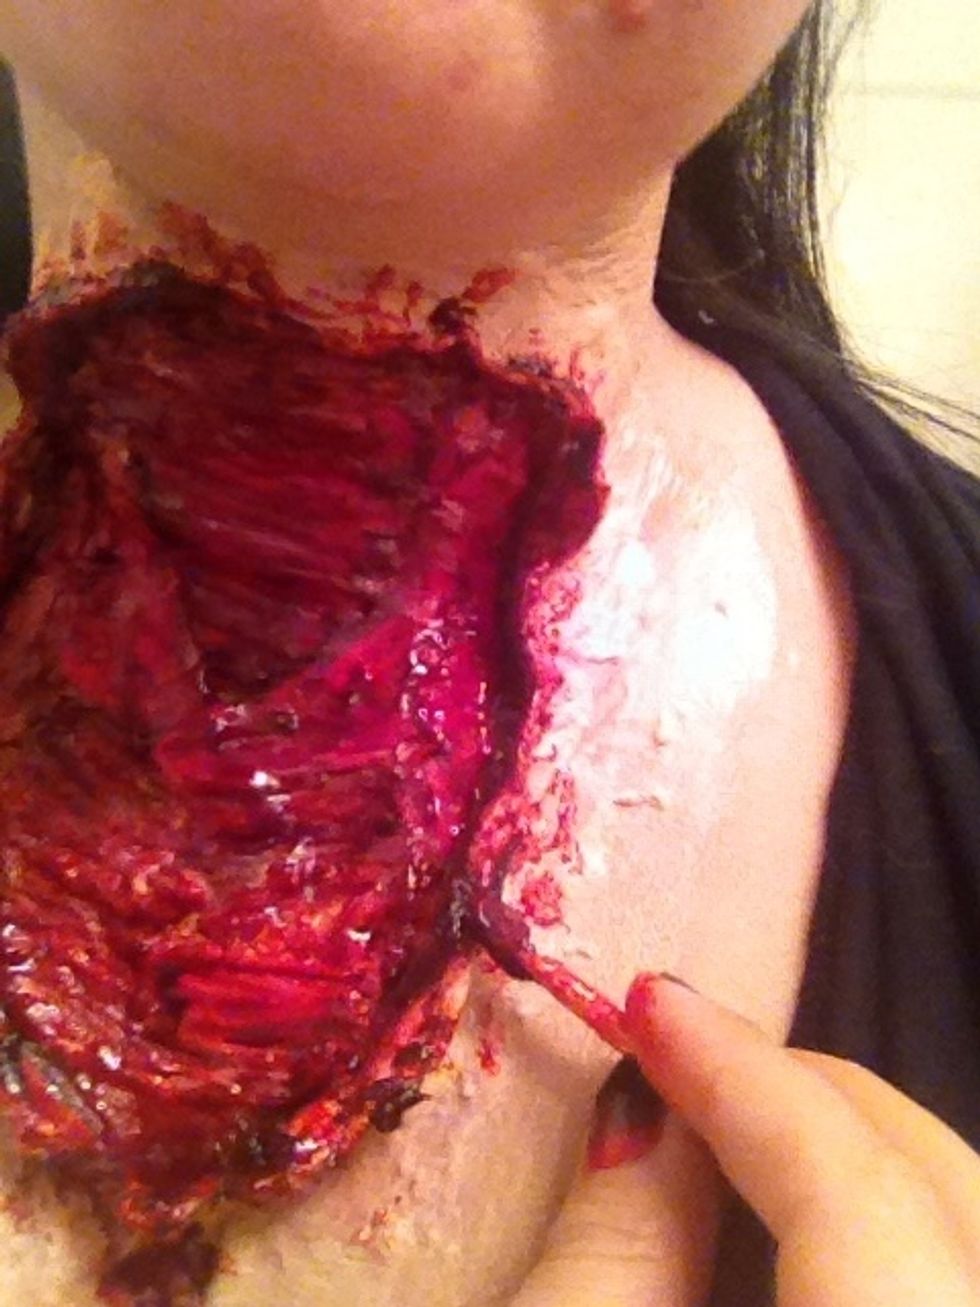
Now start to peel away the latex cotton skin from the edge.
This is creating the depth and realistic torn skin.
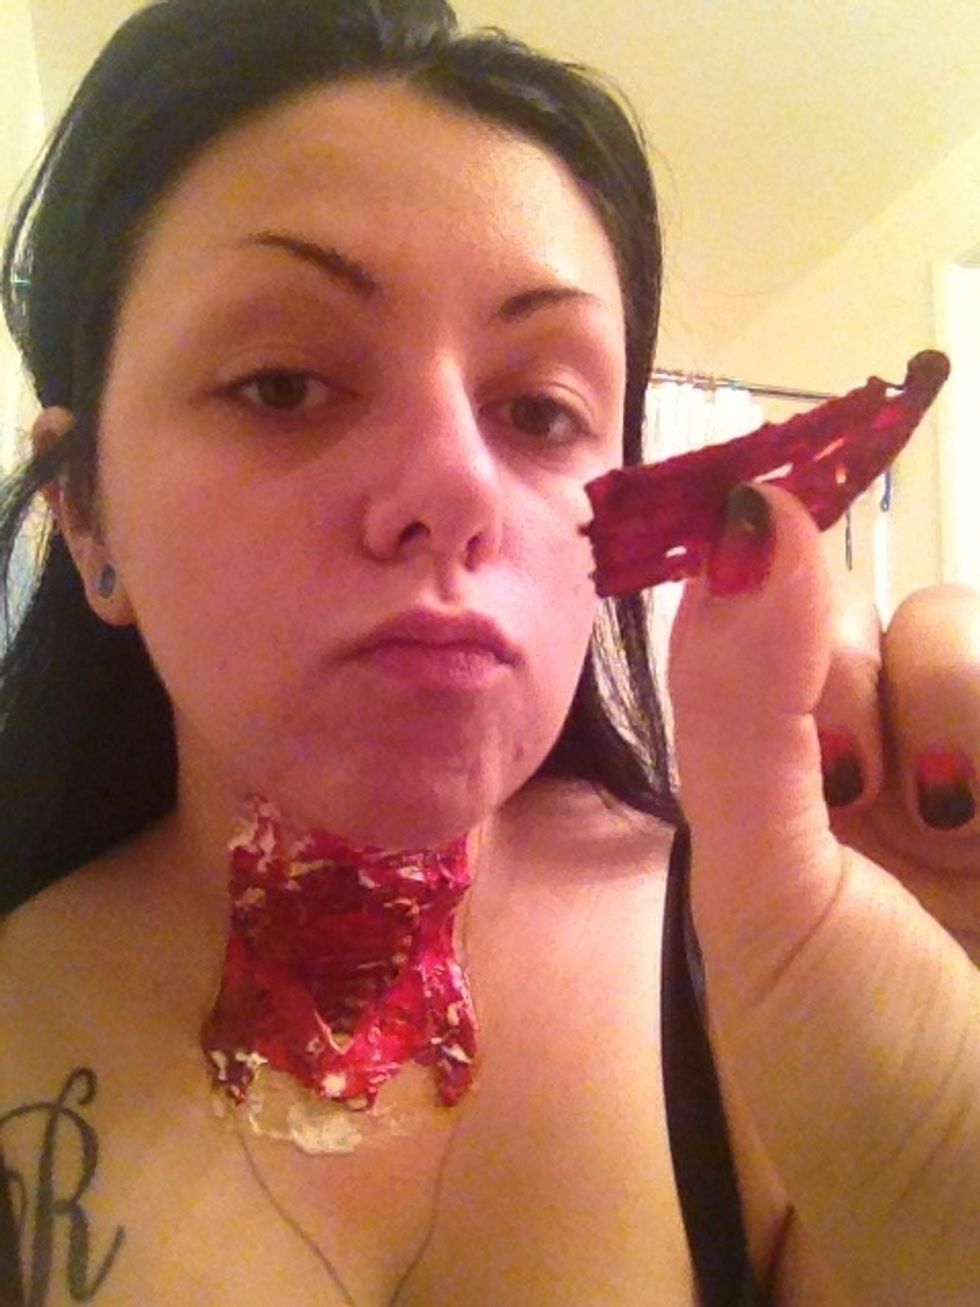
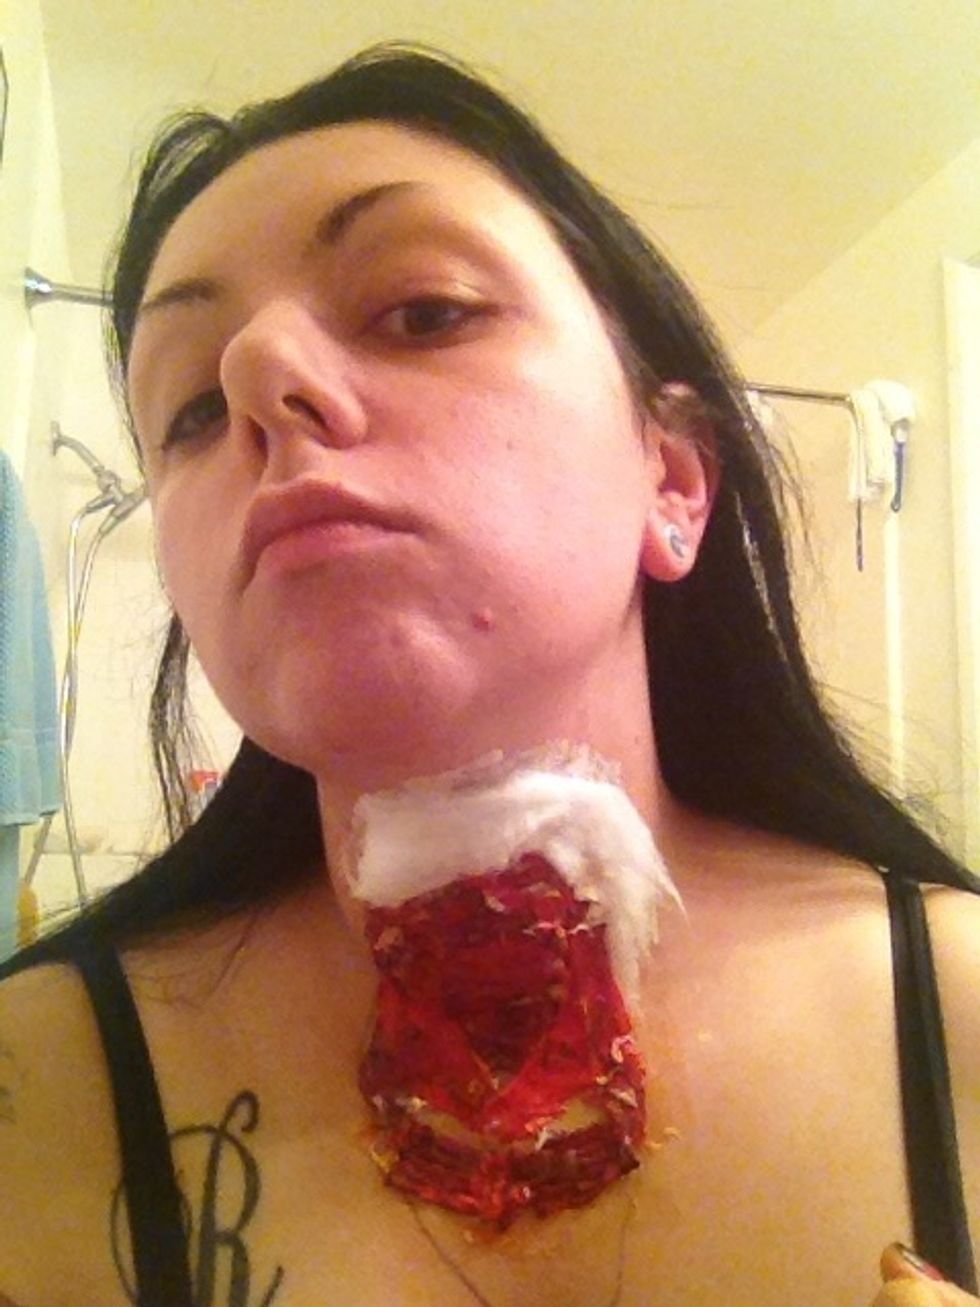
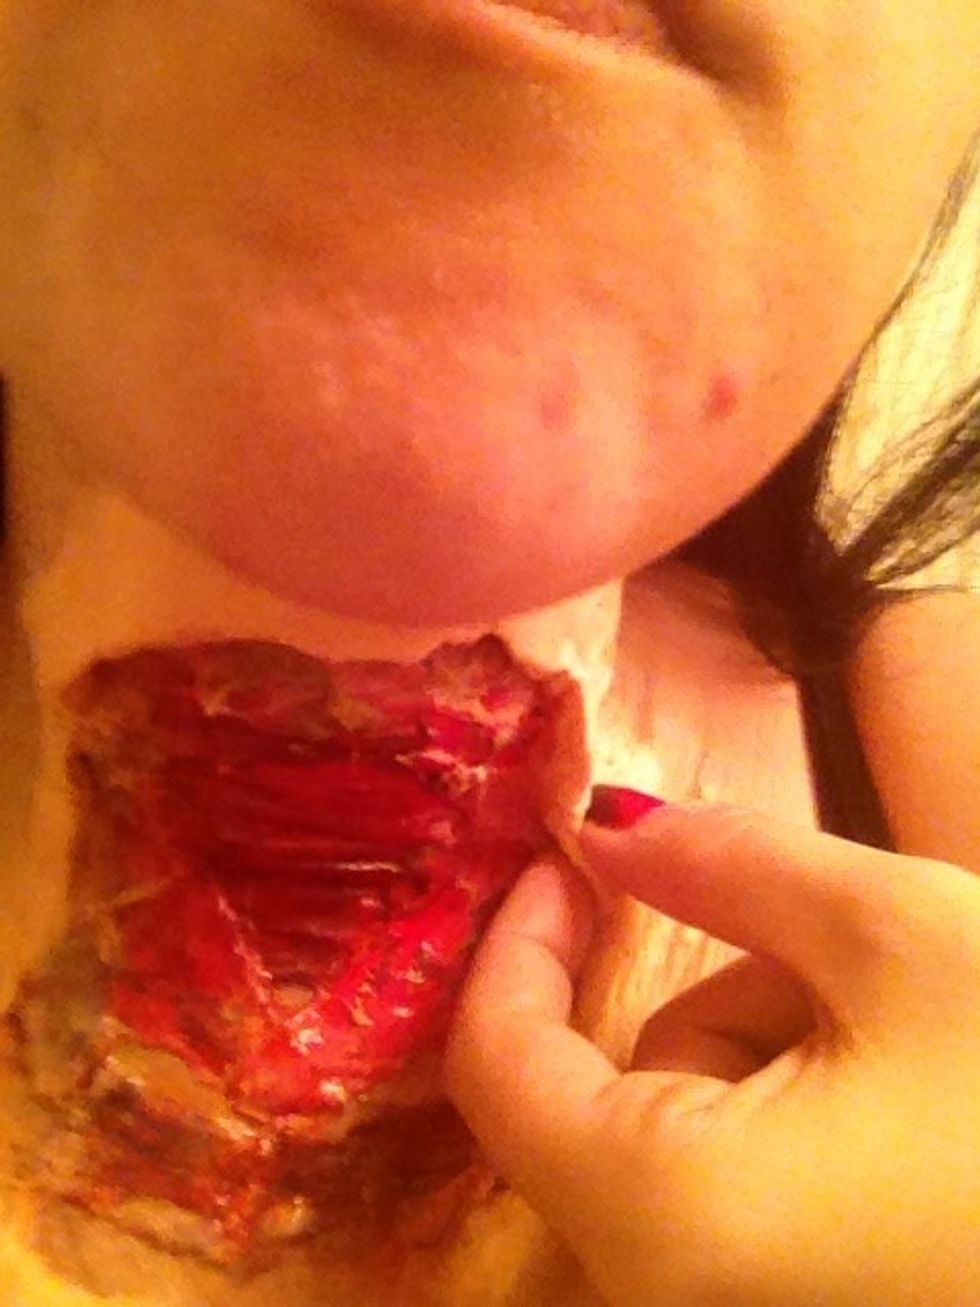
Tear a little bit but don't go to the edge to tear off completely.
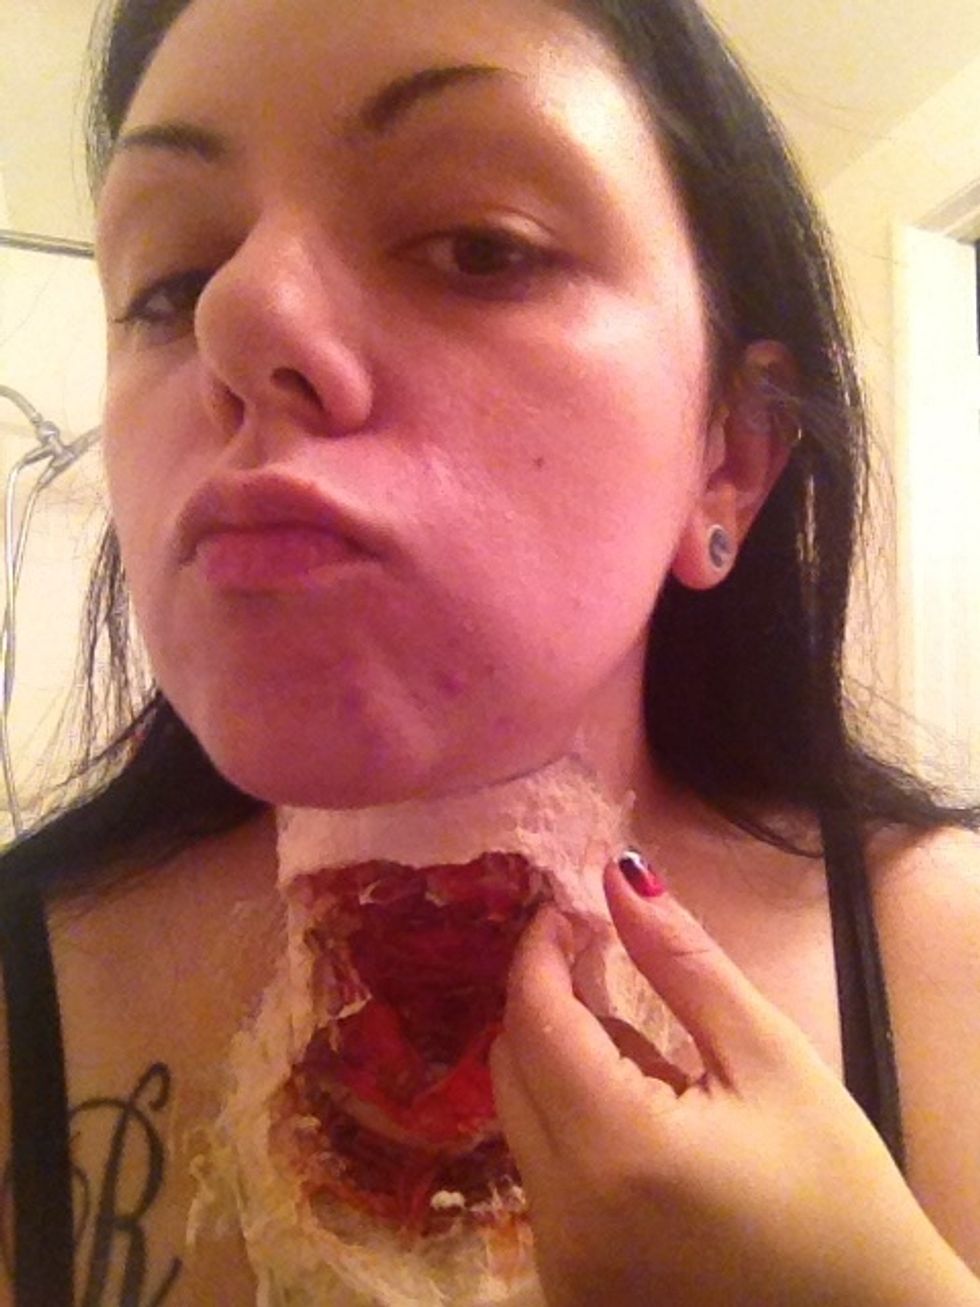
Oooh depth!!
Tear some corners
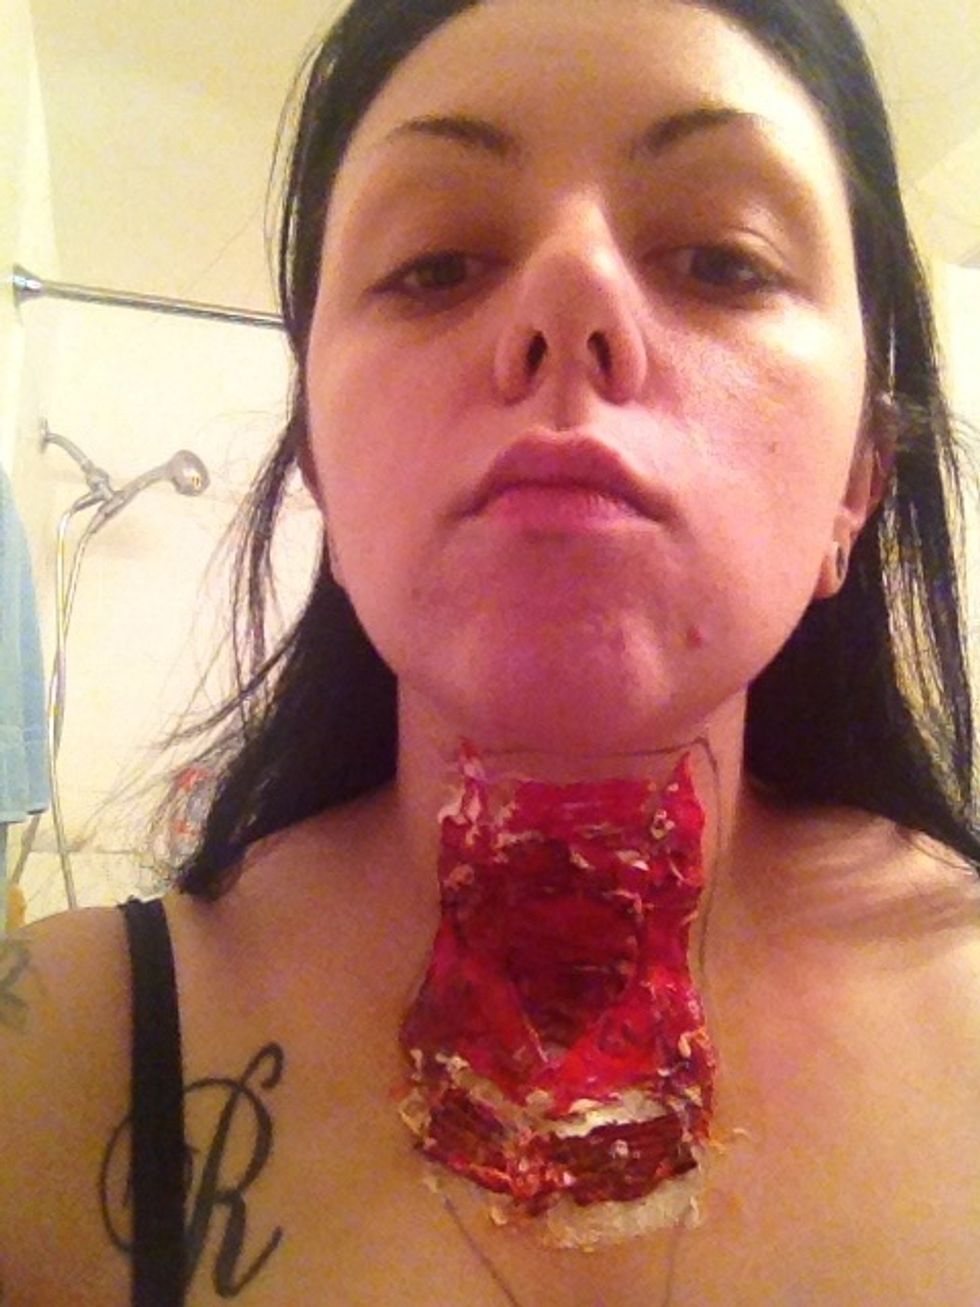
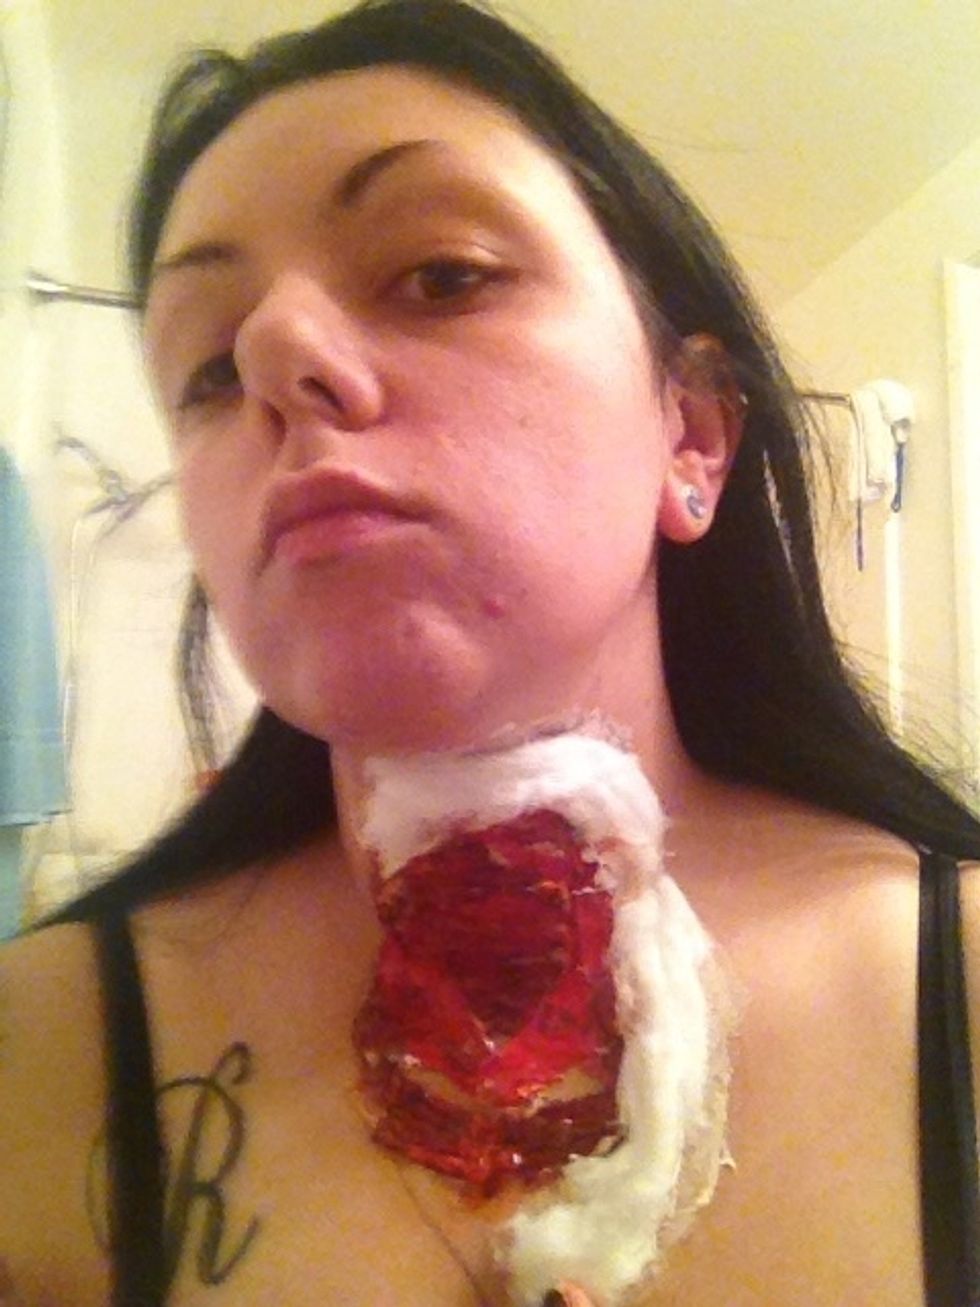
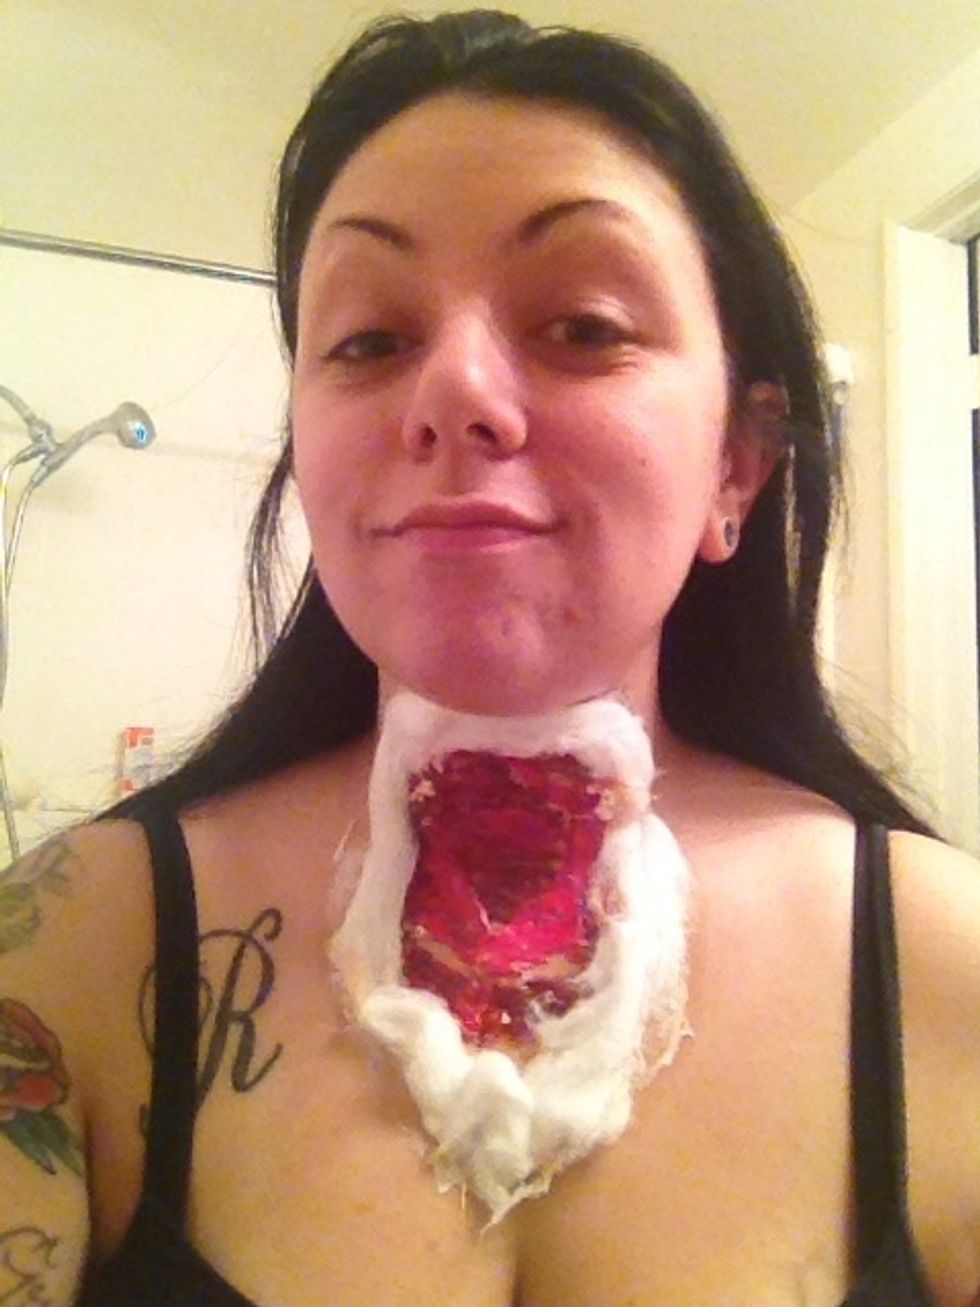
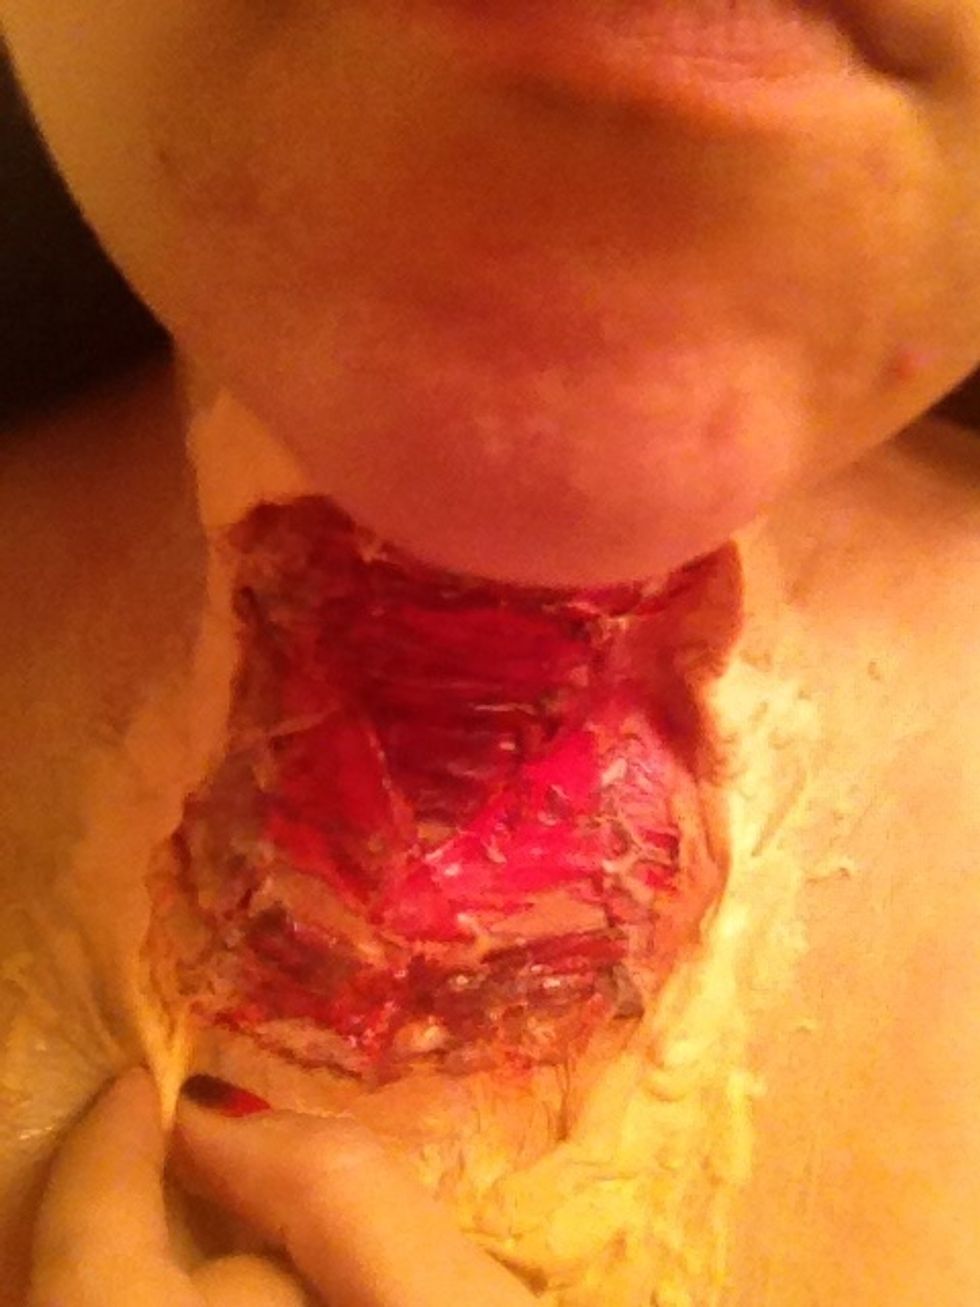
Cut the end by your chest! I use scissor so be careful not to really cut your skin!
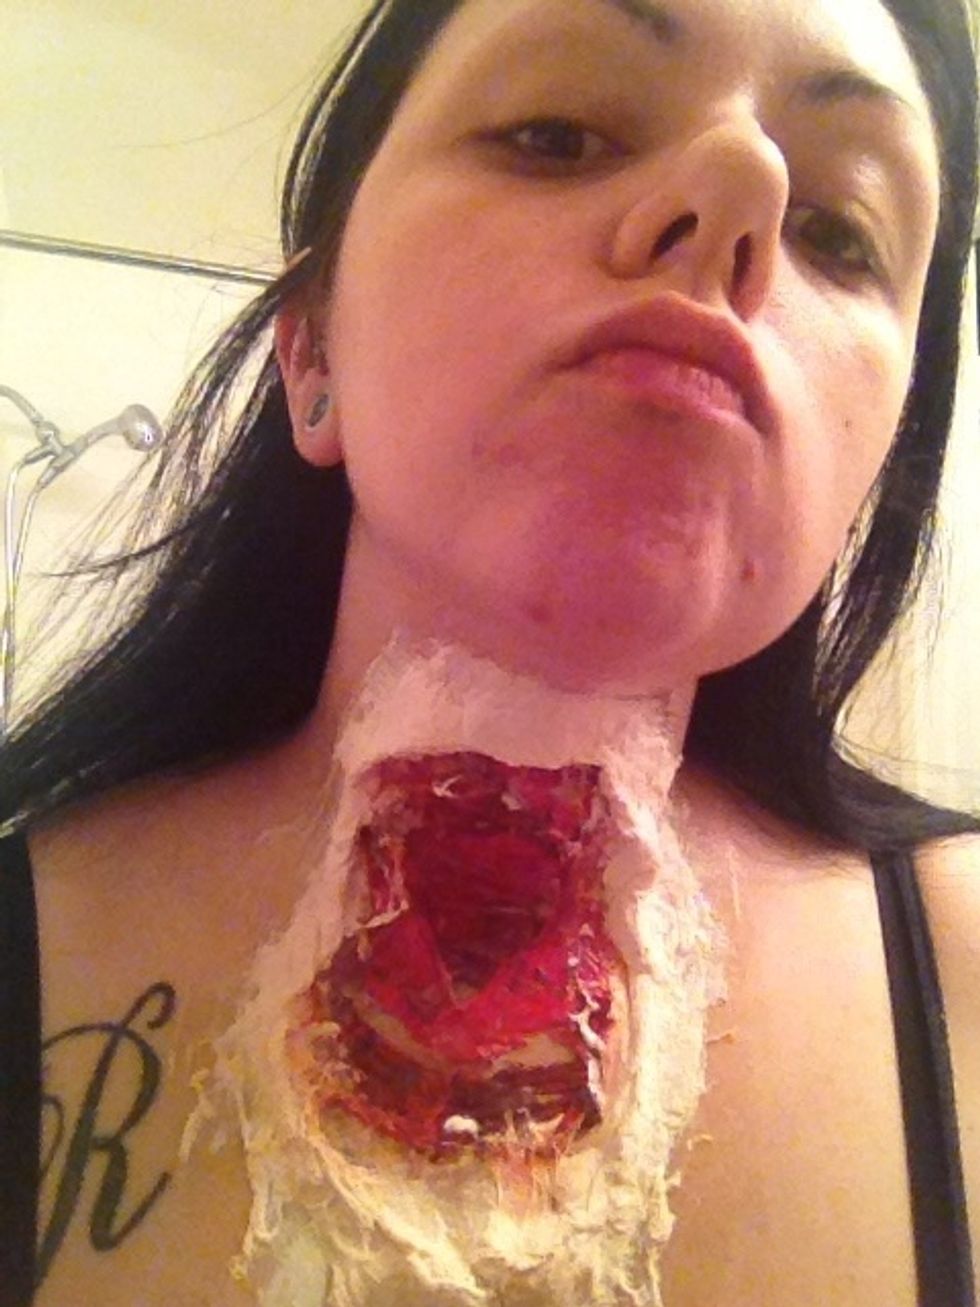
This is my result. You can do it however you like to. Be creative.
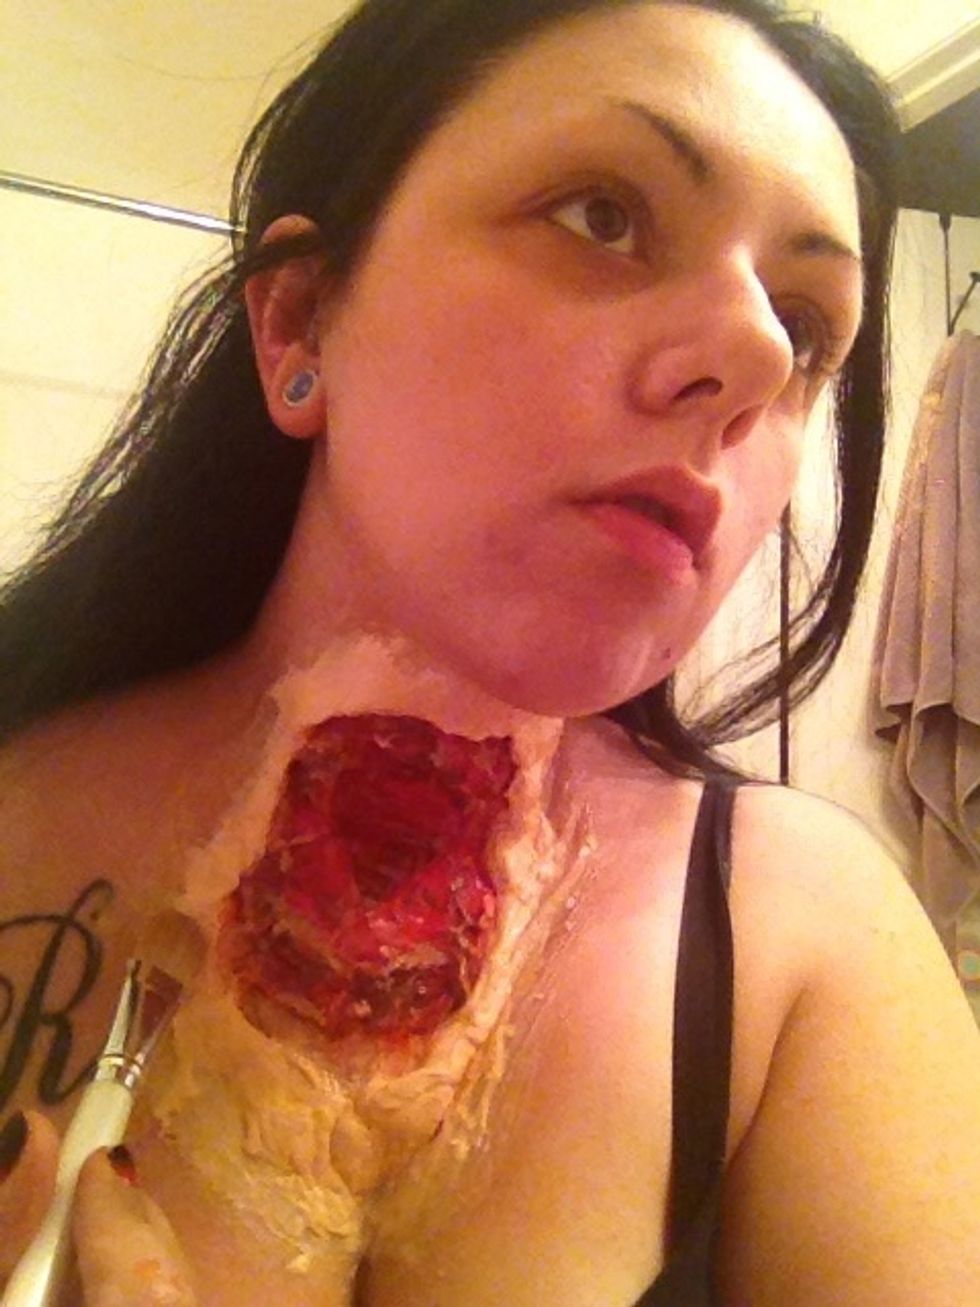
Now makeup time. Use a base cream foundation, works better with latex.
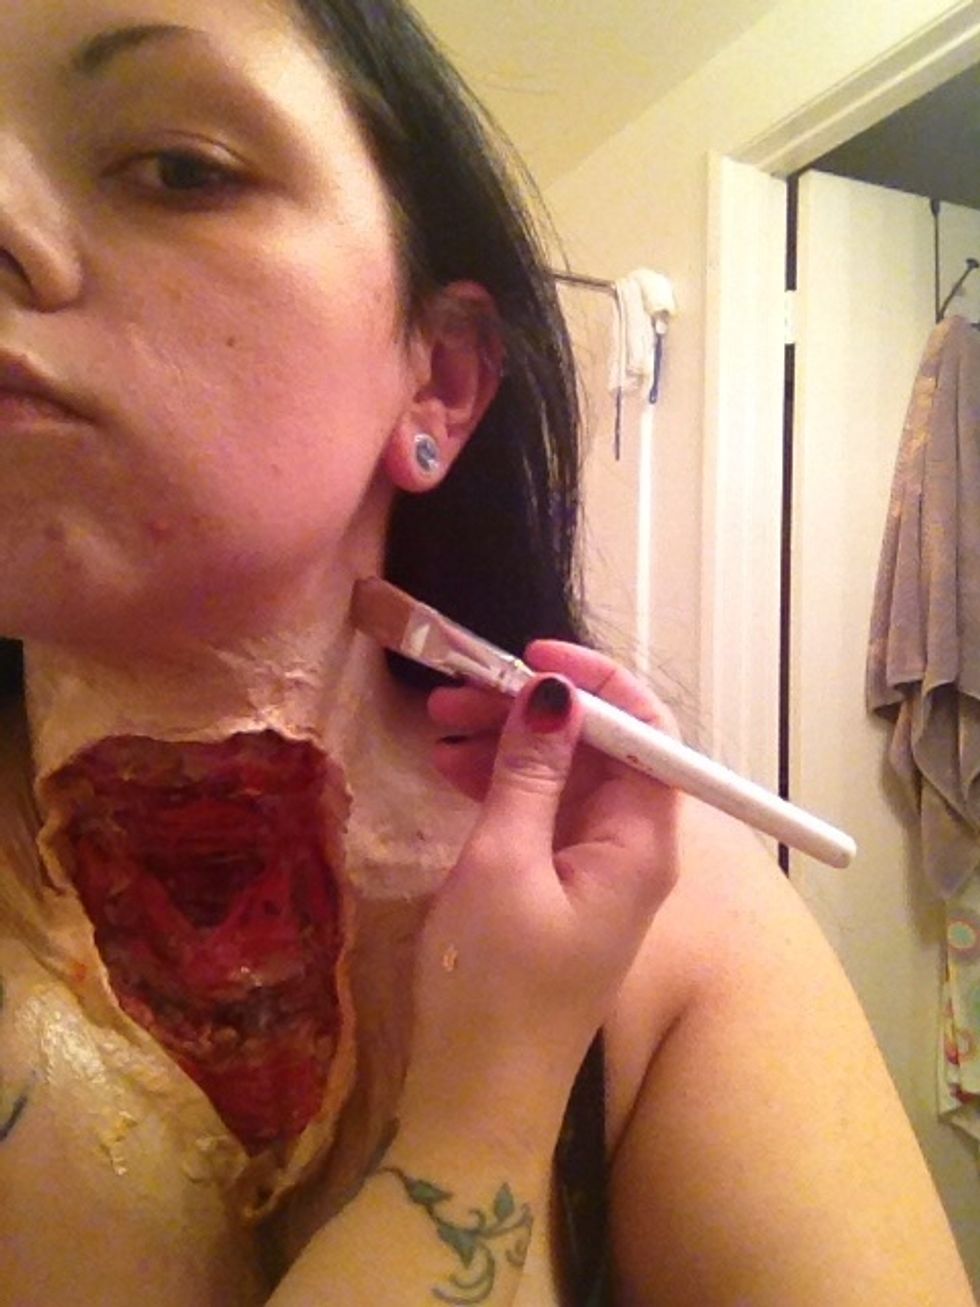
And blend, blend , blend...
Go all the way up to the neck and ears.
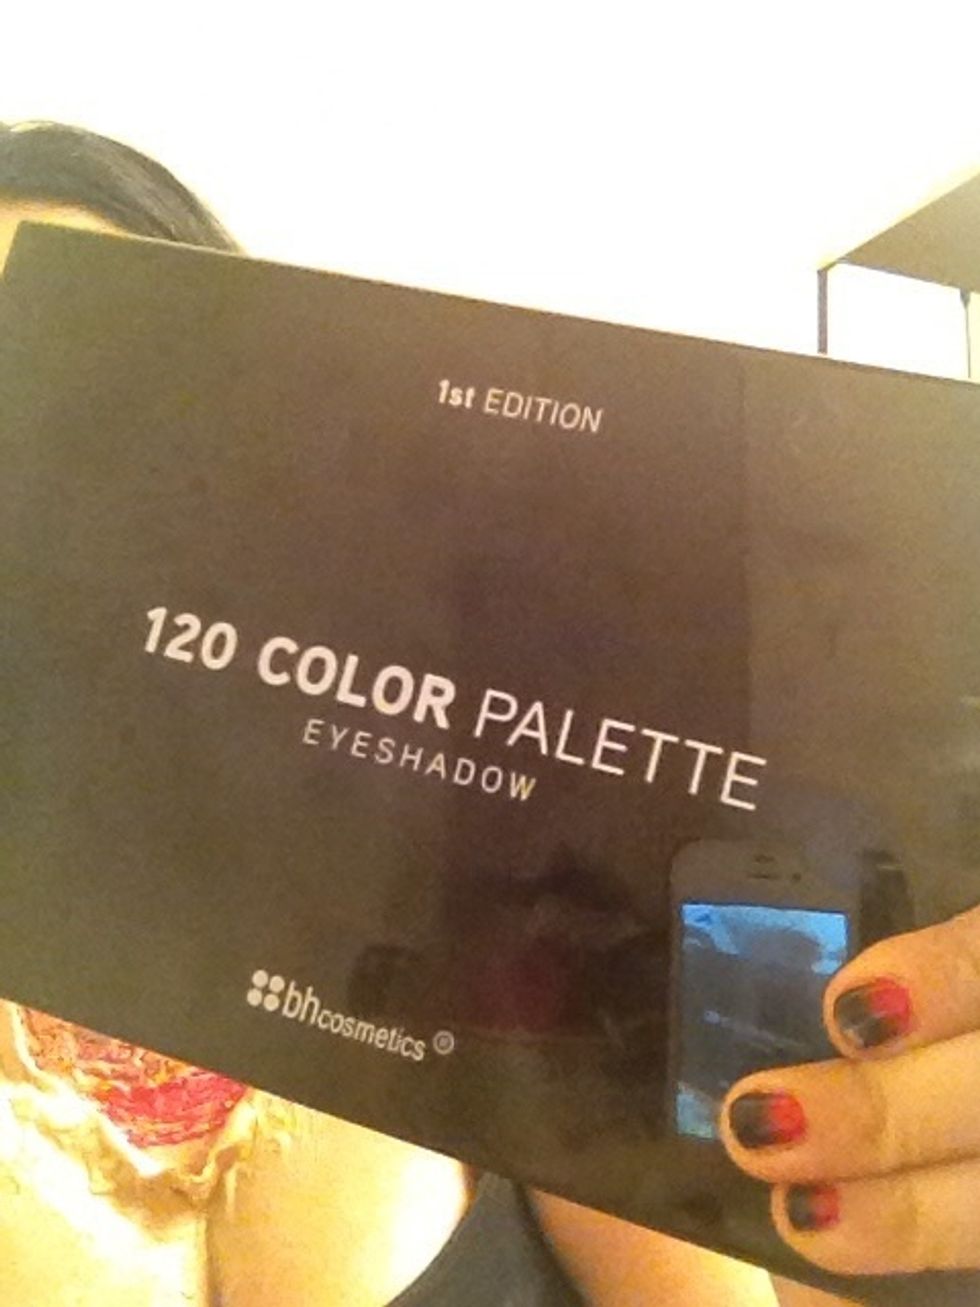
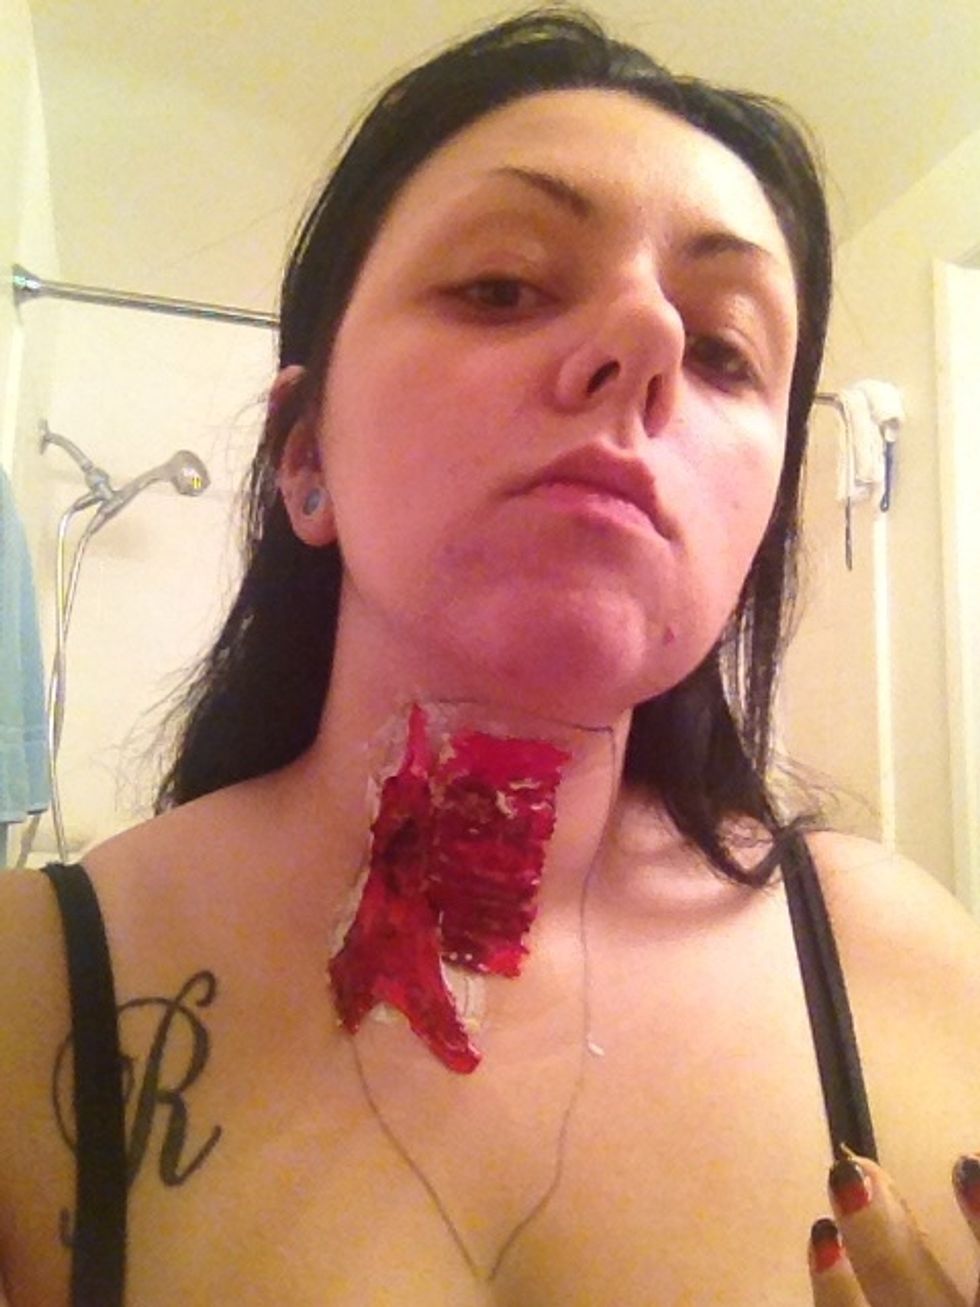
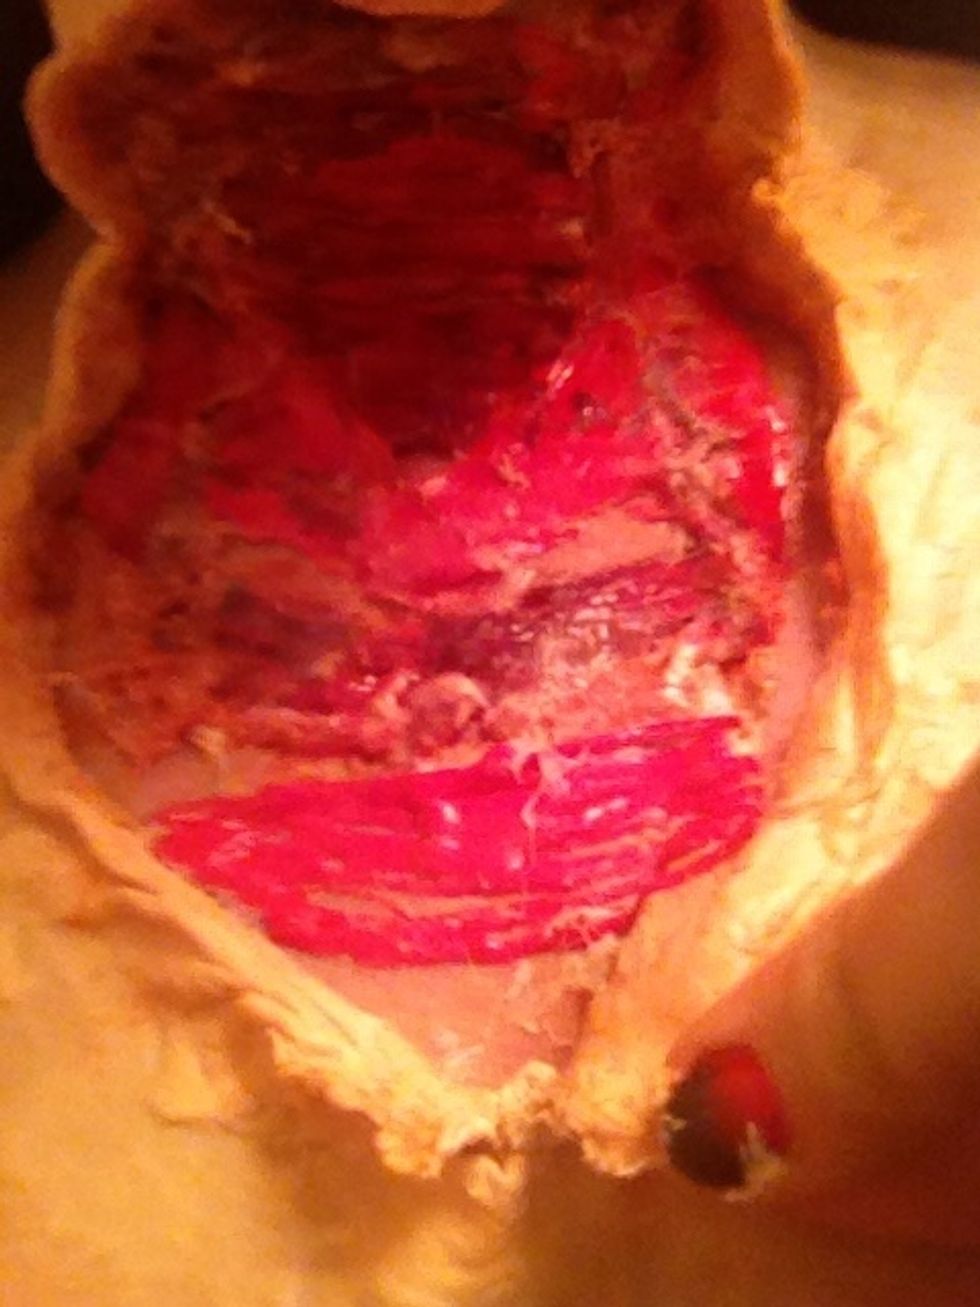
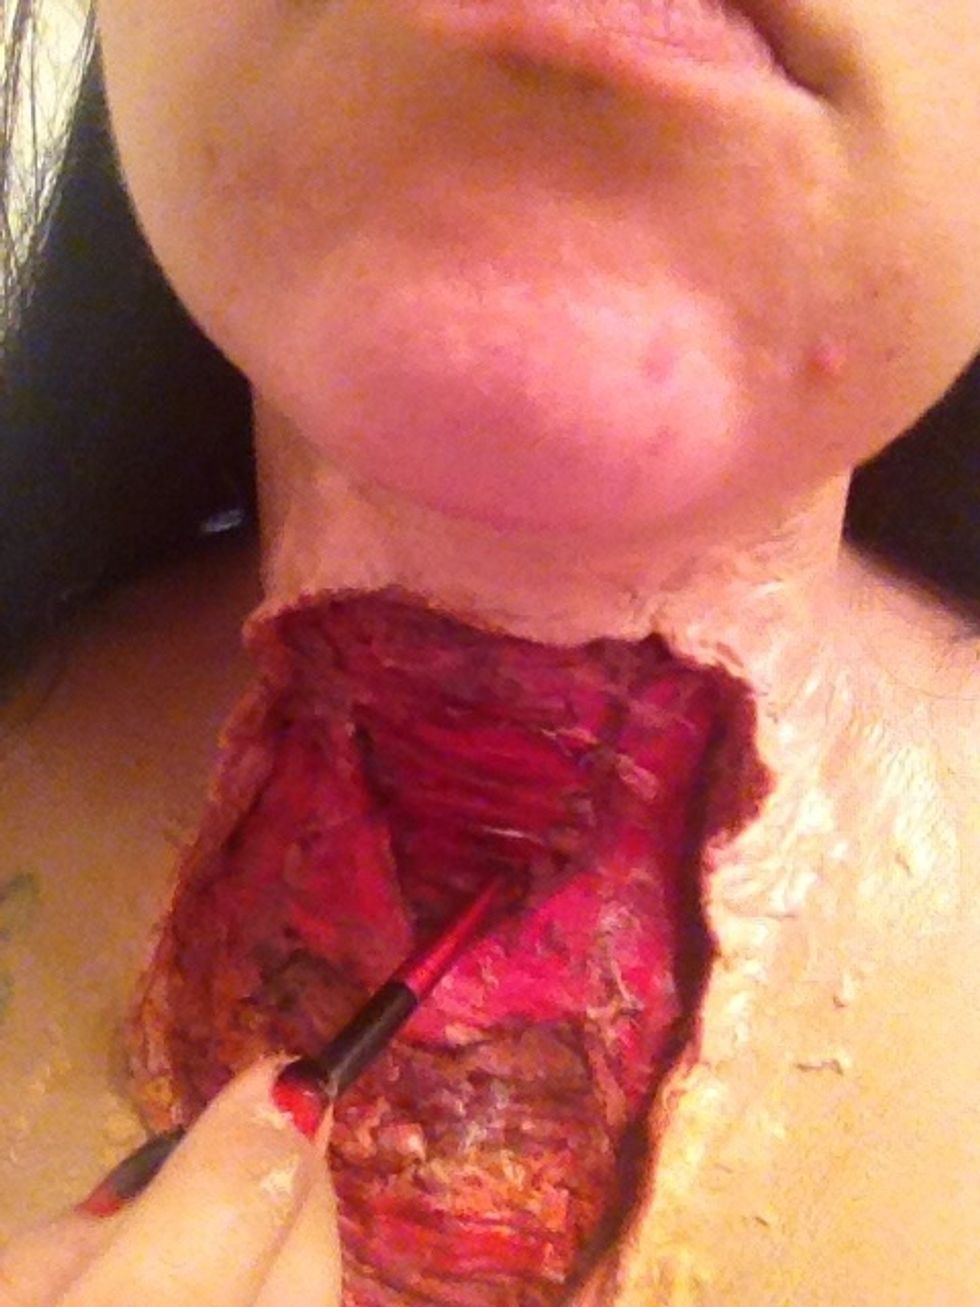
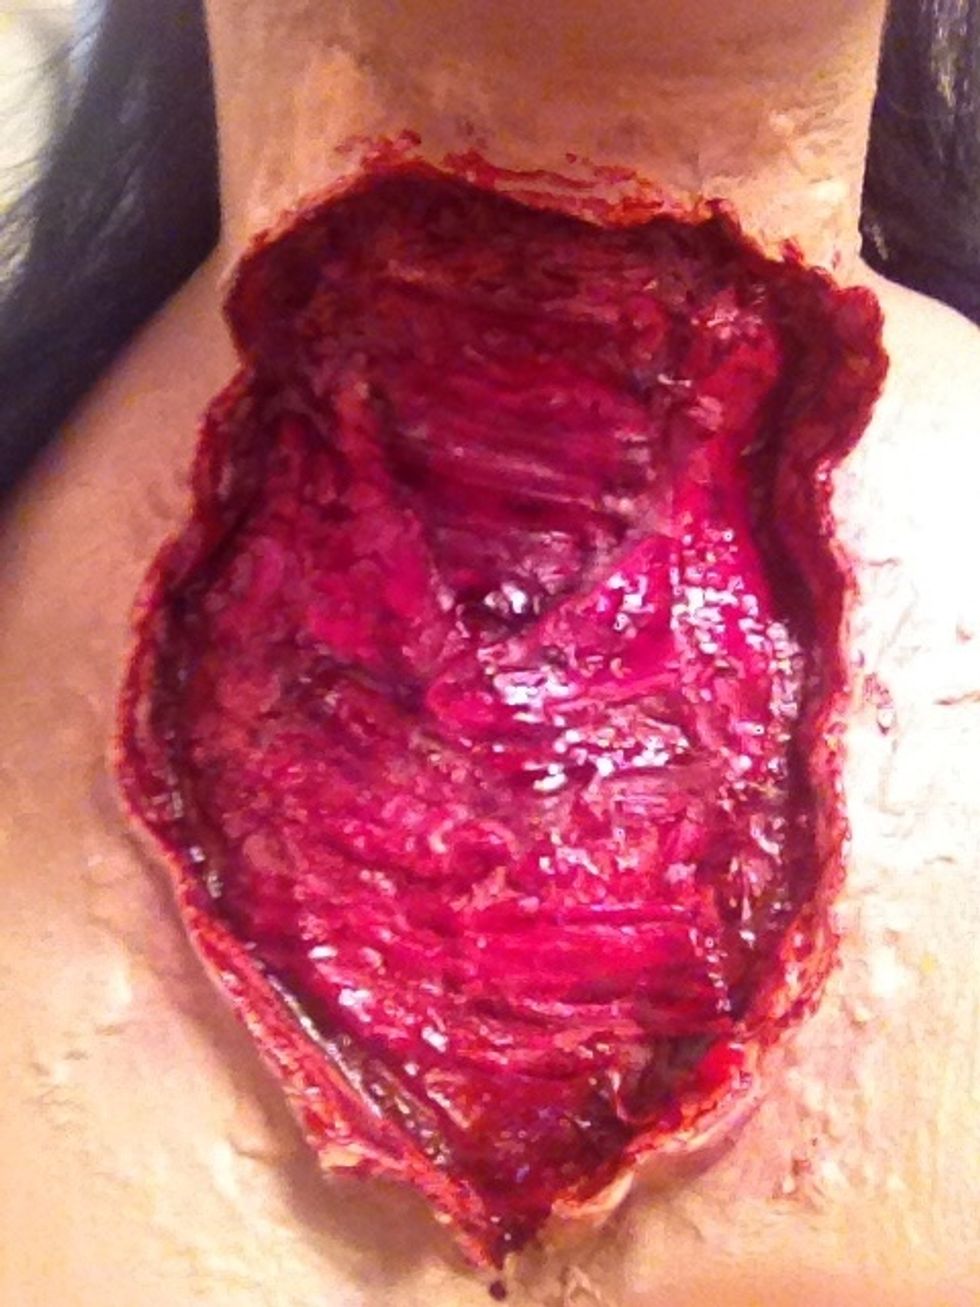
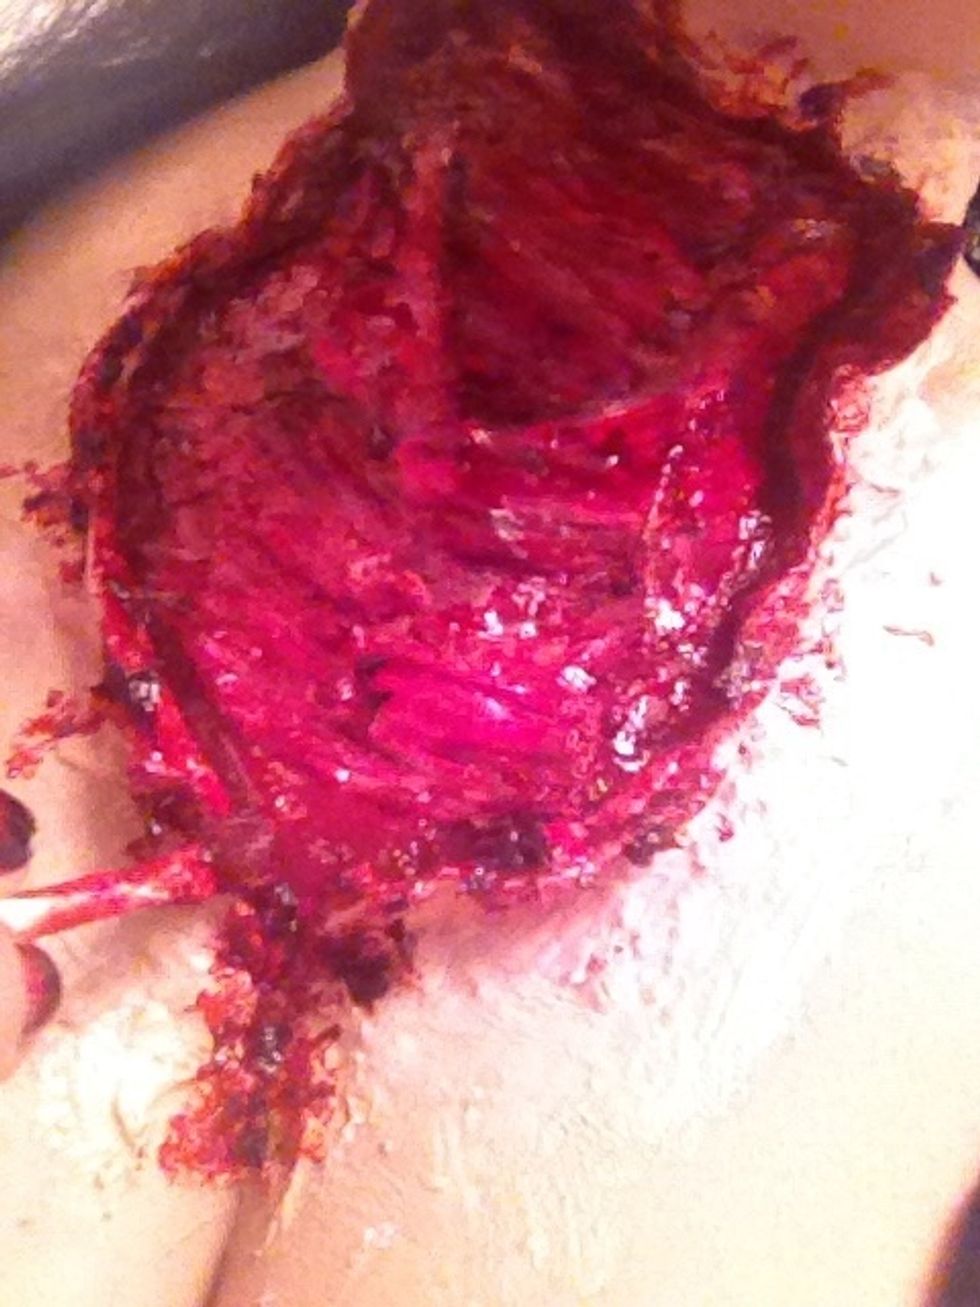
Now color time!! From your color palette use a deep red...
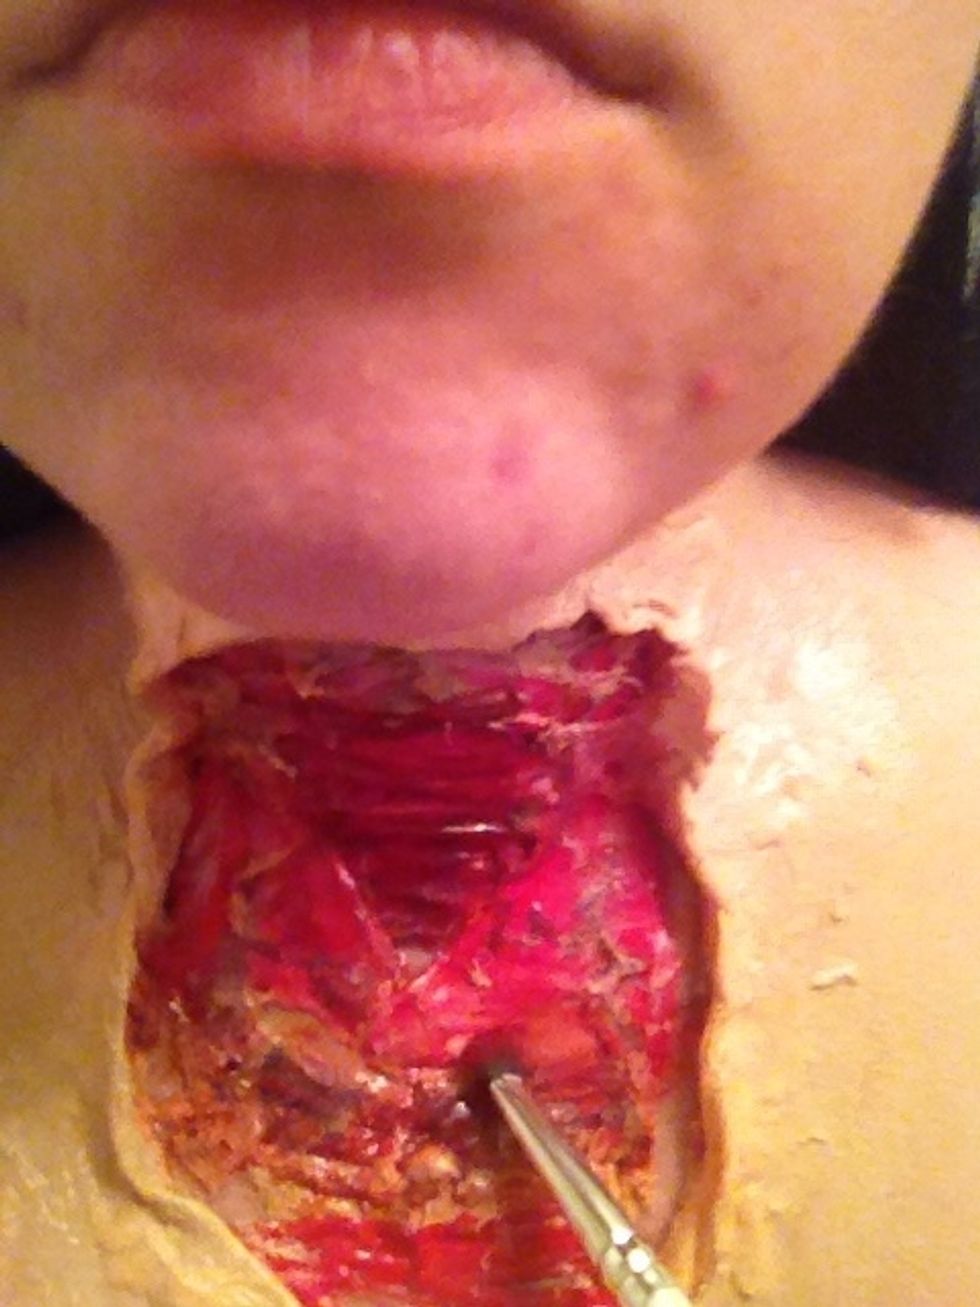
To get into the revealing skin. No flesh color!!

Now the whole area is red..
Use a small tip brush with black shadow.
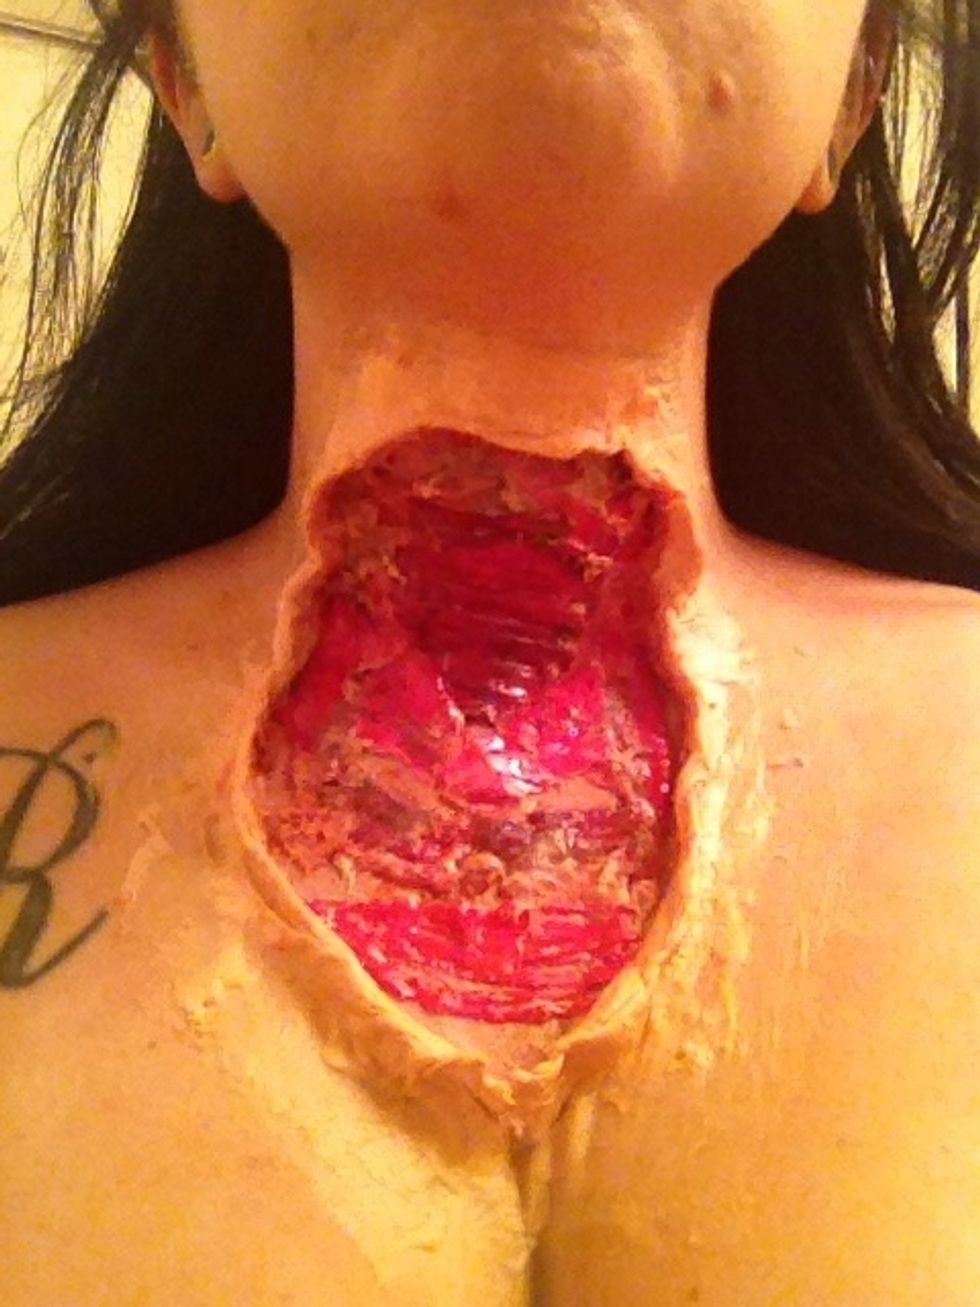
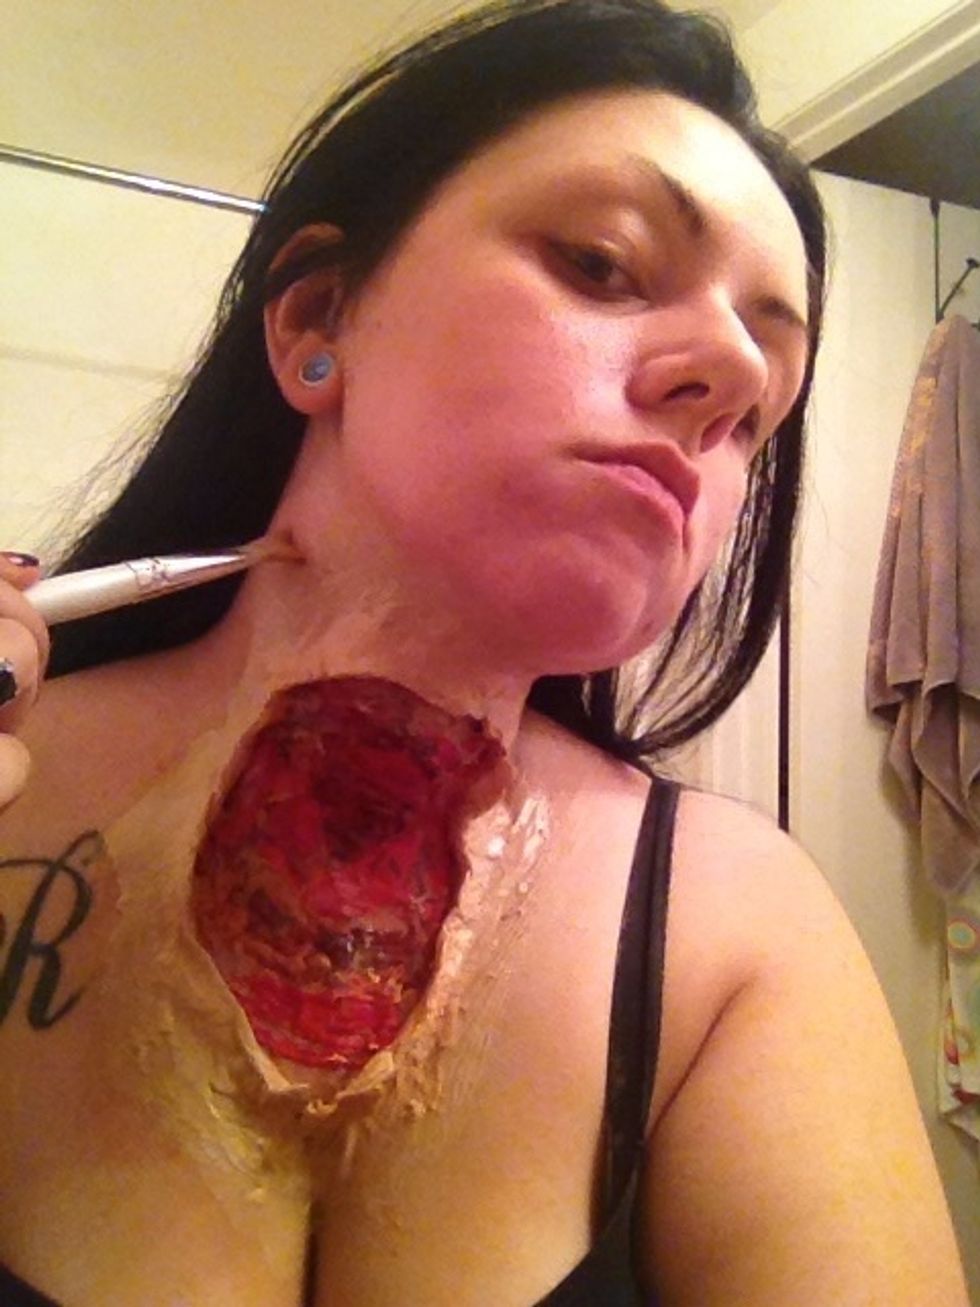
And start to create definition and more depth. Go around the inside of the flaps of skin and the outline of the muscles.
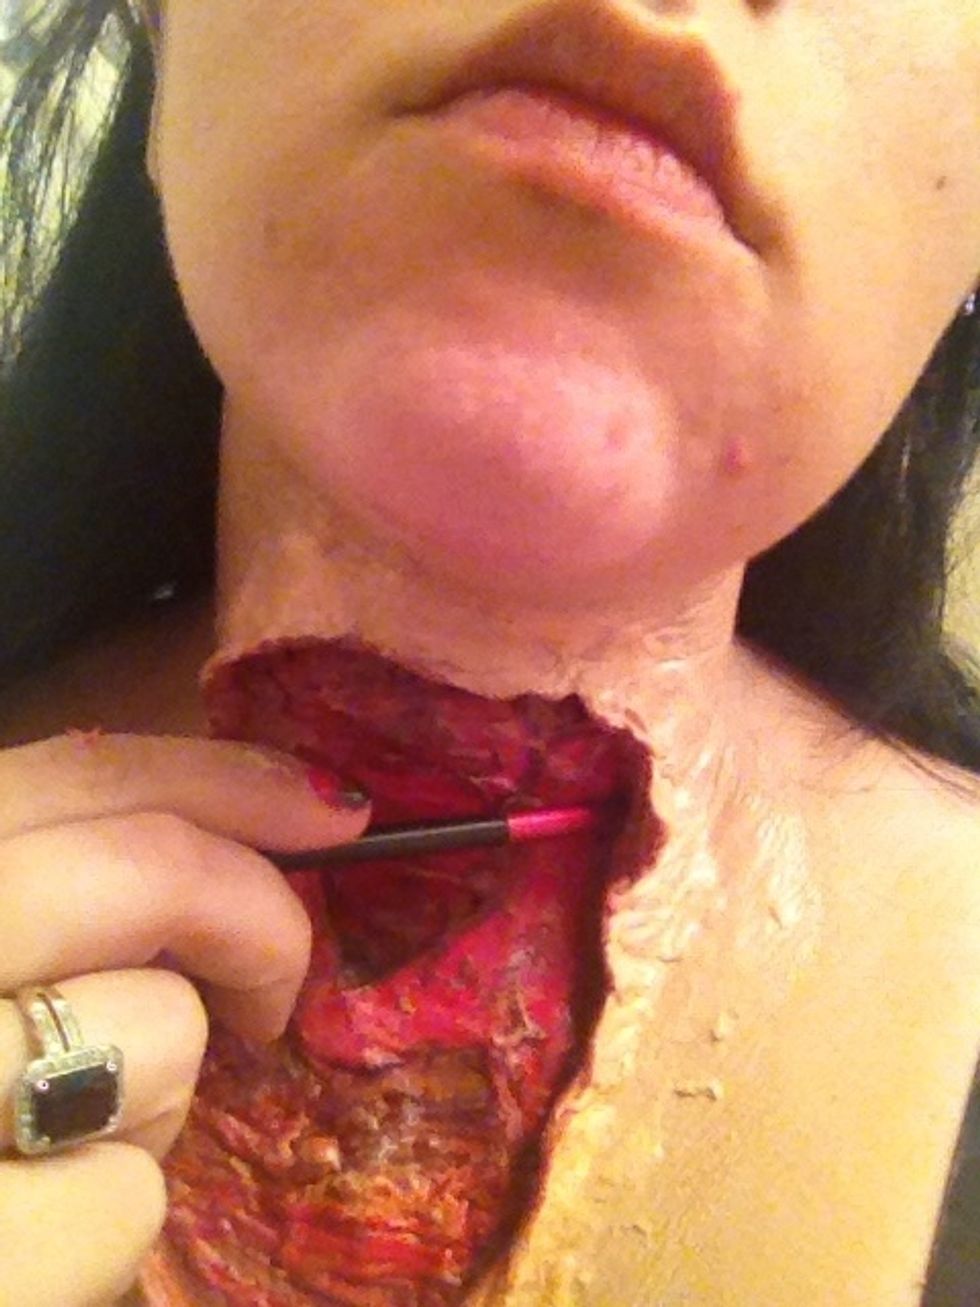
Really pops out!!
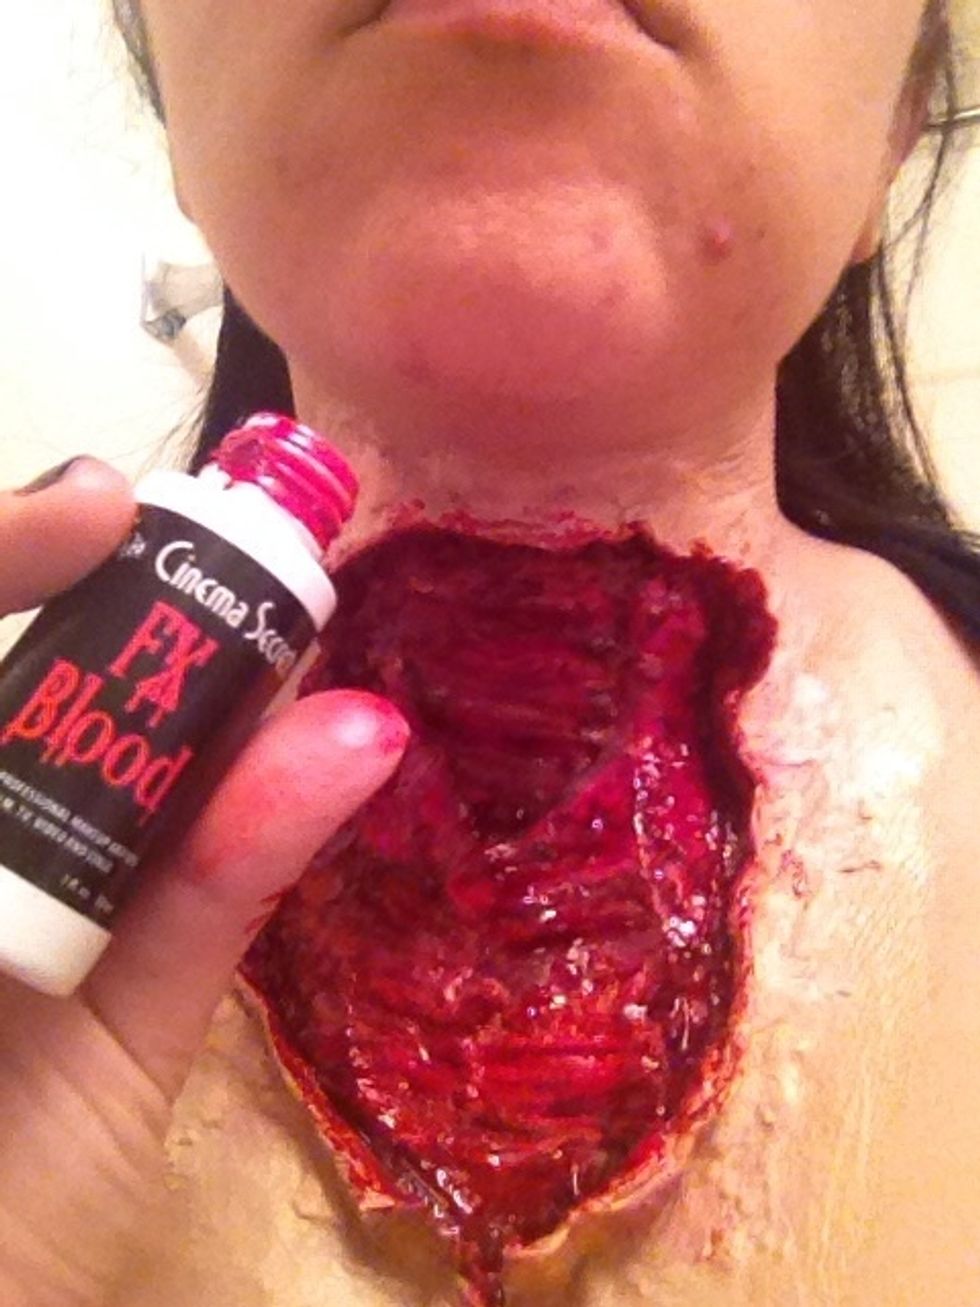
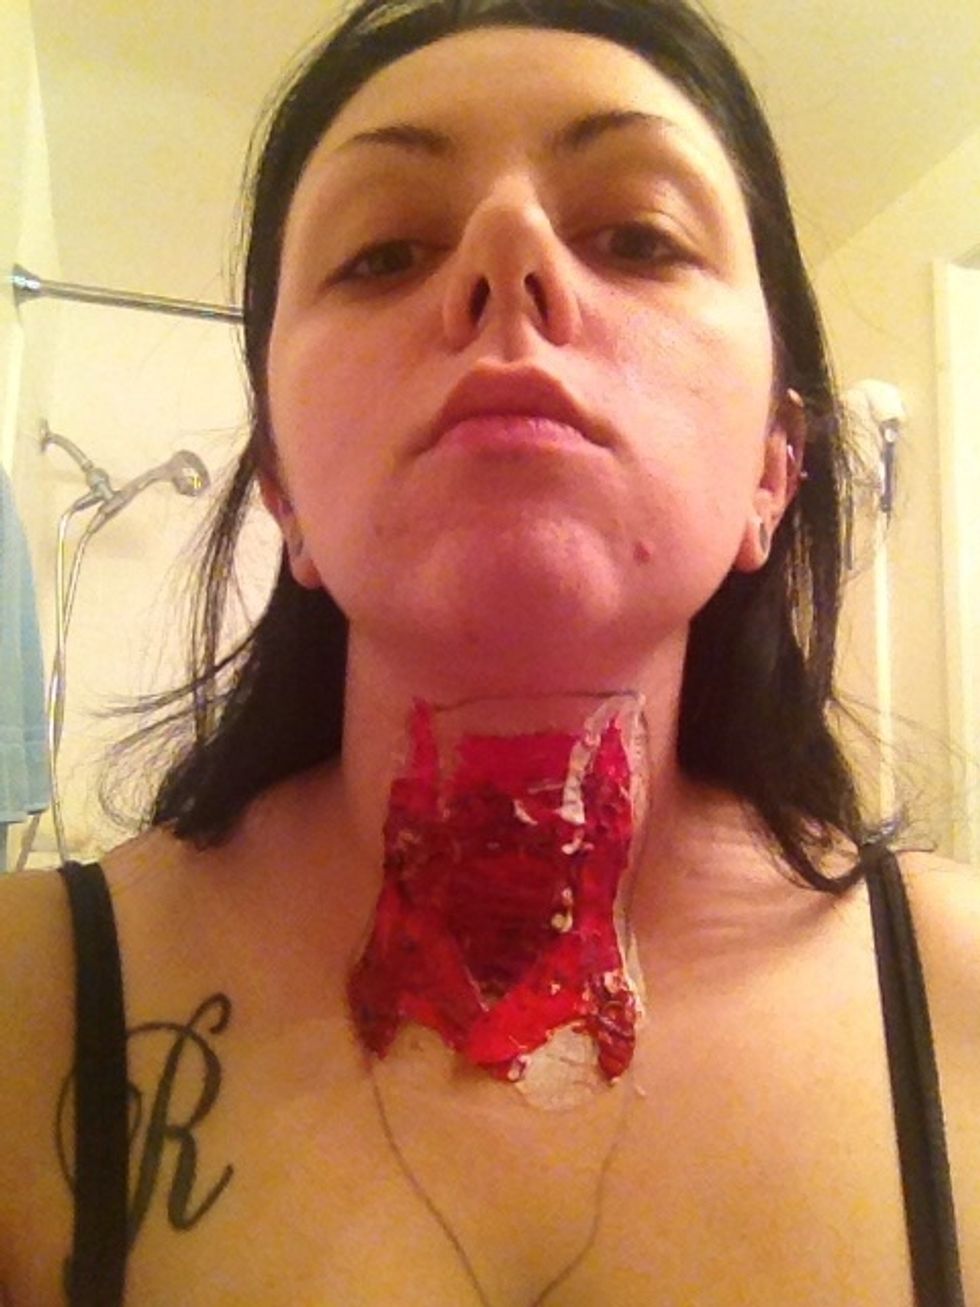
Now blood time. First gel blood. Cover most of the inside and around the edges.
Gives it a nice effect.
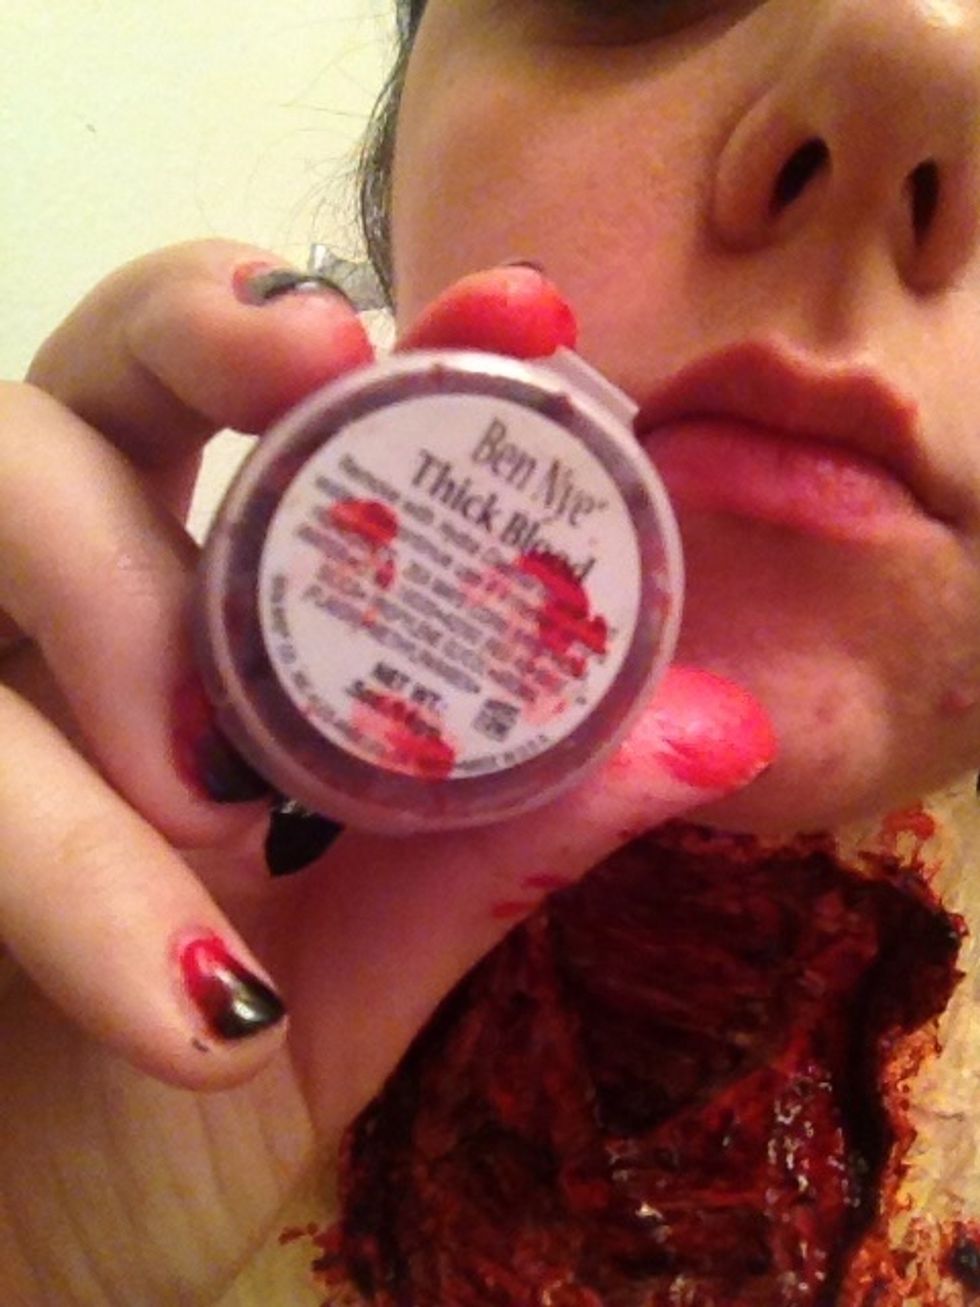
Now clot blood. Apply to corners and edges for the older blood look
Chunky!!
I do a lot around the torn corners
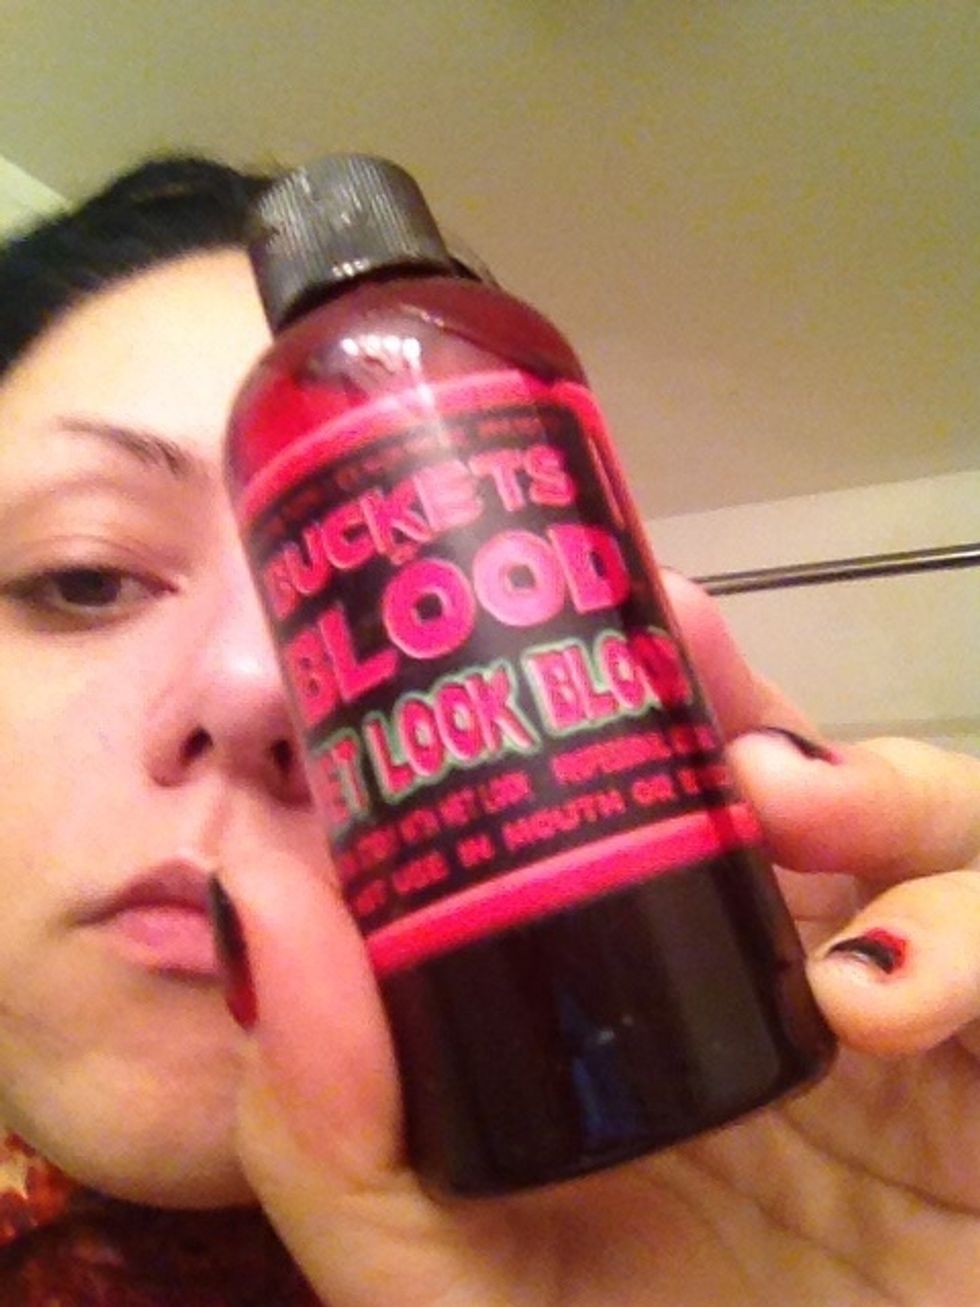
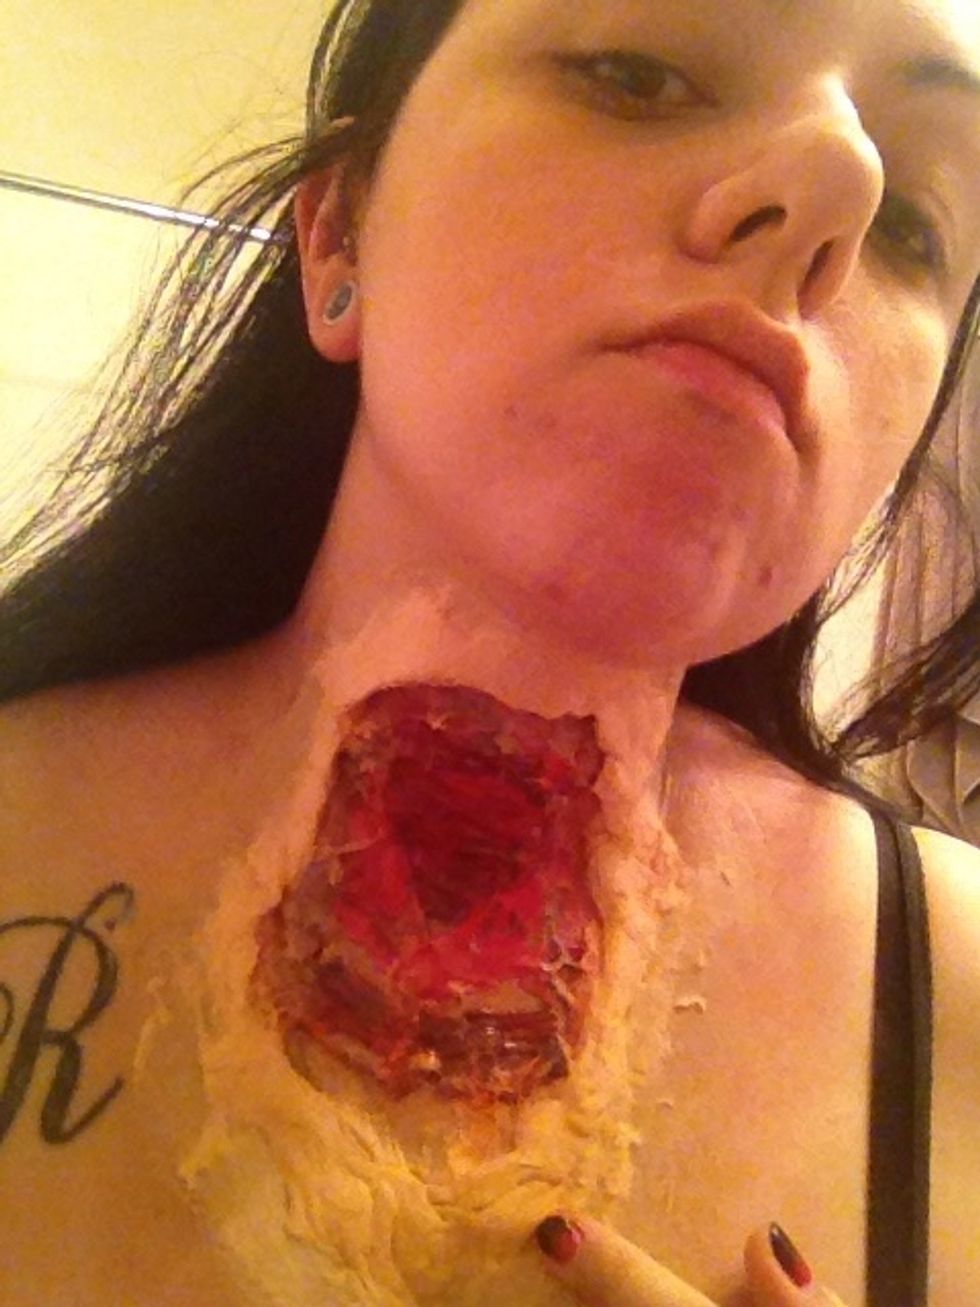
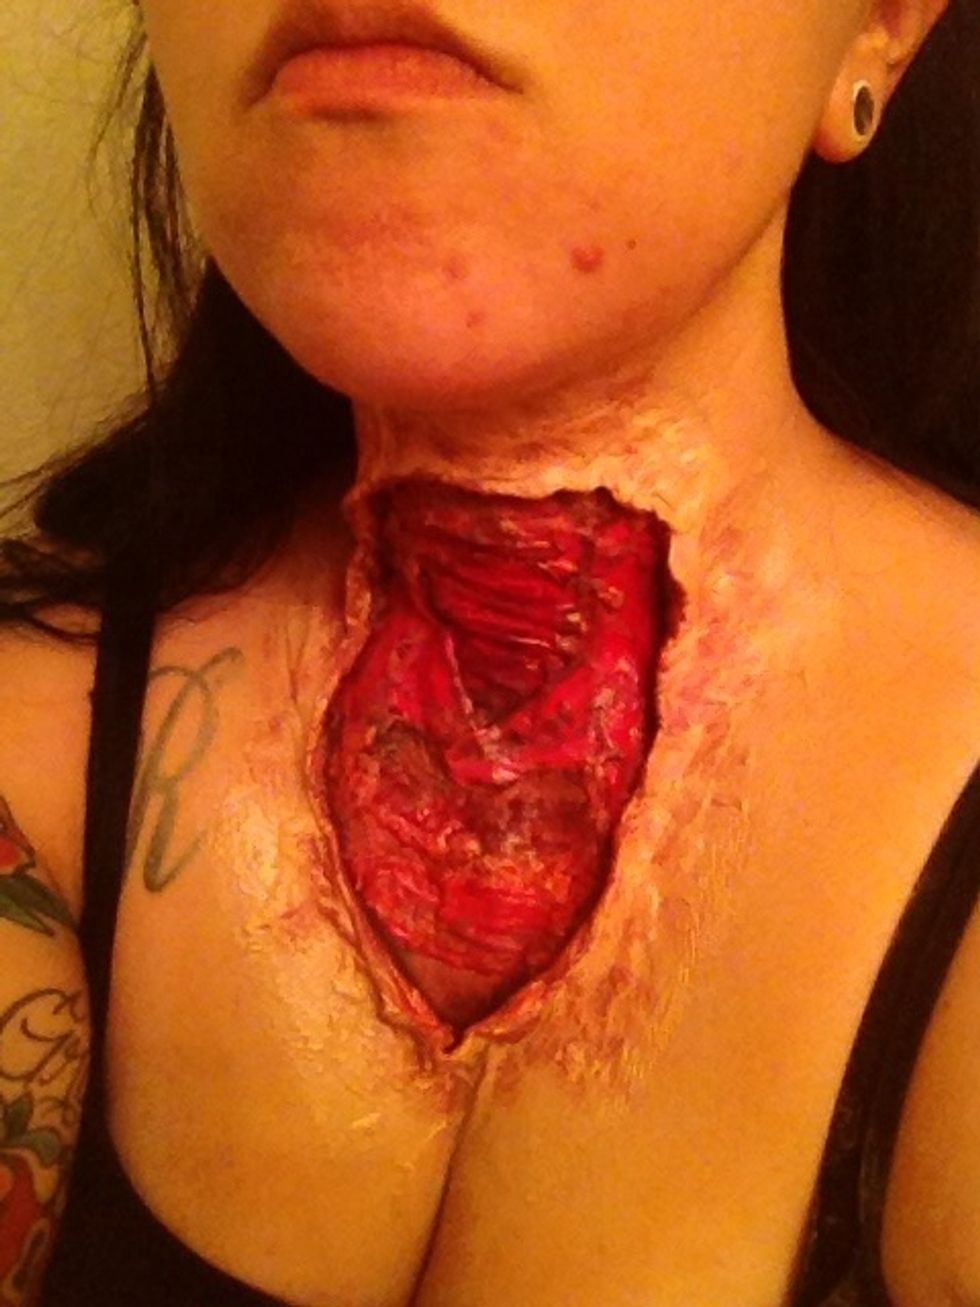
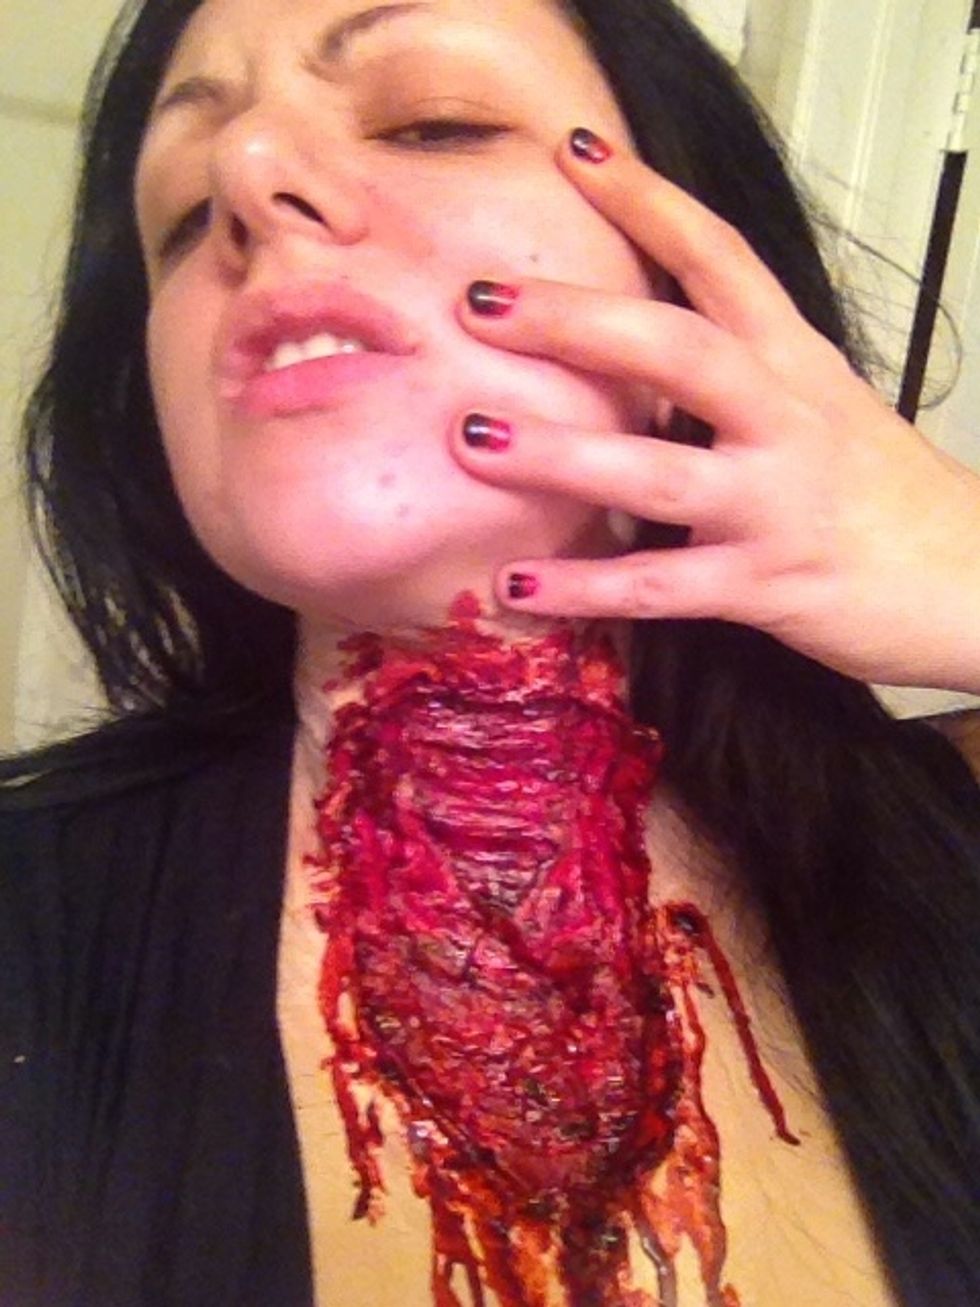
And finally wet blood...
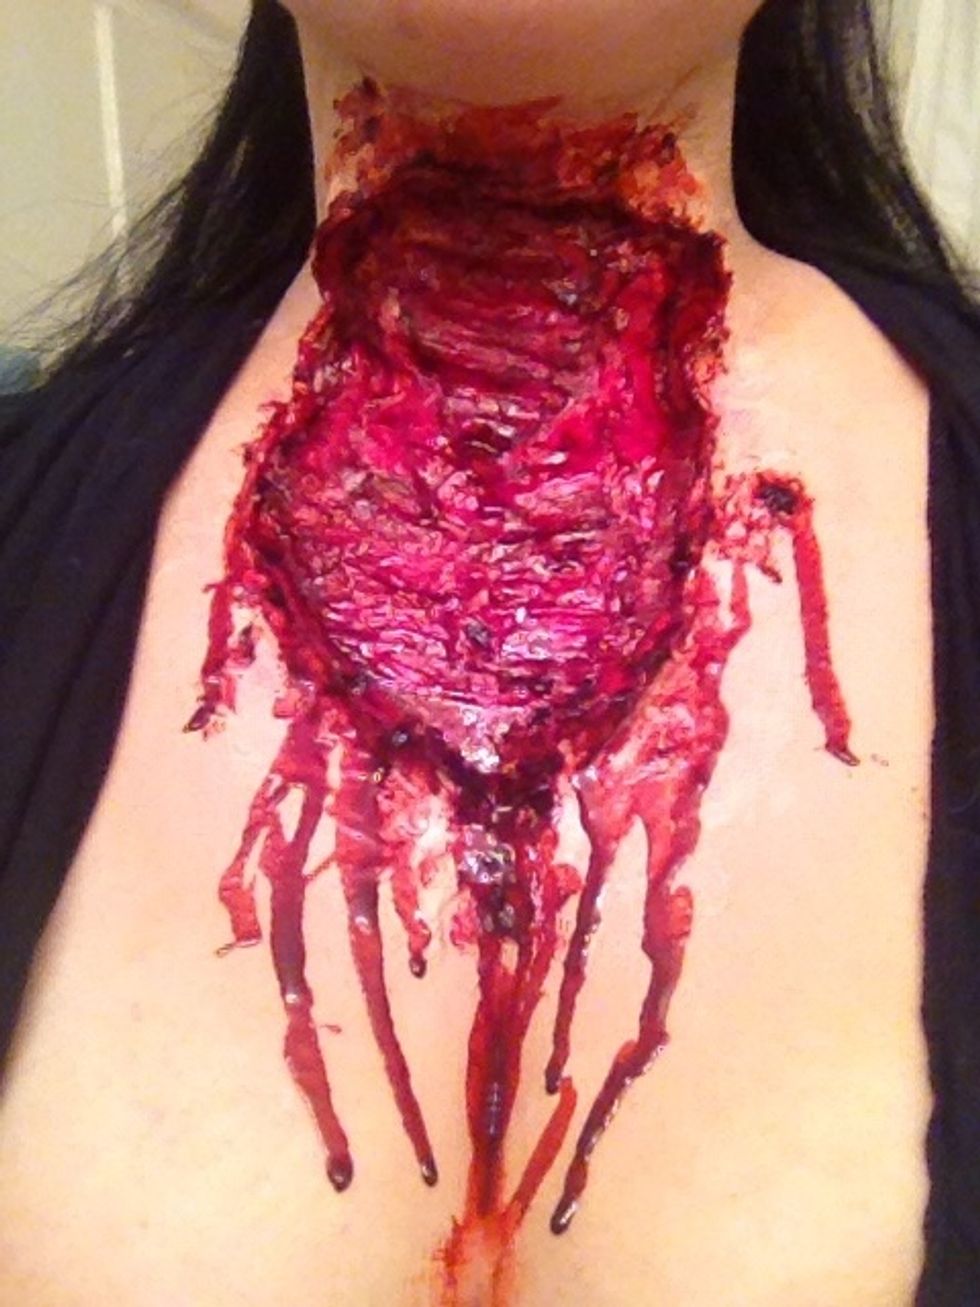
For that fresh torn look. You can really go crazy with this if ya want. It does dry after a while but still looks good! I like to drip mine down the wound!! The more real, the better!
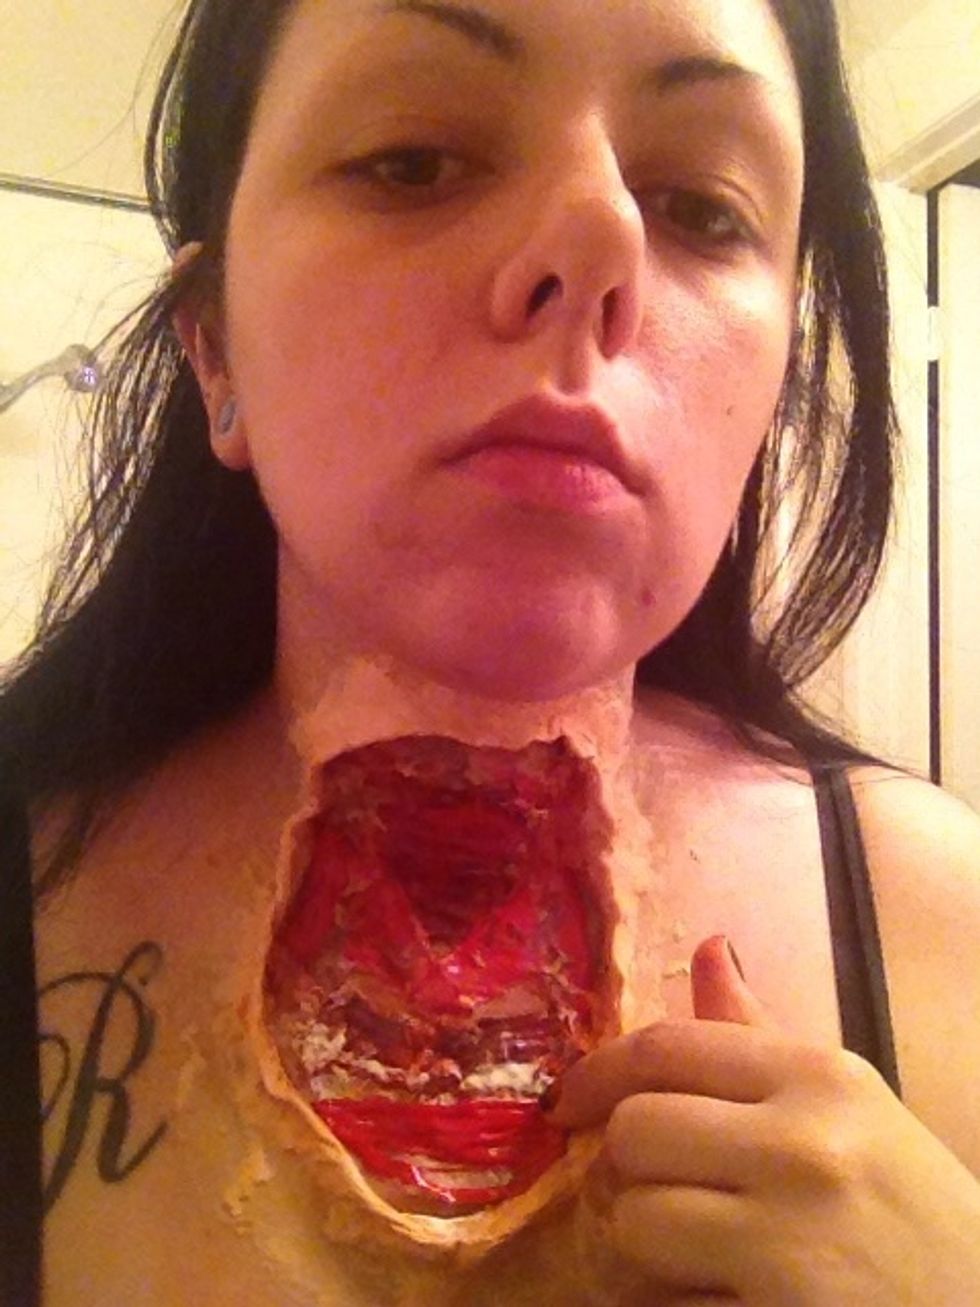
And there you have it! An awesome and cheap bloody costume!
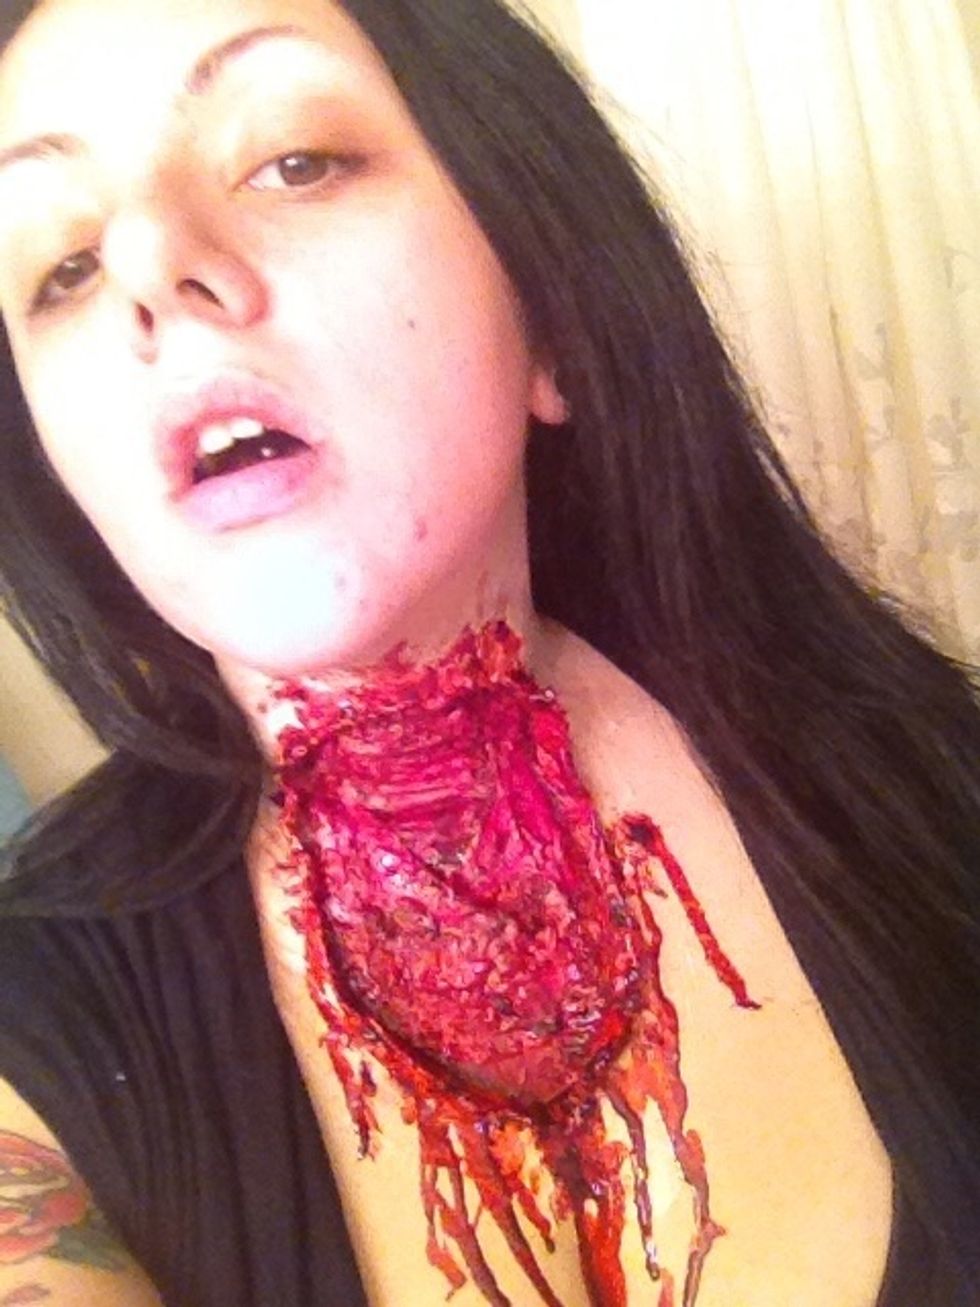
Scare the crap outta your friends. If your not sure about anatomy, always just google images! Helped me!
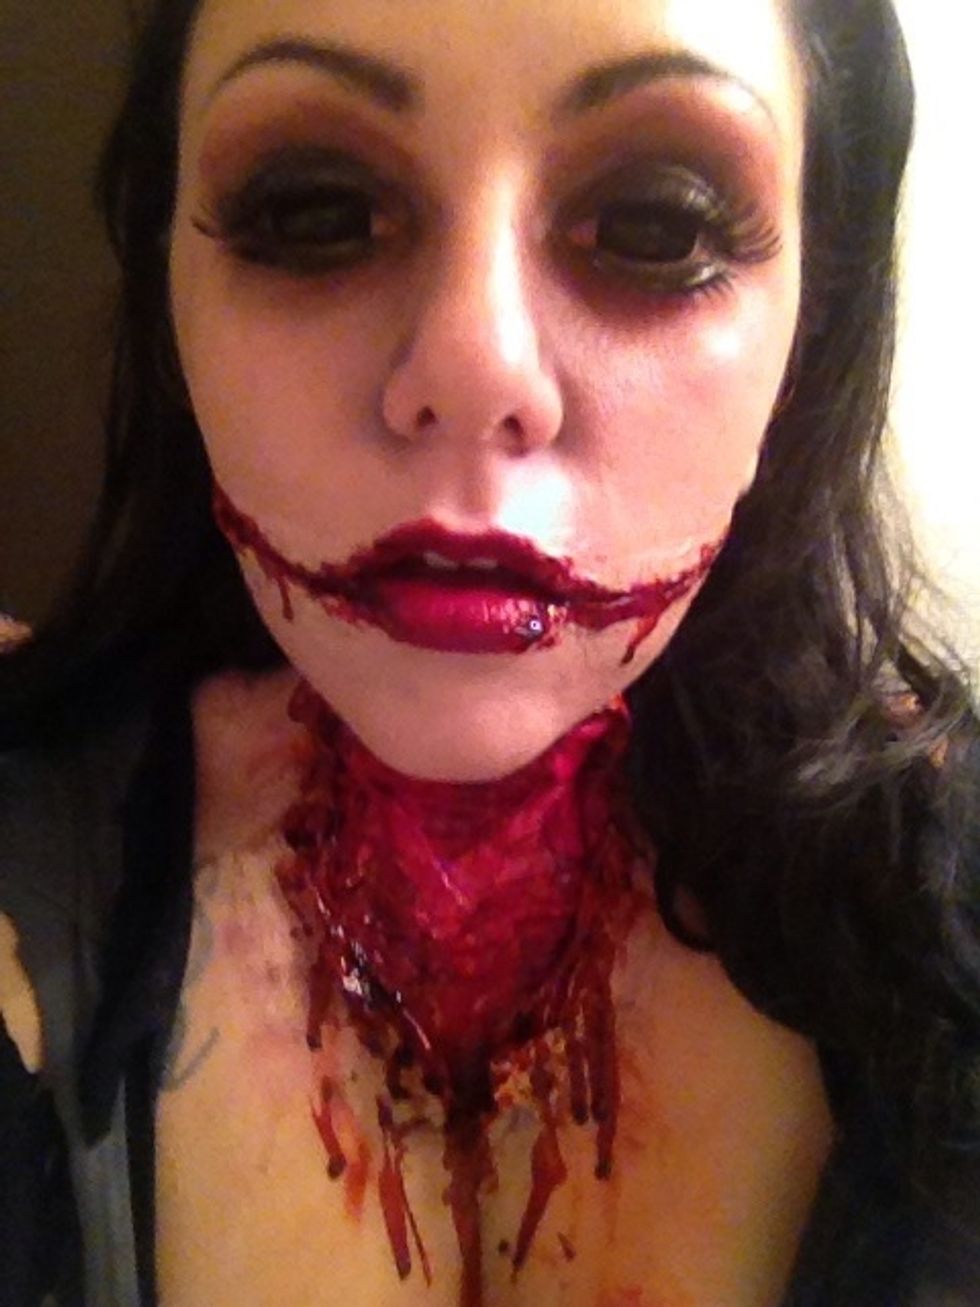
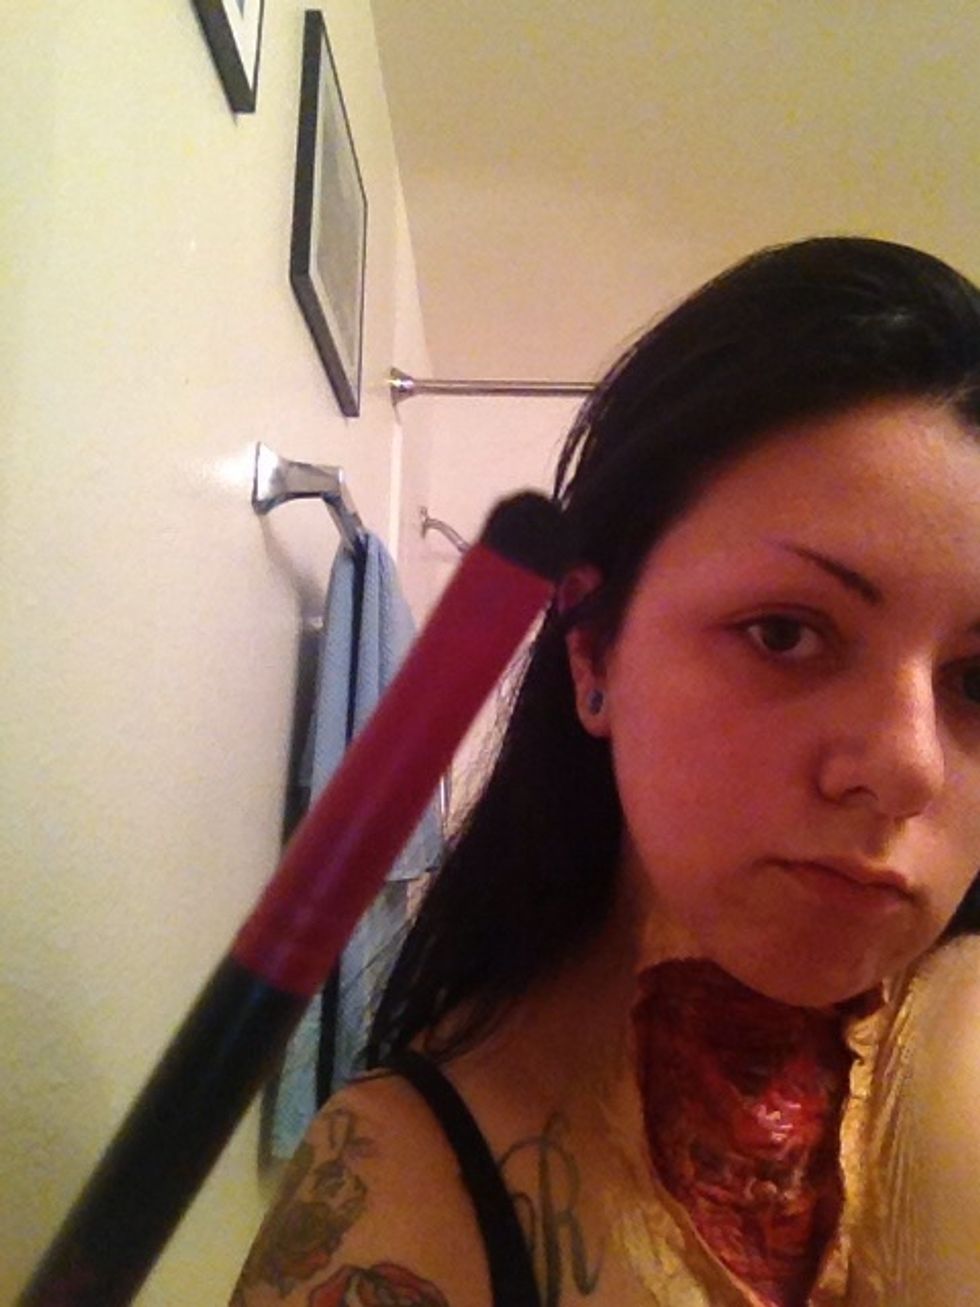
Here is my costume with both effects from my tutorials... You can do a lot with latex😋

And have a happy halloween!!! 🎃💀🎃💀🎃