The Conversation (0)
Sign Up
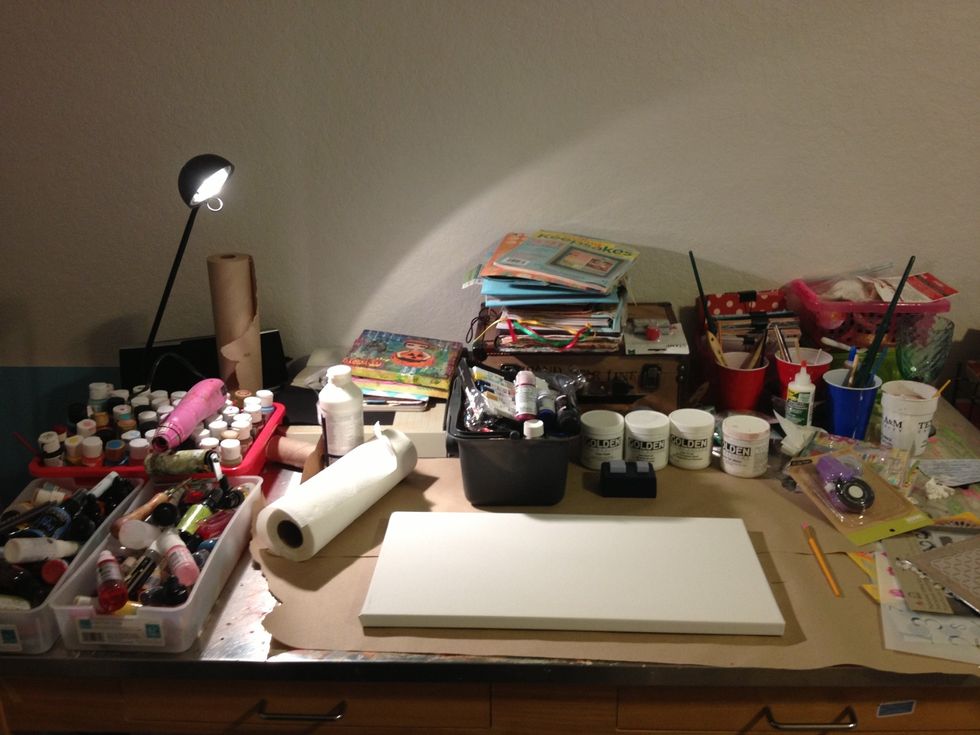
Here I have gathered all of my supplies so I'm not digging around looking for stuff while I work. Let's get started!
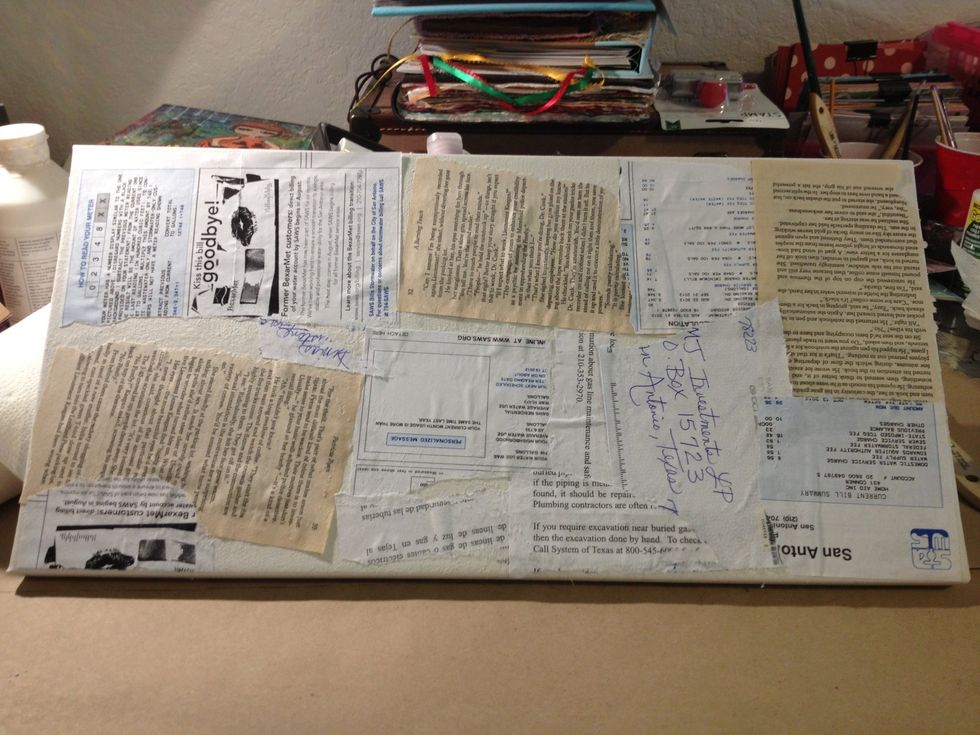
Here is the canvas collaged with some bits of old book paper, water bills, junk mail, etc. adhered with gel medium.
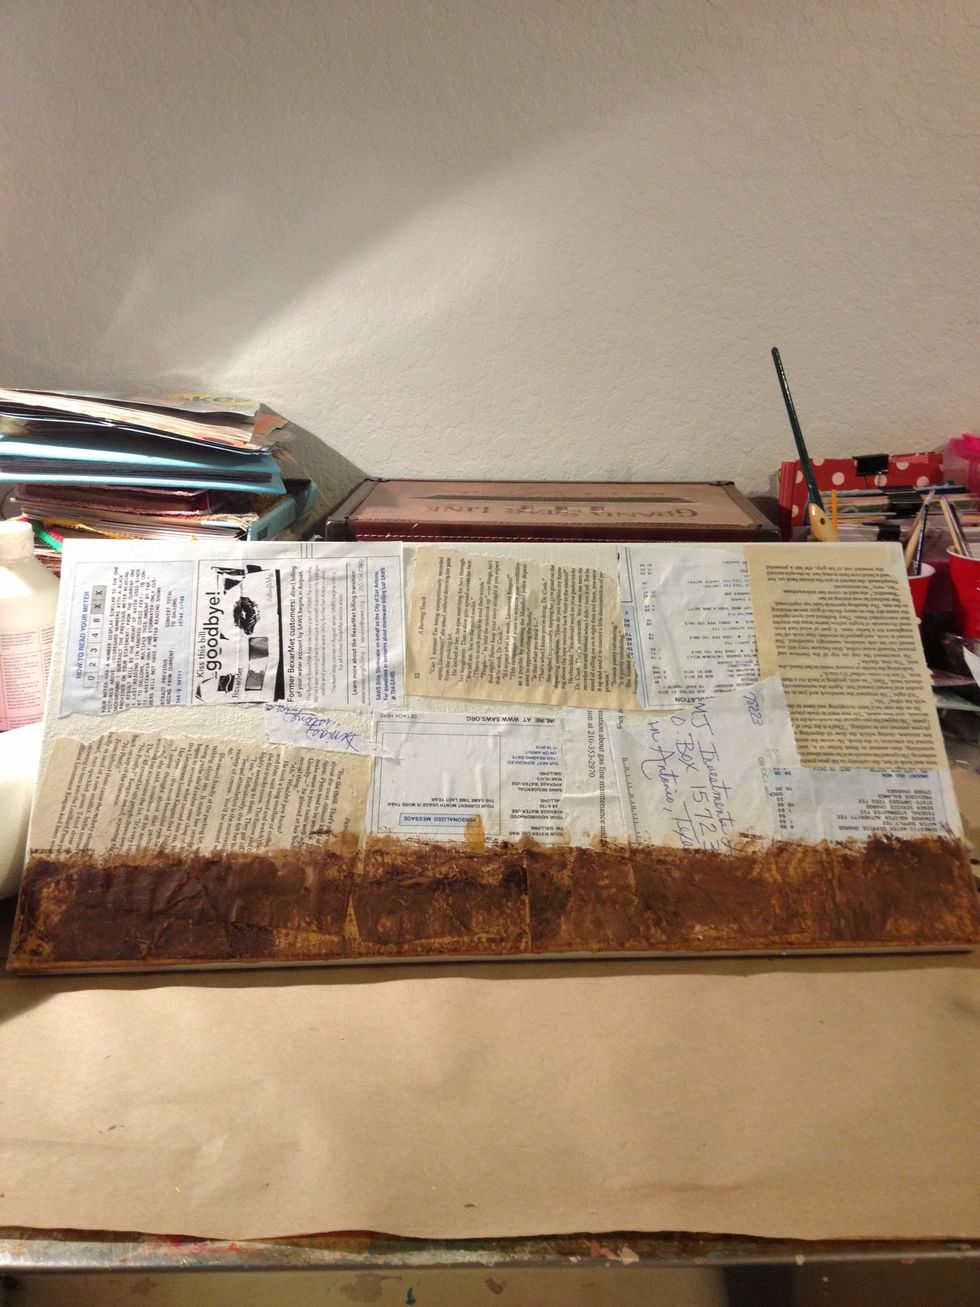
Using my fingers and a mixture of a few different shades of brown I created the ground the pumpkins will sit on. Just work the paint in with fingers and dabbing with paper towel to get texture
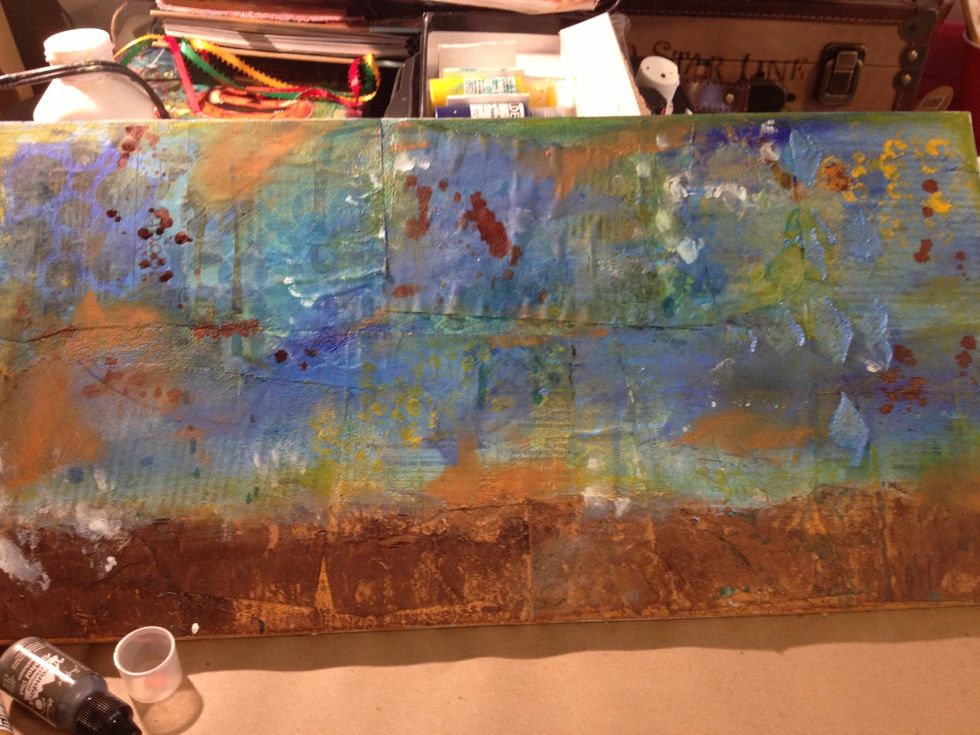
Background is done. I just played around with inks, stencils, and different paints. Alcohol ink makes great splatters!
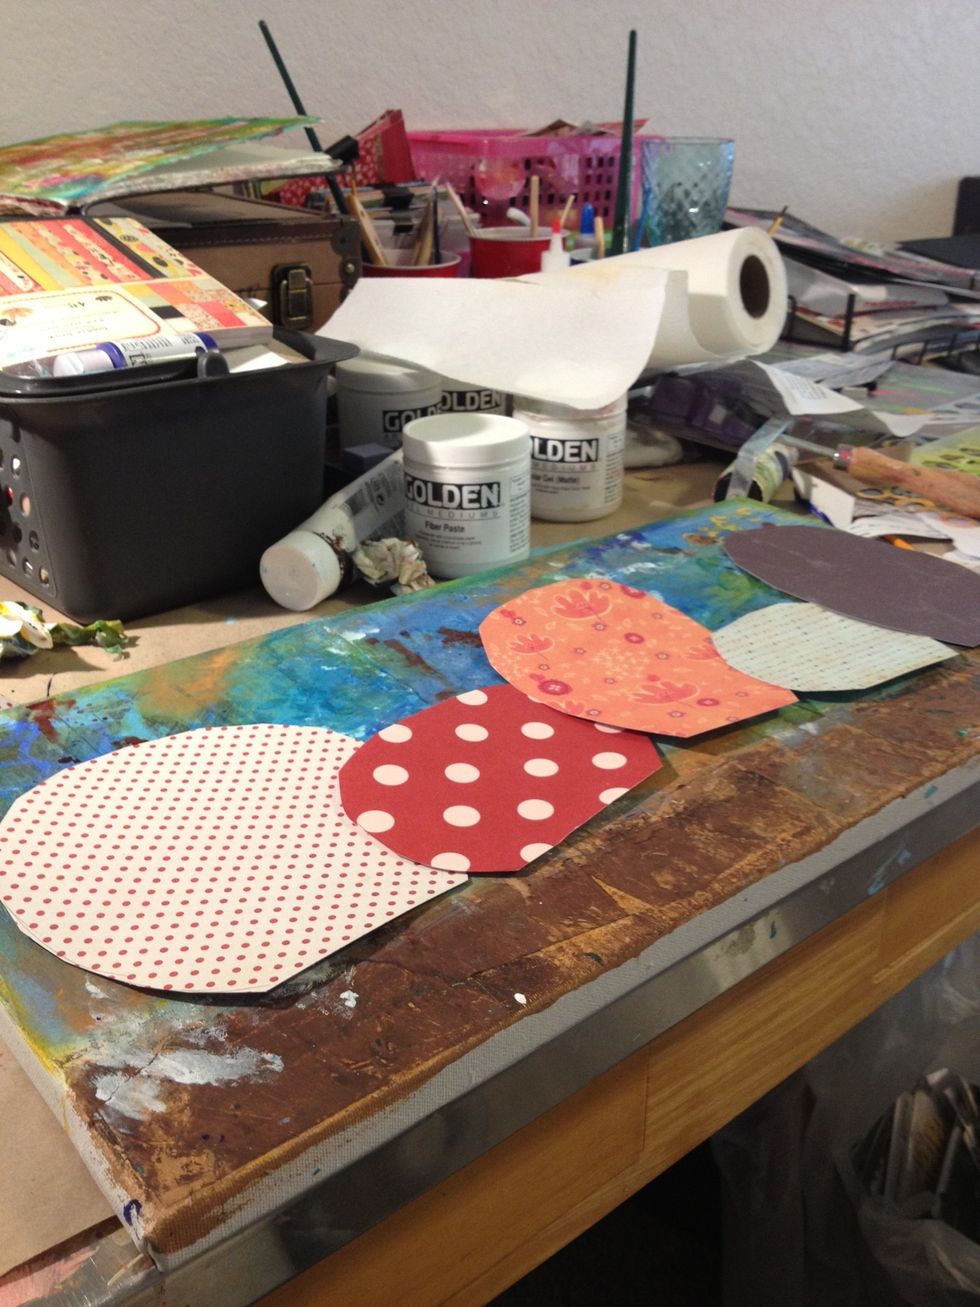
Next I free handed some pumpkins into paper scraps and cut them out. I laid them into the canvas to make sure they all looked proportional.
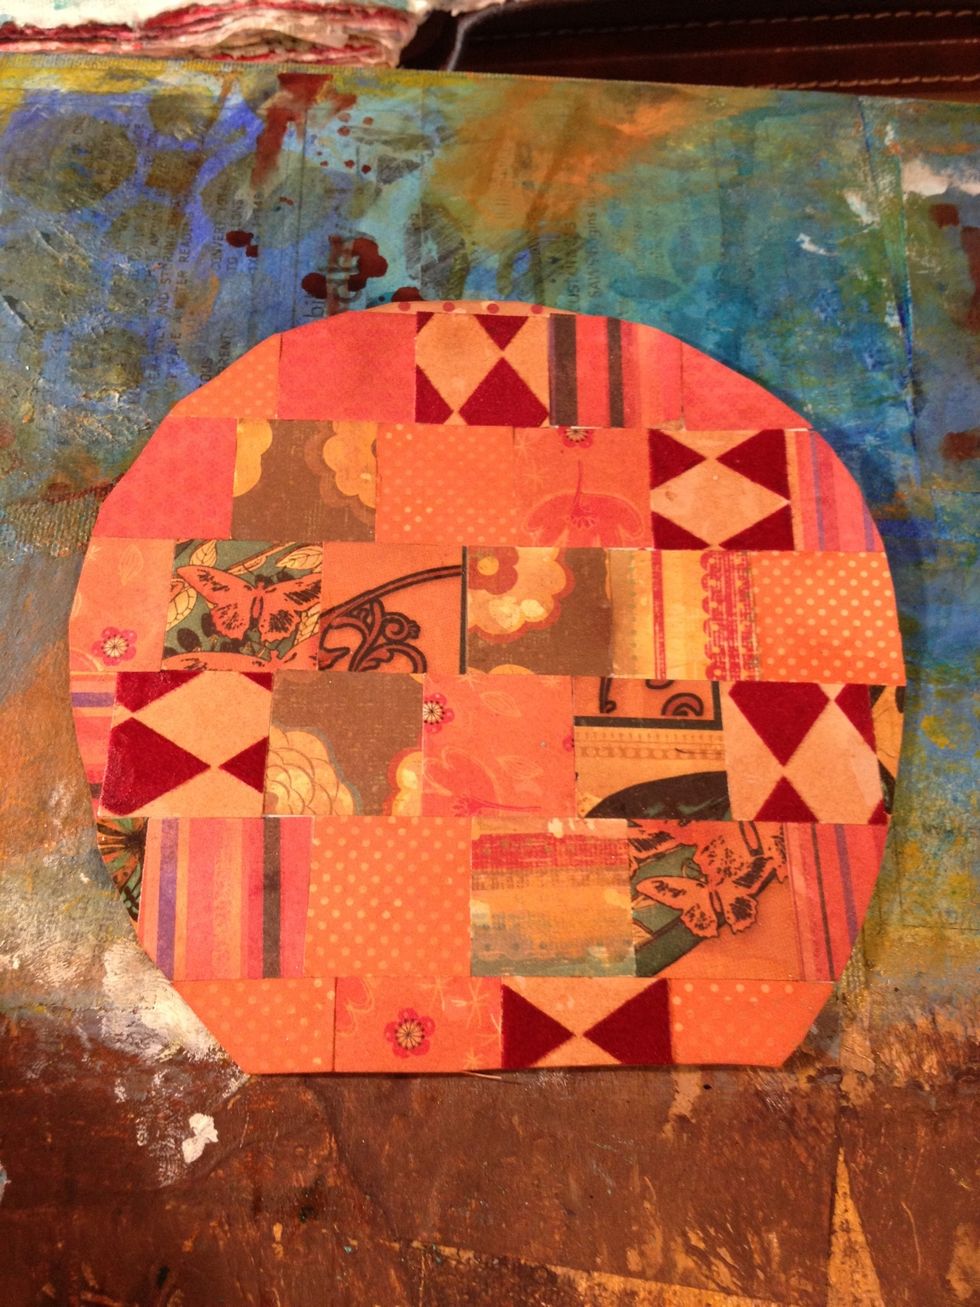
Here is pumpkin #1-a patchwork pumpkin made using patterned paper scraps punched into squares and adhered to the free handed pumpkin. Trimmed edges and rubbed with tea dye Distress ink

Pumpkin #2-patterned paper covered in orange buttons and sprayed with ink
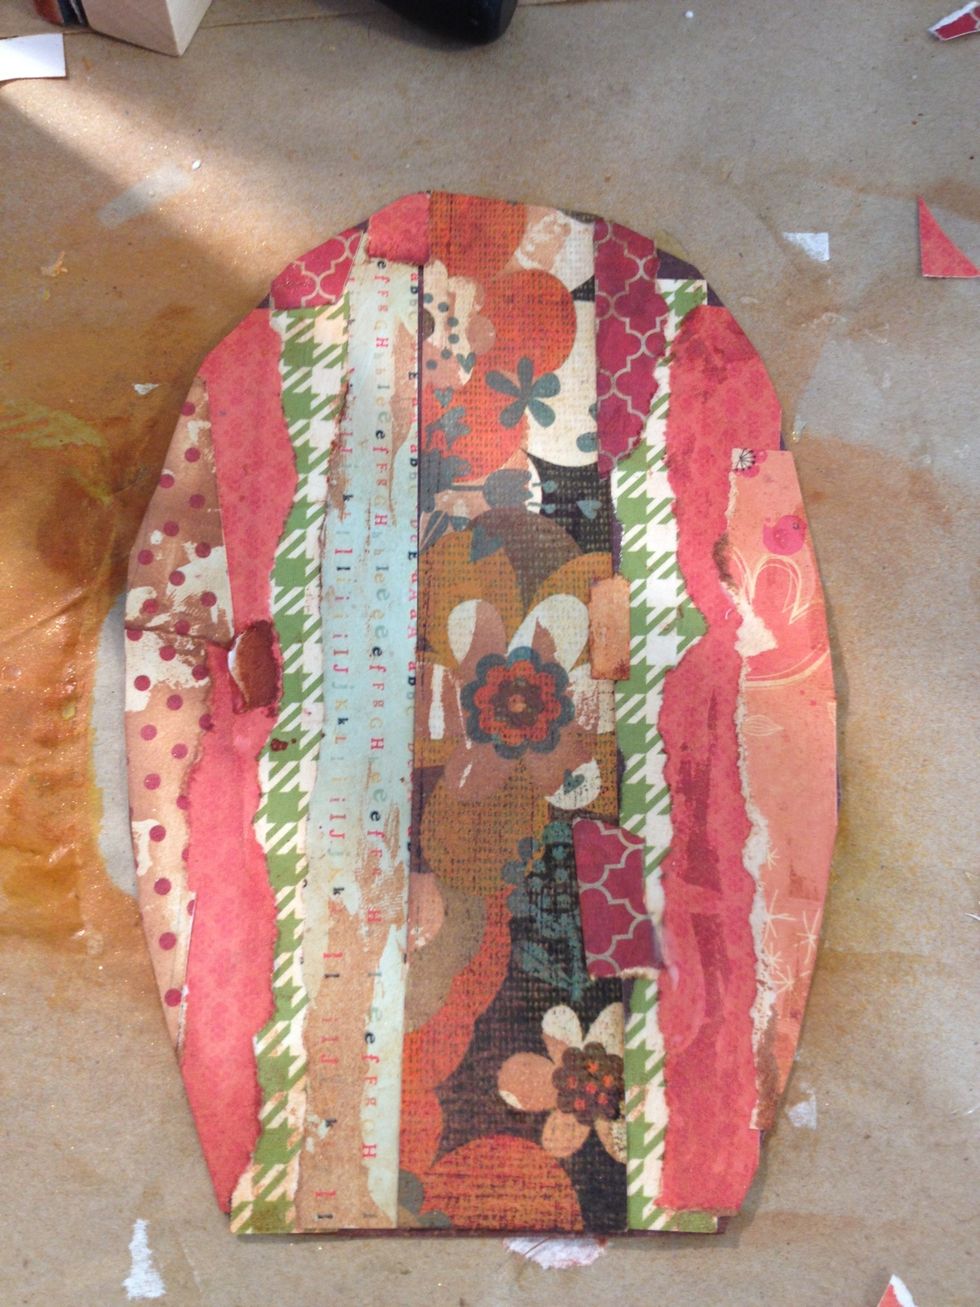
Pumpkin#3-layered paper scraps, then go over top with tea dye ink

Pumpkin #4-patterned paper with stencil and ink. Go over the top with tea dye ink
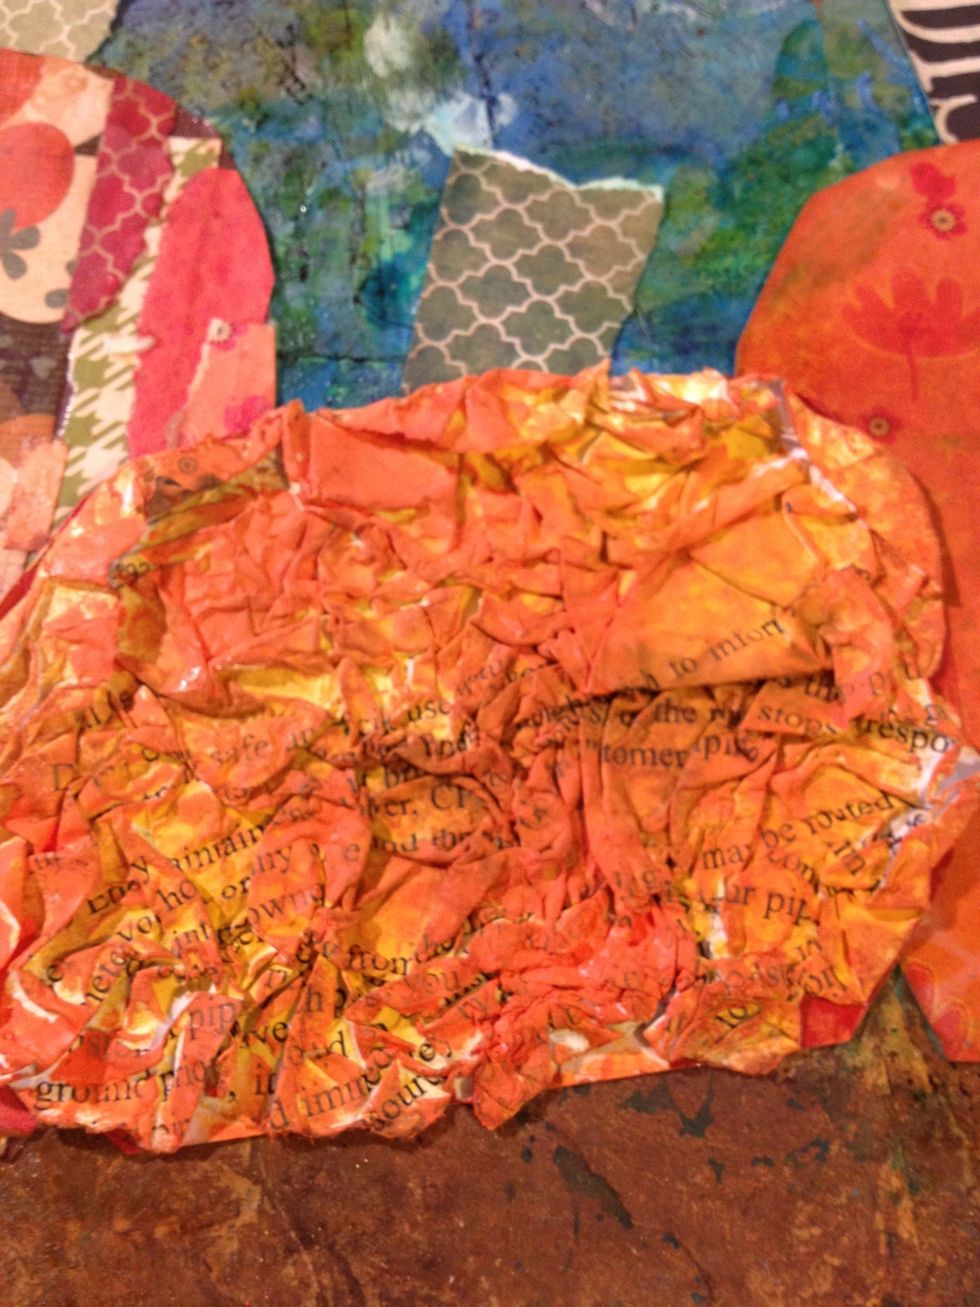
Pumpkin # 5-cover your cut out with mod podge, then crumple a piece of paper. Smush it into the mod podge, creating a raised surface. Cover with paint and/or ink, then tea dye ink
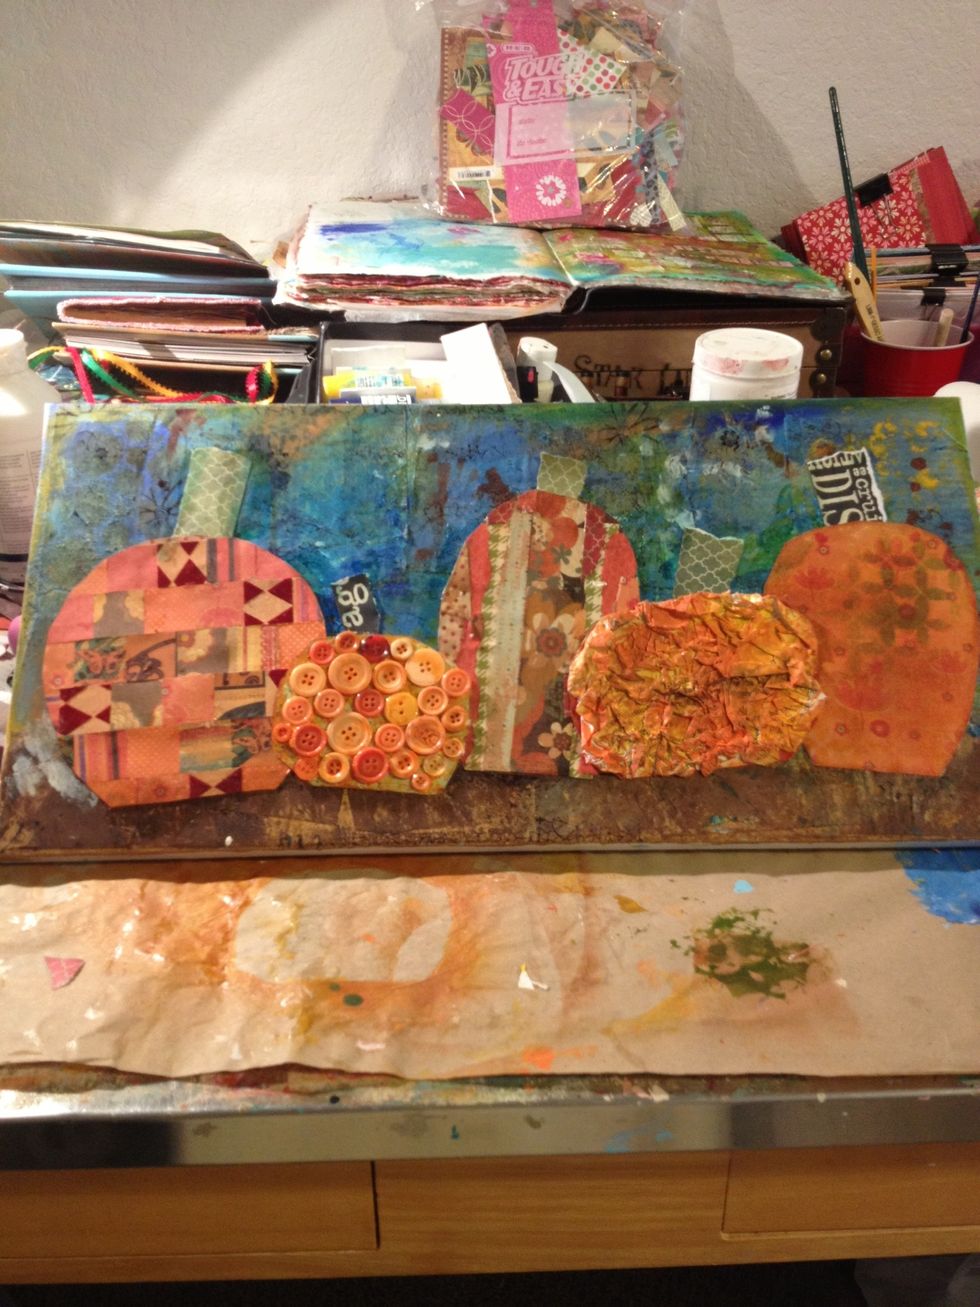
adhere all pumpkins to the canvas and use some green scraps of paper to create the stems. Attach those as well.
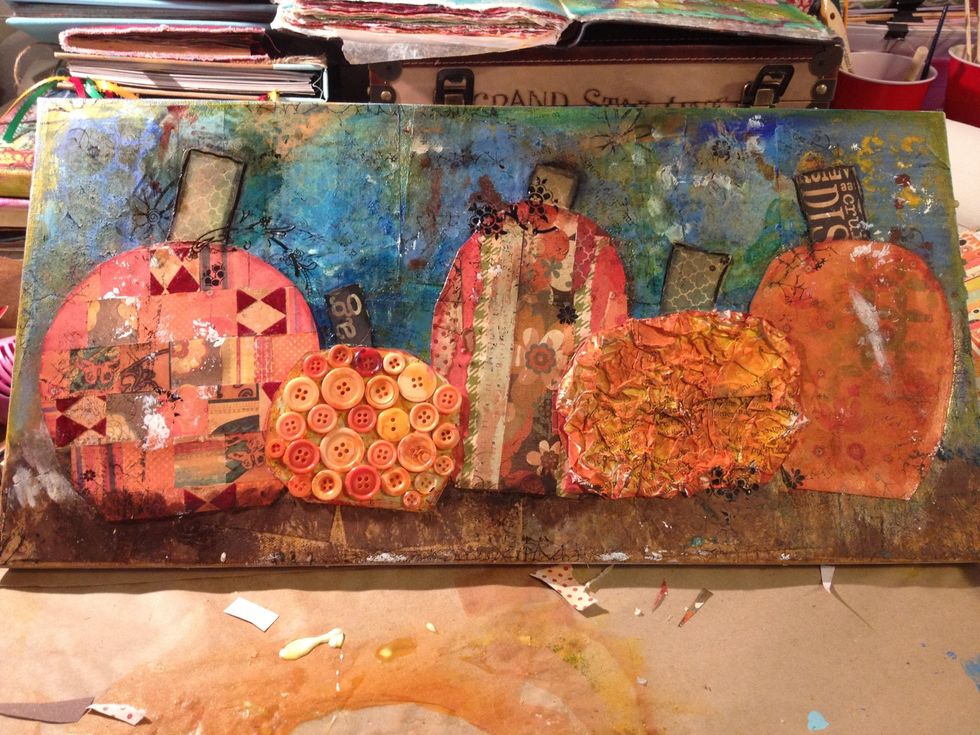
Add detail work with pen, shading, etc
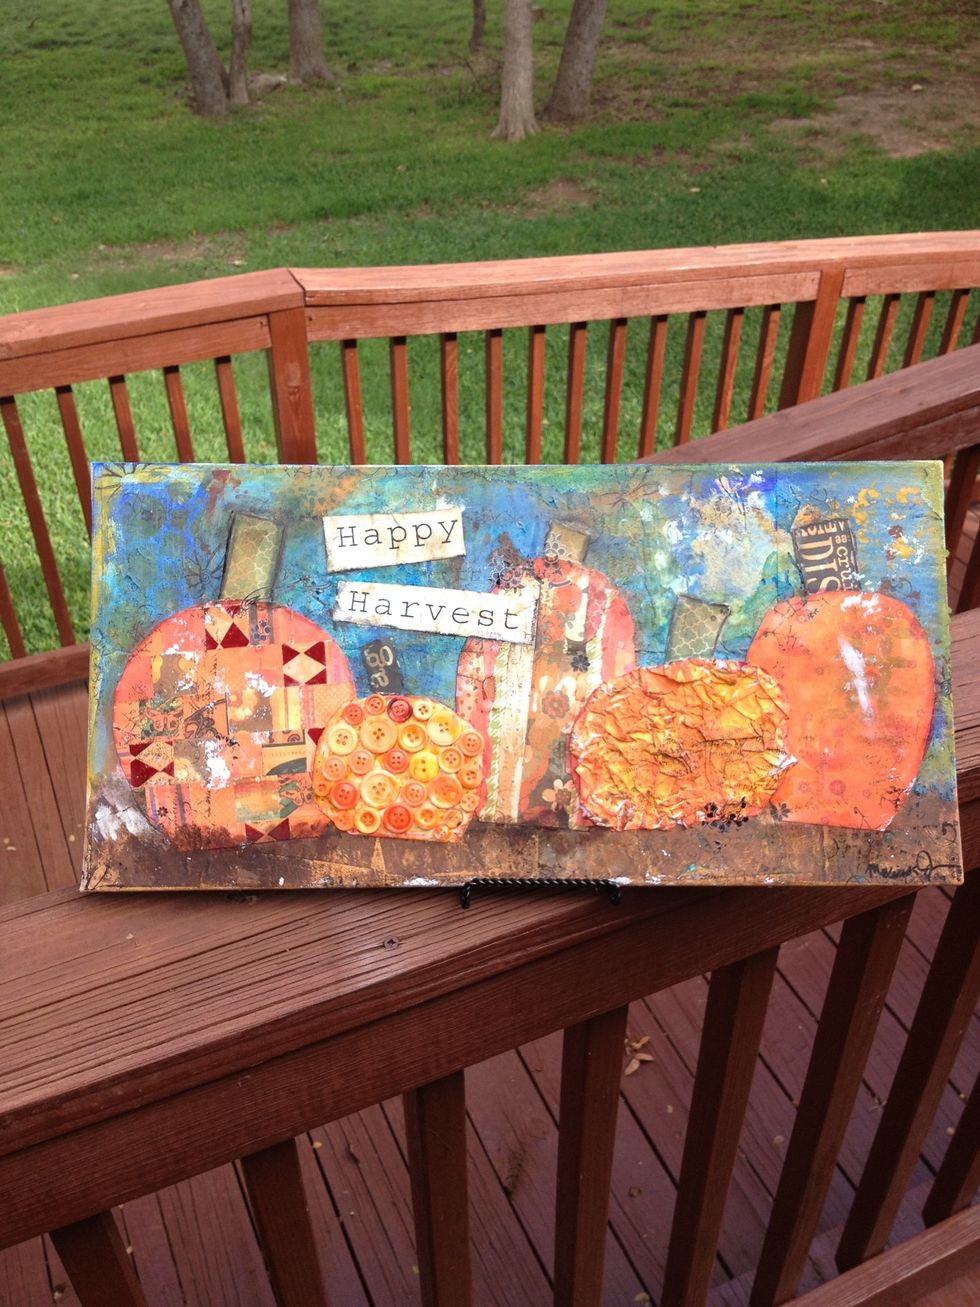
Add some words of your choice and you're done!