The Conversation (0)
Sign Up
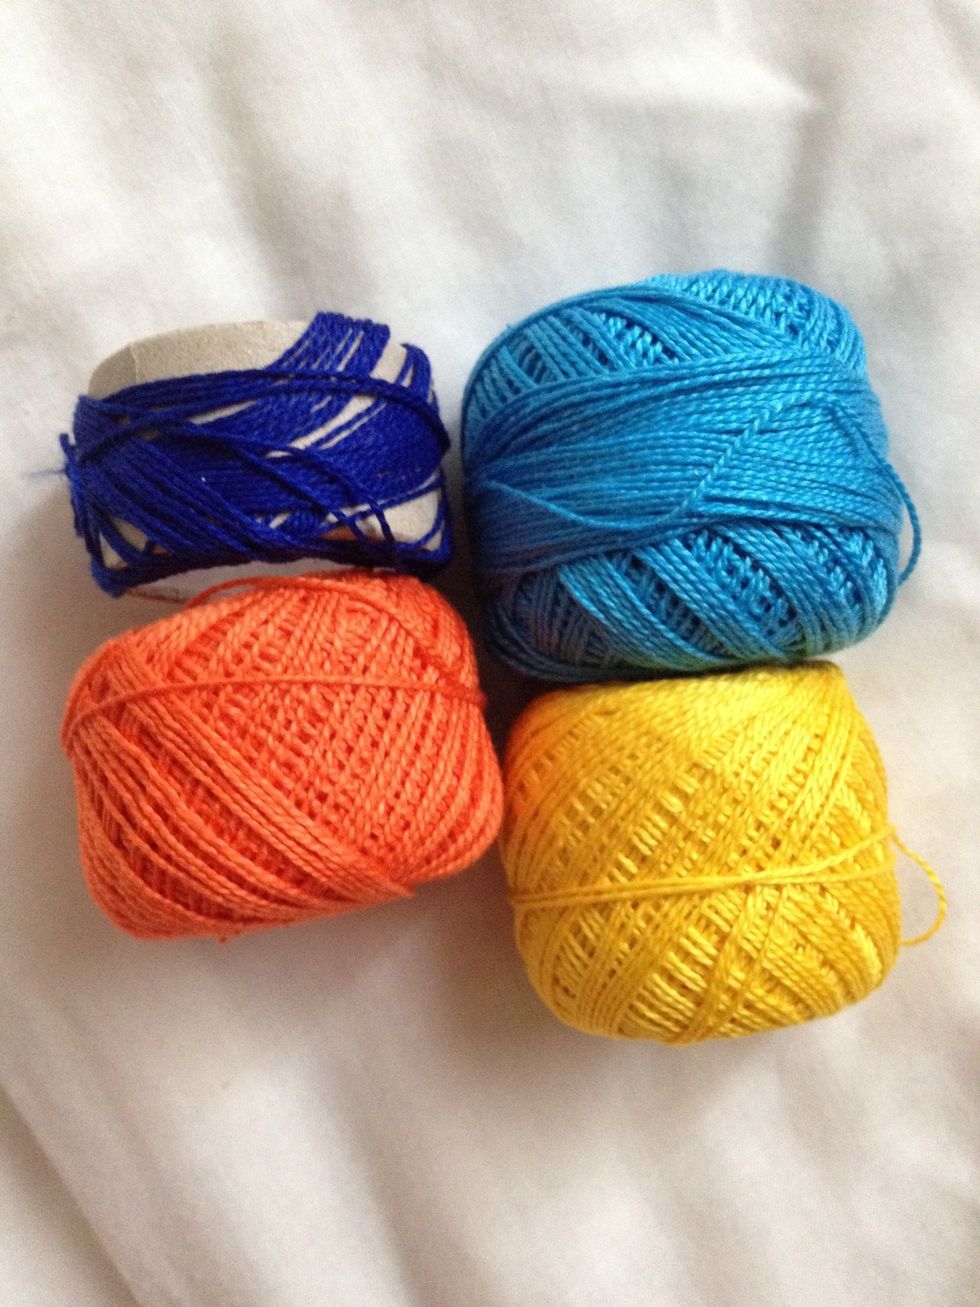
4 different colors.
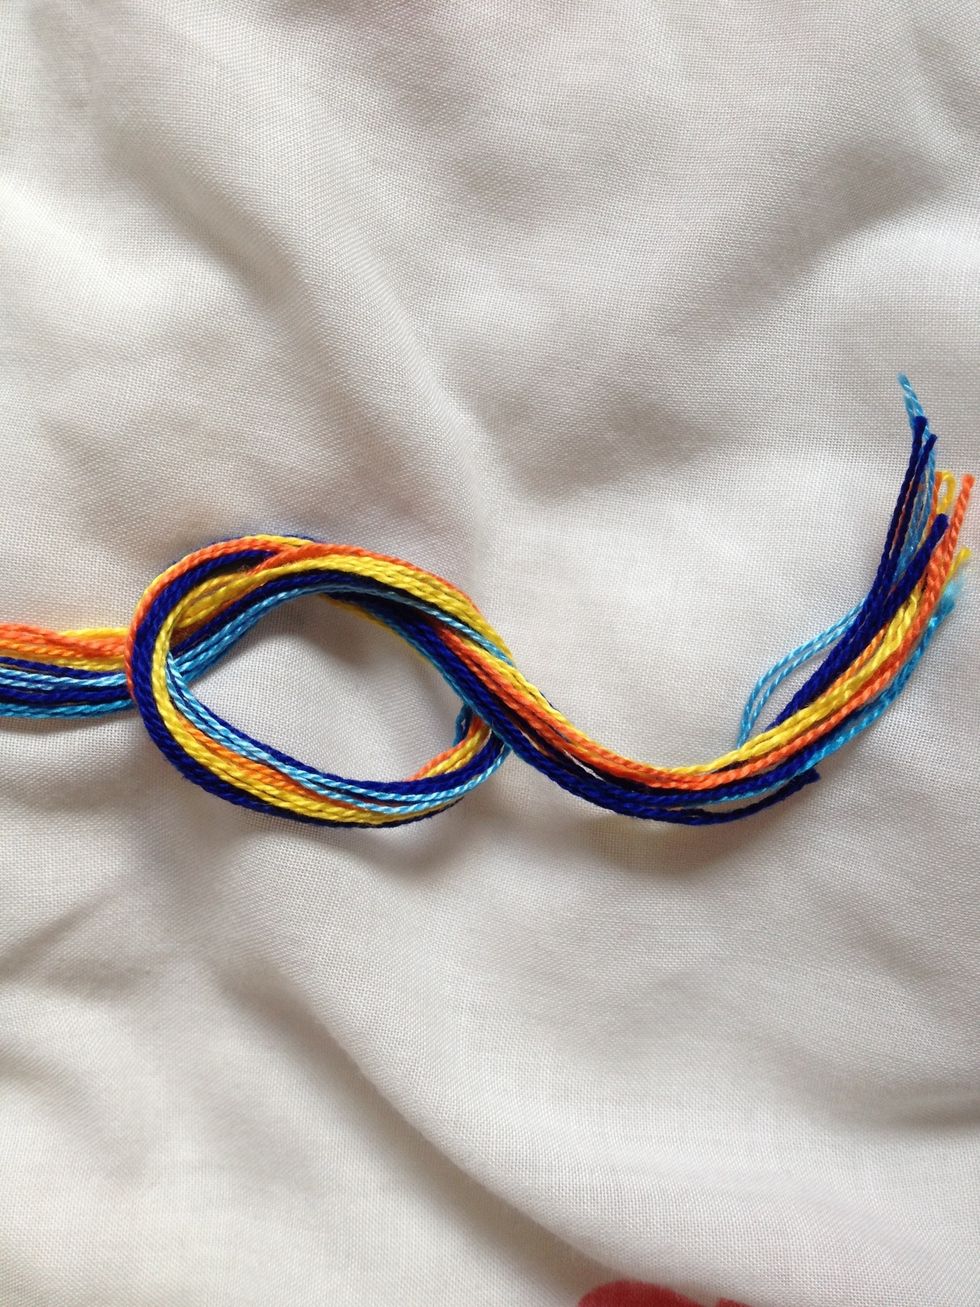
Knot your thread like this.
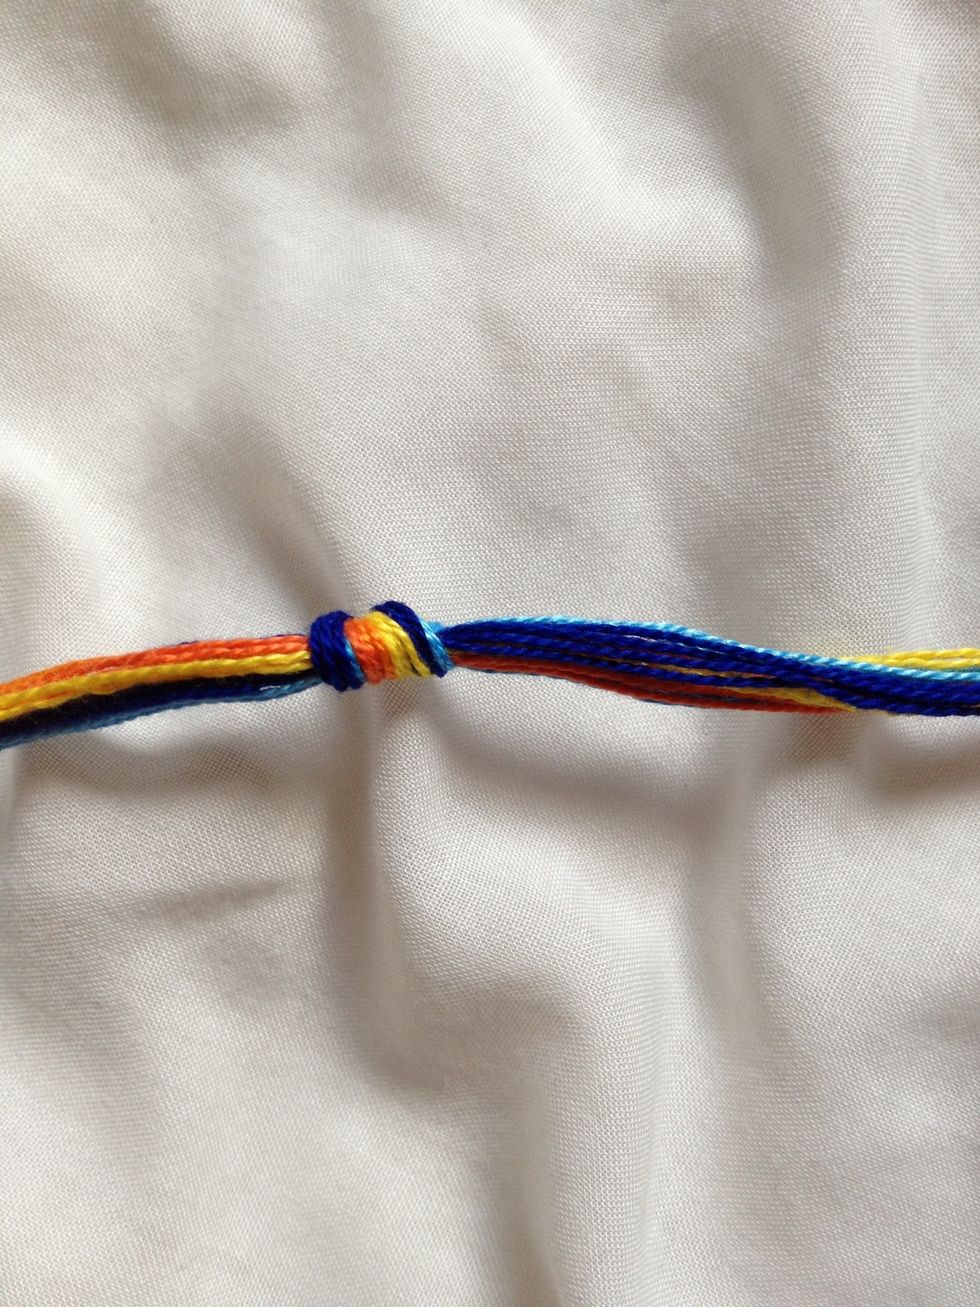
It will be like this when you knot it.

Put your thread on the clipboard to hold it.
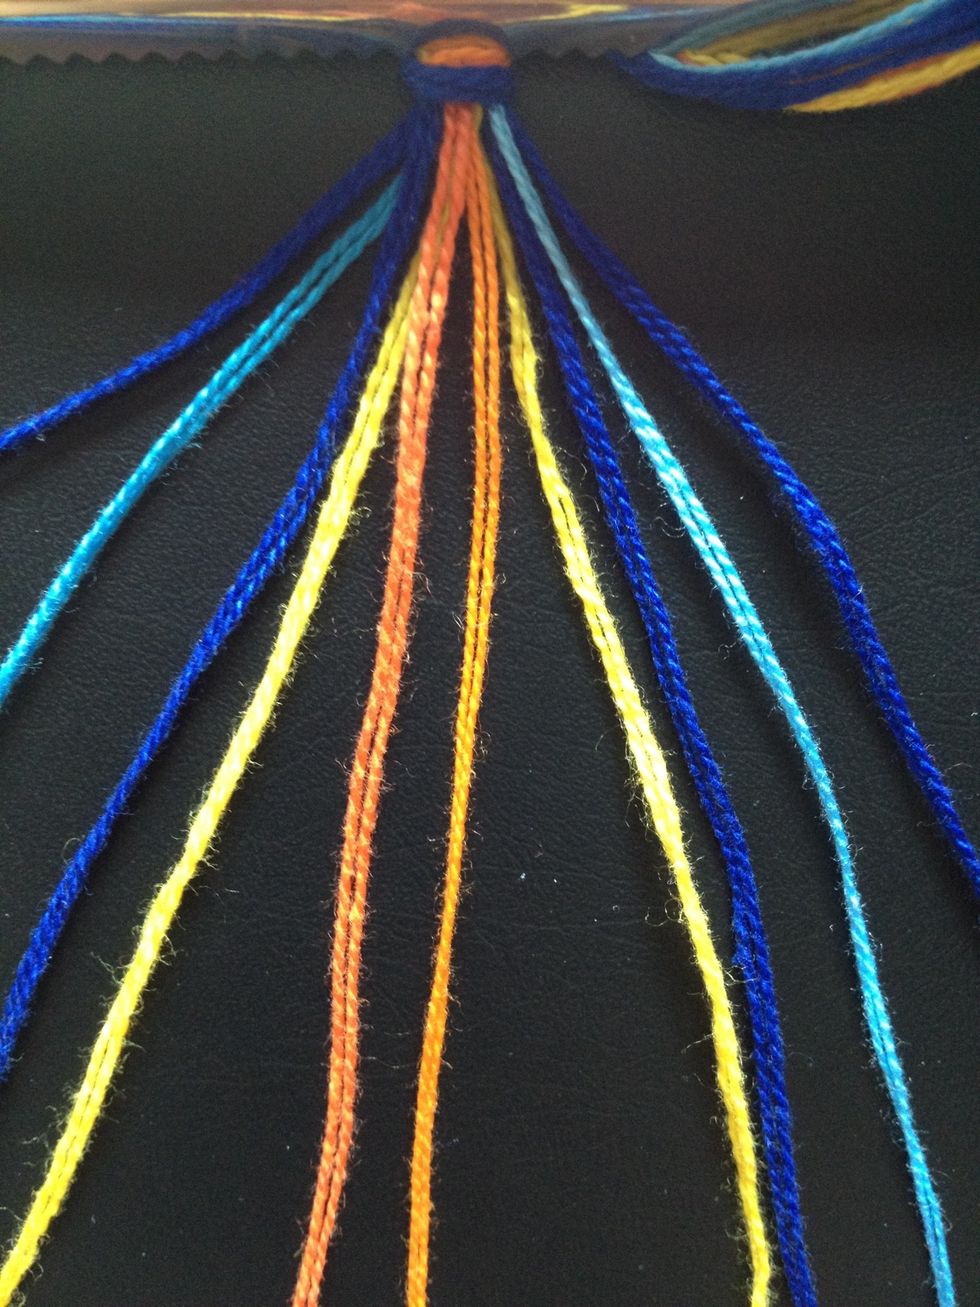
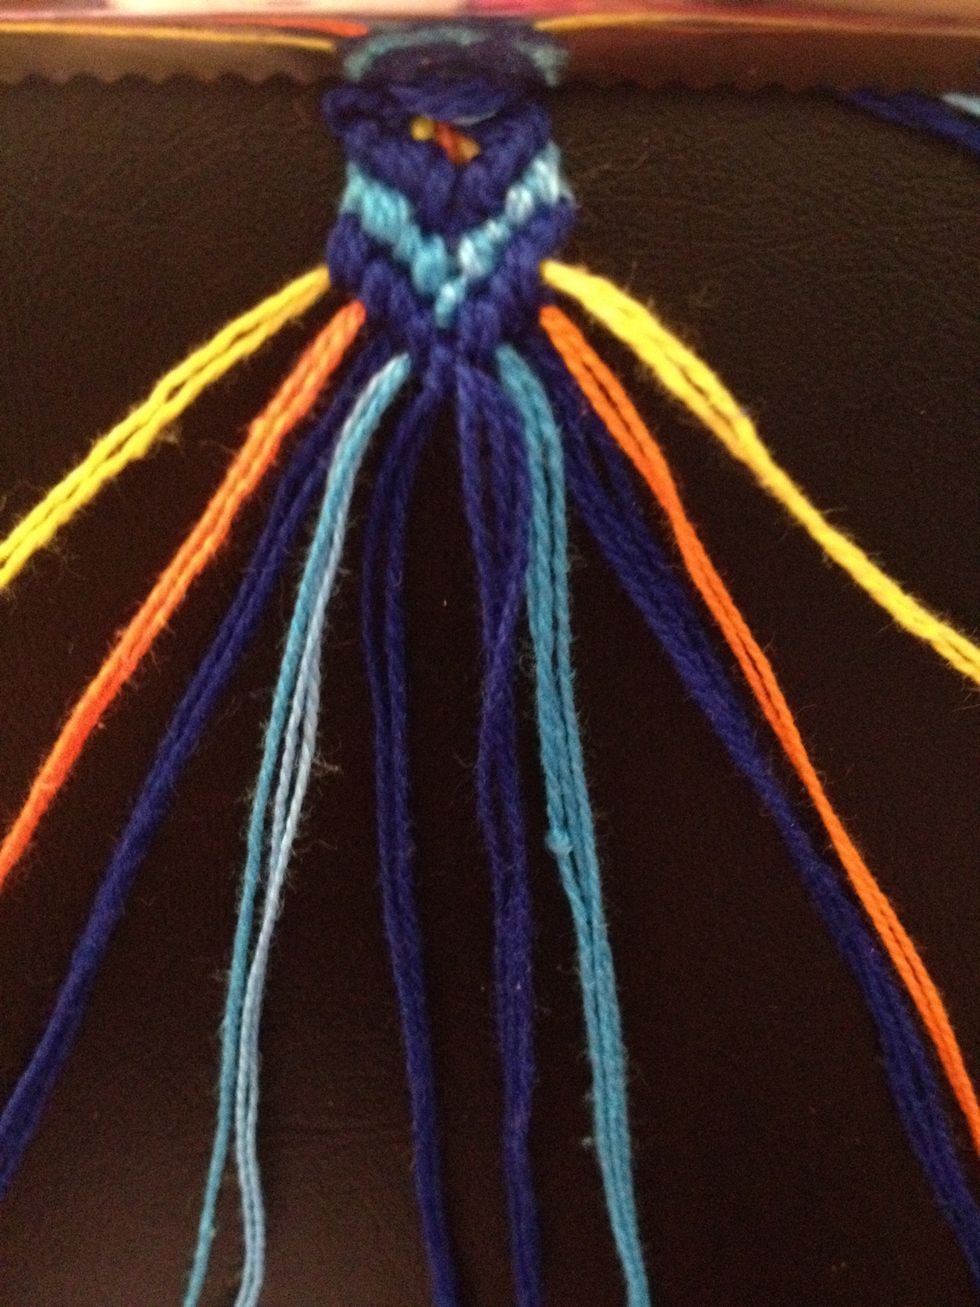
From left to right, arrange the threads as shown, and number the threads as: G1 A2 G3 Y4 O5 O6 Y7 G8 A9 G10

First step. Make forward and backward knots with G1 and G10, arranging the knots to form a good even V-shape.
G1➡A2. G1➡G3. G1➡Y4. G1➡O5. G1➡G10 A9 ⬅G10. G8⬅G10. Y7⬅G10. O6⬅G10
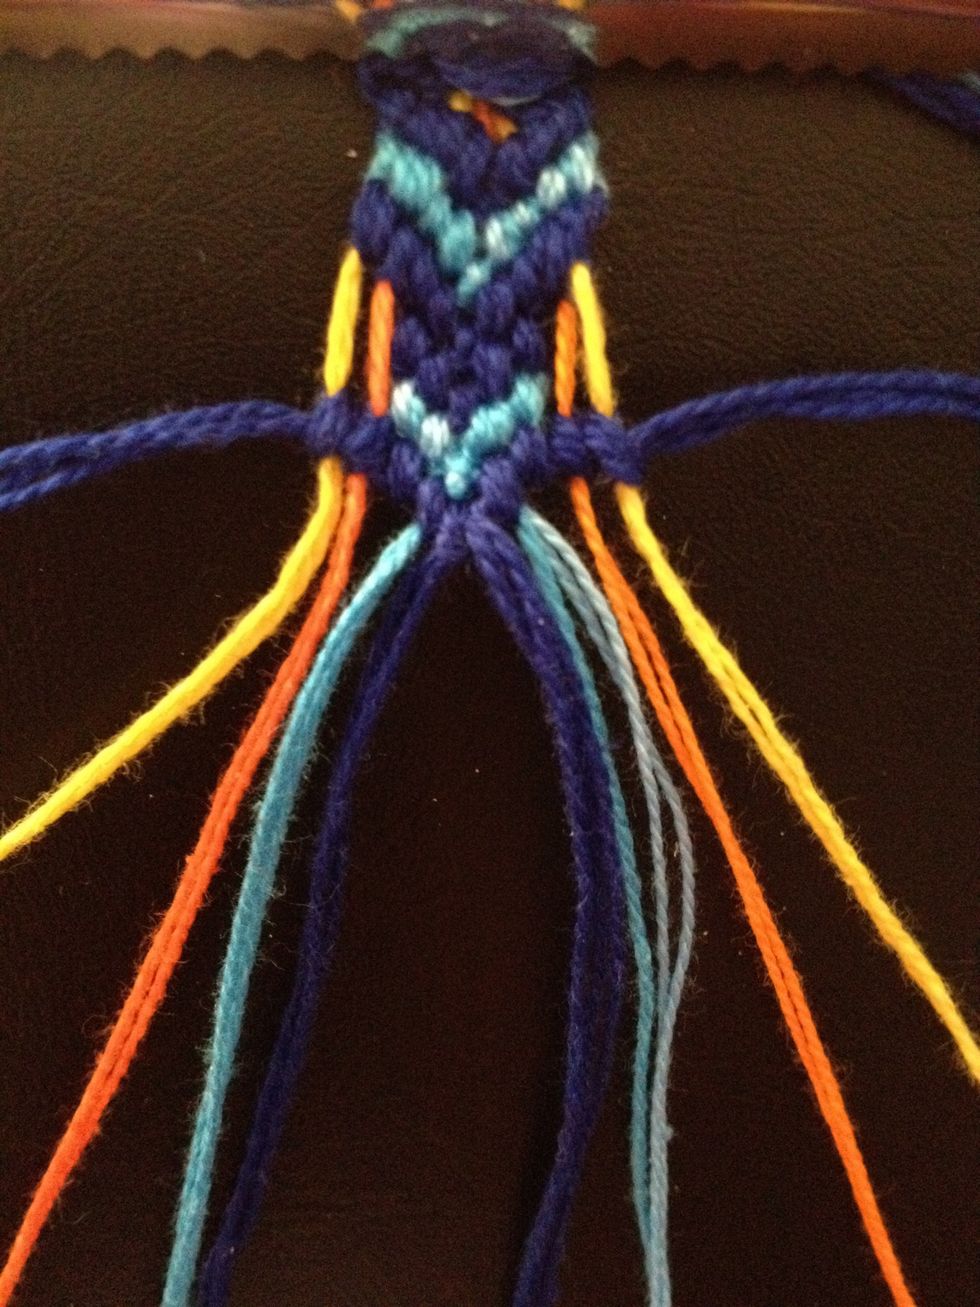
Step2. Make two more full rows of forward and backward knots using A2 and A9 and G3 and G8, positioning the knots tight up against the preceding row.
A2➡G3. A2➡Y4. A2 ➡O5. A2➡G10 A2➡A9 G8⬅A9. Y7⬅A9. O6⬅A9. G1⬅A9 G3➡Y4. G3➡O5. G3➡G10. G3➡A9 G3➡G8. Y7⬅G8. O6 ⬅G8. G1⬅G8. A2⬅G8.

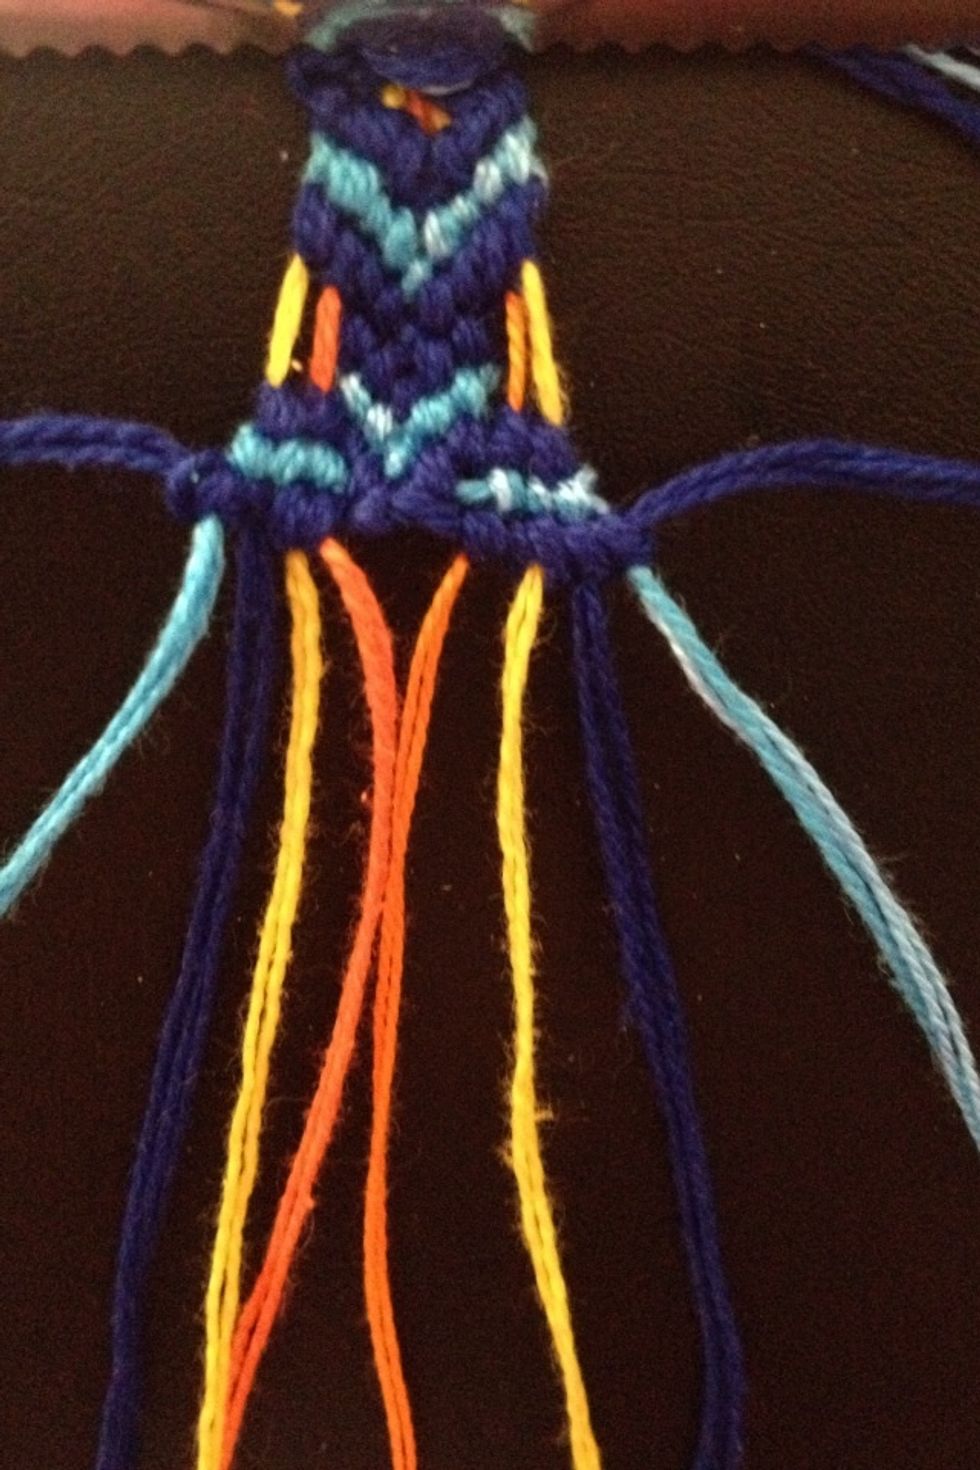
Step3. G10➡A9. G10➡G8. G10➡G1. A2⬅G1. G3⬅G1. Ignore the other two threads on each side and make forward and backward knots with G10 and G1.

Step4. A9➡G8. A9➡G1. A9➡A2. G3 ⬅A2 G10⬅A2. . G8➡G1. G8➡A2. G8➡G3. G10⬅G3. A9⬅G3. . Now make two more short rows with A9 and A2 and then G8 and G3.
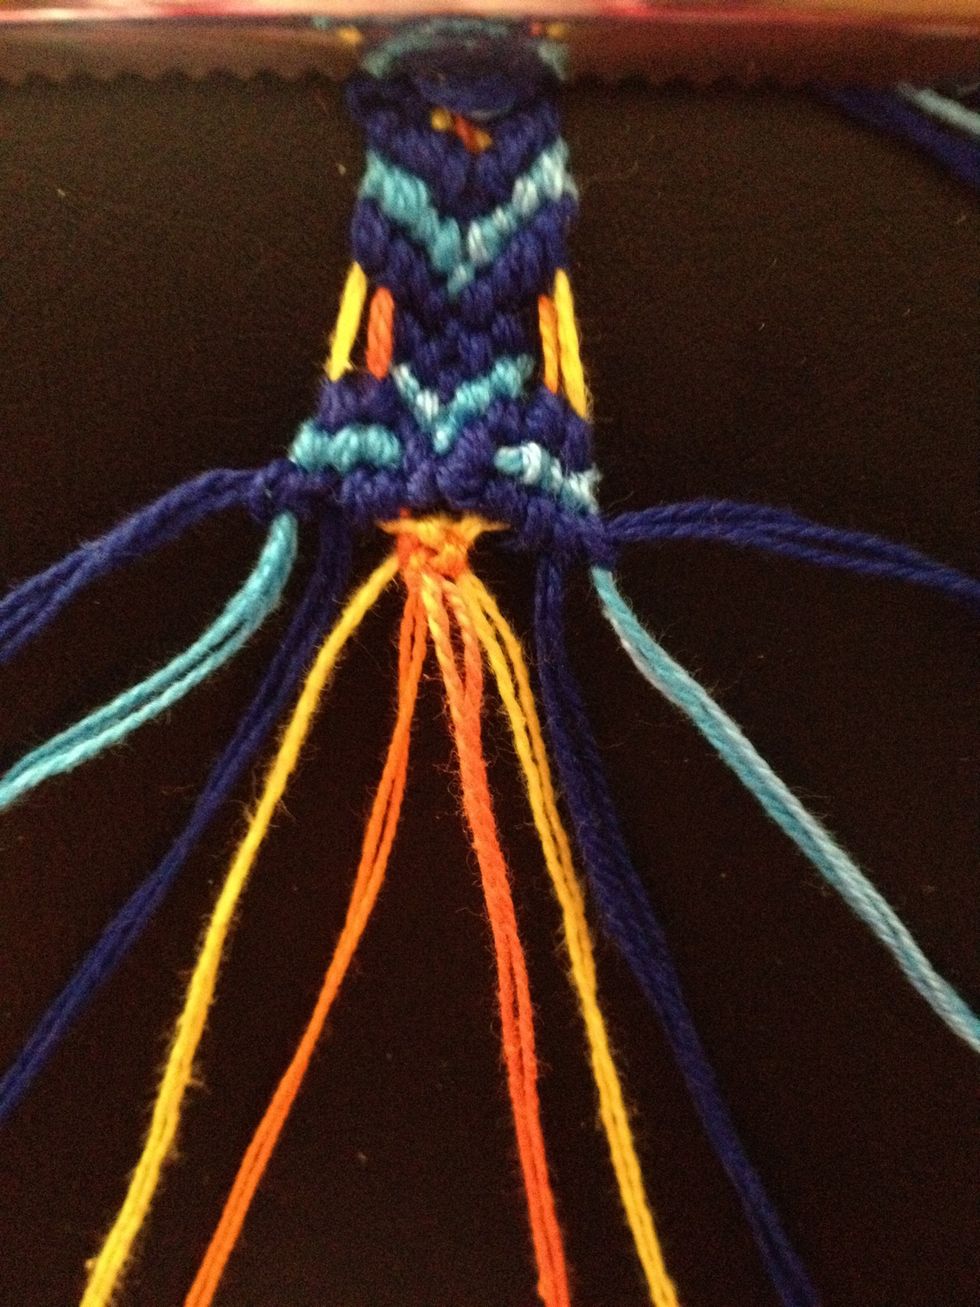
Step5. O5 ⬅G1. Y4⬅G1. G10➡O6. G10➡Y4. Make two backward knots with G1 around O5 and Y4 and two forward knots with G10 around O6 and Y7, positioning the knots to start the inverted v-shape.
Step6. Continue to build up the inverted v-shape with three and then four knots each of A2 and A9 and G8 and G3 respectively.
O5⬅A2. Y4⬅A2. G1⬅A2. A9➡O6. A9➡Y4. A9➡G10. O5⬅G8. Y4⬅G8. G1⬅G8. A2⬅G8. G3➡O6. G3➡Y7. G3➡G3. G3➡A9.
Last step.Y4➡O5. Y4➡Y7. O6⬅Y7.O5➡Y7. O5➡O6. Y4⬅O6. Make a small v-shape row with Y4 and Y7 and then a similar row with O5 and O6. Keep repeating from the first step until you reach the desired length.
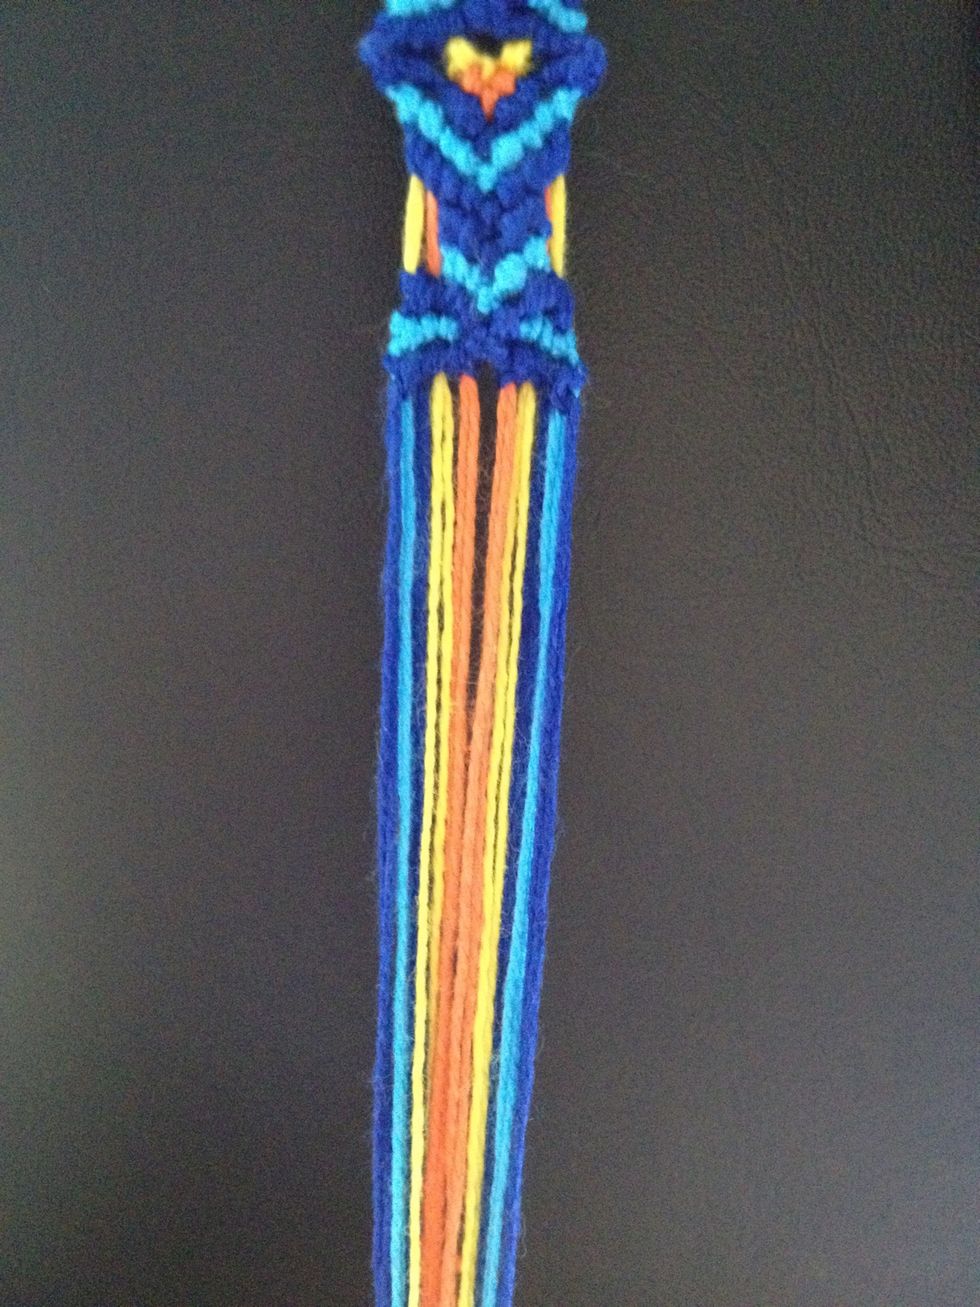
This is what it should look like before you braid the end.
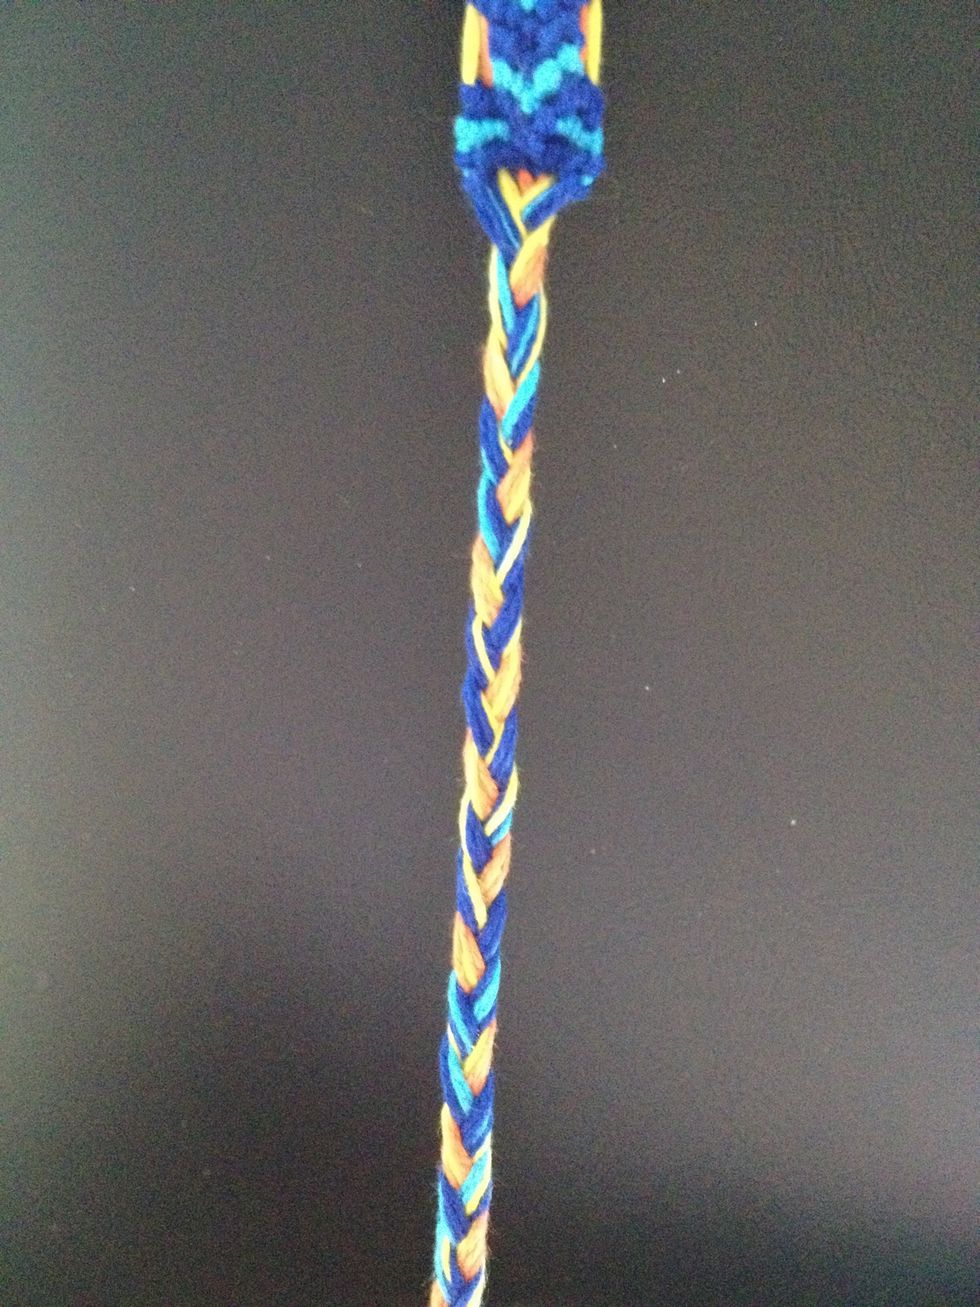
You braid the end like this.

Make a knot at the end then do the same on the other end.
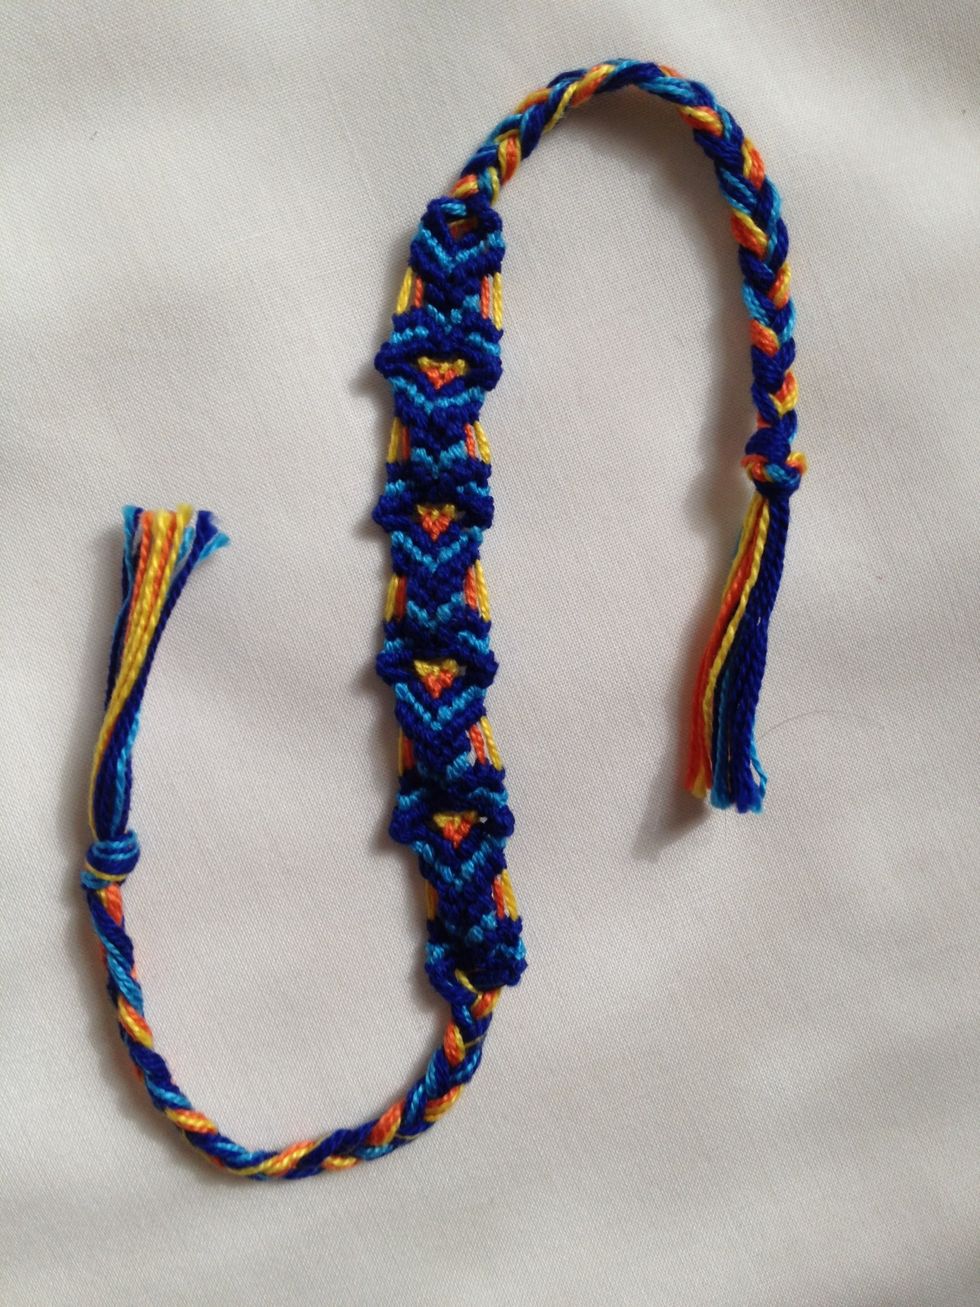
Then it will be like this.
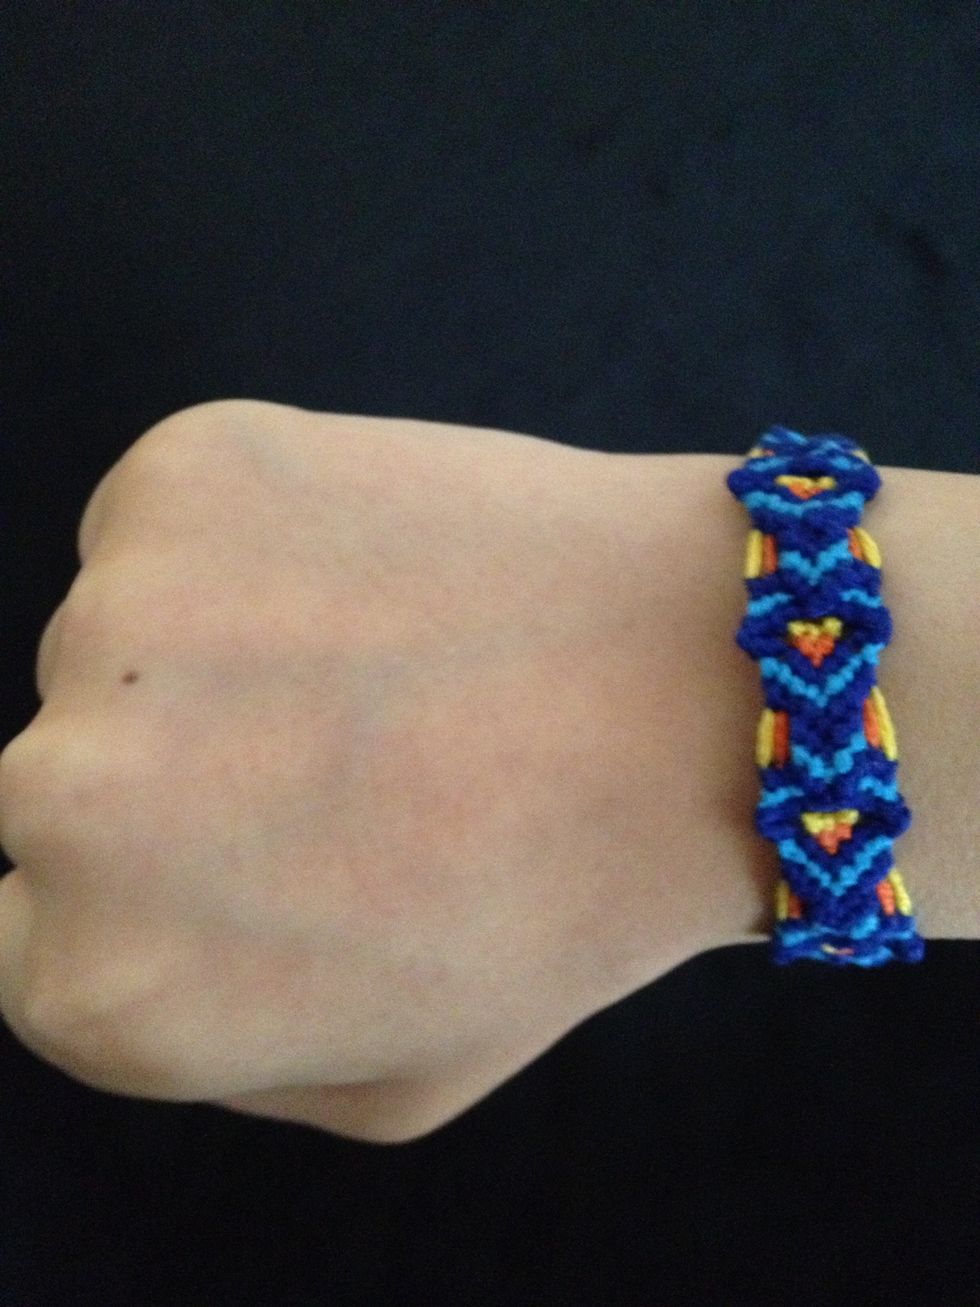
You can wear it.
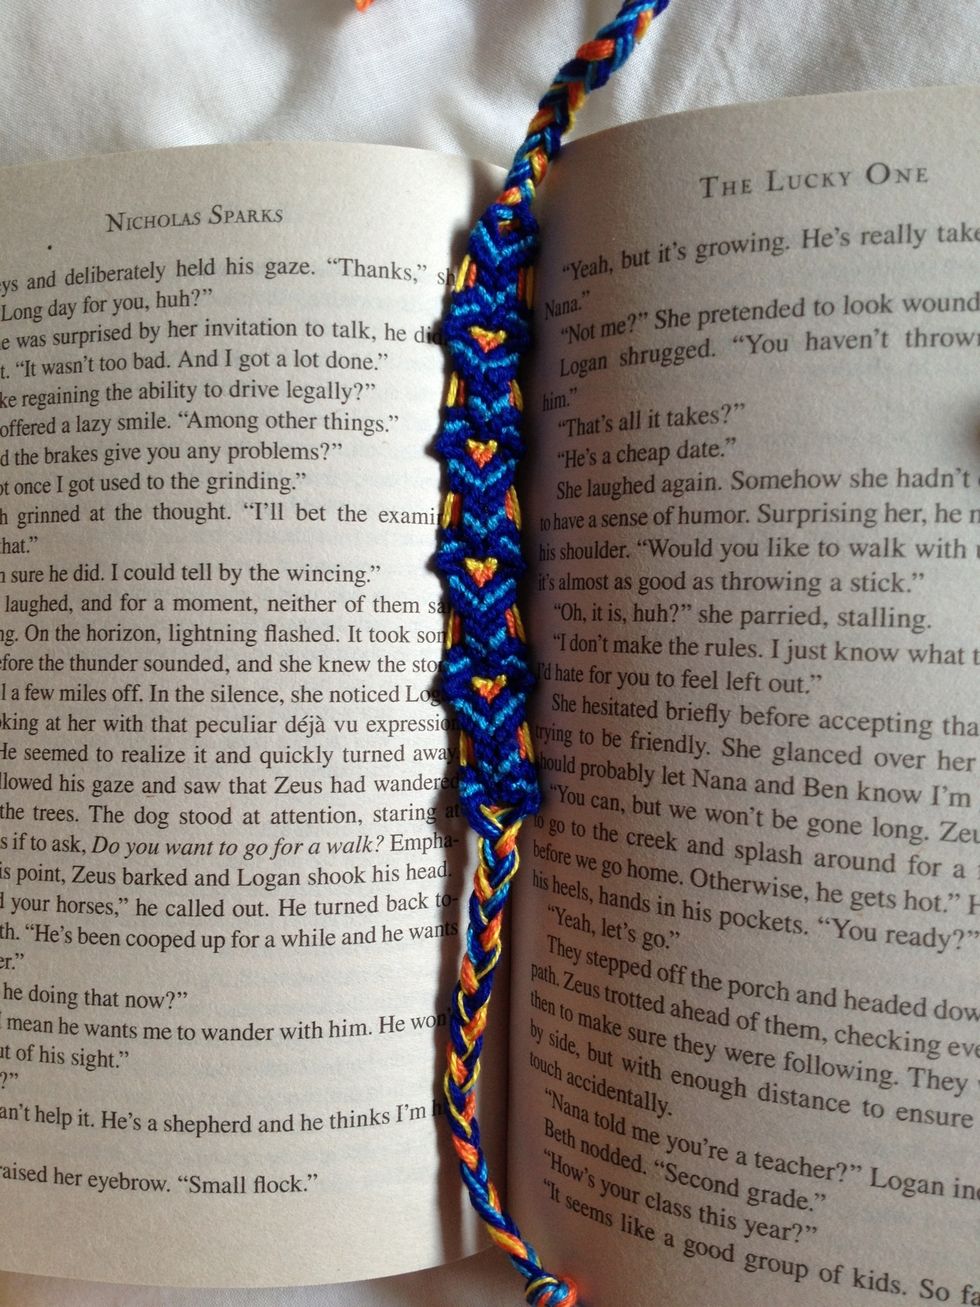
You can also use it as a book mark.