The Conversation (0)
Sign Up
The best part of creating your own butter is that you can infuse it with any flavors you like as well as using local creams.
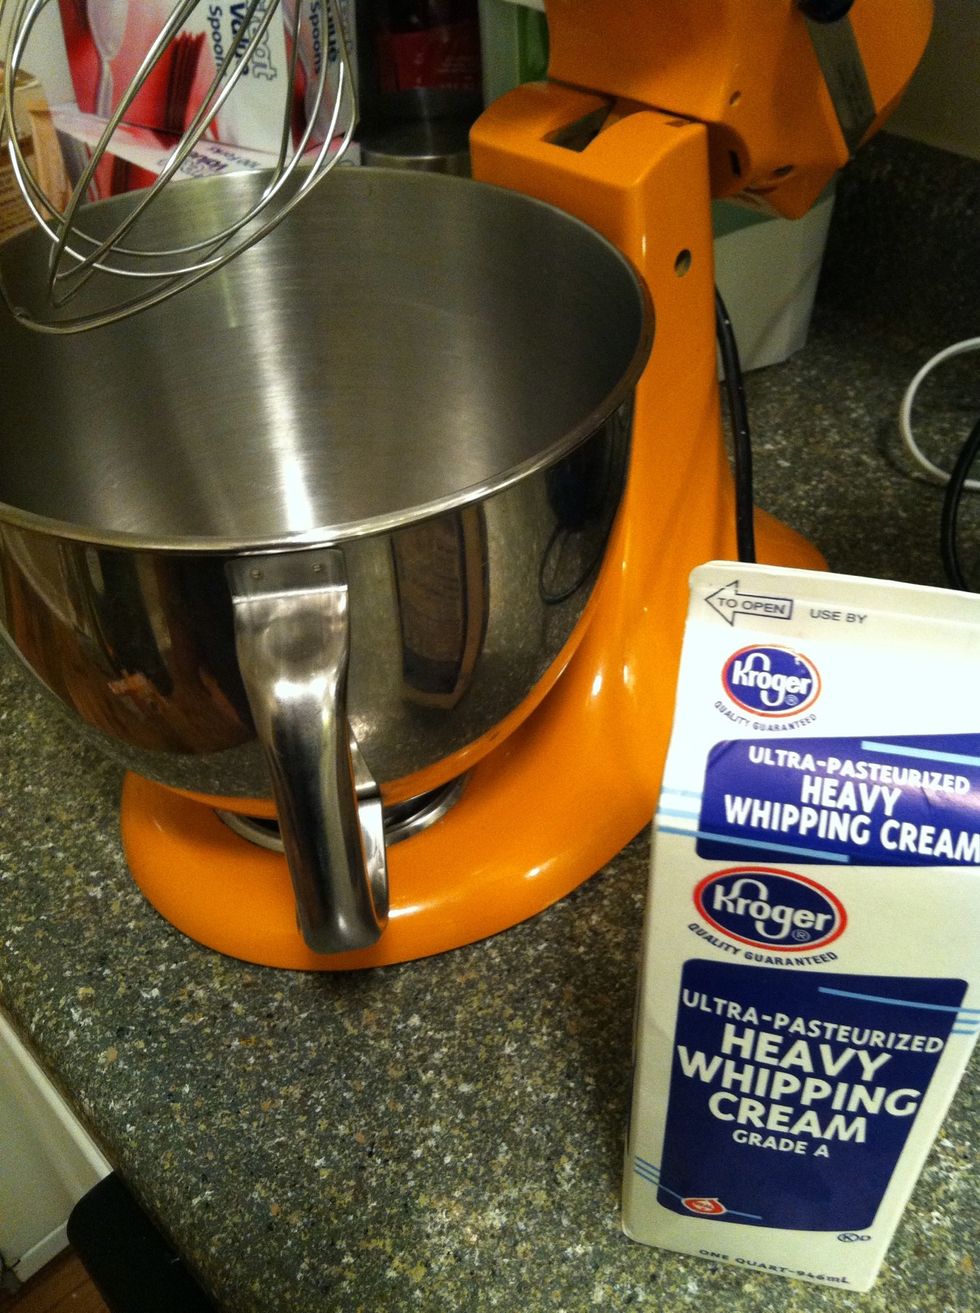
Using different kinds of cream will yield different flavors, colors and textures. Here I'm using a basic store brand. It will produce a smooth pale butter.
This is a great opportunity to use a high quality grass fed dairy cream. The results will be a brighter yellow with a stronger flavor.
Pour your cream into your mixer or blender. Whip on high (start on low and work up to high moving up a notch every 15 seconds or so) until it separates. 1c cream yields **about** 3/4c of butter.
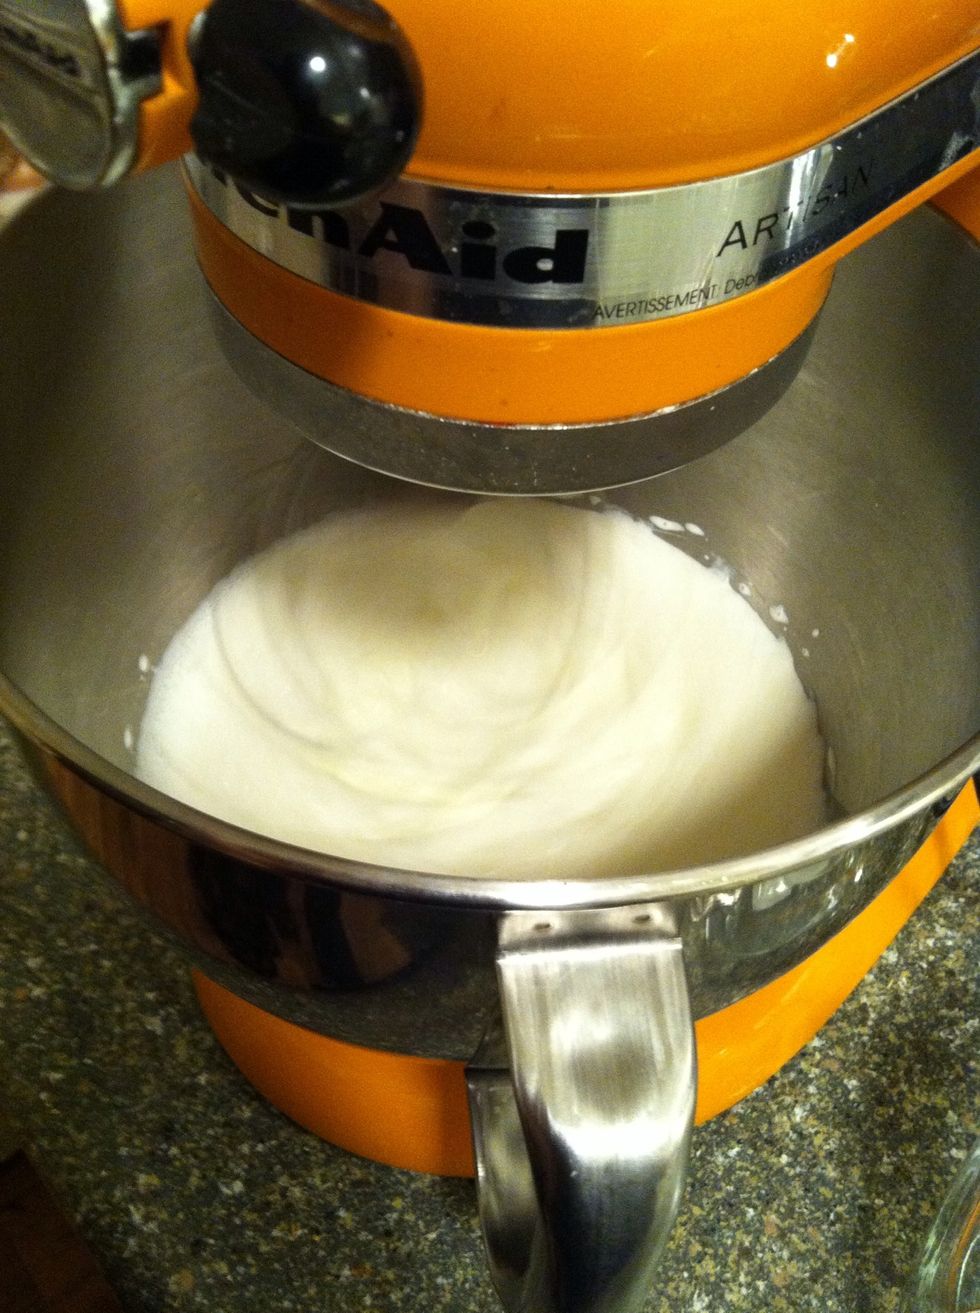
It starts to thicken after about a minute.
Soft peaks. If you're going to add any seasonings do it now. Honey, herbs or just salt are good additions.

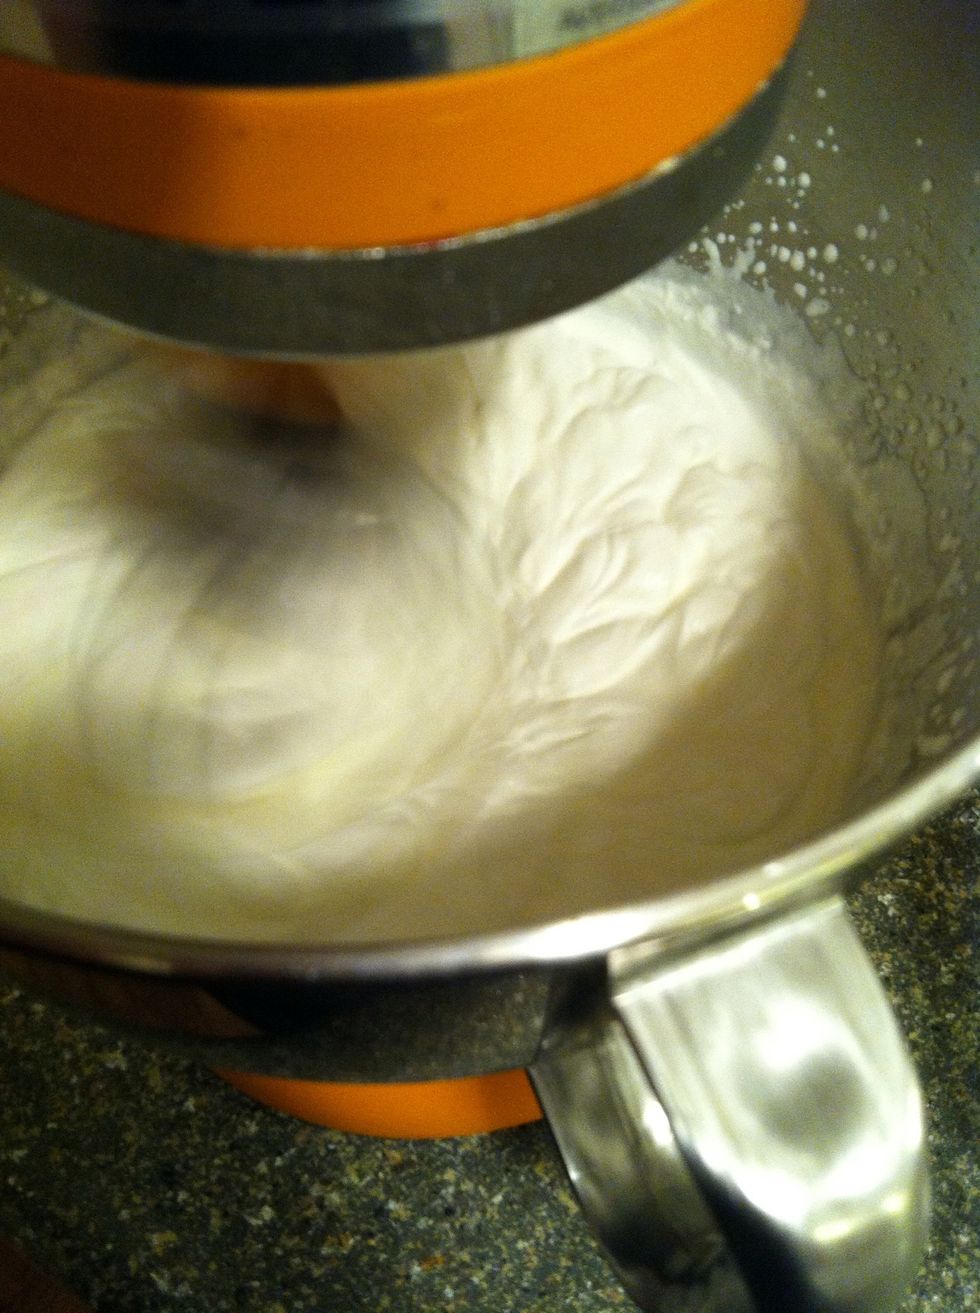
Stiff peaks. This is where you would stop for whipped cream, but we're gunna keep going! You can see the color beginning to change also.
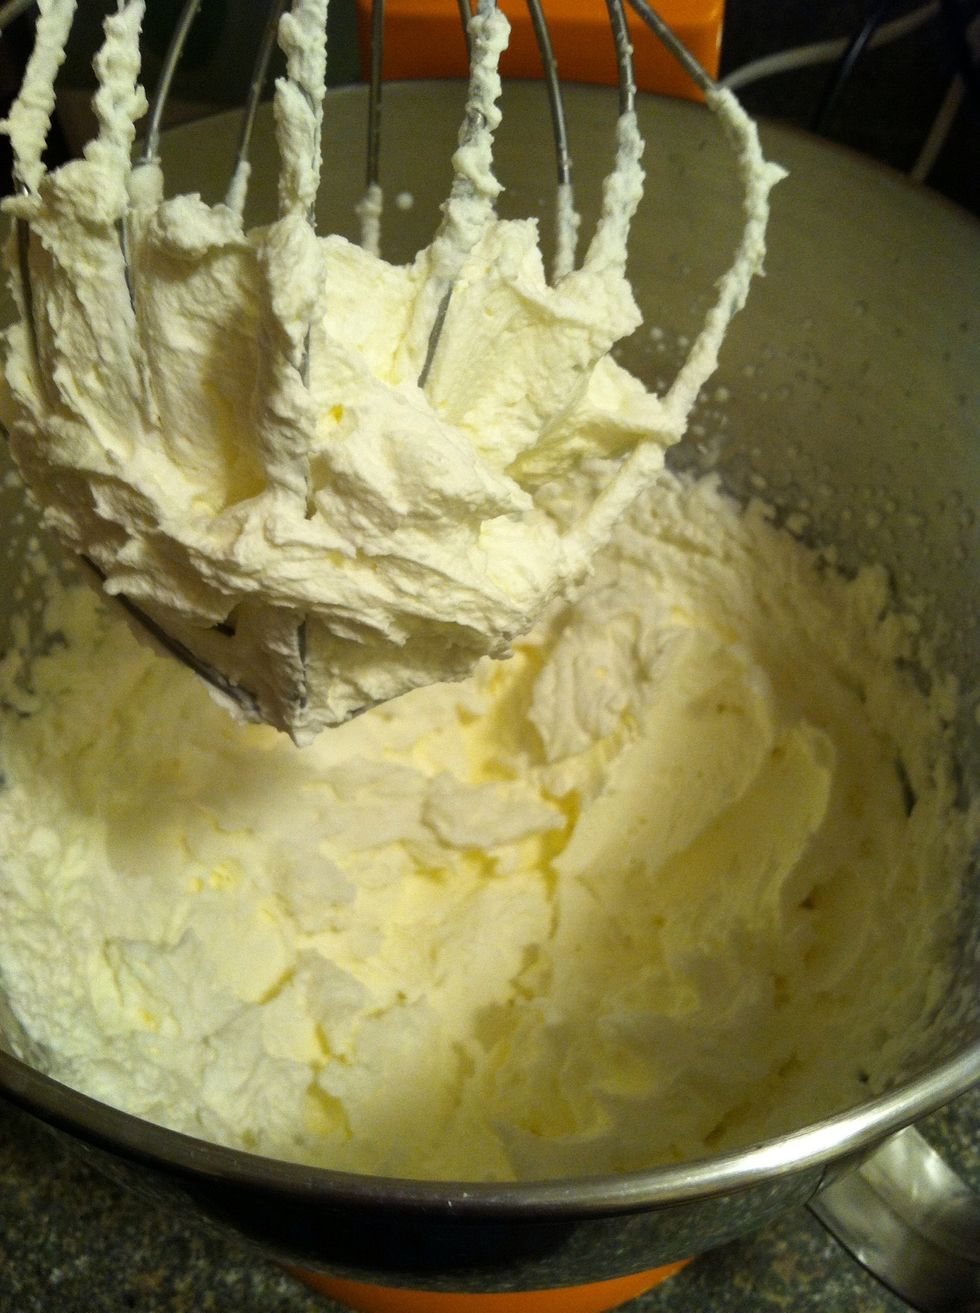
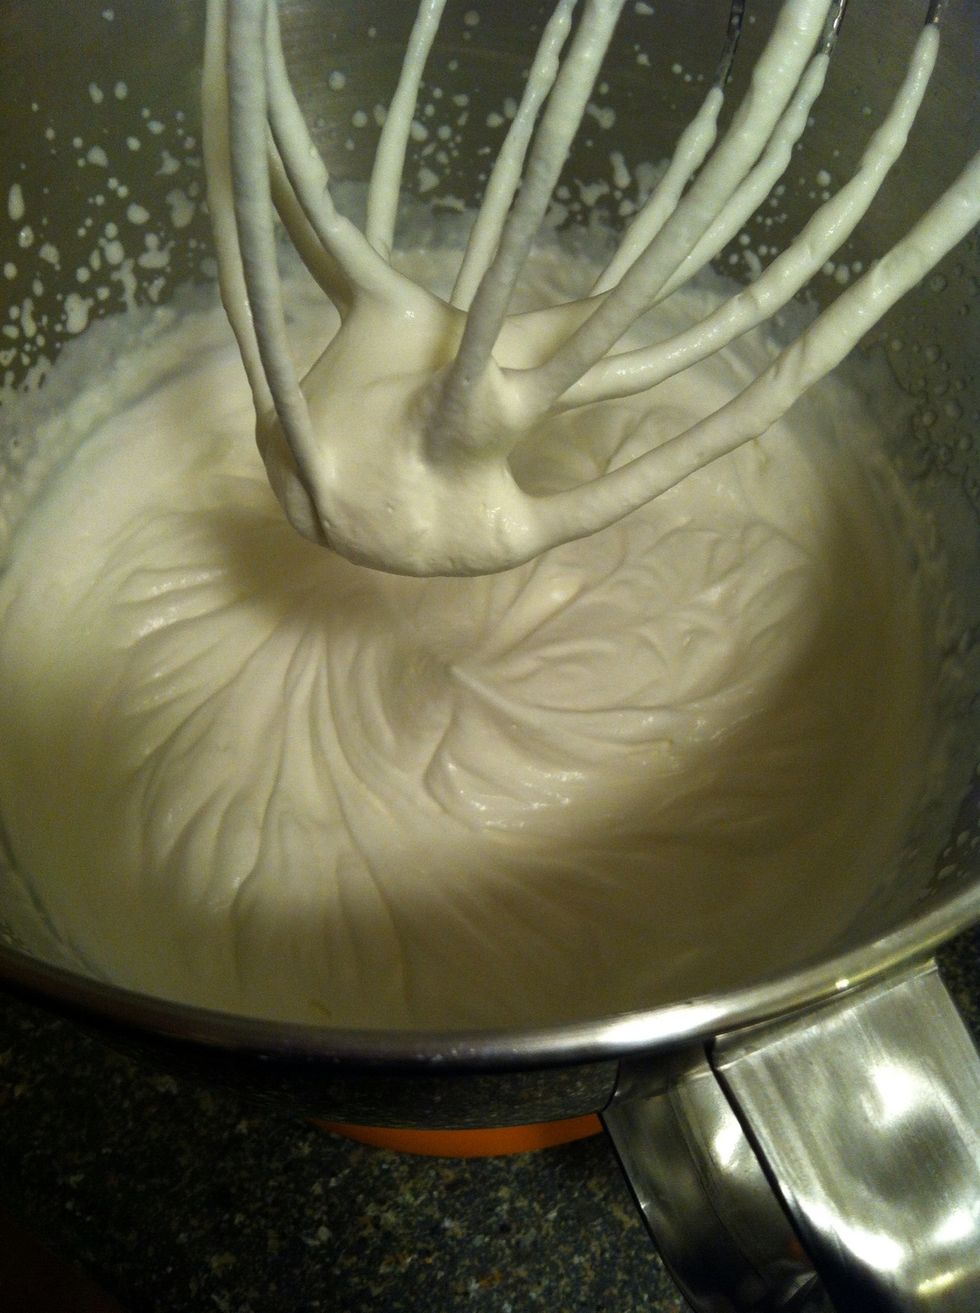
Getting closer... See how the color is deepening and it's very thick, a few more moments and it will separate. This is at about 4 minutes of whipping on high. This is also delicious on toast!
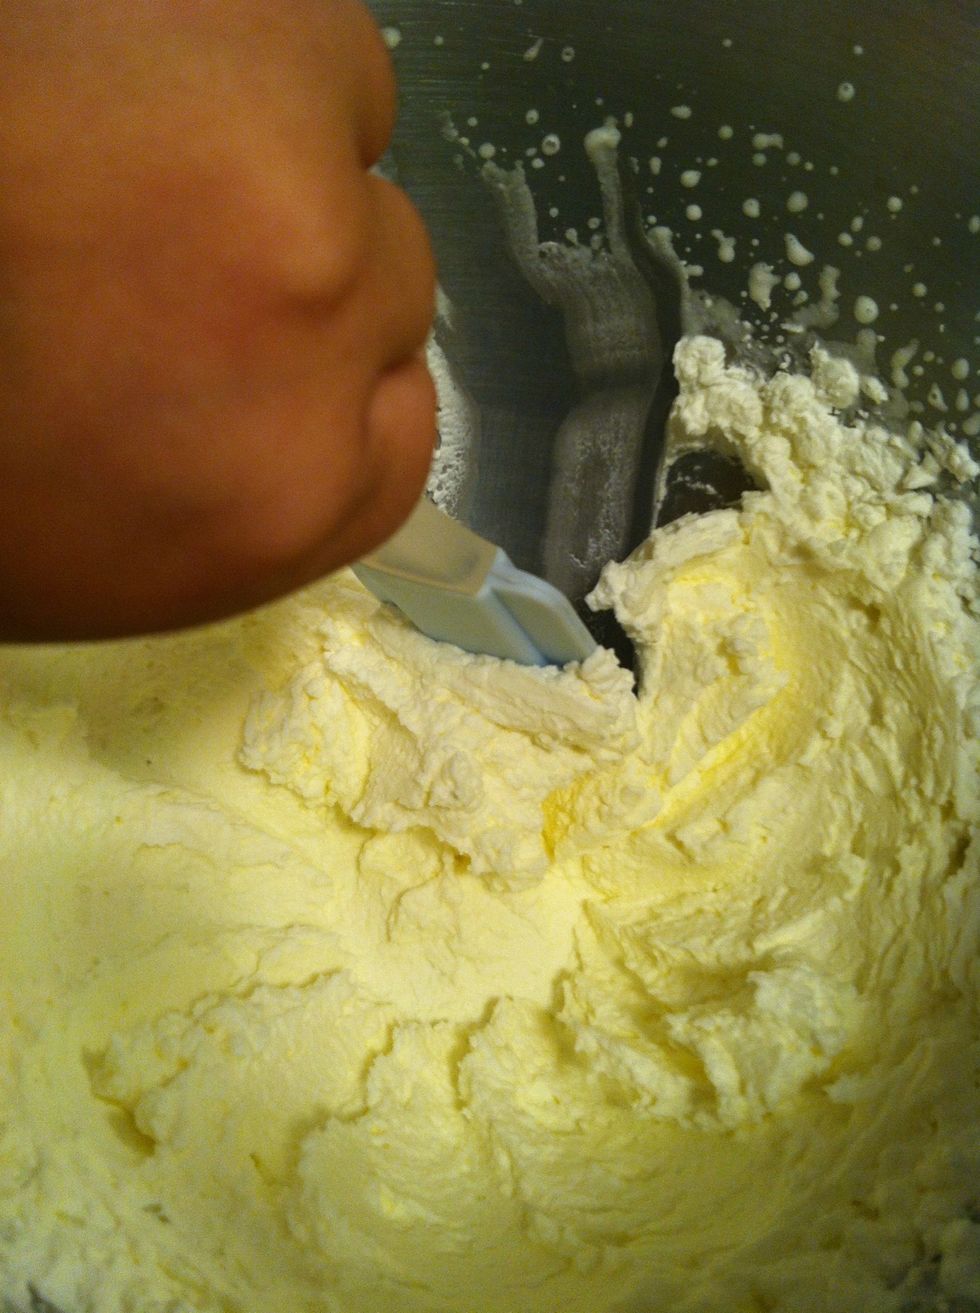
Scrap the edges, fold it over just enough to get it off the bottom.
Mix on high again, you can see it separating. If you don't have a splash guard then use caution, the liquid will fly out, you can turn the speed down a little.
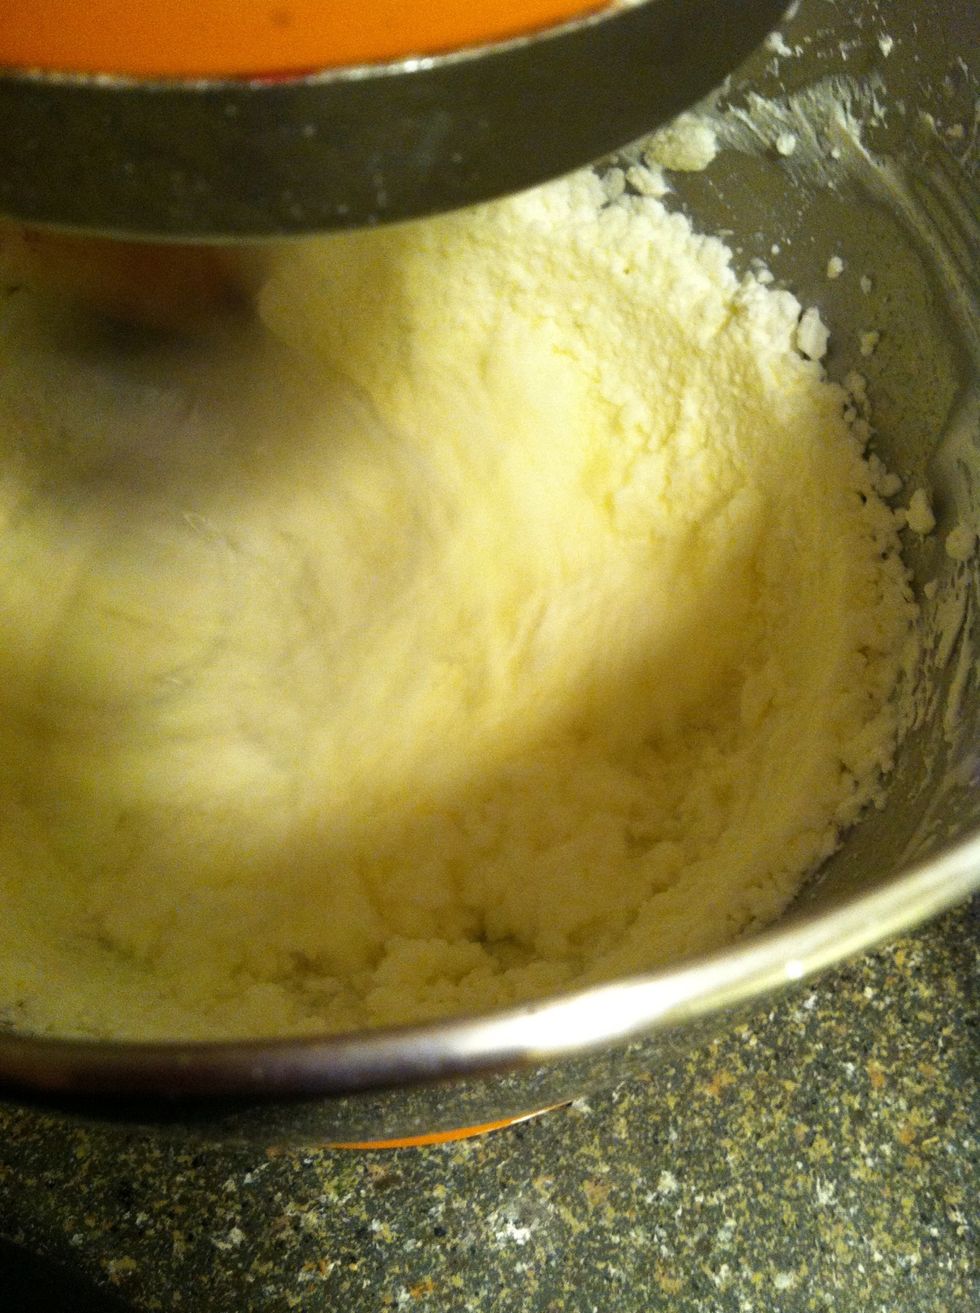
Grainy and yellow.
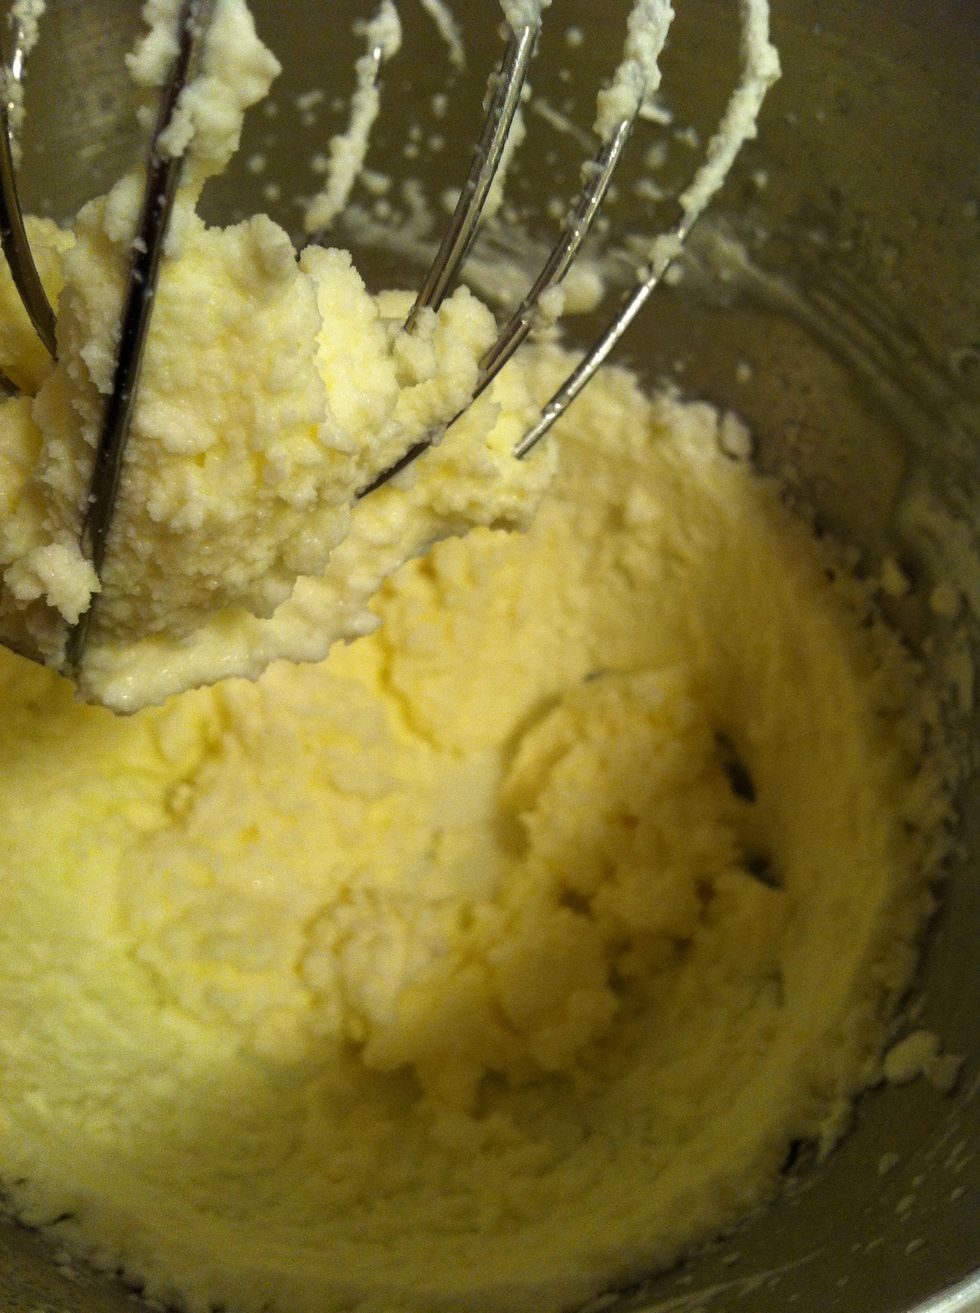
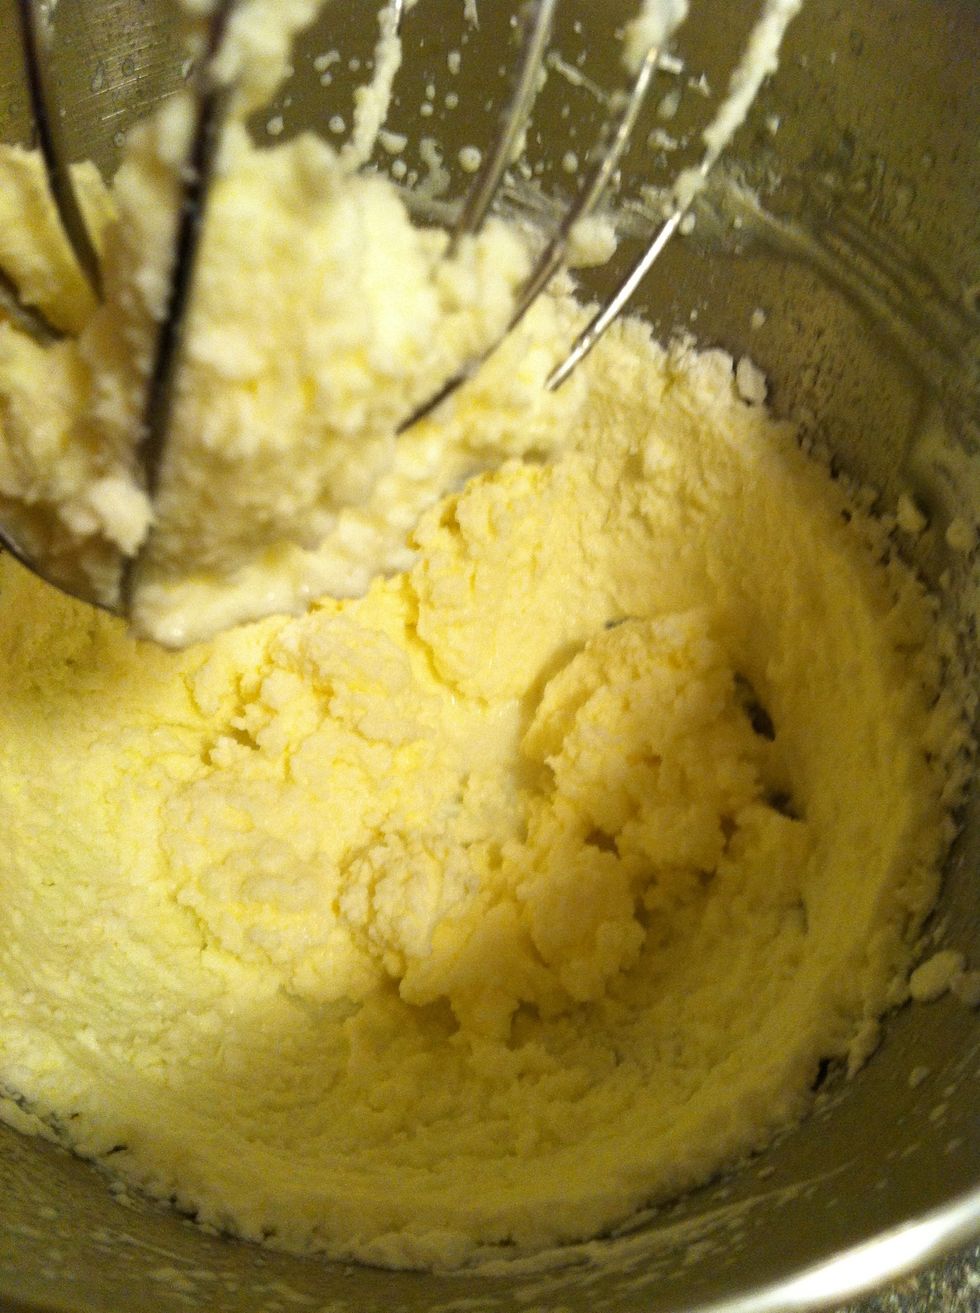
Close up, we're getting close! This is at just under 5 minutes.

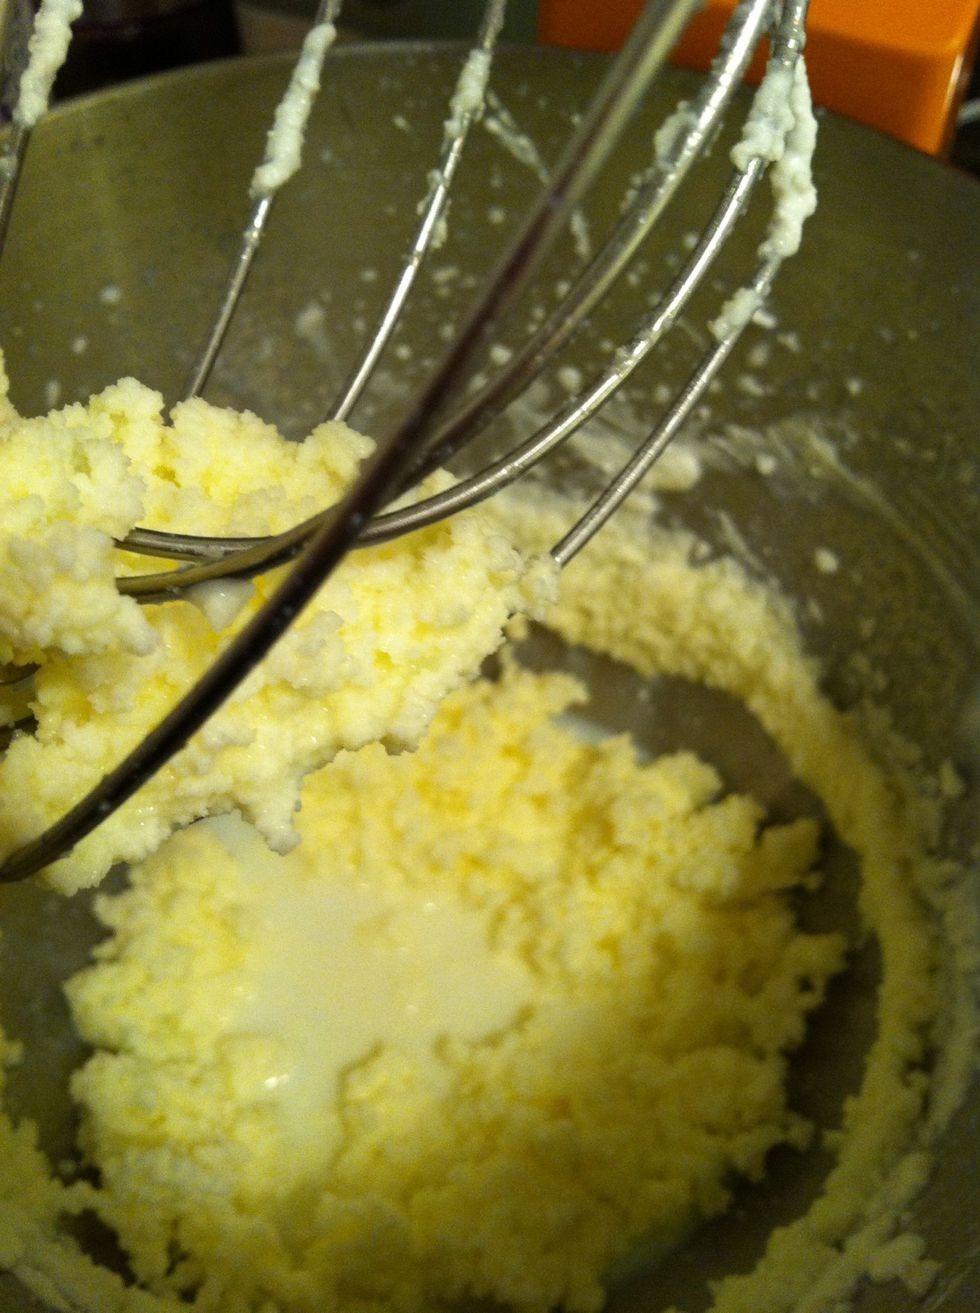
Perfect! The fat has separated from the liquid. This liquid is traditional buttermilk, but really it's the equivalent of 2% milk, I poured it through a cheese cloth and my little girl drank it.
To get buttermilk like you'd by in the store add a splash of vinegar to this liquid. And let it sit over night.
Close up
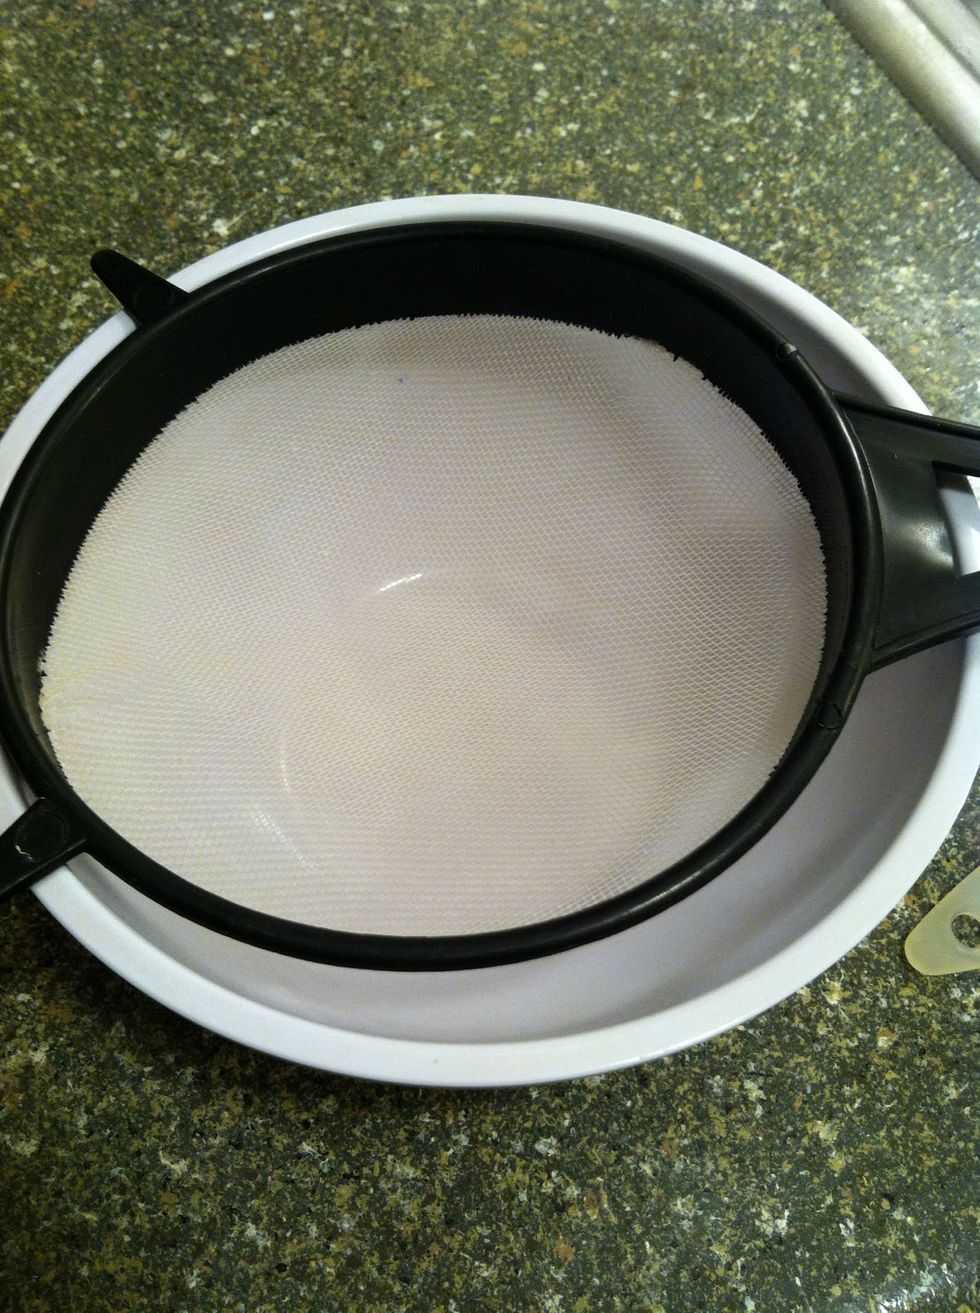
Get your strainer and a bowl.
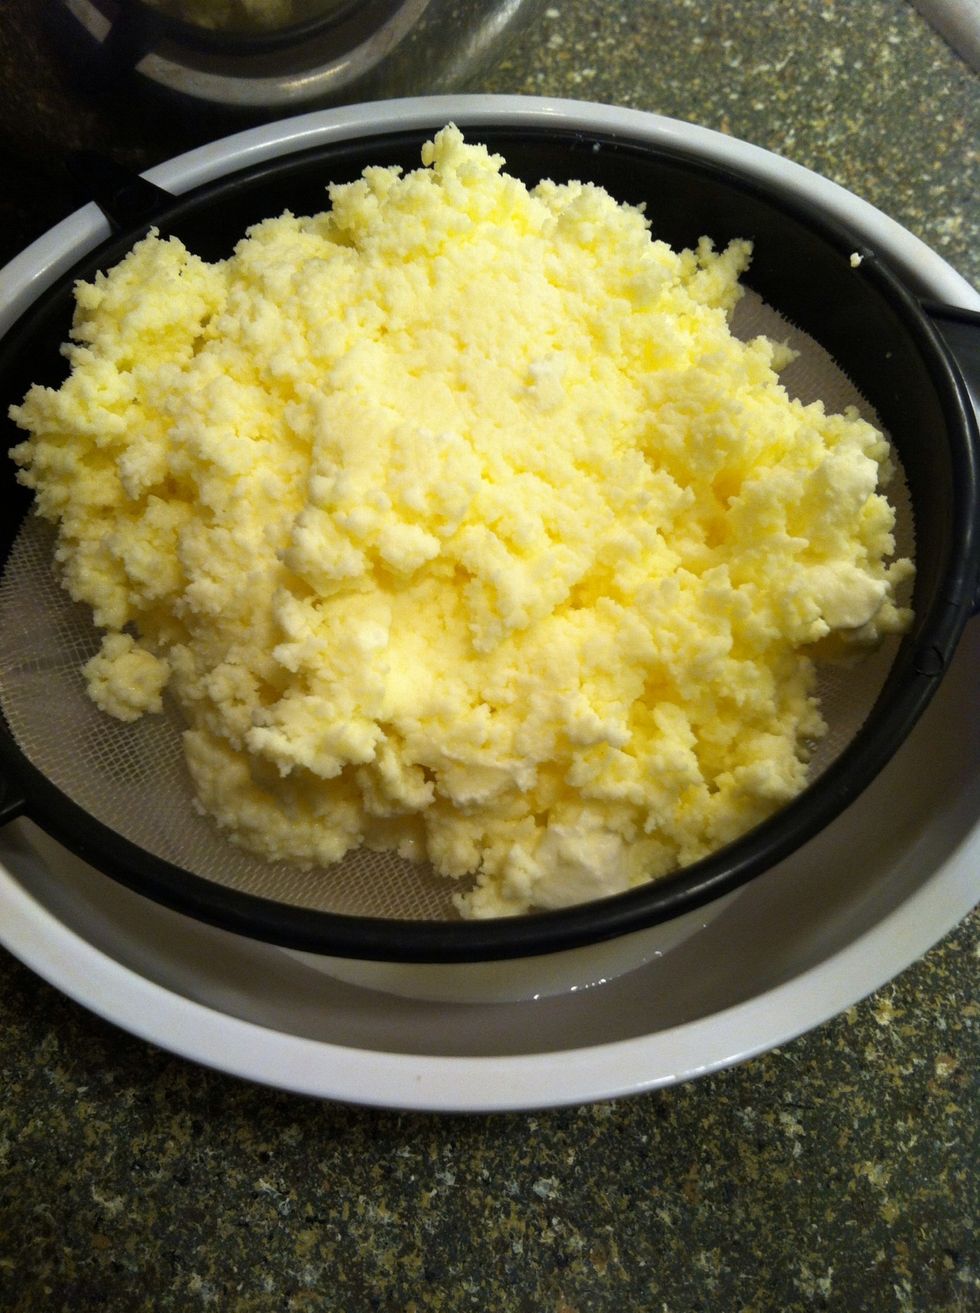
Dump it out.
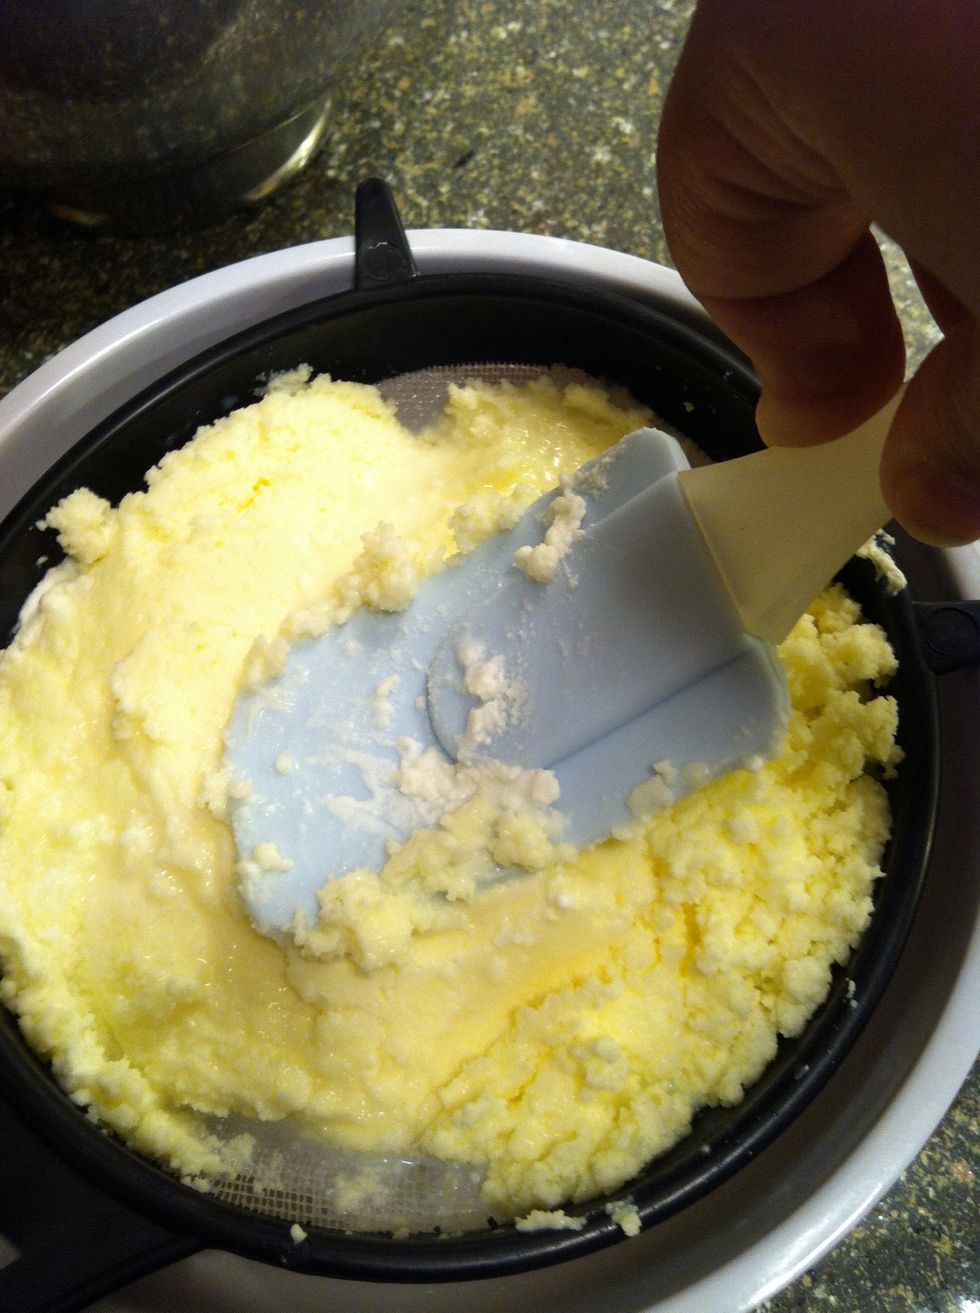
Push the liquid out. Get as much out as you can, liquid will cause your butter to turn rancid quickly. I don't recommend using your hands as it will melt the butter.
After you get as much out as you can, kneed the butter under cold running water until its a smooth consistency and the water runs clear. Sorry no picture lol
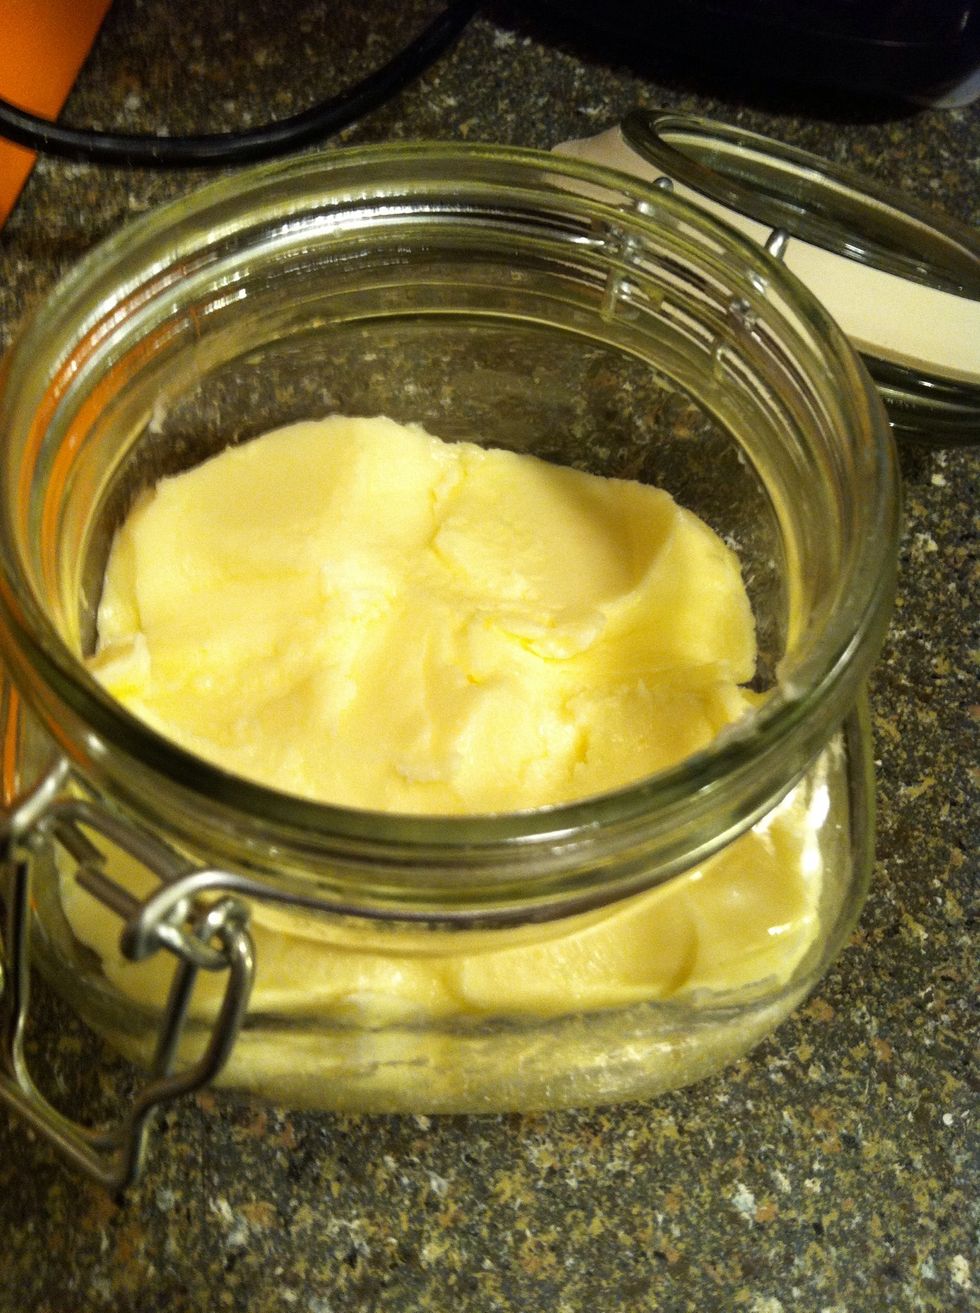
Put it directly in an airtight container or roll it into a log shape using plastic wrap and refrigerate for easy slicing.
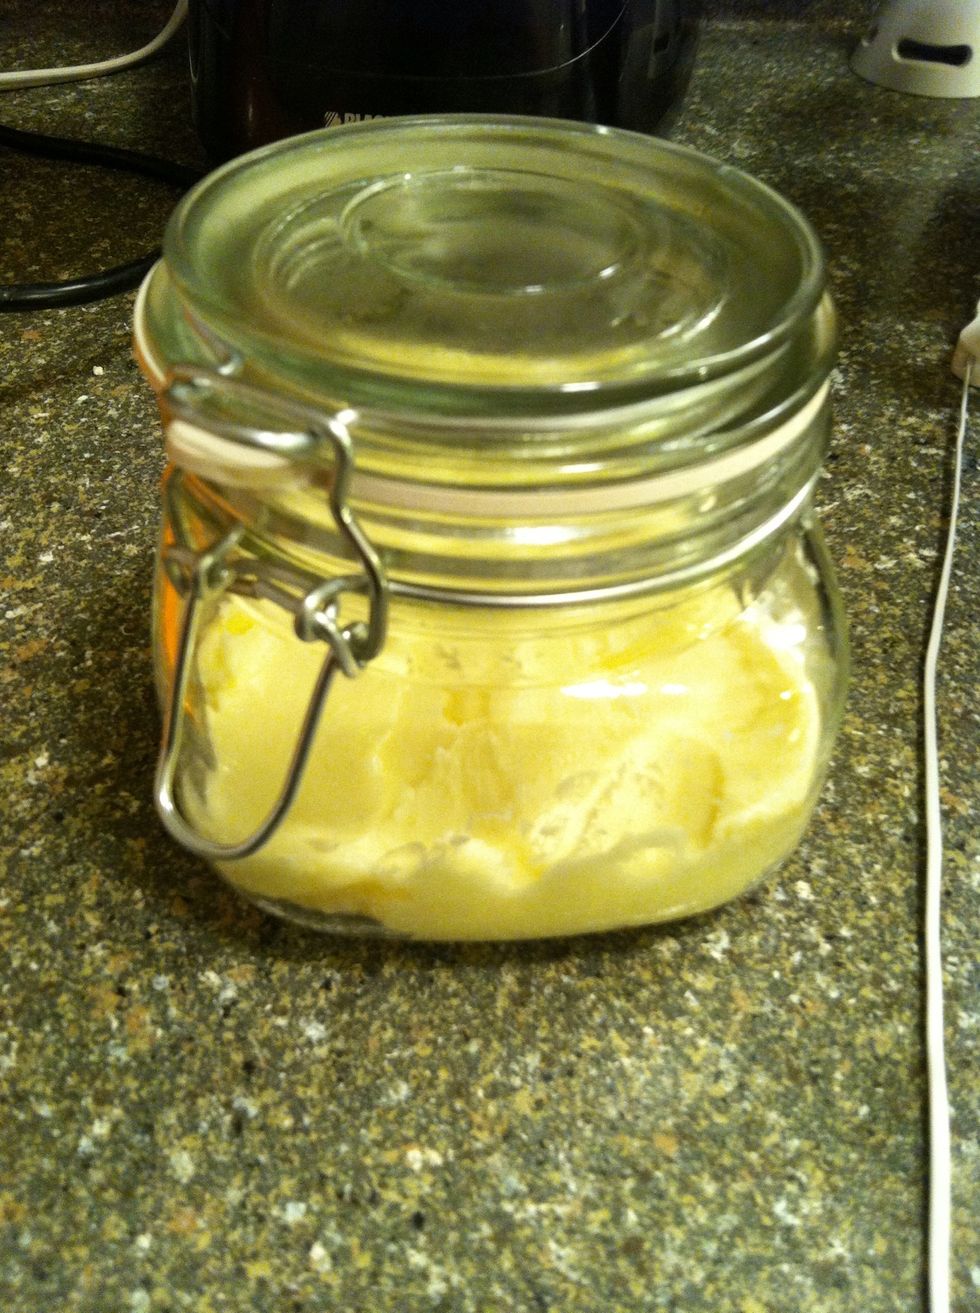
Butter does not require refrigeration but will last longer if kept cold.
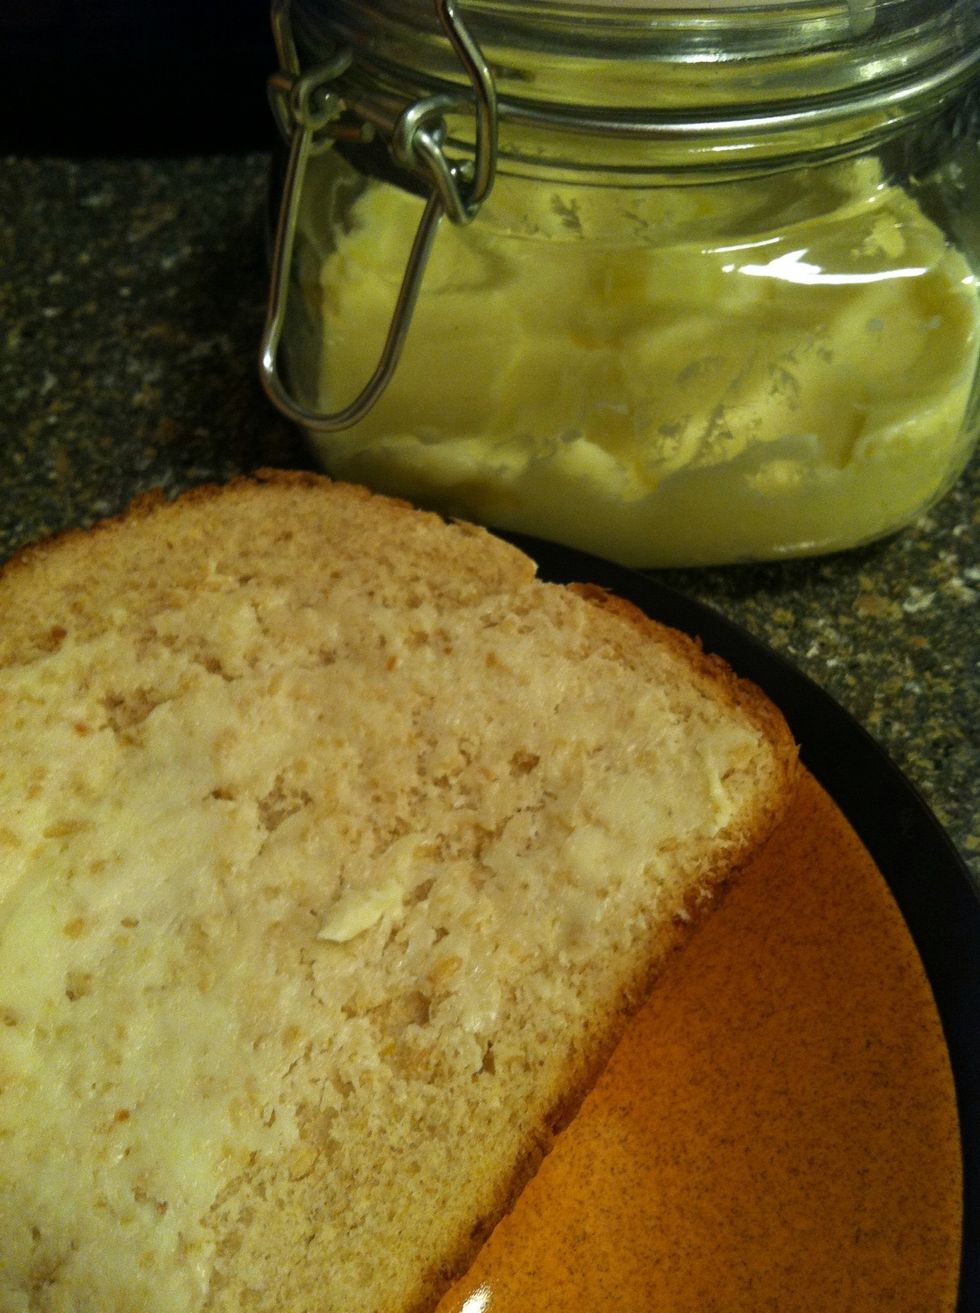
Yummy!! Enjoy!