The Conversation (0)
Sign Up
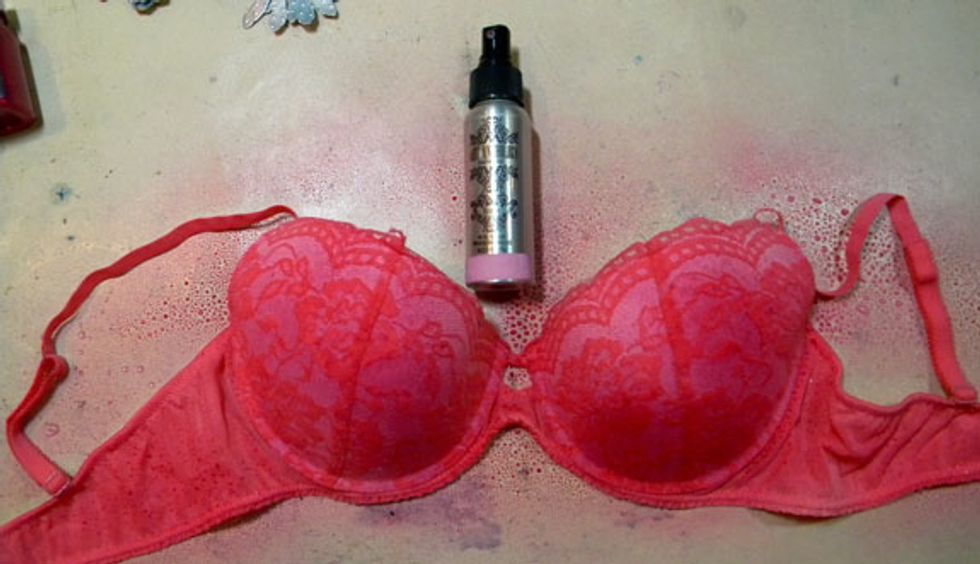
First, spray Patience Colorations Spray on the bra and set aside to dry.
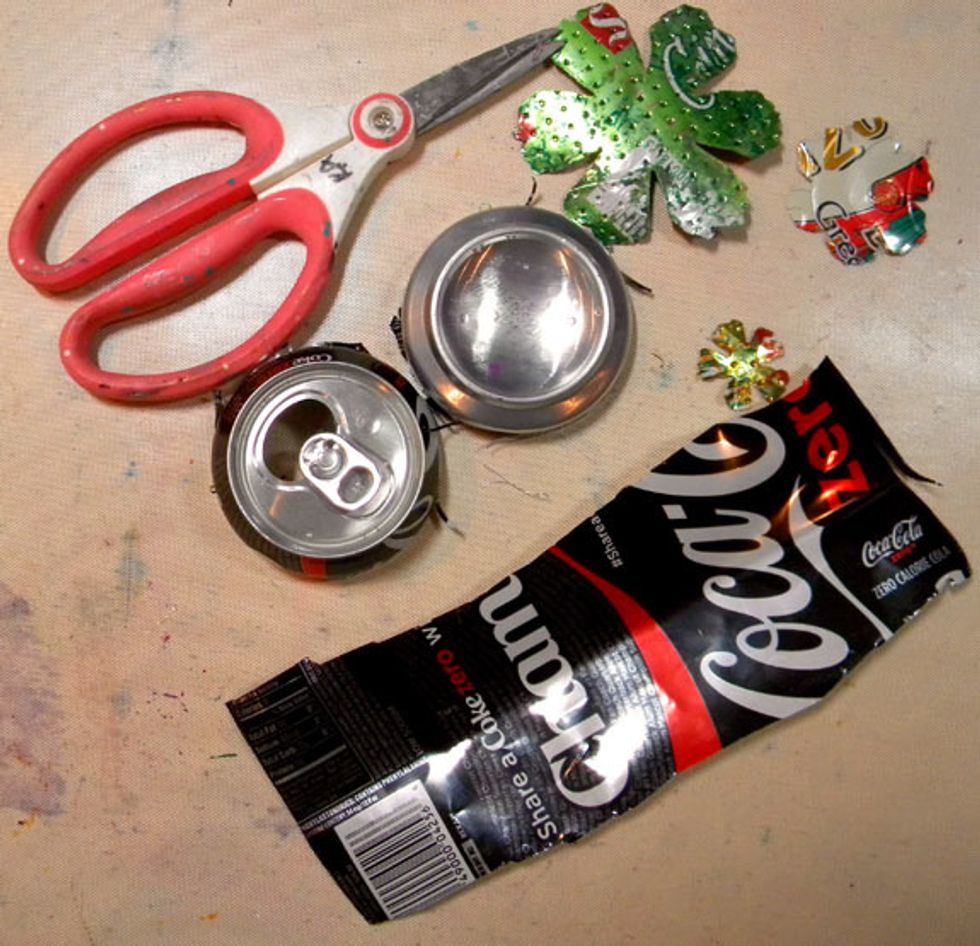
To prepare the can to die-cut, cut the top and bottom off of the can, then slice down the side so that it lays flat. Be careful because the edges are very sharp! I used the silver side of the can.

Die-cut the flowers and butterflies using the same shims as you would card stock. Then emboss with your favorite folder designs. The flowers will be layered so I wanted different designs.

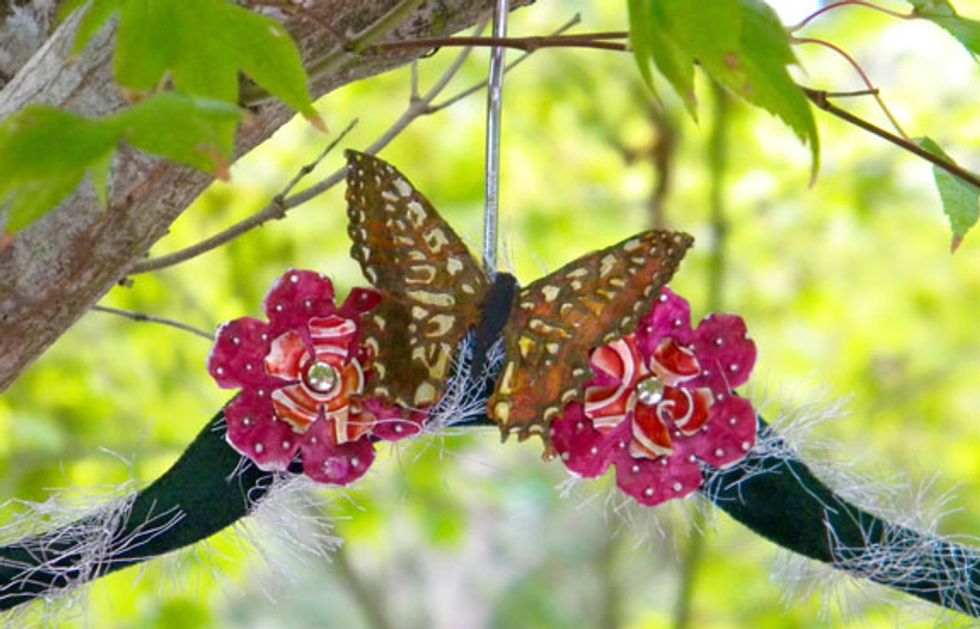
For the butterflies, I wanted a black background so I painted them with Tuxedo Velvet and let them dry. If using a heat gun, be careful not to burn yourself!
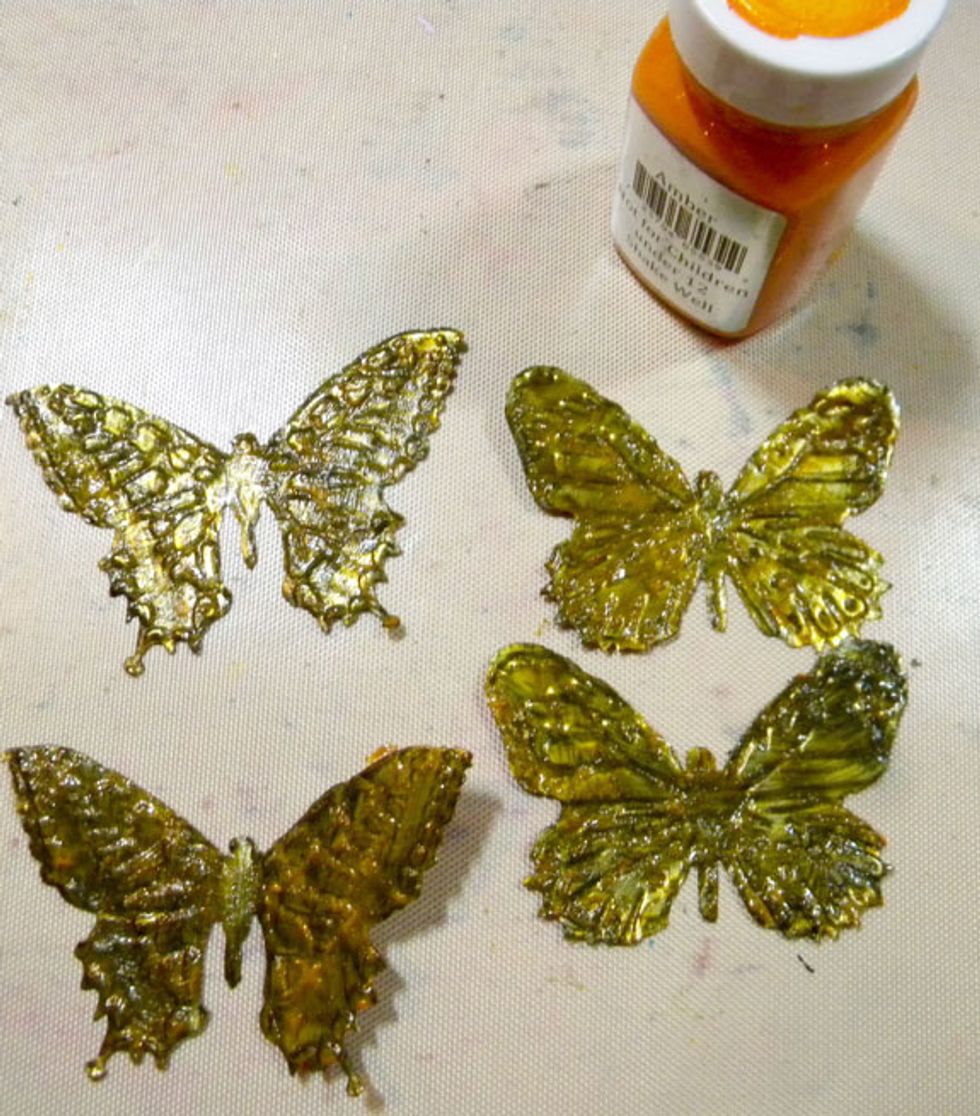
Paint with Amber Gemstones and let dry. Note: once the die-cuts are cut, the edges are not sharp, so they are easy to handle.
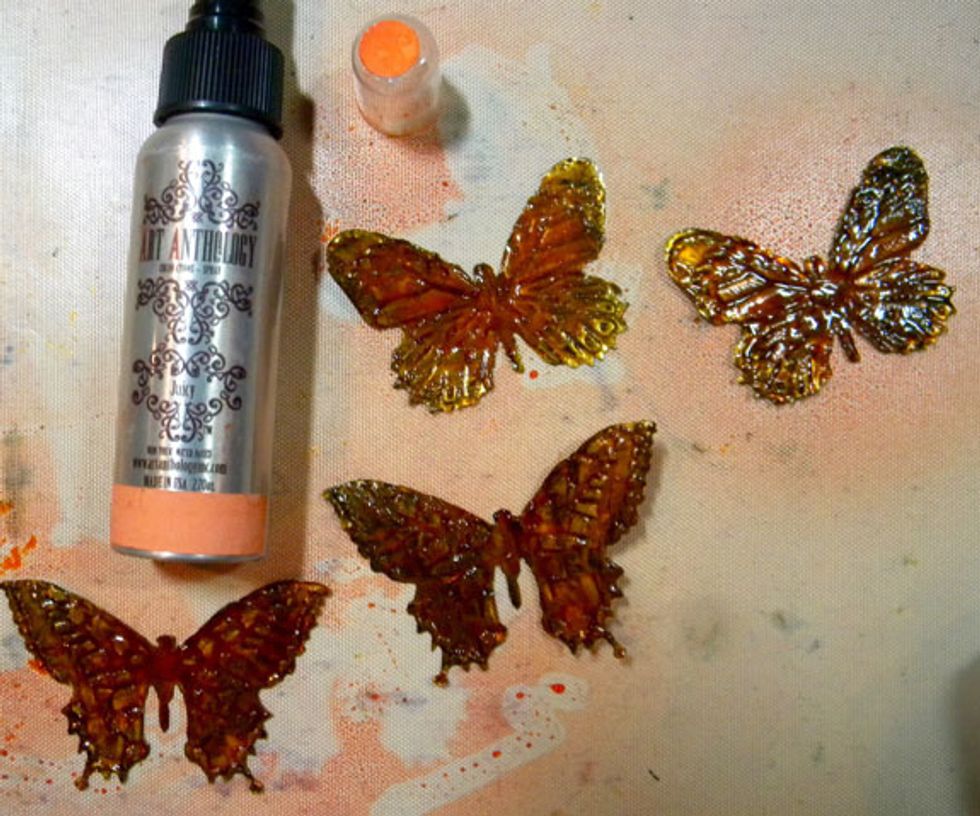
To add some orange to the butterflies, I sprayed them with Juicy Colorations Spray and let them dry completely.
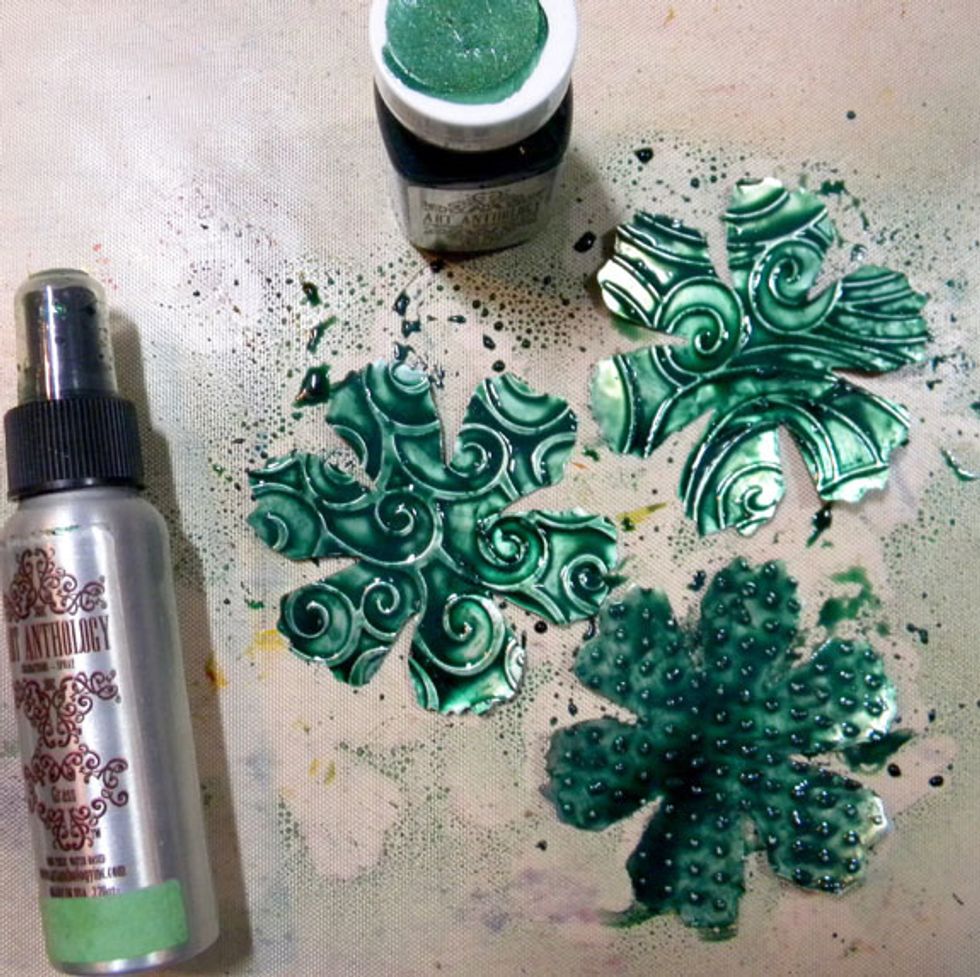
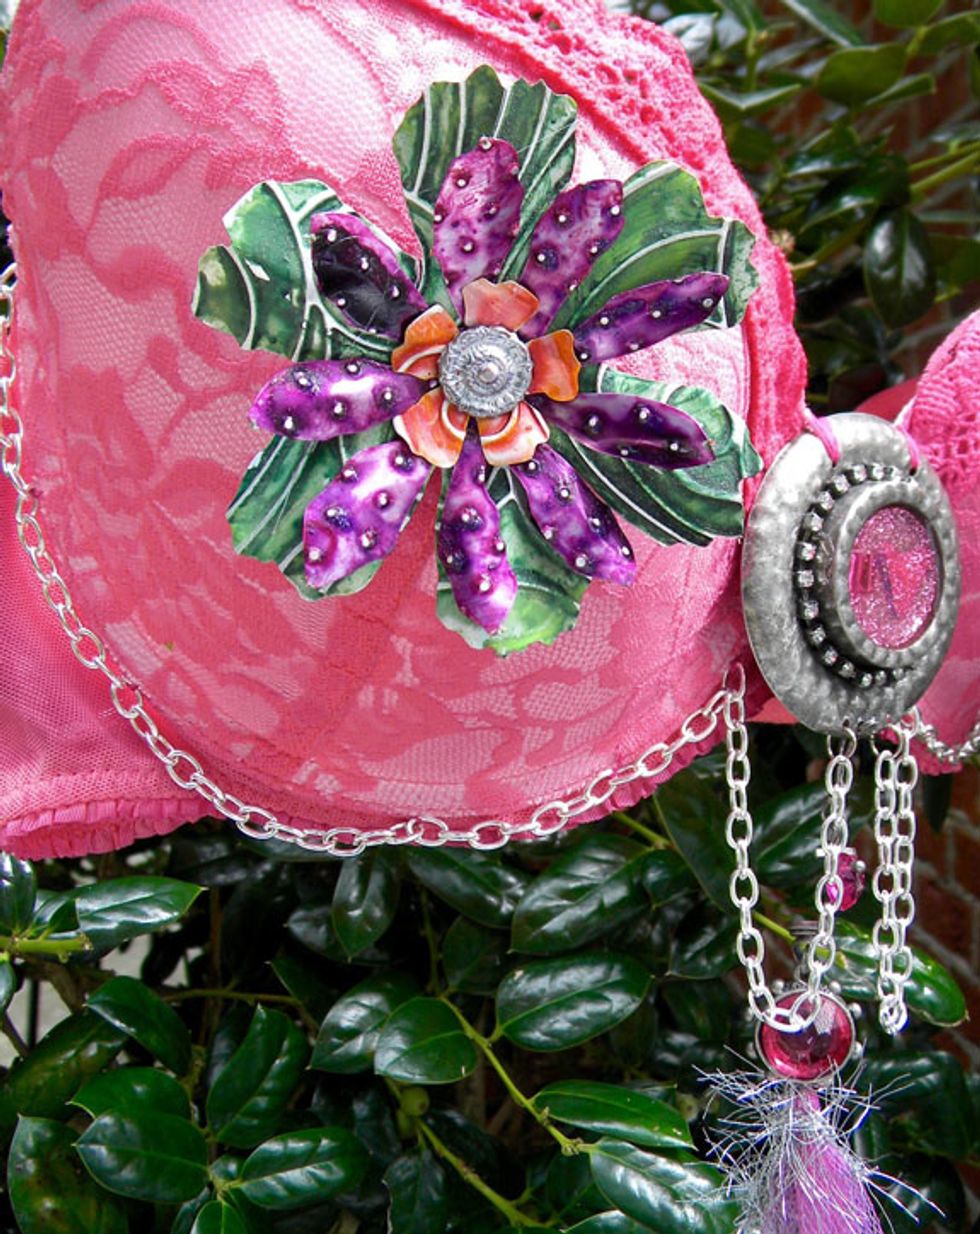
Paint the largest flower with Emerald Gemstones. While they are wet, spray with Grass Colorations Spray and set aside to dry. This allows the color to pool around the embossed areas nicely.
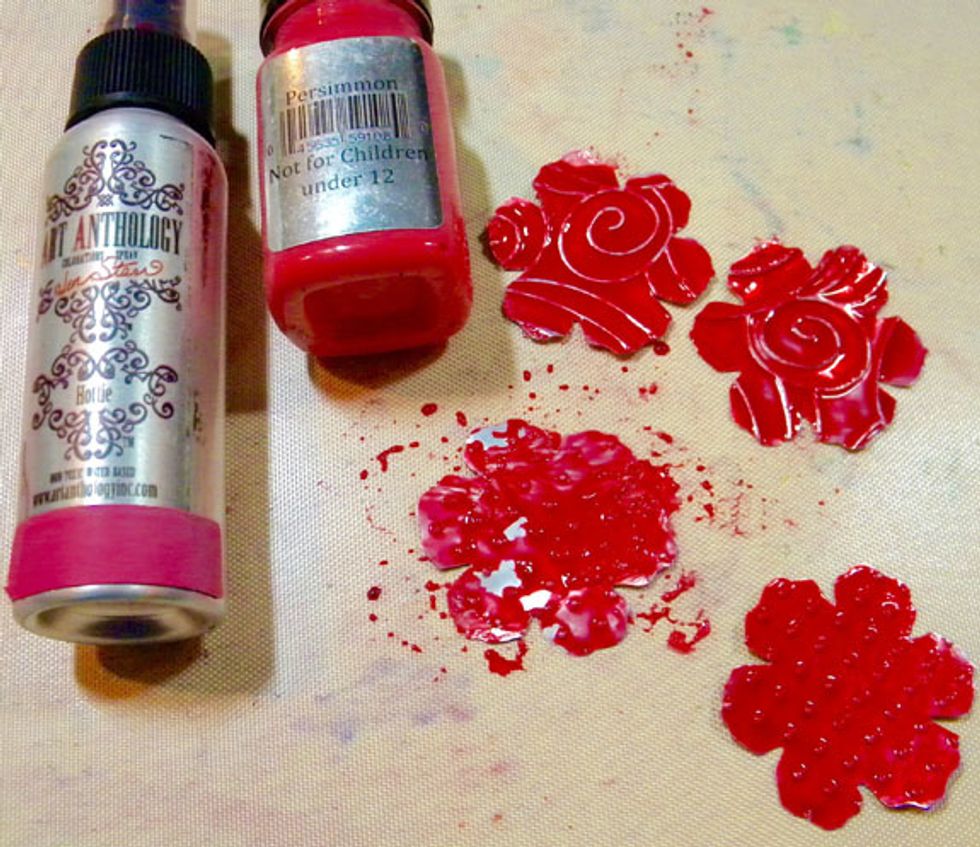
I painted the smaller flowers with Persimmon Velvet and Hottie Colorations Spray.
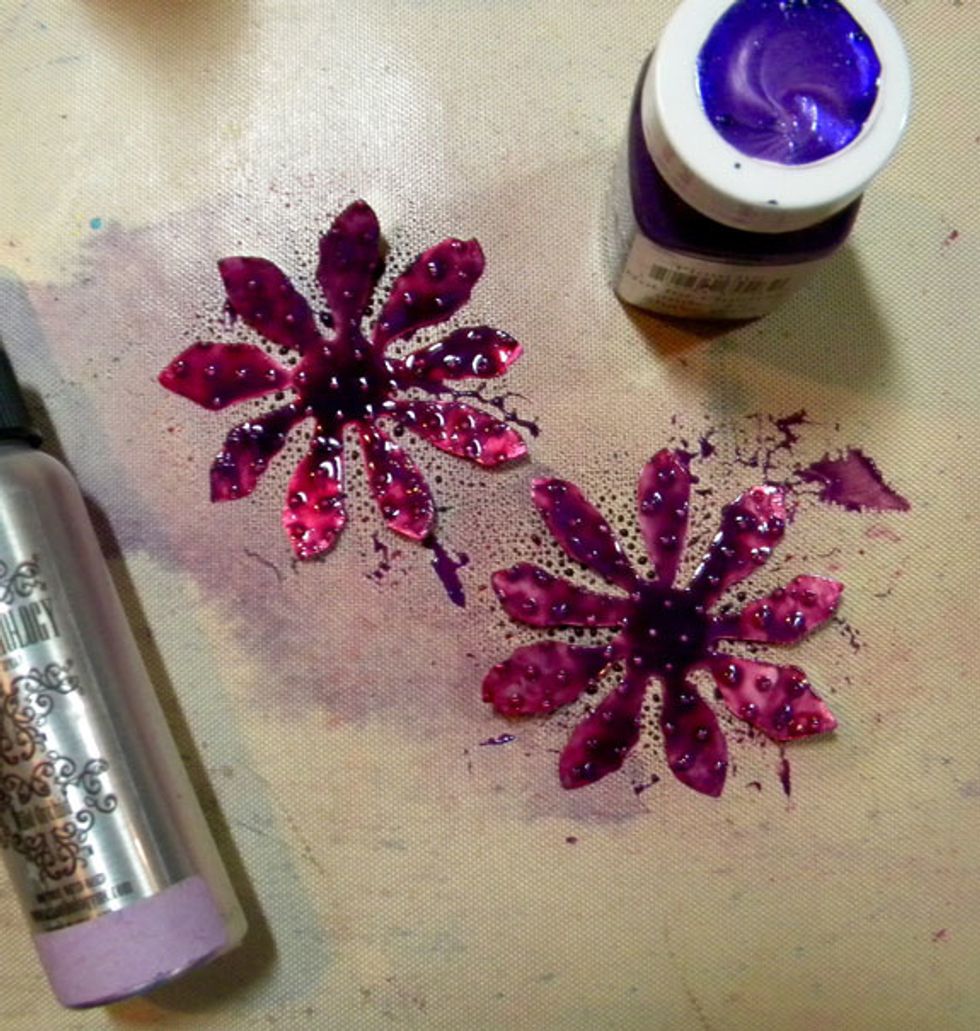
Paint the medium flowers with Flourite Gemstones, then spray with Wild Orchid Colorations Spray.
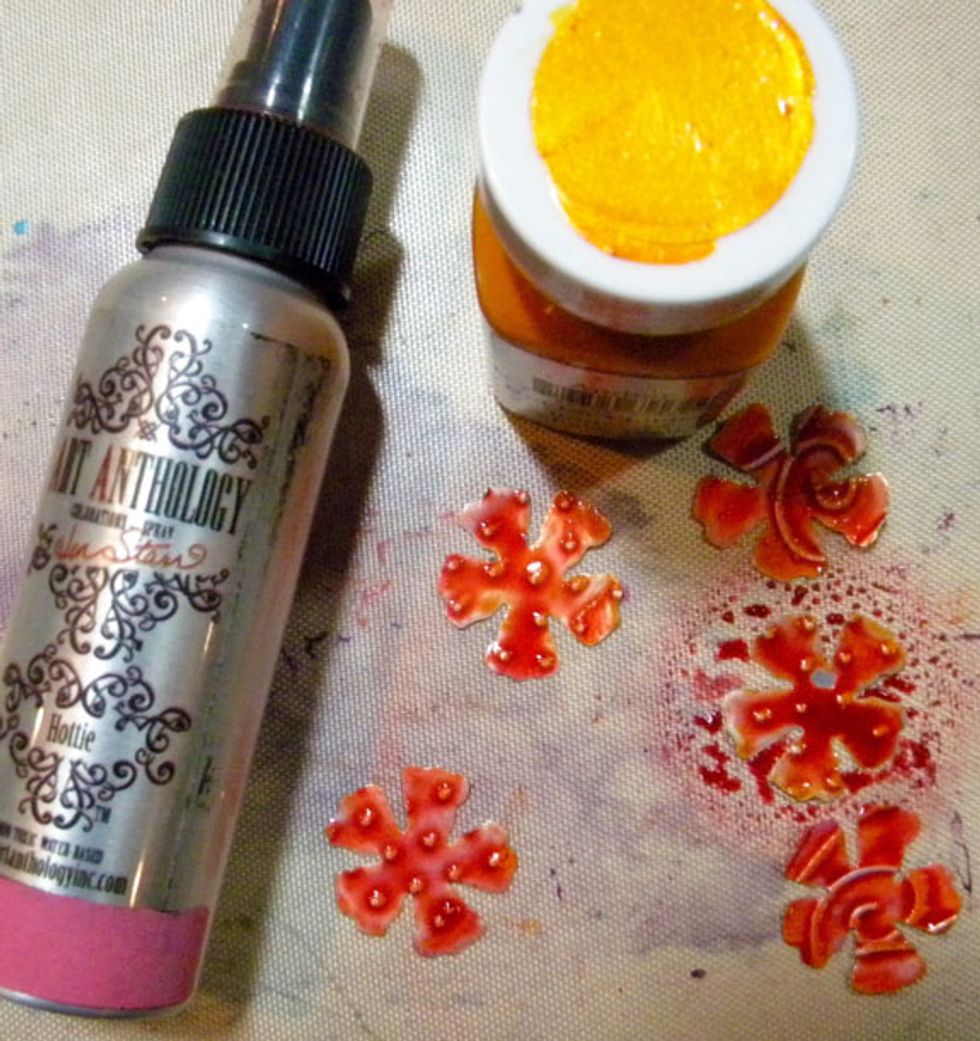
The smallest flowers are painted with Amber Gemstones and sprayed with Juicy Colorations spray.
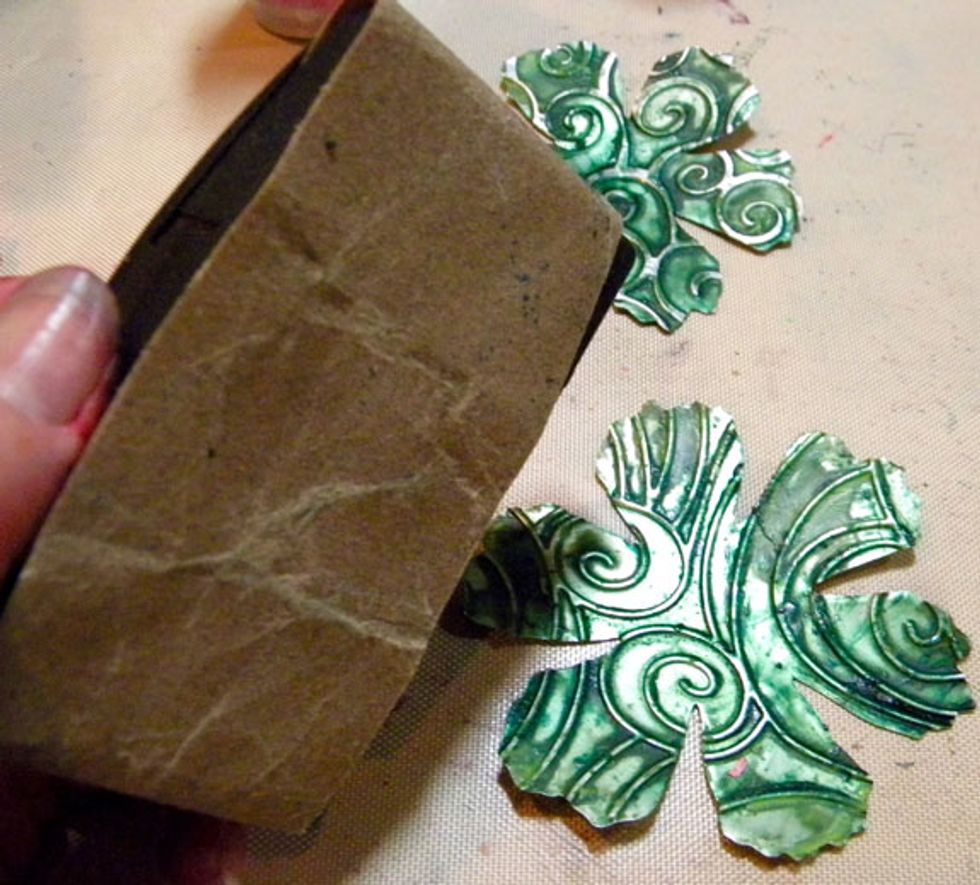
After they are dry, lightly sand the surface of each die-cut to reveal the silver raised areas.
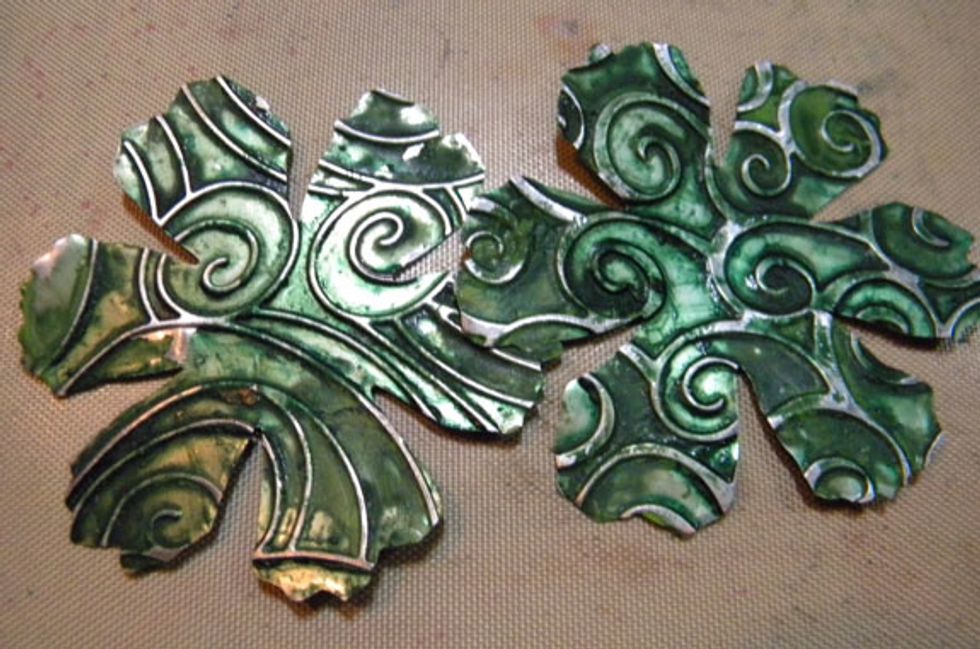
The flower on the left is sanded, while the right is not. It makes a big difference, so don't forget this step!
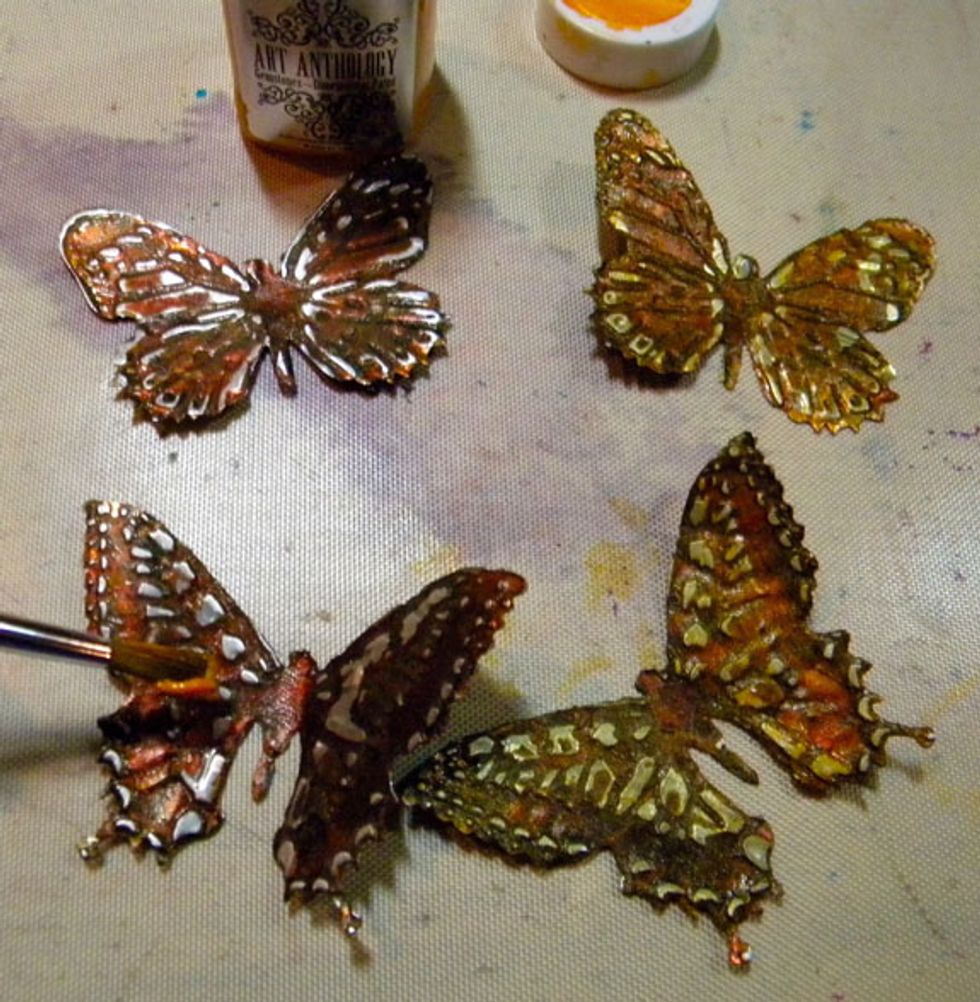
I added another layer of Amber Gemstones to the butterflies after I sanded them. I then painted the center "body" with Black Velvet.
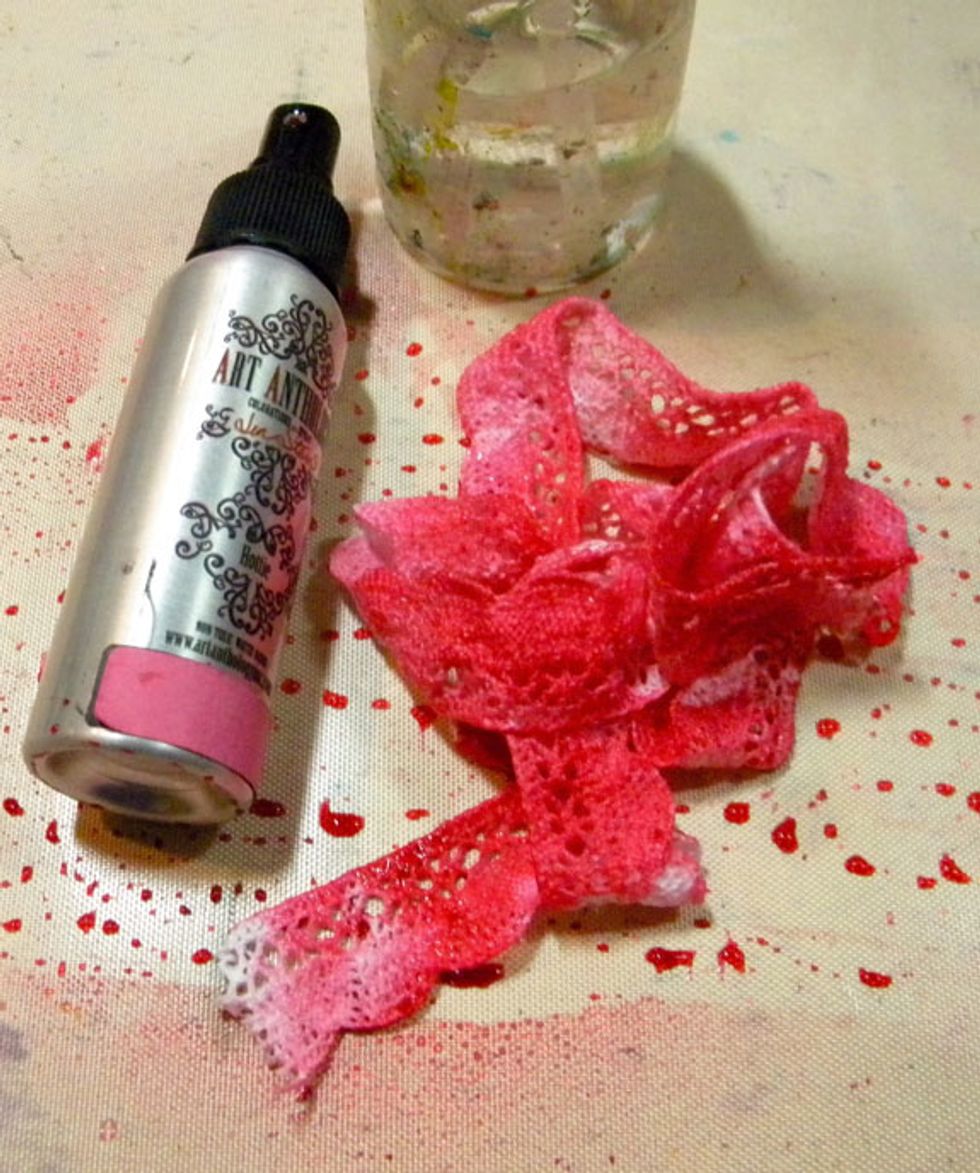
Spray the lace with Hottie Colorations Spray and water until saturated. Heat dry or set aside to dry.
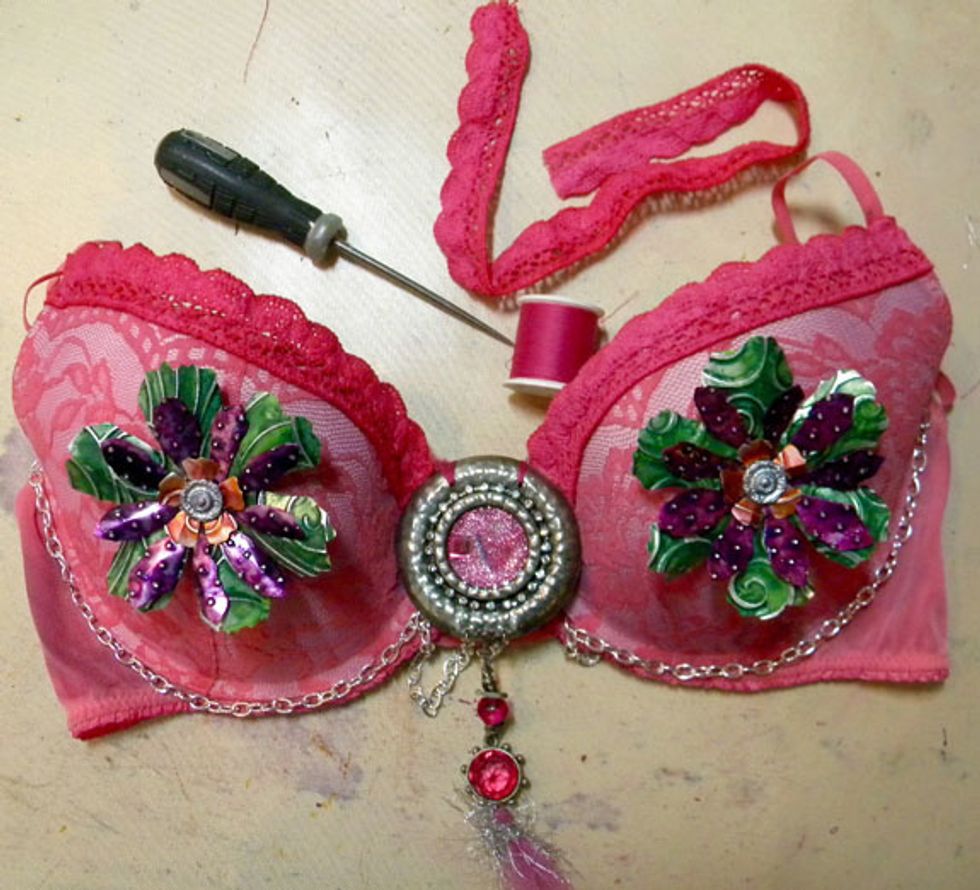
Layer the flowers and secure to the bra with a silver brad. I made a hole in the bra first with the piercer tool. Hand sew the pink lace, pendant and silver chain onto the bra.
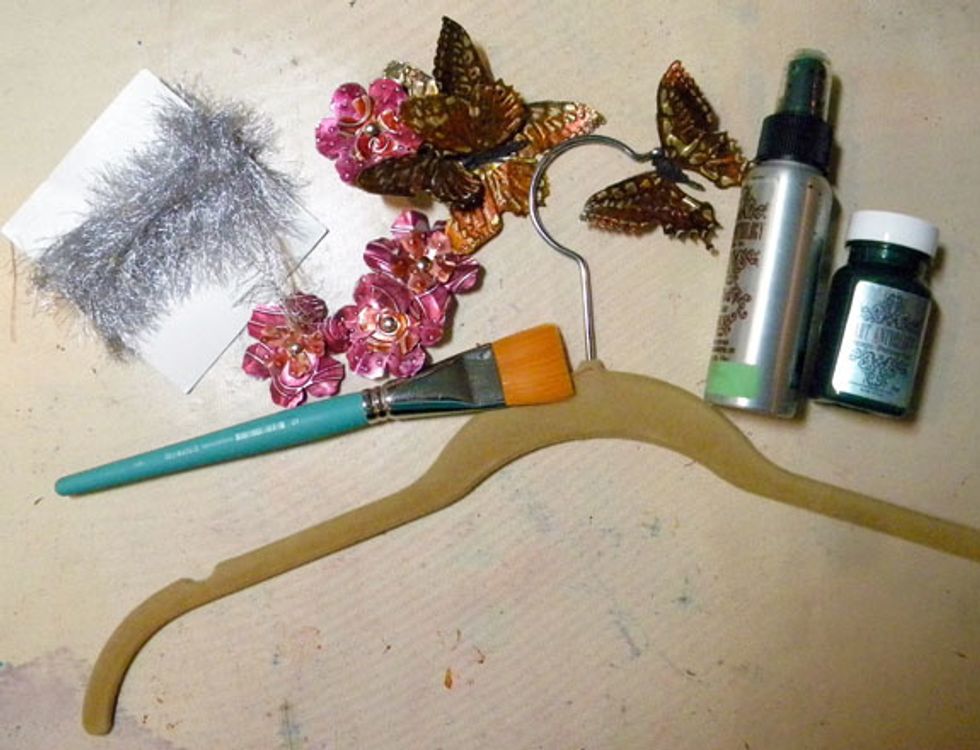
Now, to decorate the hanger. Paint it with Emerald Gemstones on both sides and let it dry.

I sprayed the hanger with Grass Colorations Spray, but it really did not change the color.
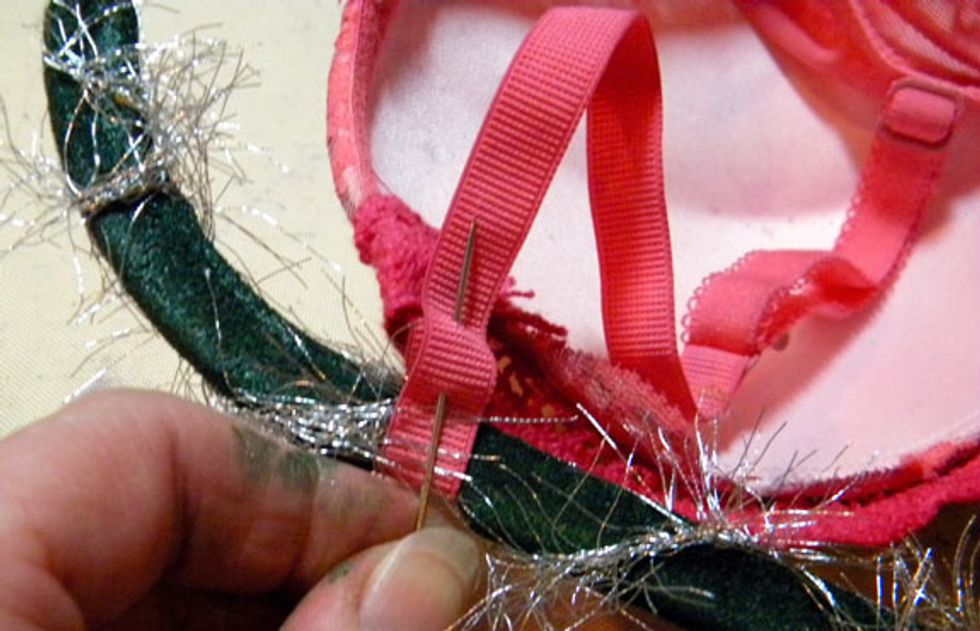
To make sure the bra stays in place, I sewed it onto the hanger to secure it.
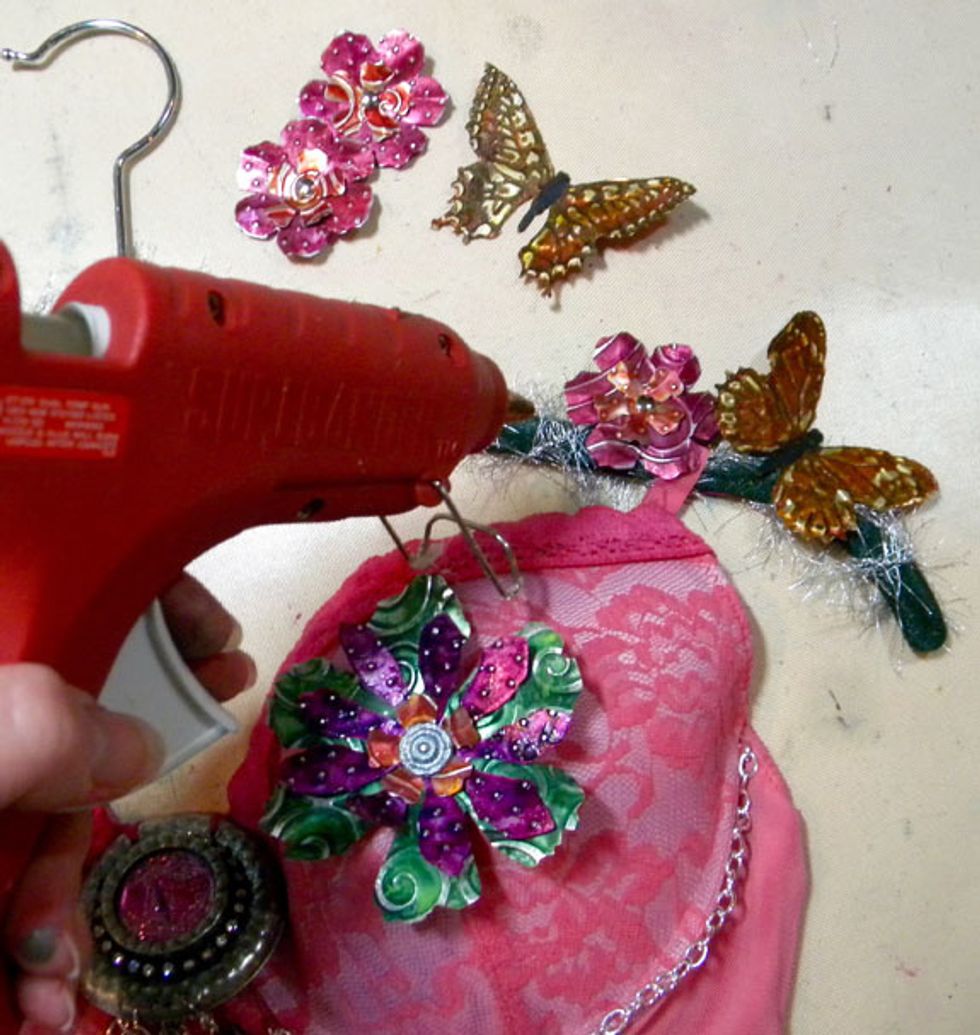
Lastly, hot glue the flowers and butterflies onto the hanger.
I love how vibrant the Art Anthology paint and spray colors came out on the aluminum.
Aluminum die-cuts + embossing + Art Anthology = the perfect embellishments.