The Conversation (0)
Sign Up
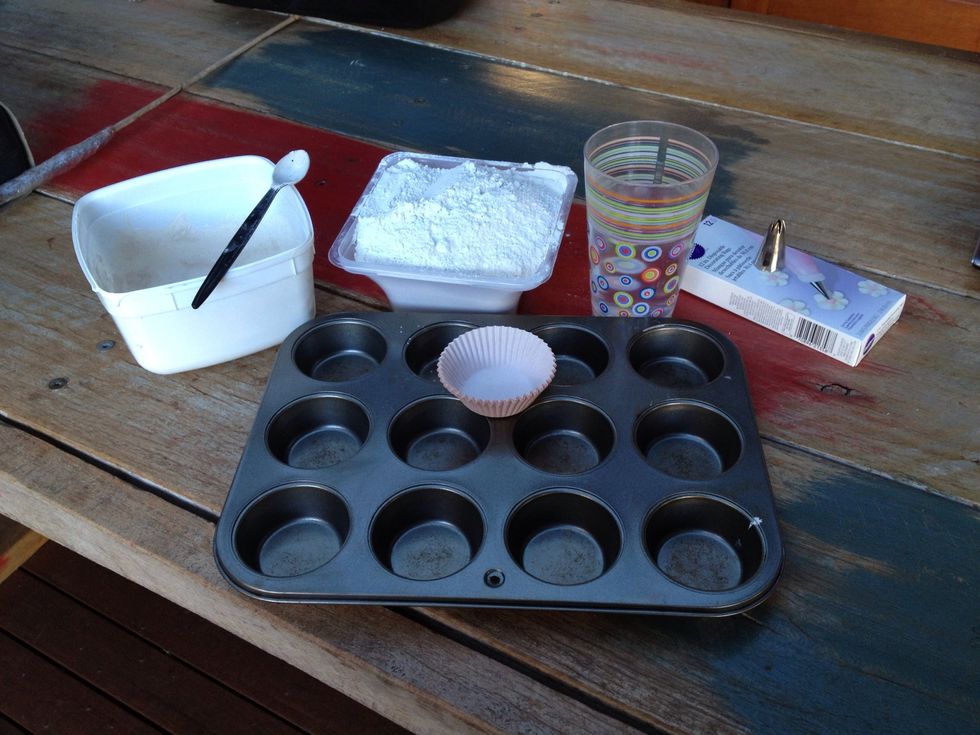
Gather your supplies and find a space you can easily get messy without getting in trouble. Working on old newspapers is best. You're about to get super messy, deal with it and move on.
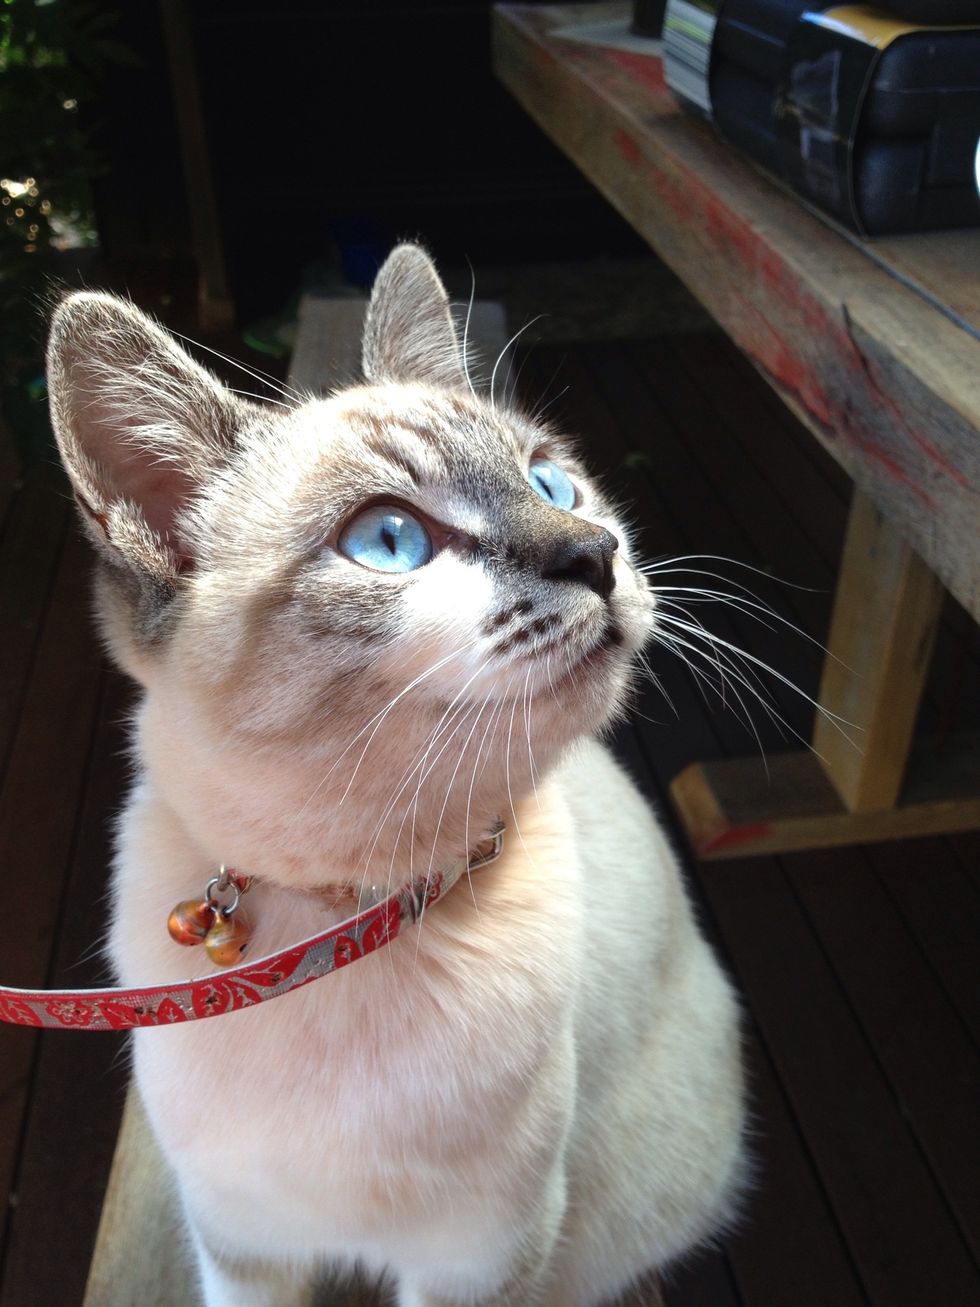
My lovely assistant, Audrey. Who was more interested in sniffing the plaster and drinking the water than actually assisting.
TIP: You can use plaster of Paris powder or if you're like me and have a father-in-law who is a professional painter (or builder or renderer), you can use builder's plaster.
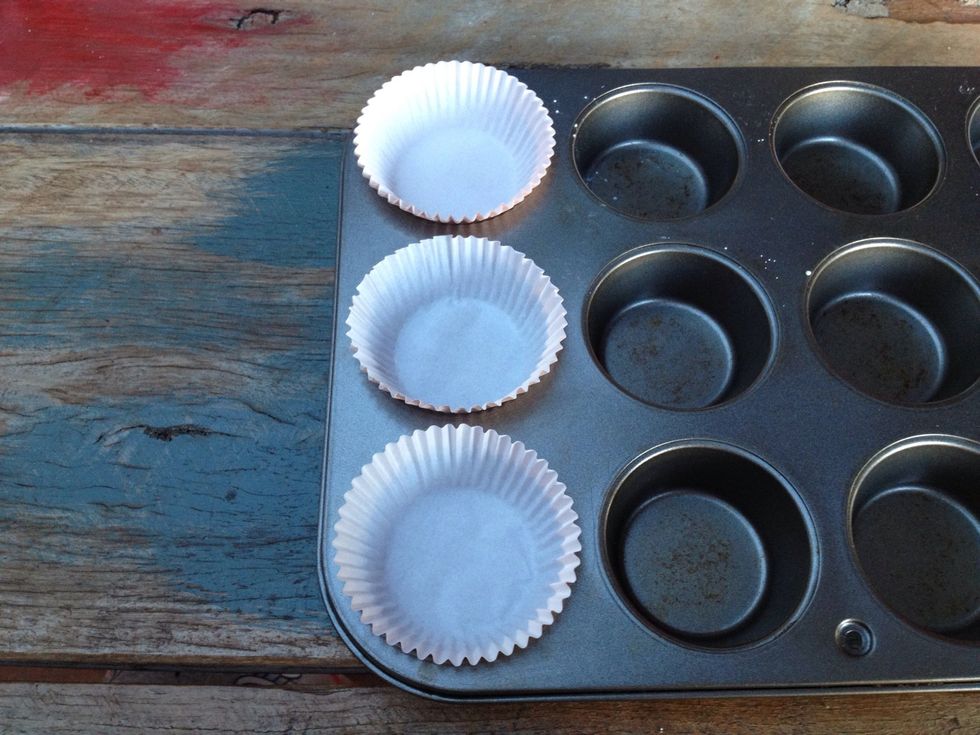
Place your cupcake cases in the baking tray. You can use any sort of cases you want. I used white and pastel pink because that's all I had and I'm going to paint over them so I wanted light colours.

Sift some plaster powder into an empty plastic container. This is a bit of a messy process, try not to inhale the plaster dust. Especially if you're using builder's plaster, that stuff is nasty.
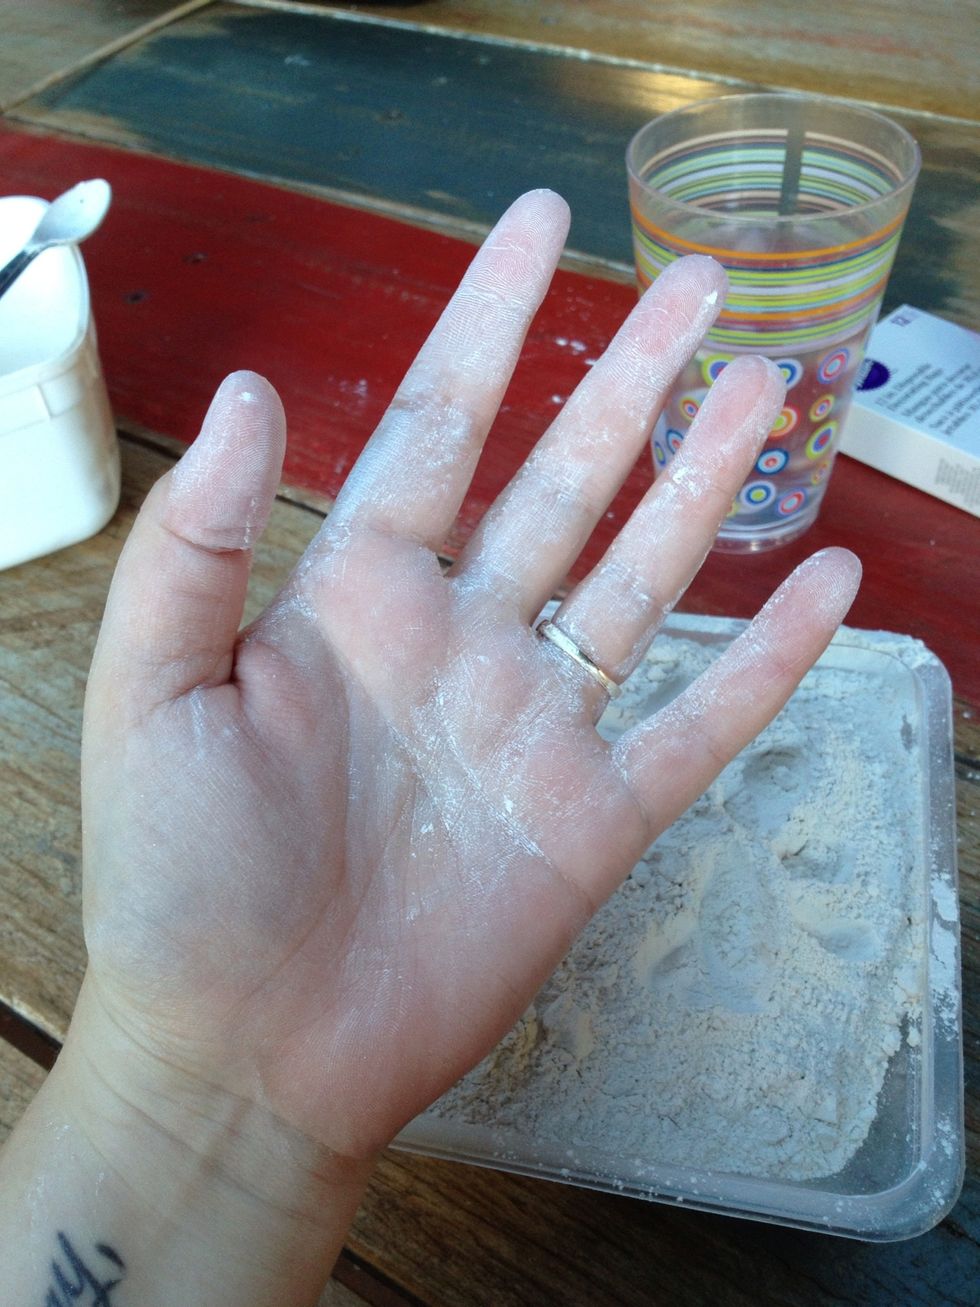
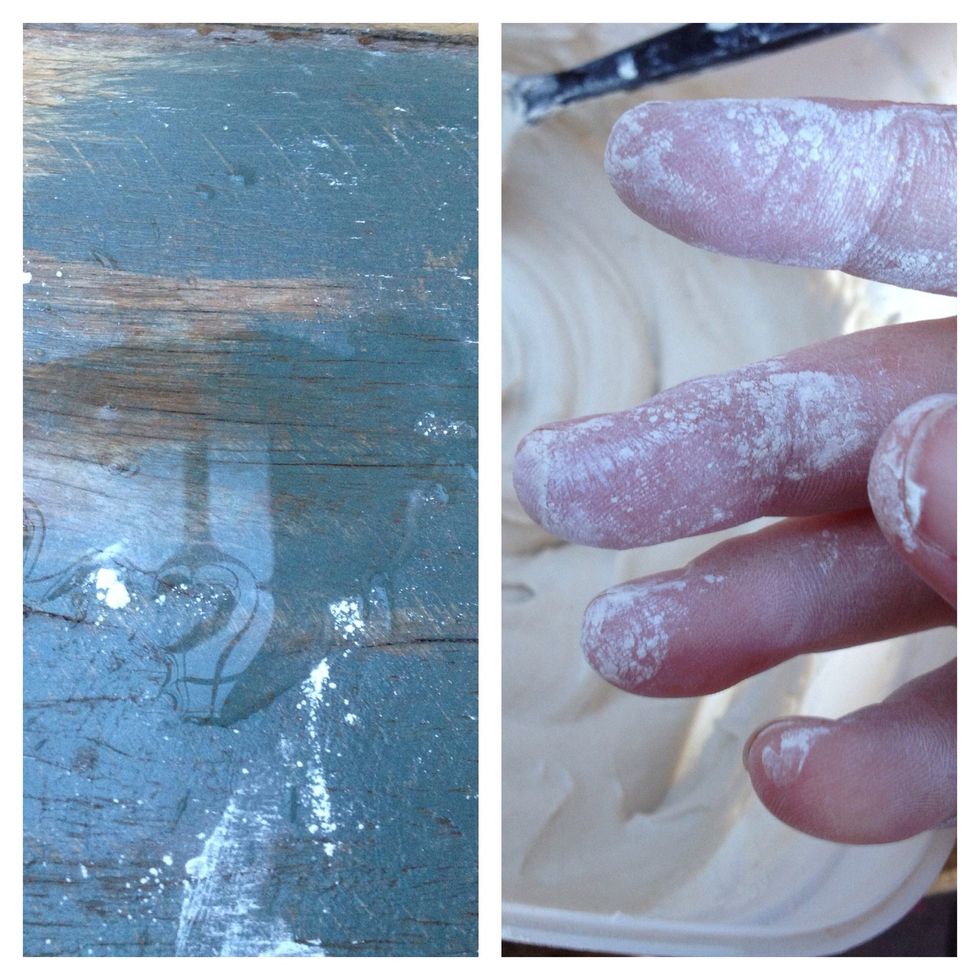
This is what I meant about getting messy. This is just from sifting it from one container to the other and that's just my hand, you should see my clothes! I took my engagement ring off after this =/
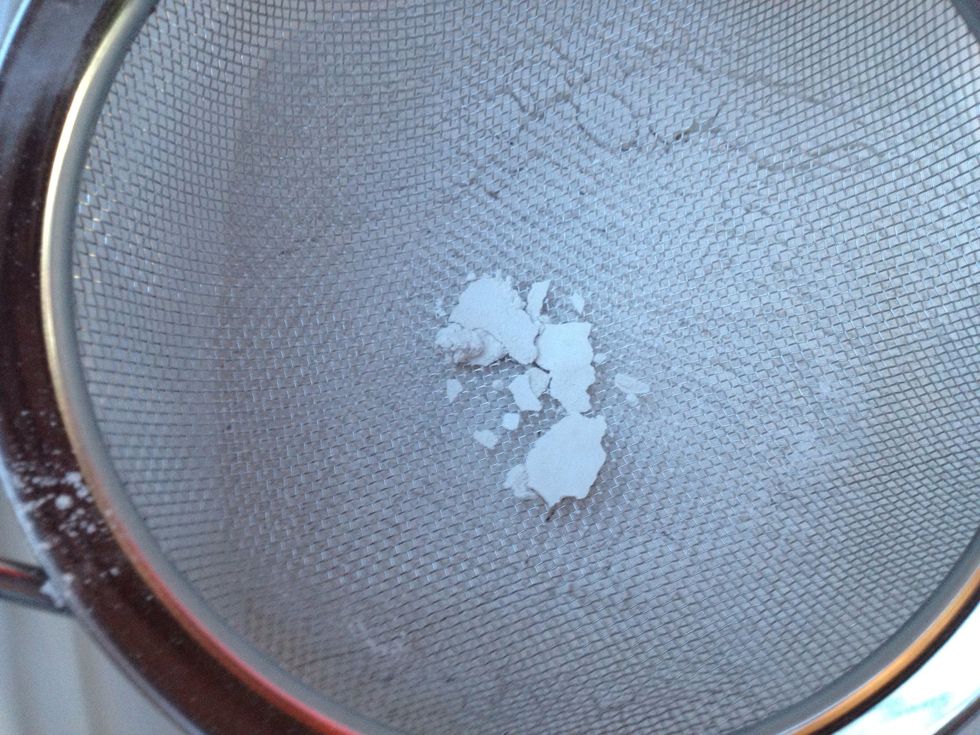
If you're using builder's plaster, especially stuff that has been opened and used by a painter, sifting is ESPECIALLY important. You don't want paint/plaster flakes in your cupcakes.
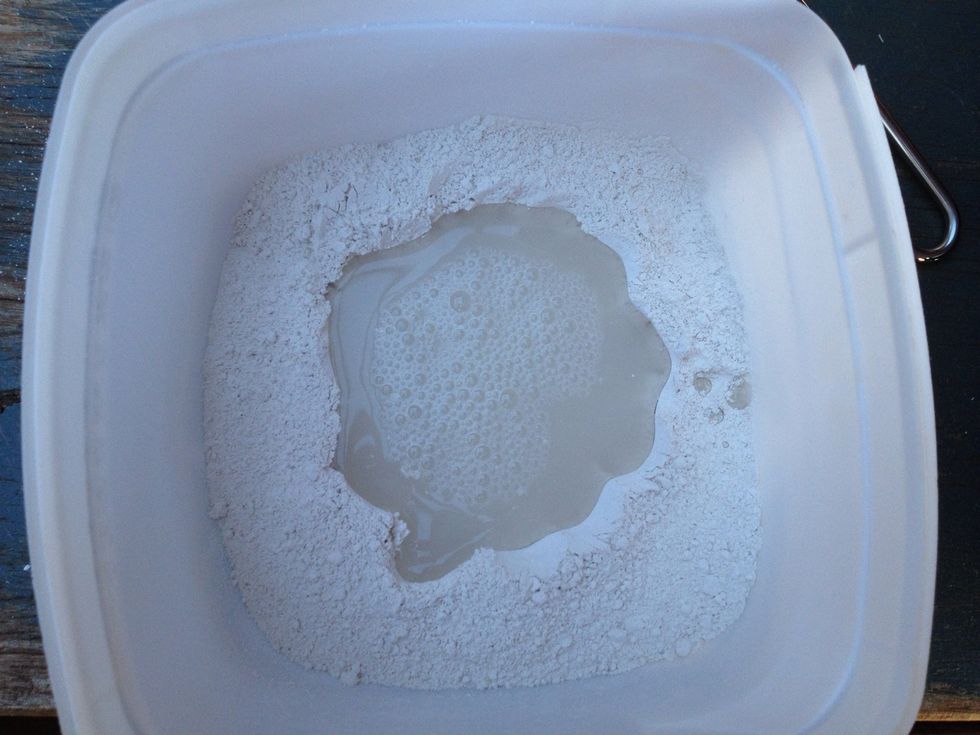
Once you've sifted roughly the amount of plaster you want, make a well in the middle of the powder, pour a bit of water in and start mixing with the plastic spoon.
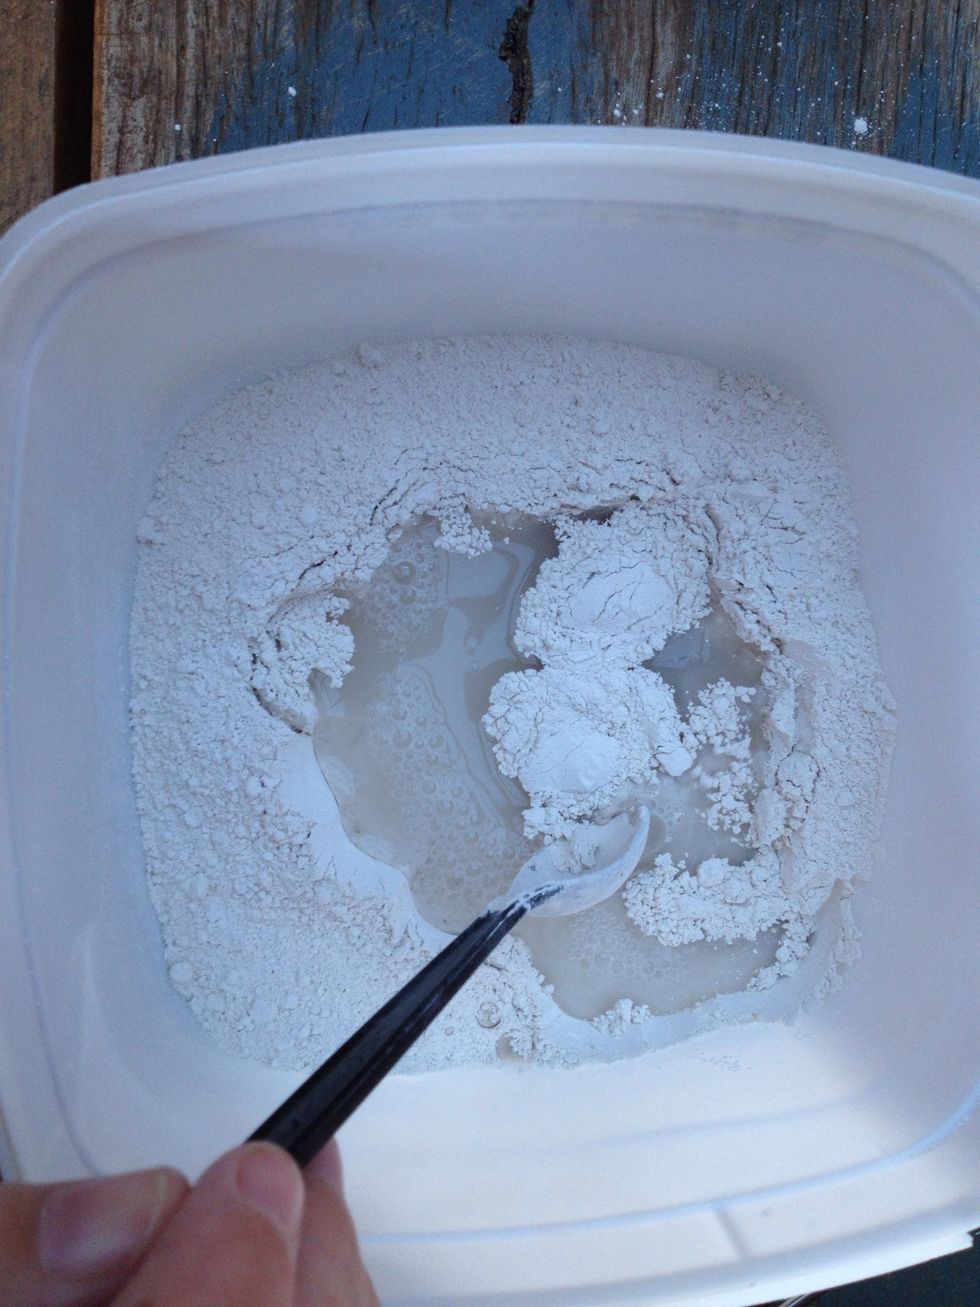
Add the water a little at a time until you get the consistency you're after. For the bases of the cupcakes it should be pourable, for the "frosting" it should be ... Well, like frosting.
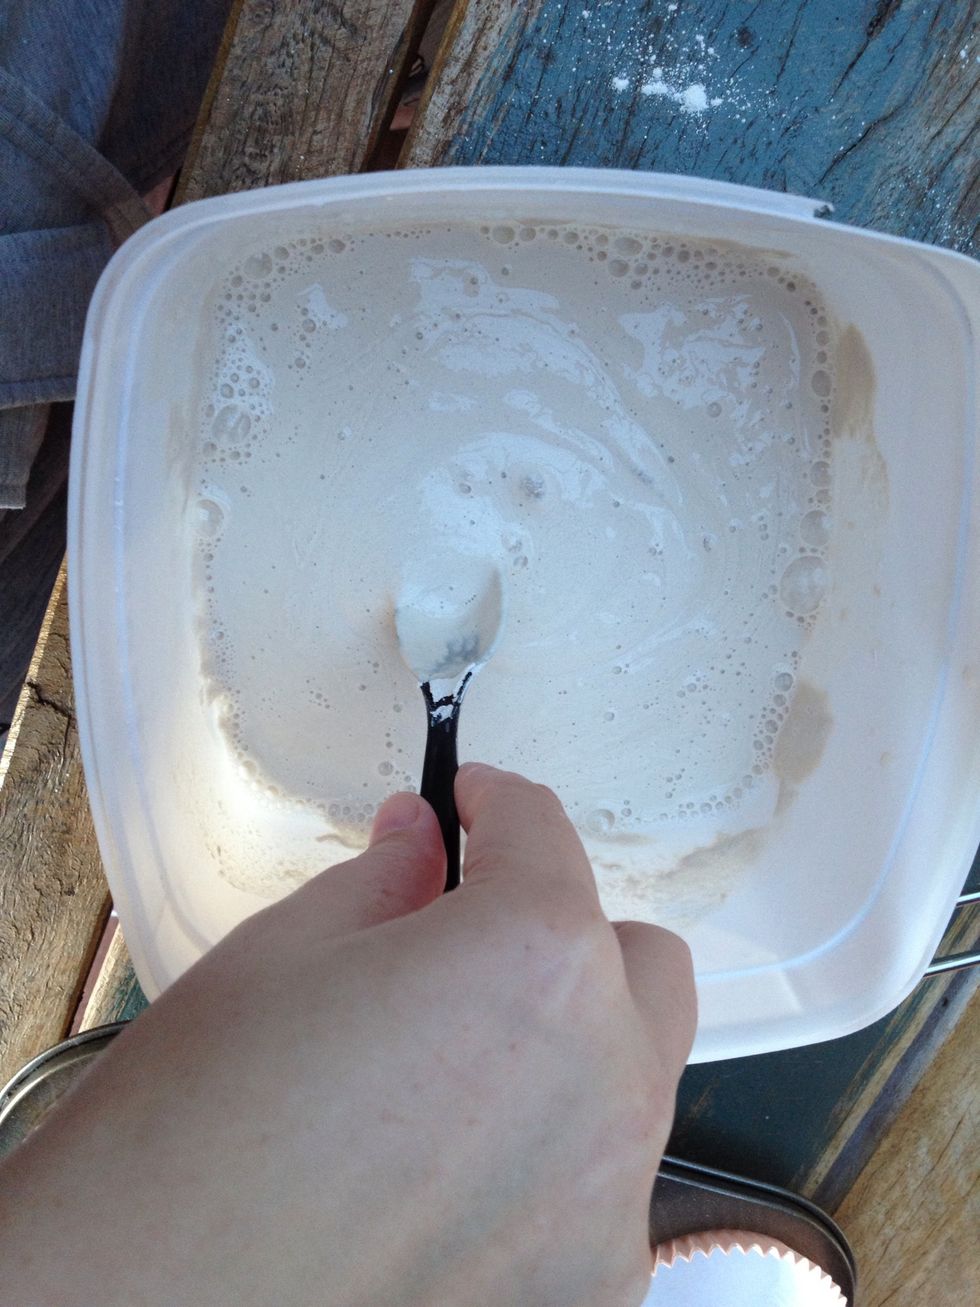
Stir, stir, stir. We don't want any lumps. This is not as important for the base as it is for the "frosting" but you still don't want huge lumps in your base either.
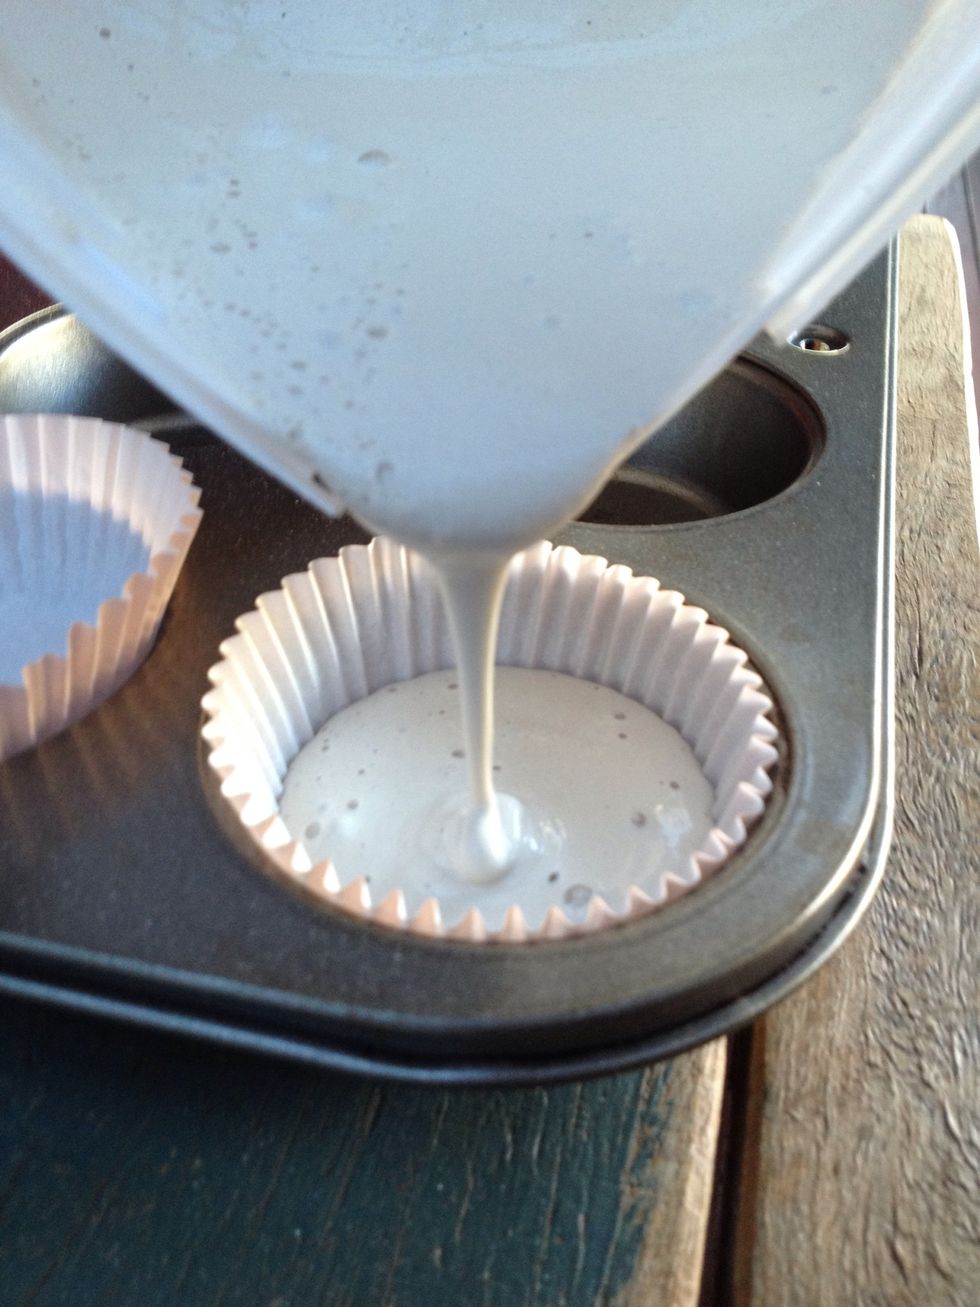
Once all the lumps are gone, pour your base mixture into the cupcake cases and set aside to dry. Drying times vary depending on the weather and the amount of water you added.
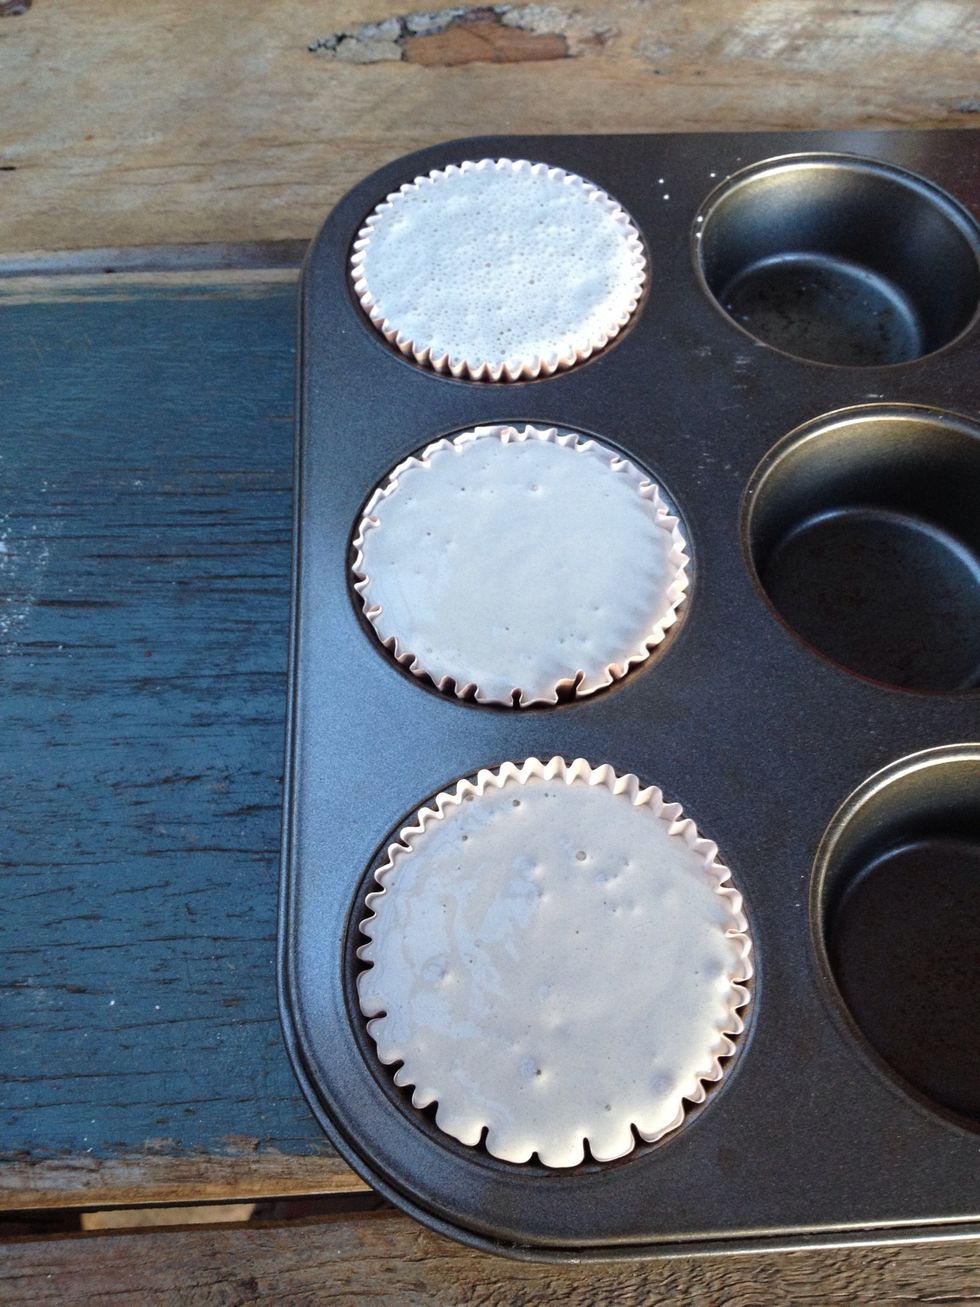
They will have air bubbles in them at first, you can either blow on the tops gently and most will pop or just let them pop naturally as the plaster dries. They won't hurt the outcome either way.
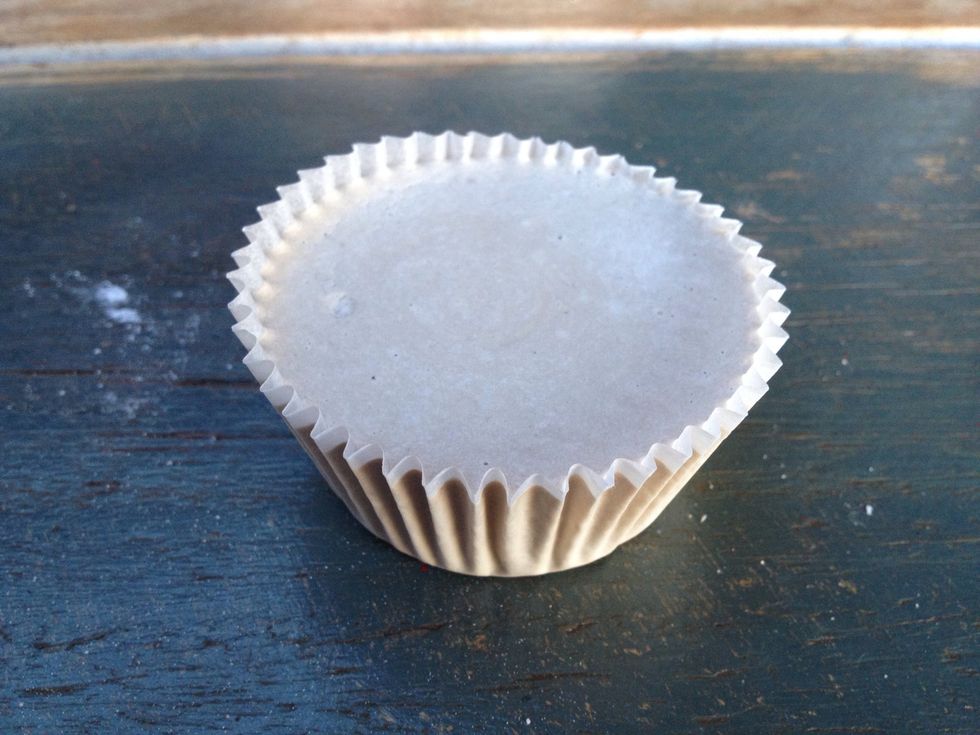
This is what the dried product looks like. Pretty cute already, right? Builder's plaster will be dry within hours, if not less, but I left these overnight just to be safe.
Repeat steps 4 through 9 but add less water to achieve a stiffer plaster mixture for the "frosting".
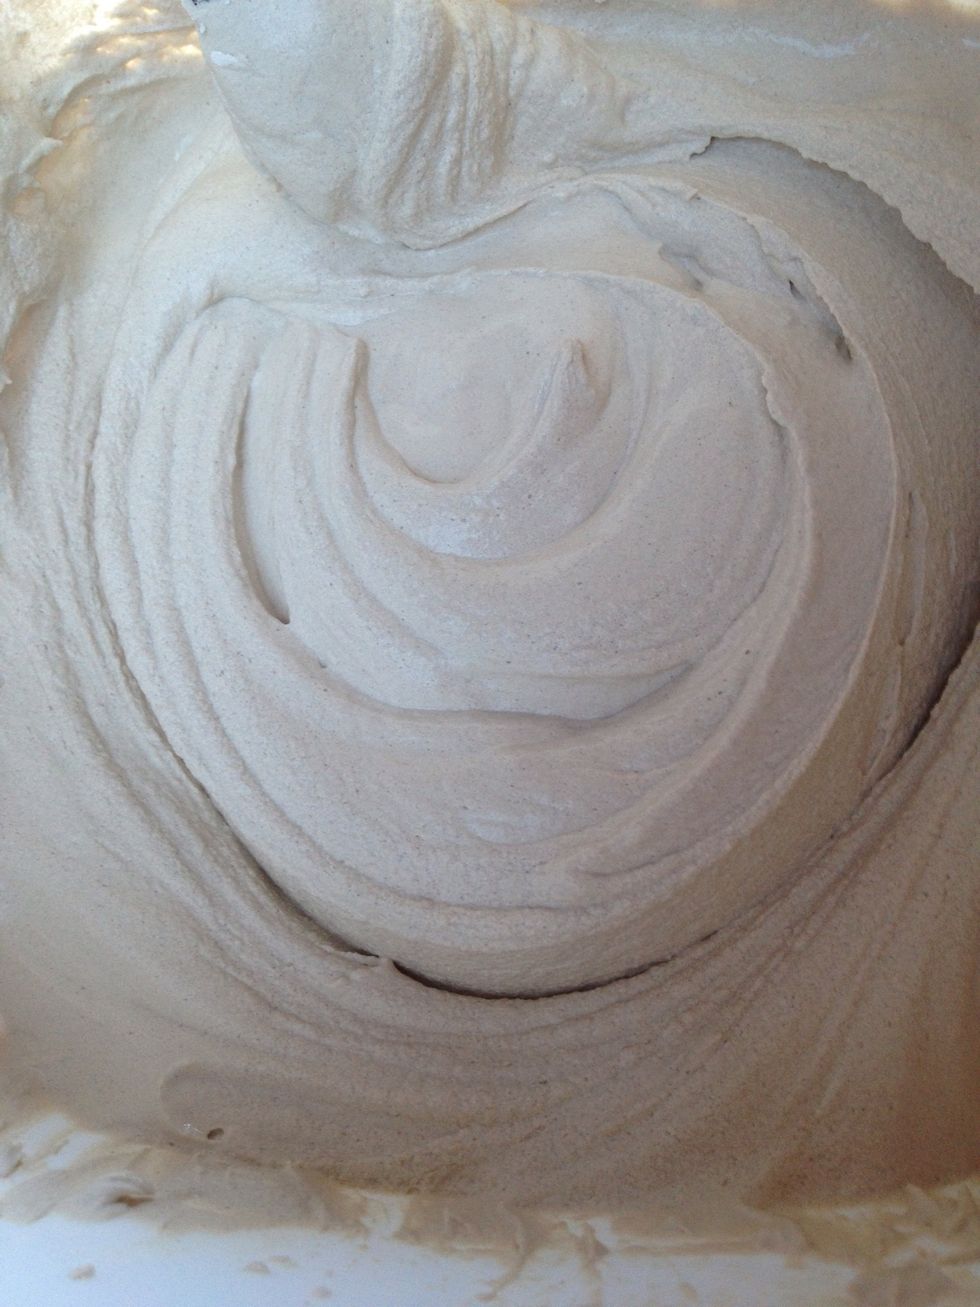
With your "frosting", you want it to be able to hold its shape. To do this you can add more powder to get a thicker mixture or just wait a few minutes for it to dry slightly because stirring hurts!
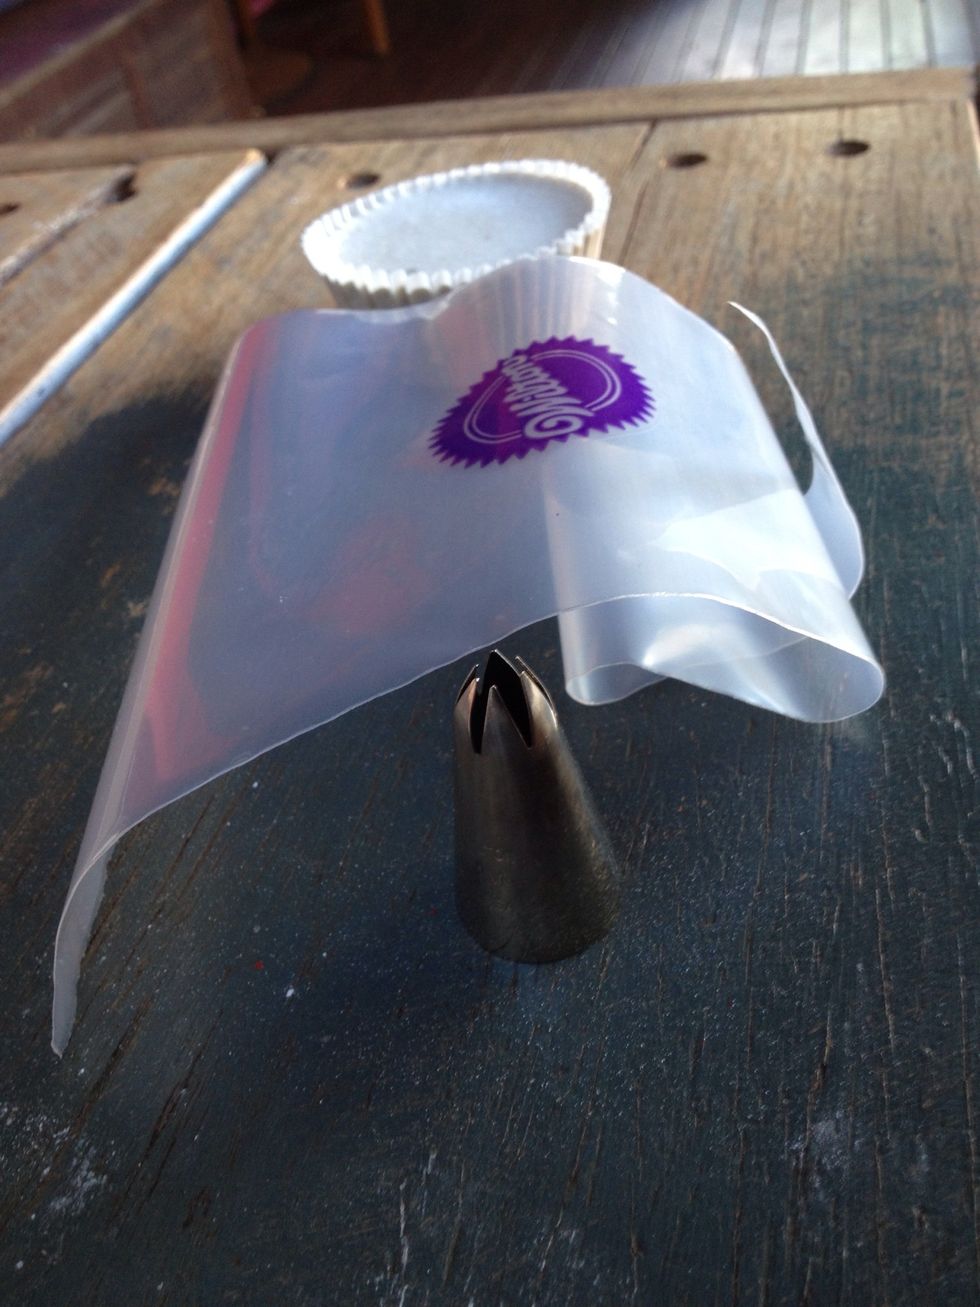
Prepare your piping bag. It's probably best to use a plastic tip but I wanted mine to have that distinctive Wilton 1M swirl, and I needed a new one anyway, so I'm using a metal one.
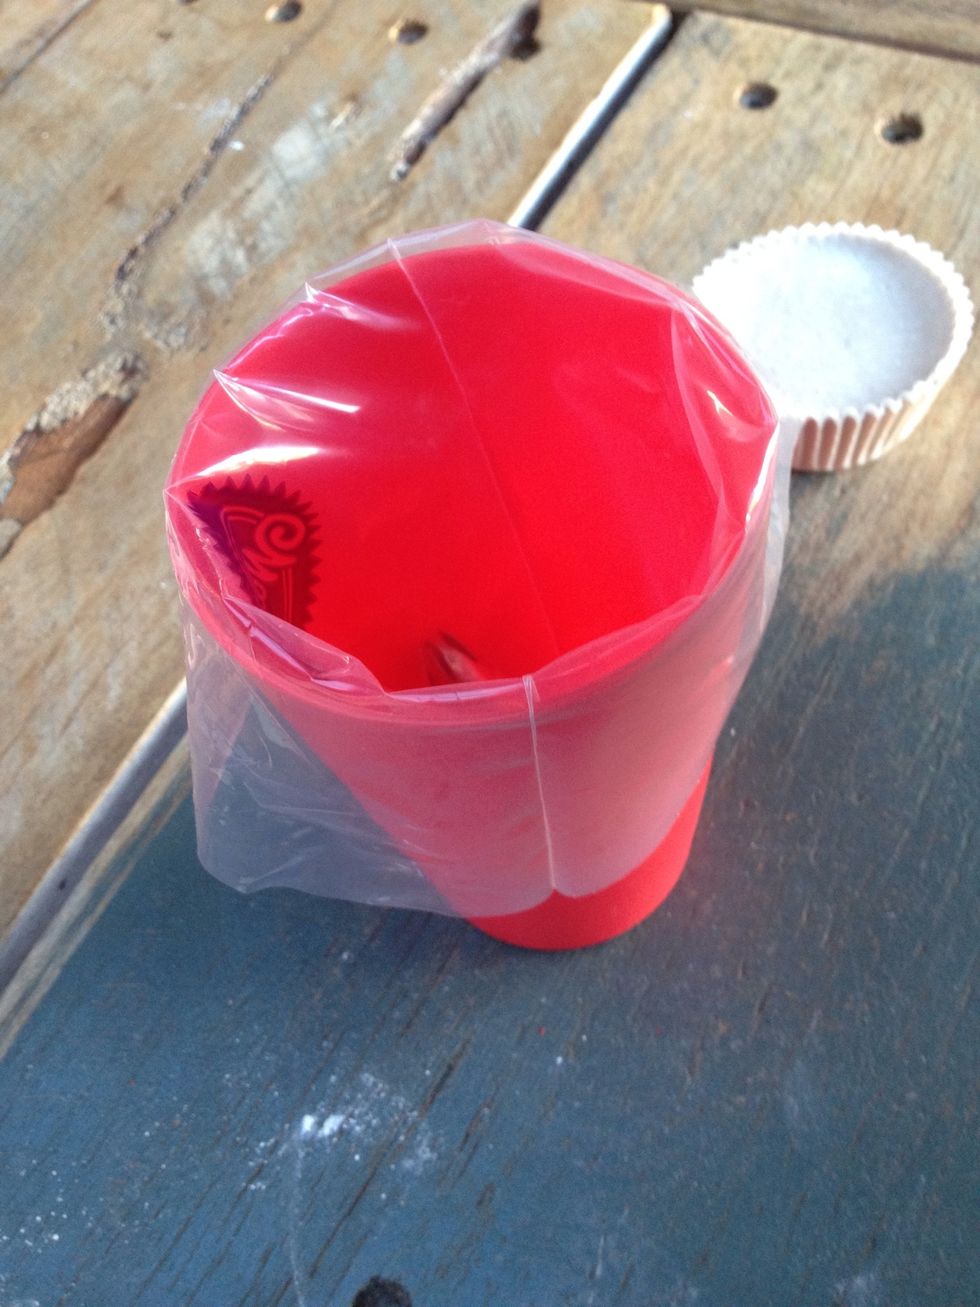
Place the piping bag tip-first into a large plastic cup. This makes it easier and less messy to fill the bag with the plaster mix.
Of course, if you're anything like me; nothing is ever as easy as it sounds and you end up making a mess anyway =D
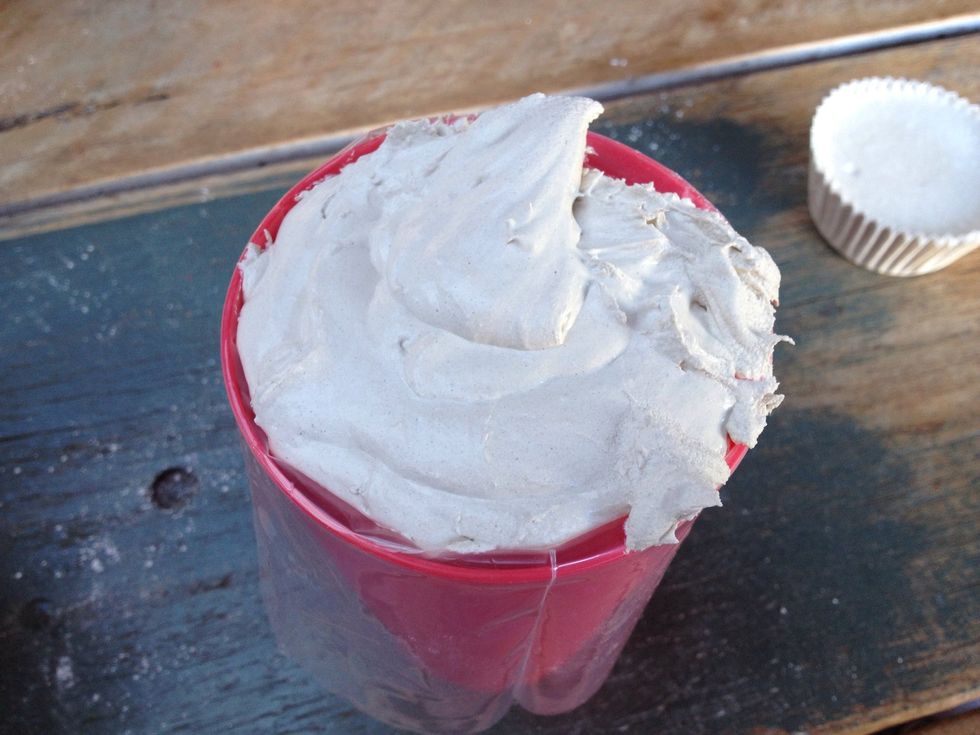
When your "frosting" is the consistency of stiff buttercream frosting, spoon it into your already prepared piping bag and get ready to swirl!
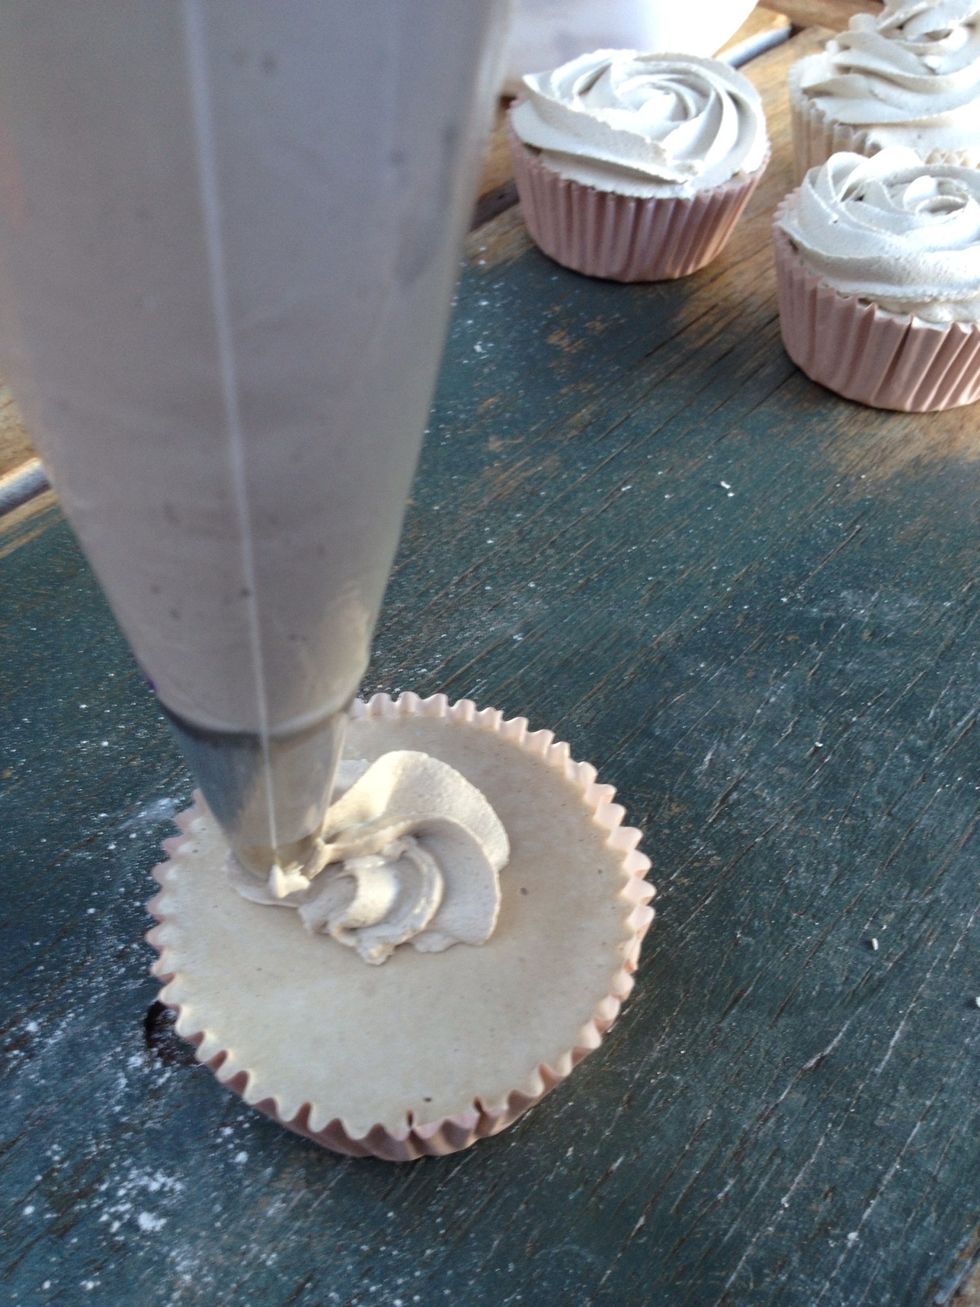
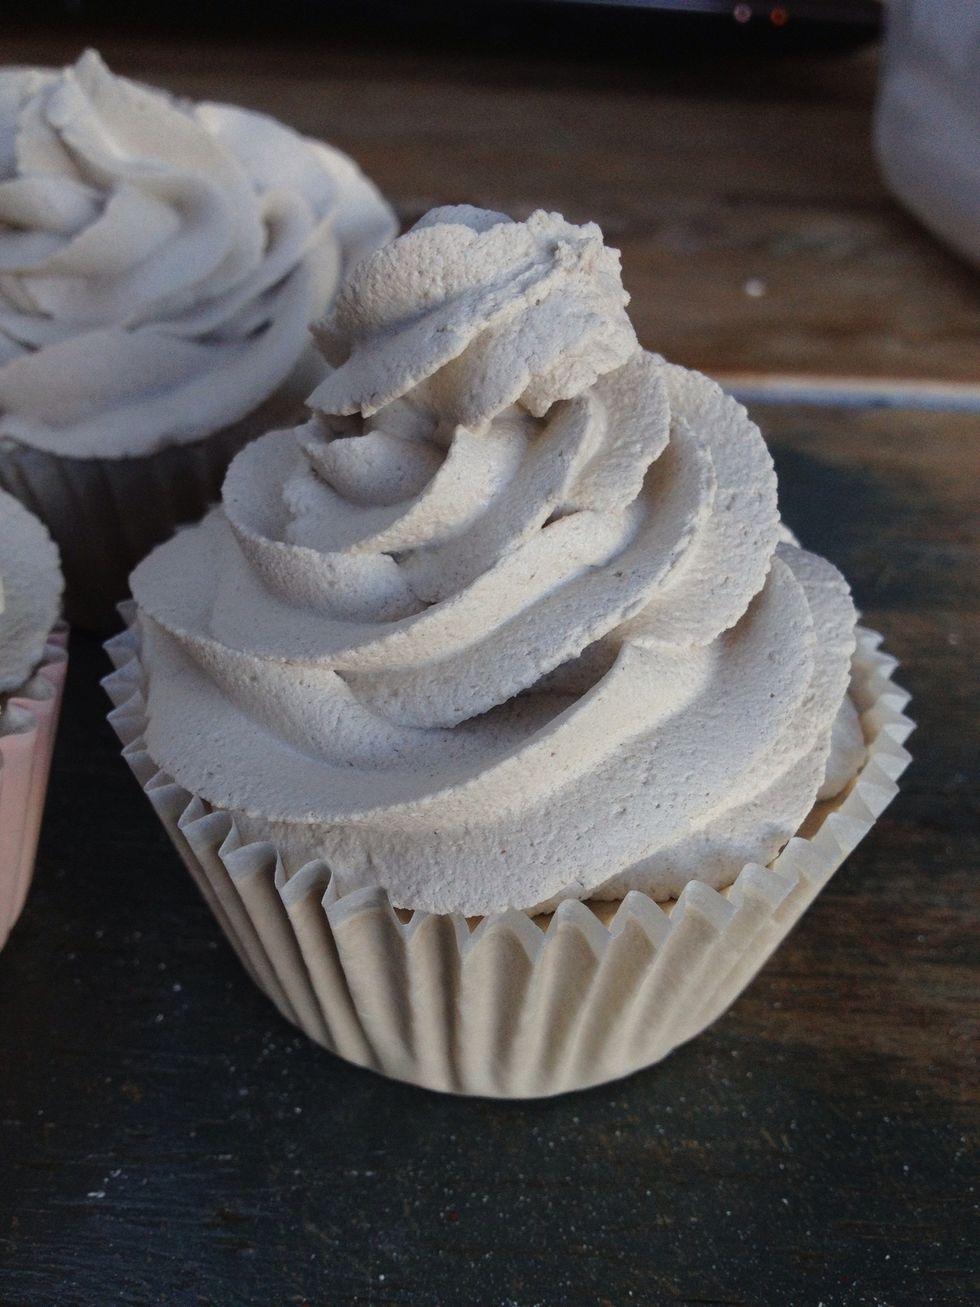
Swirl, baby, swirl! Pipe the "frosting" onto your bases in any design you like. I chose the classic swirl and the rose swirl, 'cause I'm undecided like that.
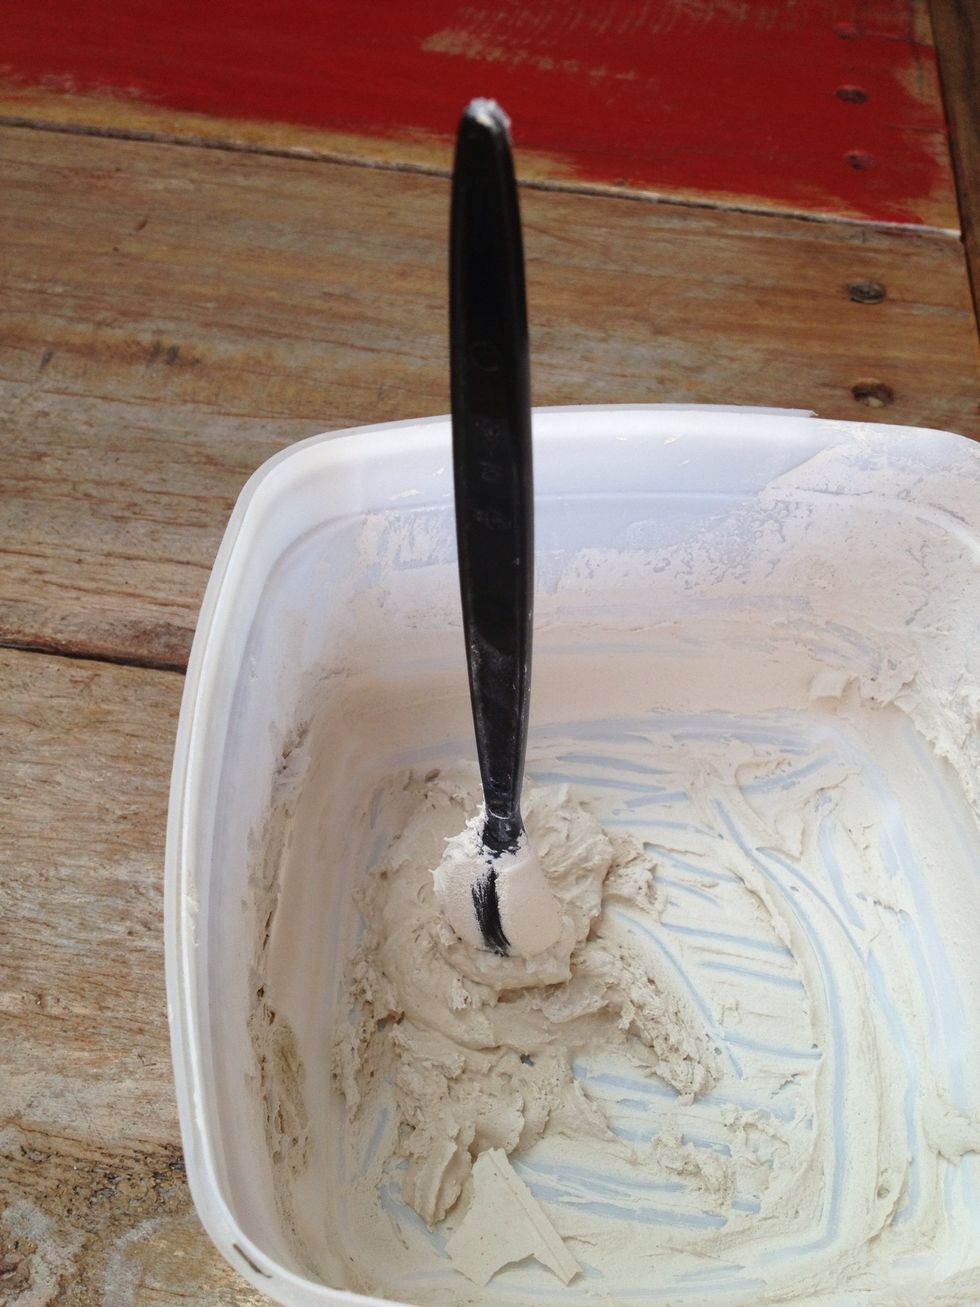
Make sure you clean up straight away. Do not wash any plaster down the sink, it will clog your drains, and throw leftover plaster out or you'll end up with a plaster spoonsicle like I now have =D
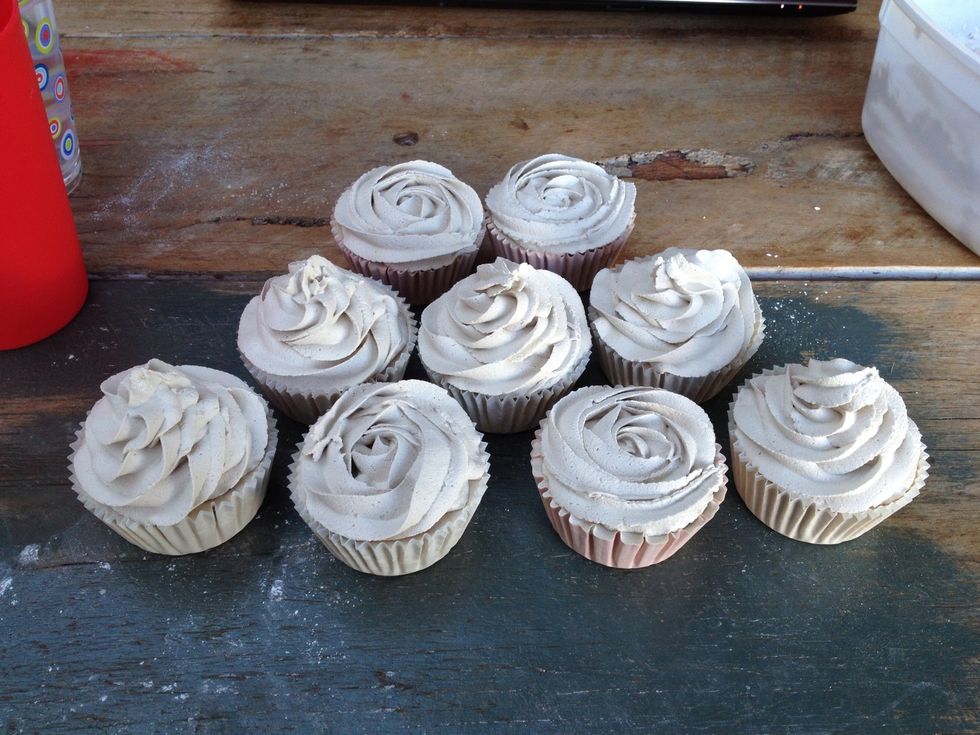
I was a little impatient this time & didn't wait for the "frosting" to dry to a thick enough consistency, so some of my taller babies flopped. But they're still cute! Set aside to dry for a few hours.
Once dry, decorate and paint any way you like. You can add beads, pearls, buttons etc when the "frosting" is still wet. You can even add real cupcake toppers if you like.
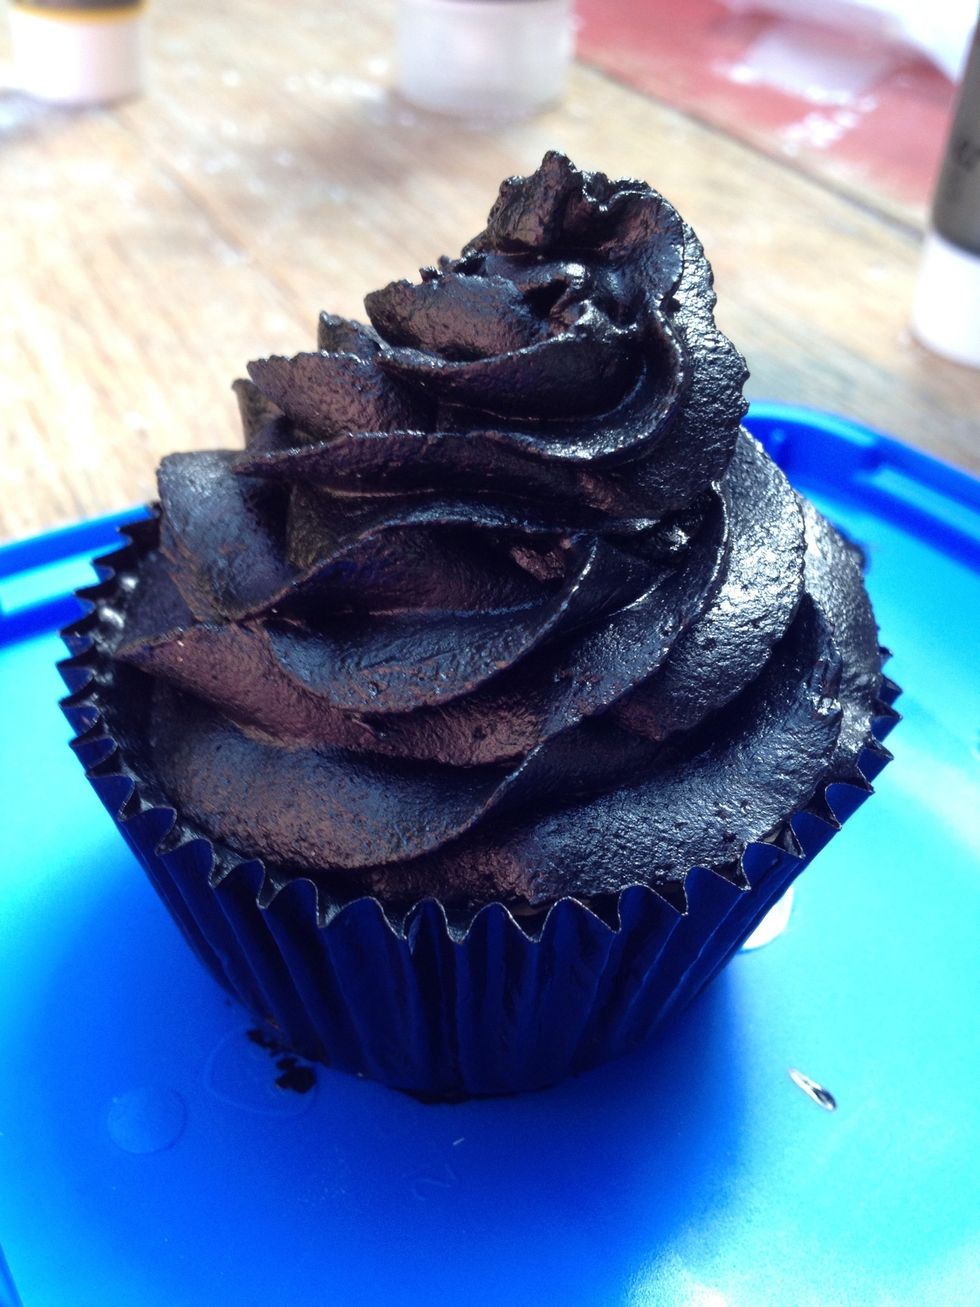
Or you can just paint them with acrylic paints like I did and VOILA! Looks just like a real one!