How to make fast & easy tiny origami rose (strip folding)
These are made w/ strips of paper like those used for lucky stars (puffy stars). They're super addicting to make! Adapted from tadashimori's YouTube video.
9692
STEPS
TOOLS
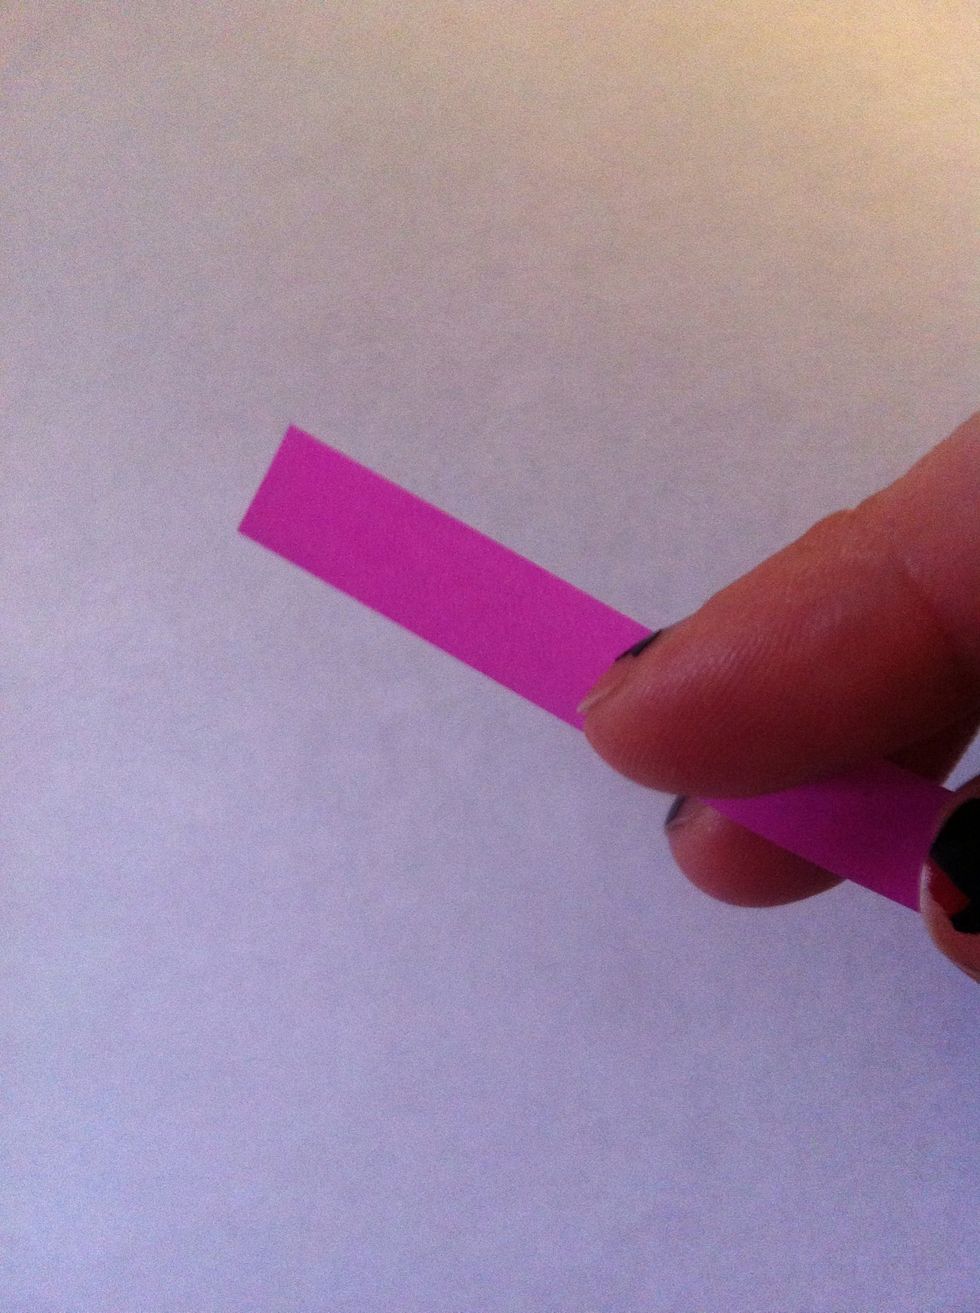
I'm using a paper strip that's used for lucky stars. I end up using two, so my strip is approx 30 cm long & not quite 1 cm wide. If you have paper like mine, hold 2 back to back for solid color rose.
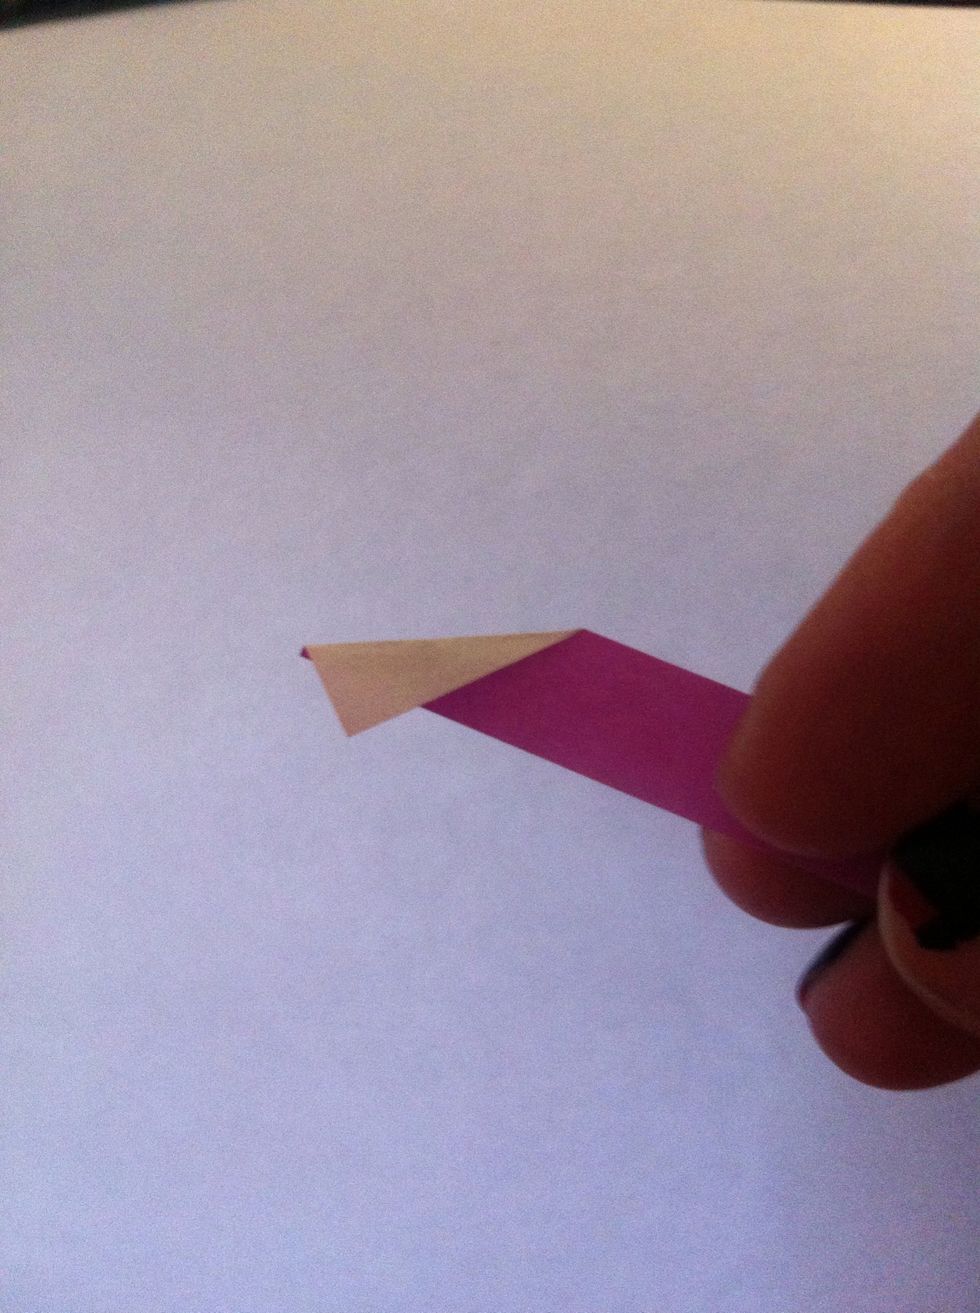
Fold corner down like so. This will be your handle to pinch & hold onto while making first few rounds of rose. You can start on color side or white side, it doesn't matter.
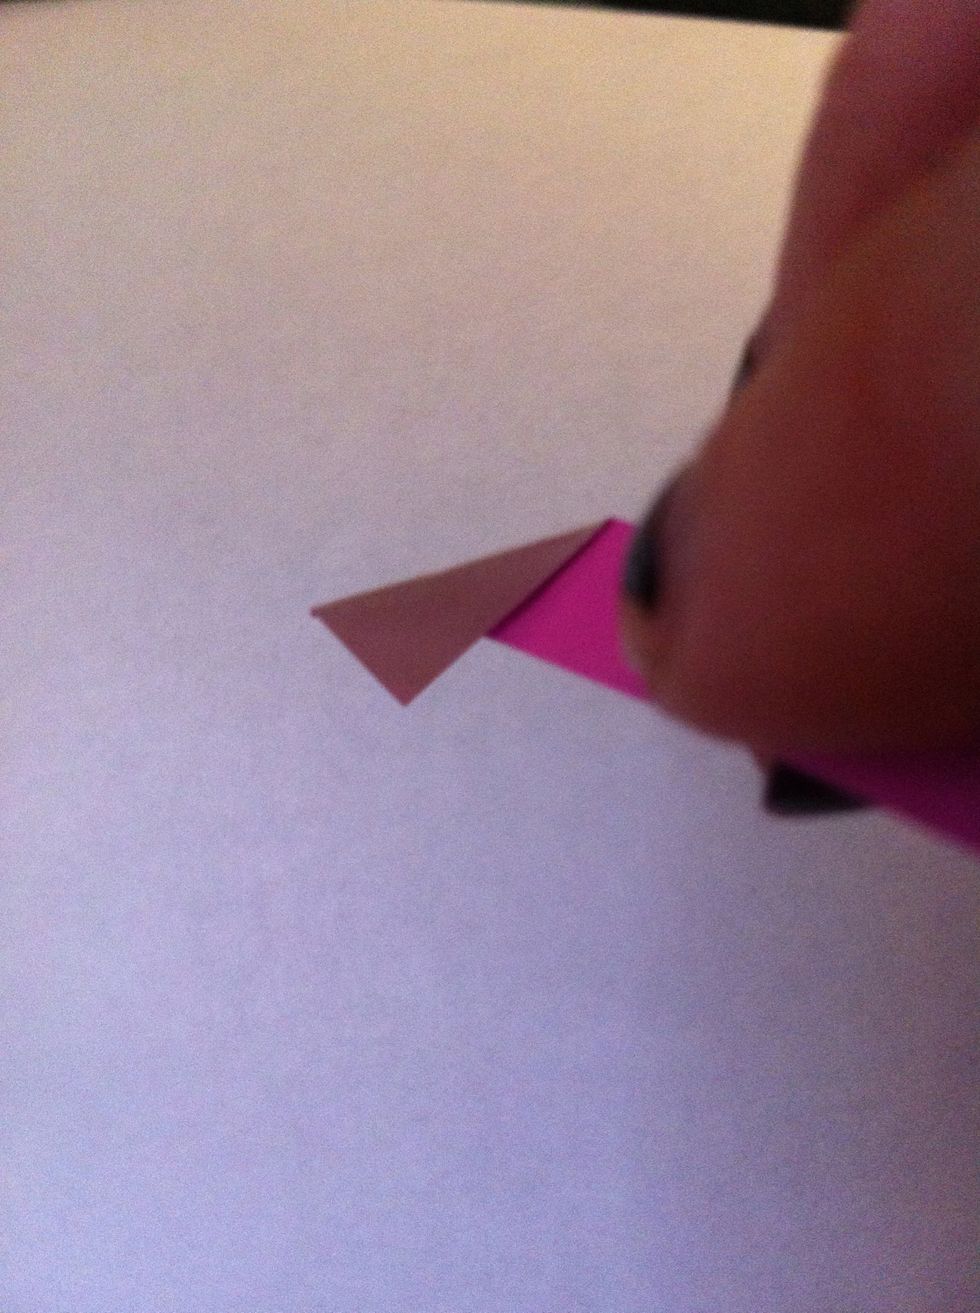
Now you'll fold the strip up. The crease will be right along that line I'm pointing to.

Like this. Now turn it over...(oh and somebody might wanna repaint their nails someday)...
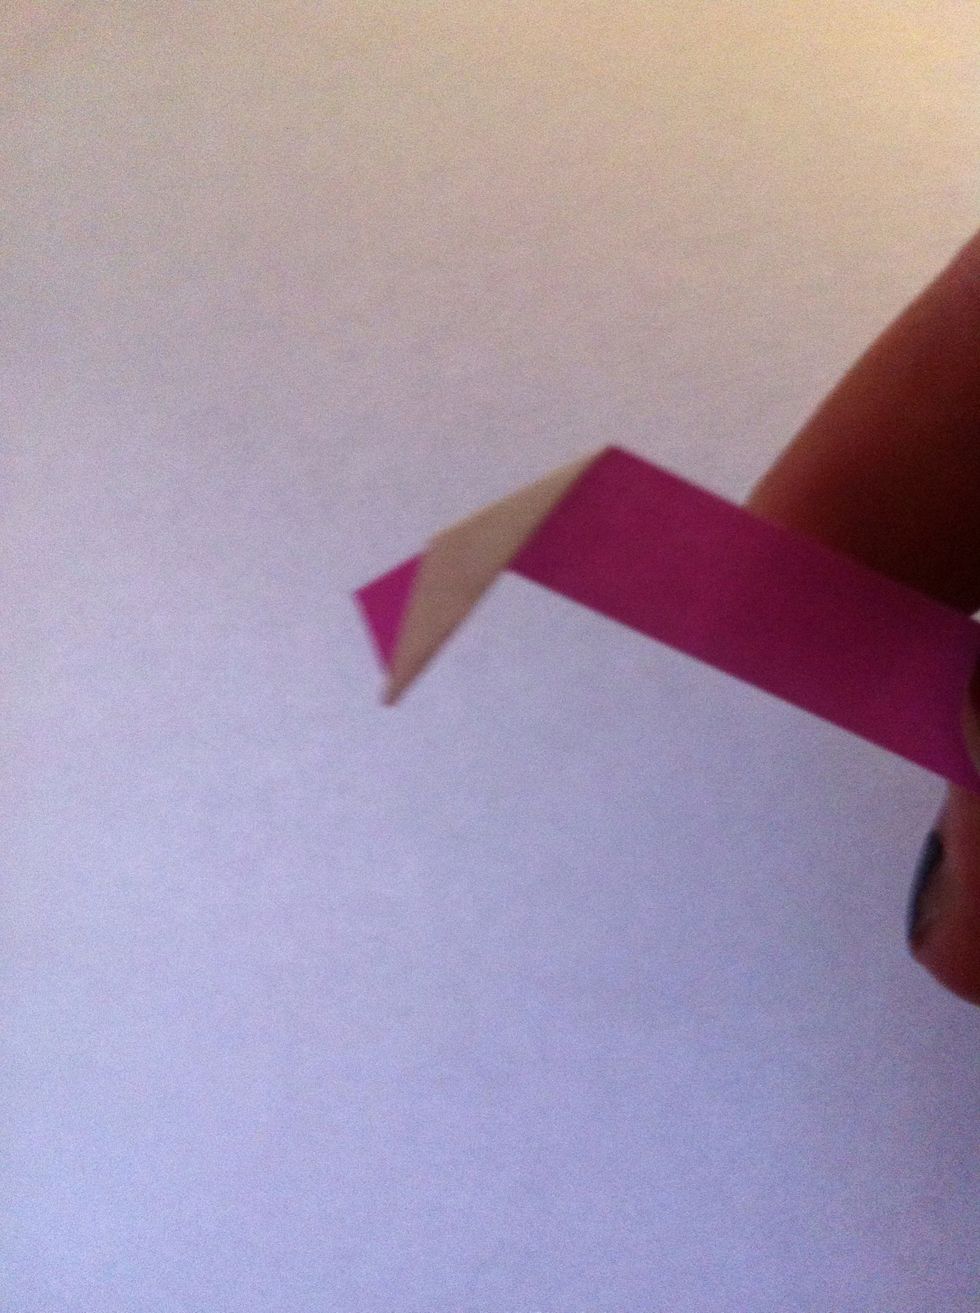
Like this.
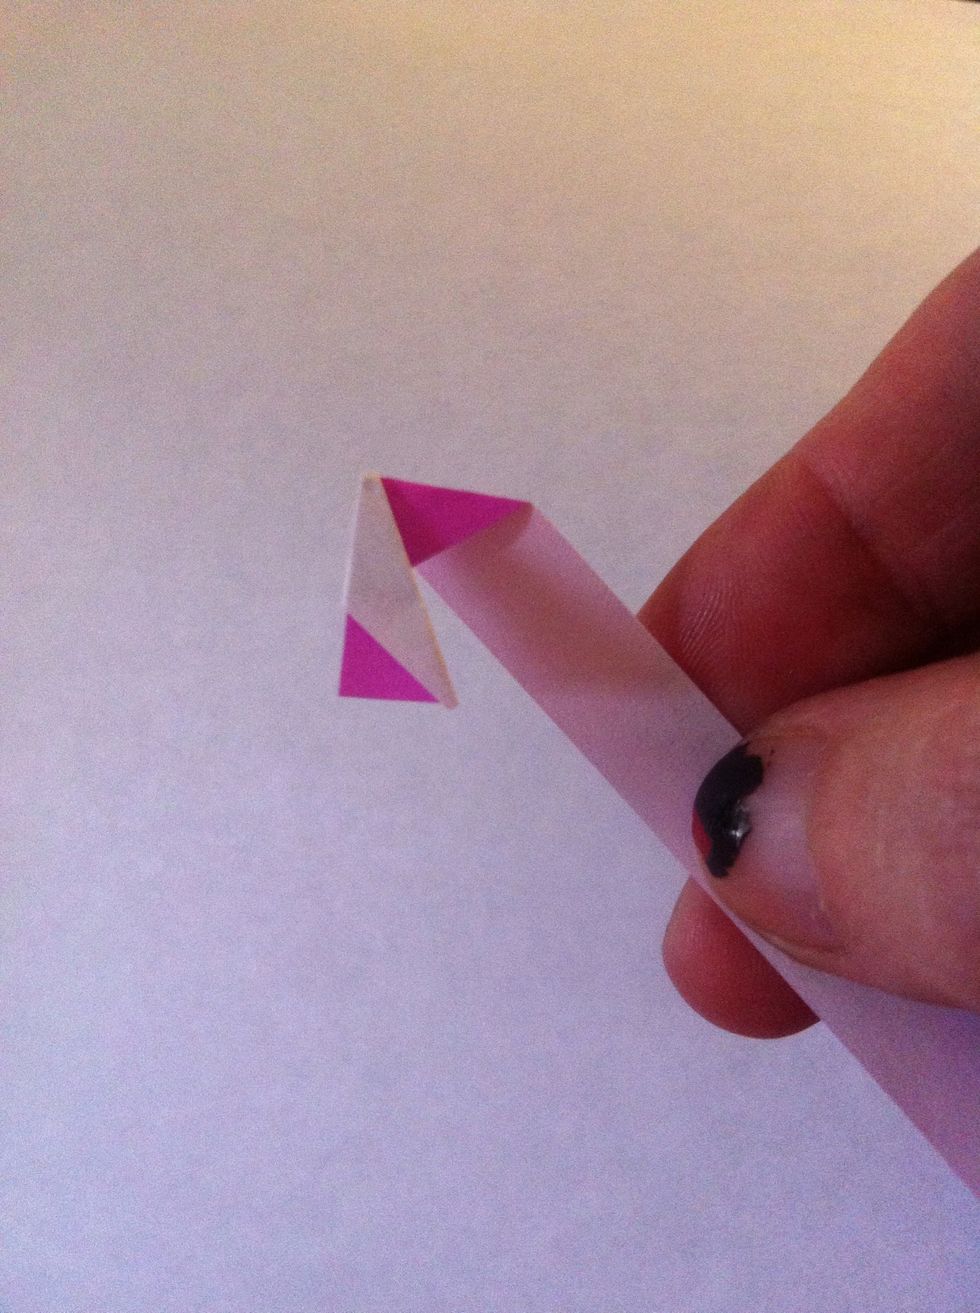
Bend the strip back now. You'll be folding the tip of that white triangle back with it. I should say now that there really isn't an exact science to this; just fold back & turn, fold back & turn.
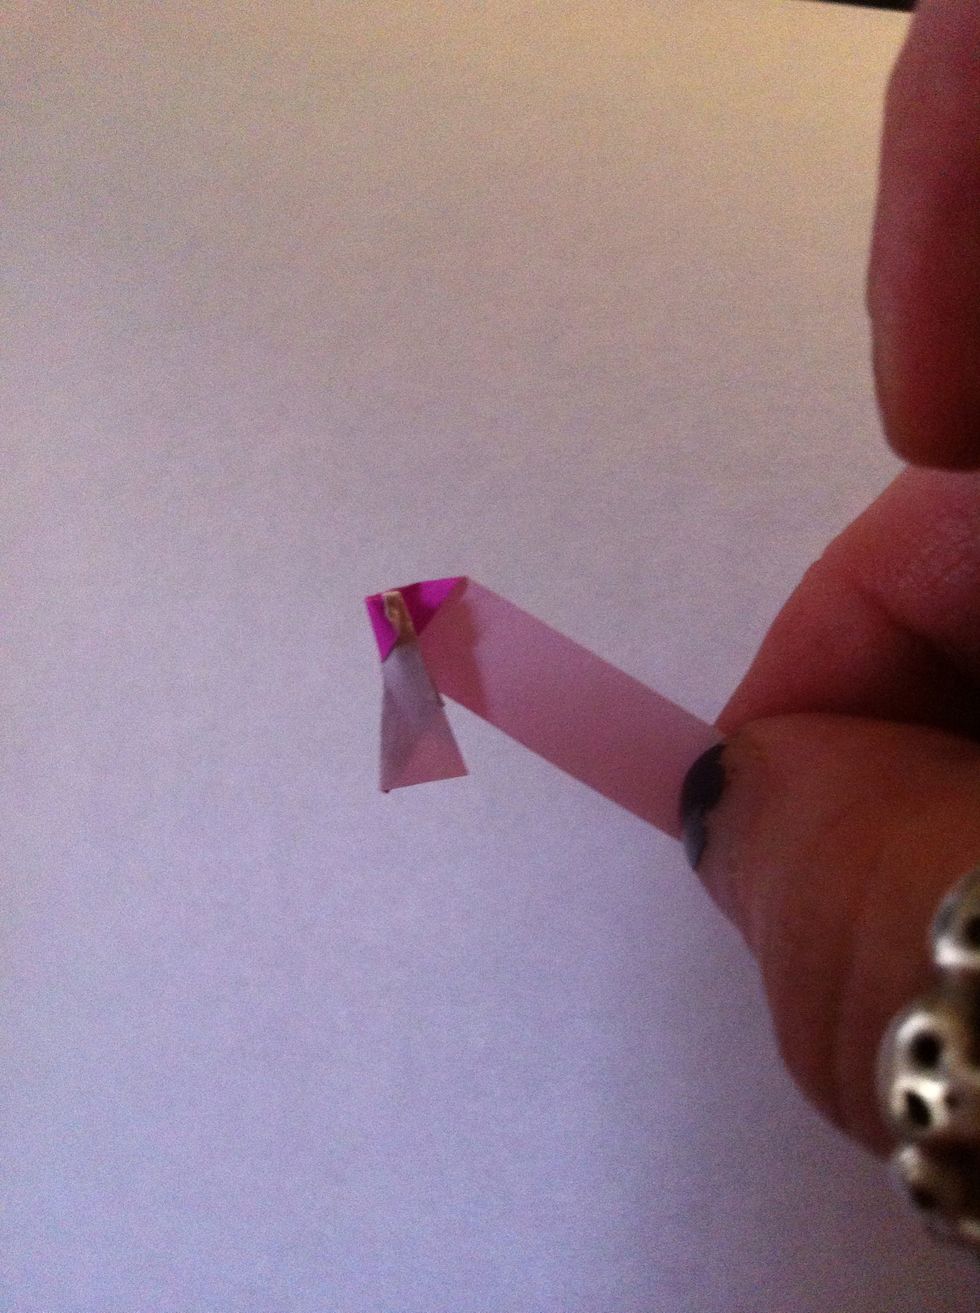
We just folded it back, so now I've turned it. Maybe "rolled it" would be better wording. I forgot to take a picture, but I pinch that handle when working on beginning of rise.
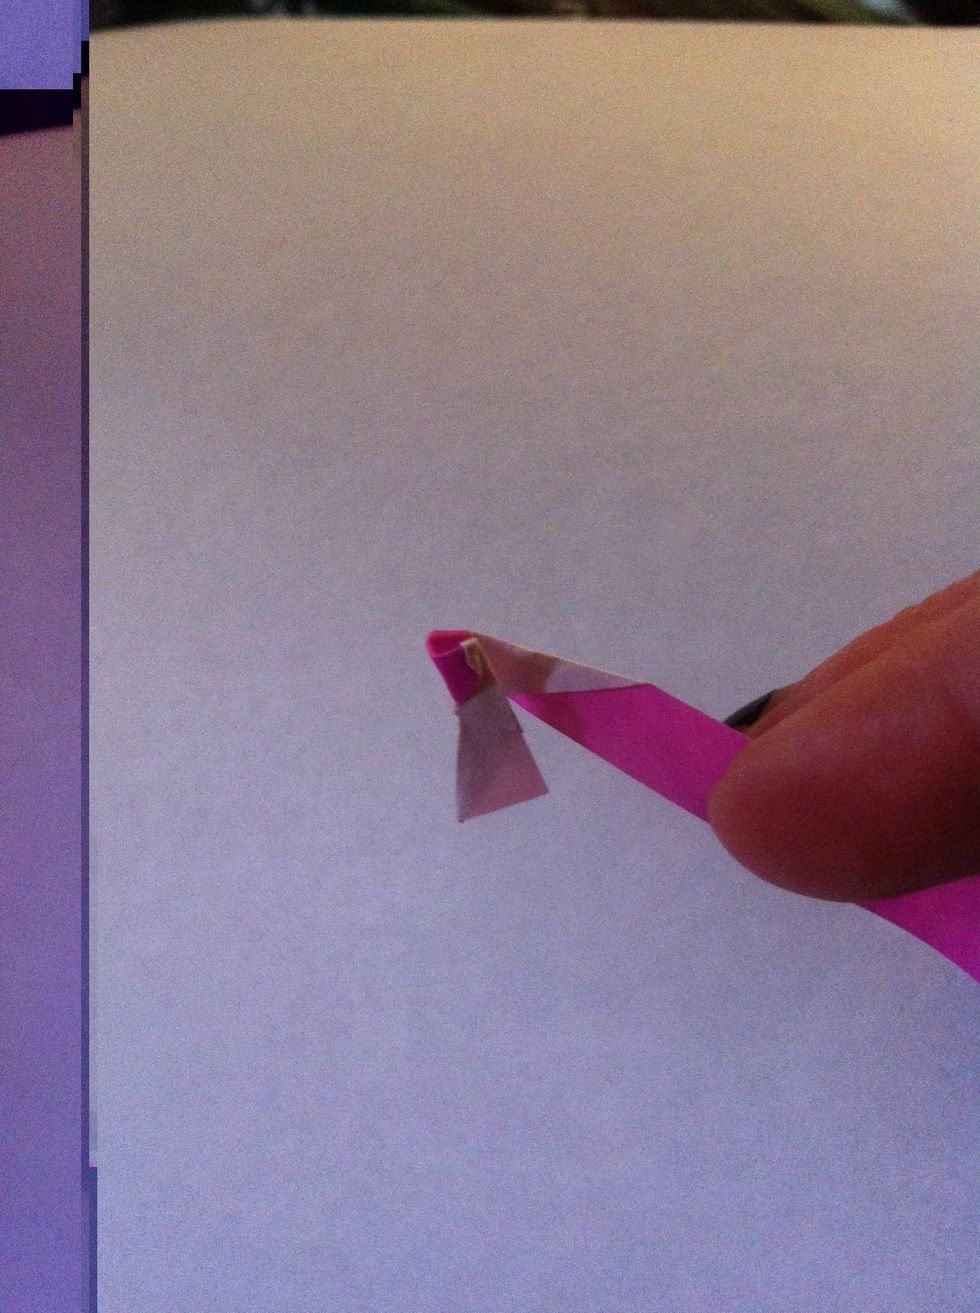
Fold back.
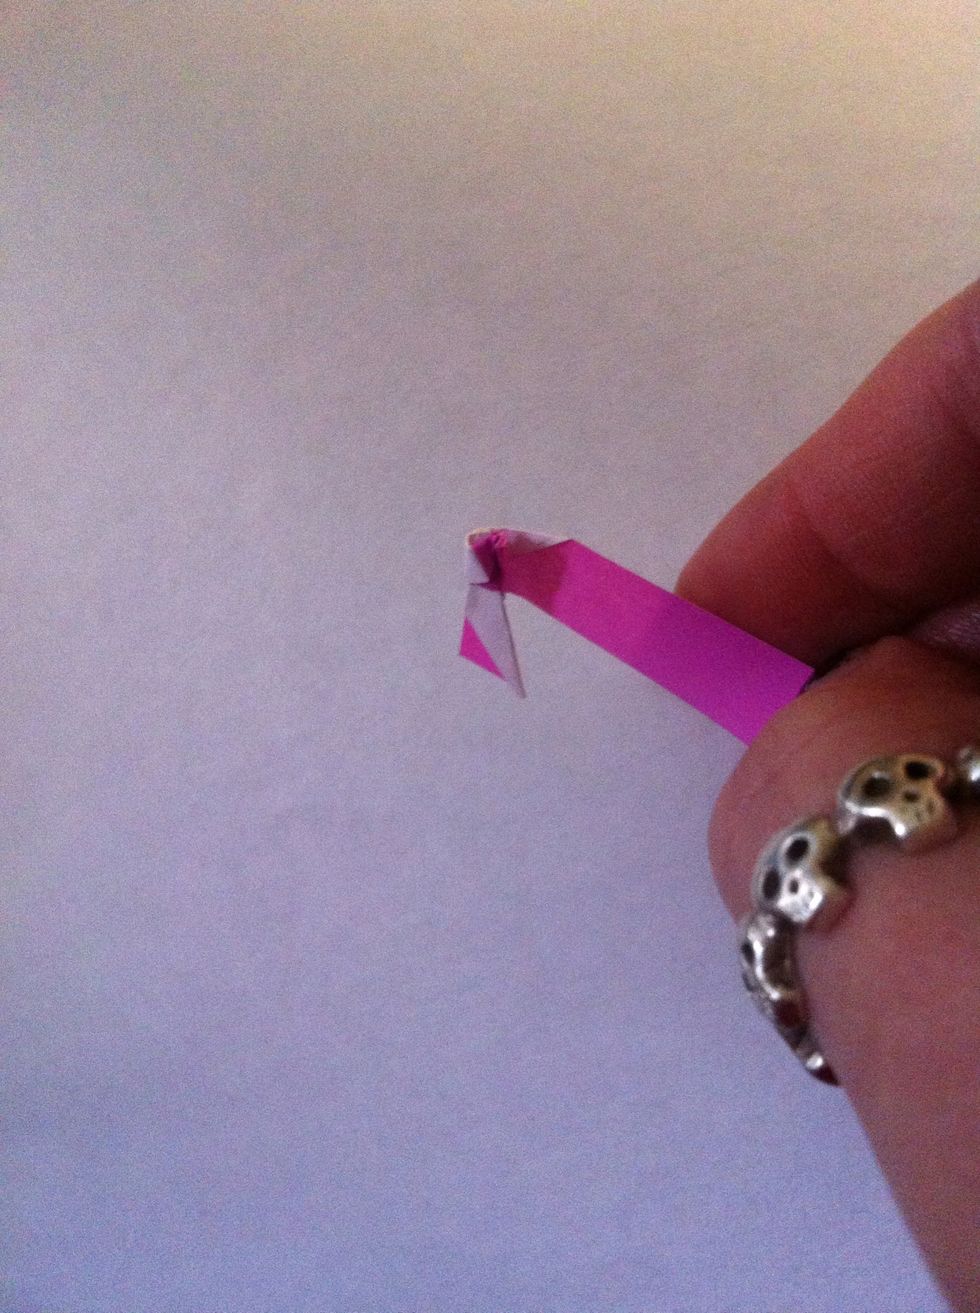
Roll it.
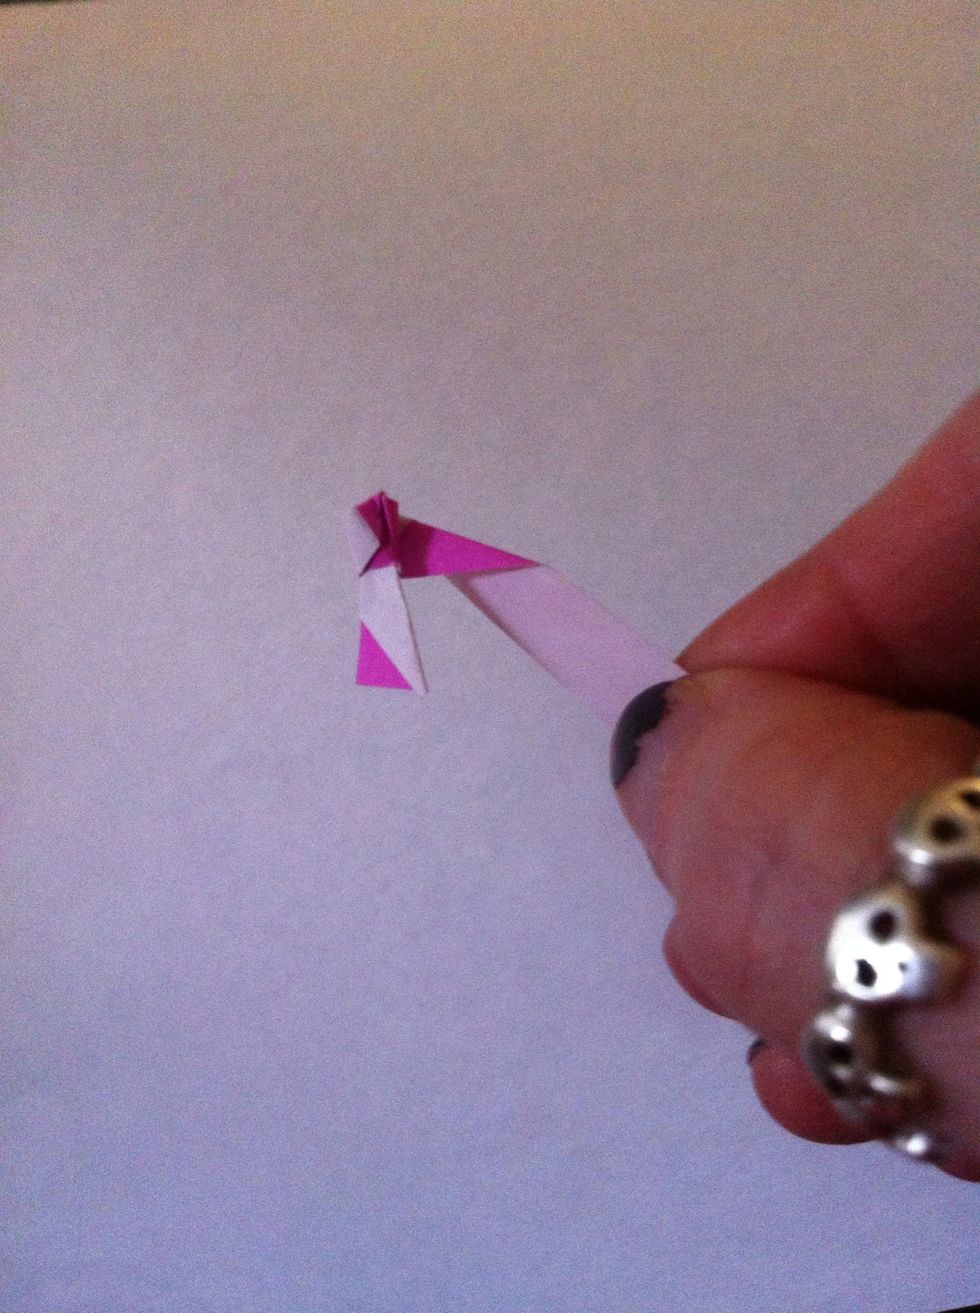
Fold back.

Roll it. And keep going a few more times...
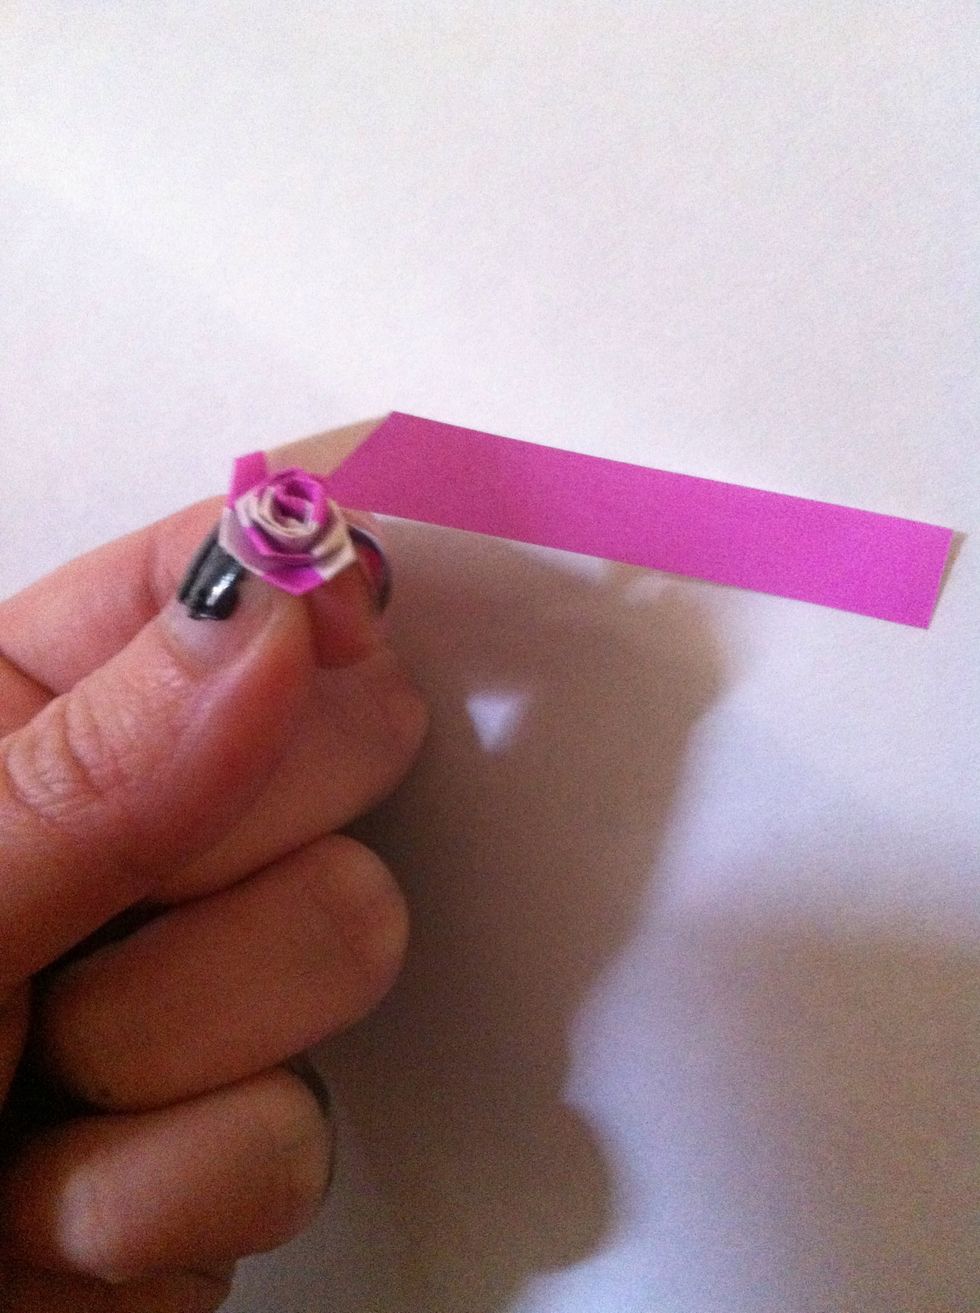
Until its about this big. We're just gonna change the way we hold it now...
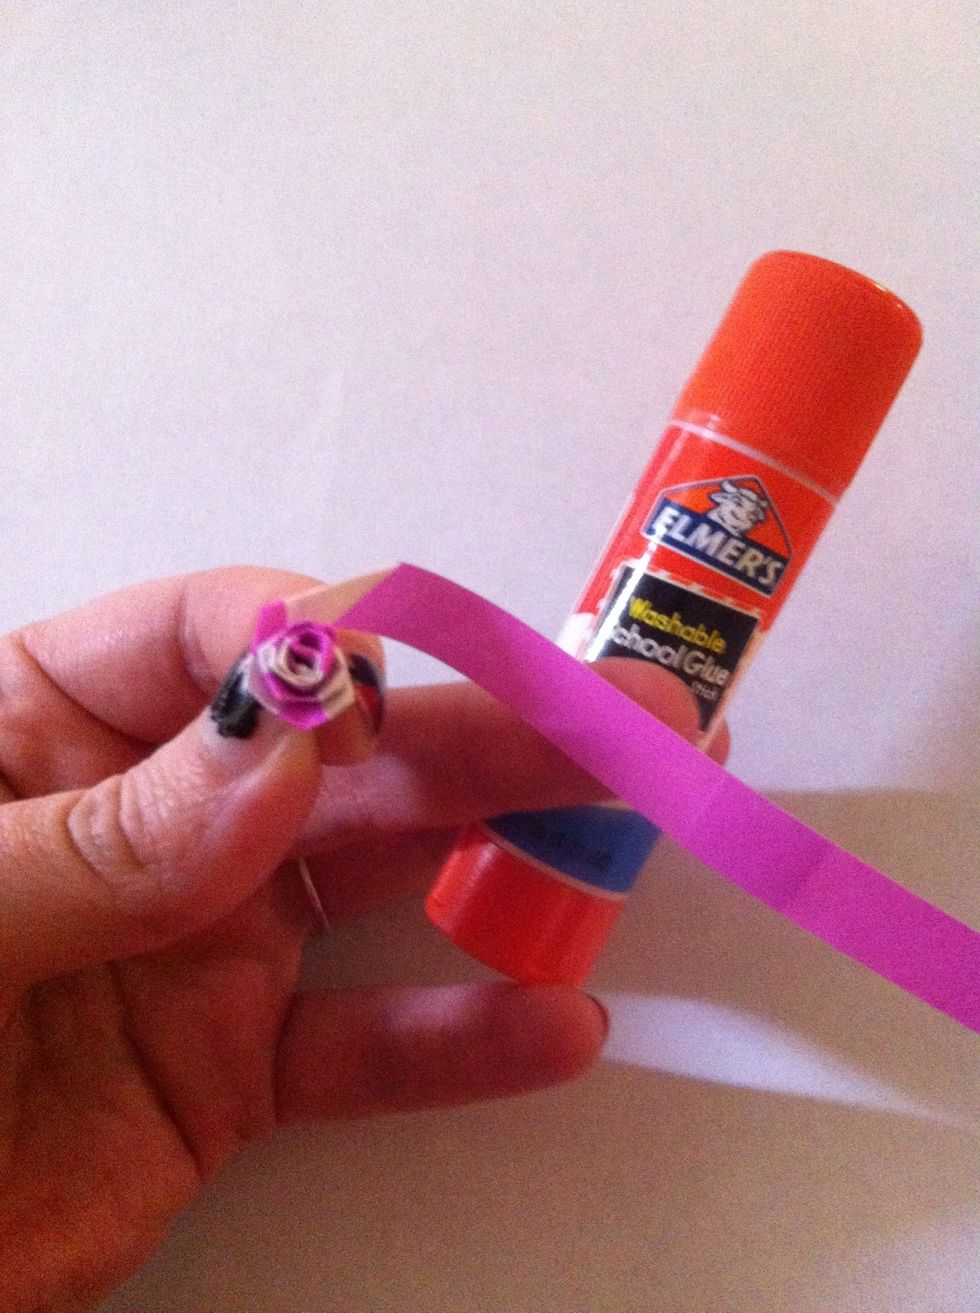
And you can glue on that second strip now.
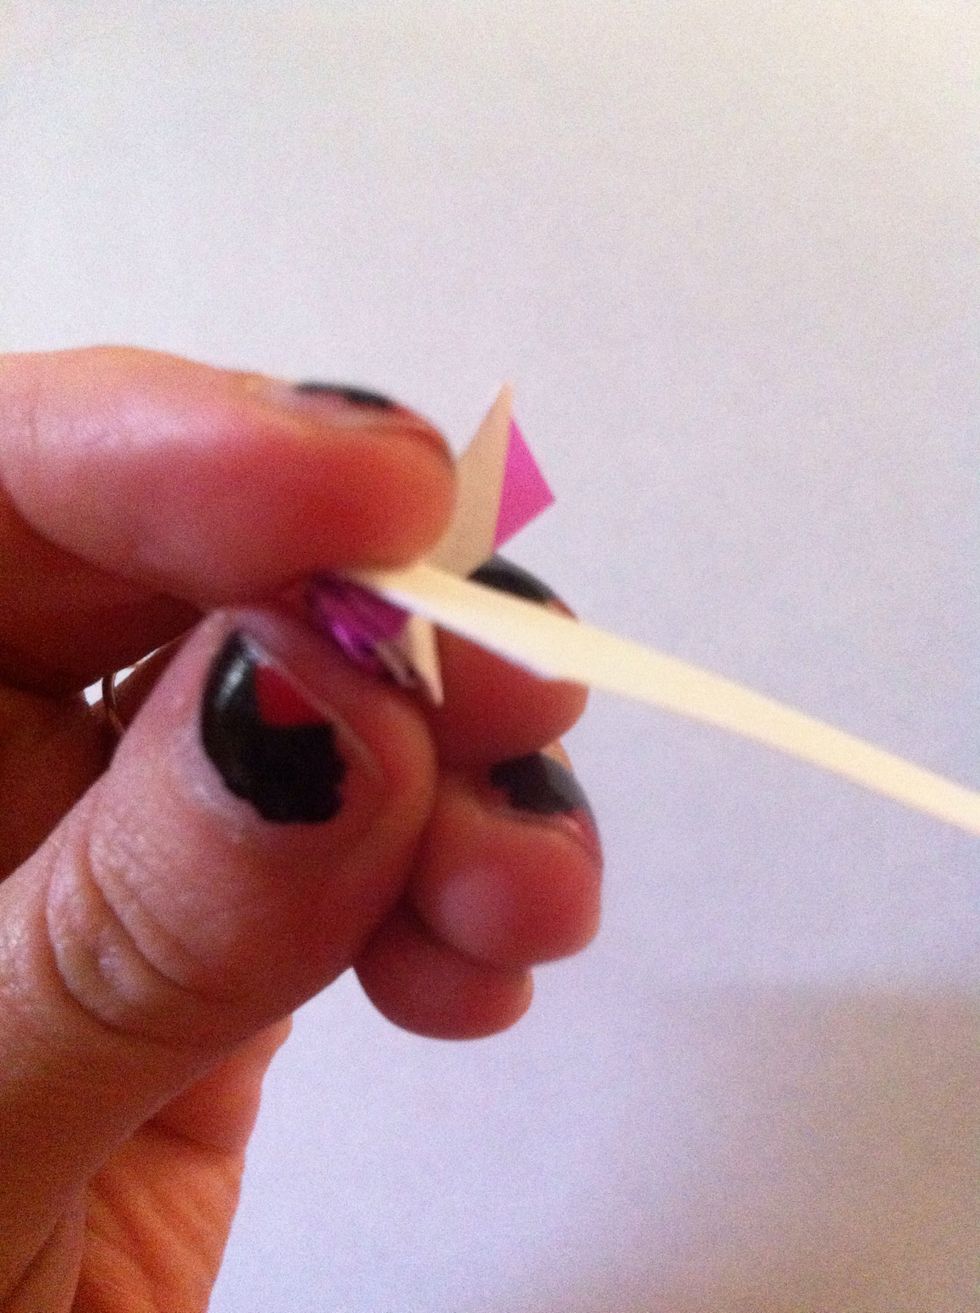
Hold it upside down w/ your thumb on the top part of the rose & your index finger holding the bottom. This will keep your rose from getting all wonky as you fold back & roll.

This is how I hold it, using my other thumb to fold back.

And here's the bit of a pinch I do on the rose while rolling it.
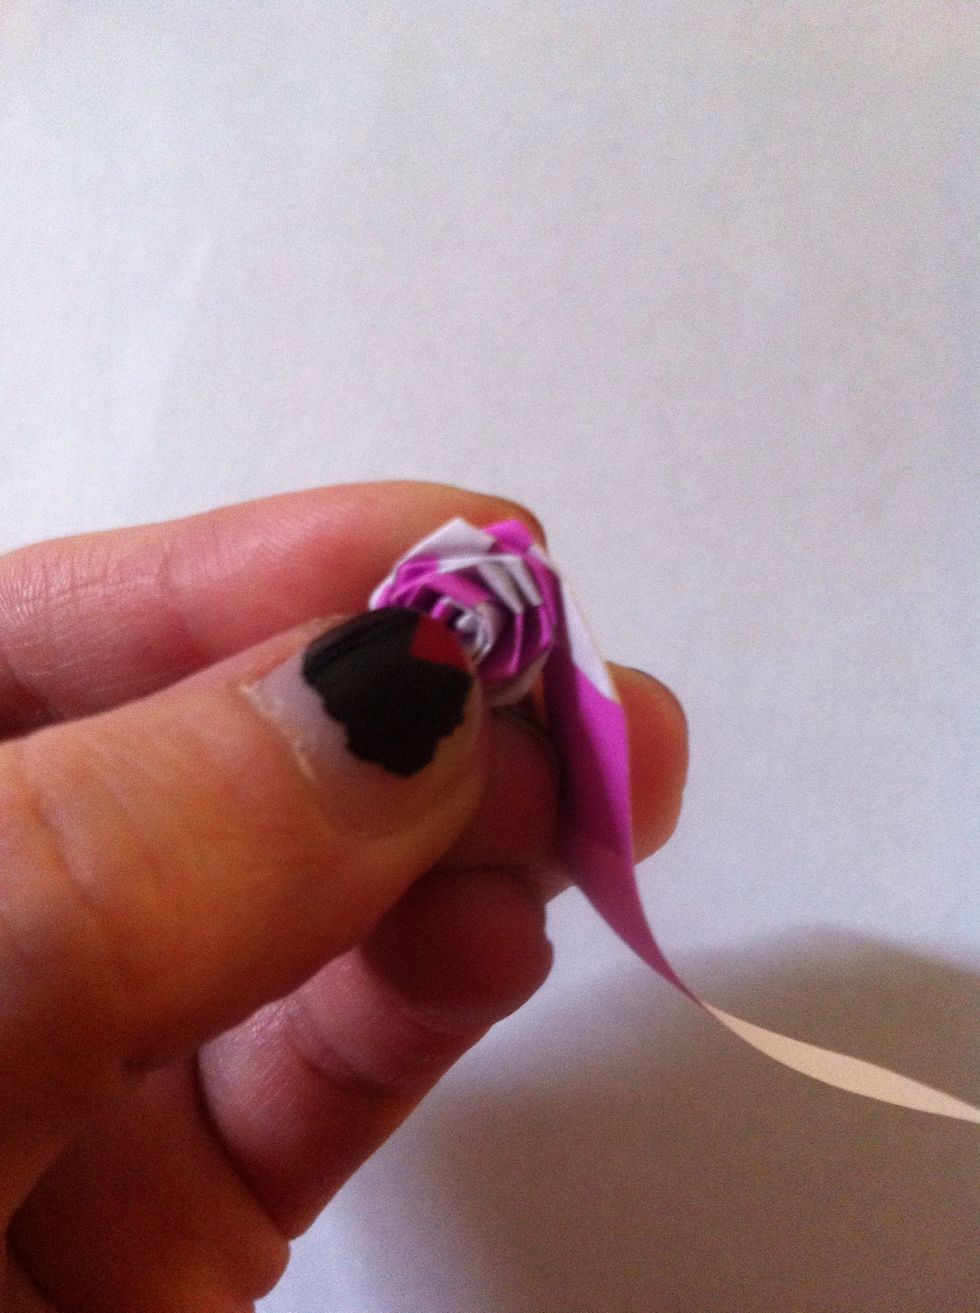
The only thing to really watch for is that the petals are spread apart & not on top of each other. See the white & purple points above. It just makes it look better.
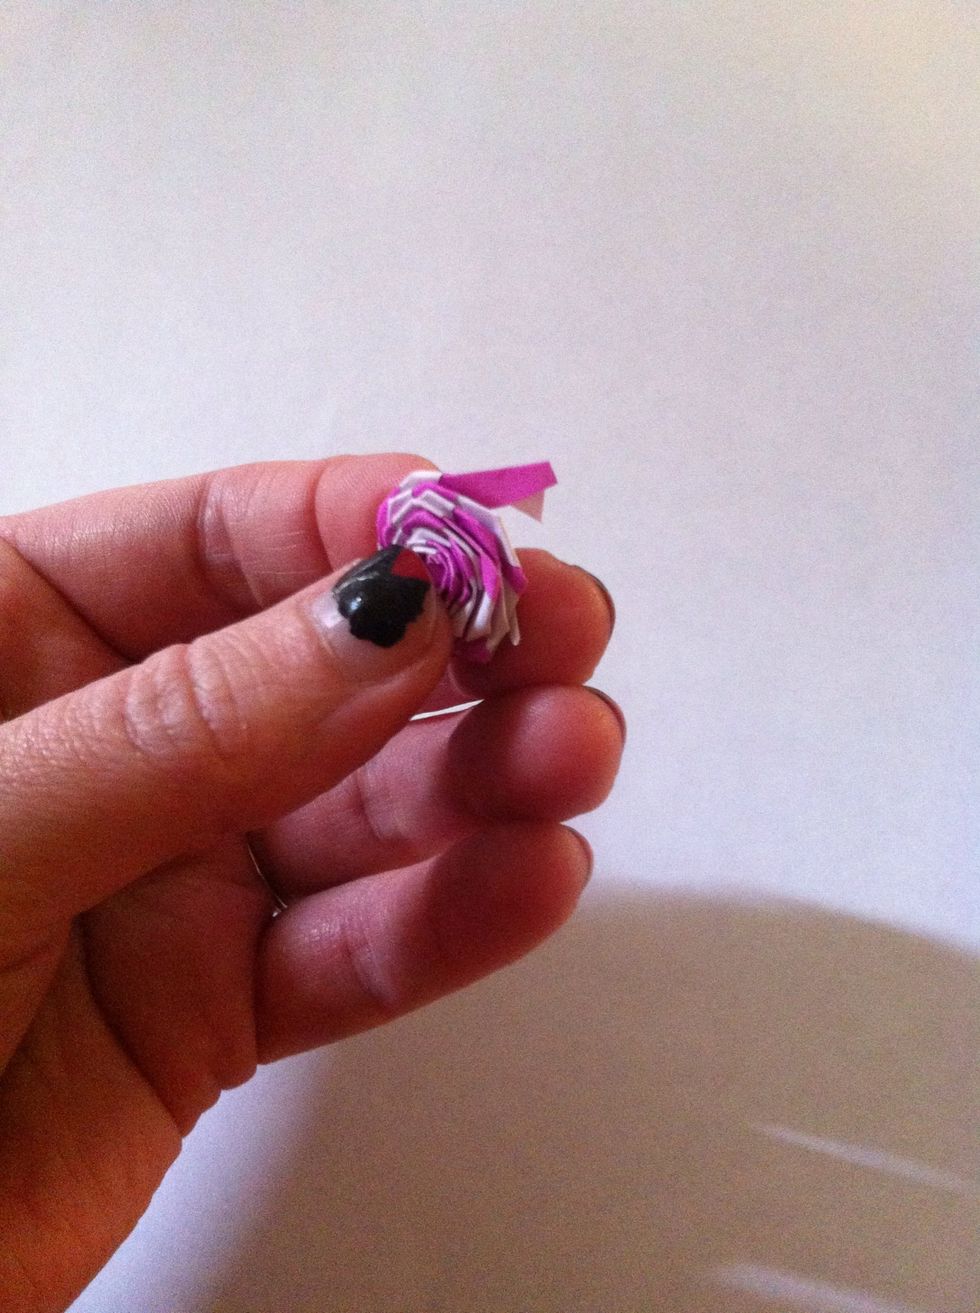
When you can't fold back & roll anymore, try to fold back one more time so we can tuck it...
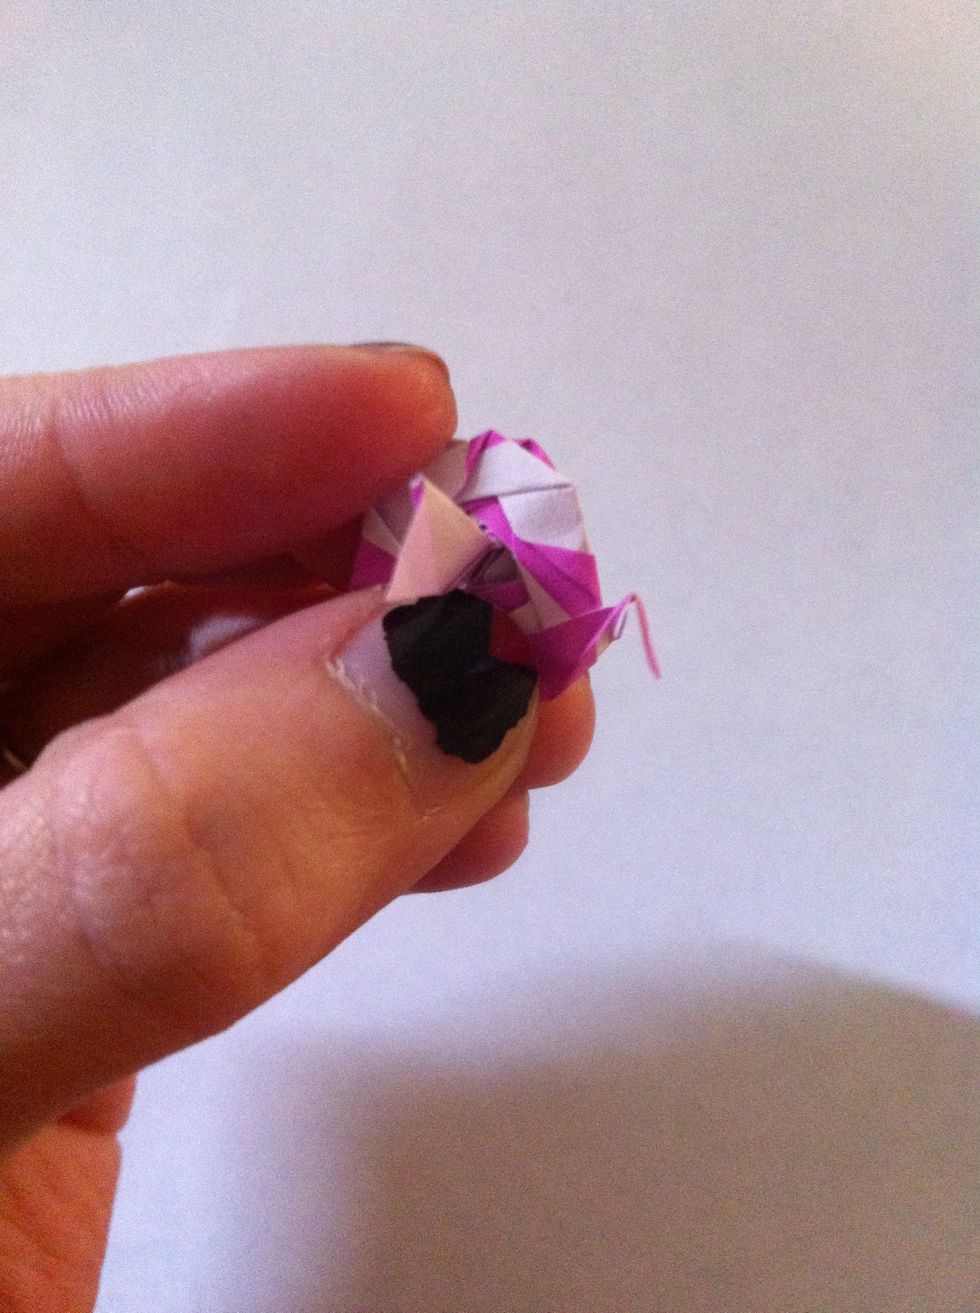
This is the underneath. You can see there's places to slide your end piece under. I also add a bit of glue to be extra secure.
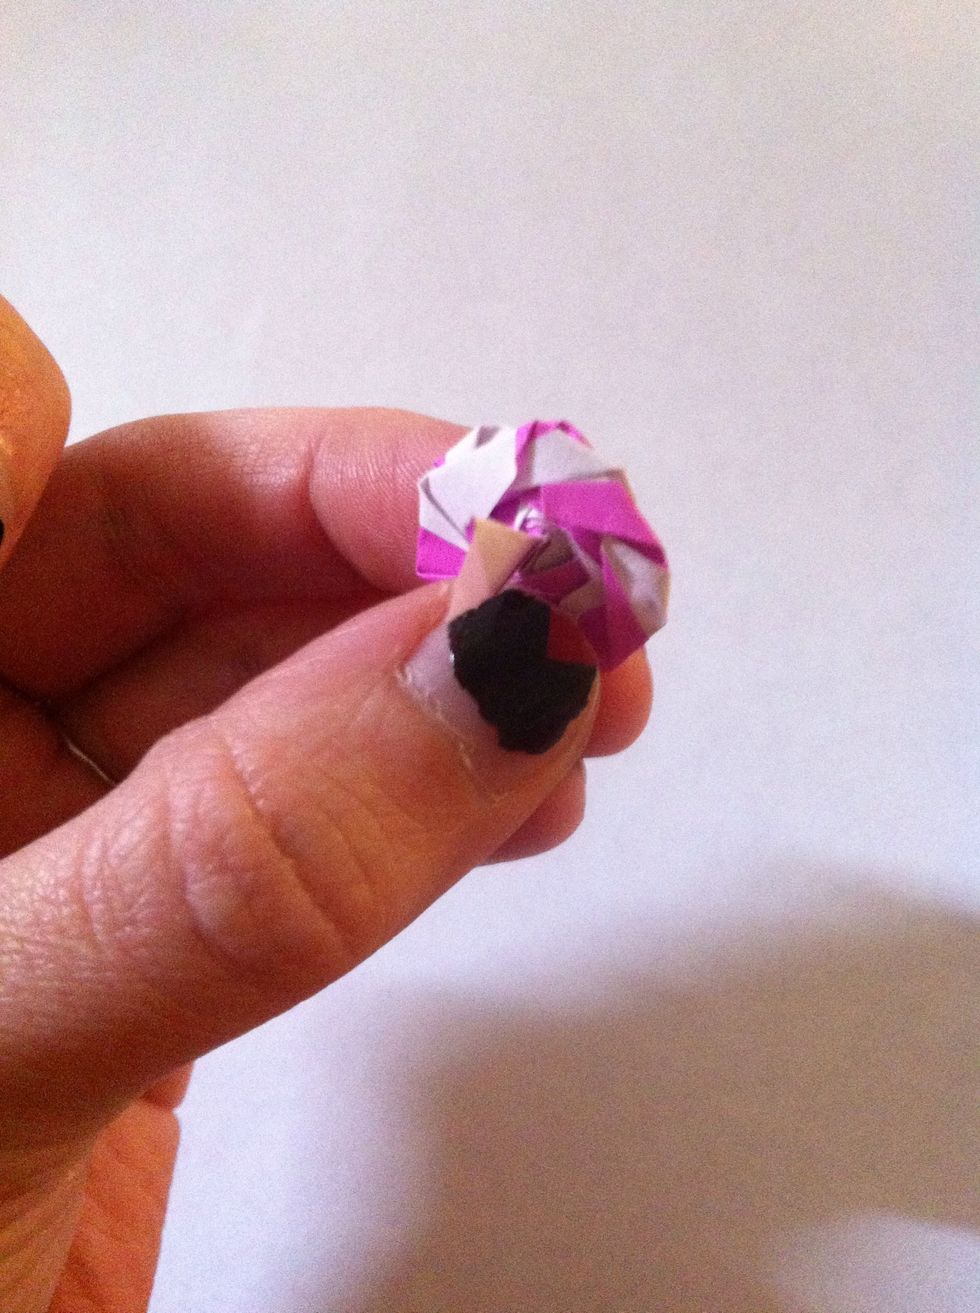
Here's my end piece sliding under. It's the purple piece.
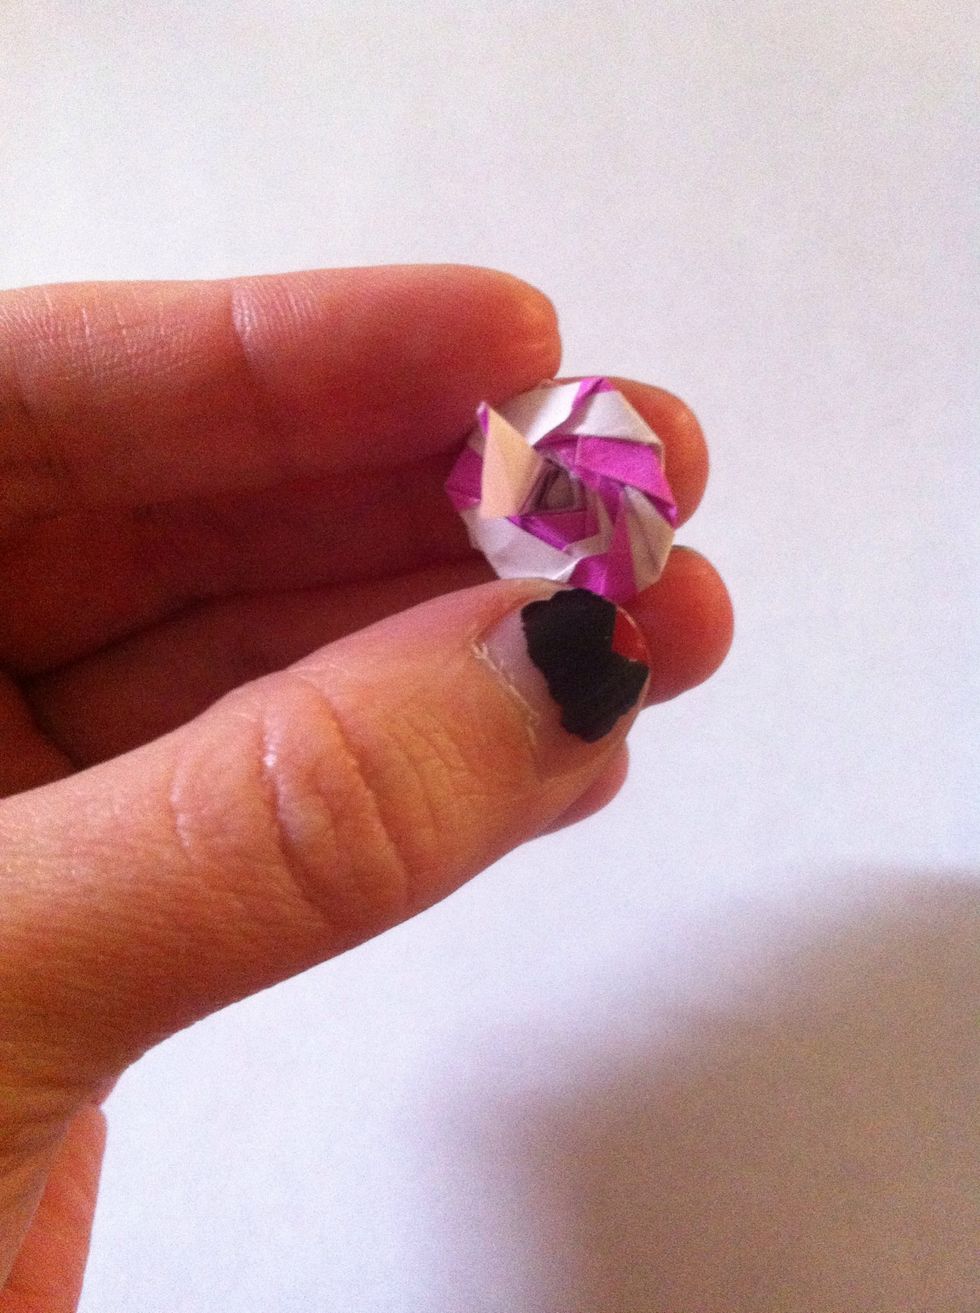
Here it is glued & tucked away.
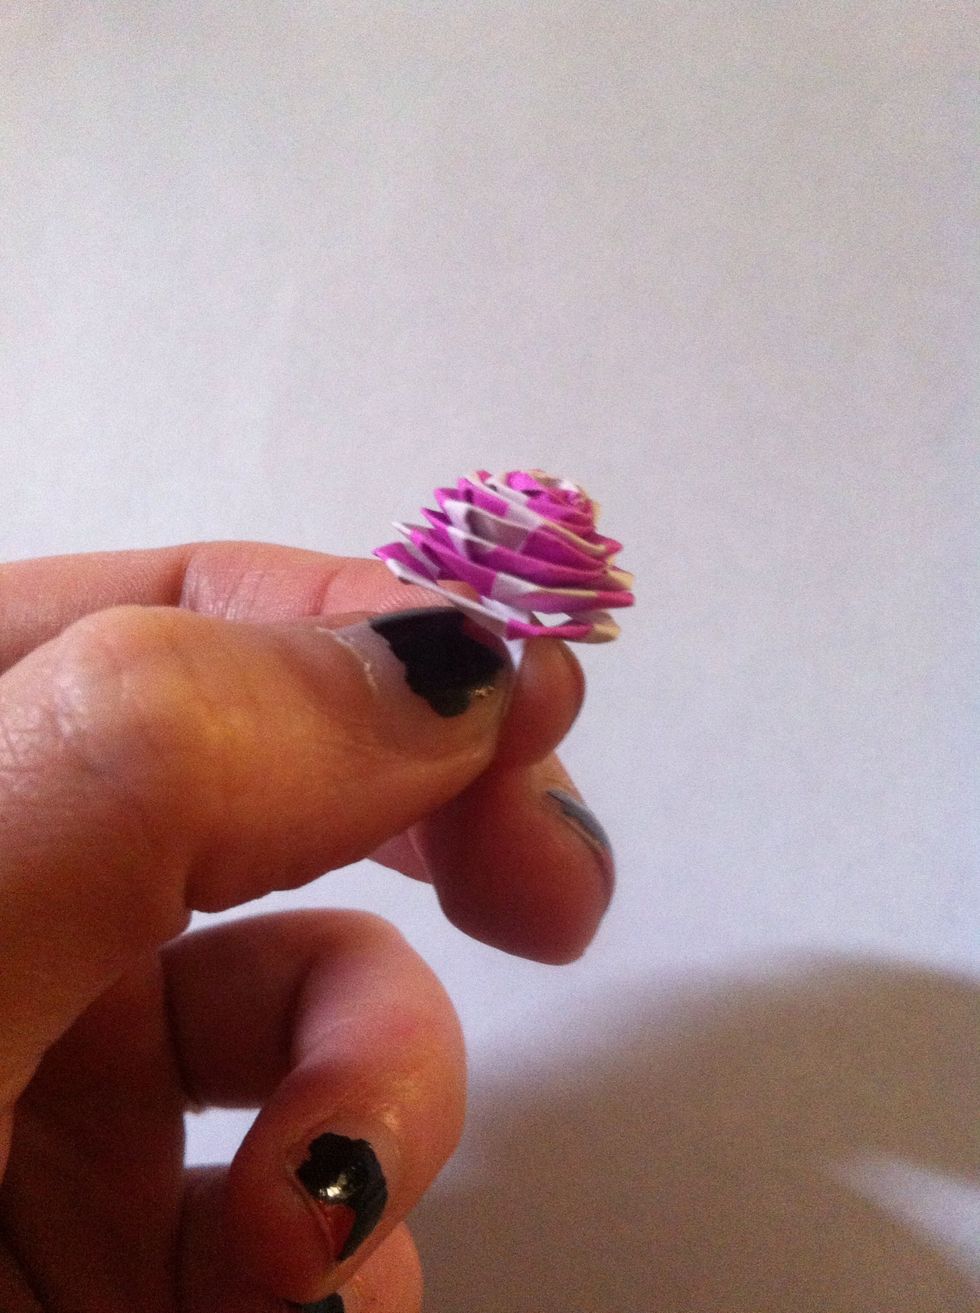
The handle controls the height or how tight your rose is. In this picture it is loose. Don't let your rose spiral fall off that handle!
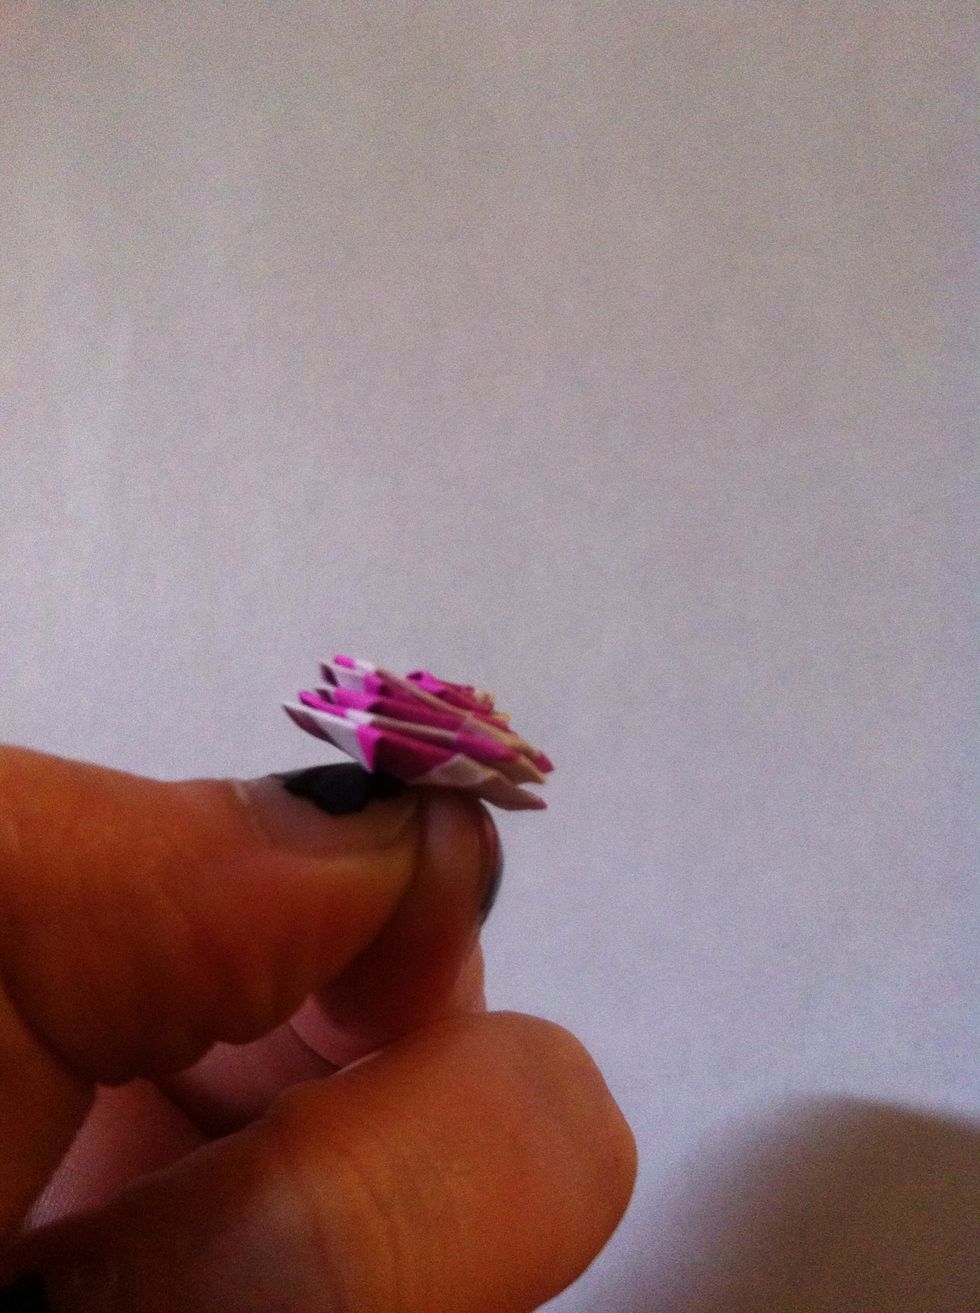
Here it is nice & tight. That's what...oops nevermind.
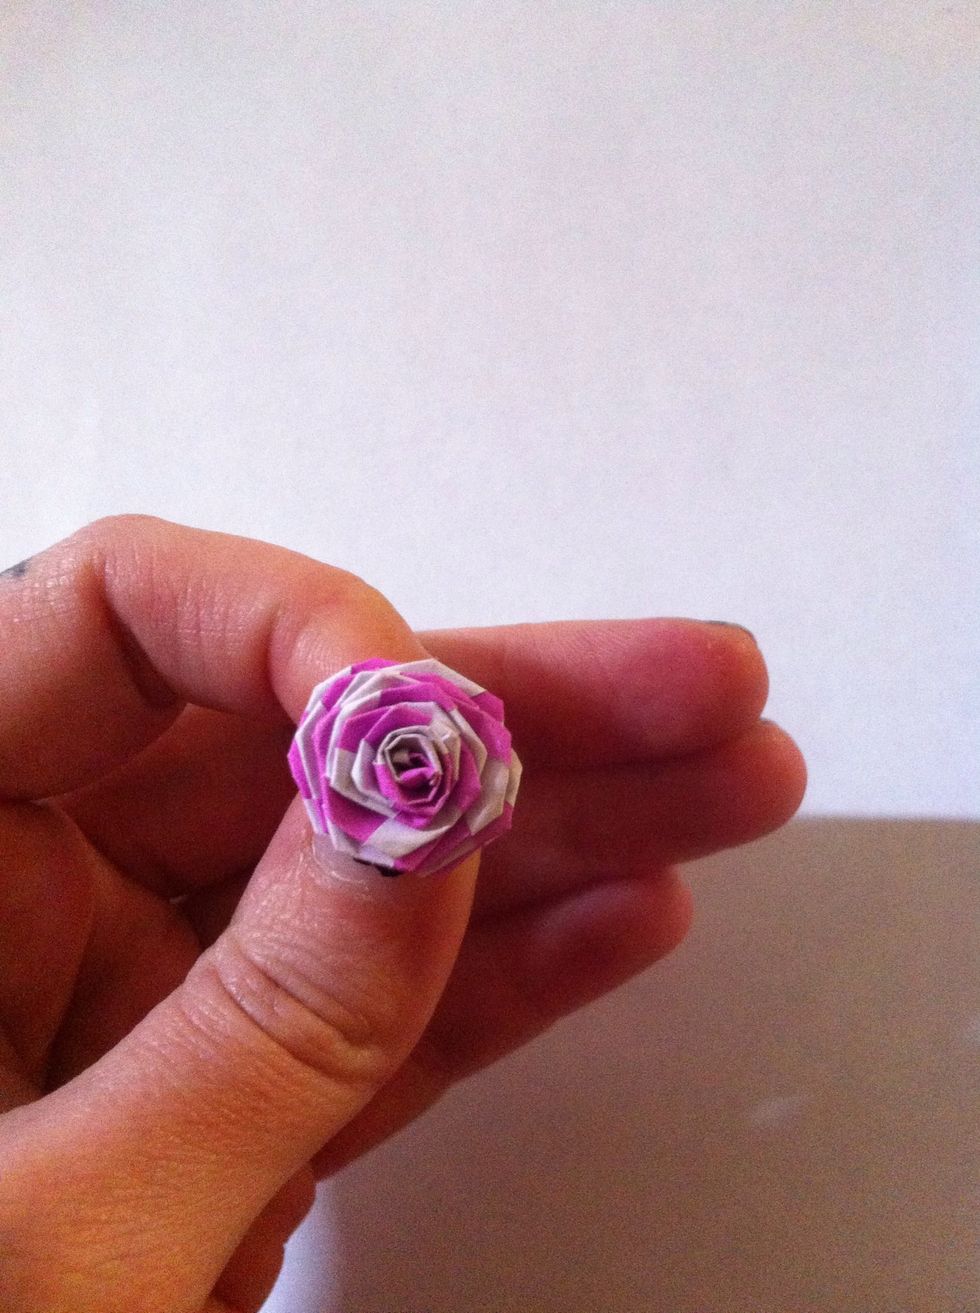
All done. So cute & tiny. You'll be surprised by how quick they are to make! You can glue your handle down on the back to keep it from falling apart or glue a bunch together for bouquet!
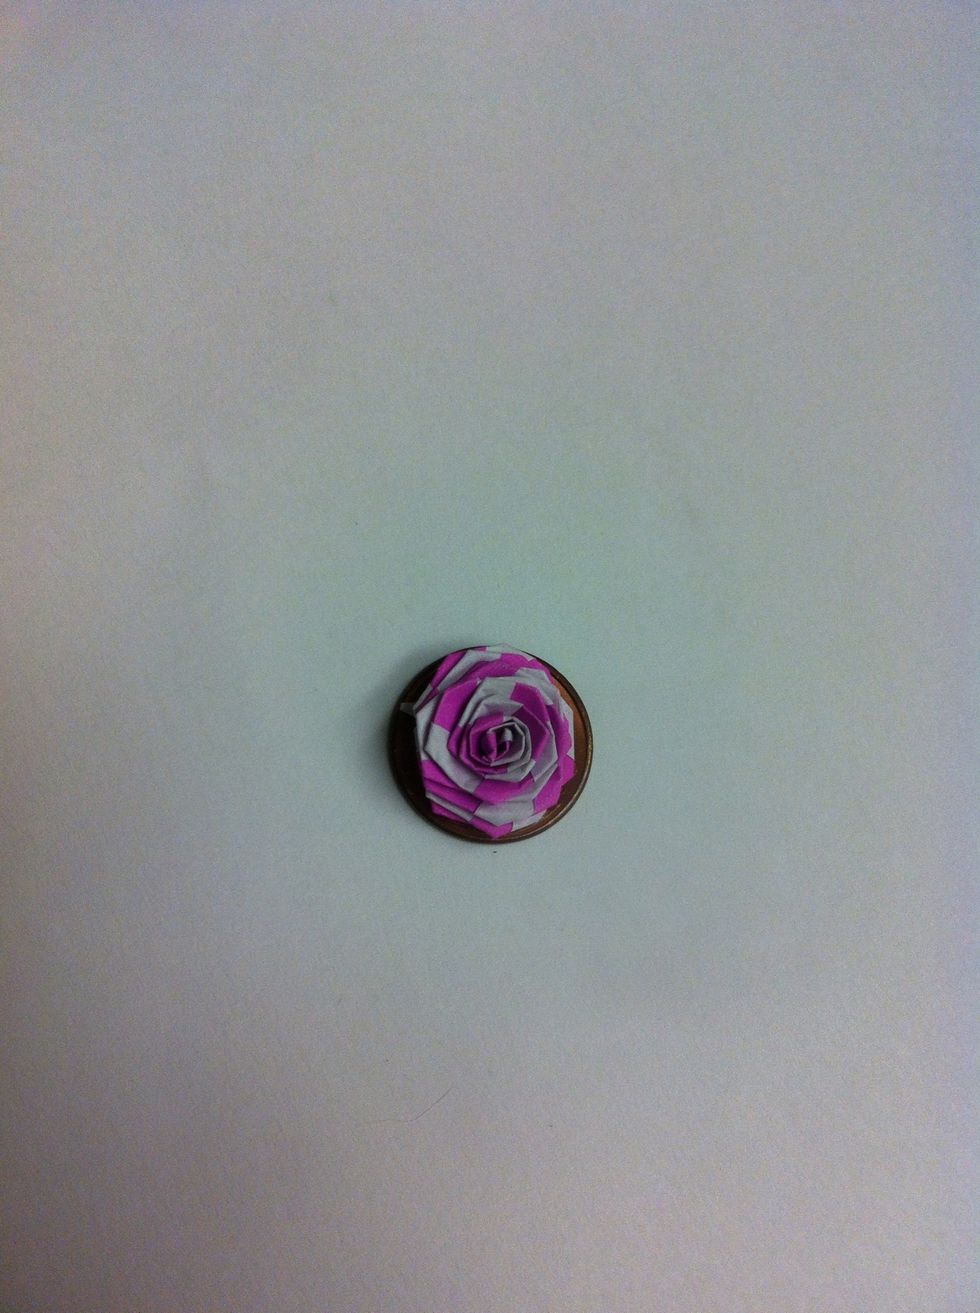
Tiny little fella setting on a penny. You can use your fingernail to try to round the petals back a bit for more realistic rose. I didn't do that to mine, though.
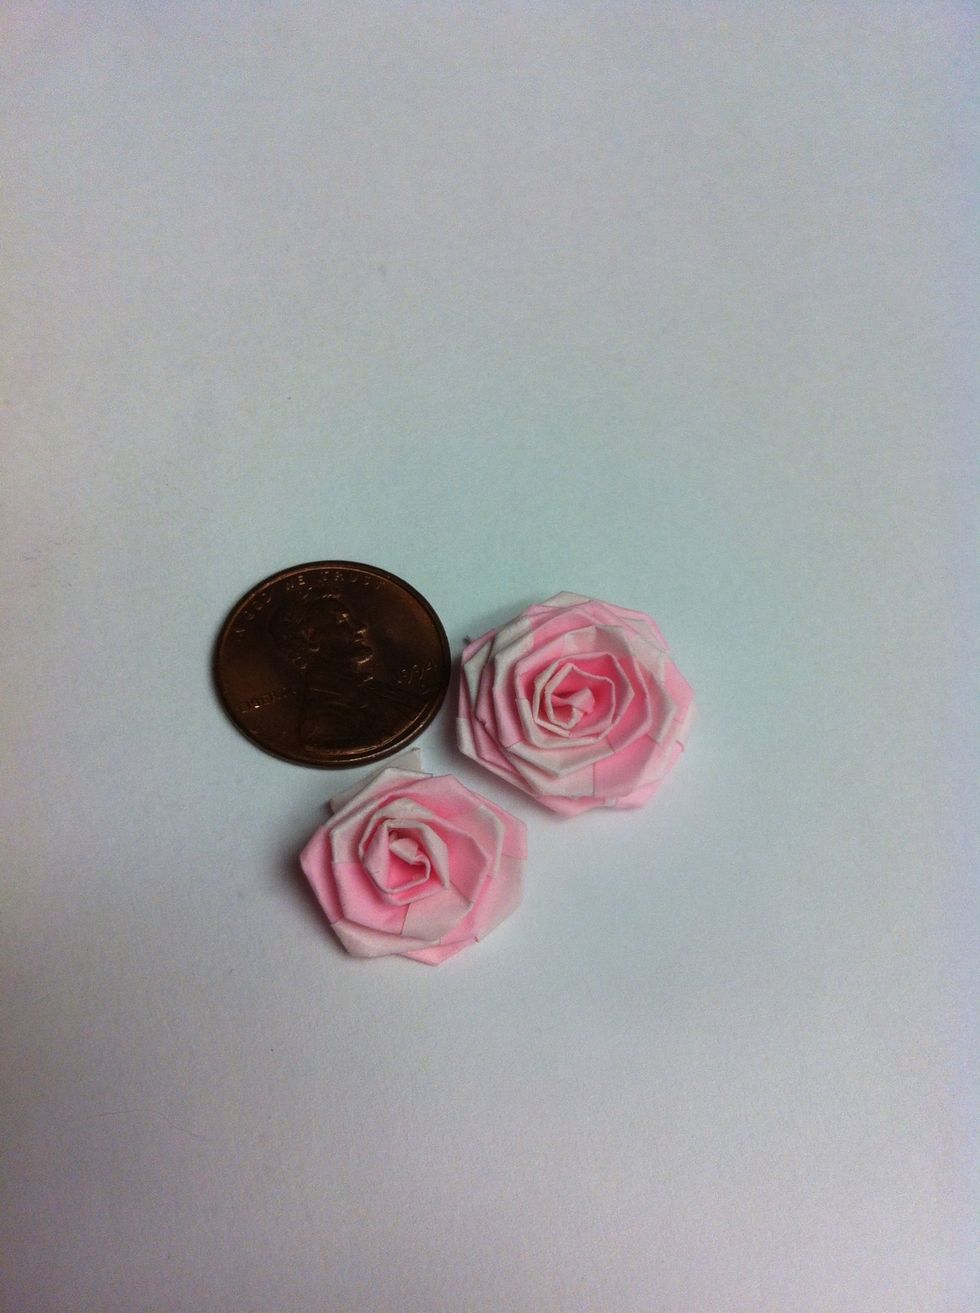
The one on the left is made from one strip. I used 1 cm wide paper for these. And they glow in the dark! Woohoo!

What are you going to do with yours?
- Paper strips
- Glue
Ellie Kneeland
ℓᎥƘƎ ᗩИ ⚙C̤̈✞⚙ƤυƧ ⚙И Я⚙ℓℓƎЯ ƧƘᗩ✞ƎƧ\nThese are not my designs; I'm just trying to keep origami alive. Please enjoy & pass along what you learn. ?ellie
Corona, California
The Conversation (0)
Sign Up