The Conversation (0)
Sign Up

Gather your supplies.
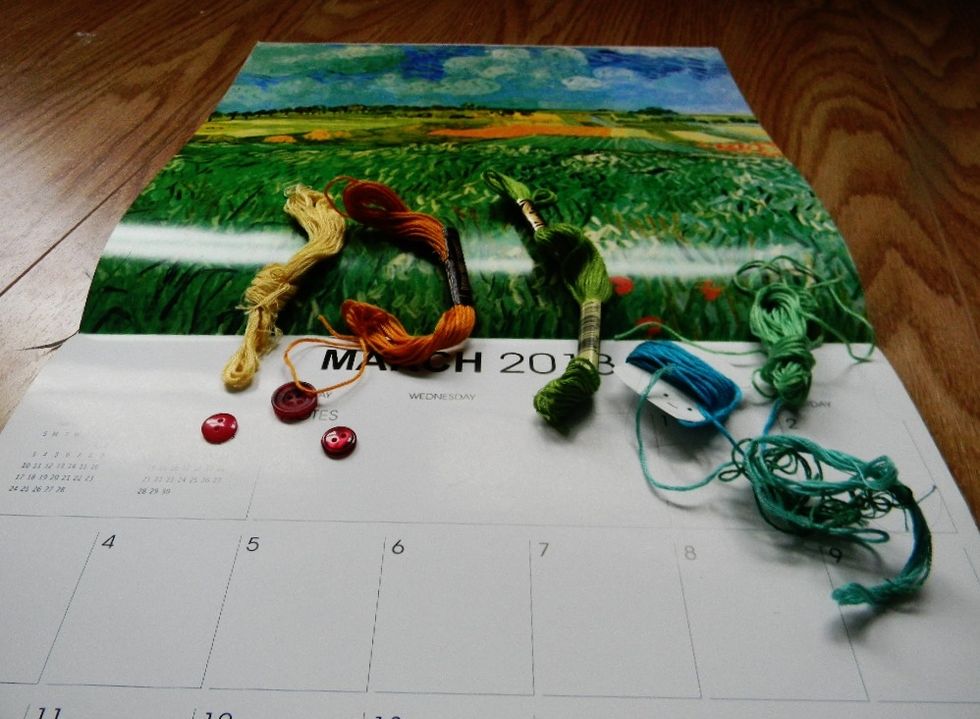
Select your color palette and embellishments. Carefully rip or cut the calendar page from the calendar.
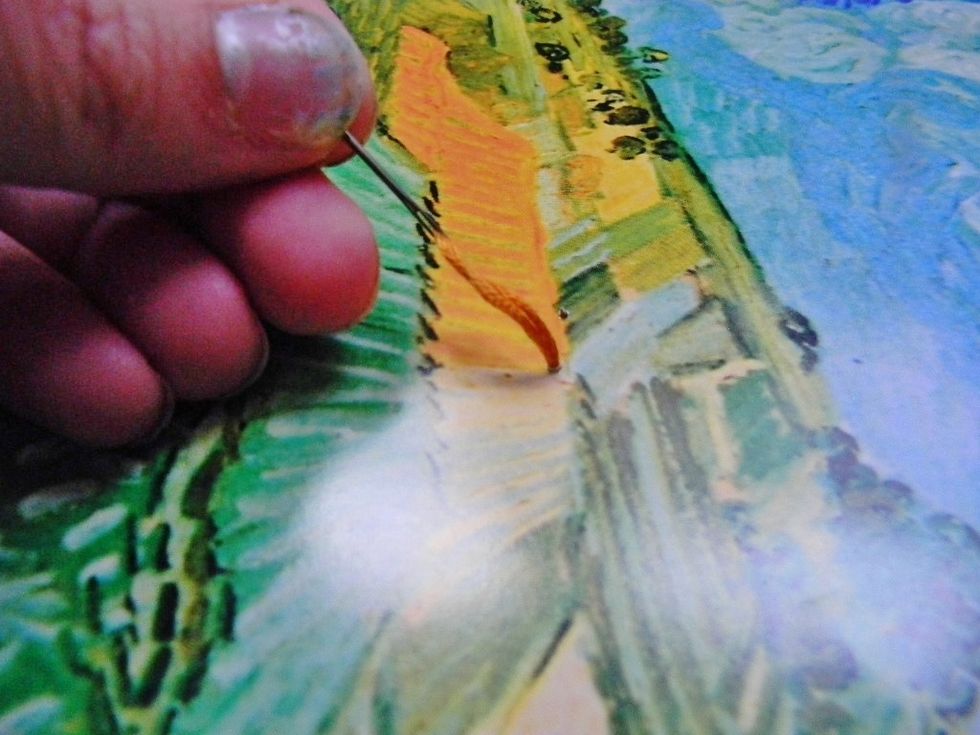
Thread your fist color onto your needle and poke it through the back of the calendar page to begin stitching. Don't poke the holes too closely together, though, so the paper doesn't rip.
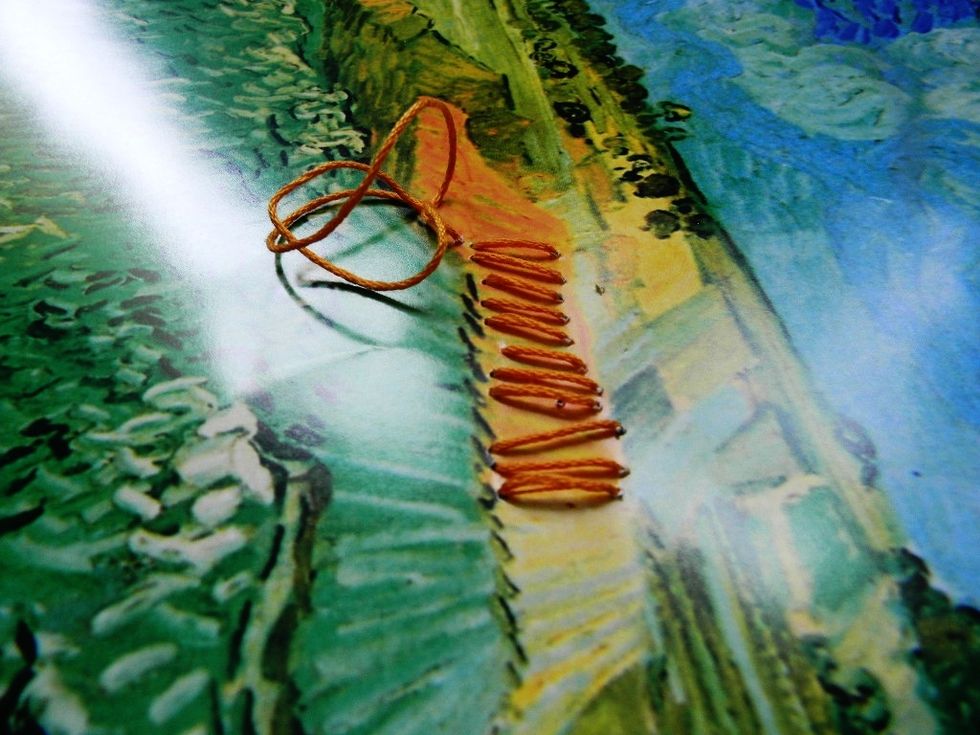
Keep stitching along the area until you're satisfied with the texture.
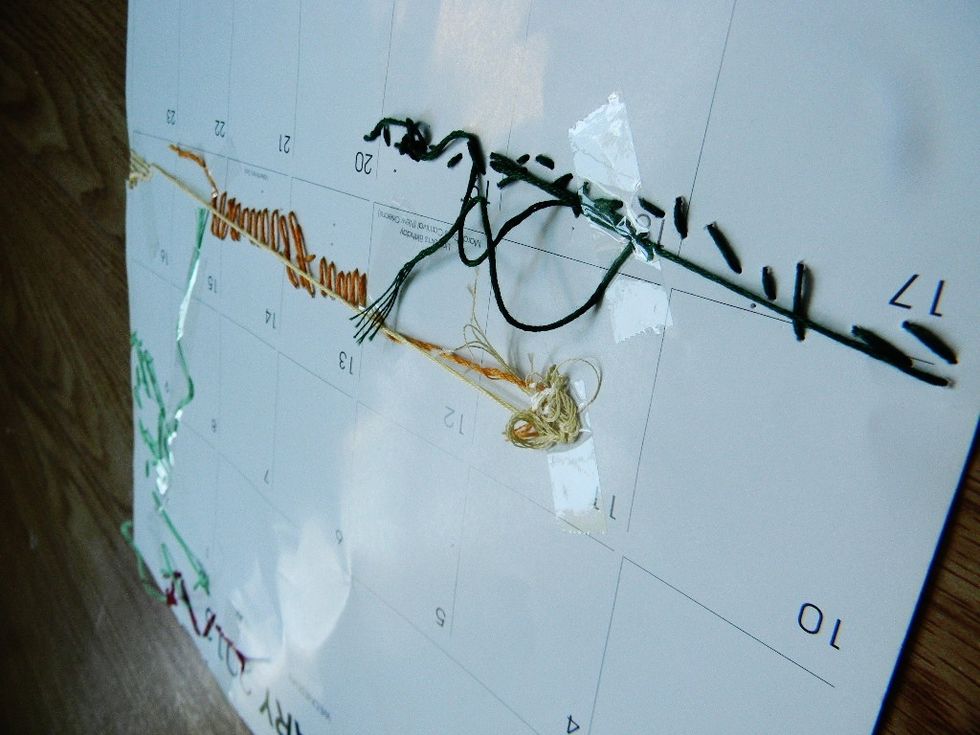
Make sure to tie knots on the back and tap the string to the page so it doesn't fall back through. This does NOT have to look good.

Add embellishments and keep stitching to your heart's desire.

And bam, you're done. Now invite guests over to ogle at your wonderful work. Great job!