The Conversation (0)
Sign Up
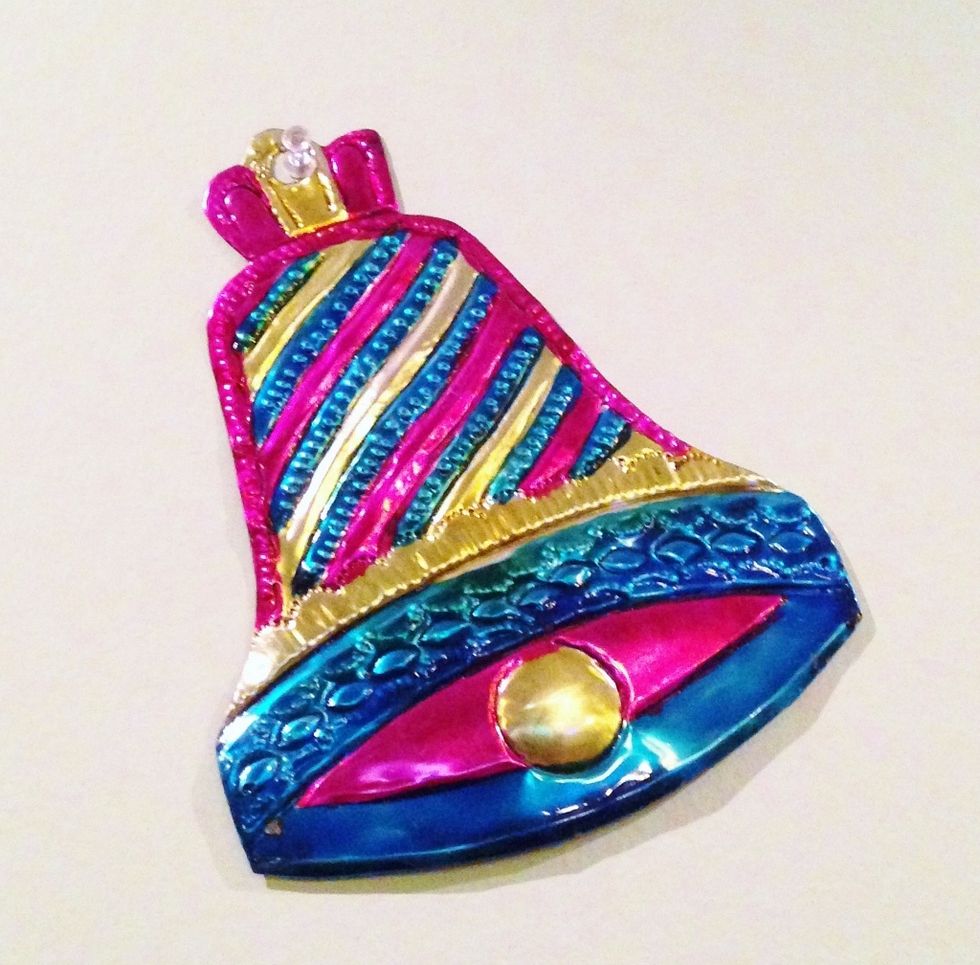
these ornaments were inspired by mexican folk art ornaments that are made of embossed metal with sheer, vibrant colors applied to the designs.
i've put together some samples showing different styles and methods for making these tin ornaments. The Crafter's Workshop has HUNDREDS of stencils, so you are sure to find one or MORE you like!
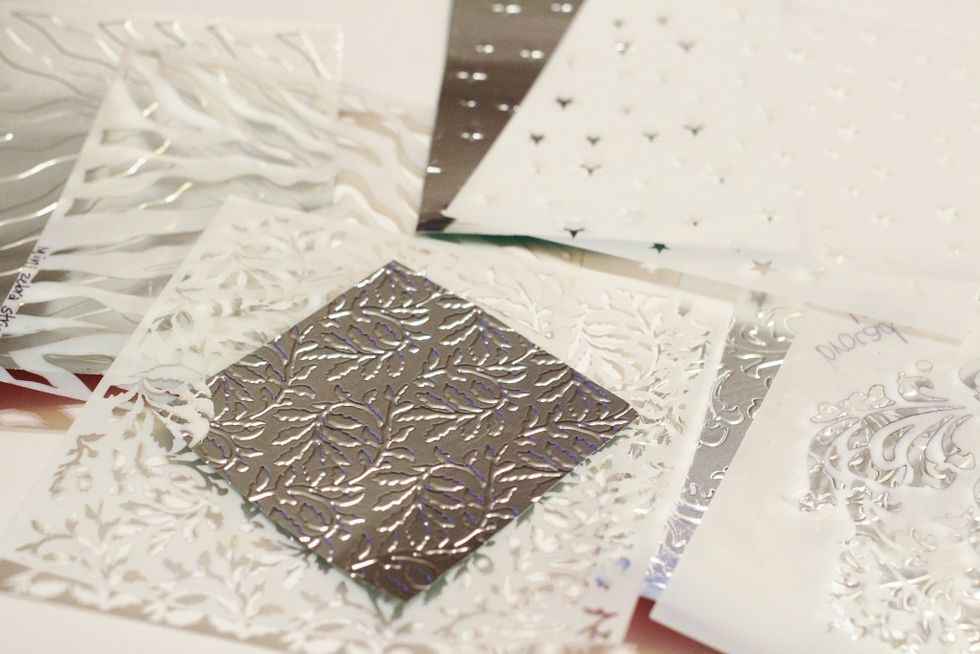
use your diecutting or embossing machine to emboss metal pieces - 4 X 4 or larger - with TCW stencils. Wizard from Spellbinders was stacked: emb plate, tan emb pad, metal, stencil and cut plate.

embossed metal...
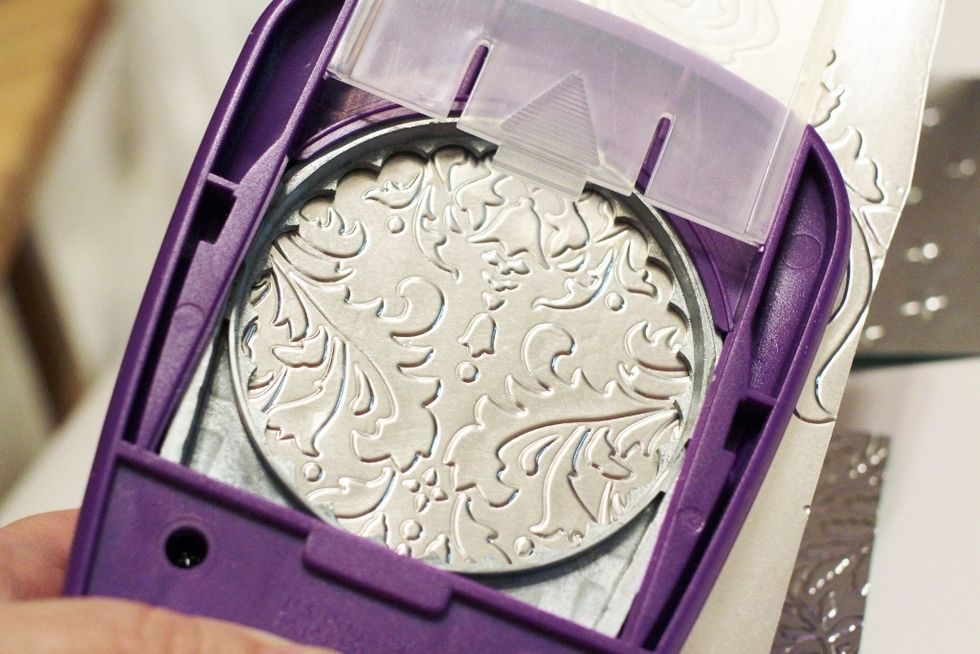
slip embossed metal in punch and view upside down to center design in "window" as desired, then punch.
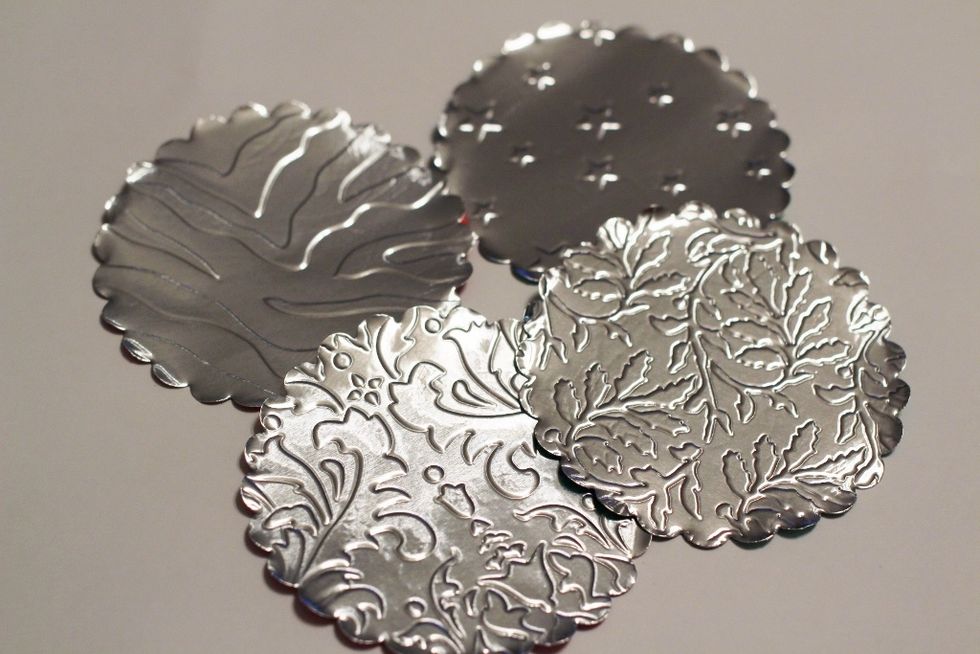
punched pieces...
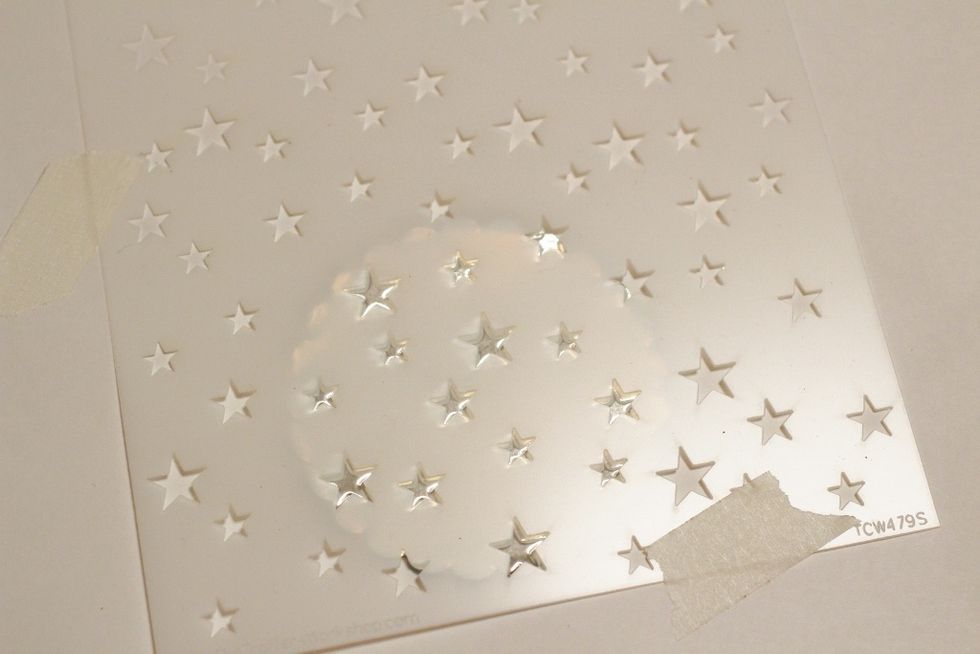
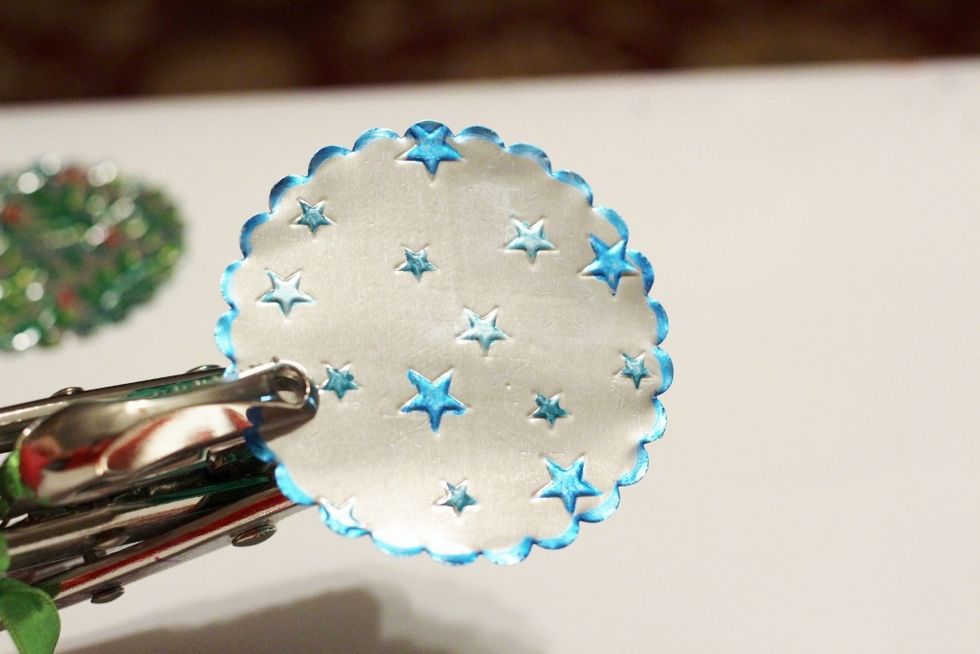
use the Random Stars stencil for a simple and easy to do ornament. first line up and tape stencil back over raised side of embossed punch piece.
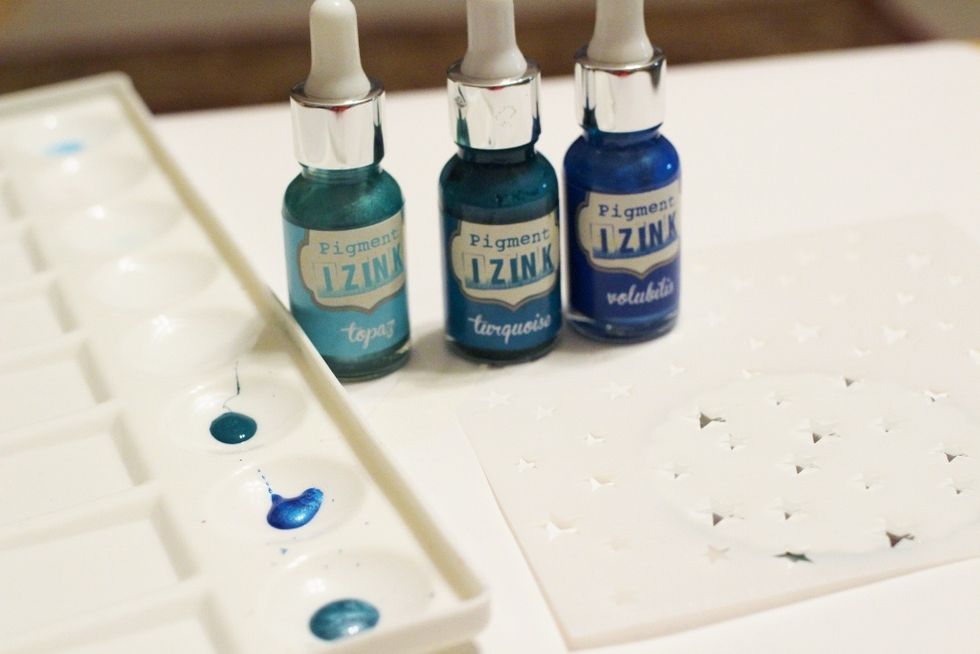
select desired colors of Izink Ink and place a small amount of each color on a paint palette or disposable plastic plate.
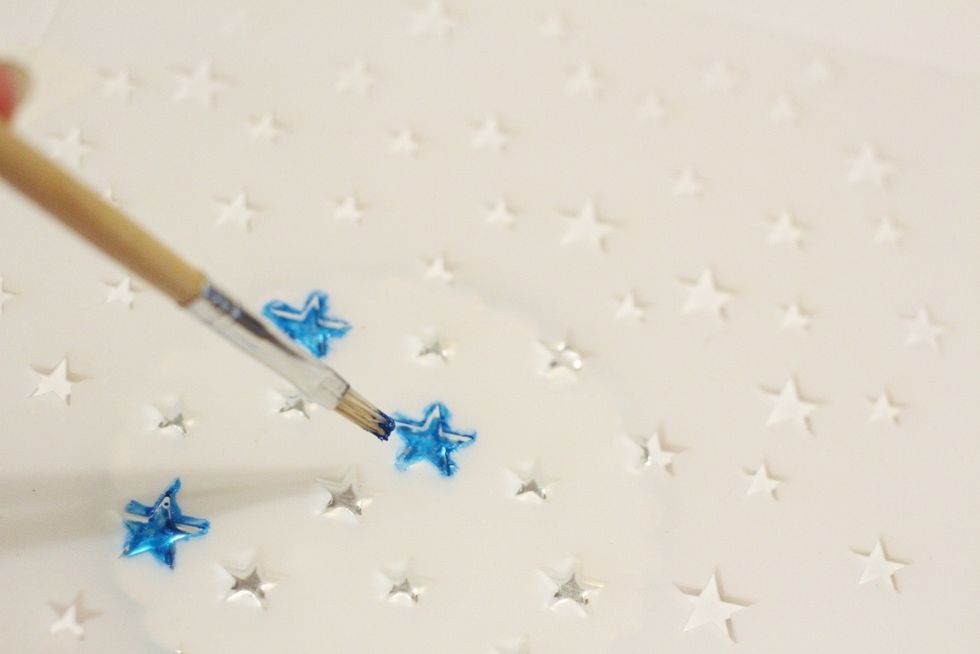
use a small paintbrush to color in embossed designs with Izink Ink using a dabbing motion. let dry and add another coat for a deeper color.

designs colored with Izink; Topaz, Turquoise and Volubilis were used on sample.

add a border along scalloped edge if desired.
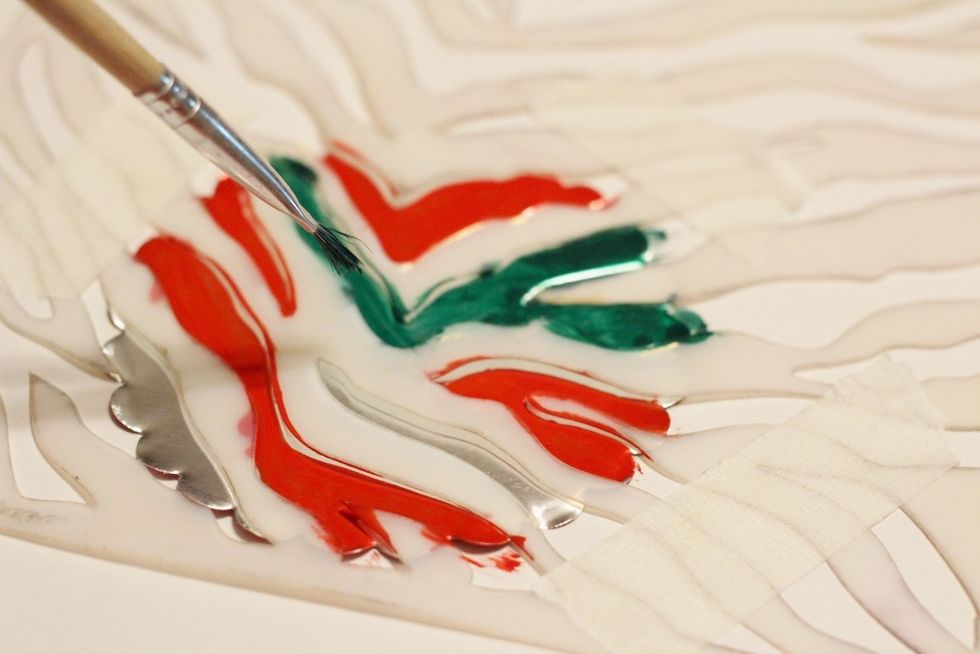
how about a red and green zebra striped ornament? use Zebra Print stencil and Tomato and Avocado Izink for bright, vivid colors.
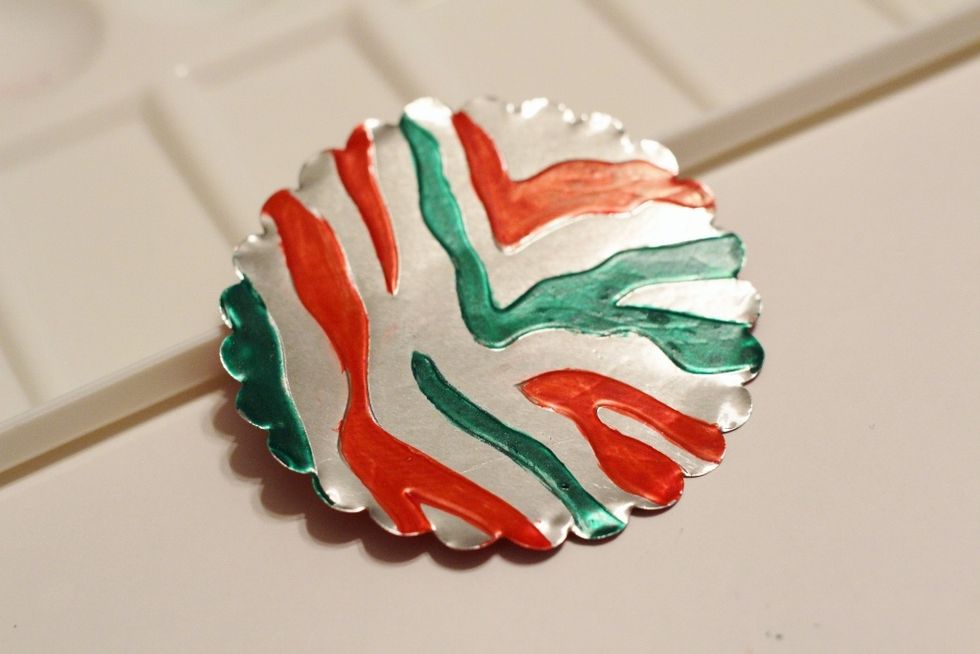
great design for the animal lover or animal print fashionista!
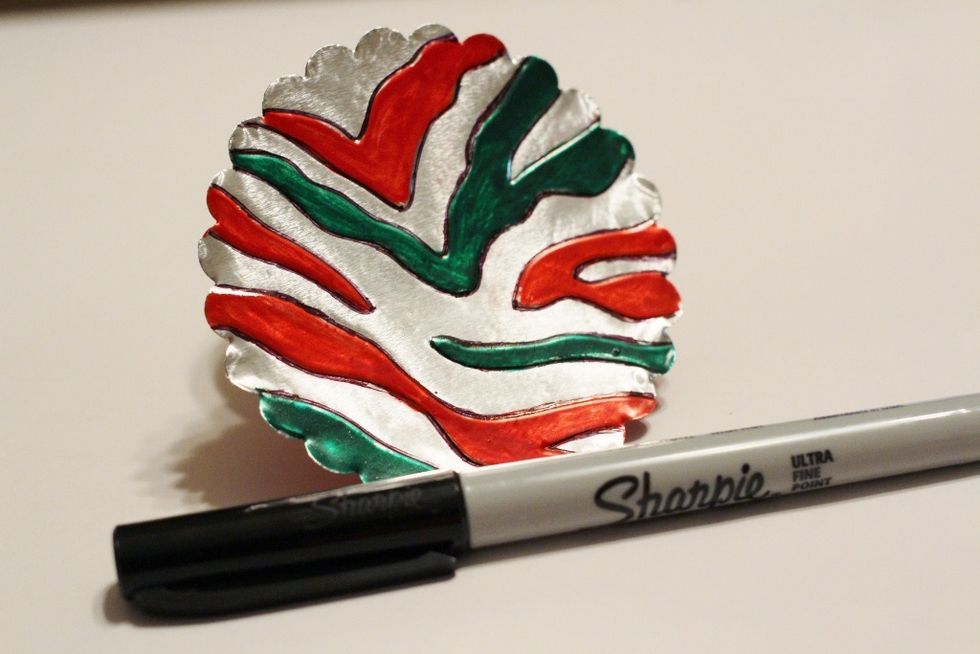
for a little more "polish", you can outline the designs using a thin, black permanent marker.

for a more "traditional" design, use the Vineyard stencil and fill in the embossed designs with Avocado Izink and let dry.
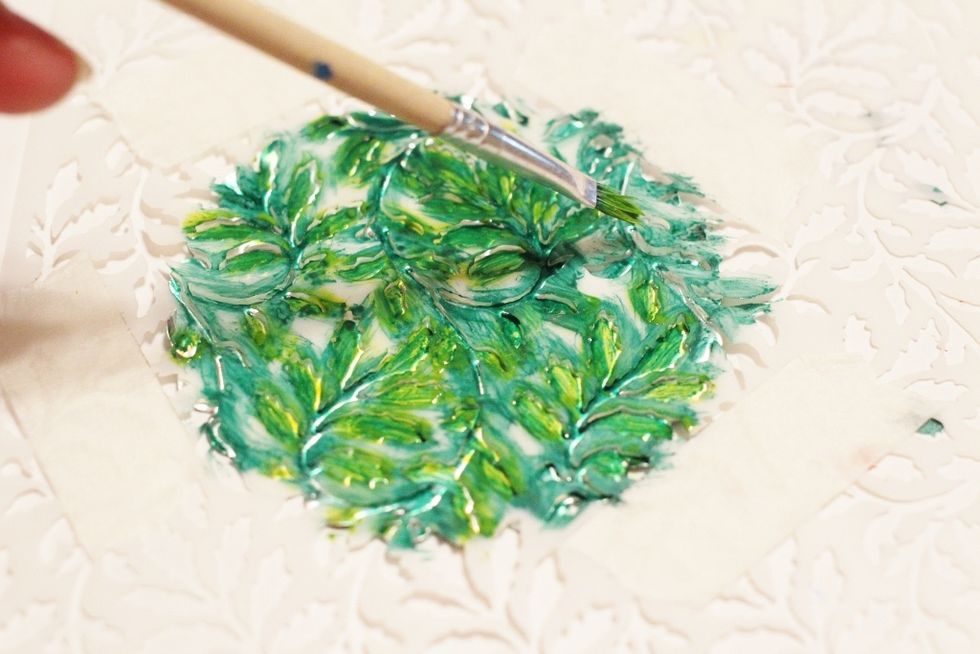
go over leaves portion of stencil ONLY using Bamboo Izink and let dry.
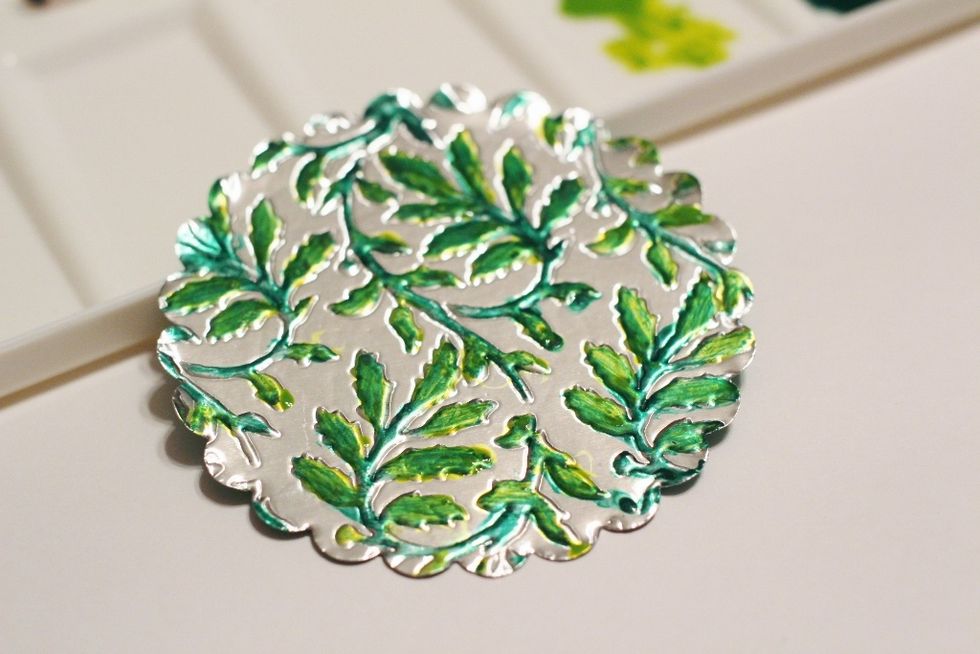
sample with two greens applied.
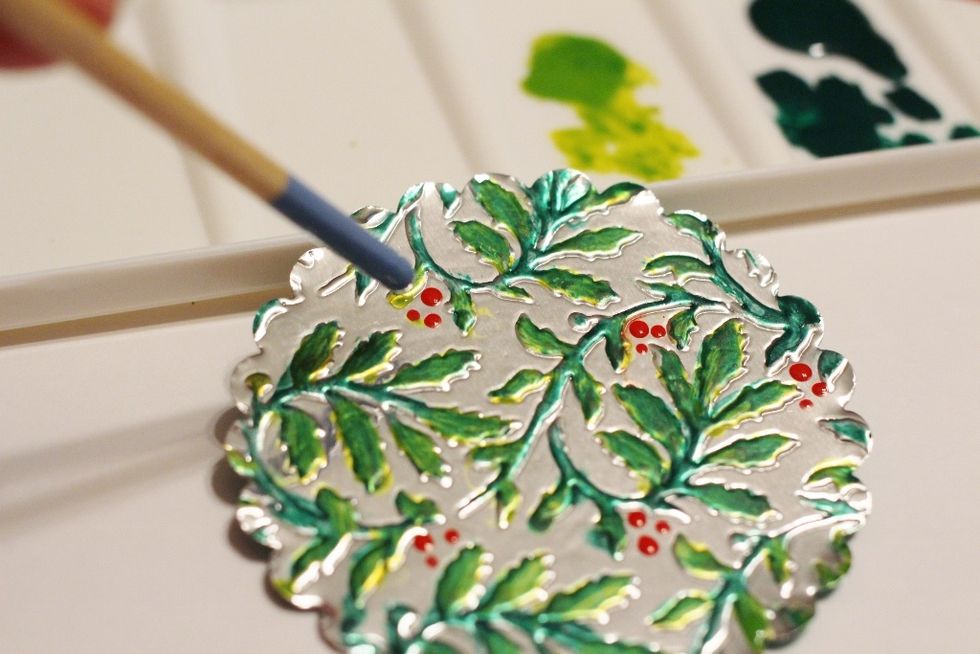
to add a little more pizzazz, dip end of paintbrush in Tomato Izink and add some groups of berries.
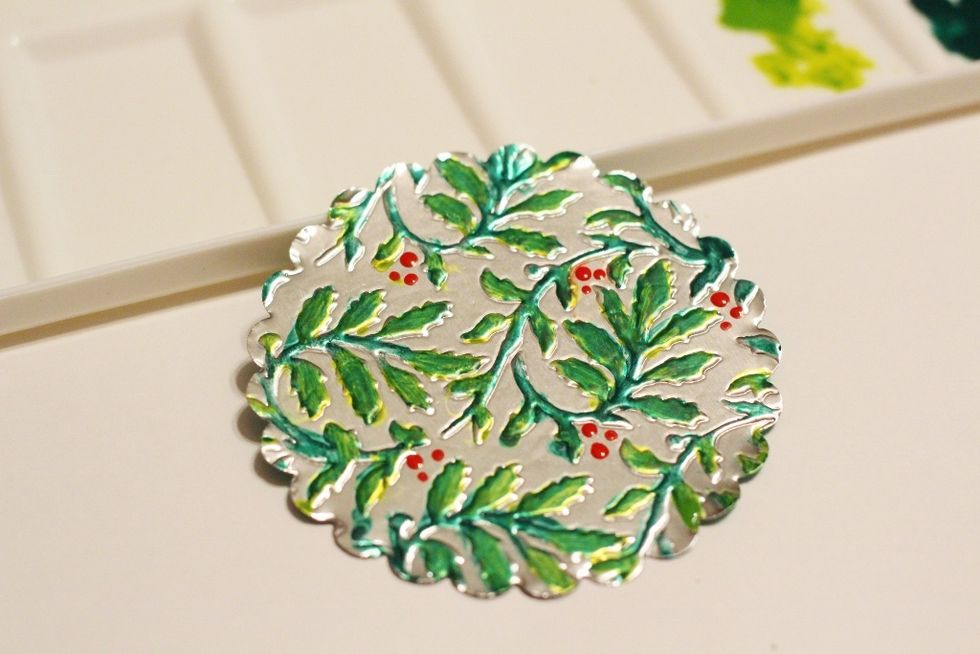
finished holly & berries ornament.
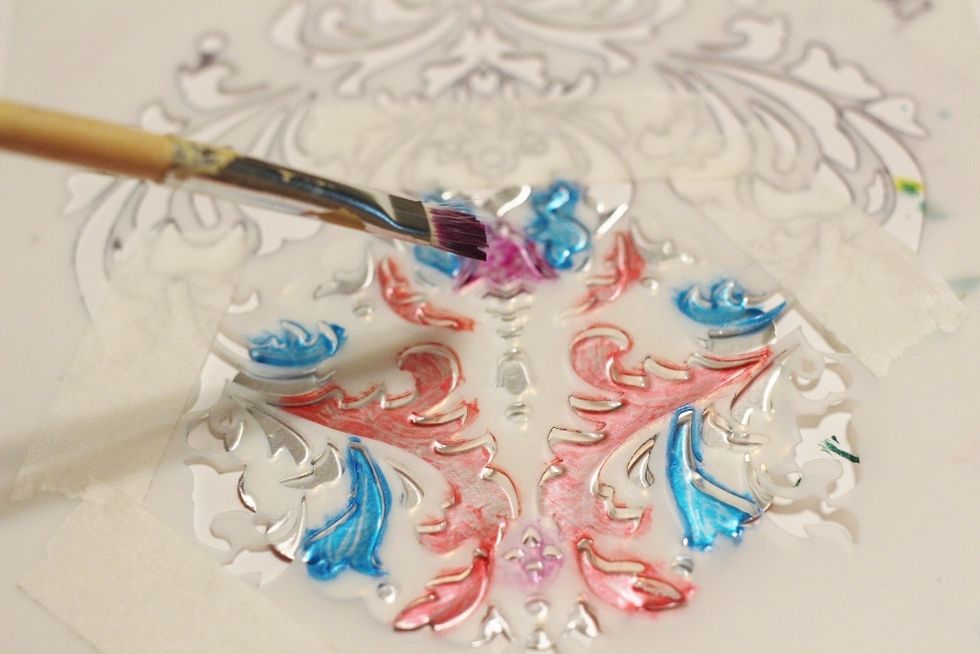
the last sample uses some of the "folk" colors found on the mexican pieces. i used the Brocade stencil with Orchid, Anemone, Bamboo and Topaz Izinks. apply 2 or more layers, drying in between.
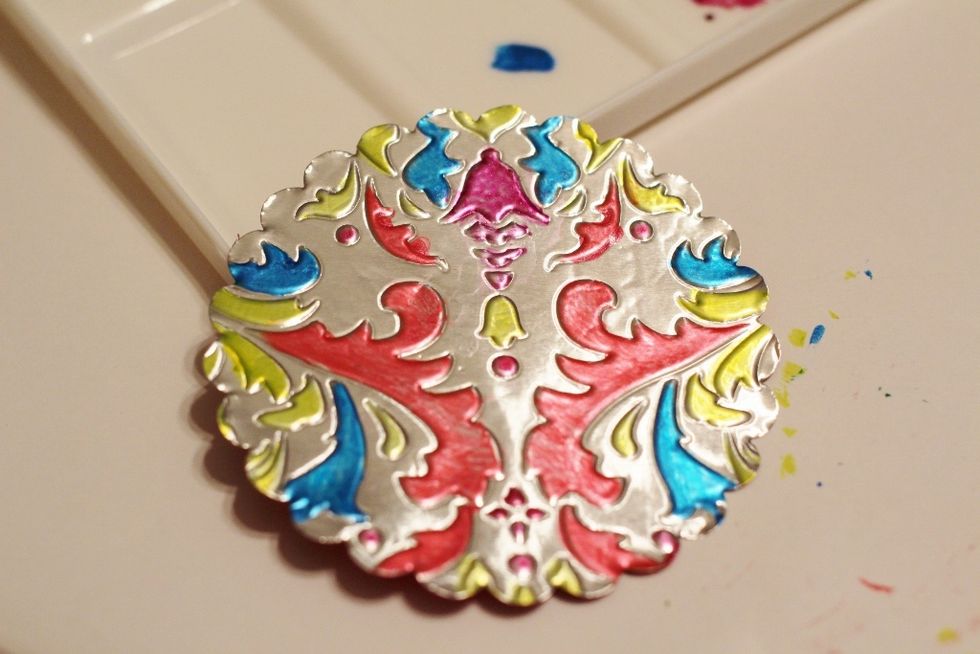
finished brocade ornament.
punch a hole near the top, but not too close to the edge, in the ornaments.
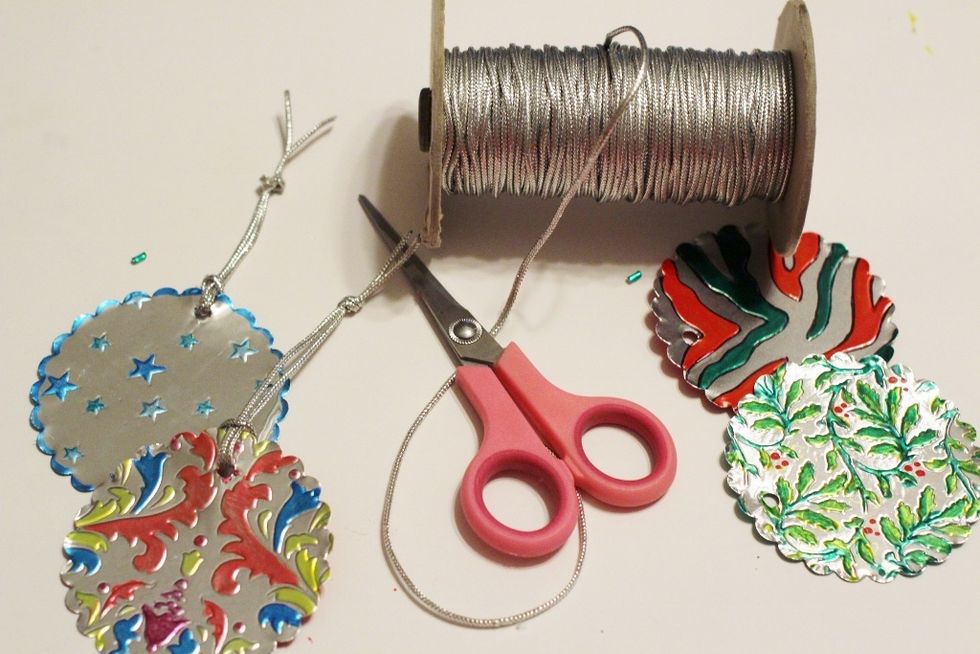
carefully tag tie cording for hanging. don't pull too tight or you will tear through the hole.
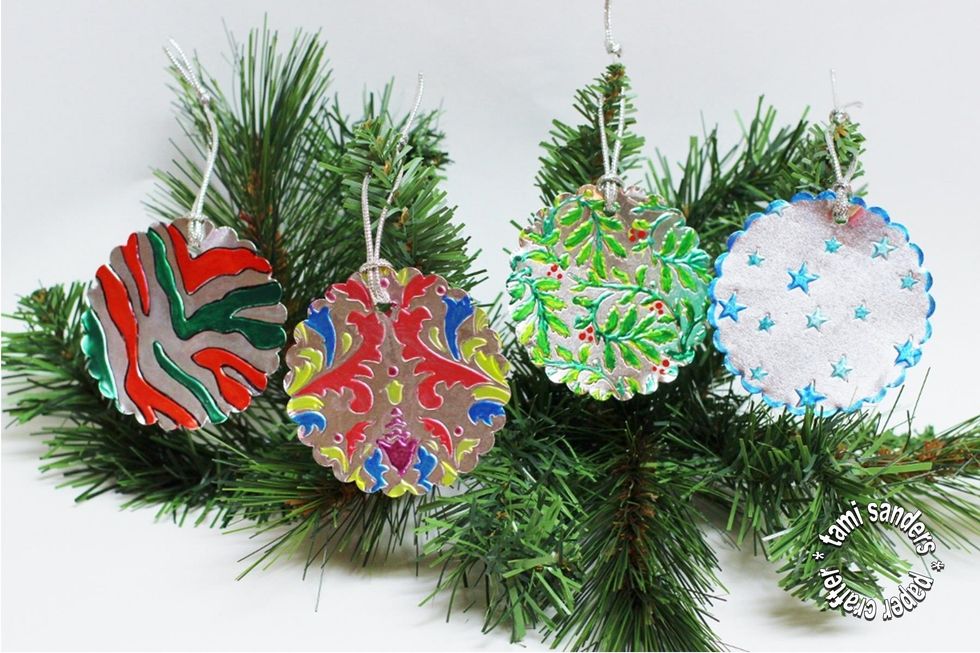
finished ornaments. use them to dress up packages, gift bags or tags. make them all the same or select designs that reflect gift-ees. use to embellish cards and the recipients can remove and display!
find more great projects using TCW stencils on the TCW Blog *** http://www.thecraftersworkshop.com/blog/ *** find my class schedule and projects by me on my blog *** http://tamisanders.com/