The Conversation (0)
Sign Up

cut a piece of metal a little larger than your canvas. use tin snips or heavy scissors, work with gloves on and handle carefully, metal edges are SHARP!
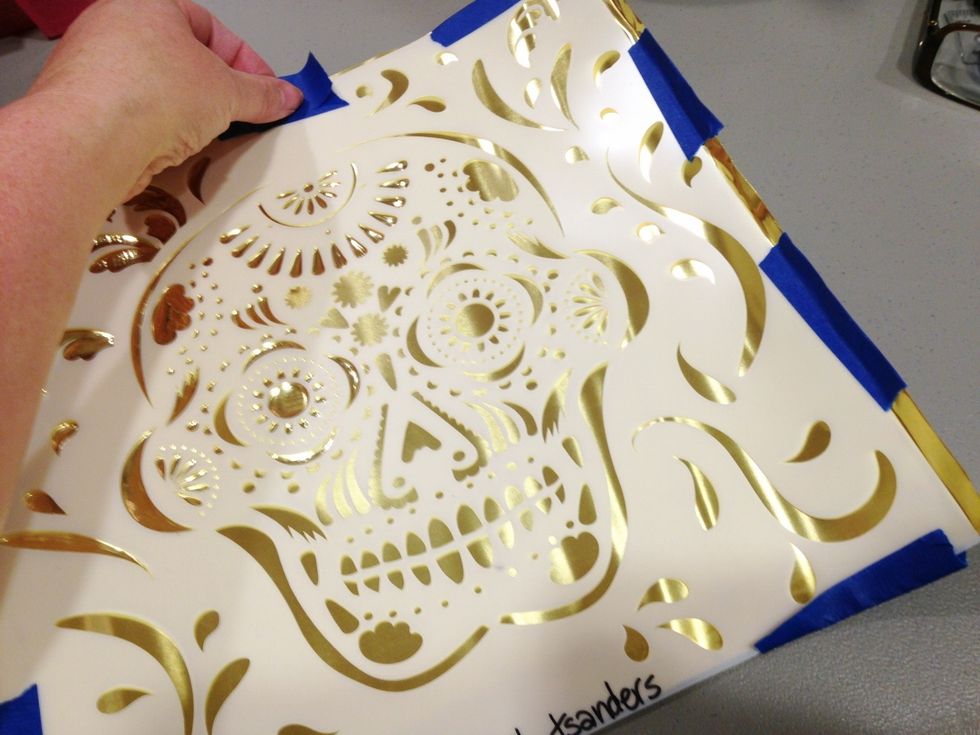
tape stencil to metal using blue painters tape. tape ALL edges to avoid getting cut accidentally by sharp edges of the metal.

work on a double layer of craft foam when you begin embossing.
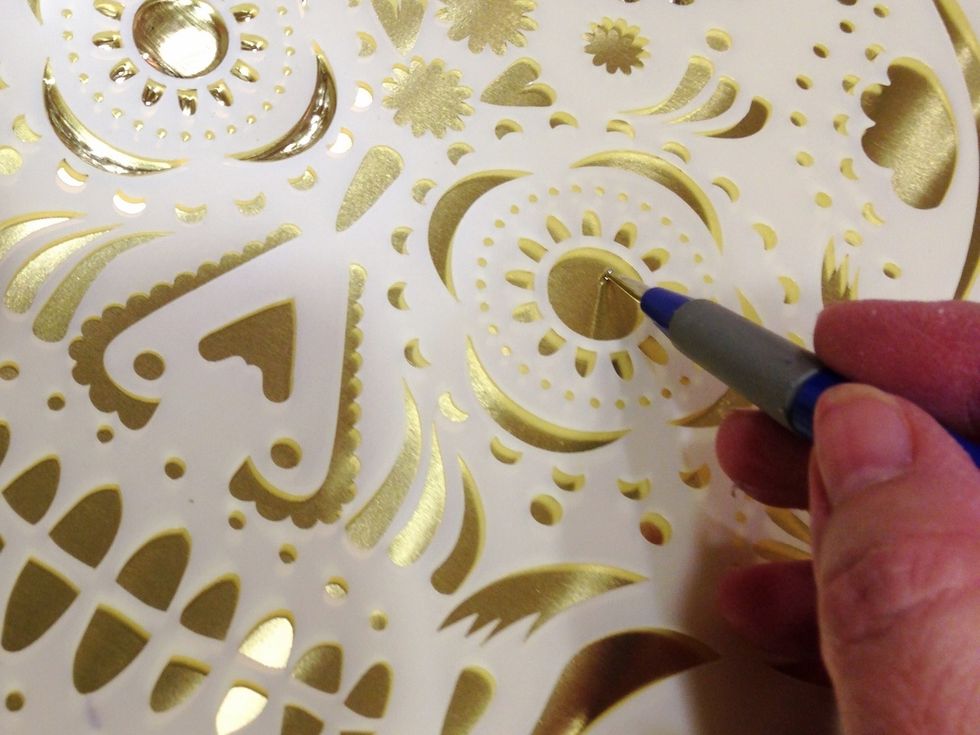
use the stylus to outline and then "fill in" the design. press with enough pressure to add dimension when embossing, but not enough to break through the metal.
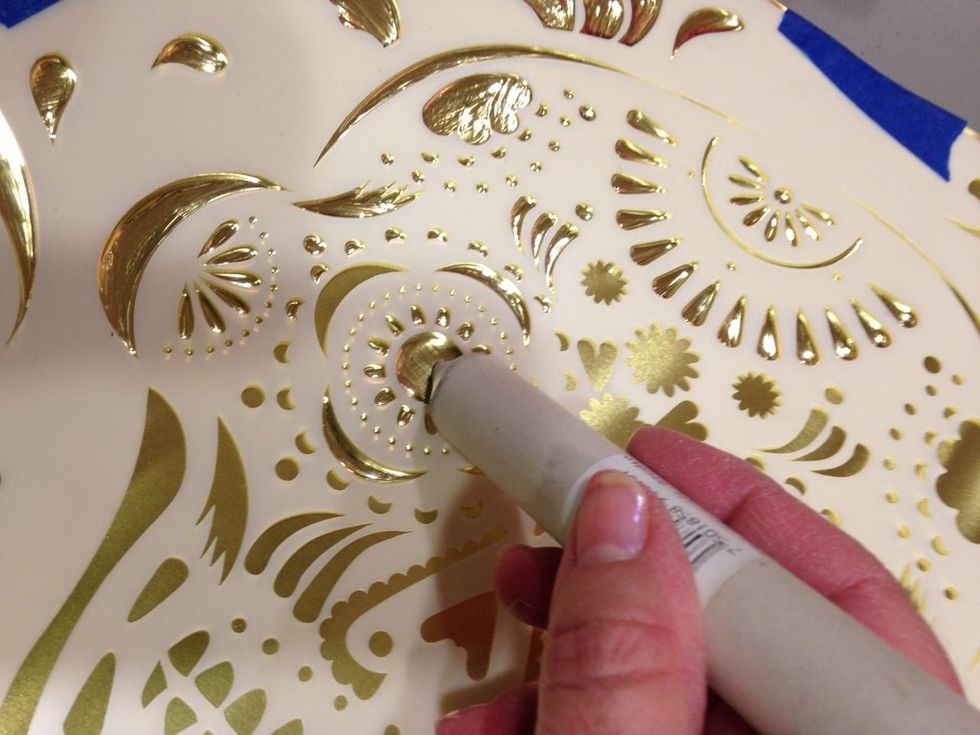
use paper stump to add more dimension to embossed areas as well as to smooth them.
check your progress on the other side to see if embossed areas are raised enough and are clearly defined. use stump to add more definition by pressing harder, or re-outline using stylus to sharpen.
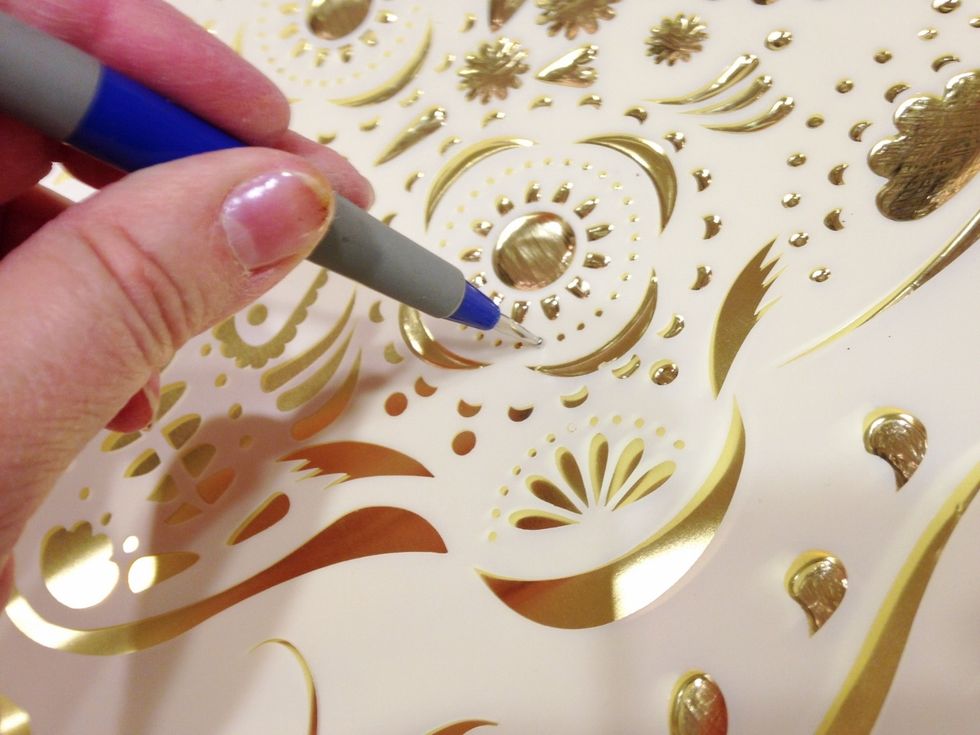
for tiny dots, use small end or stylus, insert in stencil and press and rock to emboss.
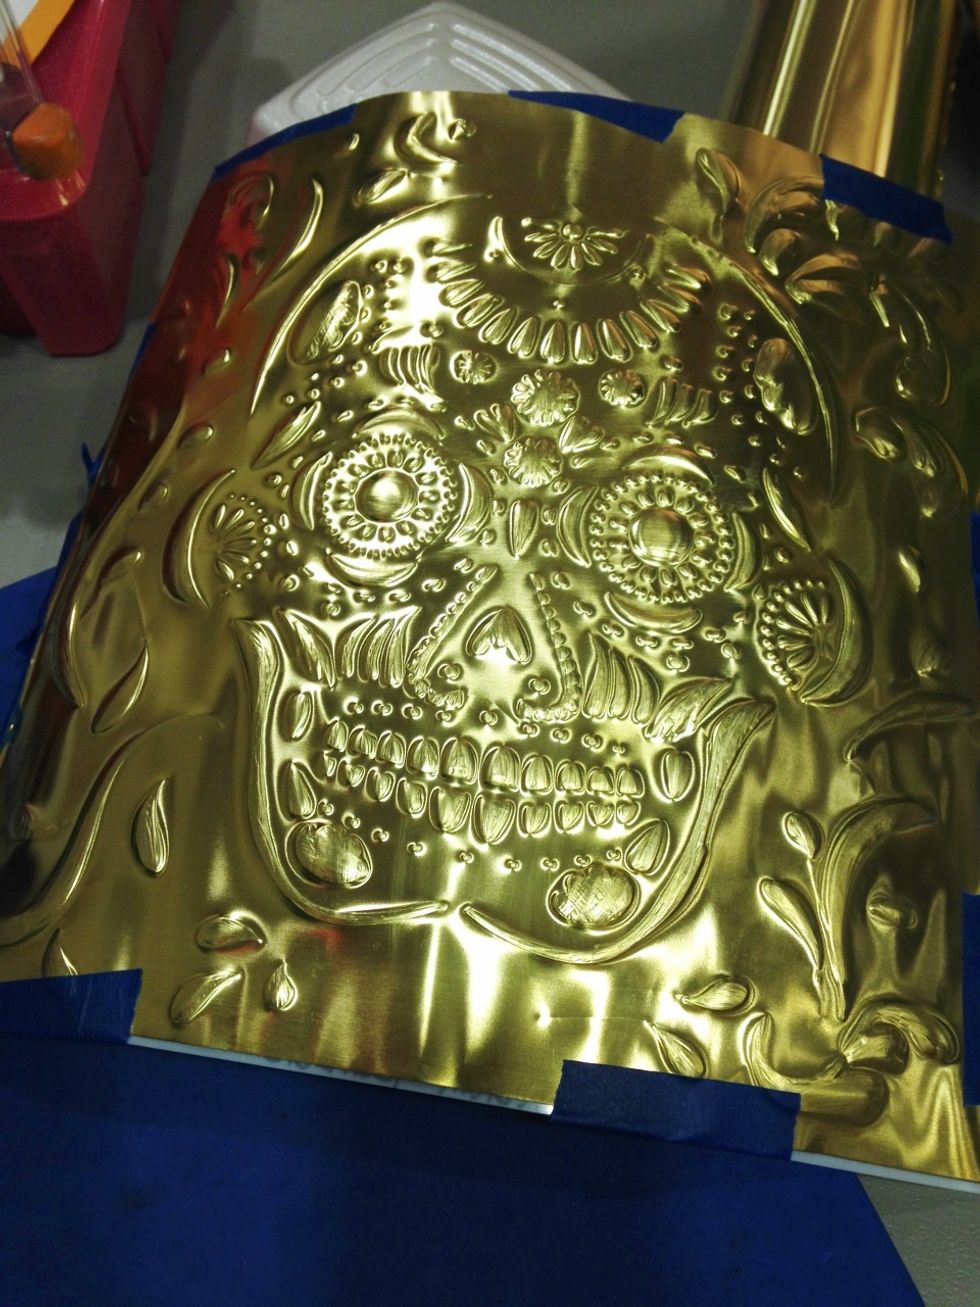
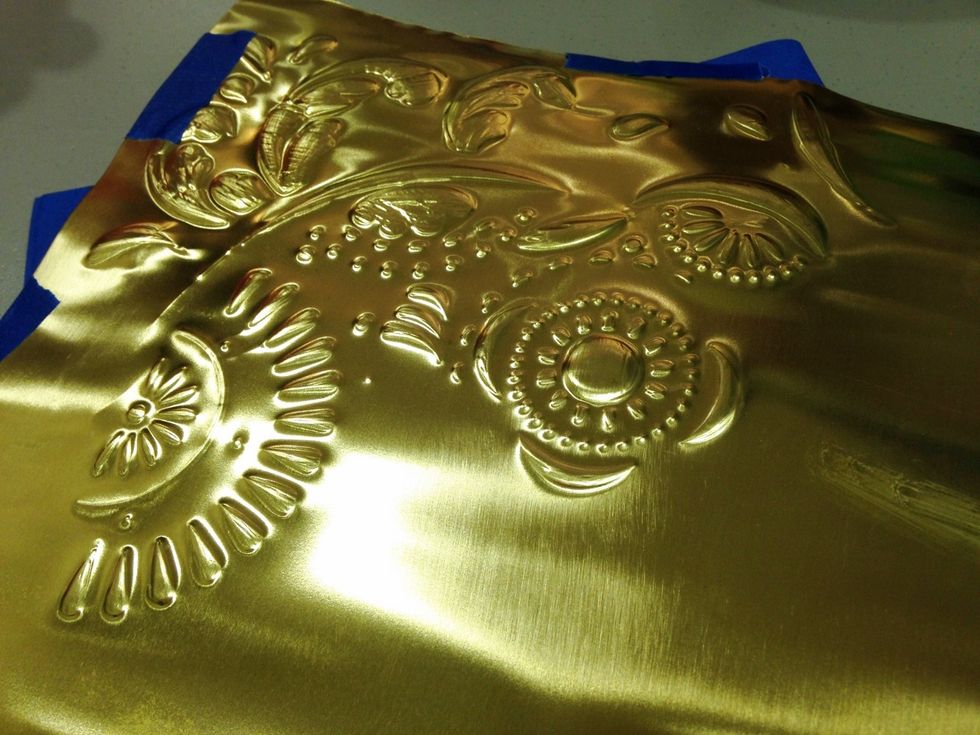
finished embossed skull. recheck all raised areas to be sure they are fully embossed and defined.
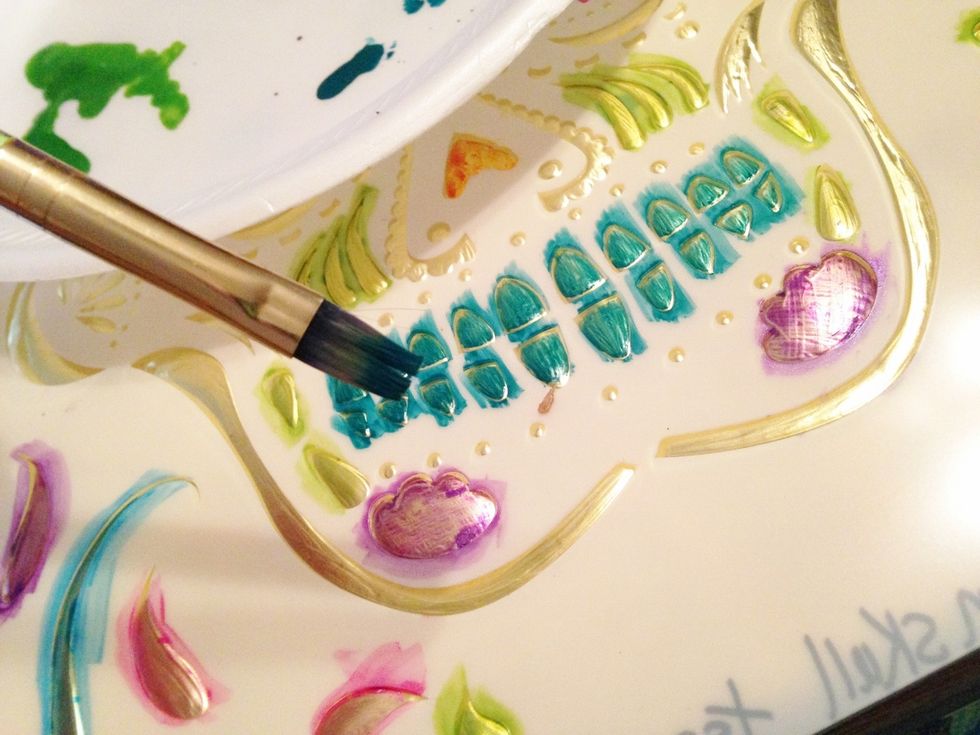
begin painting the raised design using your choice of Izink Ink colors and a small paint brush. to make painting easier, flip stencil over and lay on embossed side. then fill in the areas with color.

once inks dry, outline designs using fine tip Sharpie - with stencil still in place as a guide. also ink any tiny dotted areas.
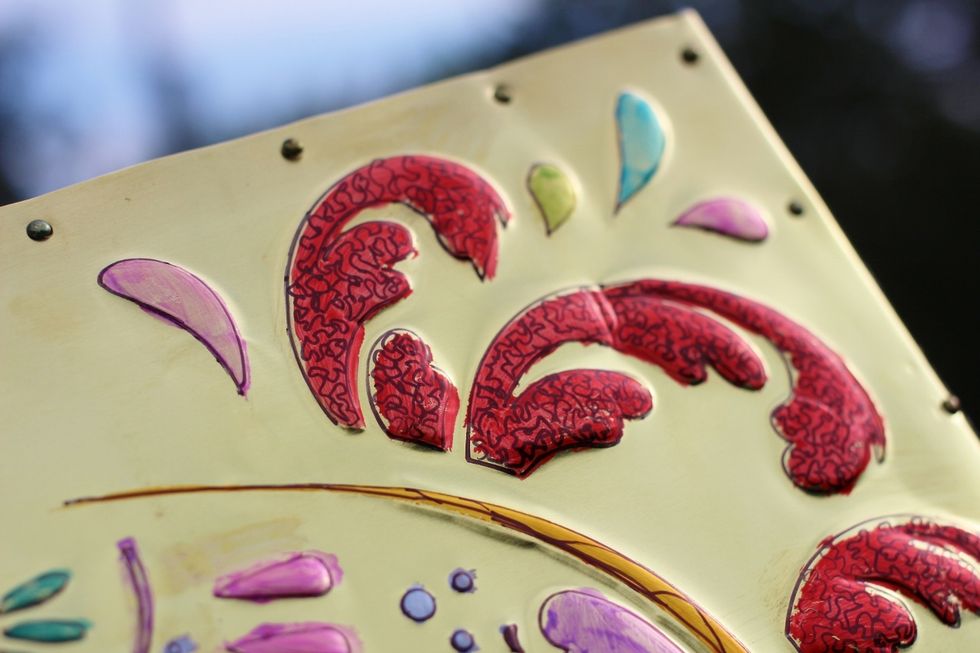
add accent designs to flourishes around skull as well to skull outline using Sharpie...

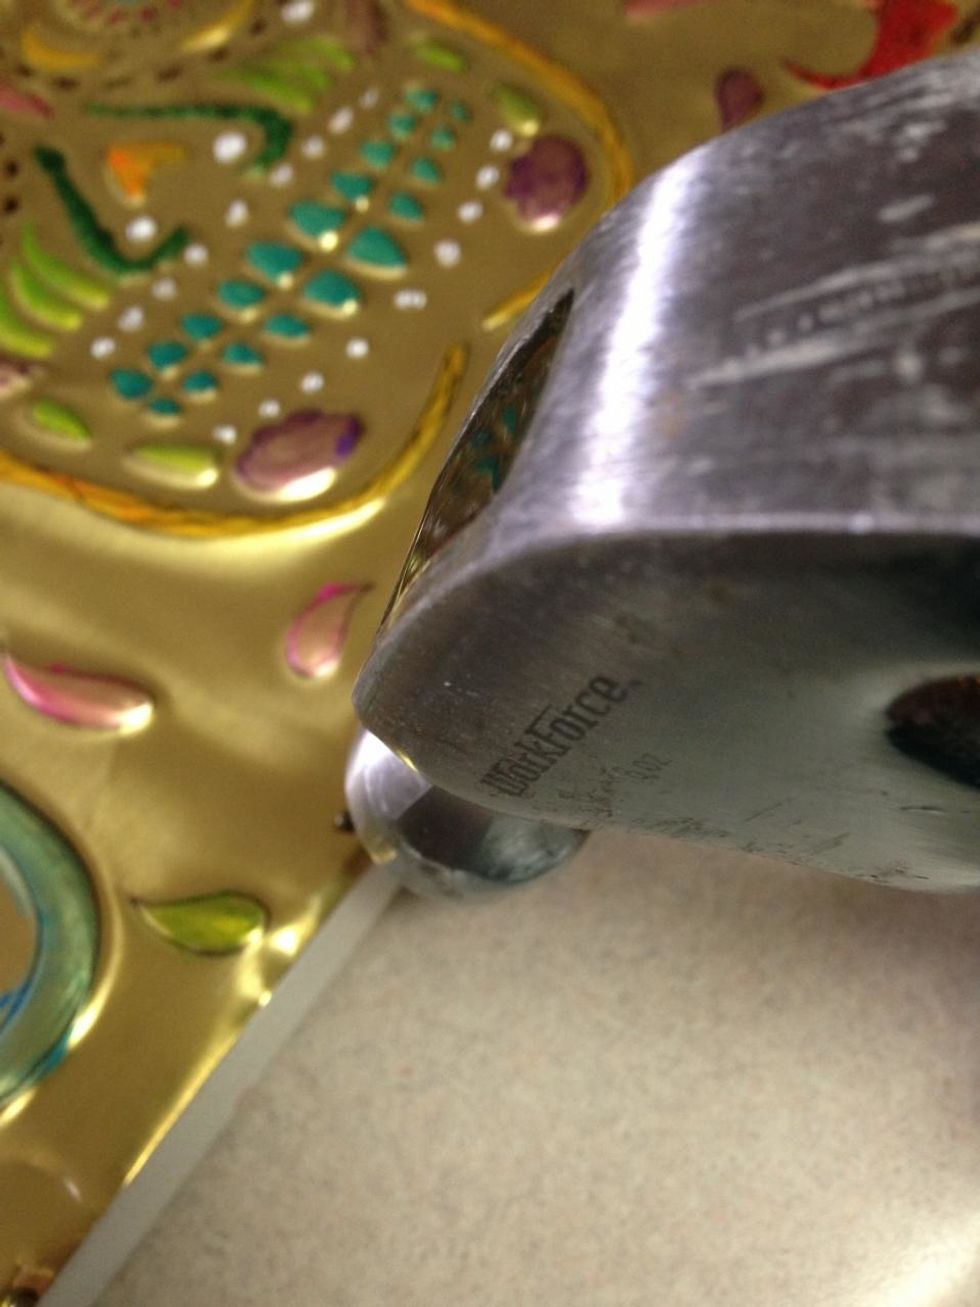
once design is fully inked and has dried, carefully adhere metal to canvas using 3-in-1 Glue. press carefully in UN-embossed areas to adhere. use hammer to fold and bend excess metal around the edges.
add small brass nails at even intervals around canvase...
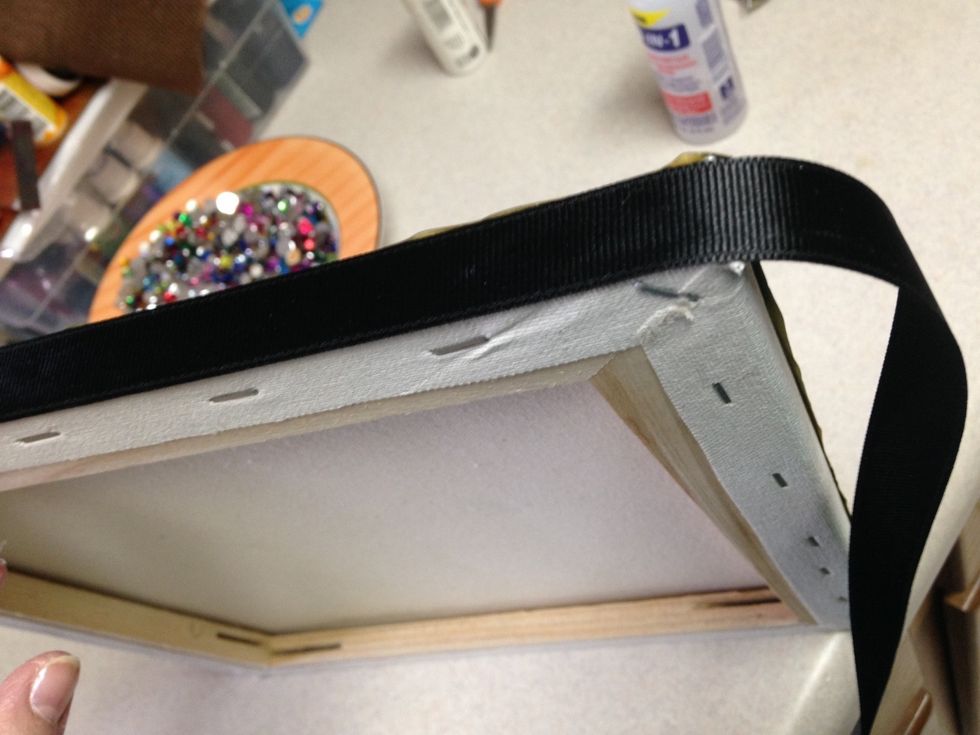
adhere ribbon around edges of canvas to cover edges of metal.
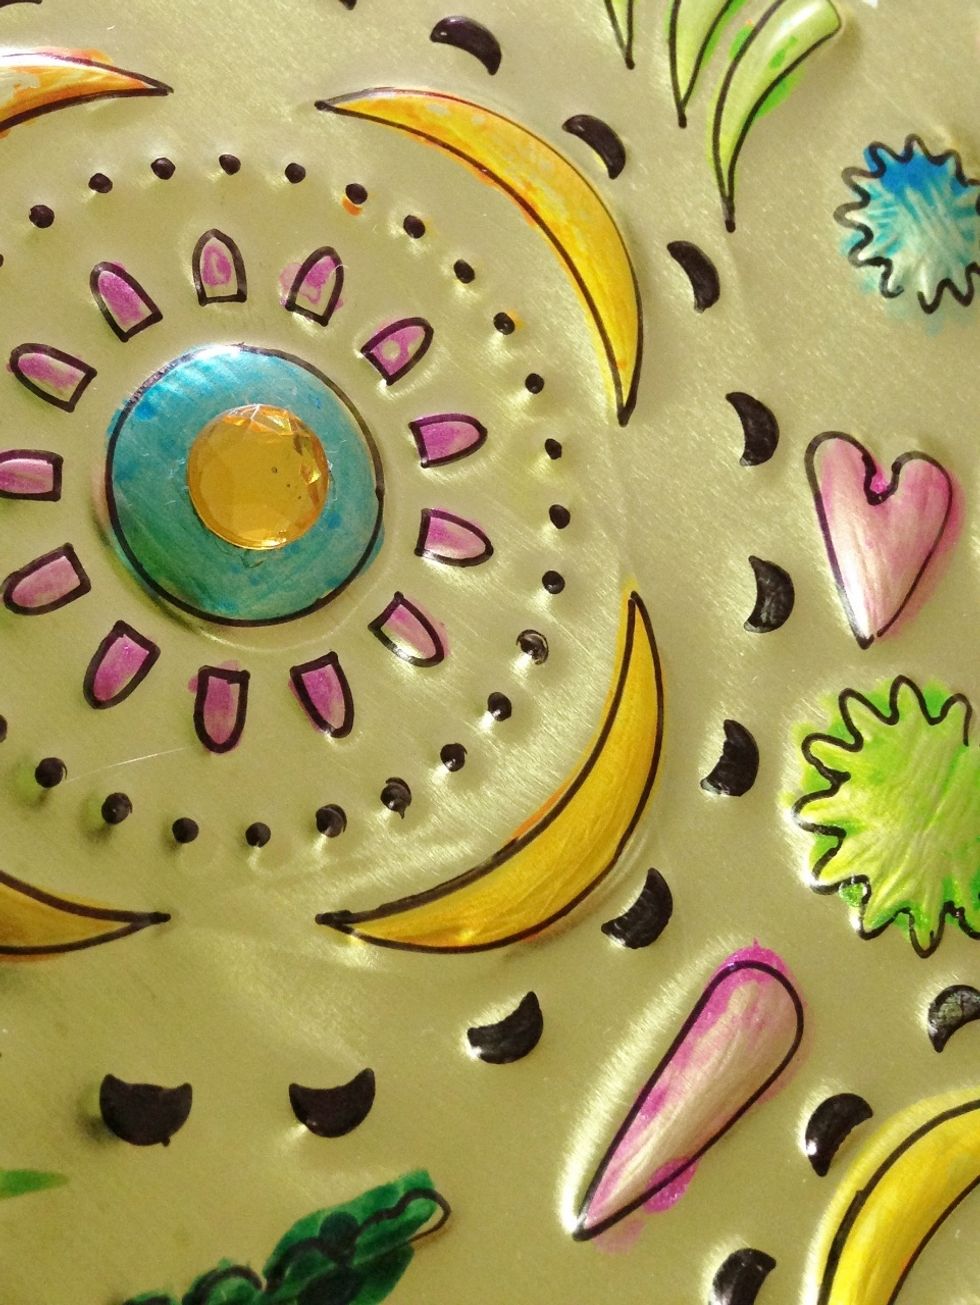
add rhinestones to the centers of the eyes.

finished Sugar Skull...ready for hanging and displaying! --- please visit the TCW Blog for more great project ideas...http://www.thecraftersworkshop.com/blog/ --- and my blog... www.tamisanders.com