The Conversation (0)
Sign Up
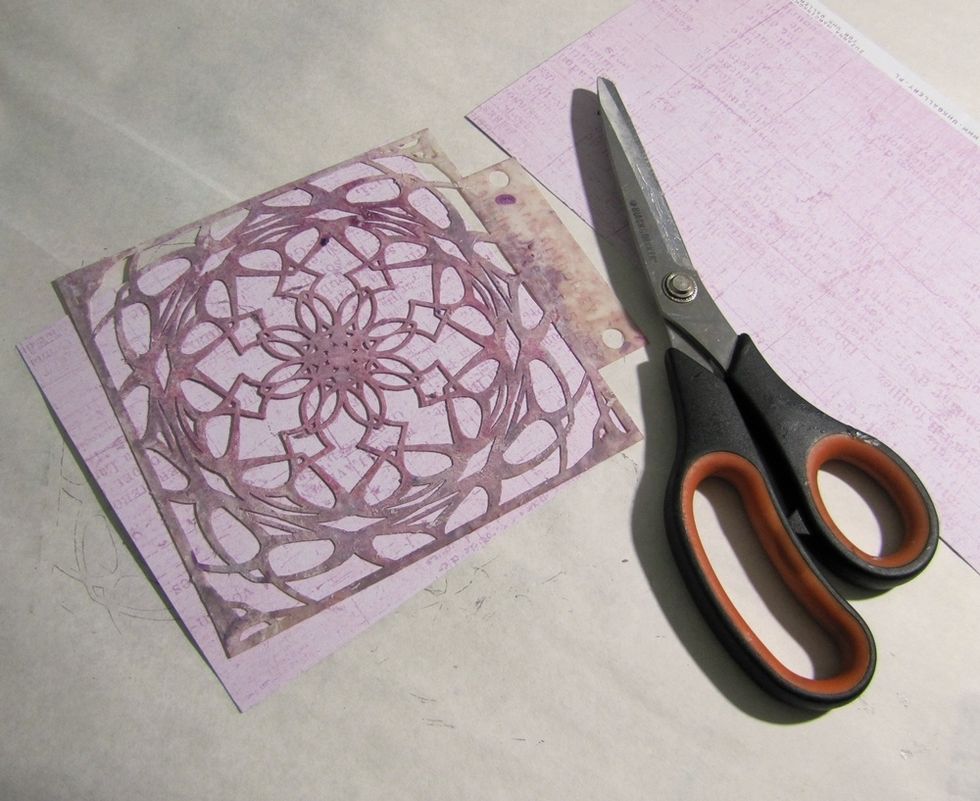
Cut the paper about 15x15cm
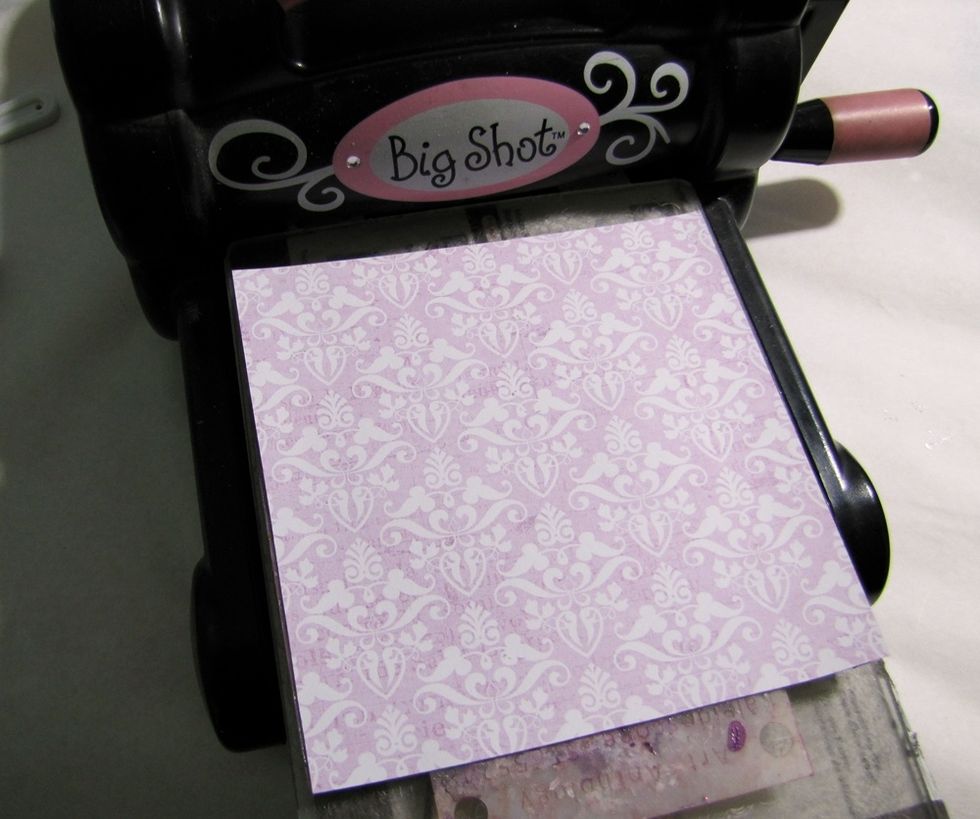
Put the stencil with paper into your big shot or other..
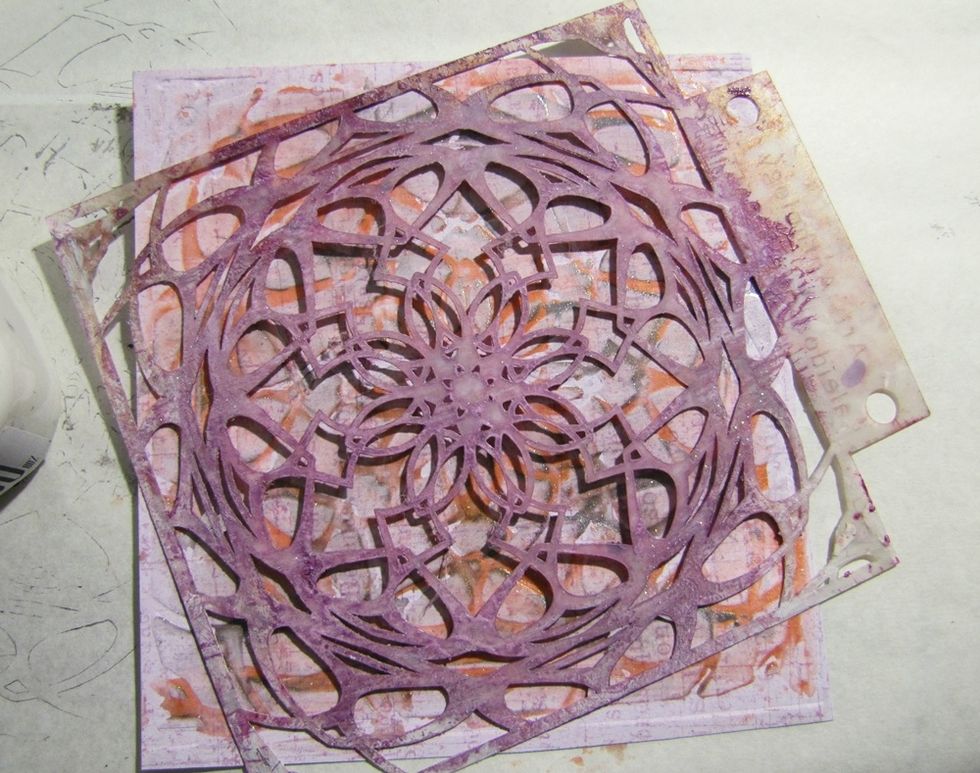
And create the embossing, like you always do with embossing folder.
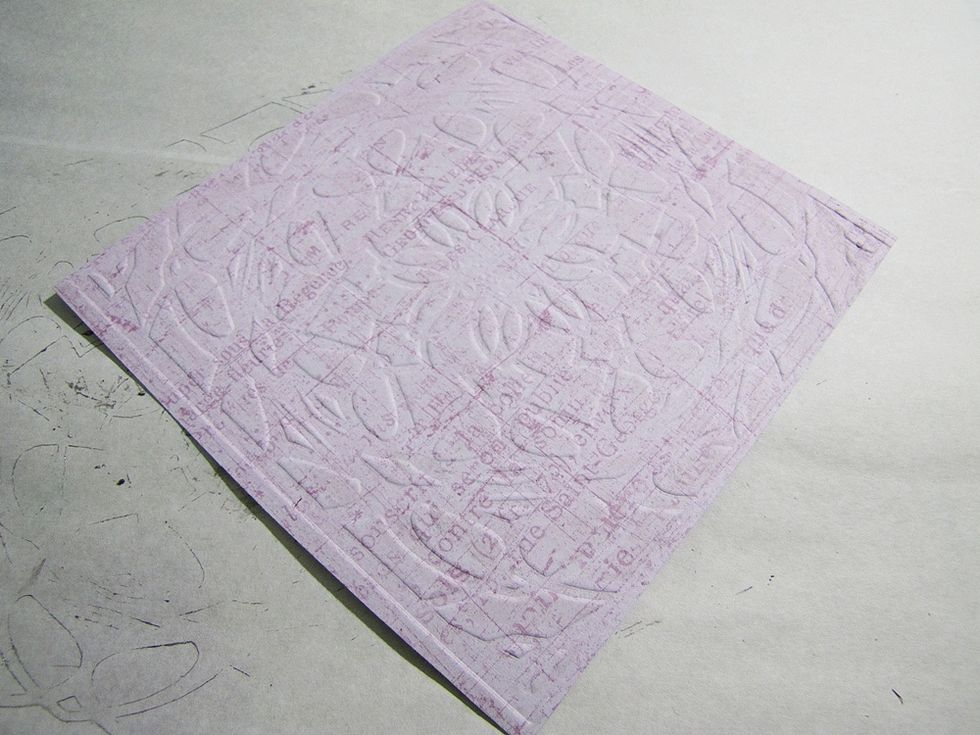
And YES!! It works!! :)
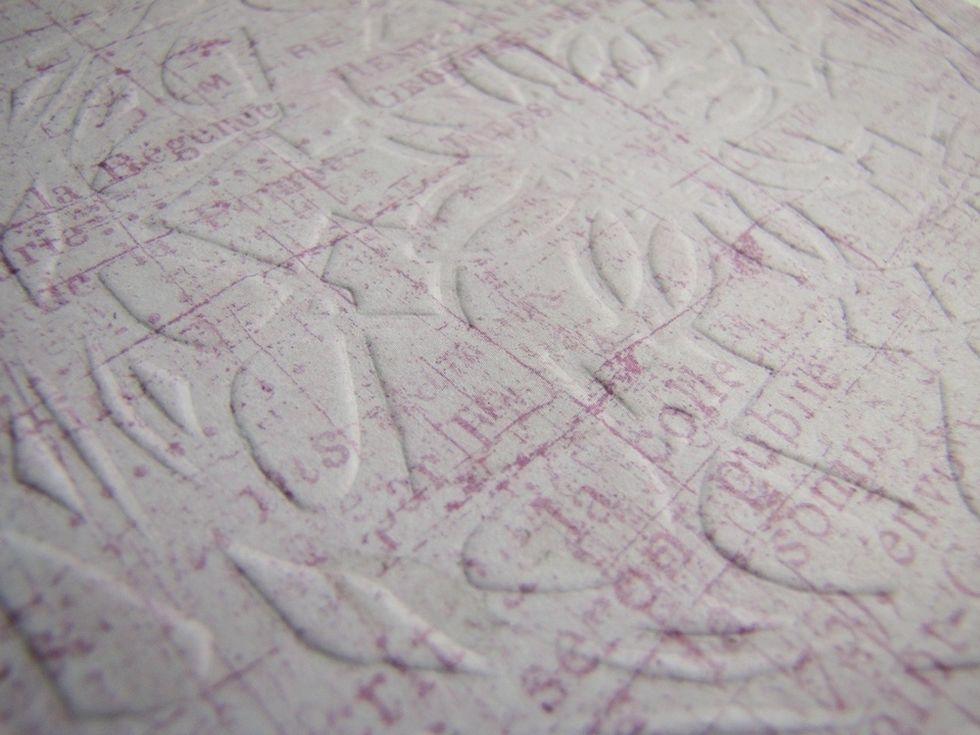
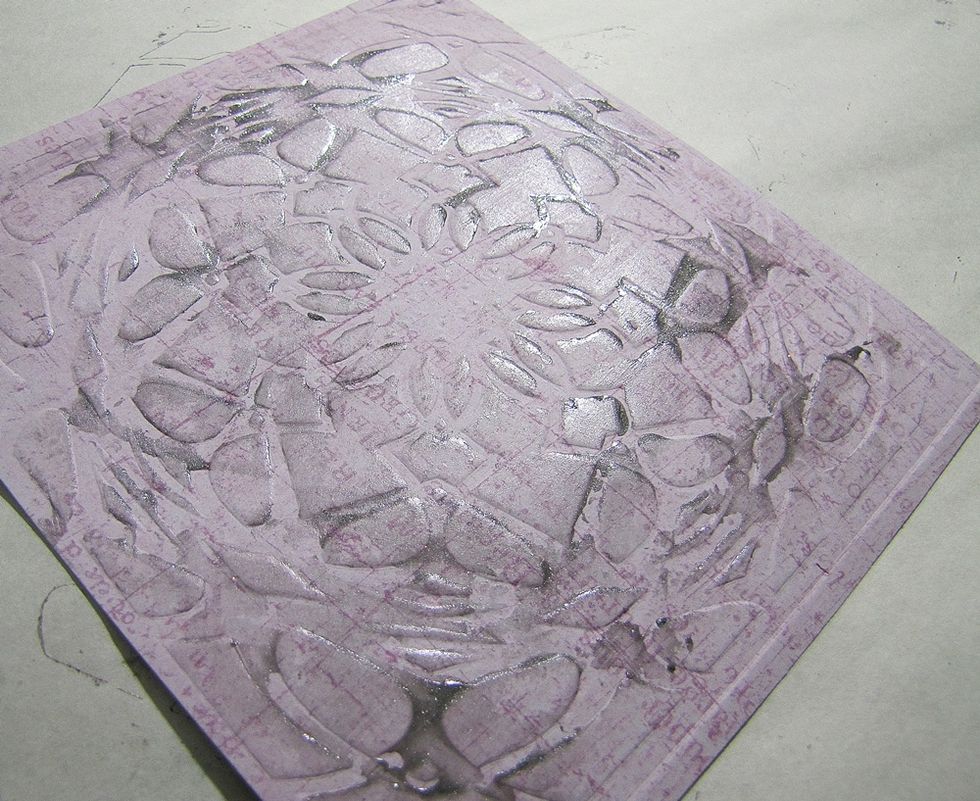
We have now beautiful embossed texture, but it's so clean, really too clean ;)
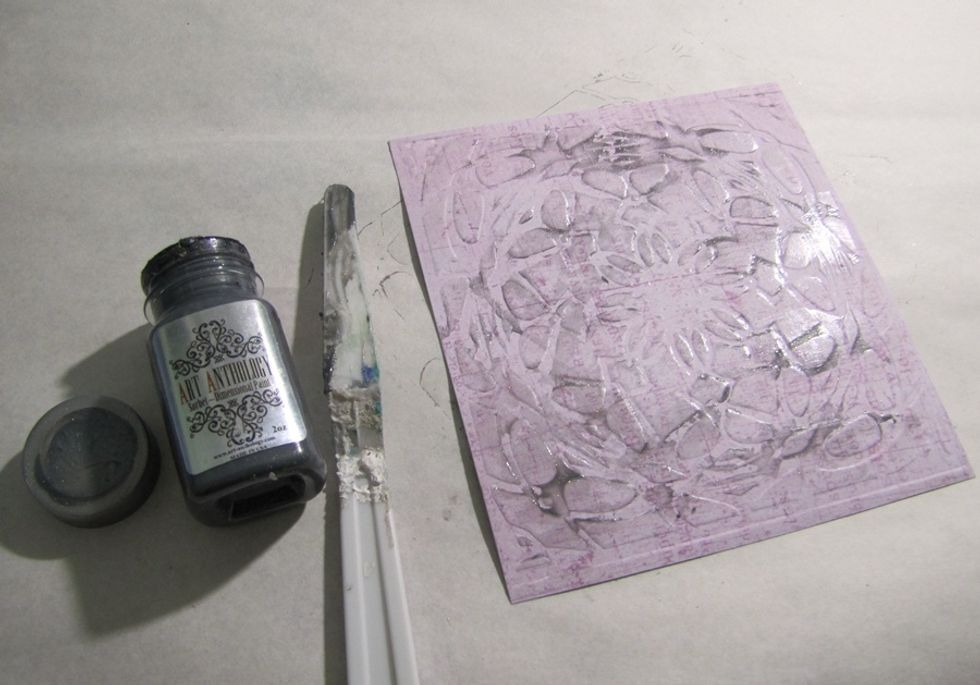
Add some Trolley Grey randomly behind the texture.
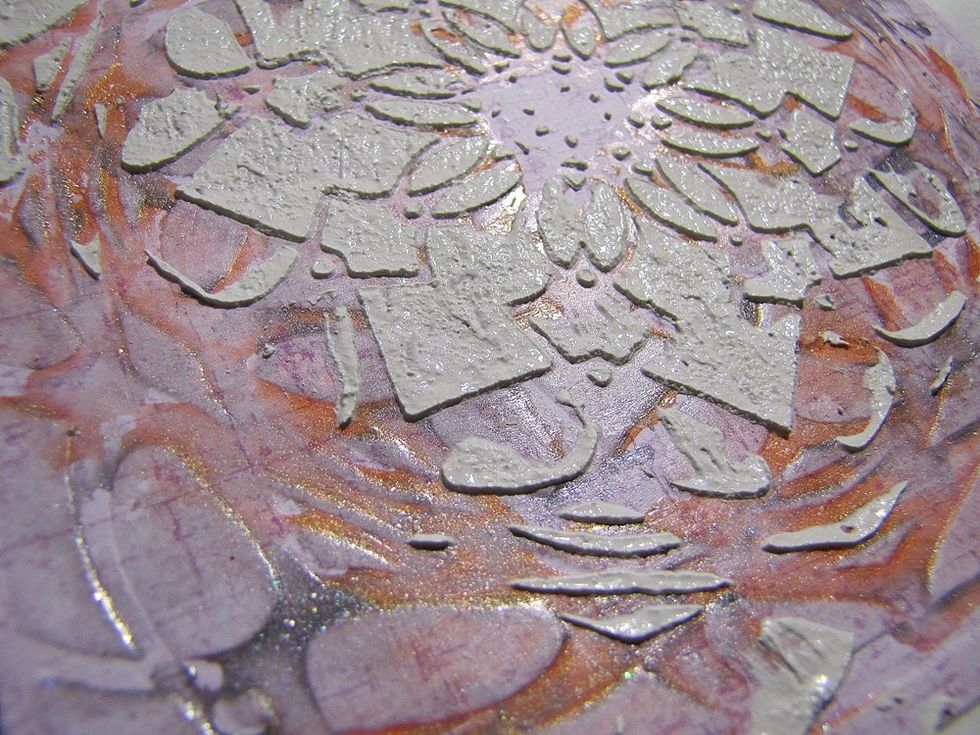
a little closer...
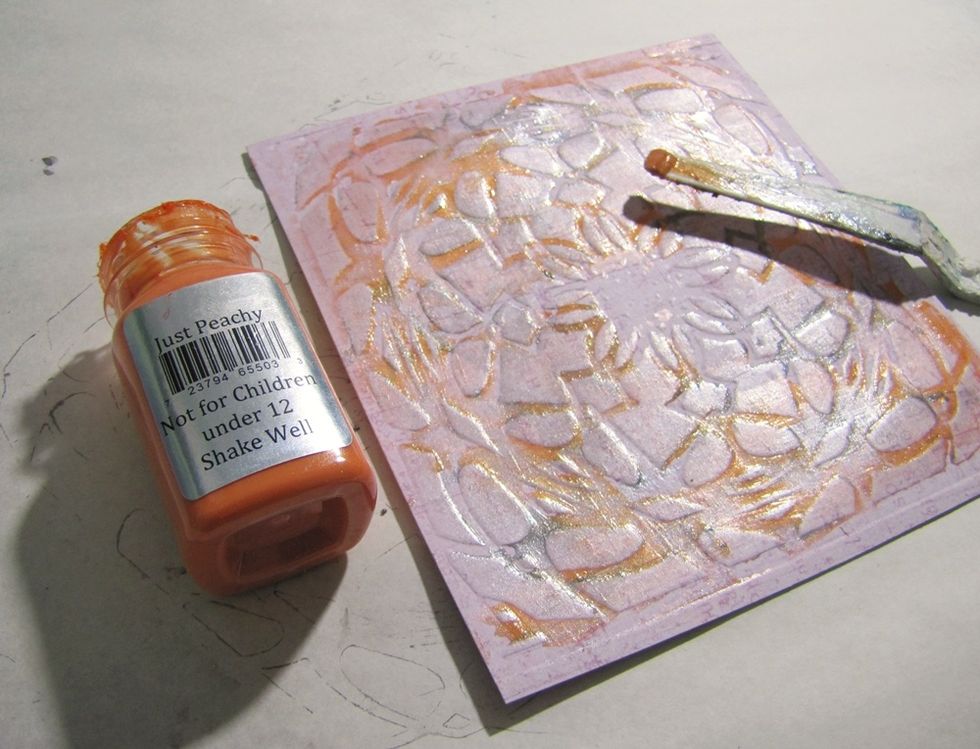
Some Just Peachy here and there...
When it's dry, add more texture with the same stencil.
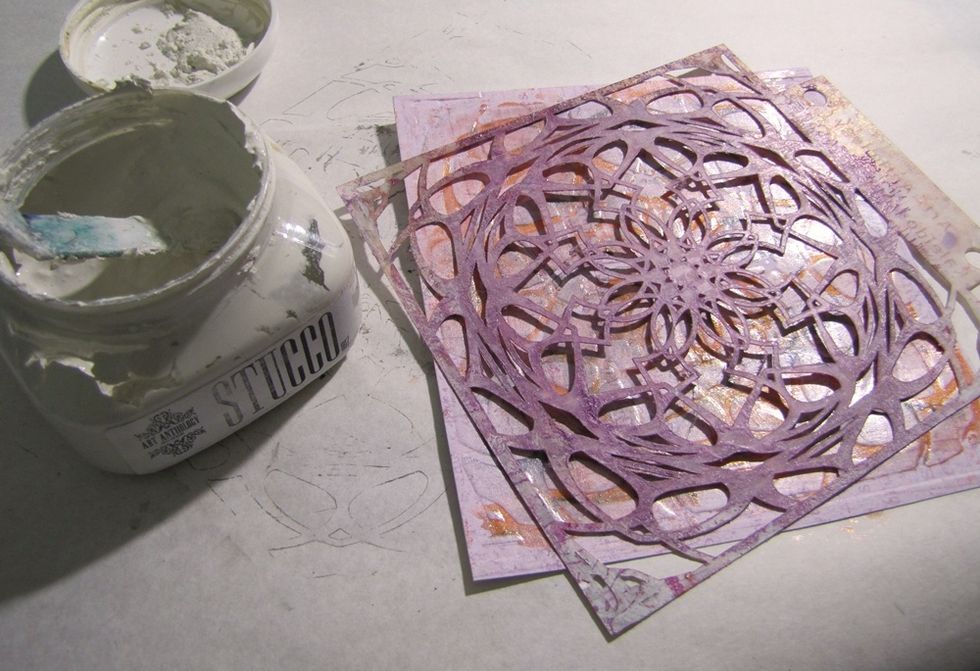
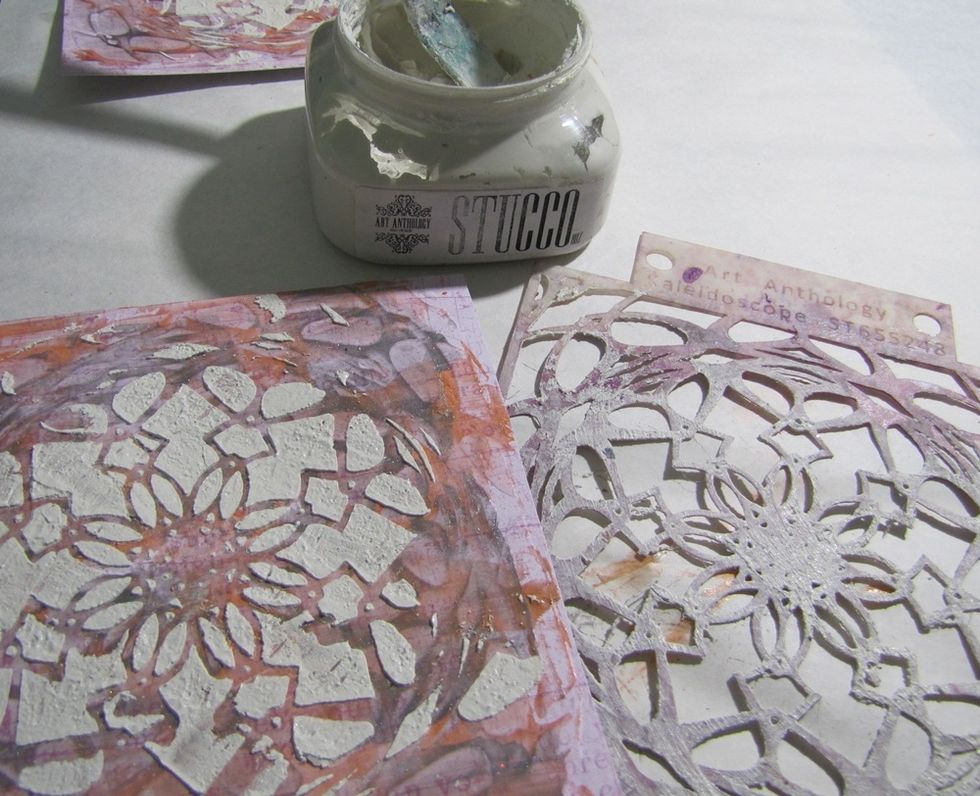
Using Stucco.
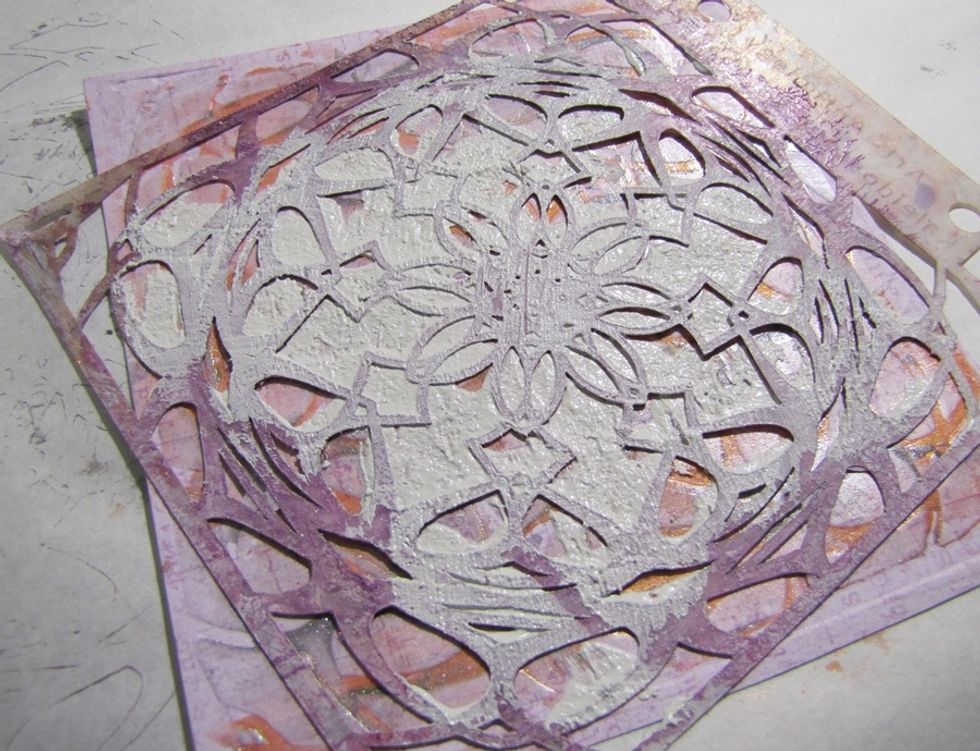
Apply it throught the stencil, but don't need to be perfect. Just add some more bright texture.
I really like the consistence of Stucco.
Do all the same with the second piece of paper. Let it dry.
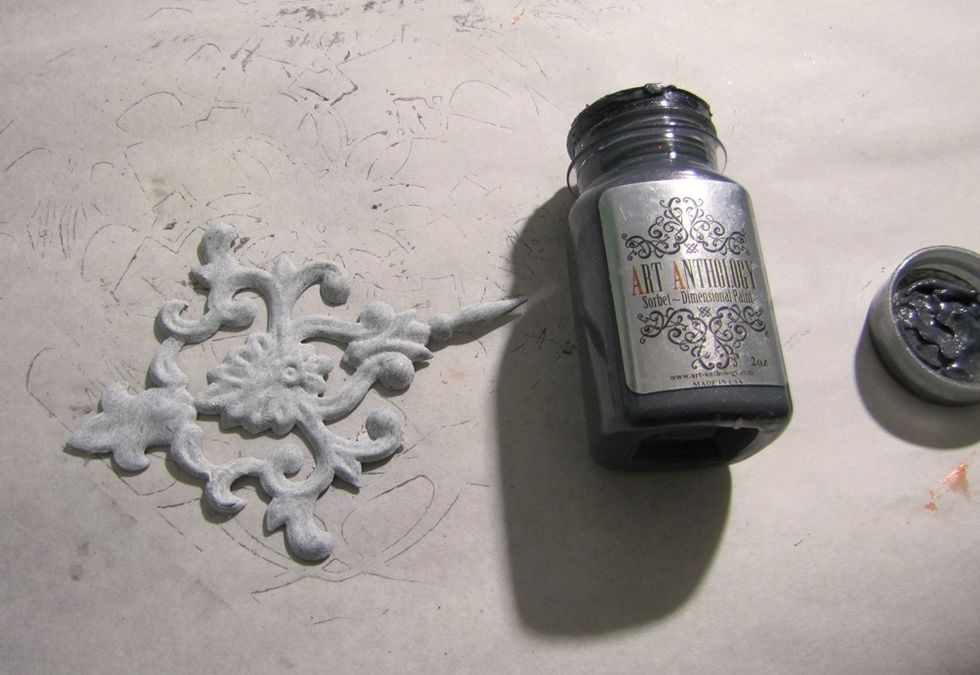
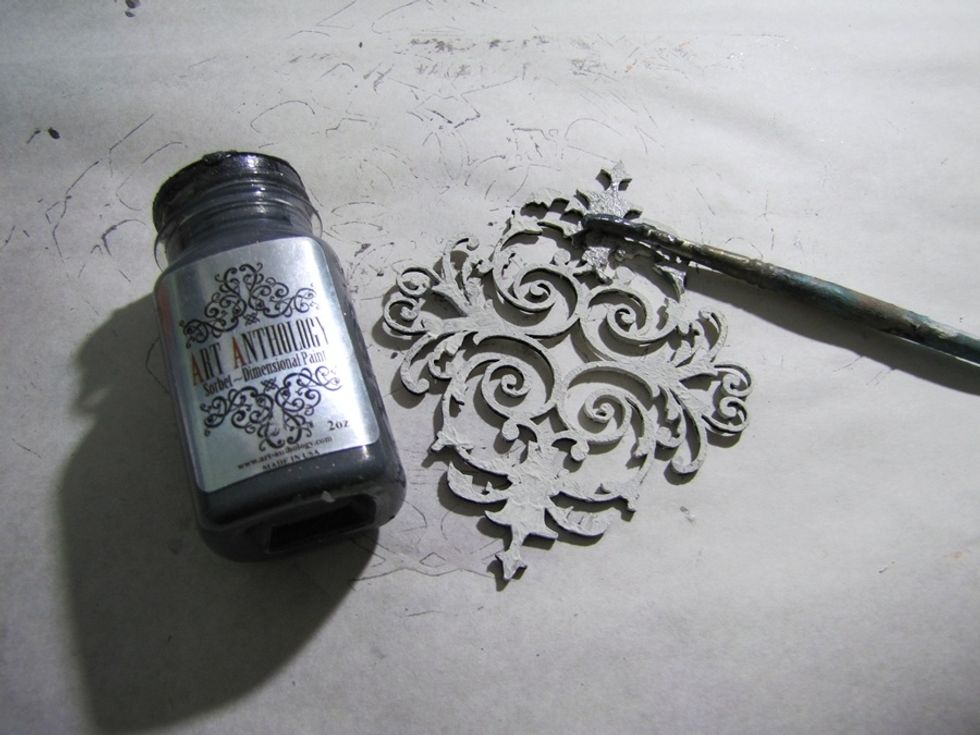
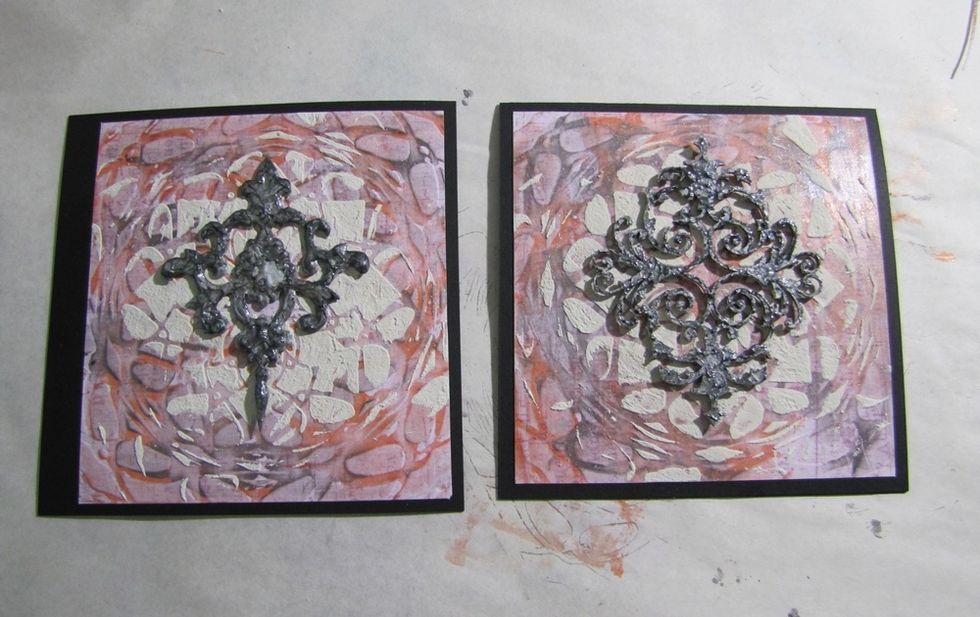
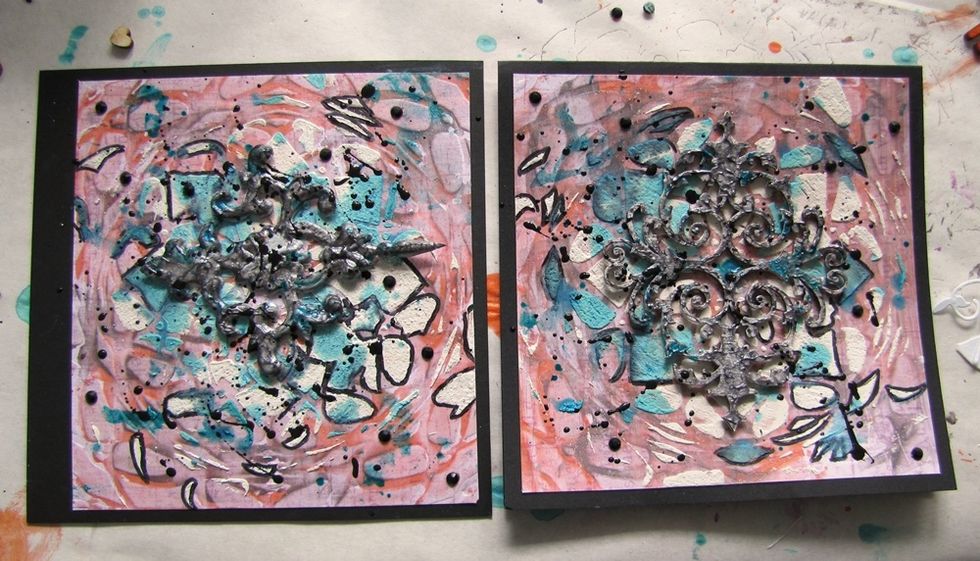
Paint the metal Flea Market Find from Melissa Frances. I've painted it with gesso before ( for another project) but now decided to use it in this work.
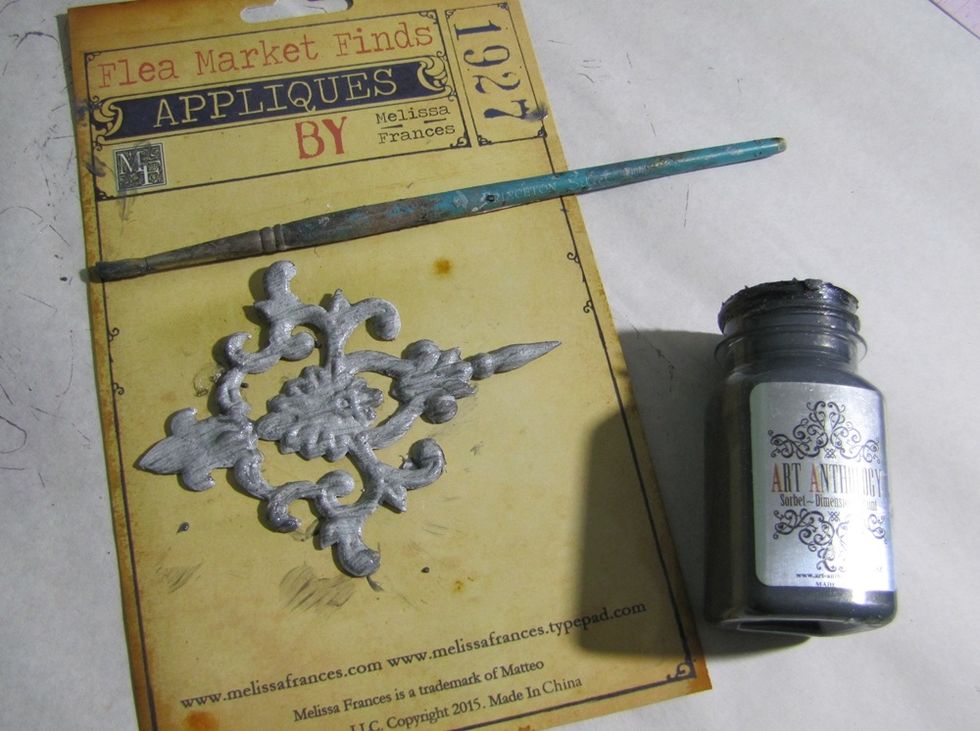
Apply first coat of Sorbet.
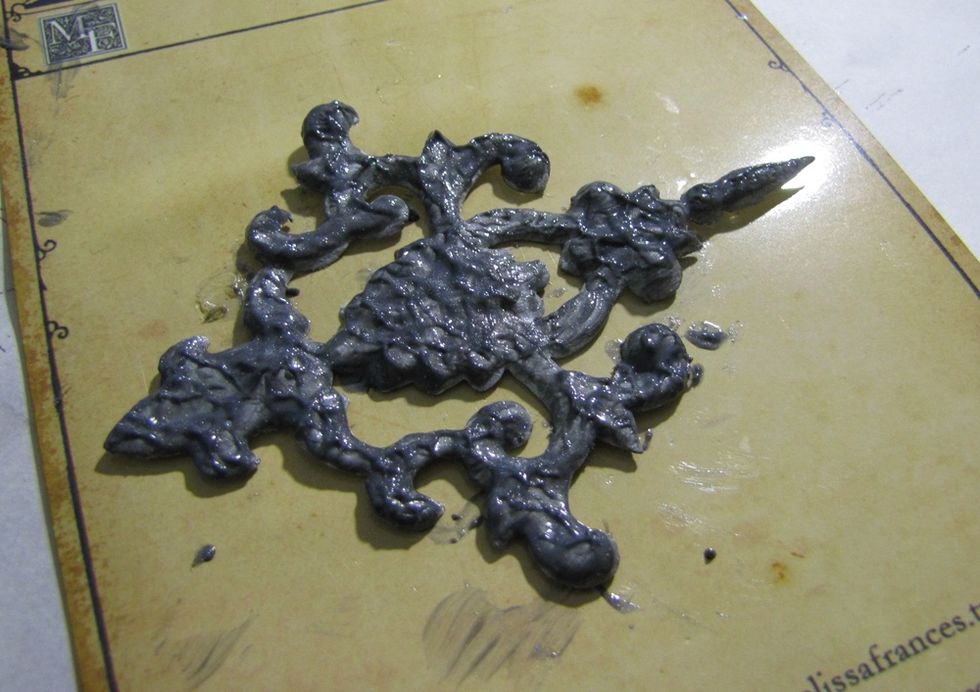
Then, apply the second layer, a little bit thicker..
Do the same with the chipboard.
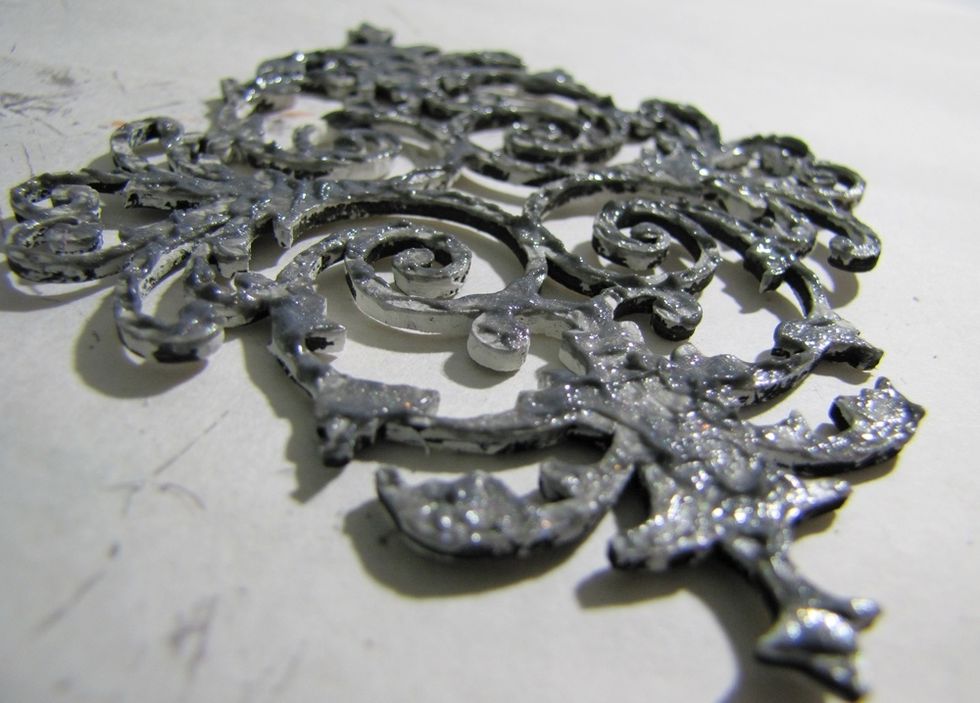
A little closer...

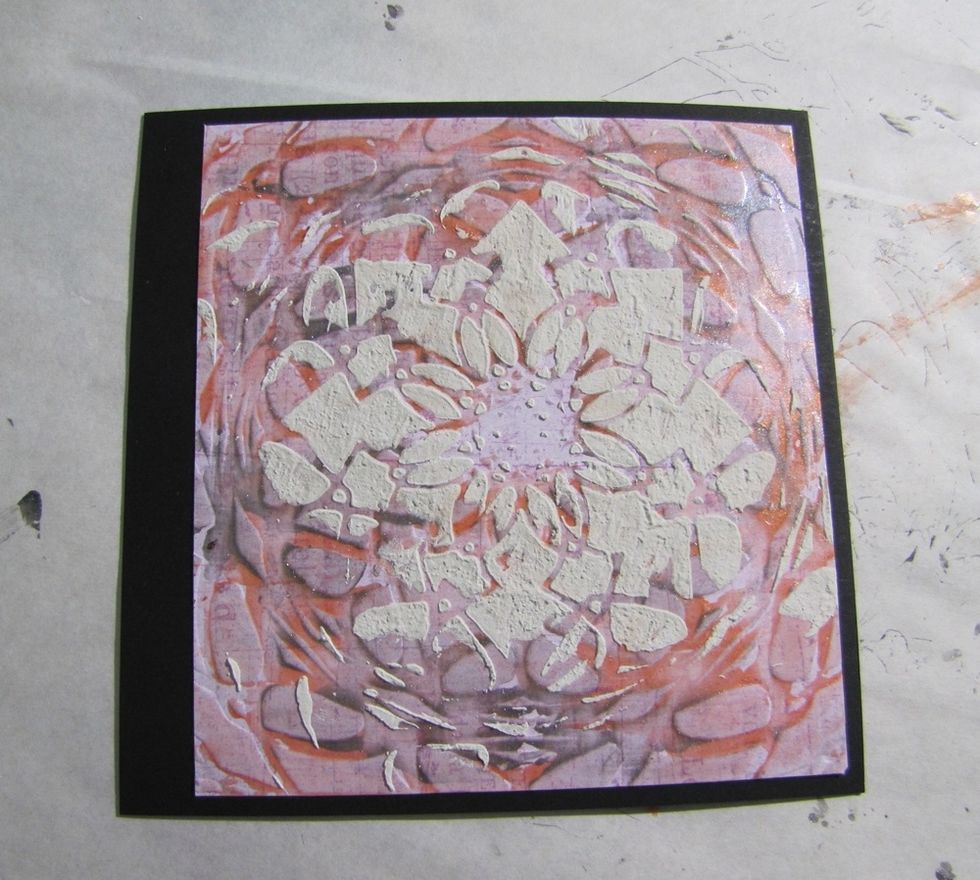
Cut the paper a little bit if is needed. Prepare also the notebook base.
Glue it together.
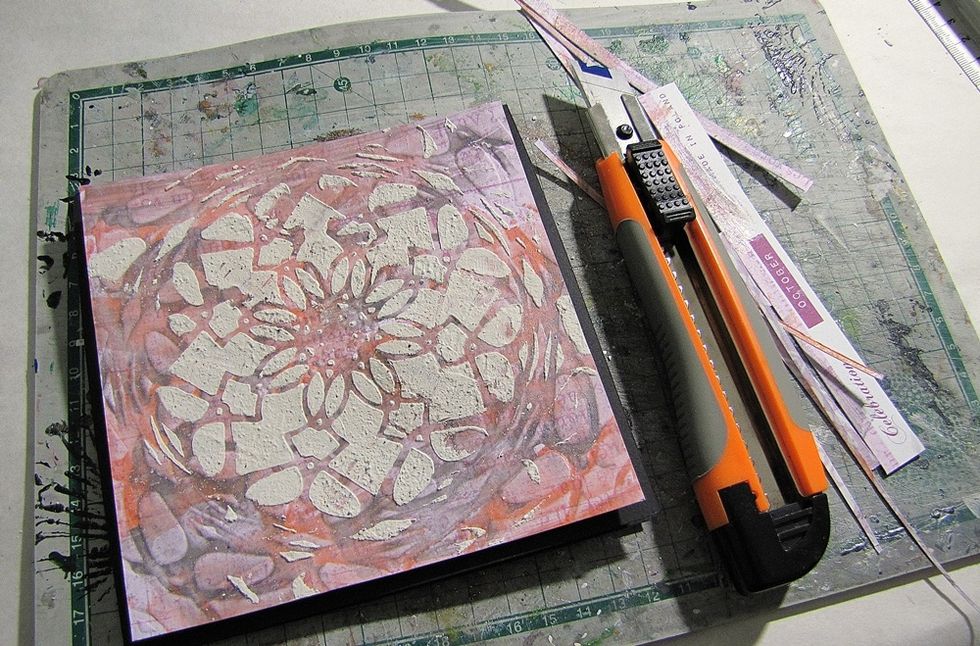
Do the same with the second piece of paper.
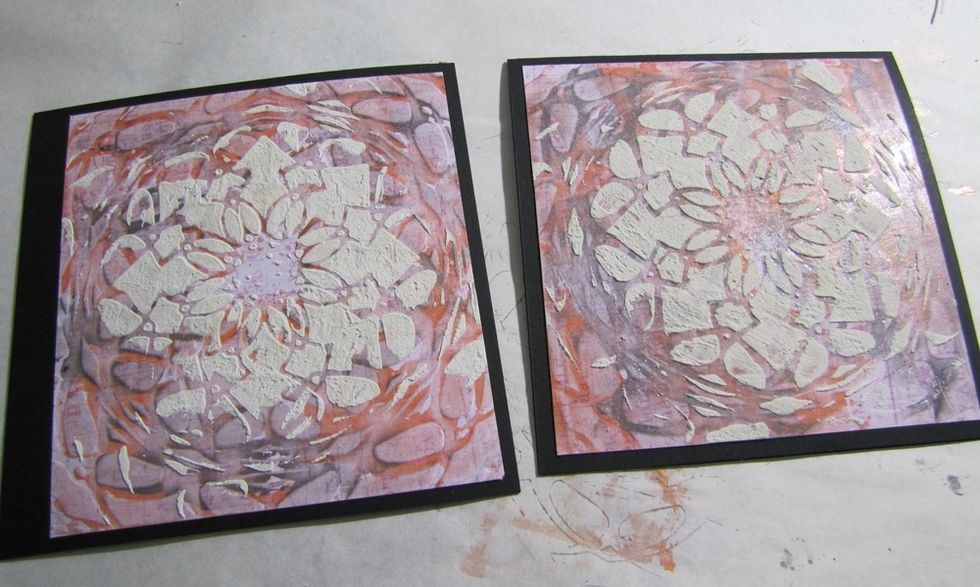
Glue it also on the card base, and we have two similar backgrounds for working.
Let's see how the embellishments fits to the background..
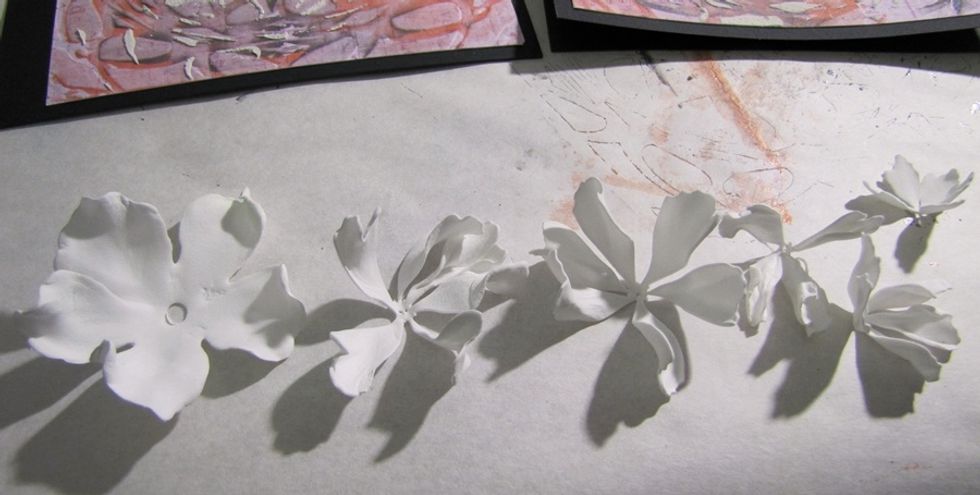
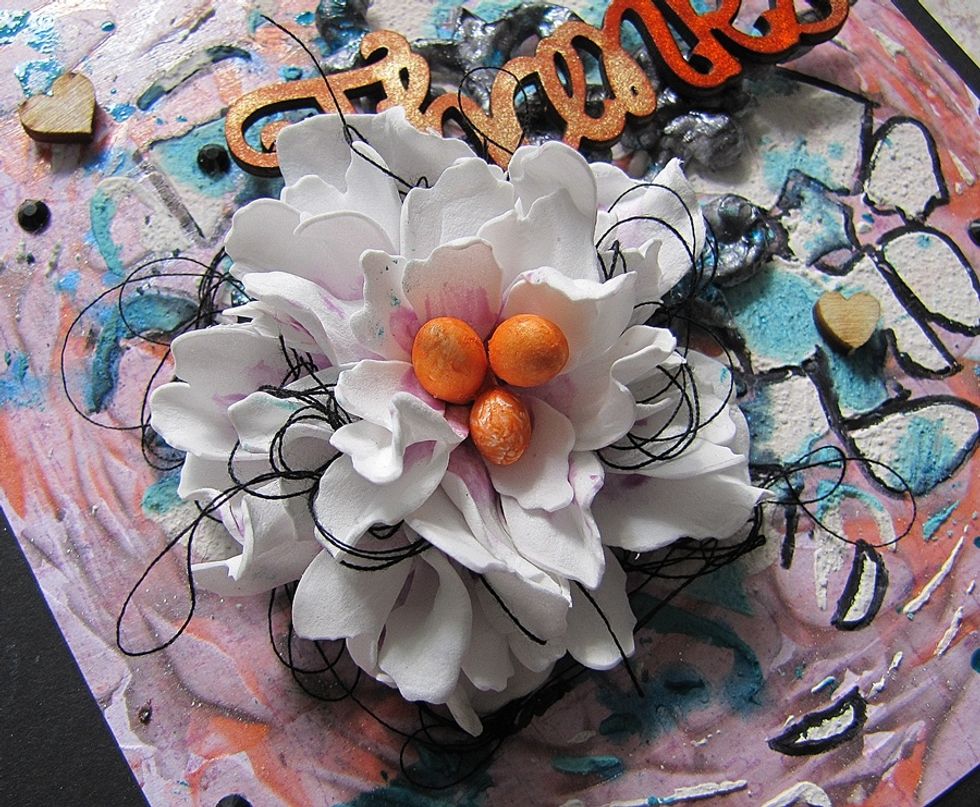
Create some flower.I have some handmade foam flowers, but you can use paper flowers if you want.
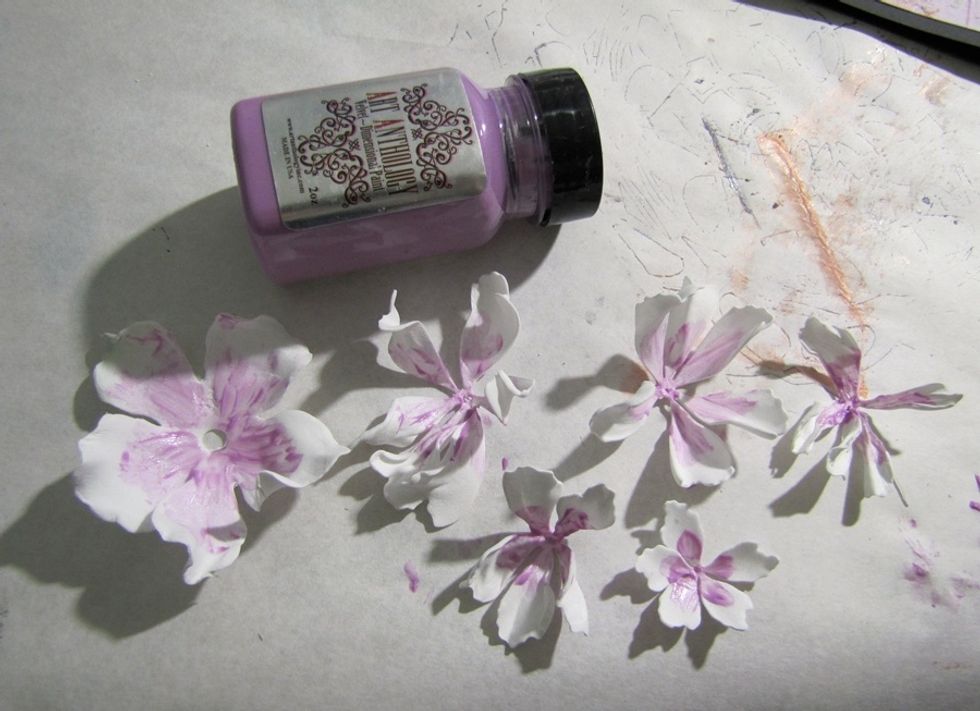
Apply some Orchid Velvet in the center of each part.
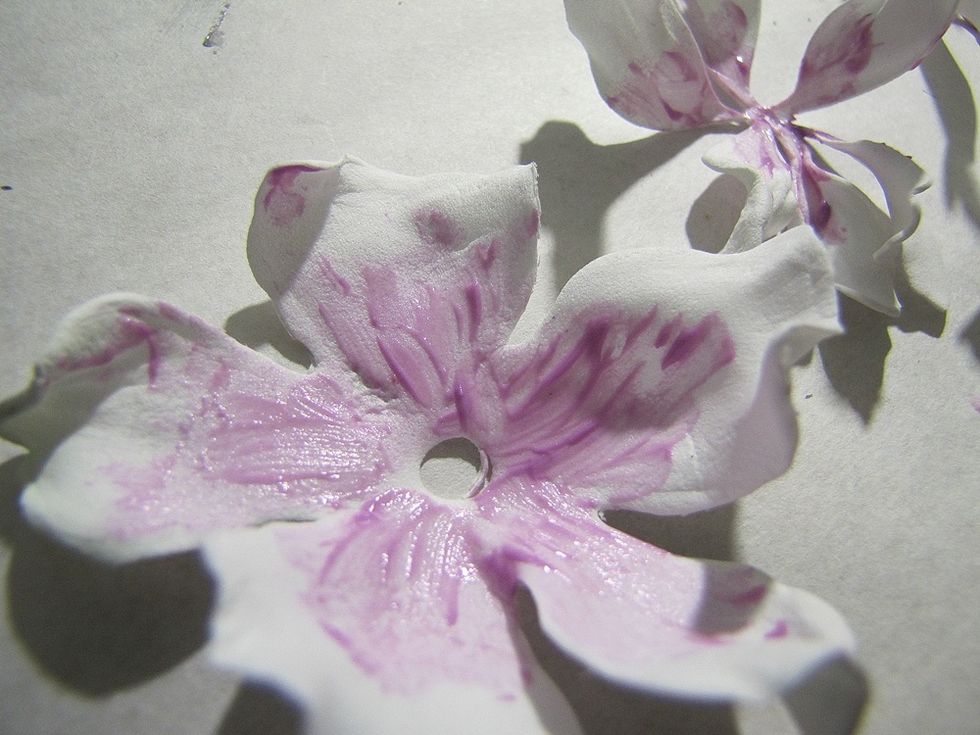
Closer...
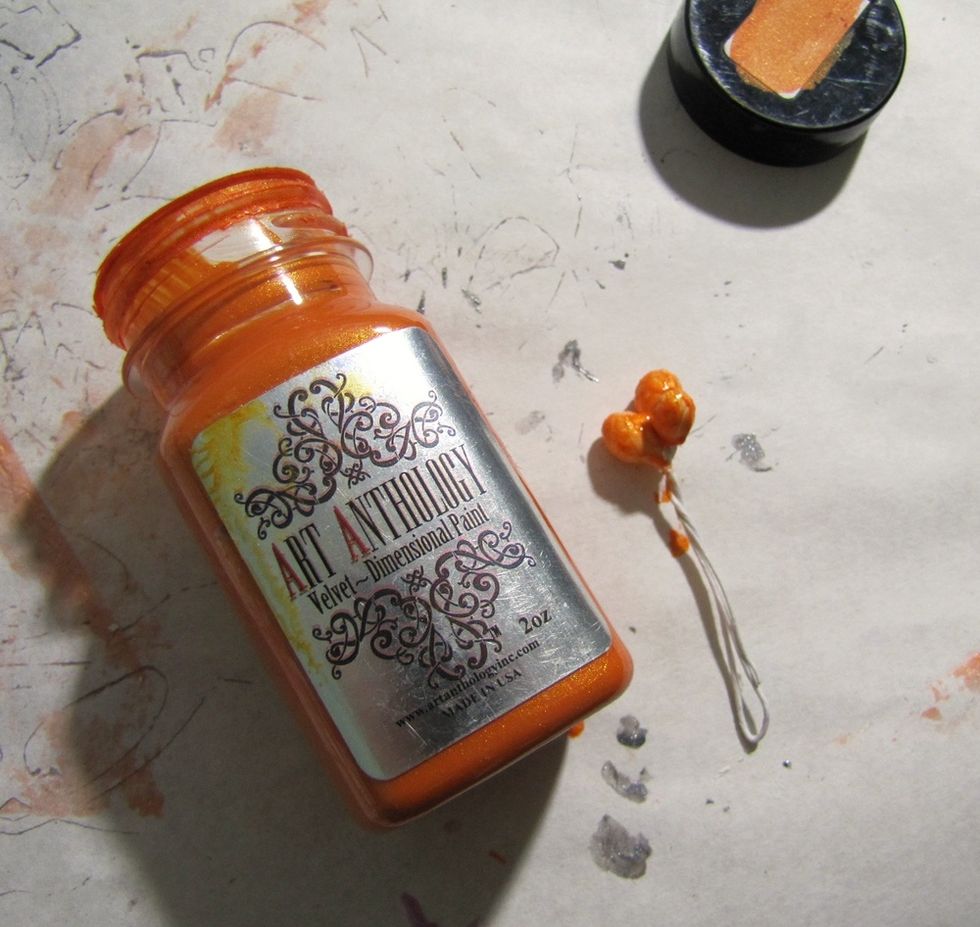
Paint the stamens with Tango Velvet.

Glue the flowers together, put them on the projects, but don't glue it now. Add some doodling with black pen.
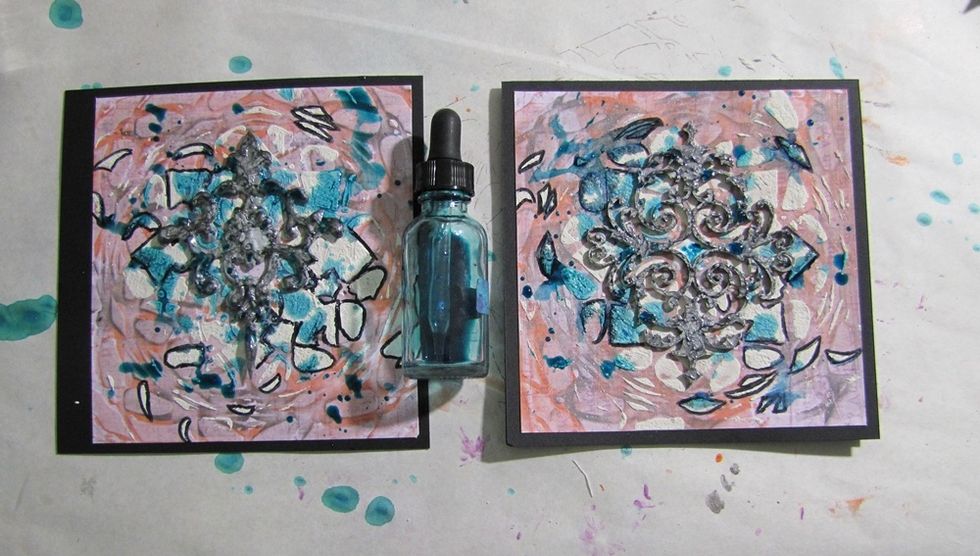
That was still too clean, so I decided to add some Panache splashes. Let it dry.
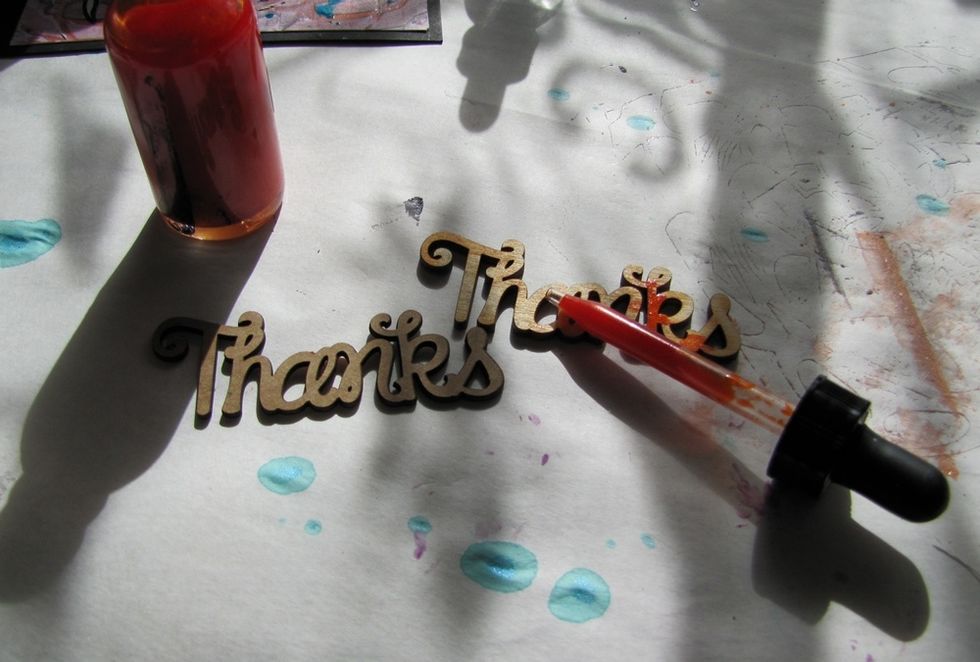
Paint the words with Radiance Minx. Using Wooden and chipboard words from Melissa Frances.
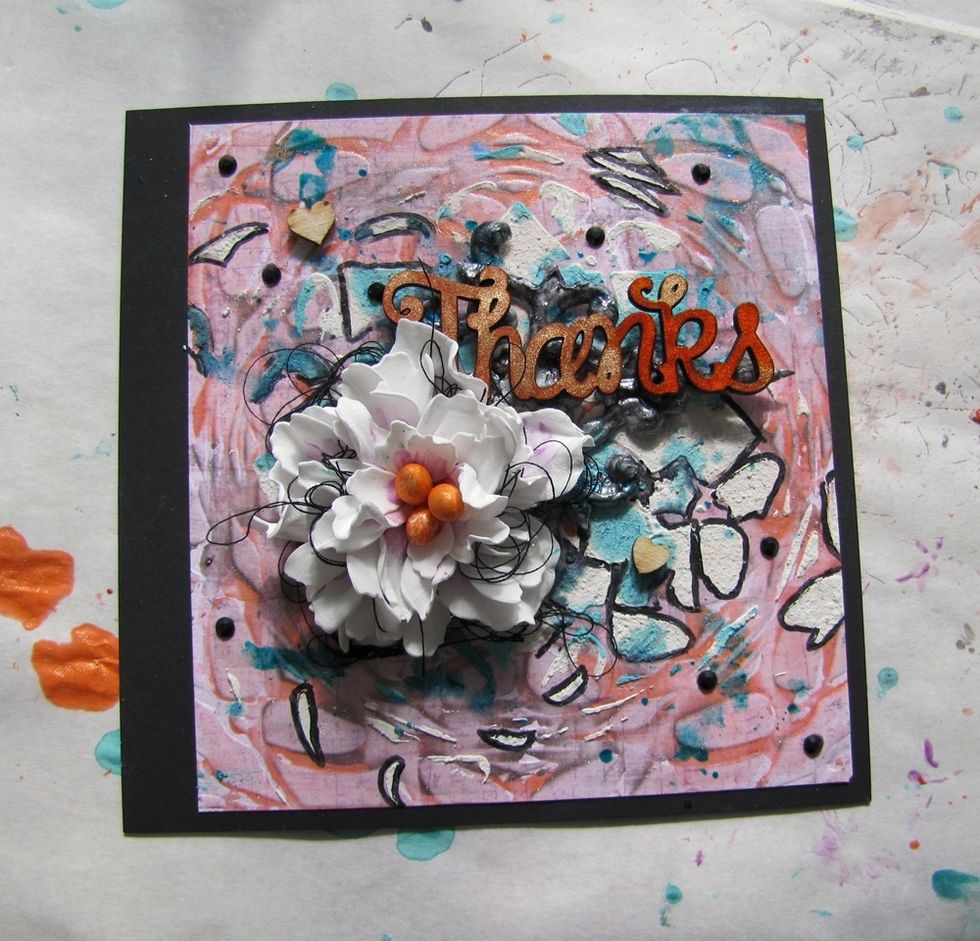
Putt all together on the project. Add some more embellishments if you like.
A little closer..
I thought it's still not so messy, as I like ;) so I cretaed some black splashes with Acrylic ink.
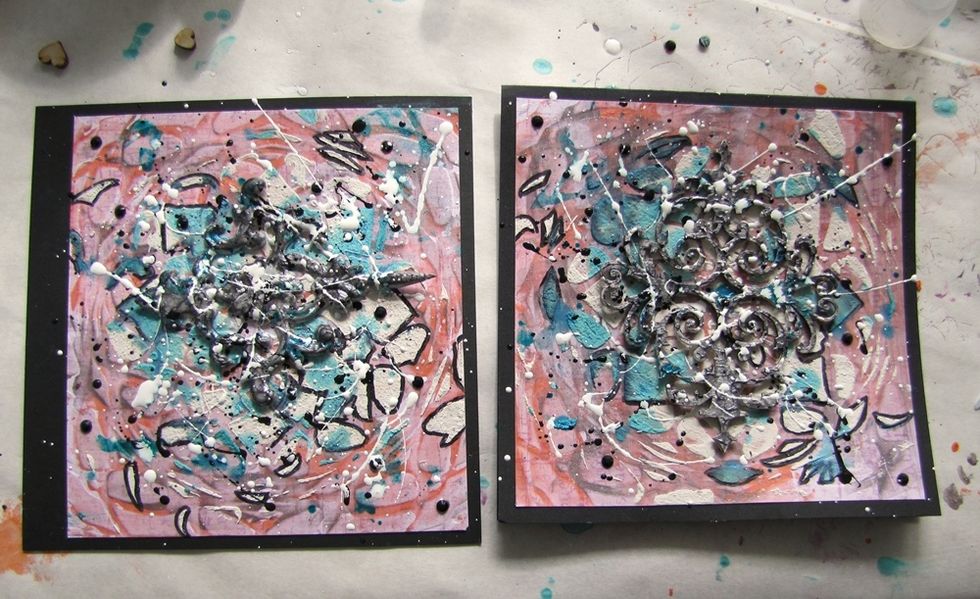
And some white also...
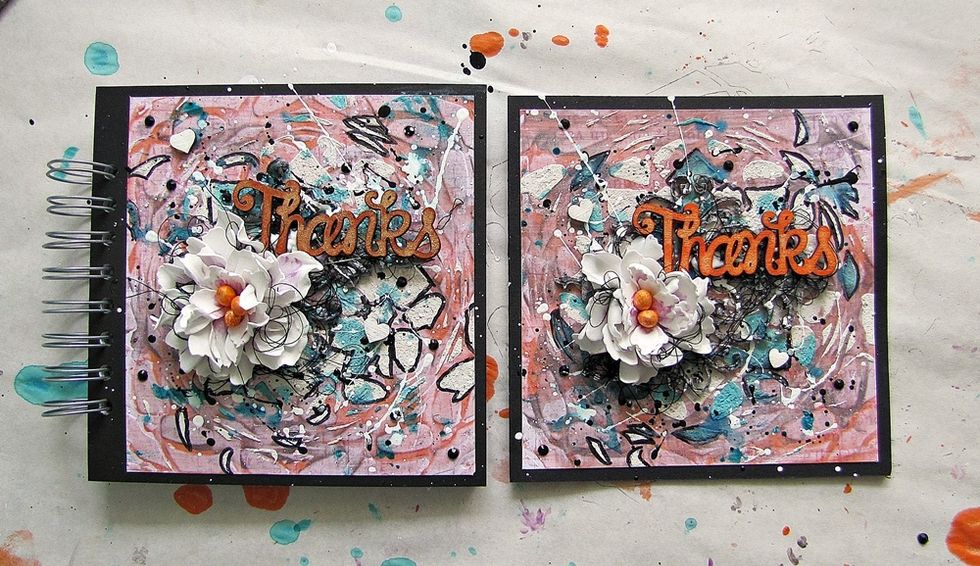
In the end glue it all together on the projects. It's finished.
Thank you for stopping by. For more details, please visit Art Anthology blog. Marta De.