The Conversation (0)
Sign Up
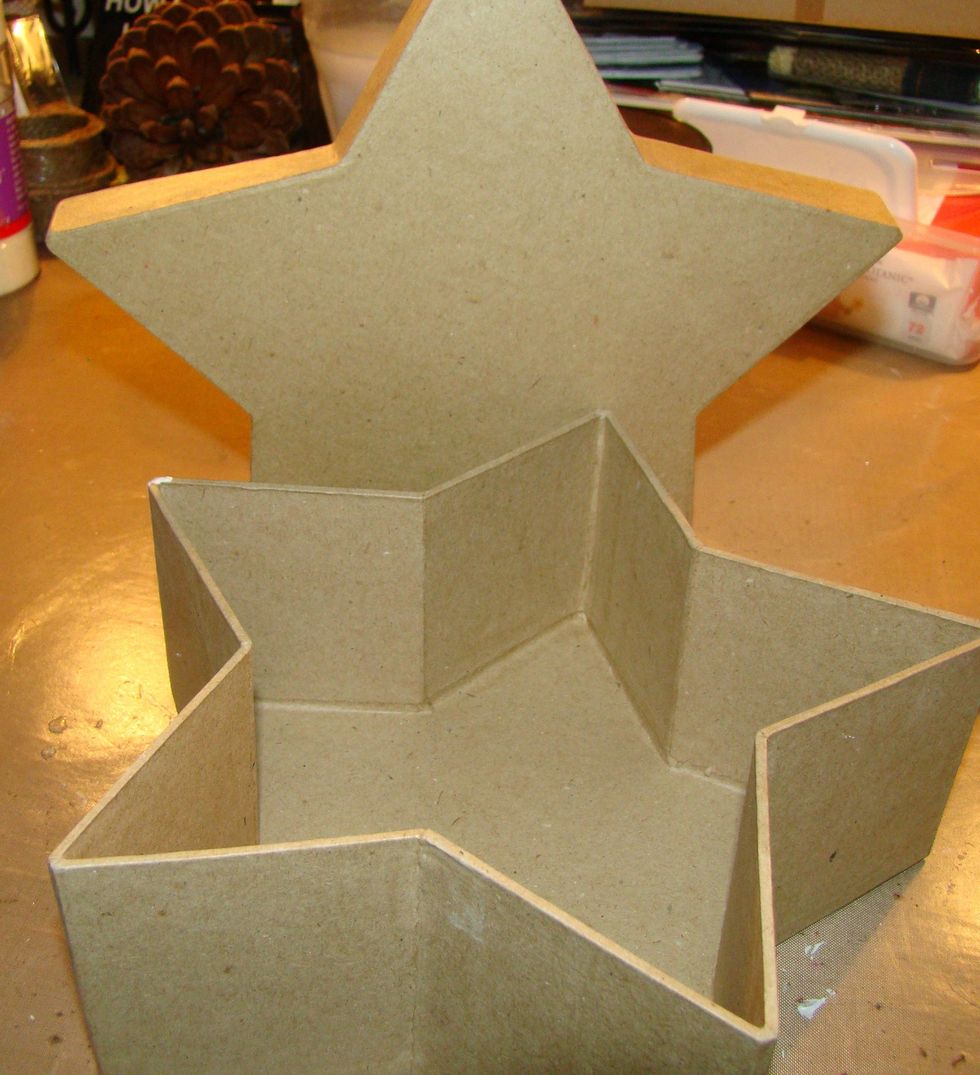
This tutorial is basically for the UTEE embellishments but I will also give you a few pics of decorating the box first. This is a paper mache box that cost $3.99 at Hobby Lobby .
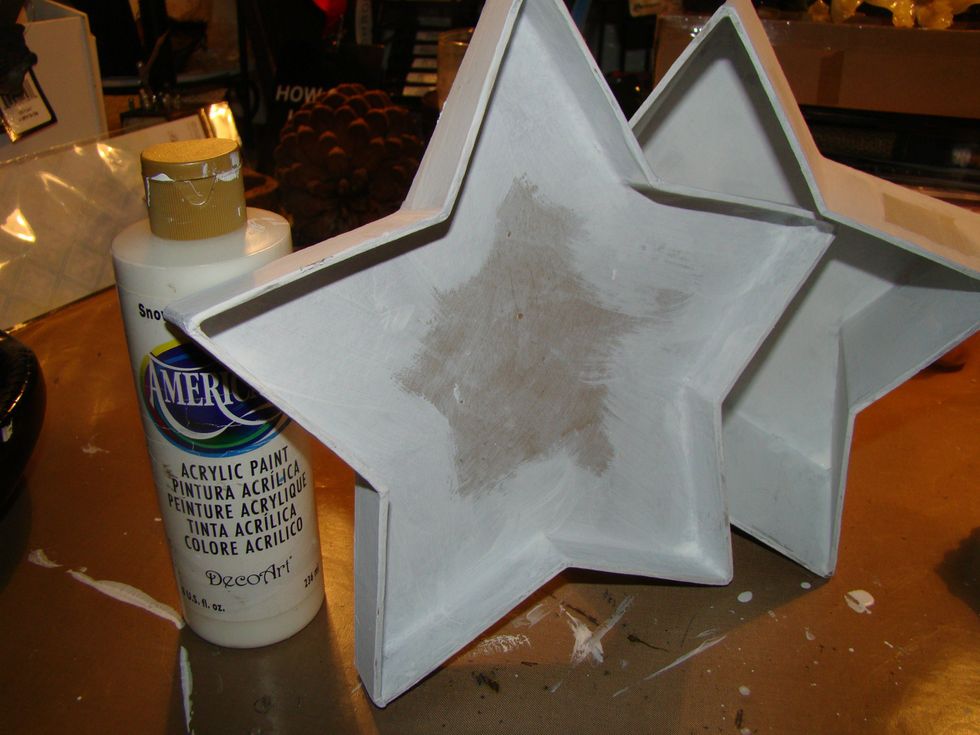
Paint your entire box with white acrylic paint. I gave it two coats.
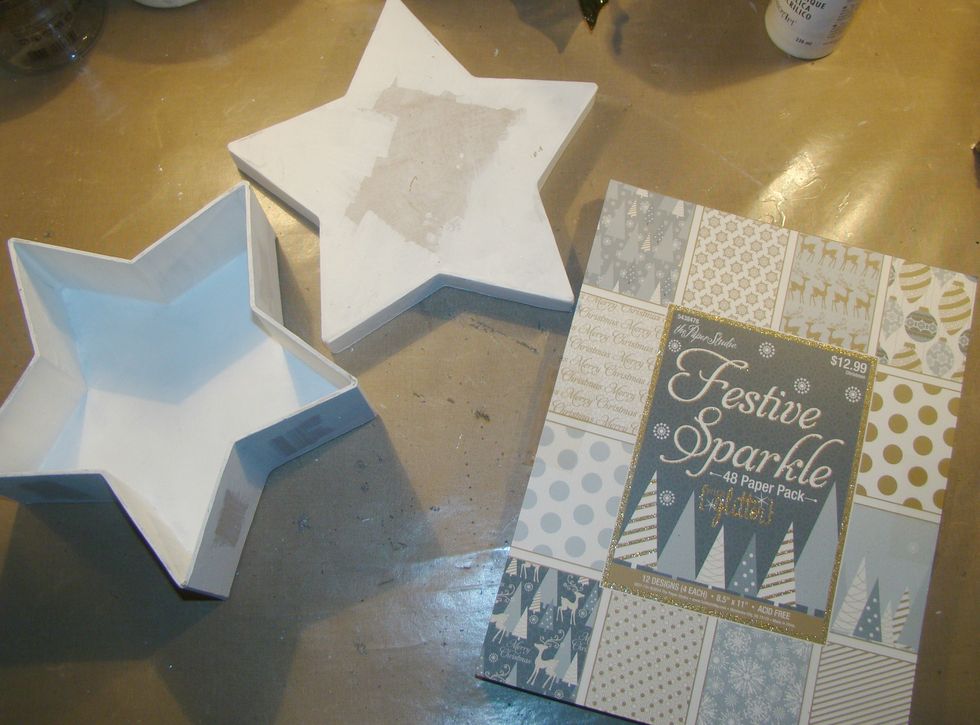
I decided to use Festive Sparkle Christmas paper pad.
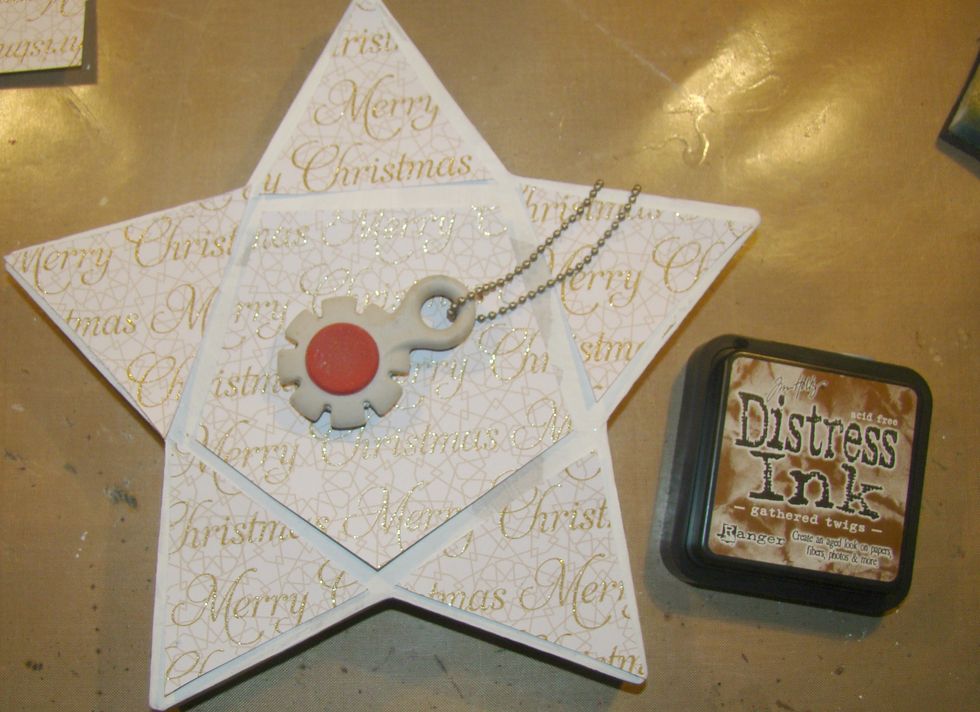
For the top I paper pieced a star, using a distress tool for the edges and then inked the edges with DI Gathered Twiggs. Glue down.
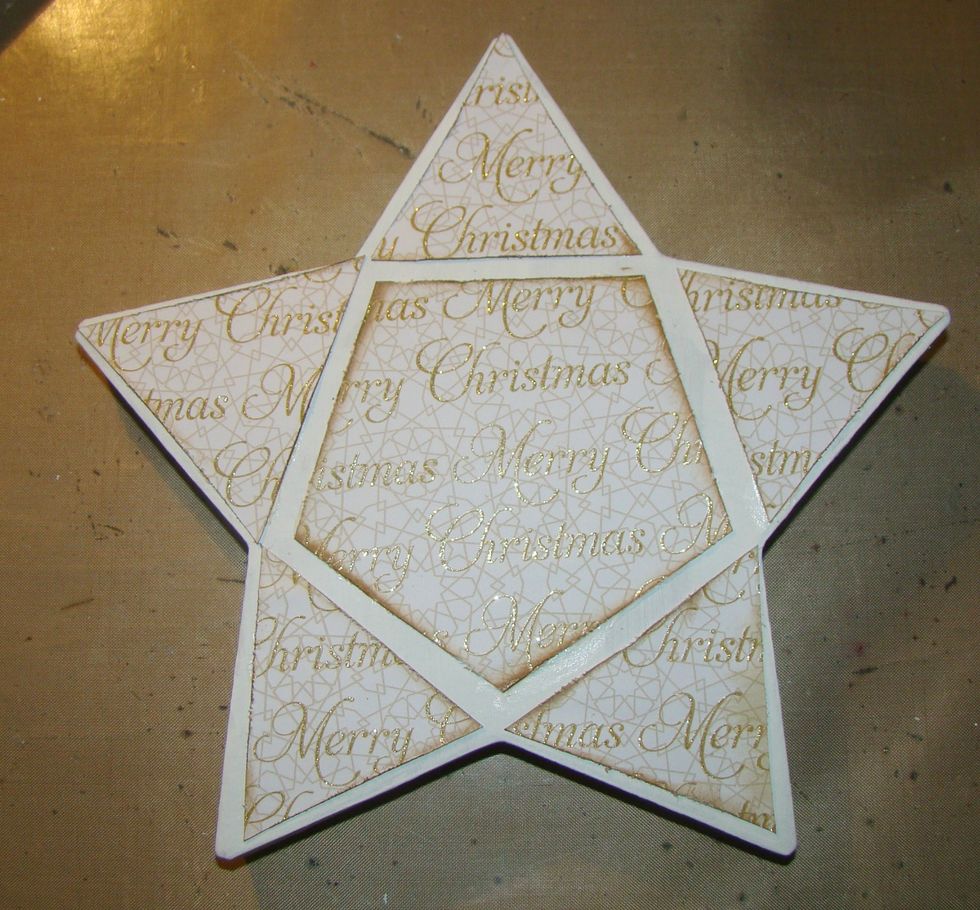
This is the top of the box once the papers have been glued down.
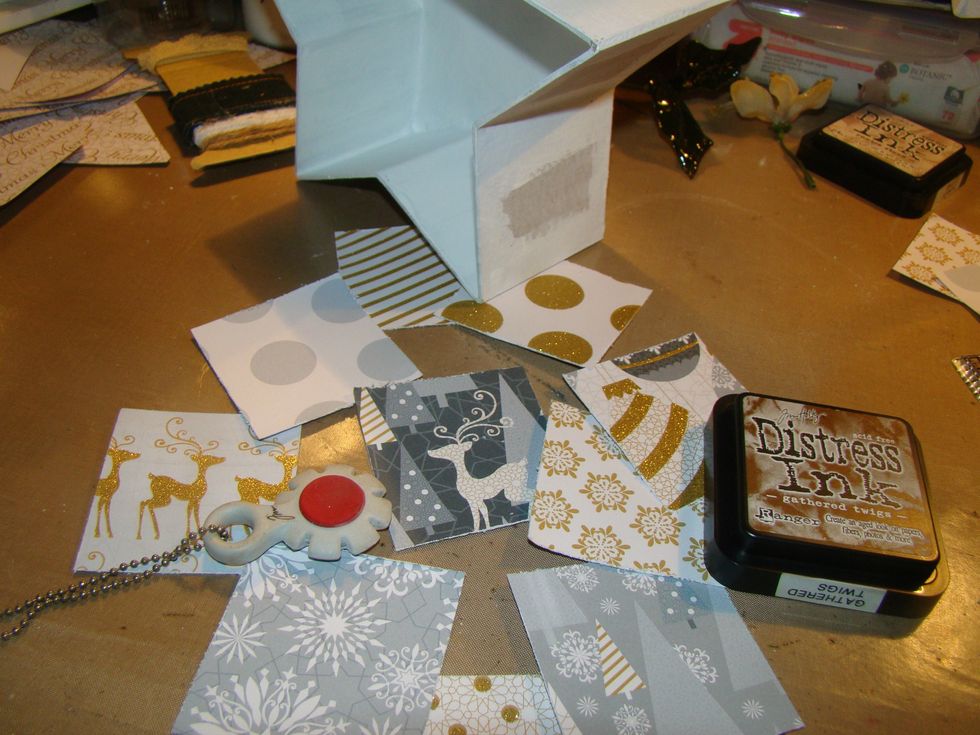
For the sides of the boxes, I cut a different square from the paper pad, distressed the edges and then inked for that vintage look. Glue down.
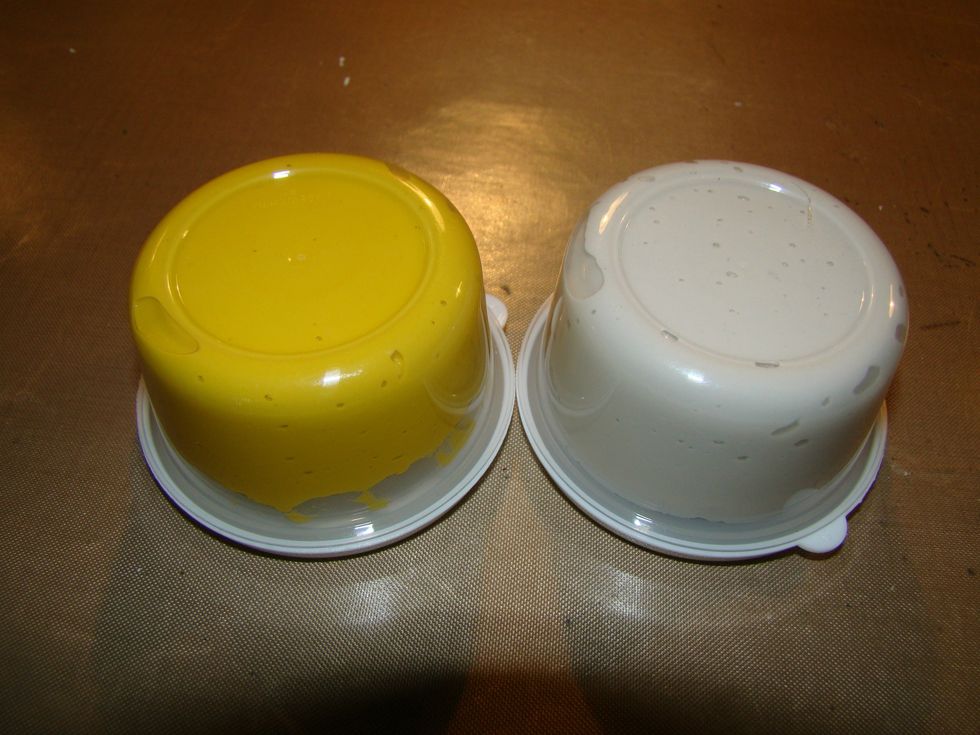
The Amazing Mold Putty has two elements that are needed in order to achieve your custom mold.
Take equal parts of each and combine the two.
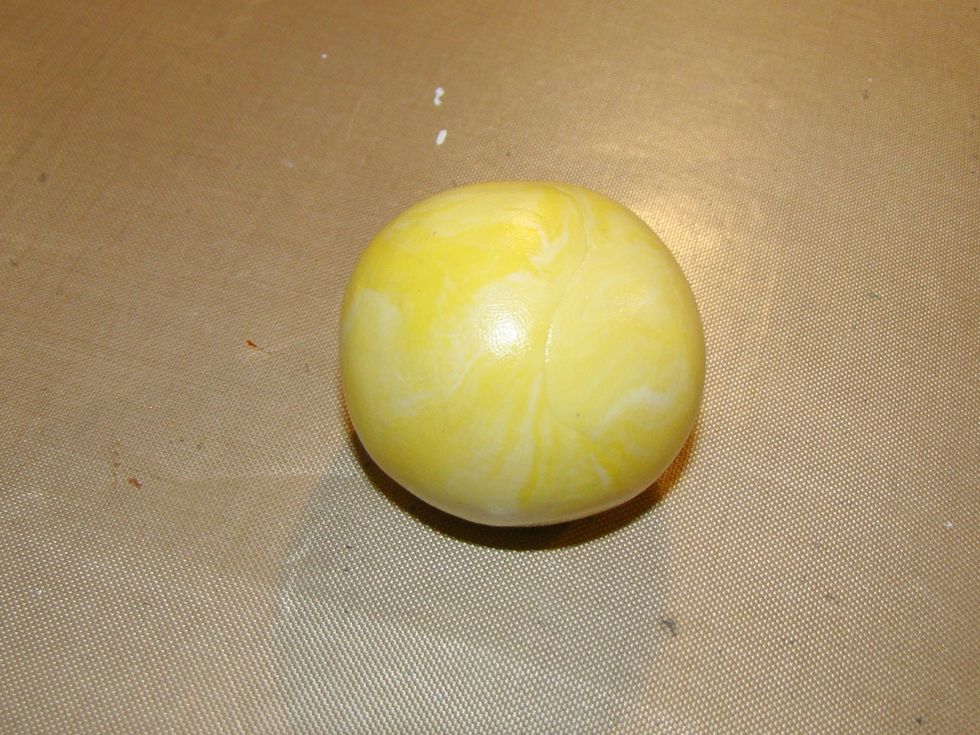
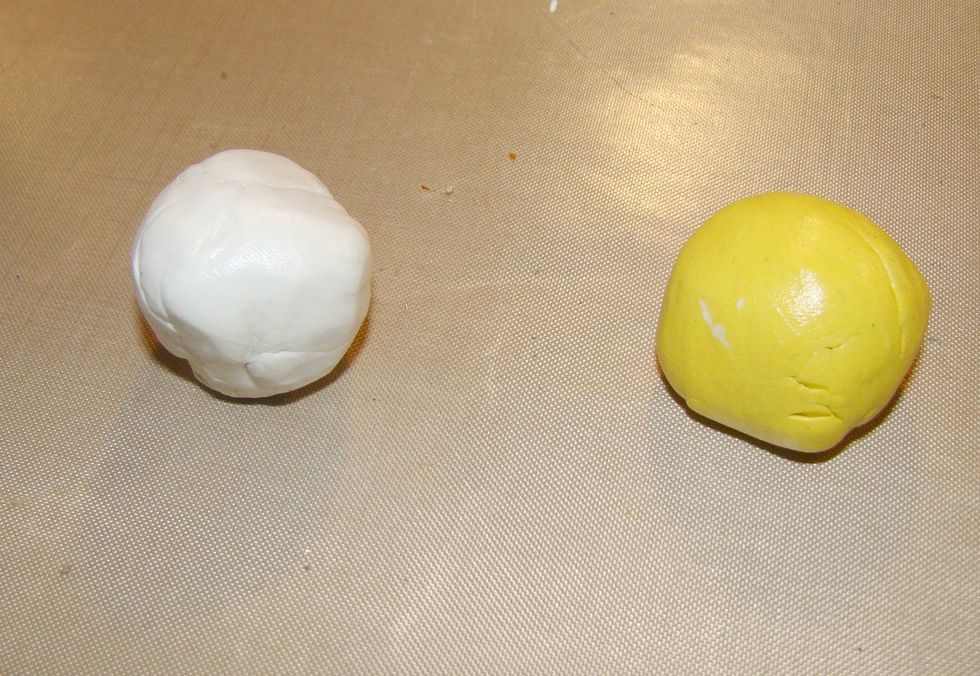
Knead together approx 45 sec, don't over do it because the putty will start to set. Roll in ball and make sure you have no creases.
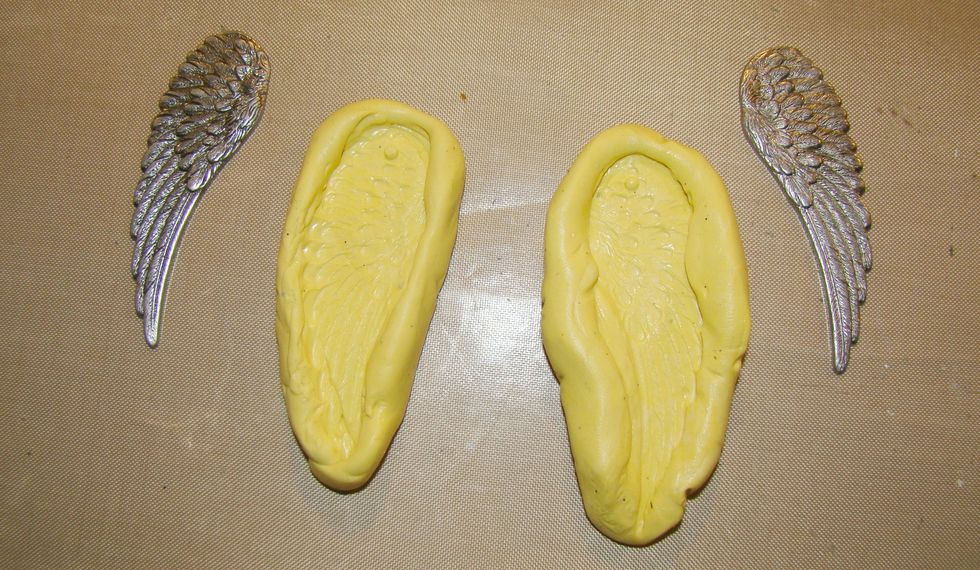
Once your putty has set remove your metal piece and now you have a mold that you can use over and over again. The Amazing Mold Putty product captures every little detail.
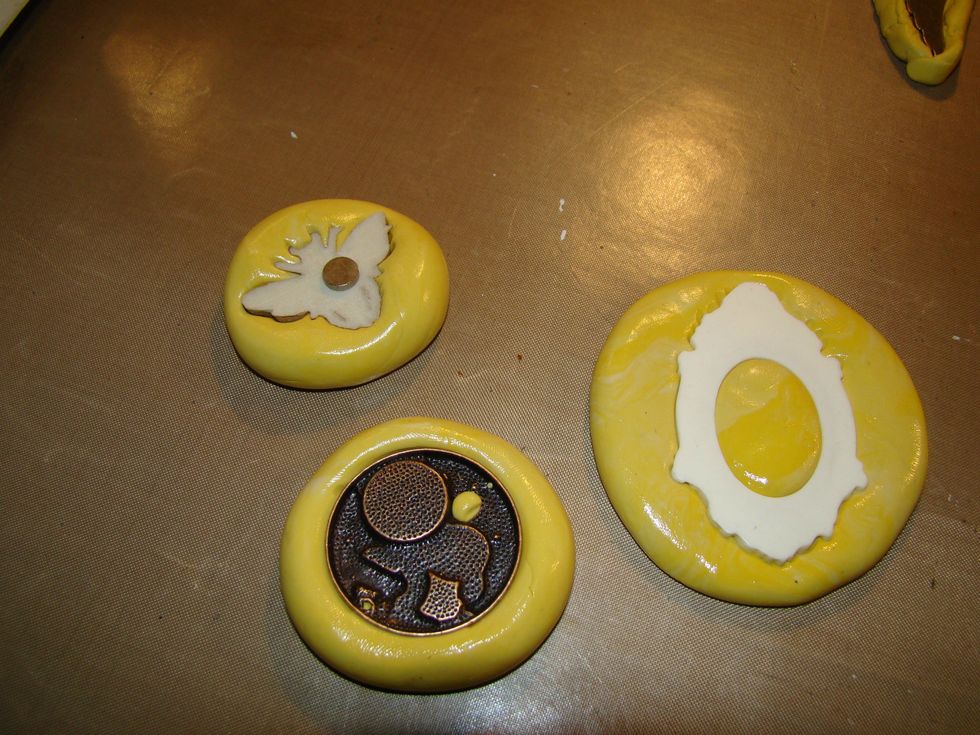
Press flat and push your item into the putty making sure it goes completely up and over the sides. Allow to set for approx. 20 min.
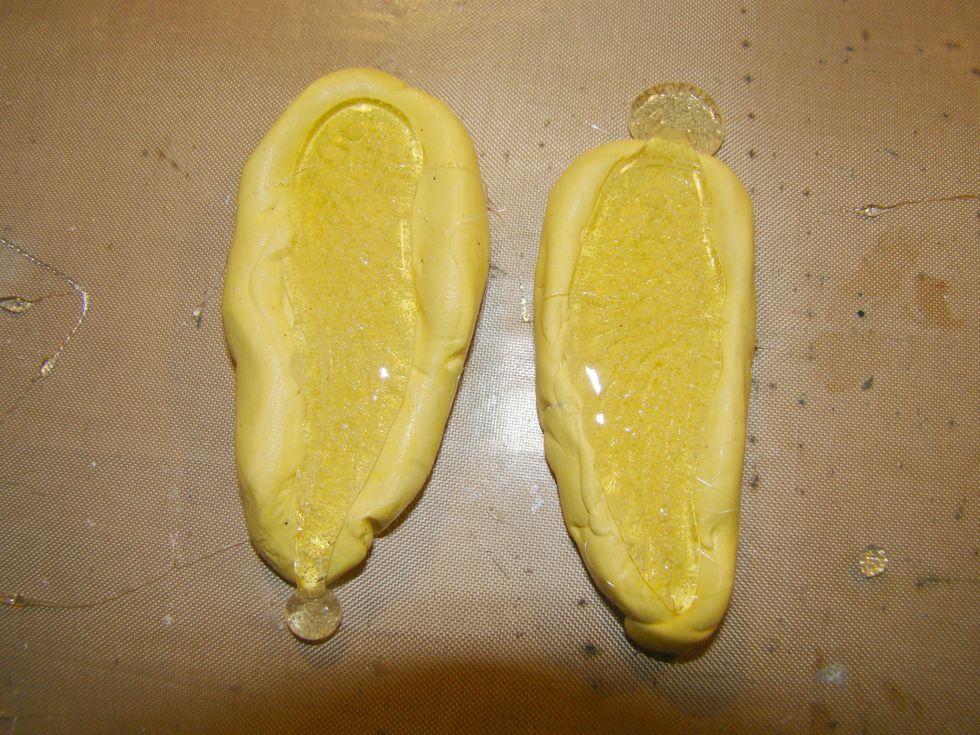
Pour your hot UTEE into the molds. Do not worry if it runs over a bit. Once dry you can cut the excess off and put it back in your heating pot to melt for future use.
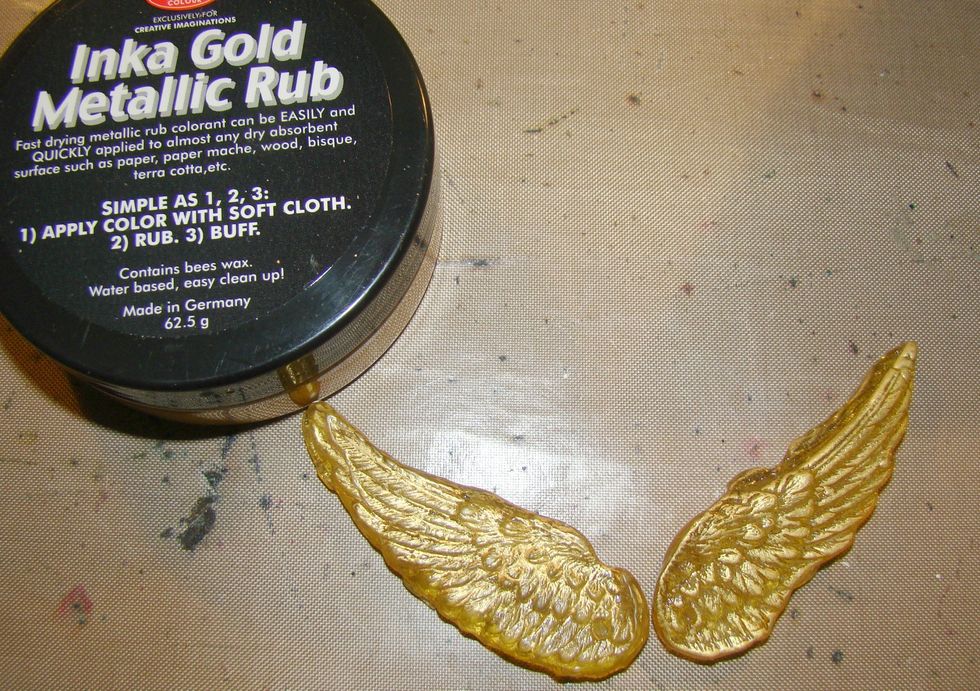
Using Inka Gold, rub over the top of your new embellishment for a beautiful golden sheen. You can also paint these, or use Rub N Buff.
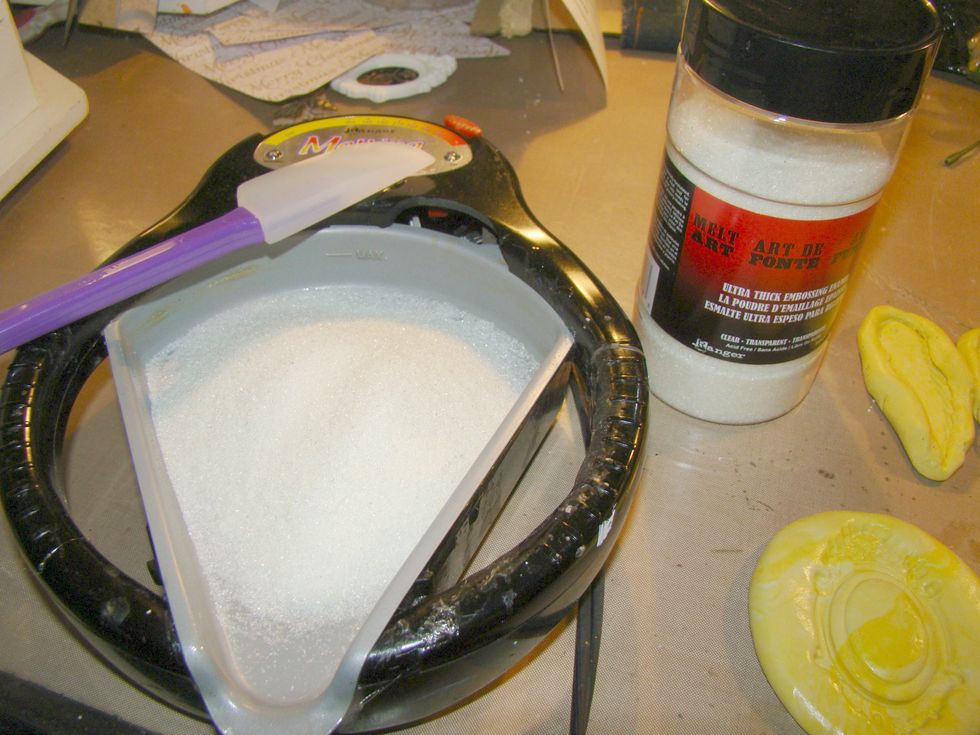
Now for the fun part. Using your Melt Art Melting Pot turn the heat up to high and pour a generous amount of UTEE in the pot and allow to melt.
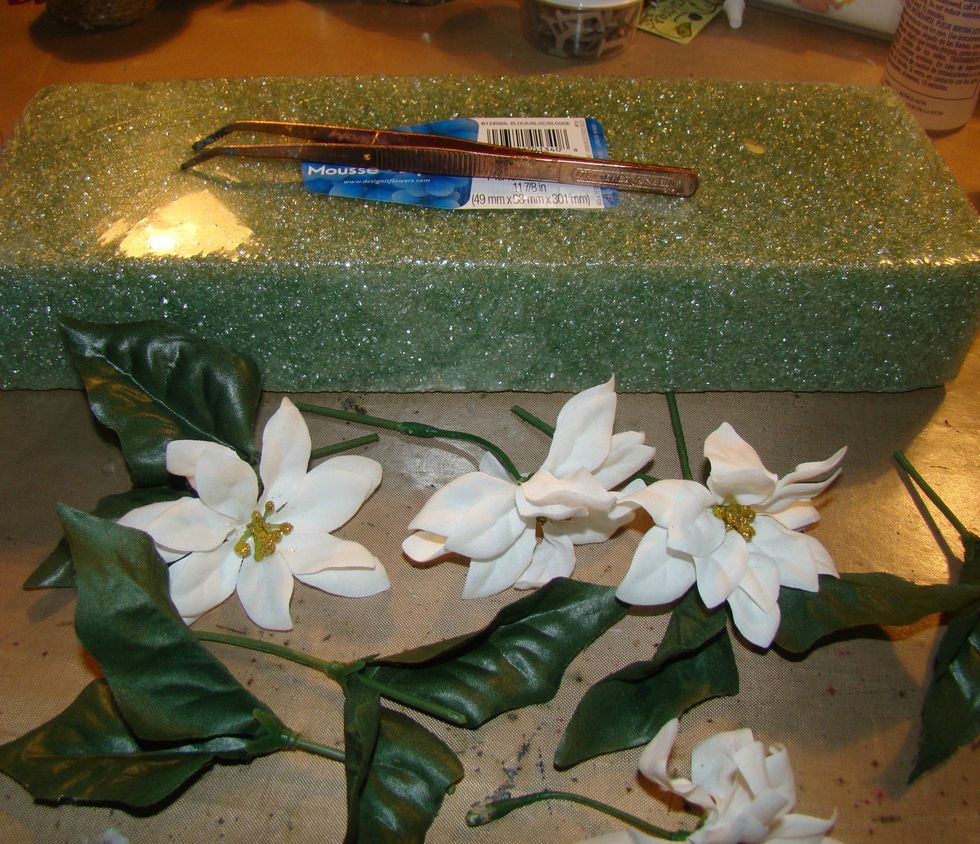
Choose your desired flowers and leaves.

Using Inka Gold, rub over the top of your new embellishment for a beautiful golden sheen. You can also paint these, or use Rub N Buff.
After dipping, lay your flowers and leaves on a craft mat or you can use their stems and stick them in a styrofoam block and allow to dry. They will dry quickly.
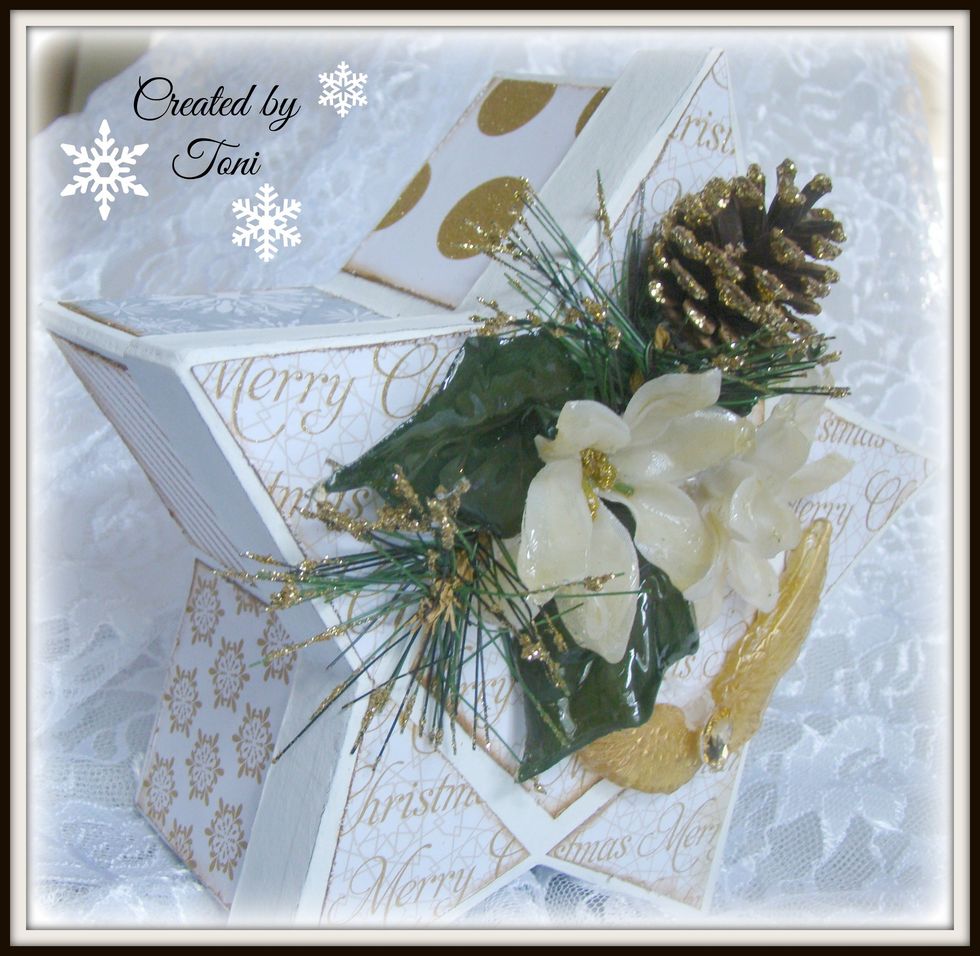
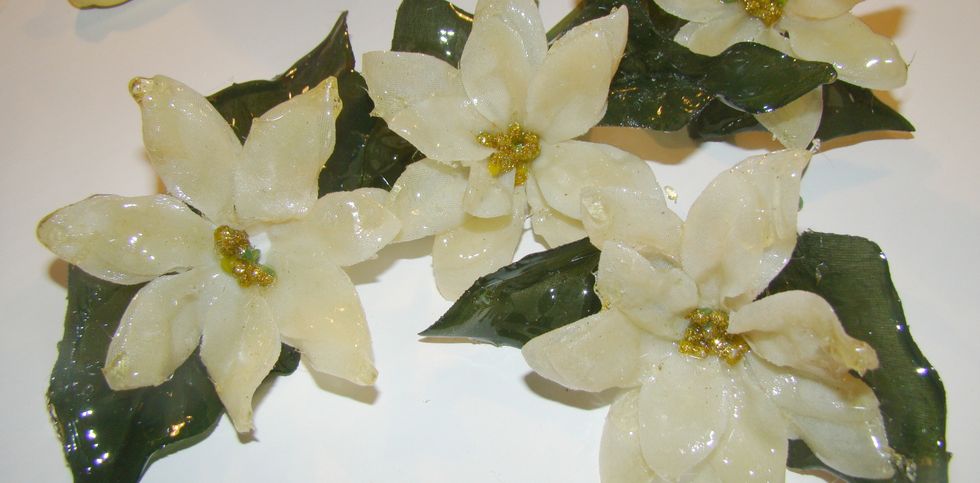
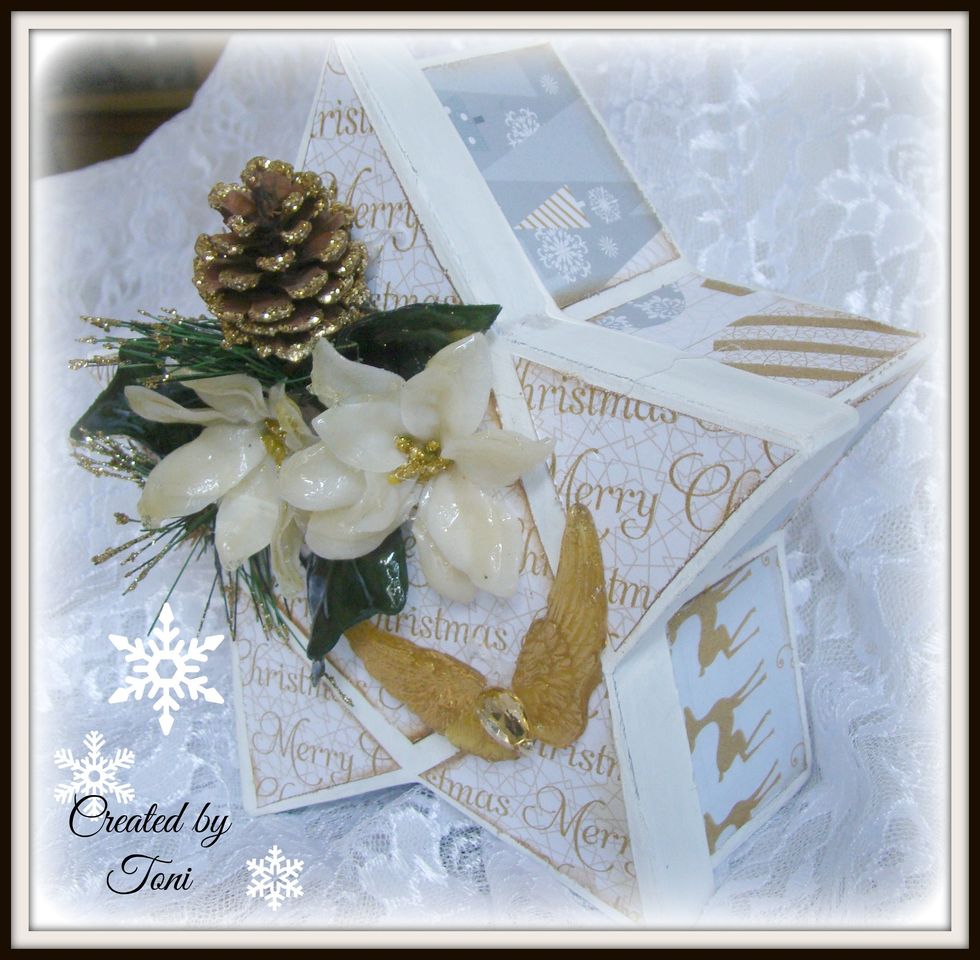
And now your UTEE custom embellishments are ready to glue on to your project. The flowers are so pretty they look like glass and the UTEE wings add such a wonderful touch.
I hope you enjoyed this tutorial, get started on your Christmas packages right away because the holiday will be here before you know it.