The Conversation (0)
Sign Up
I used a strip about this size. Start small and add layers to get the size you want. *use wax paper to keep your working surface clean and prevent the clay from sticking down.

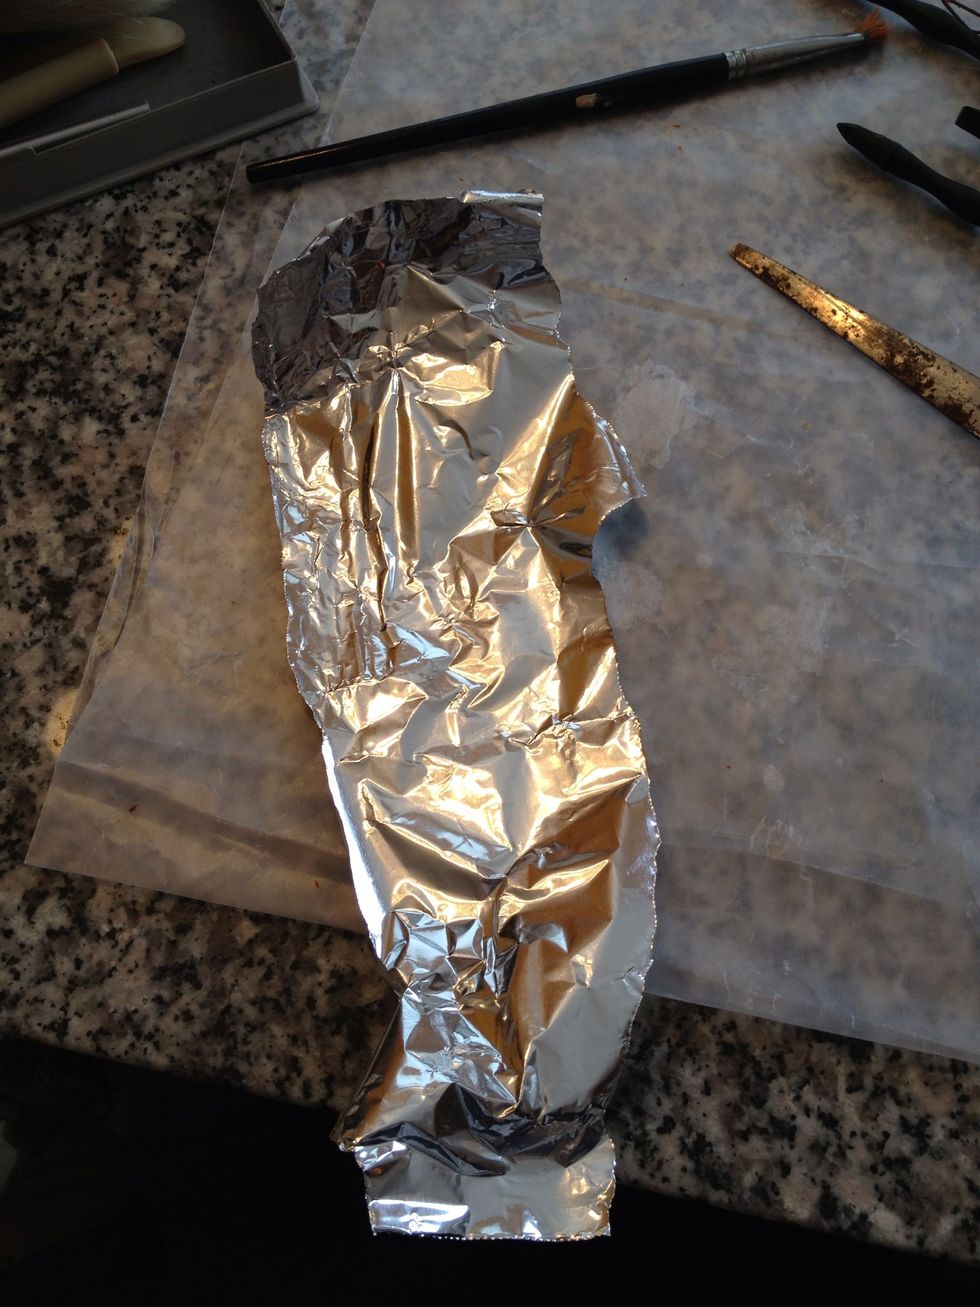
You it smaller than what you expect the final size to be so you can layer the Sculpey on. *the foil protects the final piece from cracking when you bake it and also saves materials.
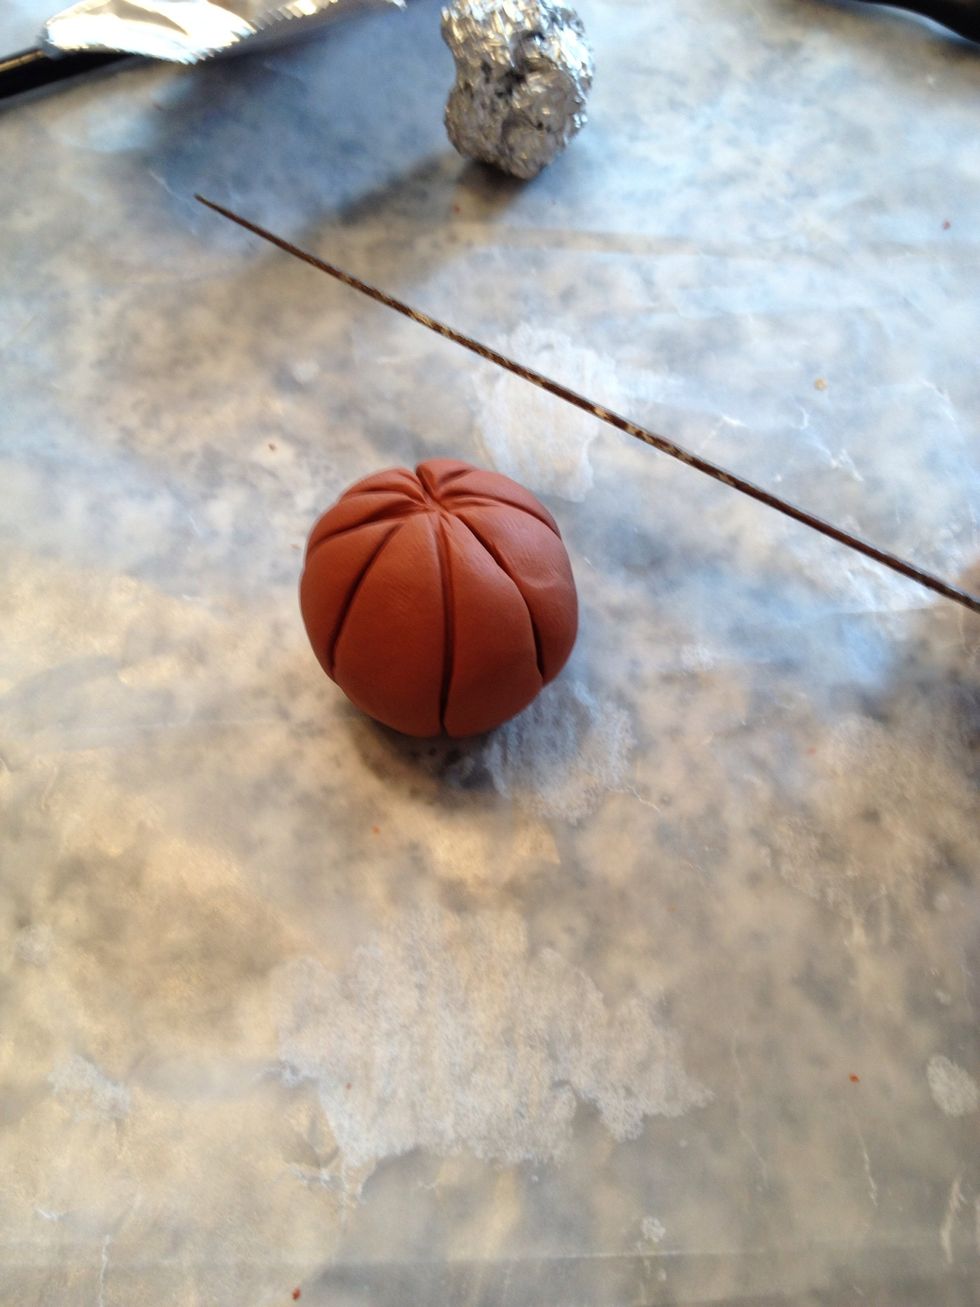
Wrap foil in clay and use a toothpick, butter knife, or whatever to roll on stripes. Criss- cross 4 lines making 8 sections.
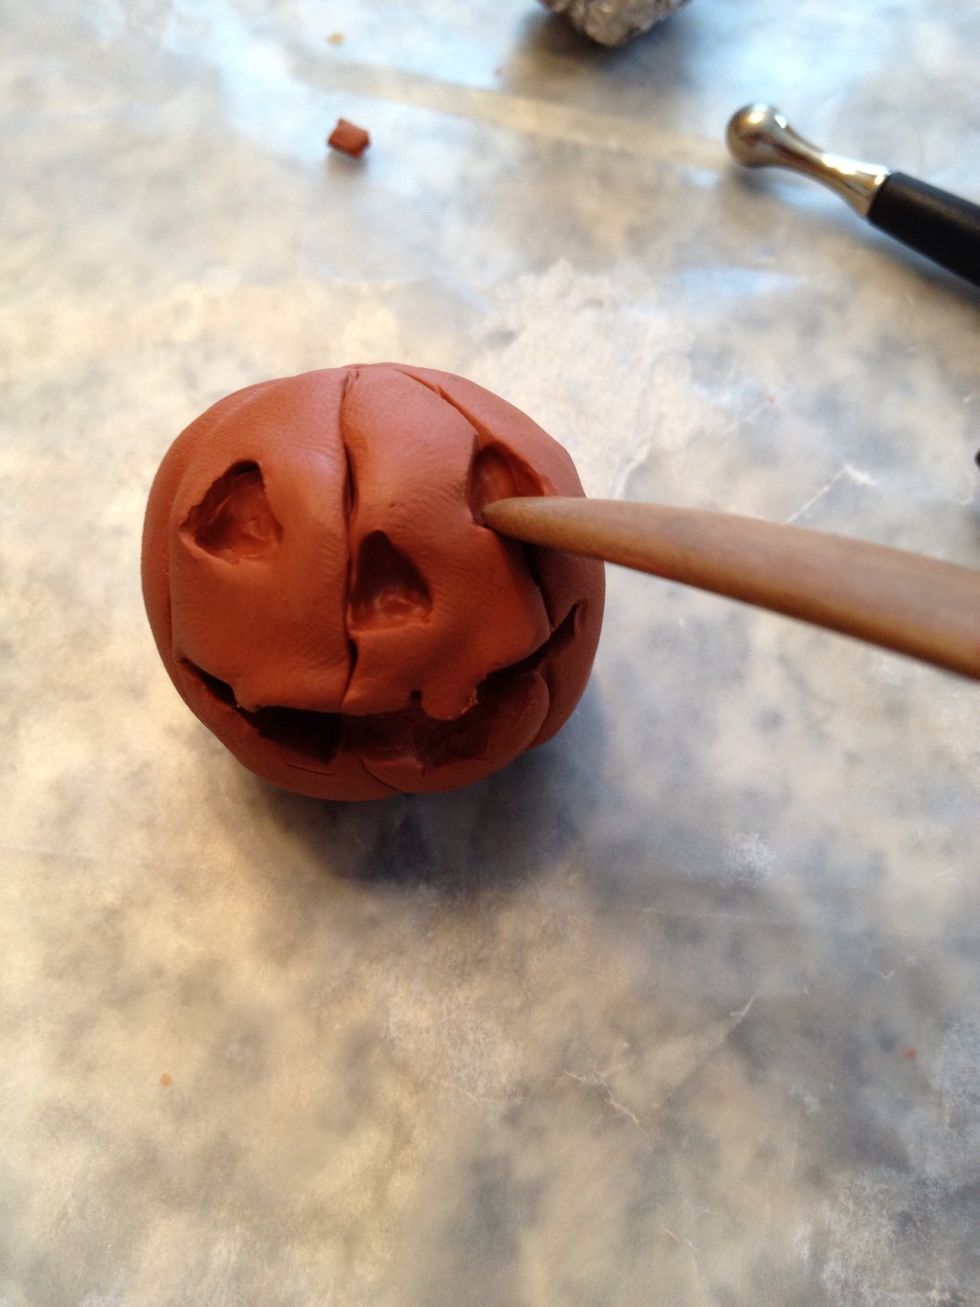
Start by lightly denting where you want the eyes, mouth and nose. Sometimes finding the right piece of cardboard, stick or anything else can make an impression in the shape you desire. *work gently!
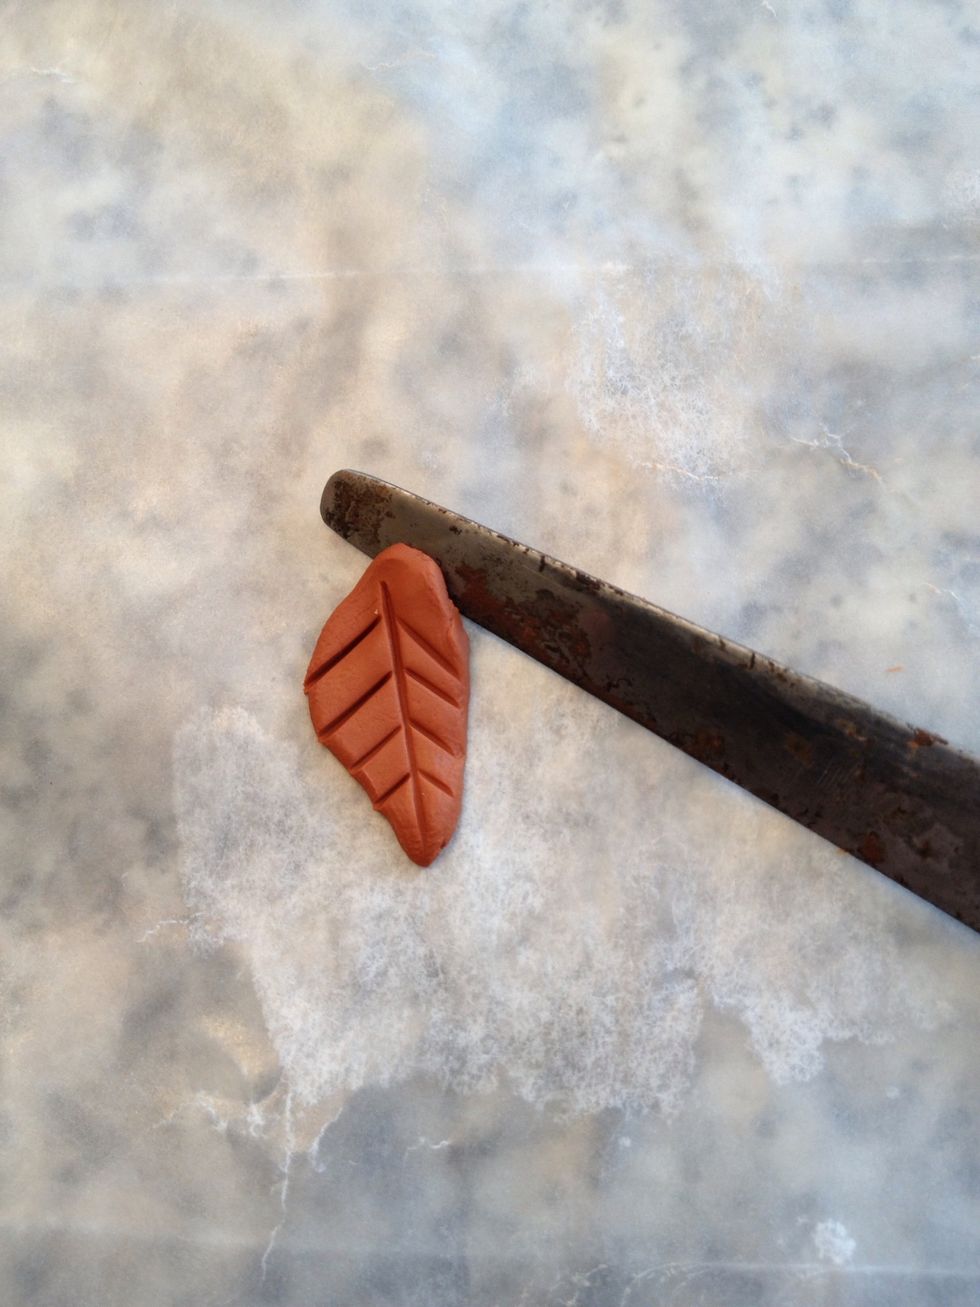
Pat out a small piece and make a leaf. Then, use a knife to remove it from the wax paper.
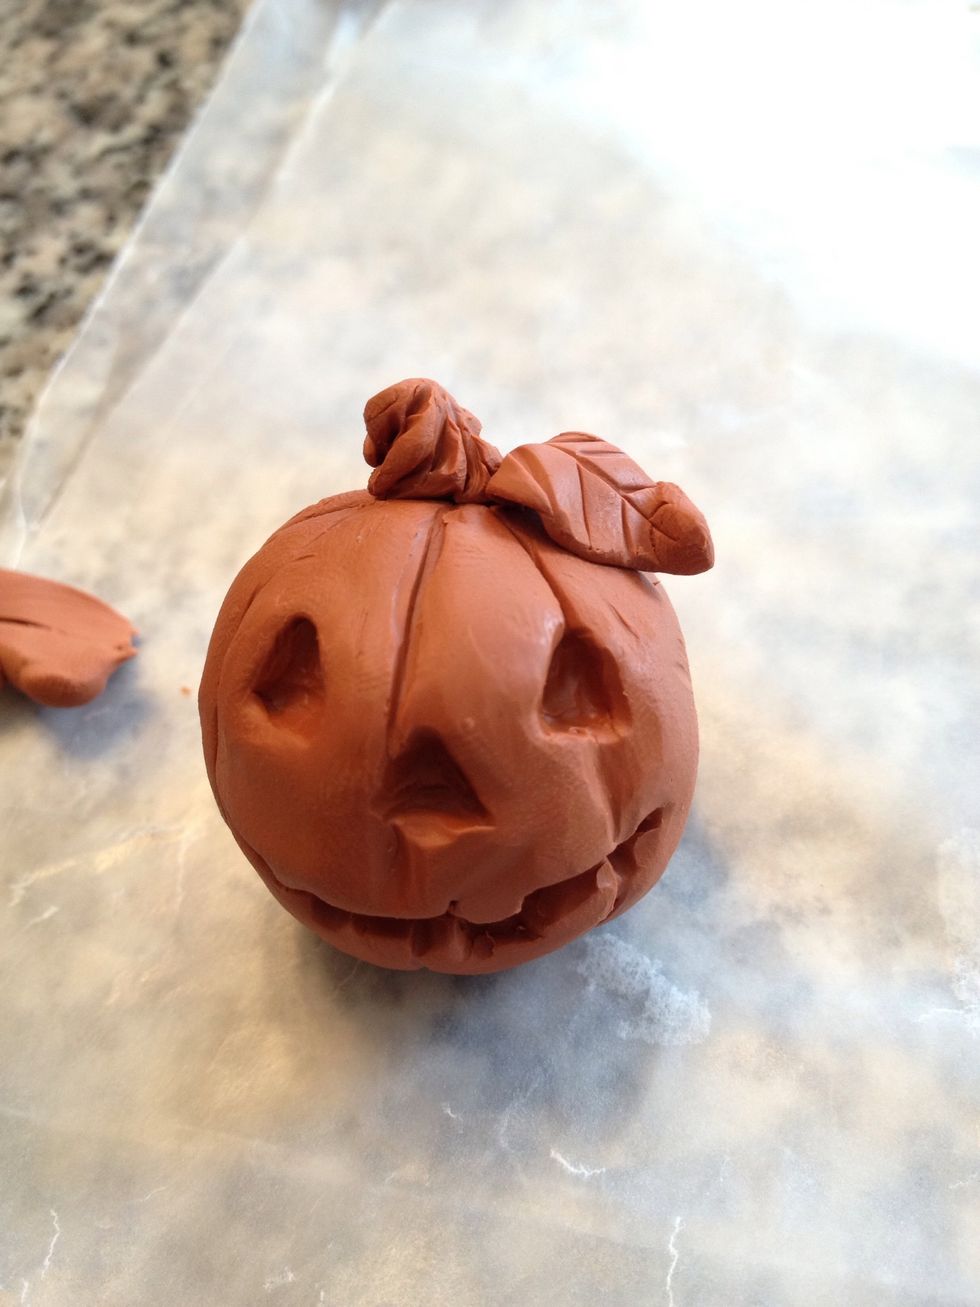
I simply twisted a piece for the stalk and mashed it into a hole I created in the top.
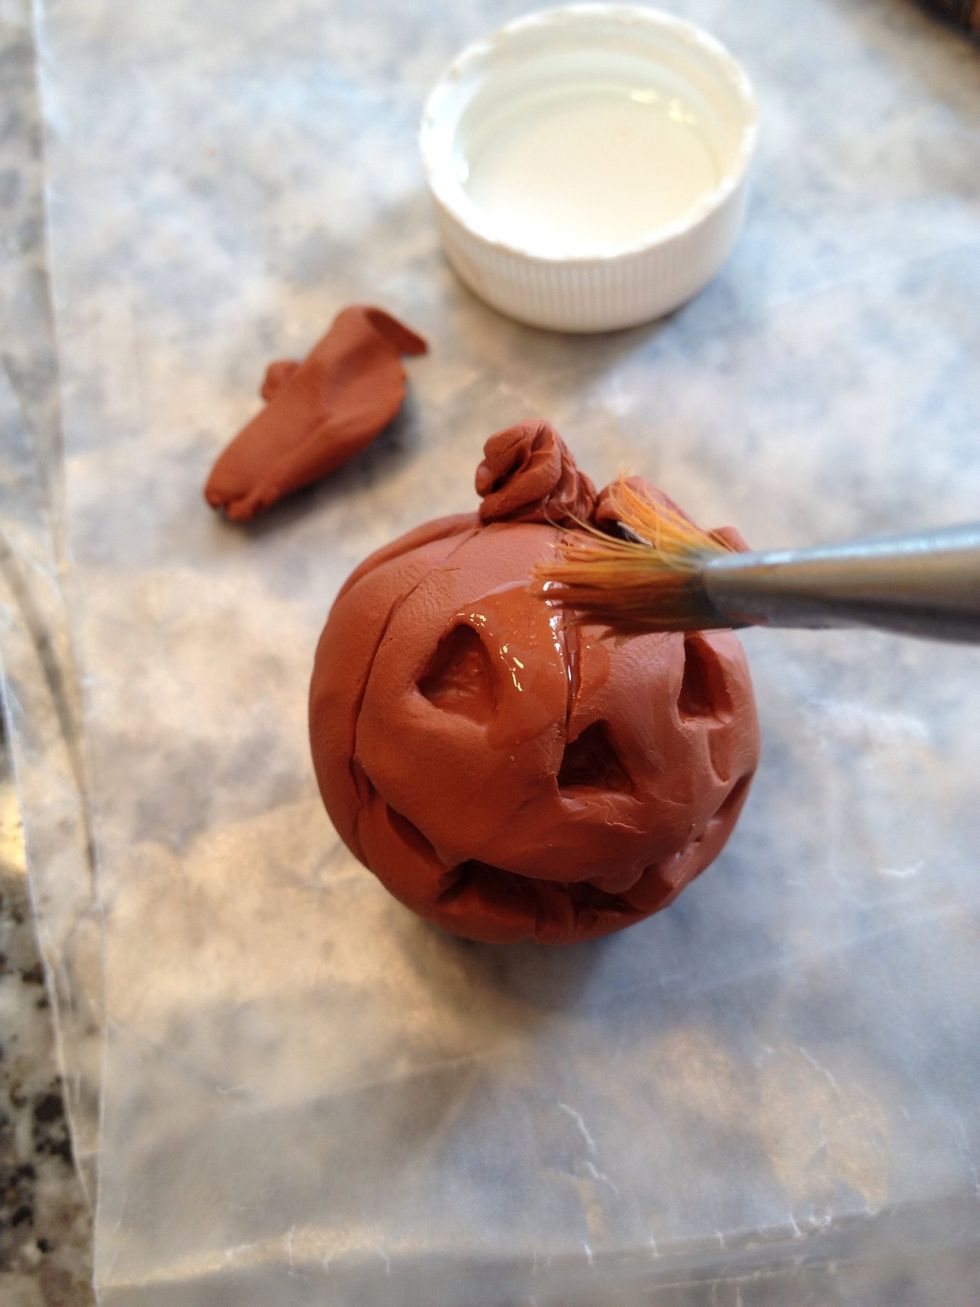
Brush lightly with alcohol when you're done. This smooths the clay and removes fingerprints and chunkiness.
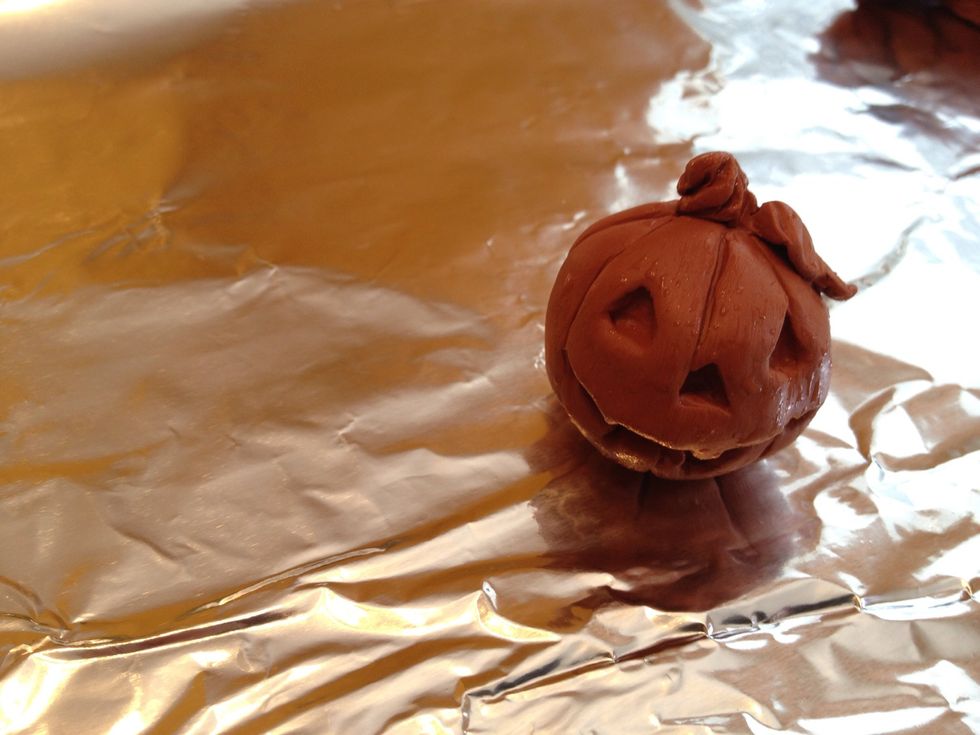
Bake according to polymer clay directions and paint! These make great decorations and gifts not to mention they're fun for everyone to make.
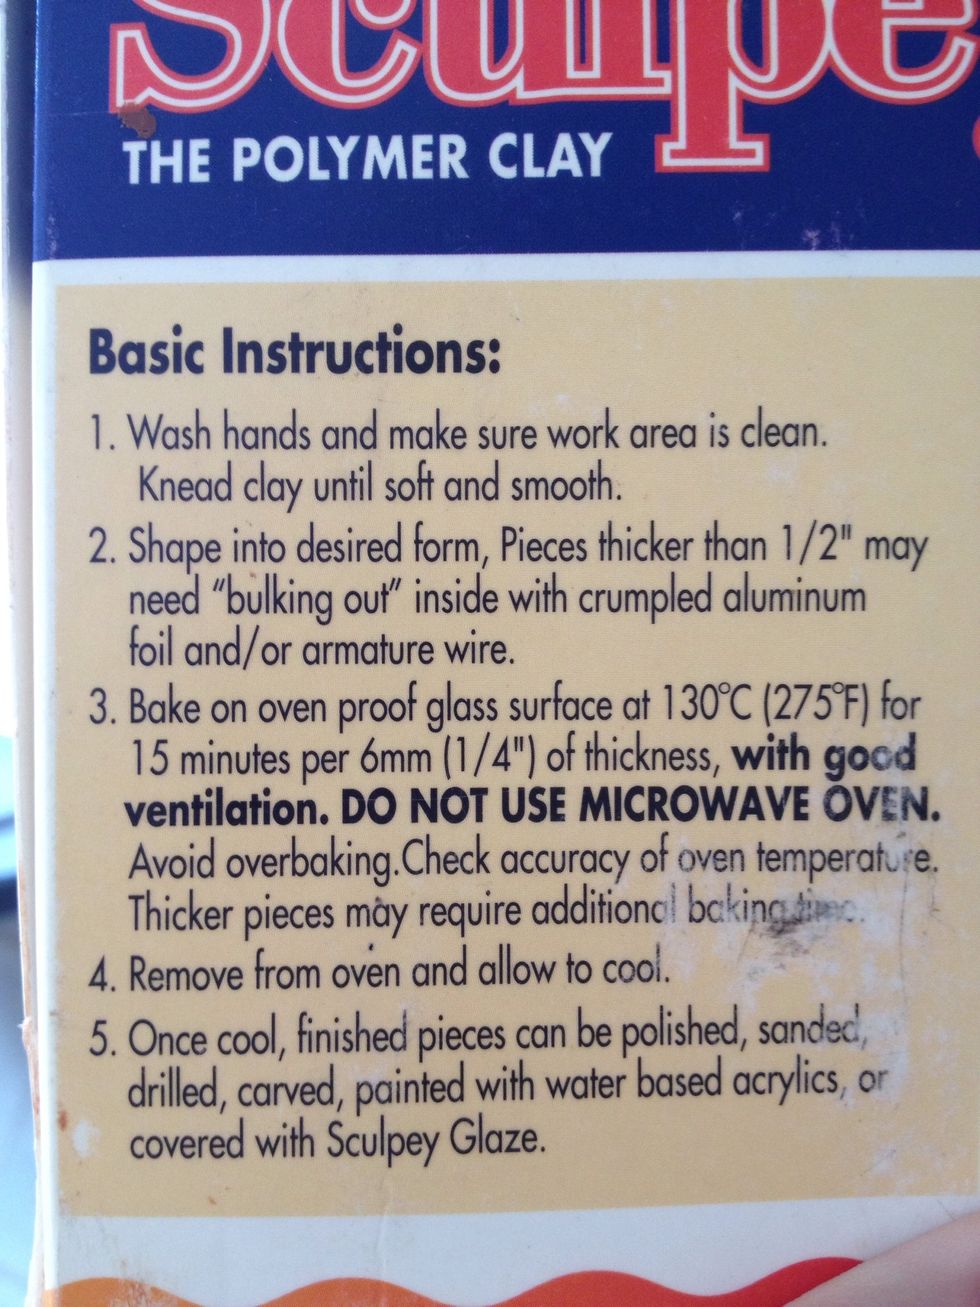
These are Sculpey directions. Use caution. And remember that all Sculpey products have different directions for baking.
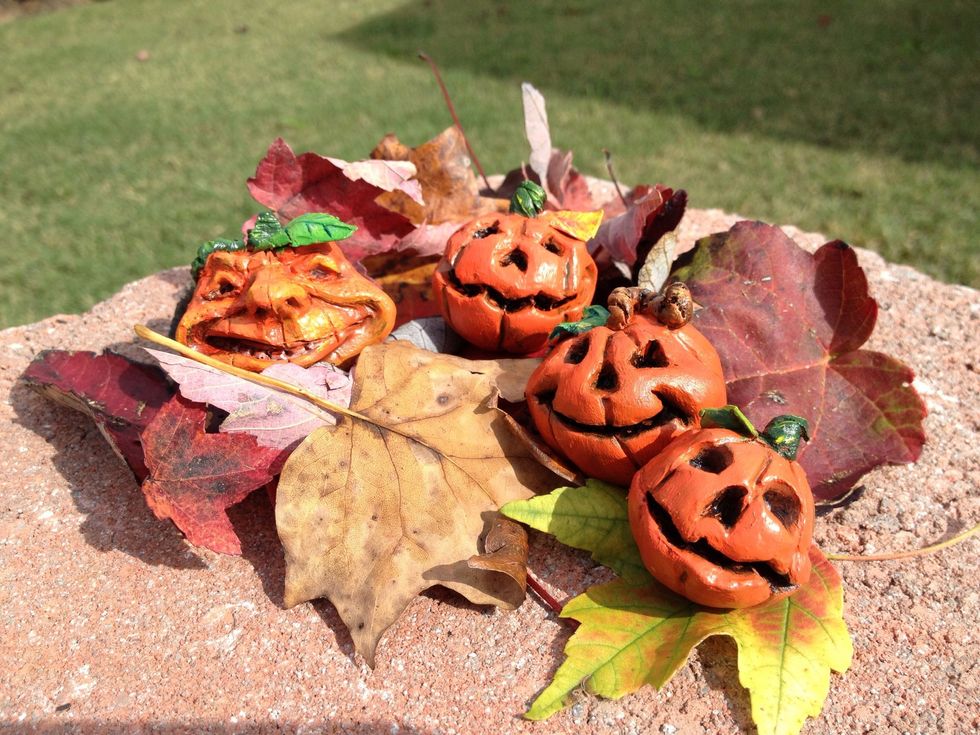
Here are 4 I've done so far this Fall. They're paint ready once you bake and cool them. I just used craft acrylic paint. Enjoy!