The Conversation (0)
Sign Up
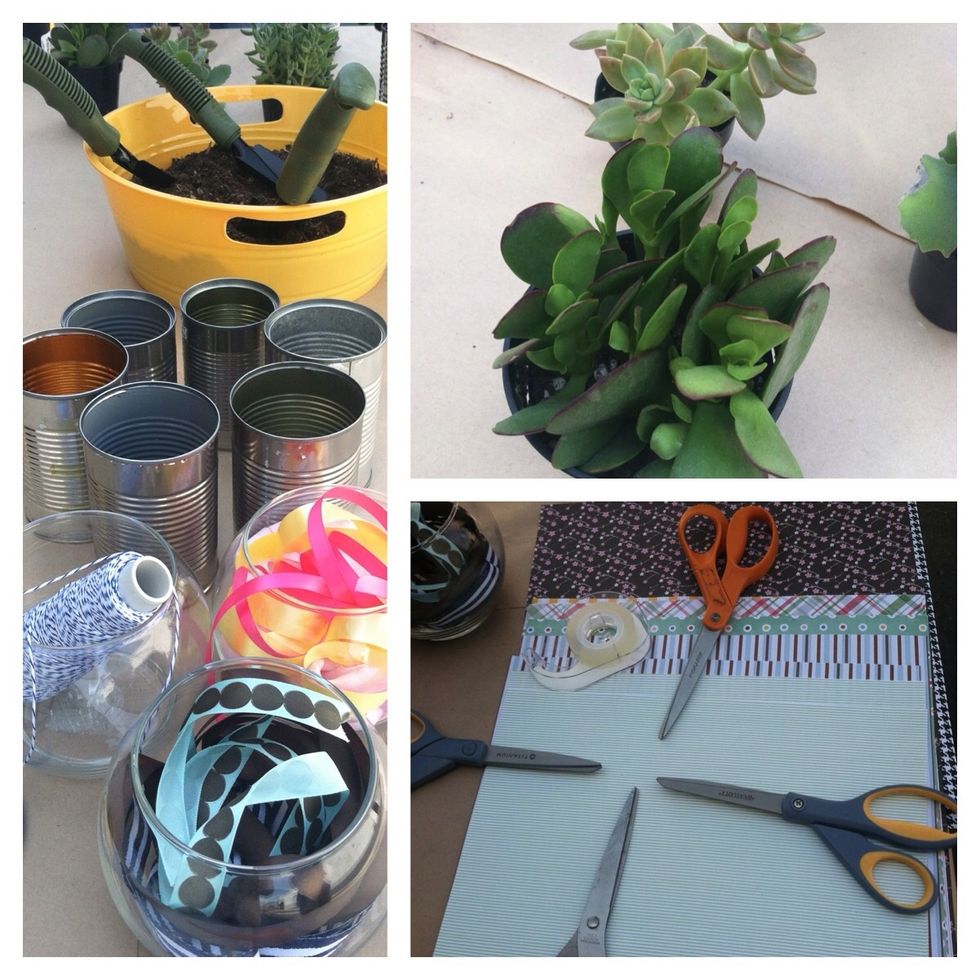
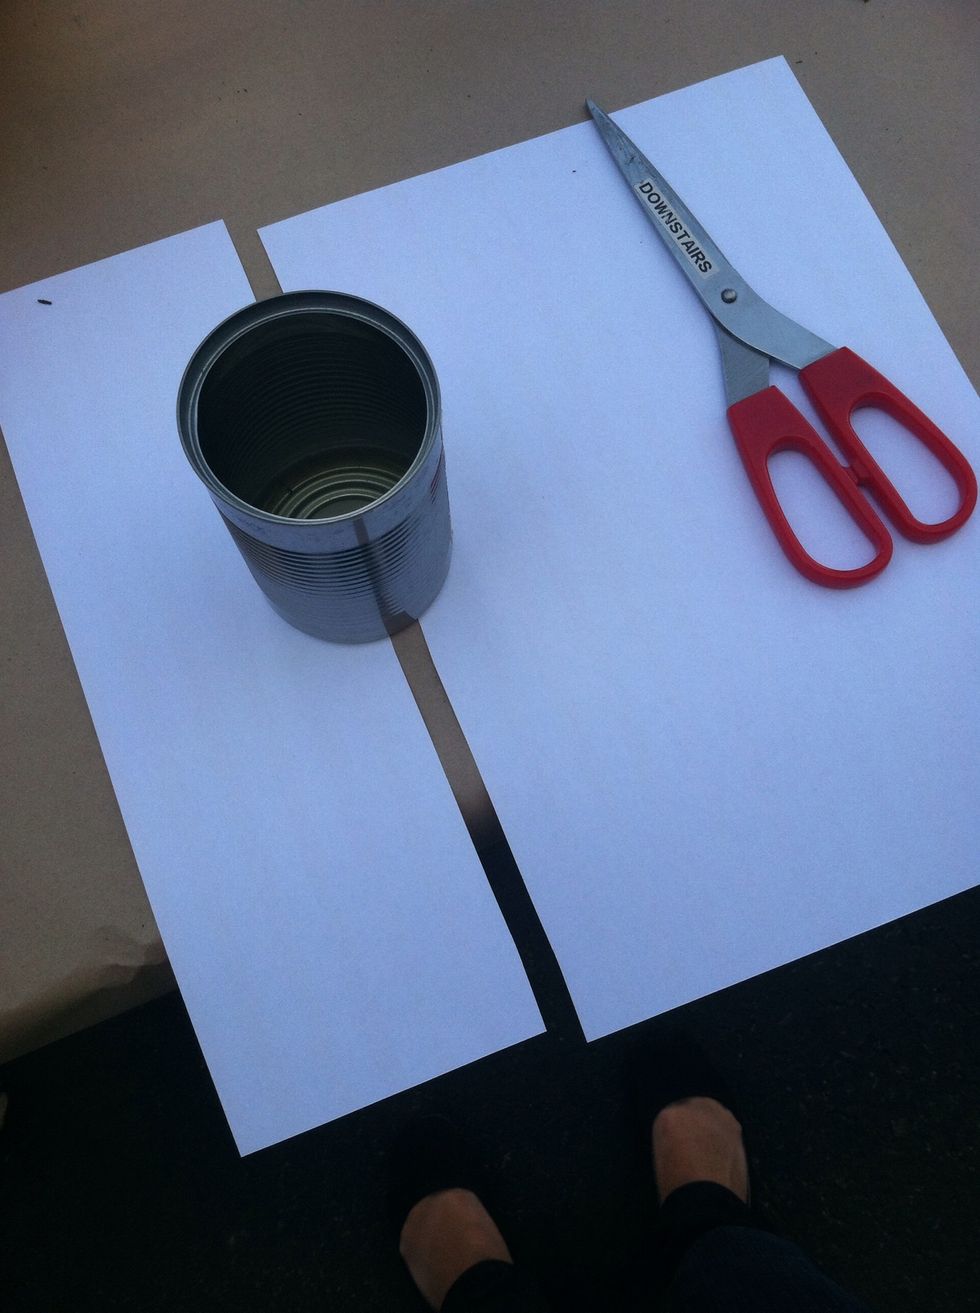
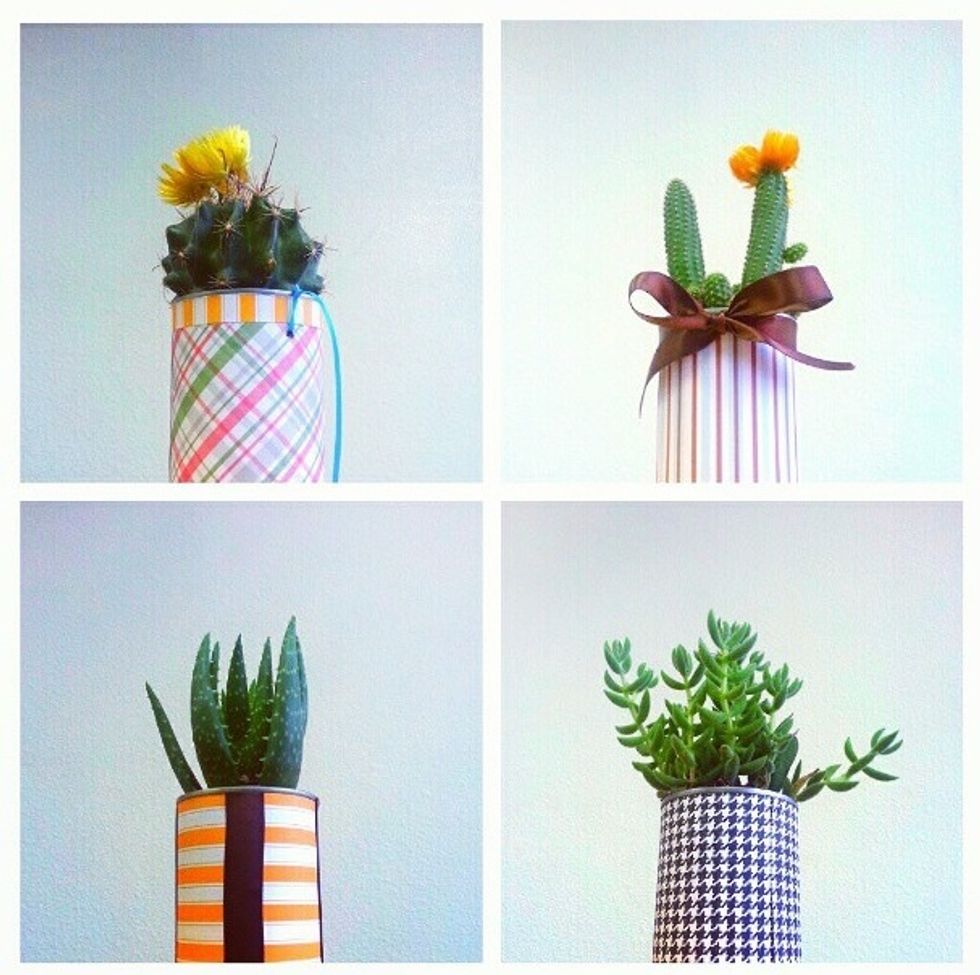
Gather your supplies.
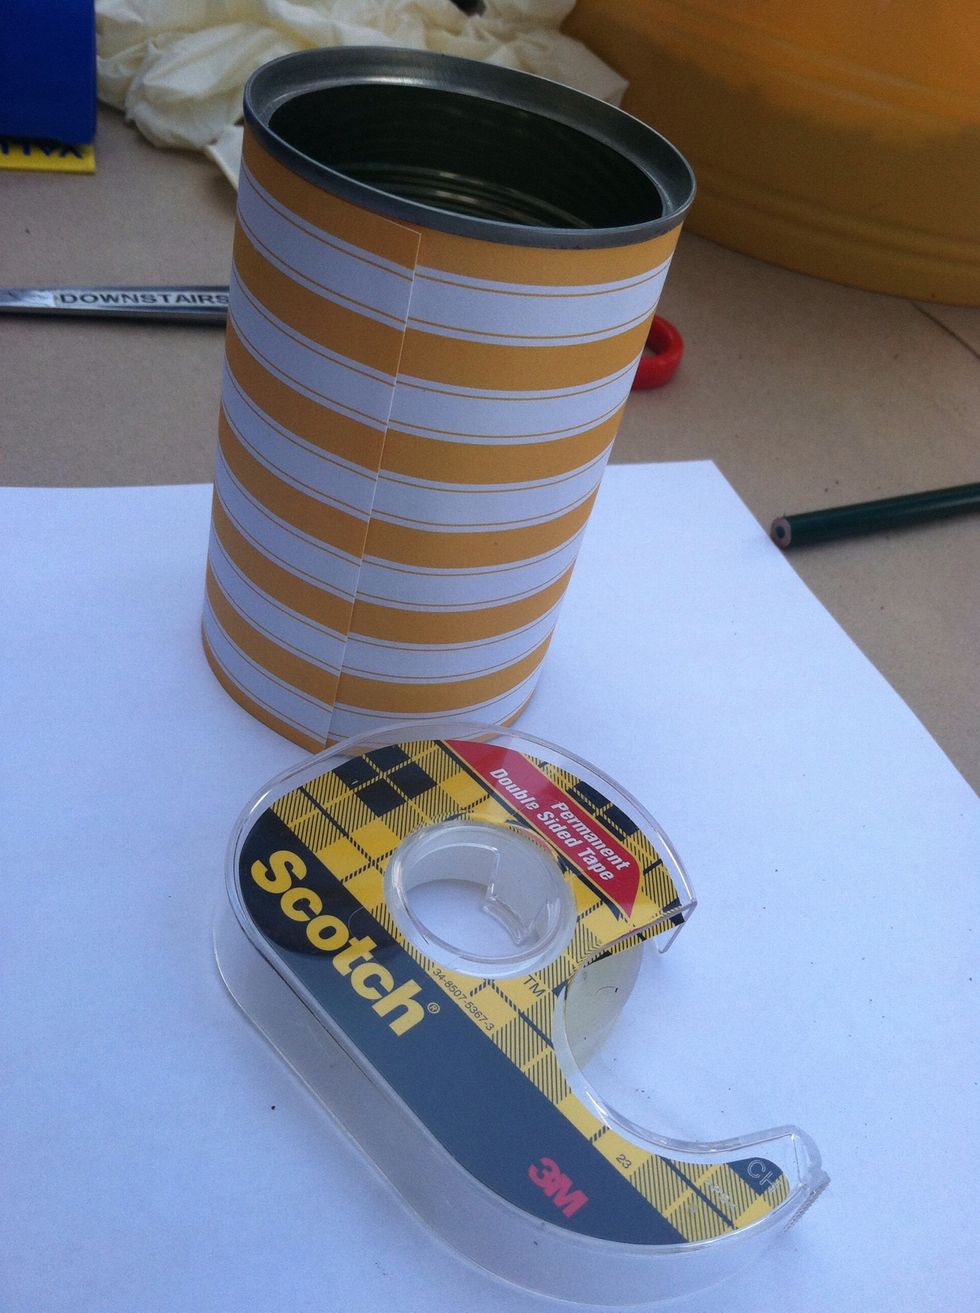
Measure and cut your craft paper to fit your tin can.
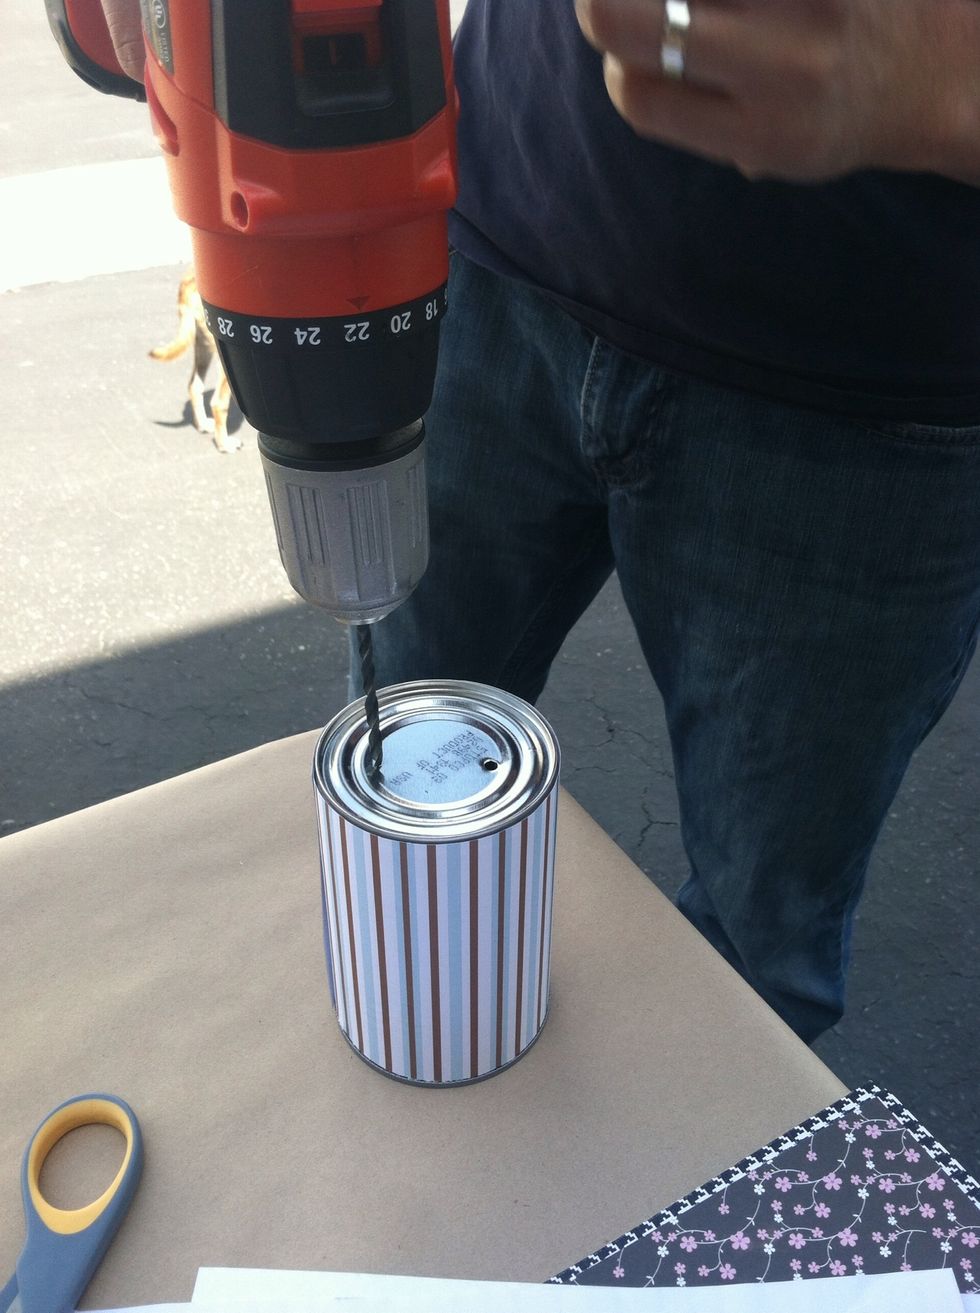
Attach your craft paper to the tin can using double sided tape.
Carefully drill two holes on the bottom for draining. You can also drill two holes on the top of each side if you plan to hang your planter.
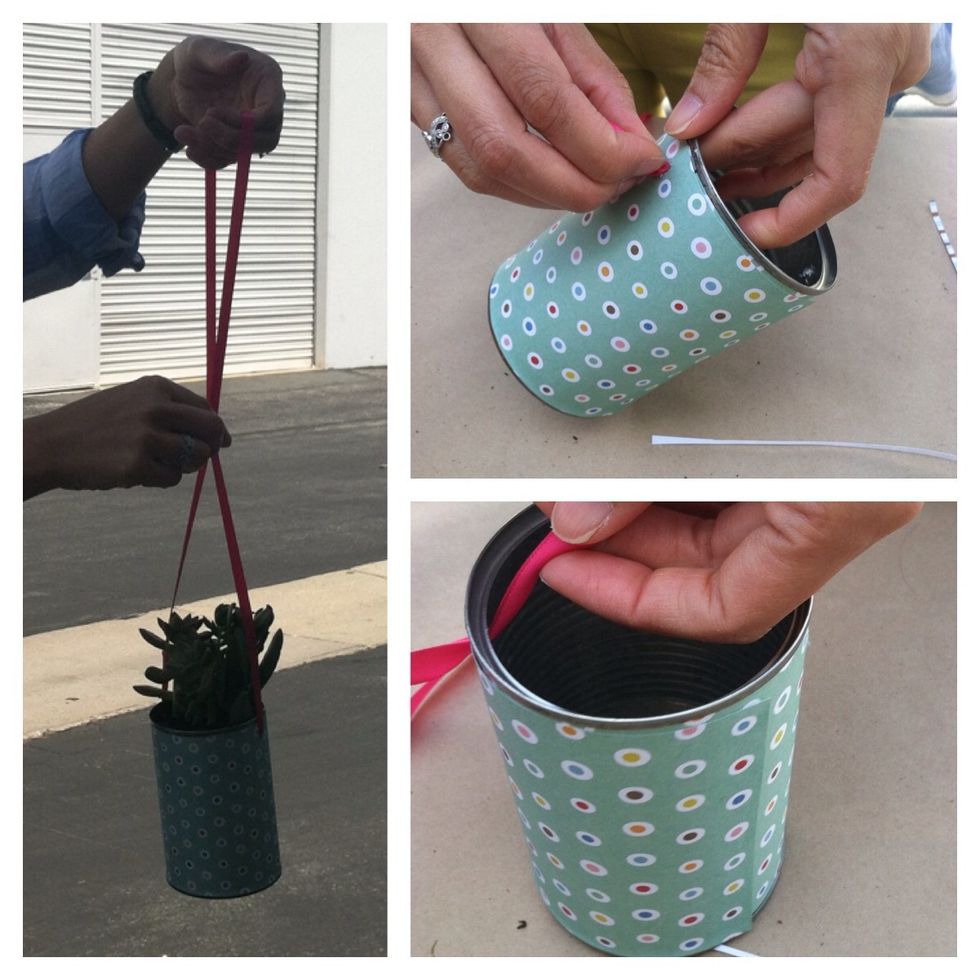
If you plan to hang your planter, attach ribbon securely to the two holes drilled at the top of each side.
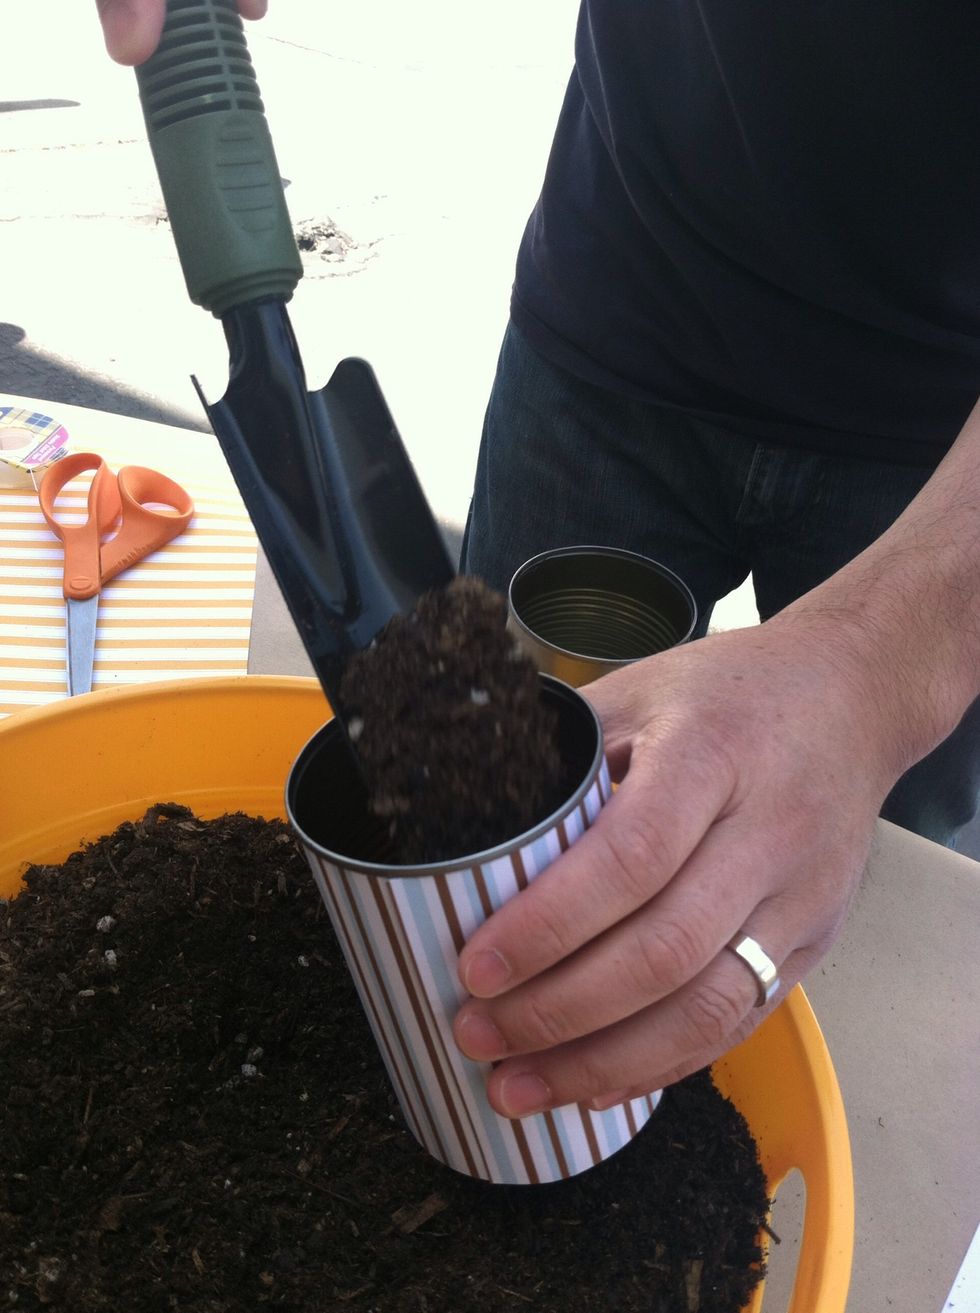
Fill your can with dirt. Depending on how large your plant is, fill about 1/2 to 3/4.
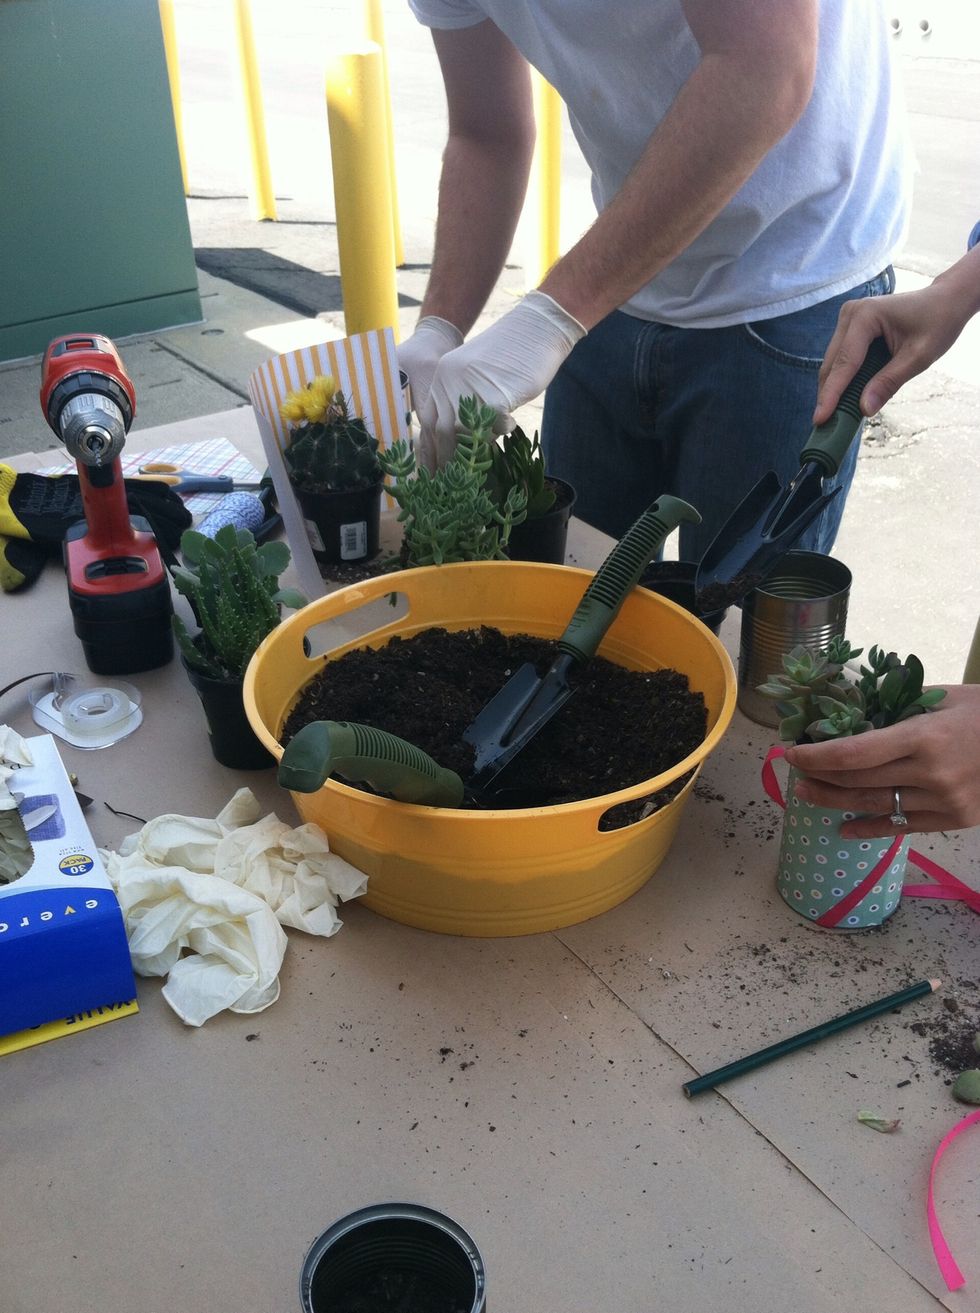
Carefully remove plants from their old planters and place into the tin cans. Fill remaining space with dirt until the plant is securely in place.
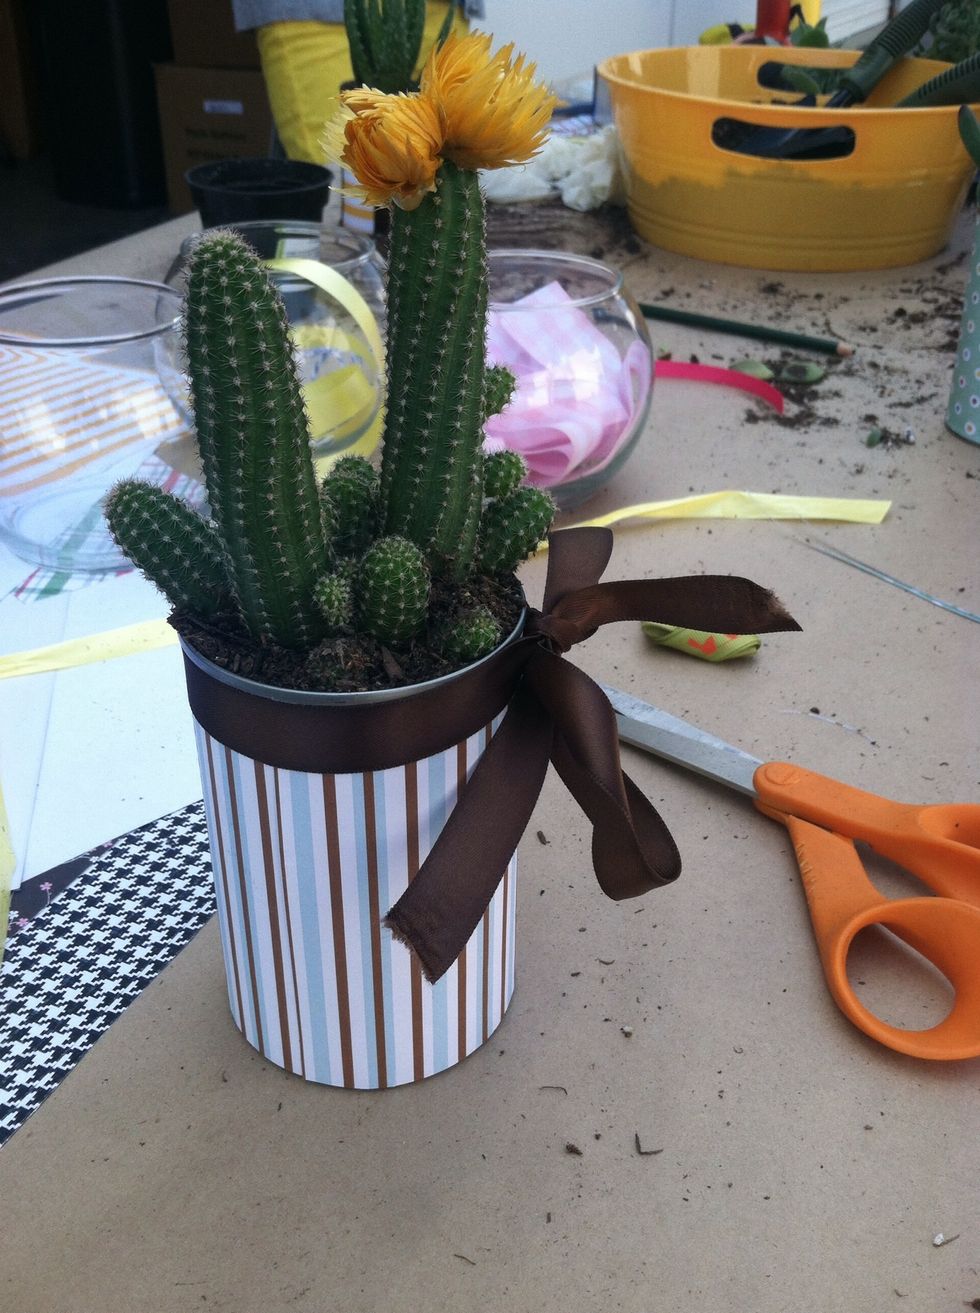
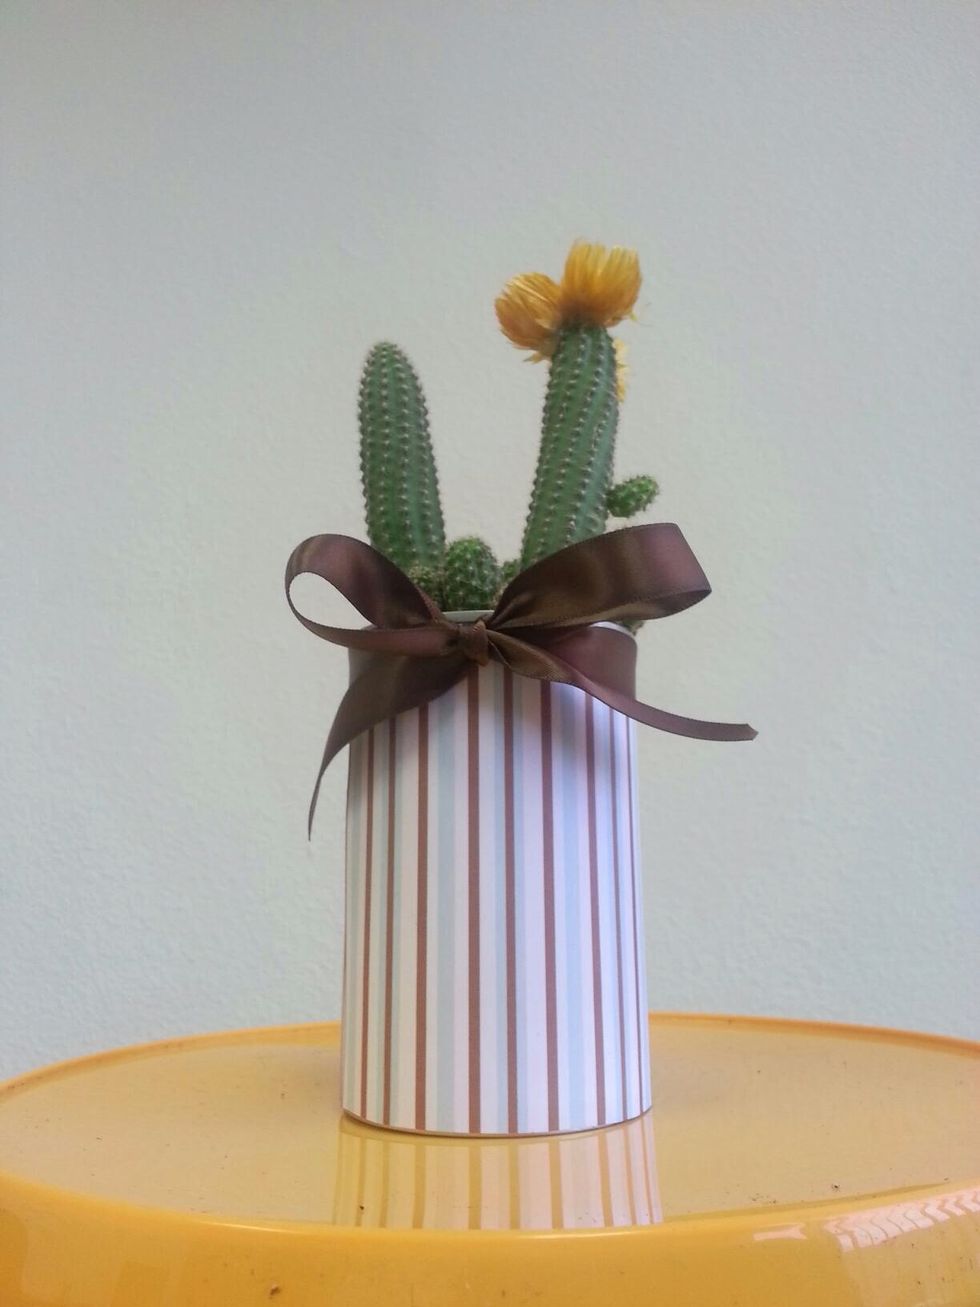
Add the finishing touches to your planter.
You're all finished! Now you have a cute planter to place in your home or office, or to give away as a gift. Just remember to water it from time to time!
Follow our blog at behindthebar.26barsandaband.com for more helpful tips and DIY ideas!