The Conversation (0)
Sign Up
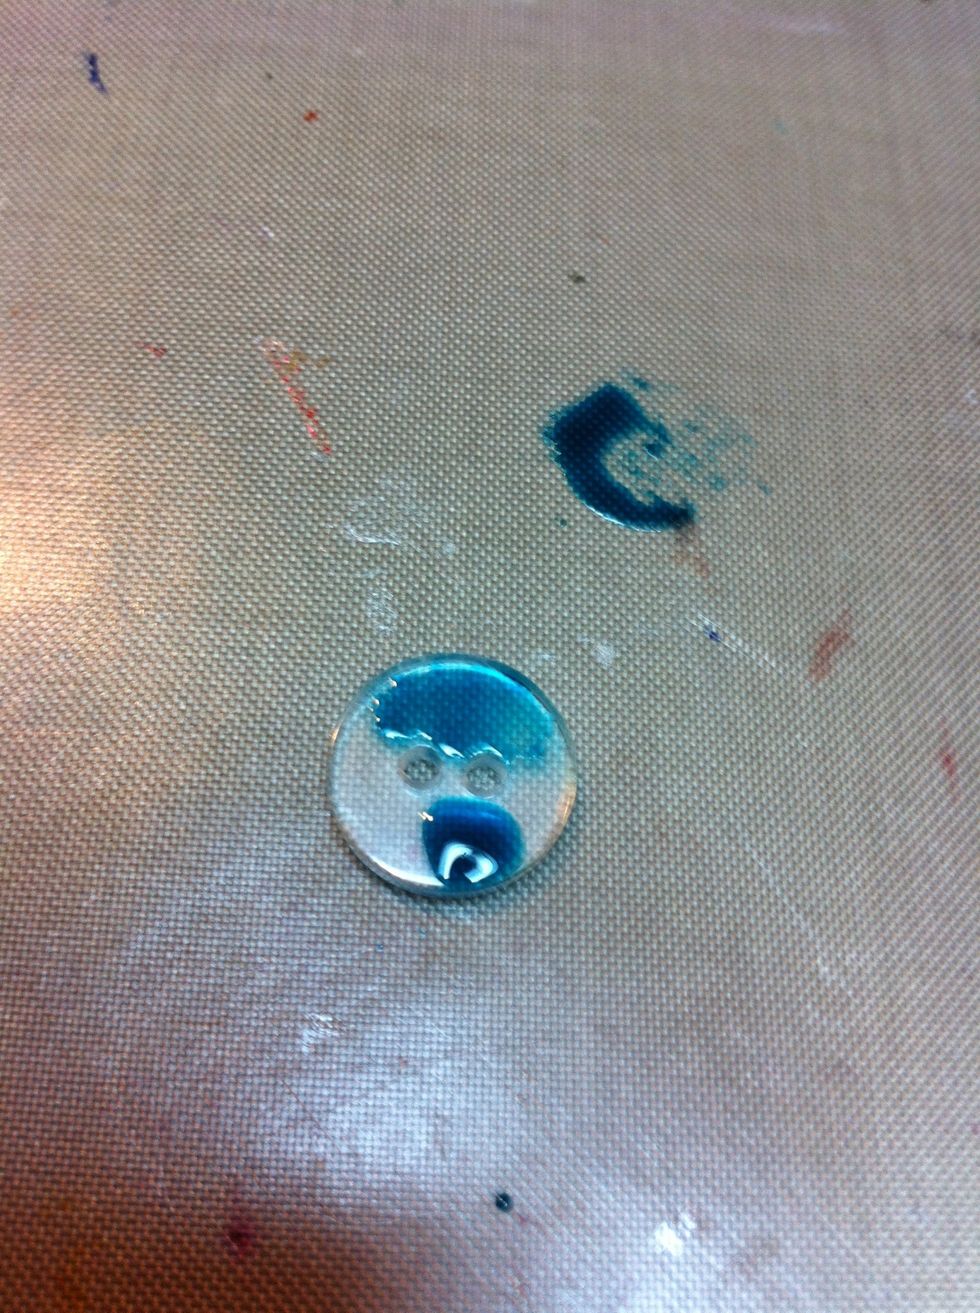
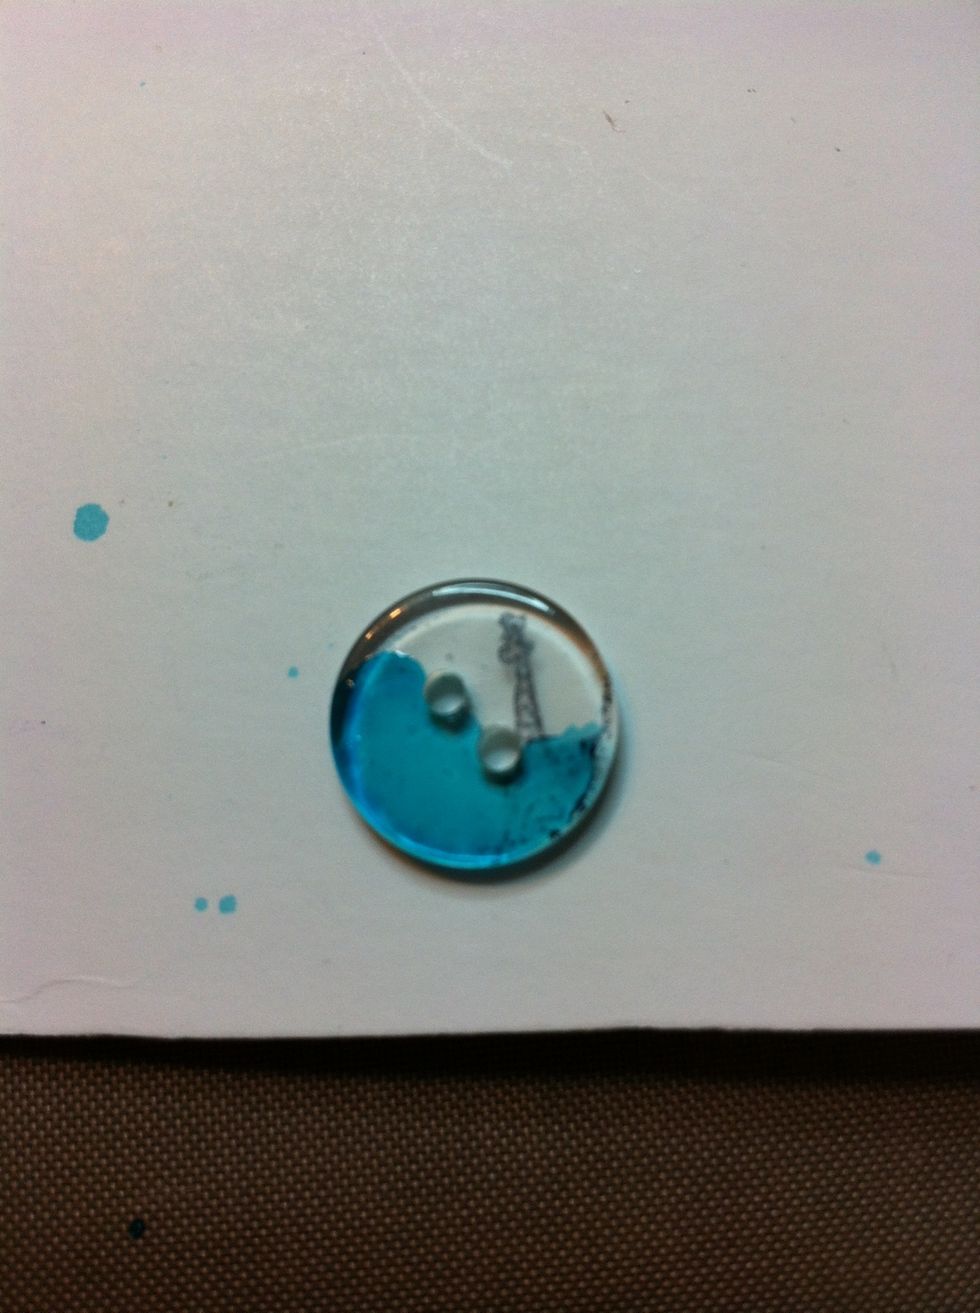
Carefully place tip of alcohol ink onto one side of button and drop a little ink on the button. Be sure not to add too much. You don't want it spilling over the sides.
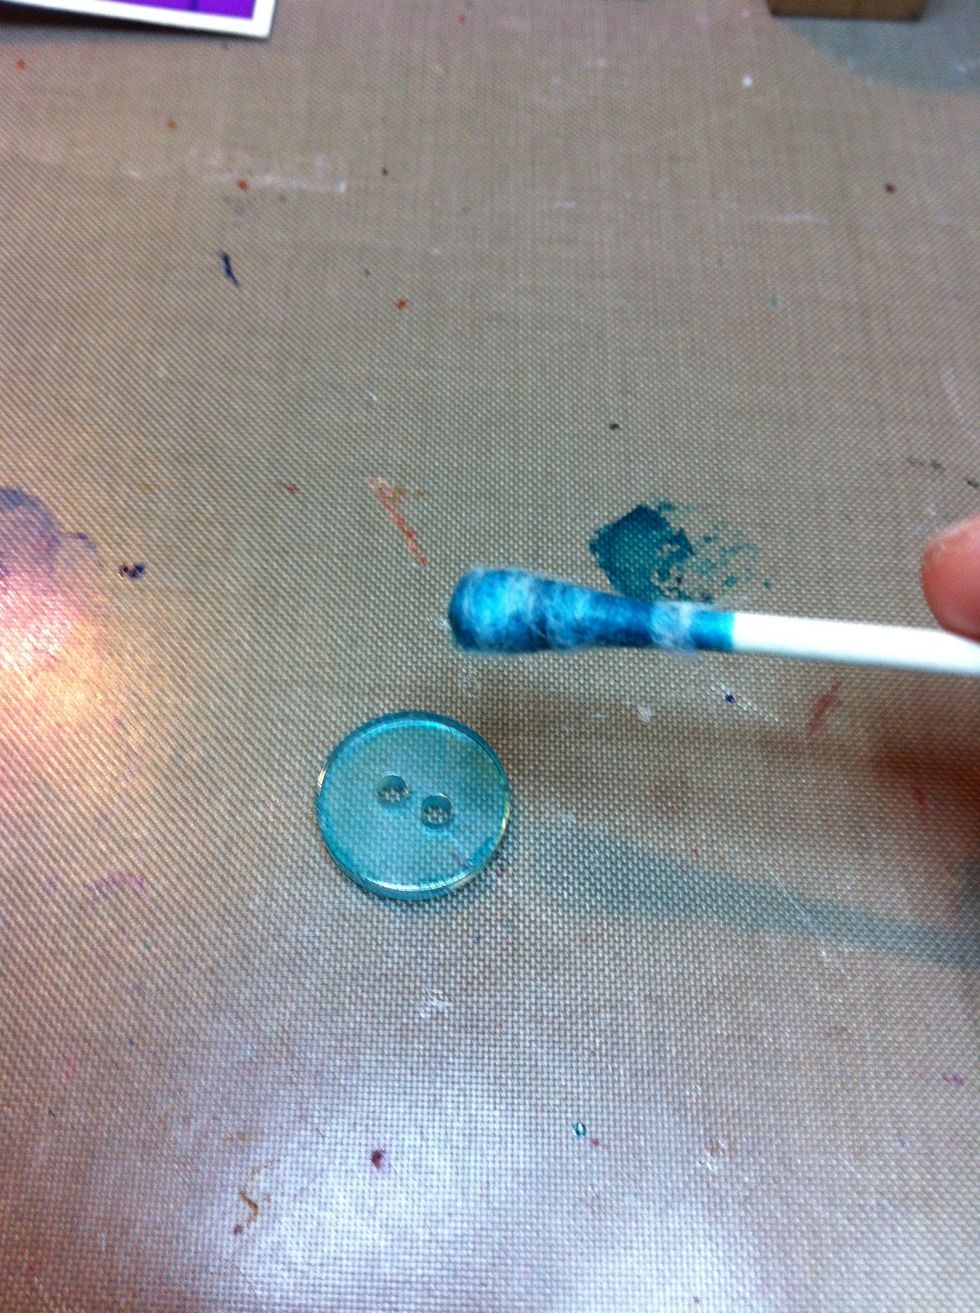
Use a q-tip to help spread the ink around. Be warned that the q-tip will also soak up much of your ink also.
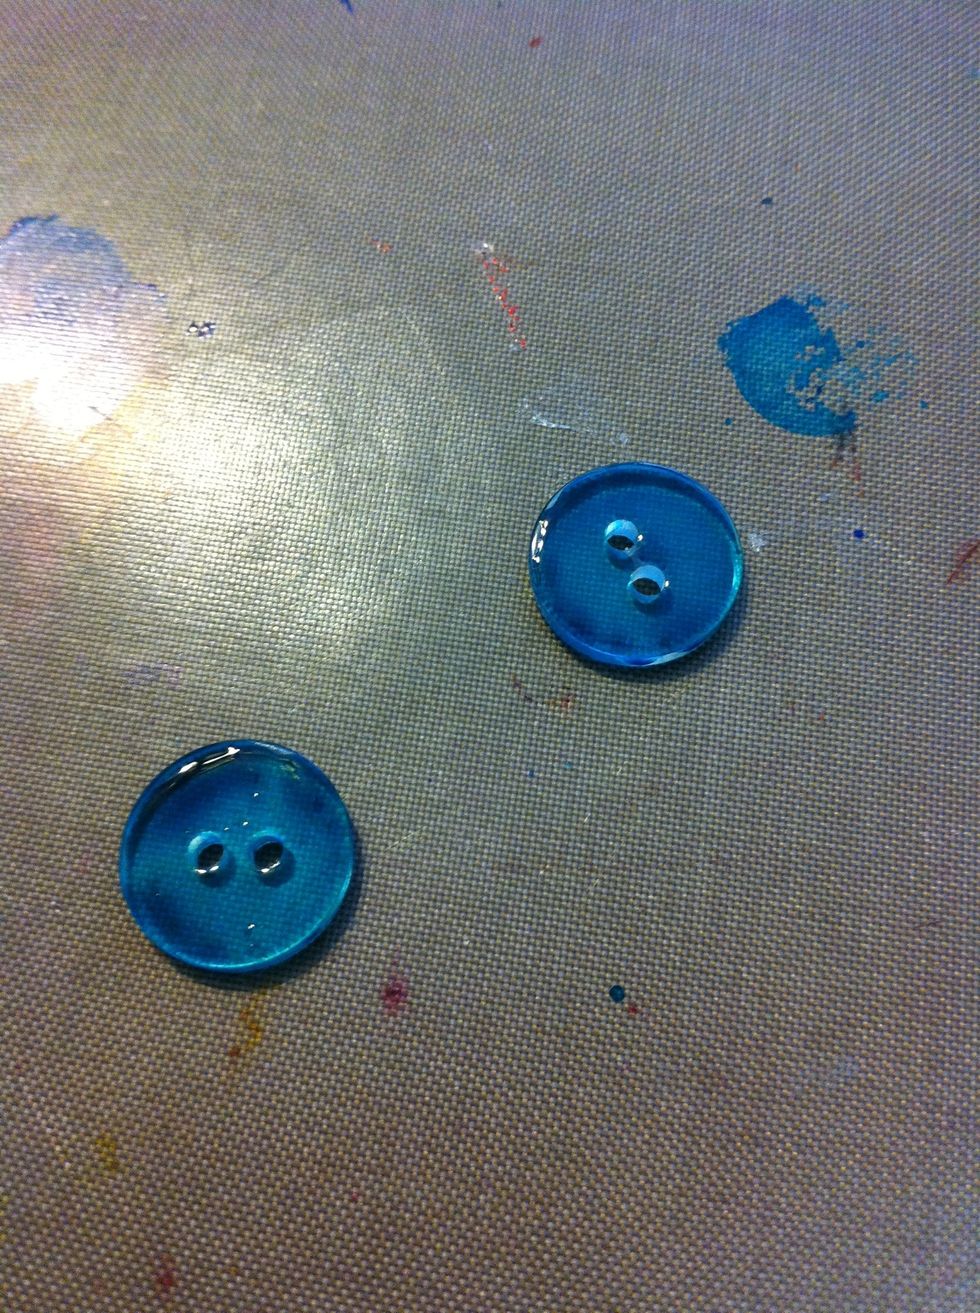
Continue to add ink in layers. You can also use a toothpick to help push the ink around on the buttons if you prefer not to use the q-tip. Allow the ink to dry.
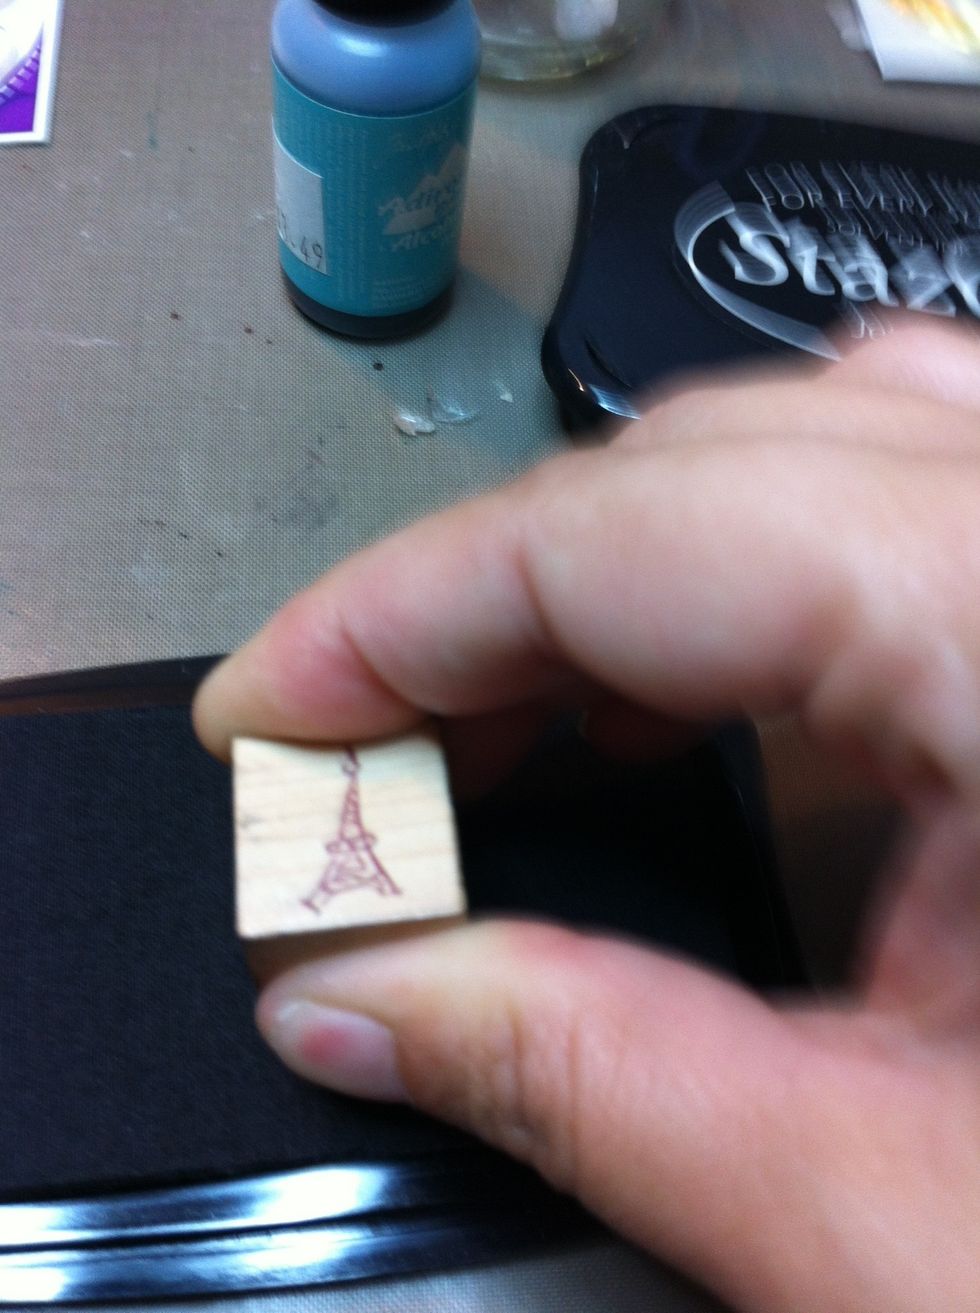
Ink up your stamp with StazOn.

Place the stamp face up on your work surface.
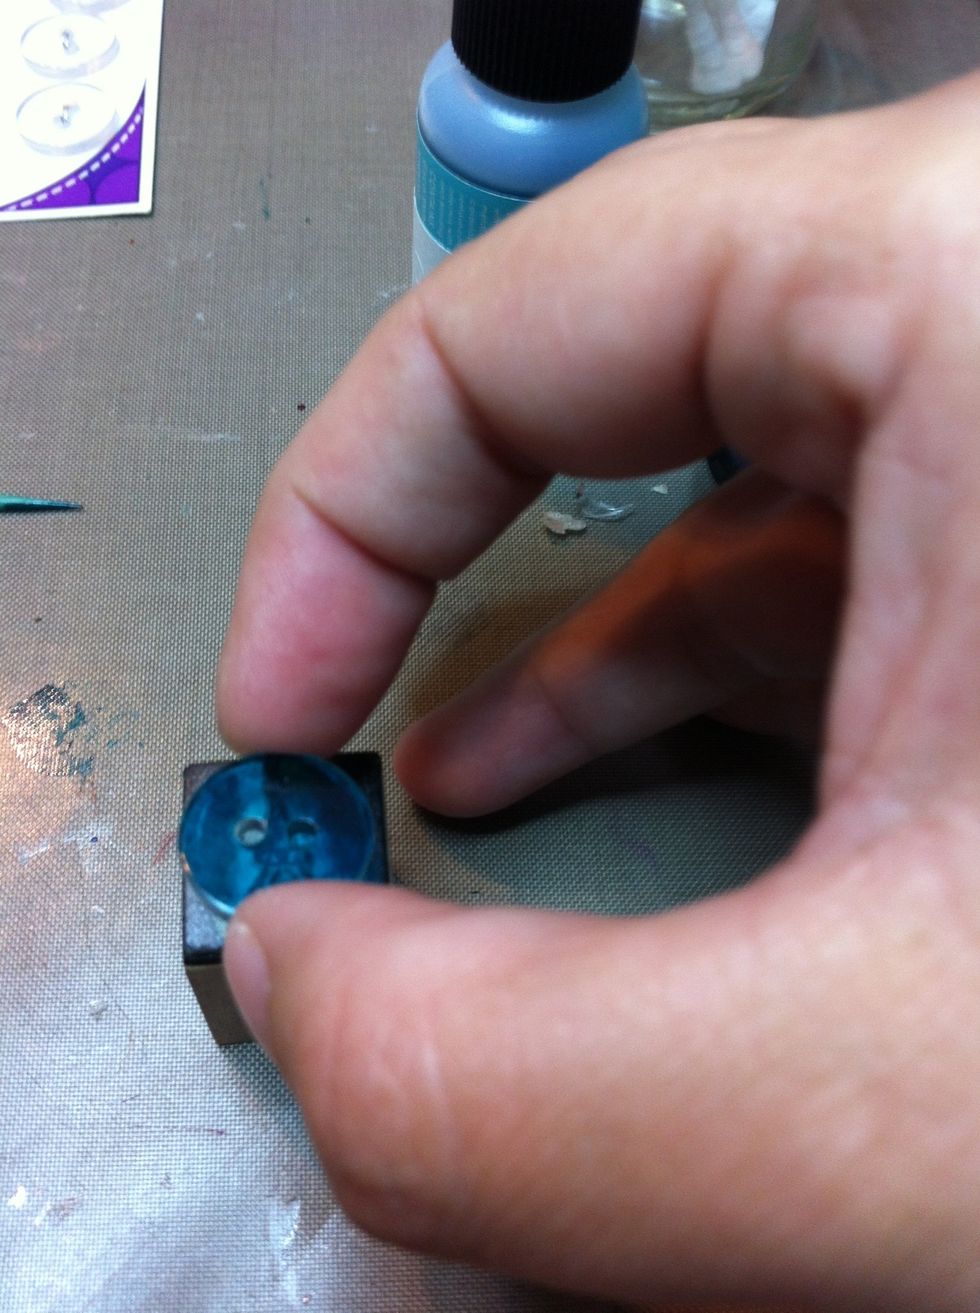
Align the button over the stamp with the inked side facing up (you will be stamping the blank side). Make sure it's where you want it before you place it on the inked stamp!
Place the button on the stamp and press firmly. Try not to move the button in any direction but down as you don't want smears.
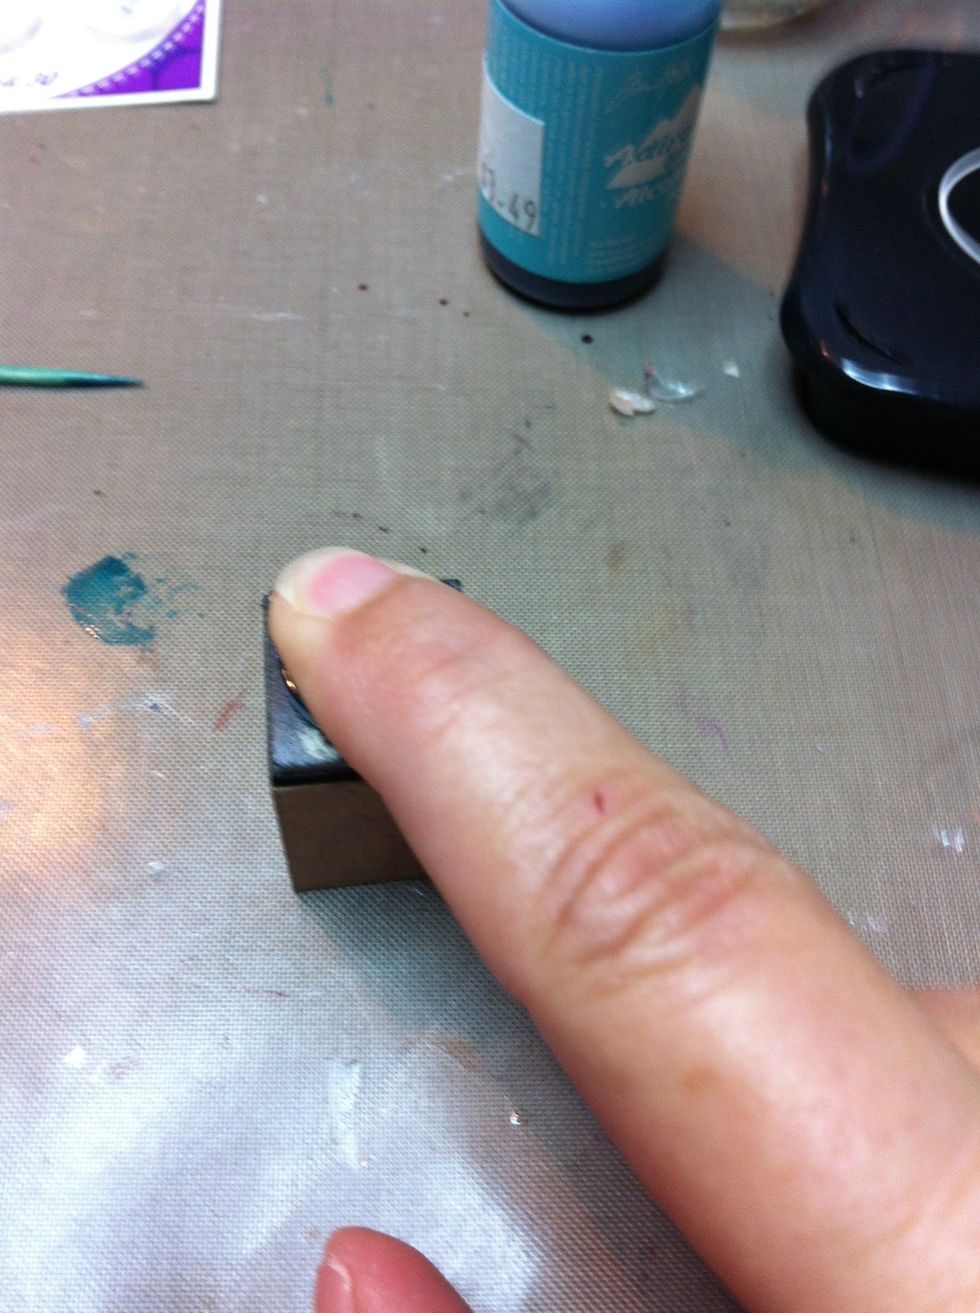
Holding the sides, lift the button straight up off the stamp.
At this point you can be done, but I always like to add a layer of protection.
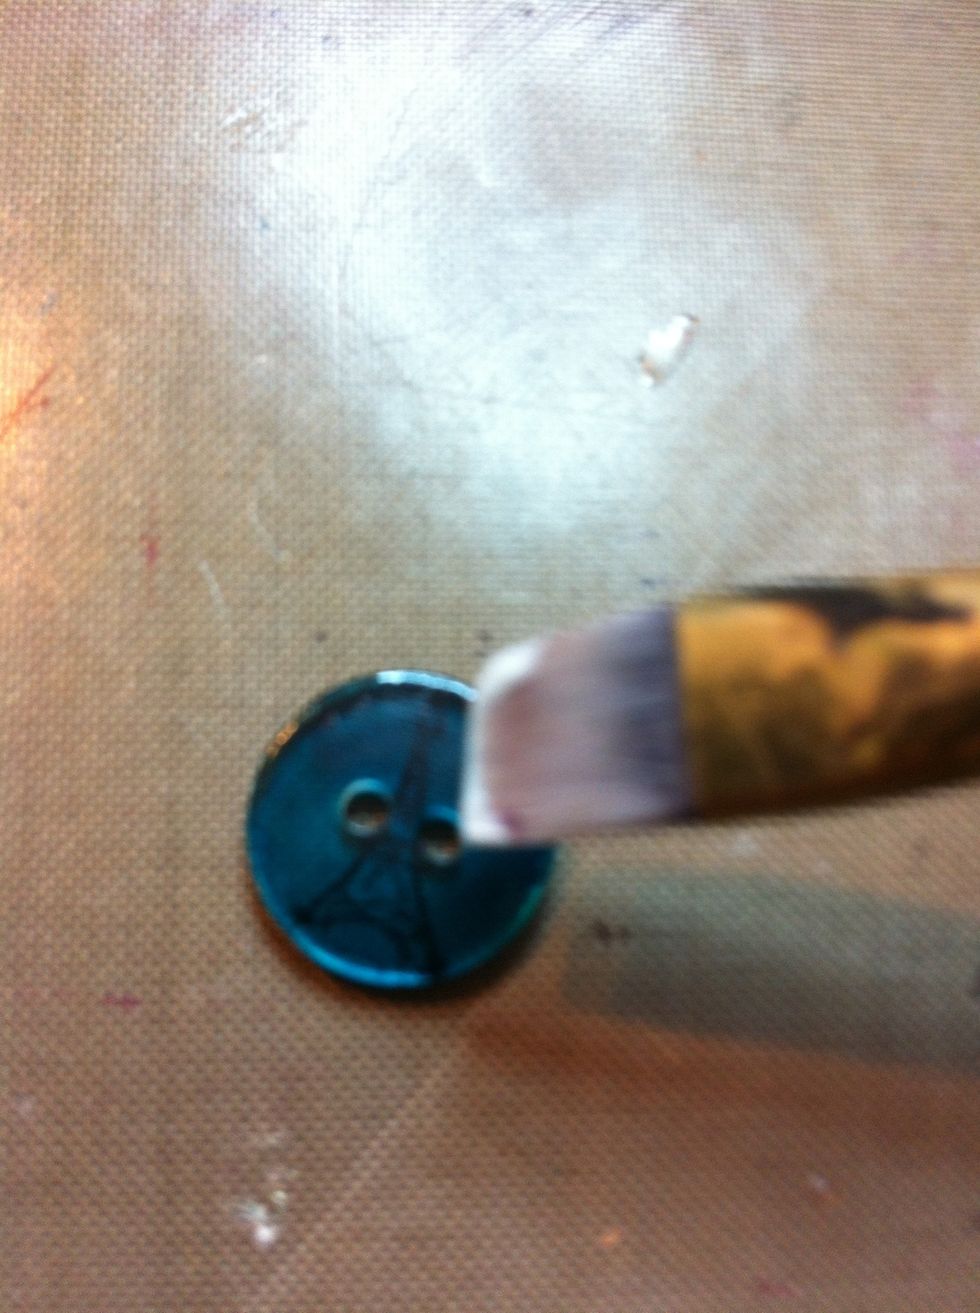
Using your sealer of choice (this is Mod Podge Matte) apply it in single strokes with a paintbrush.

Make sure you coat both sides, allowing the sealer to dry between sides.
See the sealer in the holes? You can use your toothpick to lift/spread it out.
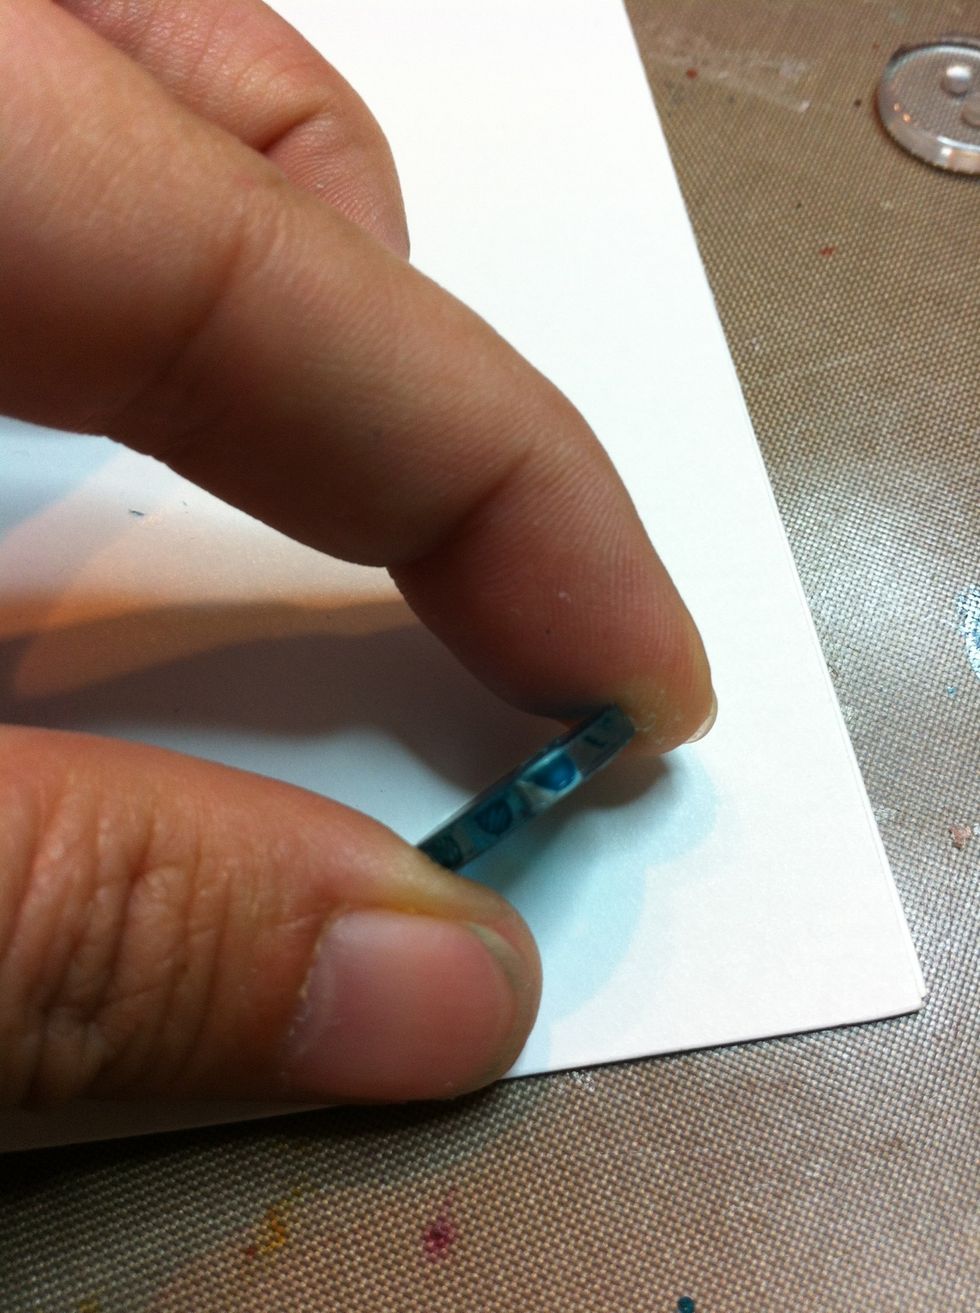
If you find drips on the button's edge (like above), use a bit of rubbing alcohol on a q-tip to remove it.
See, drips all gone!
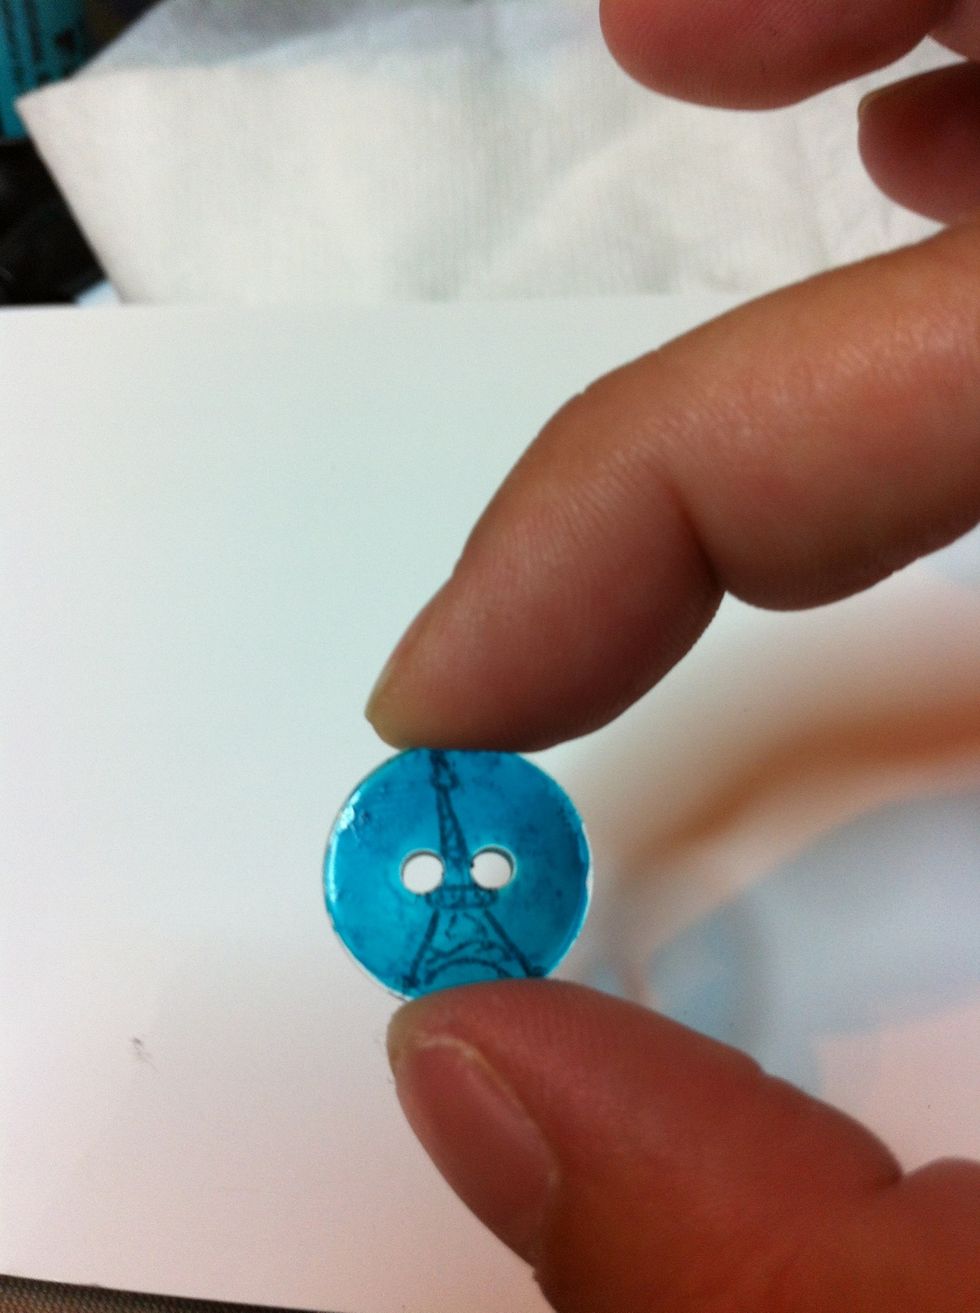
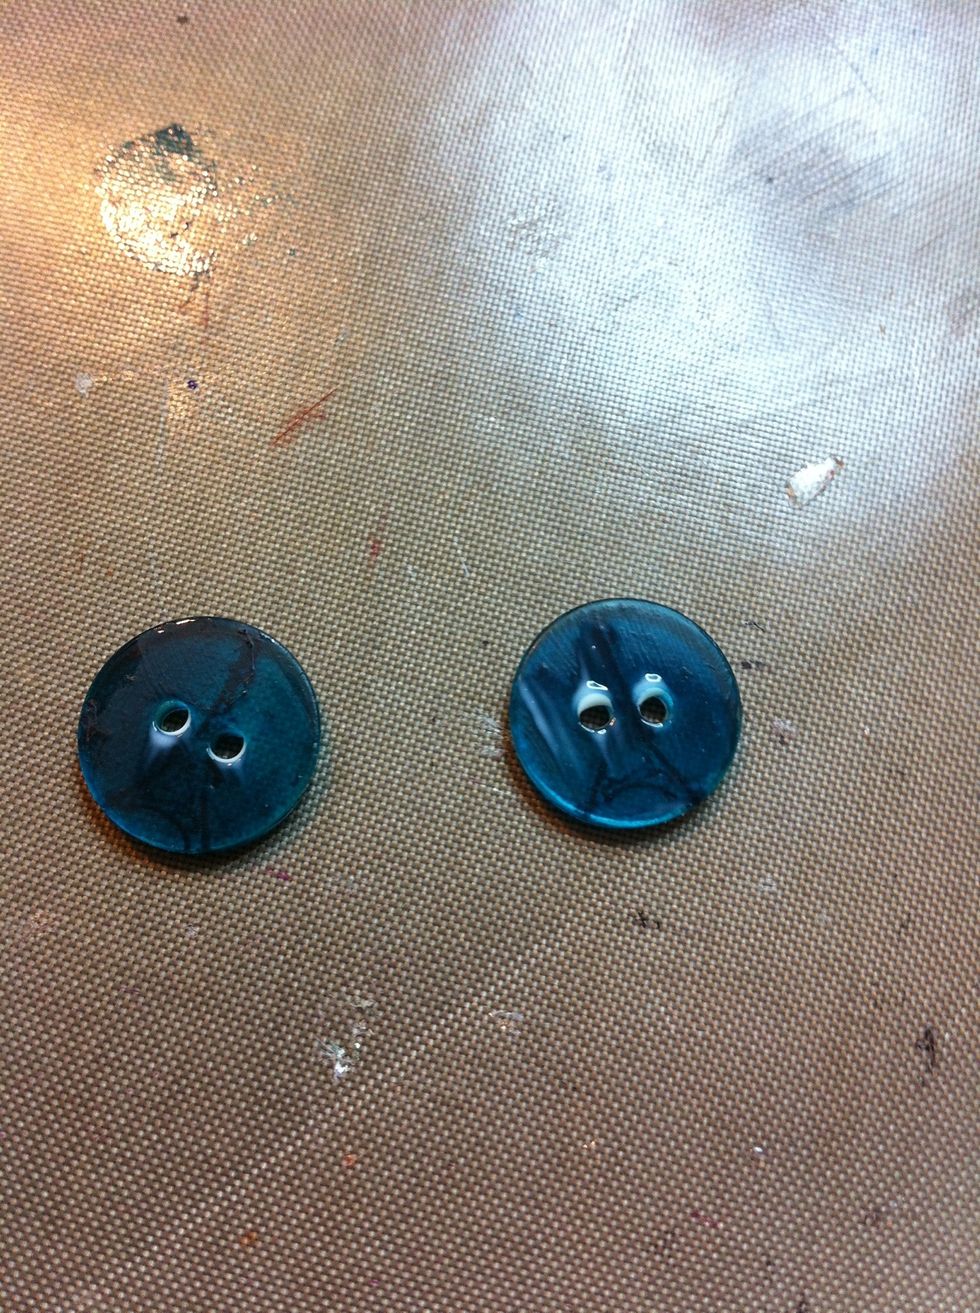
Here's an example of both alcohol ink and StazOn on a button.
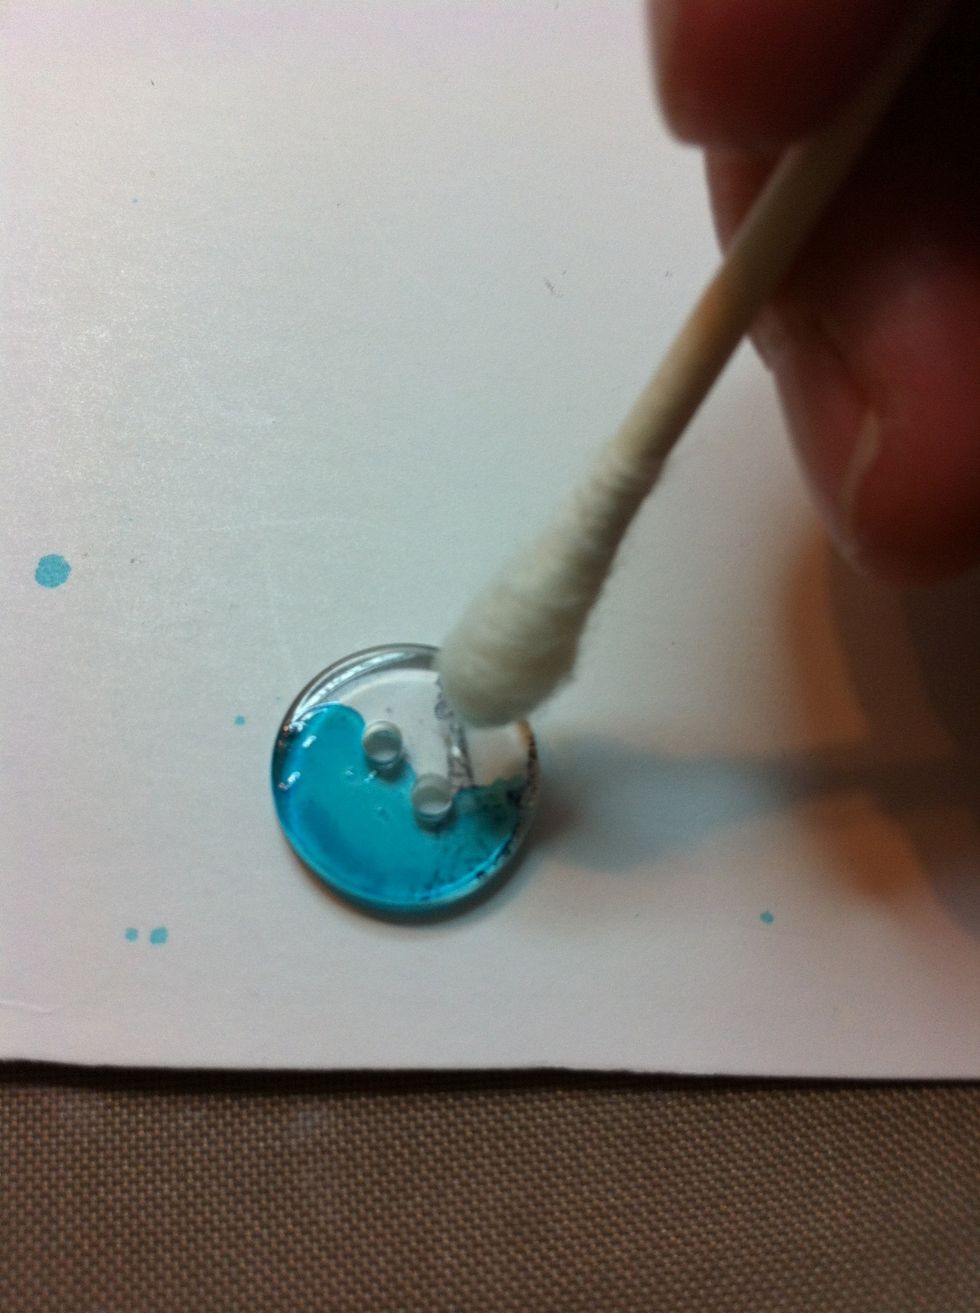
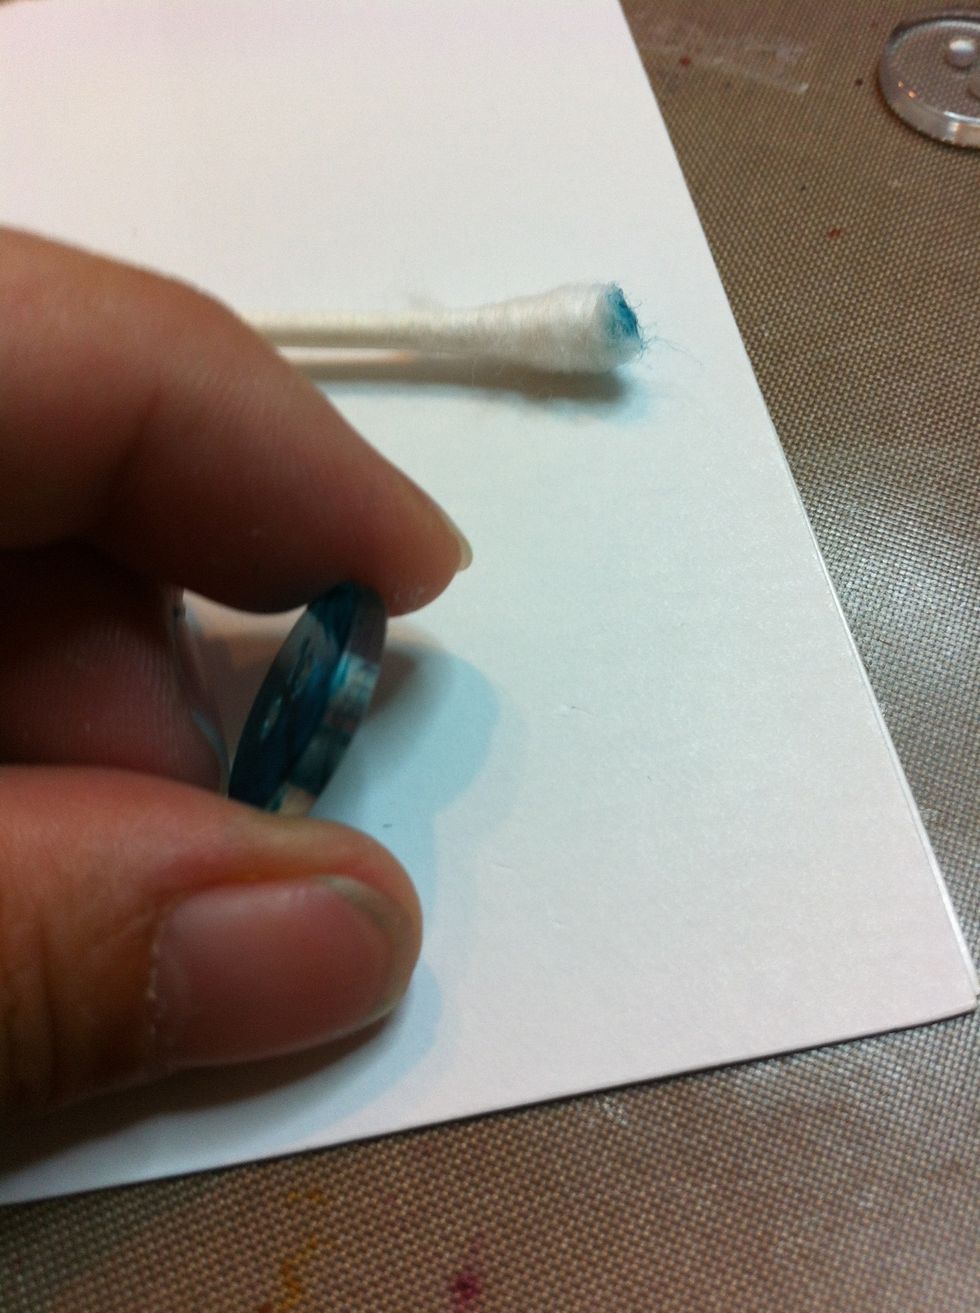
The q-tip has some rubbing alcohol on it.
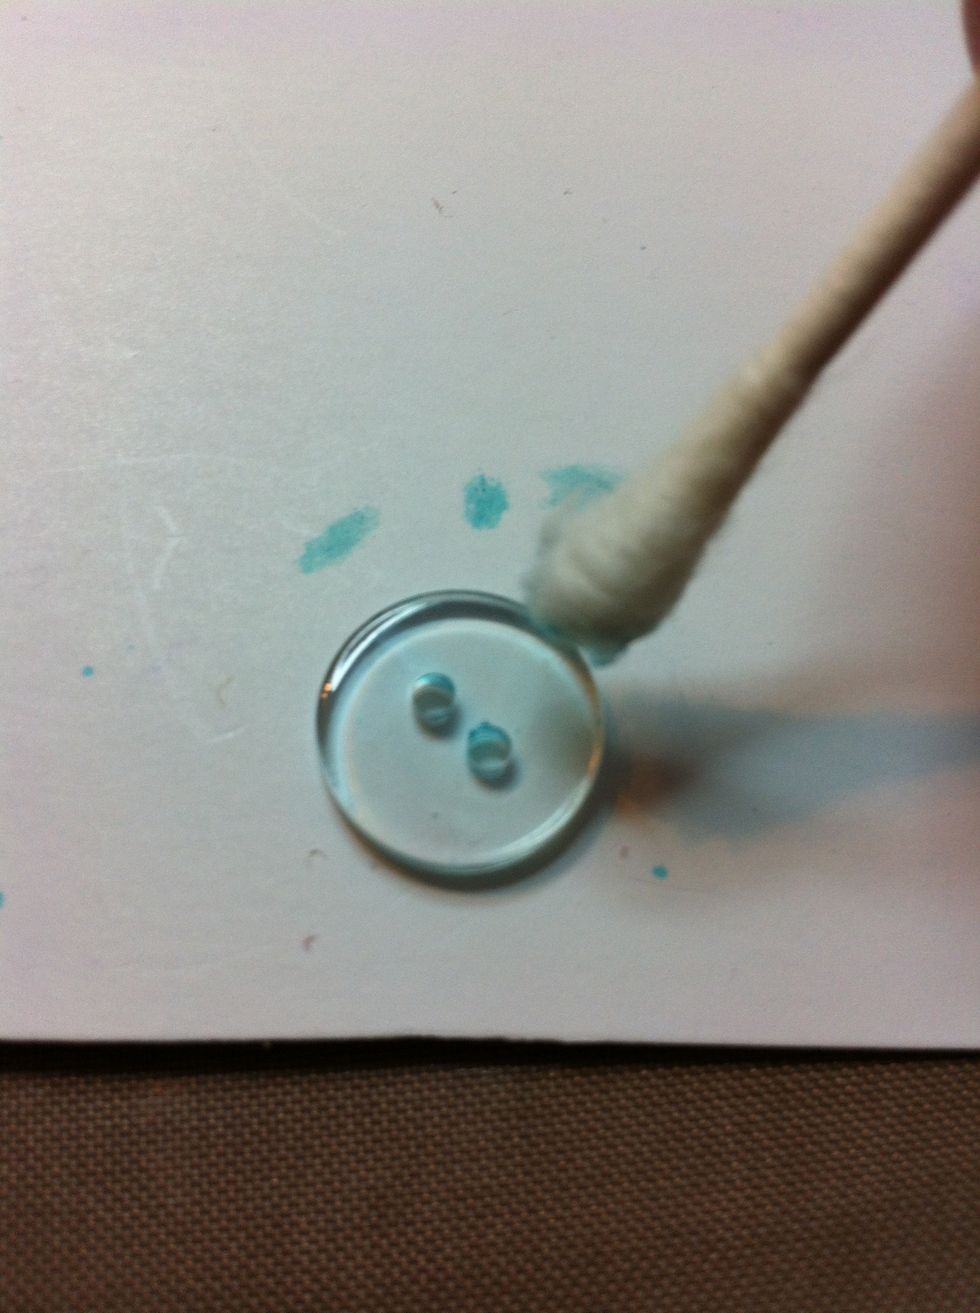
It cleaned it right off. This is useful at any point in the procedure to fix mistakes.
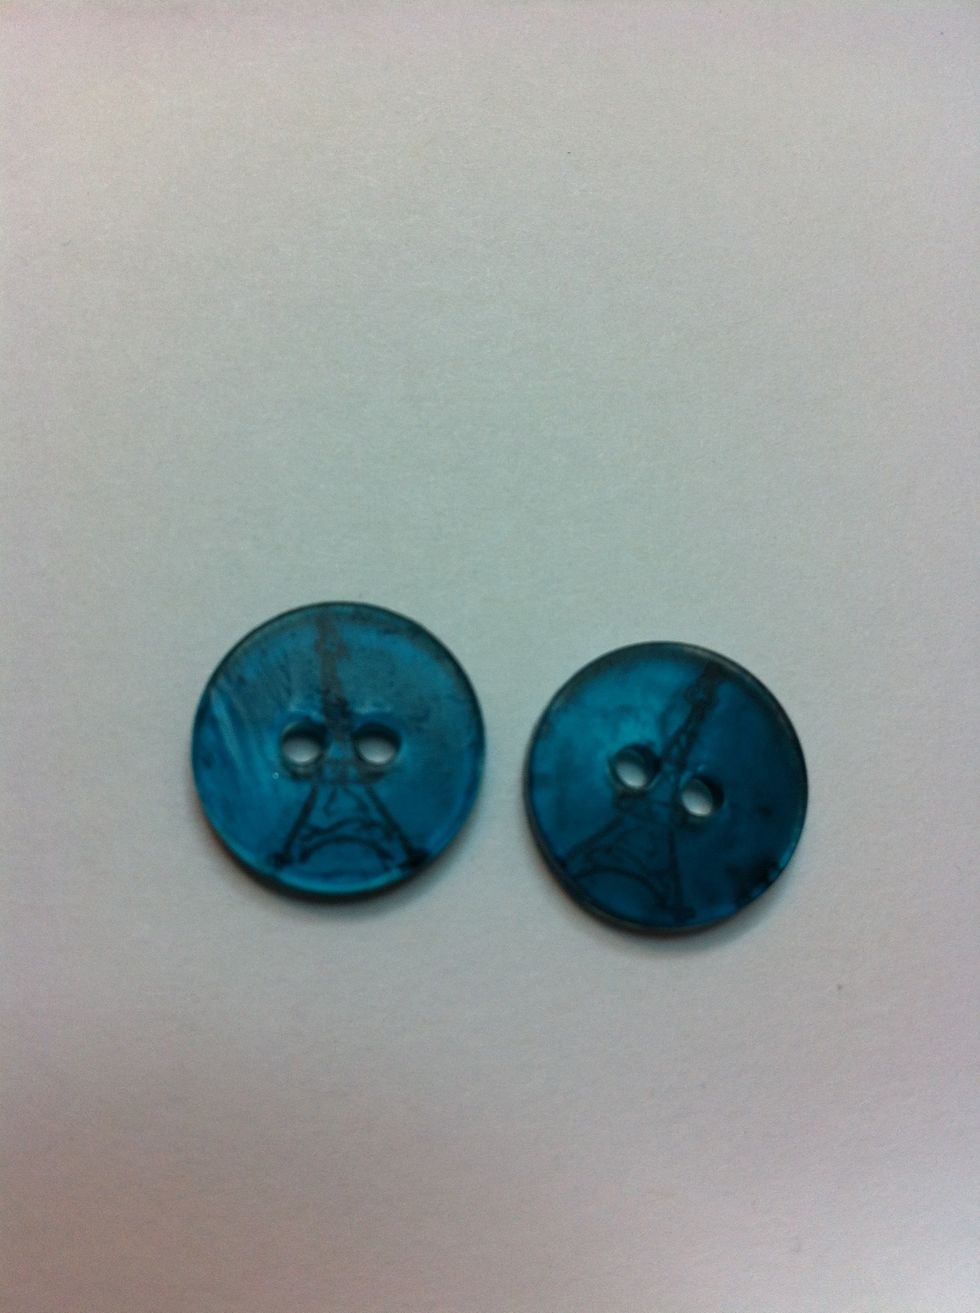
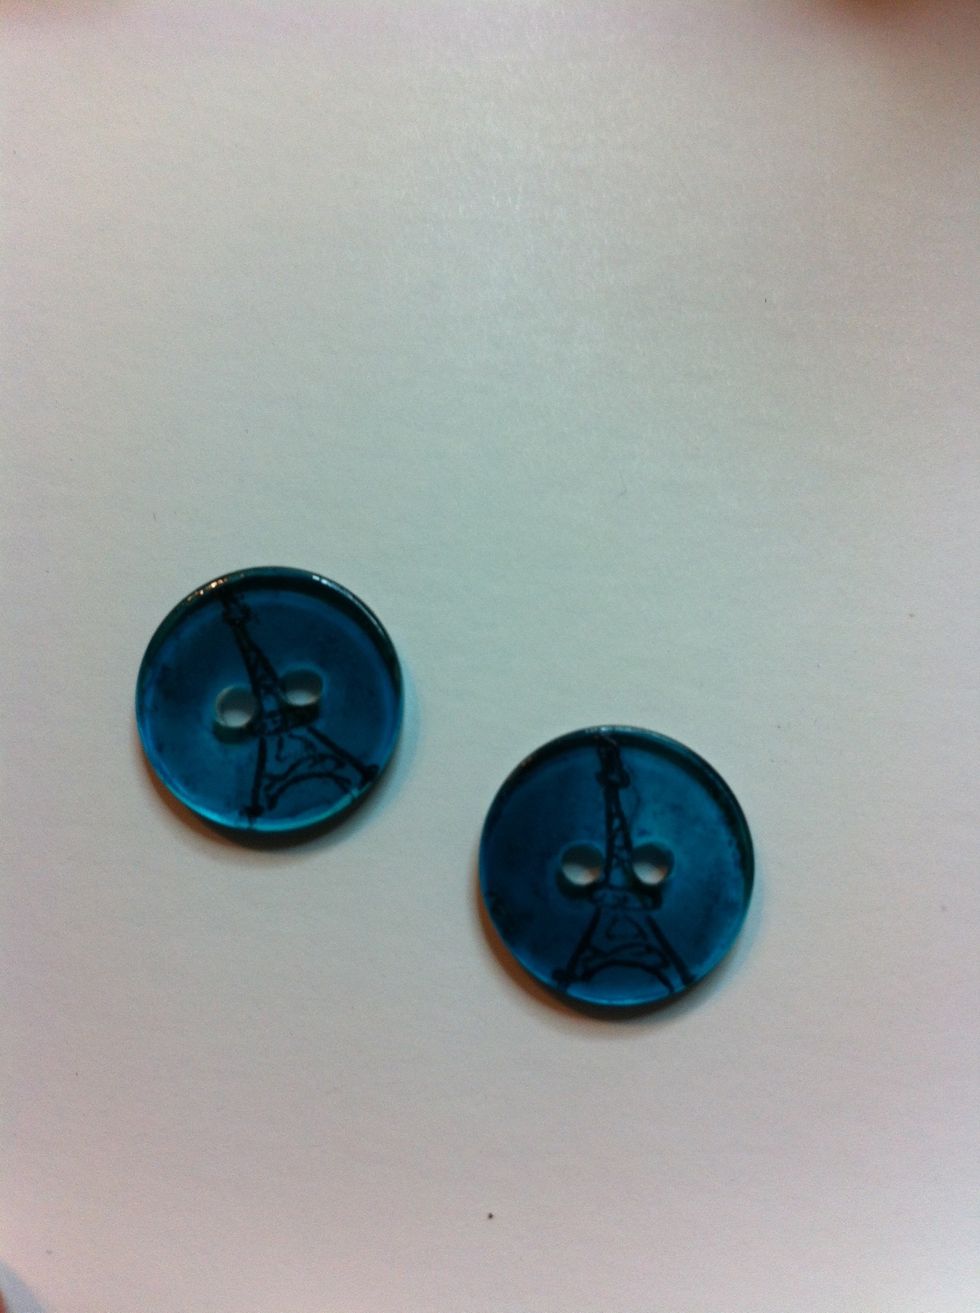
Completed dyed and stamped buttons.