The Conversation (0)
Sign Up
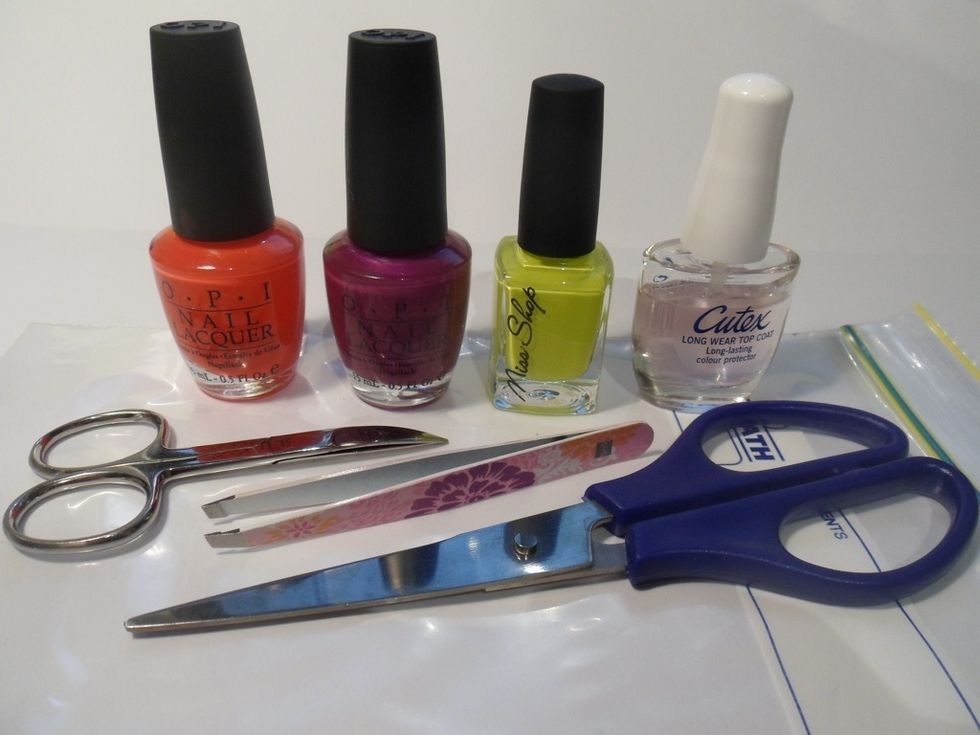
The colors I'll be using include: Cajun Shrimp by OPI, Plugged-in Plum by OPI & Neon Yellow by Miss Shop
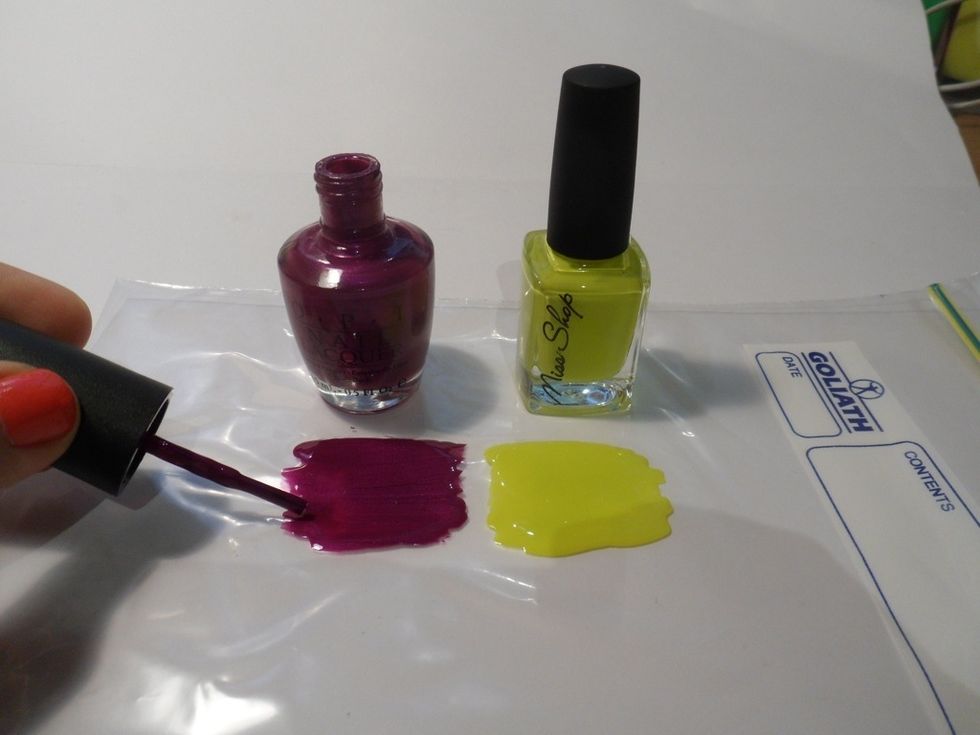
Begin by painting a generous amount of your 2 contrasting colors onto your zip lock bag.
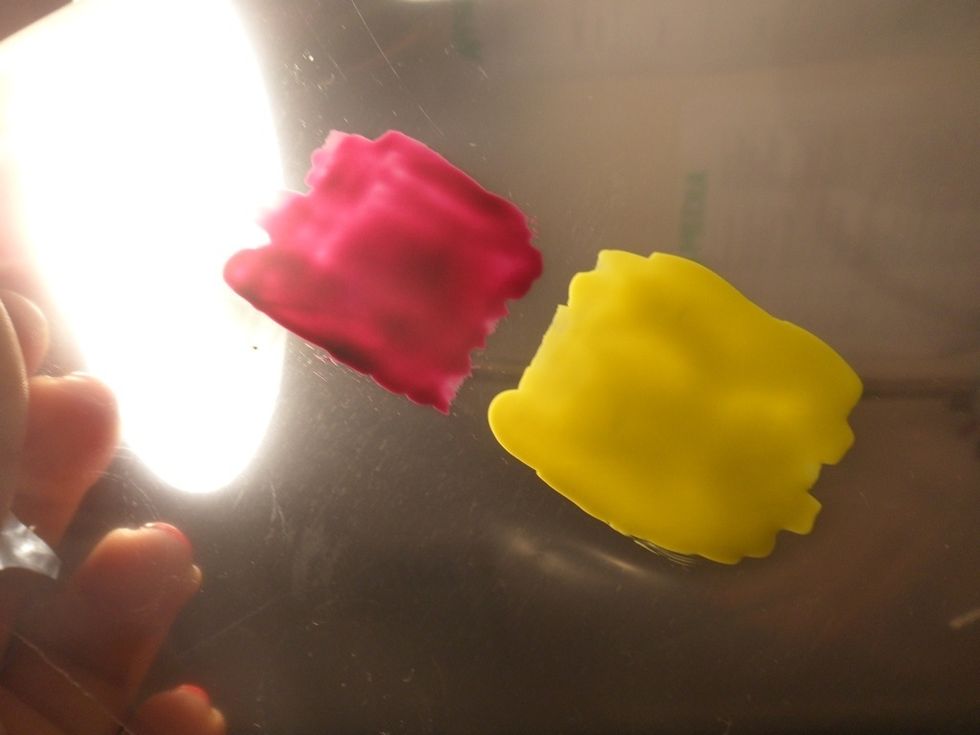
Hold the bag up to a light. If you can see the light through the polish it is probably too thin. Add more polish on top to thicken it.. This ensures it won't tear later!
Go out and partyyy while the polish dries over night =)
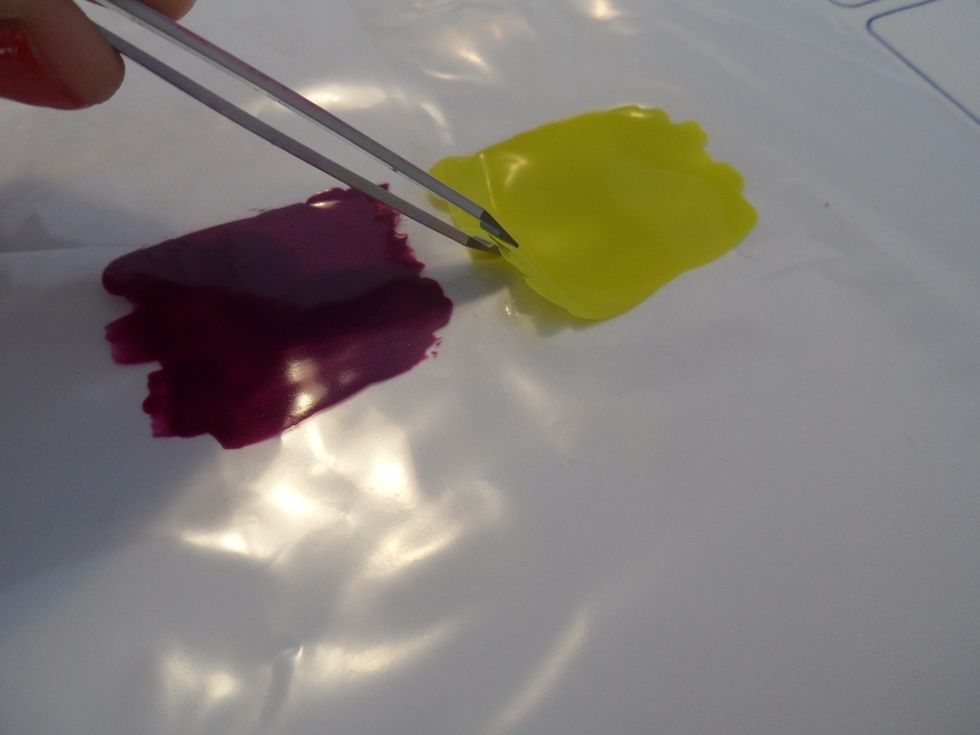
With your tweezer GENTLY lift and peel off your polish. If you made it thick then it should not tear..
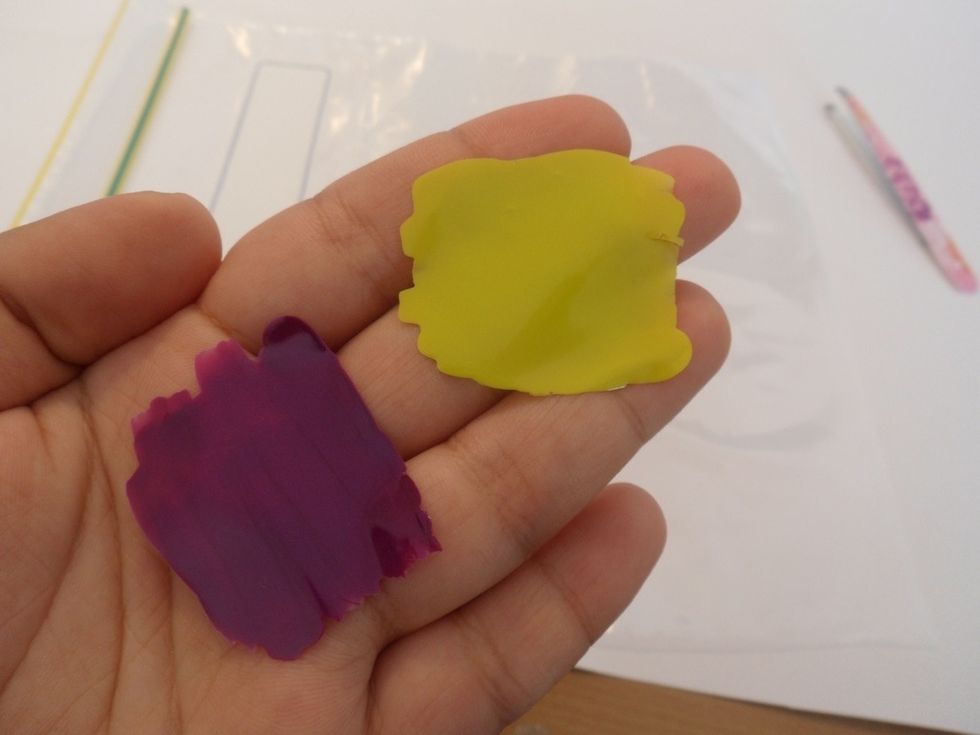
PHEEWWWW!
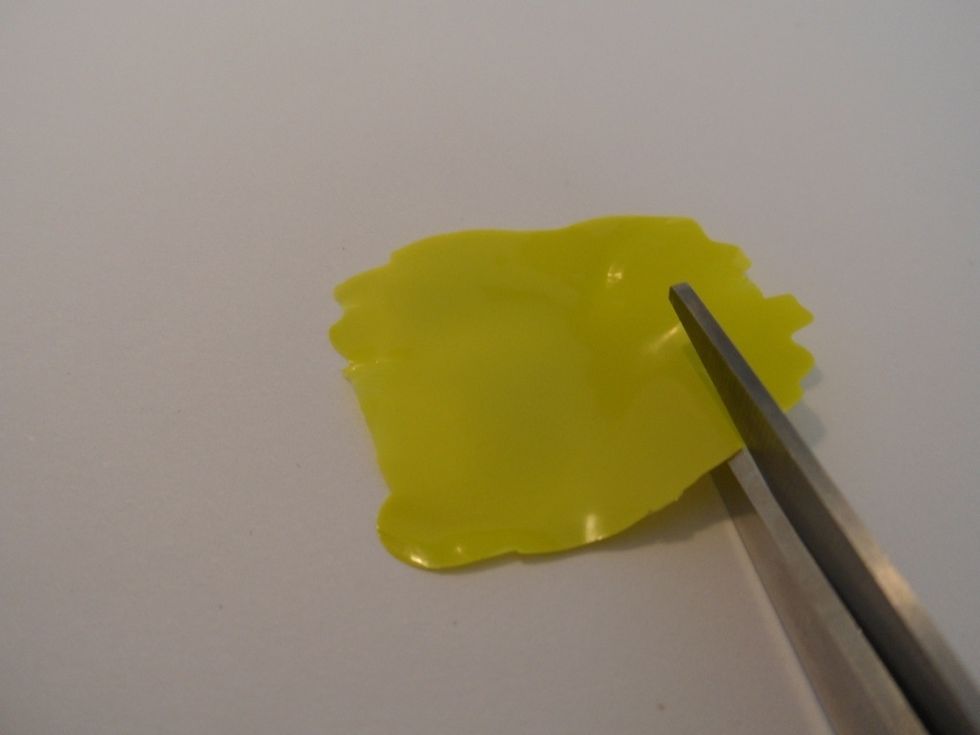
Now with your scissors cut out your desired pattern/ shape/ letter etc...
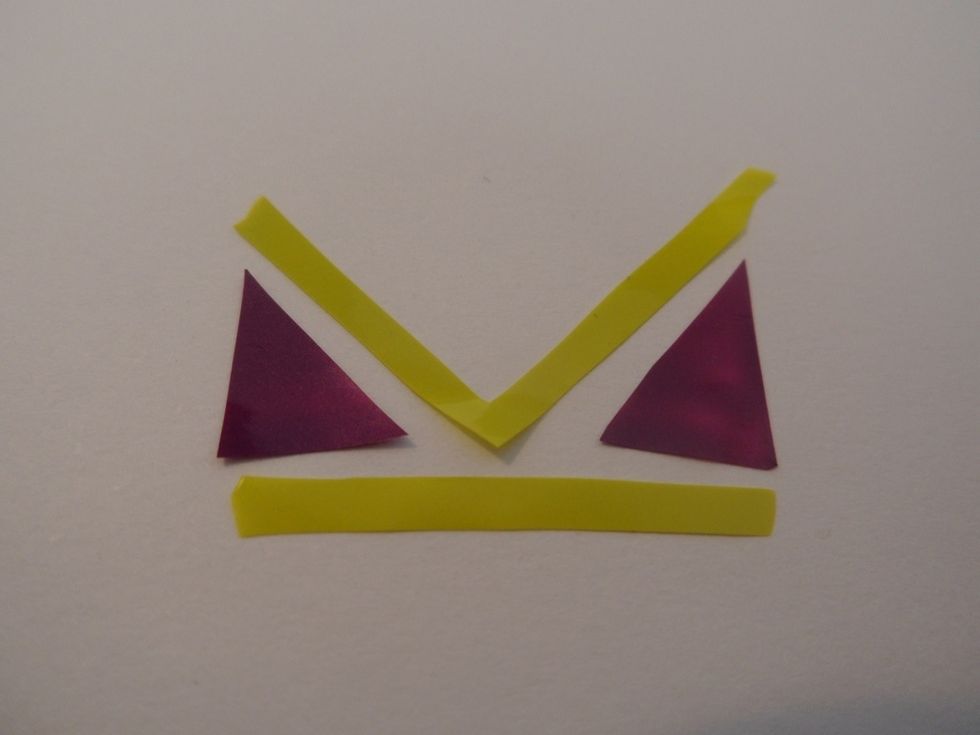
Lay it out to get an idea of what it will look like..
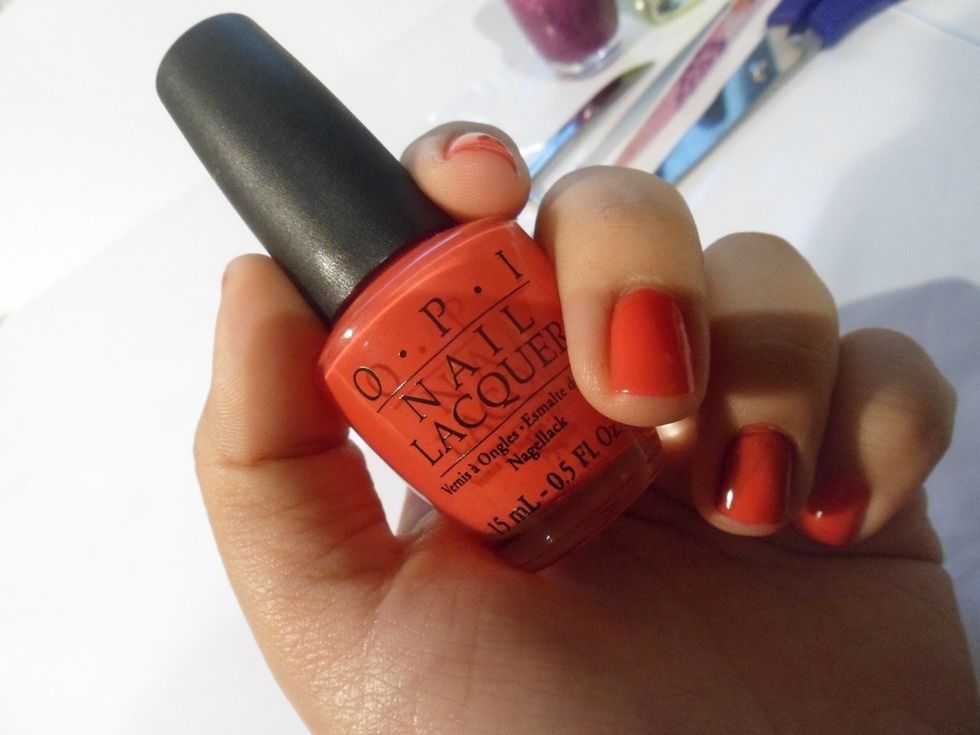
Paint nails desired base color. Let it dry thoroughly..
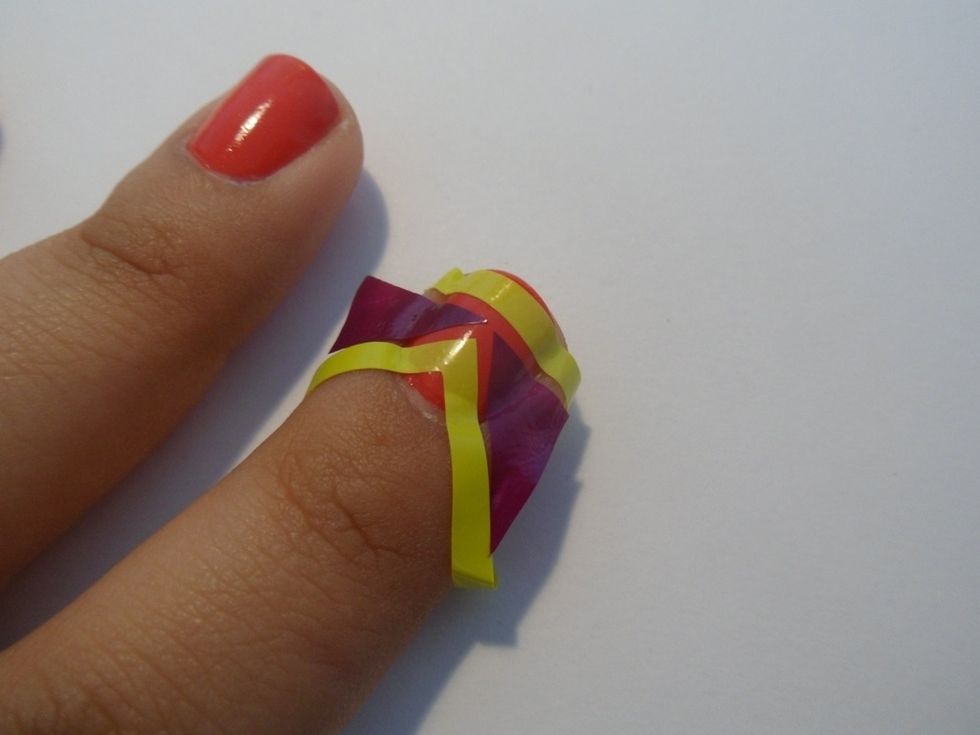
And transfer the decal onto your nail!
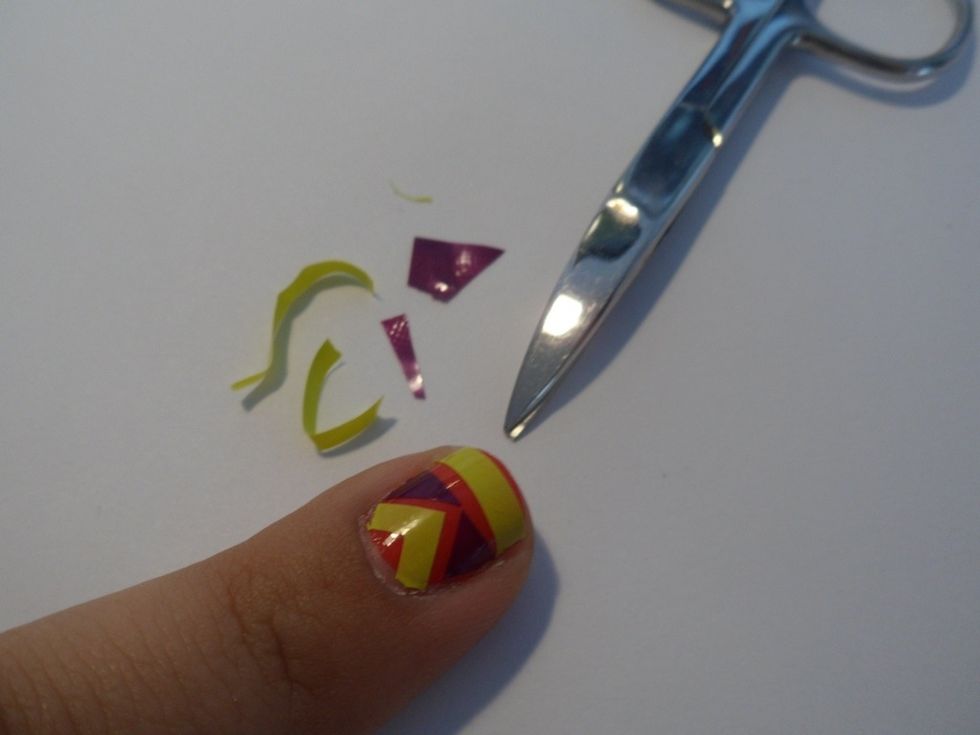
Using your scissors trim off the excess strips of polish...
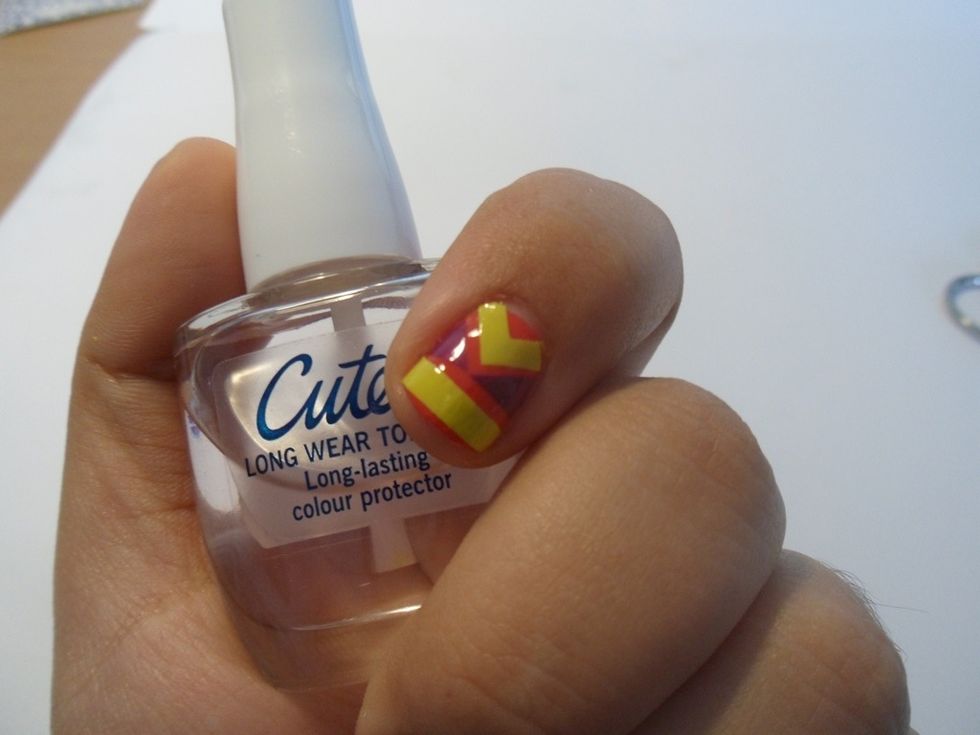
And add a glossy top coat to secure the decal!

TADAHH! You've created yourself a unique decal... Now prepare yourself for the compliments! =)
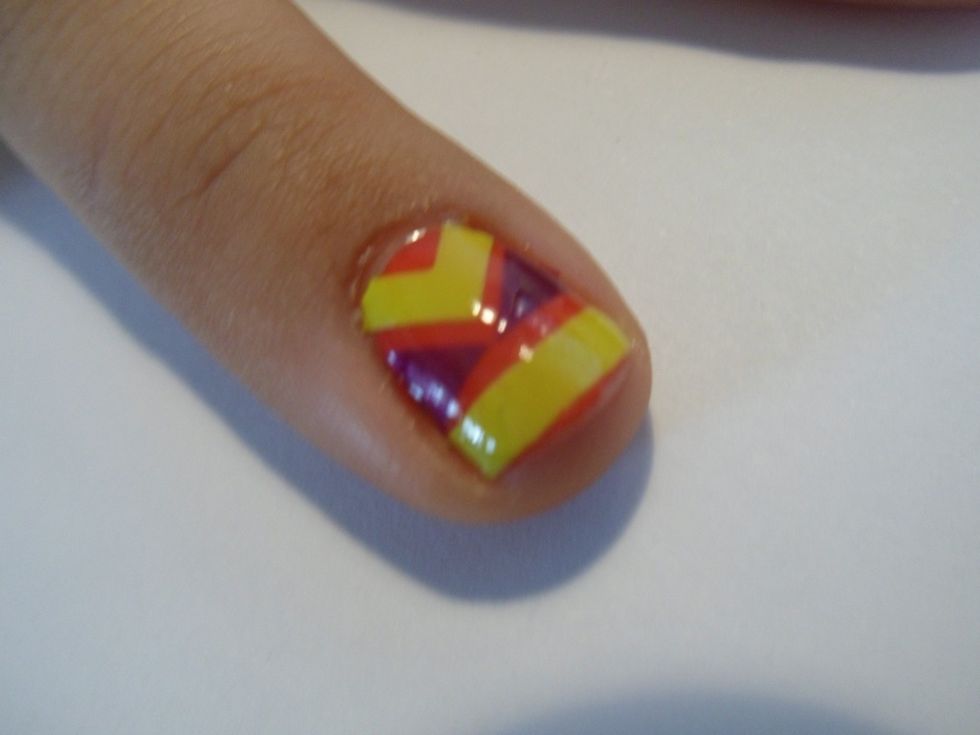
Here's a close up.. Sorry it's a tad blurry!
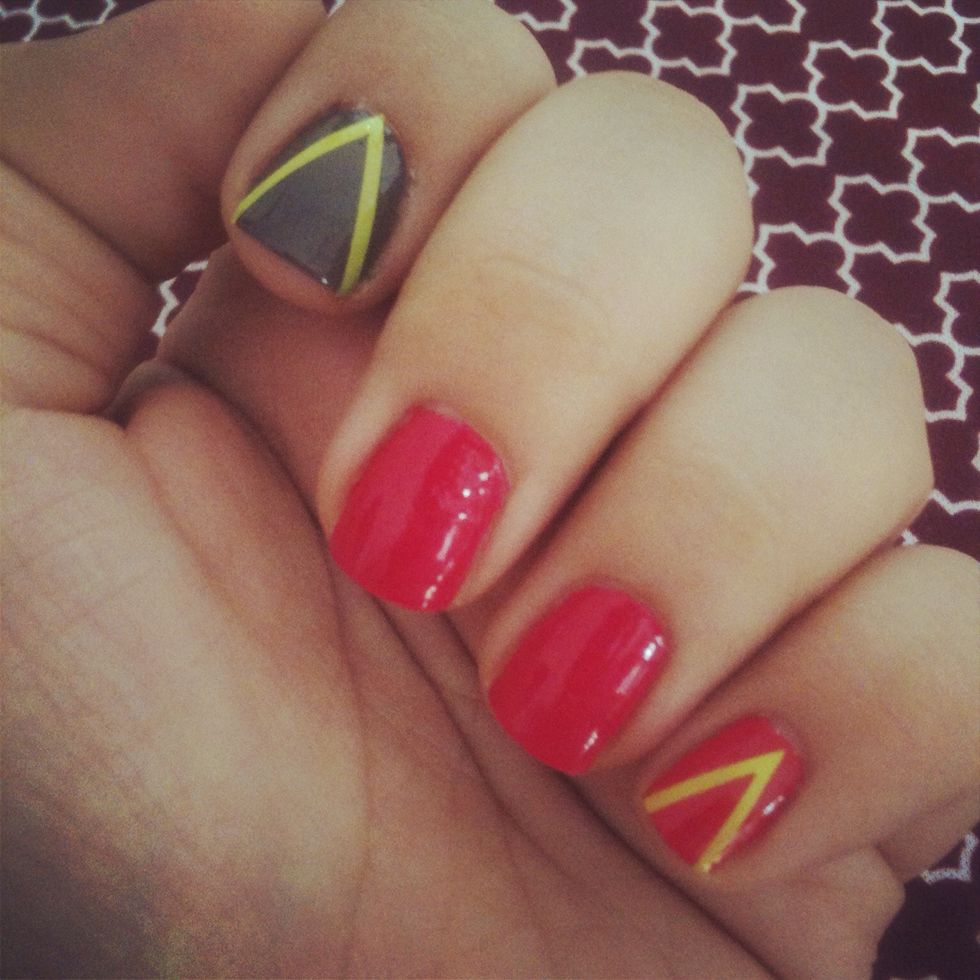
Another decal design I've done 😁
I hope you enjoyed this guide! Credit goes to wackylaki.blogspot.com.au who inspired this tutorial! Please let me know if you have any questions or suggestions!! X